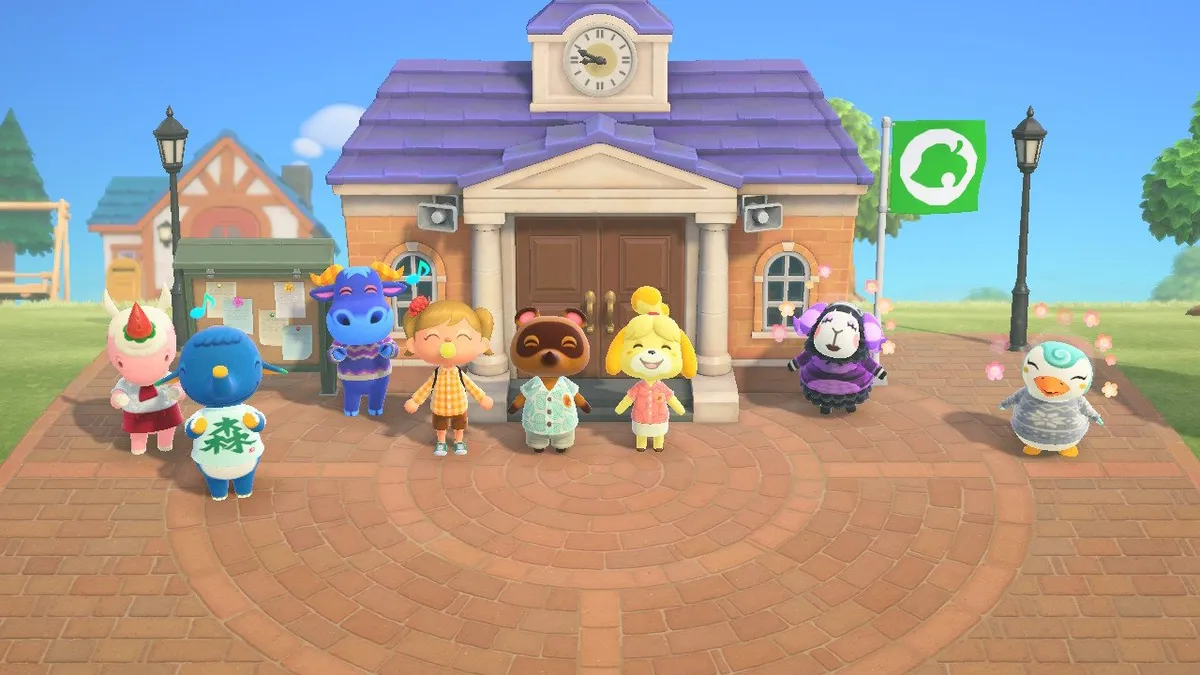
Animal Crossing: New Horizons is one of the best Nintendo Switch games, and it's all about creating the perfect little island life. From the beginning of the game, you get to choose where your villagers set up their homes and where any additional buildings or houses are built. However, if you want to move buildings, create inclines to reach those cliffs without a ladder, or build bridges over water, Tom Nook needs to upgrade Resident Services from a tent to a building. Here's exactly how to upgrade Resident Services to unlock bridges and inclines.
How to upgrade Resident Services to a building
To get Nook to upgrade Resident Services from a tent to a proper building, you need to have five villagers on your island. You'll need a few days and a lot of legwork to make this happen, but don't worry! We'll walk you through it.
1. Pay off your Deserted Island Getaway Package

Upon arriving at your deserted island, you owe Tom Nook 5,000 Nook Miles for flying you here and setting you up with a tent. Fortunately, you can earn all you need really quickly.
Run around your island trying new things. Catch fish and bugs, shake trees, write on the bulletin board, and do similar activities to earn Nook Miles. When you finally have the amount you need, head over to Nook in Resident Services and pay off the Getaway Package.
Note: The loan must be paid in full and cannot be paid off in installments.
2. Upgrade from a tent to a house
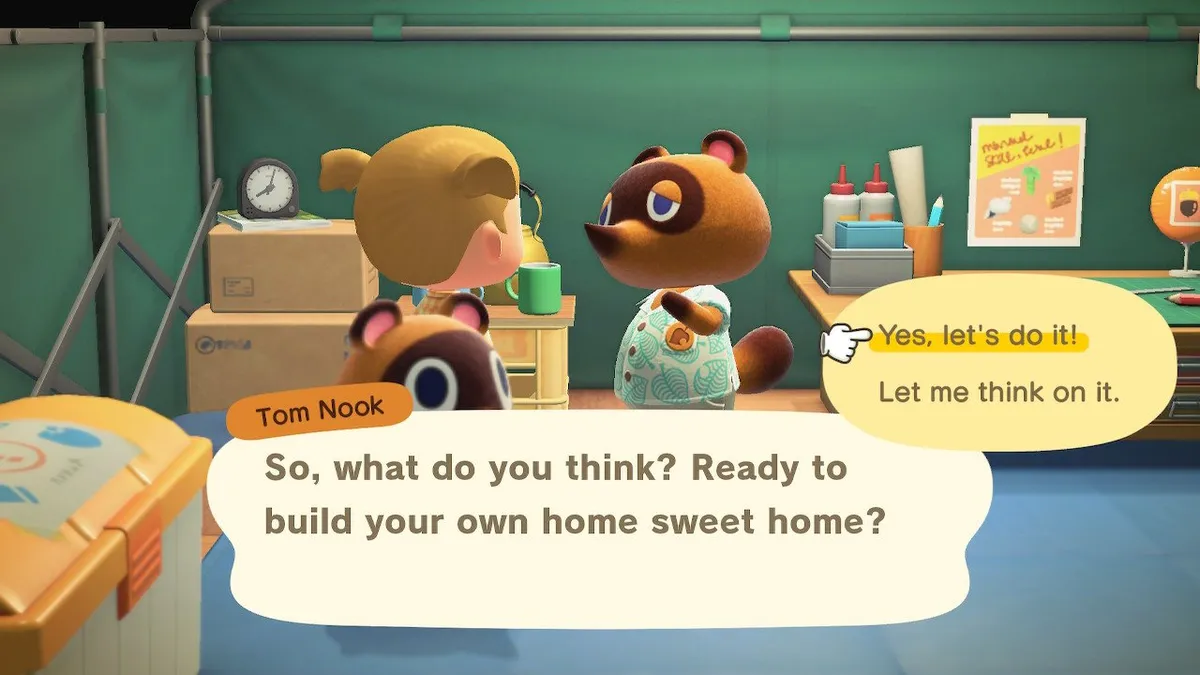
Upon paying off your Getaway Package, you'll immediately have the opportunity to request an actual house. Talk to Tom Nook in Resident Services to get the process started. As with every new installment on the island, you'll have to wait until the following day for the house to be built.
Note: You must pay off the house loan with Bells, not Nook Miles, and you cannot start paying off the loan on your house until the following day when the new house has been built.
3. Invite three new villagers to your island

Finding new villagers is pretty easy as long as you have the Nook Miles necessary for a plane ticket. Purchase the Nook Miles Ticket for 2,000 Nook Miles at the Nook Stop in Resident Services. Then, run down to the airport and tell the dodo (no, I'm not being derogatory) behind the desk that you want to fly to another island.
As long as you have space available on your island, you'll encounter a random animal NPC while on your trip. Talk to them and invite them to live on your island. You'll need to make at least three different trips and invite each animal separately.
4. Get Nook's Cranny on your island

The following day, talk to Timmy in Resident Services, and he'll tell you that he wants to build a shop, but he needs your assistance to do so. Gather the following materials and bring them all back to him:
- 30 Wood
- 30 Hardwood
- 30 Softwood
- 30 Iron Nuggets
You'll need an axe to harvest the three wood types from trees. As far as Iron Nuggets go, you can either use a shovel or an axe on rocks to gather them. If your island is already picked over for the day, you might want to purchase a Nook Miles Ticket from the Resident Services kiosk and fly out to a random island. You should be able to find all of the resources you need that way.
After you've given Timmy the necessary materials, all you have to do is pick a spot for the store. Wait another day to go by, and you'll find that Nook's Cranny appears on your island the following morning.
Note: Be sure not to eat any fruit before whacking the rocks! Eating fruit makes you super strong, and if you have fruit in your belly when you hit a rock, it'll break.
5. Place a bridge on the island
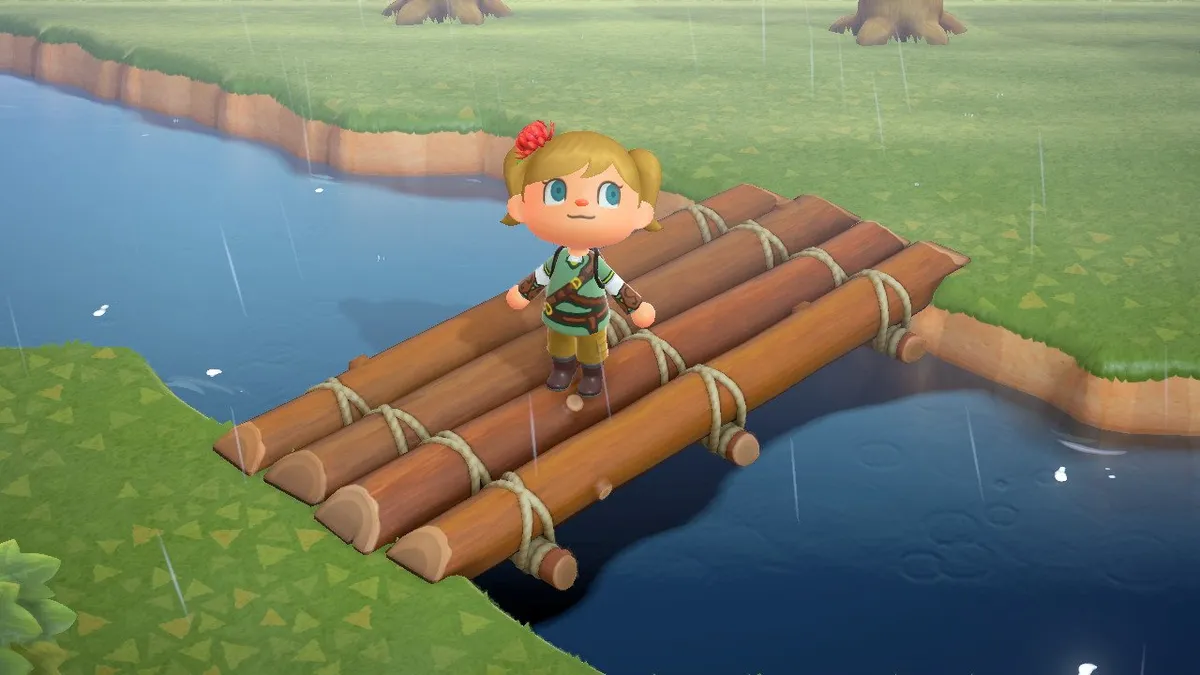
Once Nook's Cranny pops up, head to Resident Services and talk with Tom Nook again. He'll get a call from a villager who's interested in moving in. To make things easier for any additional residents, he'll ask you to craft and then place a bridge somewhere on the island. Choose a good location for your bridge, and it will appear in the game the following day.
Note: Make sure you place this bridge somewhere useful because you won't be able to craft any additional bridges until you upgrade Resident Services to unlock bridges and inclines.
6. Stake out land for three new villagers

Once you place the bridge, return to Tom and let him know the task is complete. He'll give you three housing plots and ask you to choose the housing locations of your new three villagers. But wait, there's more. Instead of simply placing the plots, Tom Nook will also require that you furnish each house with three interior items and three exterior items.
You'll have to read the placard on the left side of each plot to know exactly what each house needs. Gather the materials, get to a workbench, and craft all of the items needed for these future houses. You can place the exterior items in front of the plot, but you'll need to interact with the box and place the three interior items inside.
7. Wait for all three villagers to move in

Once the three housing plots have been placed, and the proper furniture/decor has been provided, you have to play the waiting game. Only one villager will move in per day, so you're going to need to let three real-world days pass.
The morning that the third and final villager moves in, Nook will make an announcement informing you that he intends to upgrade Resident Services from a tent to an actual building. However, he's going to need a full day to build it. This means that the following day, you won't be able to access any of Resident Services' features, including the Nook Stop kiosk, the Workbench, or the Recycling Bin. Make sure to take care of any other business before the day ends to prepare for Resident Services being closed for a full day.
Wait for the Resident Services building to pop up

The day after the closure, Nook will announce that the new building has been built. Run to the location where the Resident Services tent was located. You'll find a shiny new building in its place. Inside, you'll find Tom Nook working behind the counter with Isabelle.
When you speak with Tom, you'll be able to place additional bridges, create inclines to reach cliffs easier, and even move most buildings to new locations. All of the bridges and inclines on your island come at a cost: You can only place one bridge or incline per day and, depending on the design you choose, it's going to cost you thousands of Bells to make them appear.
If you build it, they will come
Now you know how to upgrade Resident Services to unlock bridges and inclines! This allows you to unlock construction, bring Isabelle to the island, and make additional island layout changes. Having bridges and inclines makes it a lot easier to get around your island and reach all of the resources your island has to offer. Eventually, you'll also be able to unlock terraforming through Resident Services. Good luck crafting the perfect getaway! It's going to take a pocket full of dreams, a fist full of Bells, and a phone filled with Nook Miles.

○ Zelda outfits for Animal Crossing
○ How to make money fast
○ Multiplayer guide
○ How to become best friends
○ The NookPhone explained
○ What is NookLink?
○ Can you play Animal Crossing on Nintendo Switch Lite?
○ Every Animal Crossing amiibo
○ Best Animal Crossing Switch accessories