How to fix a blown or distorted earpiece in your iPhone: The ultimate guide
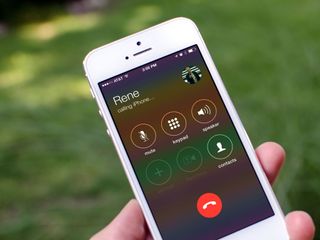
If you can't hear the caller on the other end of the line when you hold your iPhone to your face, or they sound distorted all the time, it's possible that the earpiece is defective or blown out. Most users that have iPhones with this issue can verify it if speakerphone works just fine. If that sounds like what you're experiencing with your iPhone, an earpiece replacement may be in order. Depending on what model iPhone you have, the difficulty range can vary. One thing is for certain though, performing an iPhone repair on your own is a heck of a lot cheaper than purchasing a new iPhone.
How to replace a blown earpiece in an iPhone 5s

Following with tradition, the iPhone 5s' earpiece also sits on the back of the display assembly. And for anyone that thinks they need to replace one, this is a good thing. Not only is the earpiece easy to get to in the iPhone 5s, it's also incredibly easy to replace. So if you aren't getting any feedback through the earpiece, feel the volume is a lot lower than it should be, or something else, this should be a quick and easy repair with little skill needed. Even better yet, it'll cost you far less than replacing your iPhone 5s out of warranty.
How to replace a blown earpiece in an iPhone 5c
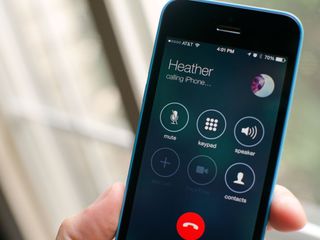
The iPhone 5c is very similar to the iPhone 5 in terms of the earpiece. It also sits on the back of the display assembly and it just as easy to swap out. Much like other models, symptoms of a blown earpiece in an iPhone 5c can include distorted audio, robotic sounding voices, low volume, and in come cases, no volume at all. If you're experiencing any of these symptoms, odds are the earpiece is what needs to be replaced.
How to fix a blown earpiece in an iPhone 5
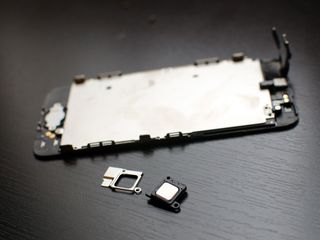
The earpiece on the iPhone 5 was completely redesigned and relocated. Instead of residing in the casing where it then made contact with the logic board, it now sits on the back of the screen assembly. Not only did this change in location and design make the earpiece clearer and louder, it also made it much more accessible when it comes time to perform a DIY repair. I'd say even a novice repair ninja could tackle an iPhone 5 earpiece replacement pretty easily.
For anyone experiencing distortion when on a call with the earpiece, no sound at all, or intermittent sound, this is the guide you want.
How to replace a bad earpiece in an iPhone 4s
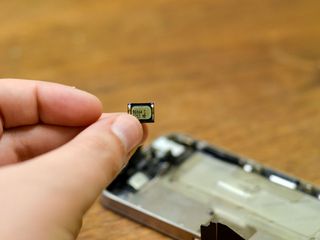
The iPhone 4s earpiece is located in just about the same place as both iterations of the iPhone 4. The main difference is how it's attached and wrapped around the power button cable. This requires a little more care so we'd qualify this repair as an intermediate to advanced. Just like other earpiece replacements, the symptoms of a blown earpiece in an iPhone 4s are distortion, no sound, and crackling. However, a common symptom in the iPhone 4s that differentiates it slightly from other models is low volume. This is an issue I saw frequently. You could hear, but just faintly.
How to replace a blown earpiece in an iPhone 4
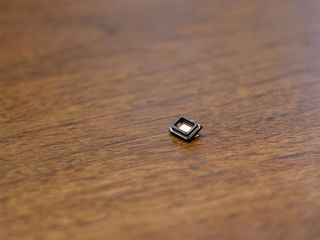
The iPhone 4 earpiece repair is almost exactly the same as an iPhone 4s. The CDMA and GSM variants have slightly different guides due to the internals being somewhat different. Regardless, whichever model iPhone 4 you have, you can expect this repair to take around 30 minutes. So if you're picking up distortion, crackling, or aren't receiving any sound at all through the earpiece, check out the guides below to see if it makes sense for you to take a stab at the repair yourself.
Master your iPhone in minutes
iMore offers spot-on advice and guidance from our team of experts, with decades of Apple device experience to lean on. Learn more with iMore!
- How to replace a blown earpiece in a GSM iPhone 4
- [How to replace a blown earpiece in a CDMA (Verizon or Sprint) iPhone 4](##How to fix a blown earpiece in an iPhone 3G or iPhone 3GS
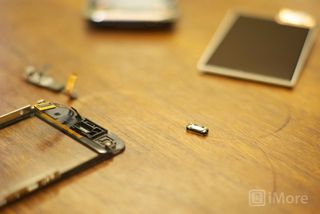
Much like the iPhone 5, the iPhone 3G and iPhone 3GS opens from the front. Even luckier yet, the earpiece is located on the back of the display assembly as it is in newer model iPhones. This makes the iPhone 3G and iPhone 3GS extremely easy to fix when it comes to a bad earpiece. You actually have two choices, you can replace the earpiece by itself or just swap out the entire front digitizer assembly, which is a lot easier. Either way, both methods aren't expensive and require only about 20 minutes of your time. Replacing the entire digitizer can also rule out any issues with the proximity sensor and ambient light sensor.
- How to replace the earpiece on your iPhone 3G or iPhone 3GS
- How to replace the complete digitizer assembly on your iPhone 3G or iPhone 3GS
See also:
- How to replace your iPhone's cracked or broken screen: The ultimate guide
- How to fix a bad dock connector on your iPhone: The ultimate guide
- How to fix a non-responsive Home button on your iPhone: The ultimate guide
- How to fix a stuck or broken iPhone power button: The ultimate guide
- All iPhone DIY repair guides
iMore senior editor from 2011 to 2015.
Most Popular


