How to manage your billing and shipping information for Apple Pay

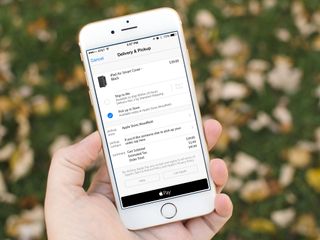
Part of what makes Apple Pay so fast and easy for online purchases is that it knows exactly where to bill your and where to send your purchases. That saves you the effort of having to type them out each and every time you buy something. But it also means you need to keep them accurate and up to date. That way, when you buy all the things, they'll know just where to send them.
How to update and manage your shipping and billing info for Apple Pay
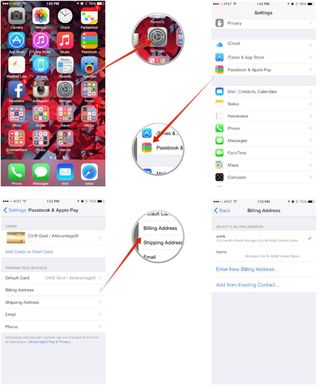
- Launch the Settings app on your iPhone or iPad running iOS 8.1 or later.
- Tap on Passbook & Apple Pay.
- Tap on either Billing Address or Shipping Address.
- Enter any additional addresses you need to, but tap on one address that you'd like to set as a default for each.

That's all there is to it. Apple pay will abide by the settings you've chosen. If you ever need to change your billing or shipping, just repeat the same steps again. This is handy if you have work and home addresses that you choose for shipping equally. It'll save you some time when checking out so you can just select them instead of having to enter information every time.
Master your iPhone in minutes
iMore offers spot-on advice and guidance from our team of experts, with decades of Apple device experience to lean on. Learn more with iMore!
iMore senior editor from 2011 to 2015.
Most Popular


