How to secure and encrypt your OS X Mail messages with GPGMail 2
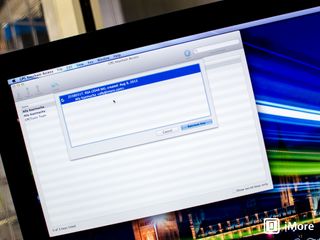
Standard email just isn't secure. If the internet didn't kill privacy, people and agencies using and abusing it have certainly put it into intensive care. There's nothing we can do to protect the servers our mail goes through, but luckily there is something we can do to protect it before it goes through those servers. We can encrypt it with pretty good privacy (PGP). And open-source system, which means any flaws or back doors are more easily investigated and detected by more people than a closed, proprietary system would be. GPGMail 2 employs PGP, is available for Mac (and Windows), and can help you make sure your emails are only read by the intended recipient.
Keep in mind for messages to encrypted and signed, all users should have keys generated and custom passcodes to decrypt messages.
- How to set up GMGMail 2
- How to generate a key with GPG
- How to send a secure message
- How to search for another user's key
How to set up GPGMail 2
- Download GPGMail 2 from the GPG website. Mac download, (Windows download.)

- Once the file downloads to your Mac, double click on the .dmg (or for Windows users, the .exe file) in order to open it and start the installation.
- Now double click on the Install icon in the install window that pops up.
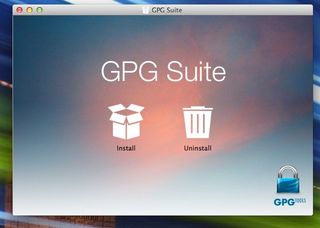
- Follow the prompts on the screen to complete installation.
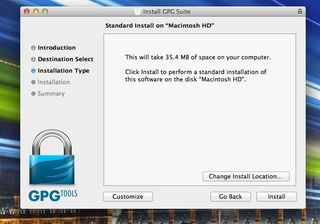
- You may be asked for your system password in order to finish installation. Do that and continue with the installation.
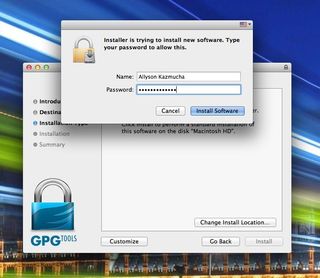
- You will get a message when the installation is complete.
How to generate a key with GPG
- Launch the newly installed GPG Keychain Access application on your Mac if it didn't open automatically after installation.
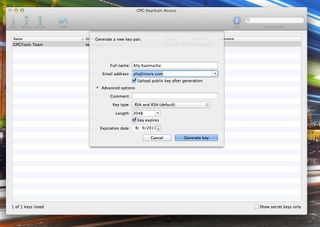
- Refer to the screenshot below to see the settings for generating a new secure key. You can change things such as the key expiration data, etc. Make sure you check the box for Upload public key after generation underneath the selected email address you want to generate a key for.
- Now click on Generate Key.
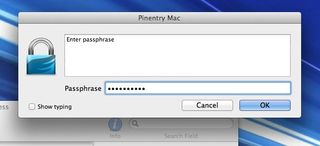
- You will now be asked to choose a passphrase. Type it in and then type it in once more to confirm it. Make sure you remember this passcode as you will use it to encrypt and send secure messages.
How to send a secure message
- You can now launch Mac Mail and send your first encrypted message. Just launch a new compose window and notice the new OpenPGP icon in the upper right hand corner. If it's green, you're good to go.
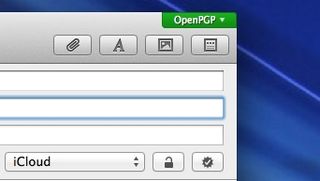
- Compose a test message to yourself and click Send.
- You will be asked to enter the password you chose in the last section in order to send the message. Go ahead and do that.
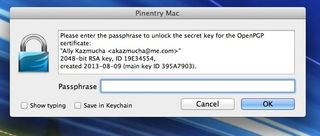
- Once you receive the email, check the **details of the message and you should see security and encryption information about it. If you do, you've set up everything correctly.

How to search for another user's key
- Launch the GPG Keychain Access app you downloaded to your Mac earlier.
- On your keyboard, type the shortcut Control + F and a search box will pop up.
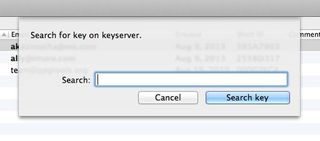
- Search for the email address of the person who also has a public key and their email address will aggregate. Select the ones you want to add by clicking on them.
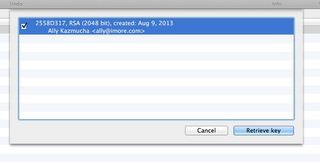
- Once you're done, click on Retrieve Key.
That's all there is to it. You now can send signed and encrypted messages back and forth.
Again, for this process to work correctly, all users should have keys and you will need to add each other in order for both ends to be encrypted and signed at all times.
For more documentation and information on GPGMail 2 and similar products, you can visit the GPGTools website. There are also options for iOS devices using the oPenGP app in conjunction with Dropbox to save and sync keys on mobile devices as well. Just be sure not to use Dropbox syncing for secret keys!
Thanks: Anthony!
- oPenGP, $3.99 - Download Now
Master your iPhone in minutes
iMore offers spot-on advice and guidance from our team of experts, with decades of Apple device experience to lean on. Learn more with iMore!
iMore senior editor from 2011 to 2015.
Most Popular


