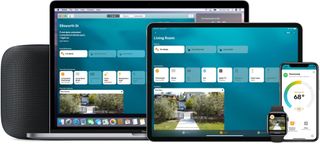
How to set up your HomeKit devices
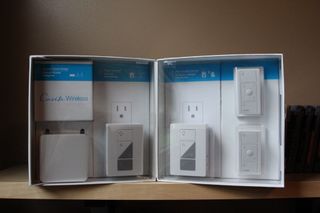
Apple has made it incredibly easy to set up your new home automation accessories with its HomeKit system — assuming, that is, you've picked up an accessory which works with HomeKit. (If you're not sure, look for the "Works with Apple HomeKit" badge on the accessory's packaging; additionally, we have a breakdown of all the currently compatible devices.
Apple also has a fantastic Home app that brings together all supported smart accessories under one app, so you can access everything without having to jump between branded apps. If you don't want to use Apple's Home app with your various smart devices, but still want to be able to perform actions with Siri, you can do so without needing the Home app once they have been added.
- How to set up your HomeKit-compatible accessories
- How to use your HomeKit accessories outside of your home
How to set up your HomeKit-compatible accessories
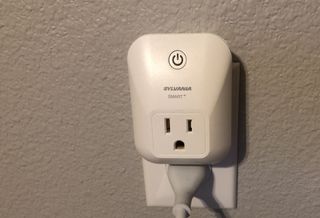
HomeKit compatible accessories include a wide variety of devices, including light bulbs, ceiling fans, speakers, plugs, locks, light switches, and more. Whether you use Apple's Home app, or a companion app for your accessory, you'll need to set up your accessories first.
- Hook up your accessory to power either by plugging it in or inserting batteries.
- Connect your device using an ethernet cable to your router if adding a gateway or hub.
- Launch the Home app.
- Some accessories, such as Belkin's Wemo Mini, require you to use an associated app for set up before they are added to the Home app.
- Tap the plus icon (top right).
- Tap Add Accessory.

- Scan the HomeKit setup code for your accessory as prompted using your device's camera.
- The HomeKit setup code is usually located on the device itself or in the manual included with your accessory.
- You can also select I Don't Have a Code or Cannot Scan if you just want to enter in the code manually.
- If your device uses Wi-Fi for connectivity, you may be asked to allow it to join your home network.
- Provide a name and assign a room for your HomeKit accessory if desired.
- Tap Done.
- Some accessories include multiple sensors, such as humidity and temperature in one unit. If this is the case, you will select Next to move onto the naming and room assignment portion of the setup process.

Congratulations! You've added your accessory to your HomeKit home. From here, you can customize the accessory's name, add it to rooms, zones, scenes, automation, and control it with Siri. Check out our following guides if you need help:
- How to add rooms, zones, and scenes to your HomeKit house
- How to add users to your HomeKit home
- How to use Siri with your HomeKit accessories
How to use your HomeKit accessories outside of your home
Want your lights to come on before you get home? Turn off your thermostat after you've left for vacation? You can use the Home app, the companion app that came with your accessory, or a third-party HomeKit app. If you have a HomeKit Hub, you can also use Siri commands when you're out and about.
HomeKit Hubs include an Apple TV 3rd generation or later, an iPad running iOS 9 or later, or a HomePod. For more details on how HomeKit Hubs work, check out our guide below.
How to extend your HomeKit network with an Apple TV
Master your iPhone in minutes
iMore offers spot-on advice and guidance from our team of experts, with decades of Apple device experience to lean on. Learn more with iMore!
Great HomeKit accessories
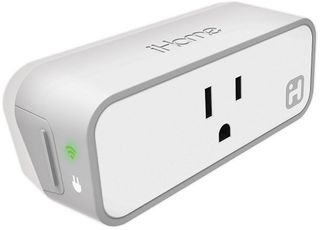
iHome ISP6X Smart Plug ($27 at Amazon)
A smart plug is an essential accessory for many homes, and allows you to turn your regular appliances into smart appliances. iHome's plug offers you remote access from anywhere in a slim package.
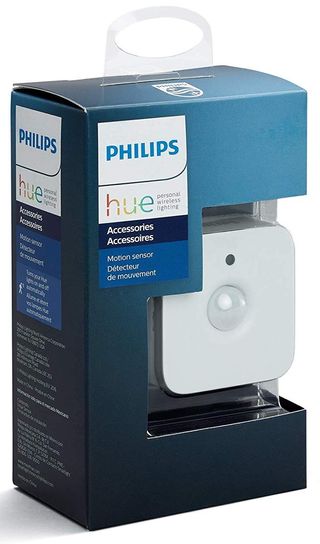
Philips Hue Motion Sensor ($40 at Amazon)
The Hue motion sensor pairs excellently with the company's smart lights, and just as with the lights, it can work with Siri and HomeKit if you have the Hue Hub.
Run into problems?
Check out our HomeKit troubleshooting tips; if you're having problems getting set up. We'll also try to help you out in the comments below, or you can chat with your accessory manufacturer/Apple, depending on the problem.
Updated August 2019: Updated for iOS 12.
Serenity Caldwell contributed to an earlier version of this guide.
Christopher spends most of his time writing and dreaming about all things HomeKit and the Home app. Whether it is installing smart light switches, testing the latest door locks, or automating his households daily routines, Christopher has done it all.
Most Popular


