
In addition to skating with Boston, I coach a couple of roller derby teams. One of the most important tools for me, as a coach, has become my iPhone: Taking video of practices and drills; breaking down skater stance in photographs; making notes for future strategy adjustments.
As a result, I've spent a lot of time using my iPhone as a sports camera, and I'm repeatedly surprised at just how well it does. Here are some of the tips I use to make sure I get good photos and videos of practices and games; whether you're shooting roller skating or another sport, hopefully they can help you out, too.
Lighting, lighting, lighting
By and large, most sports move at a fast pace; in camera terms, fast movement requires lots of light so that your camera can use a fast shutter speed to snap a focused frame. If you have too little light, your image will be all blur and no action. The Camera app automatically sets your shutter speed, but you can also cheat a bit by using an app like Manual to boost your shutter speed up to 1/2000 and your ISO (which boosts light at the expense of picture noise and grain) up to 1500.

The best solution, however, is to make sure whatever you're shooting offers you enough light to properly capture the scene you want.
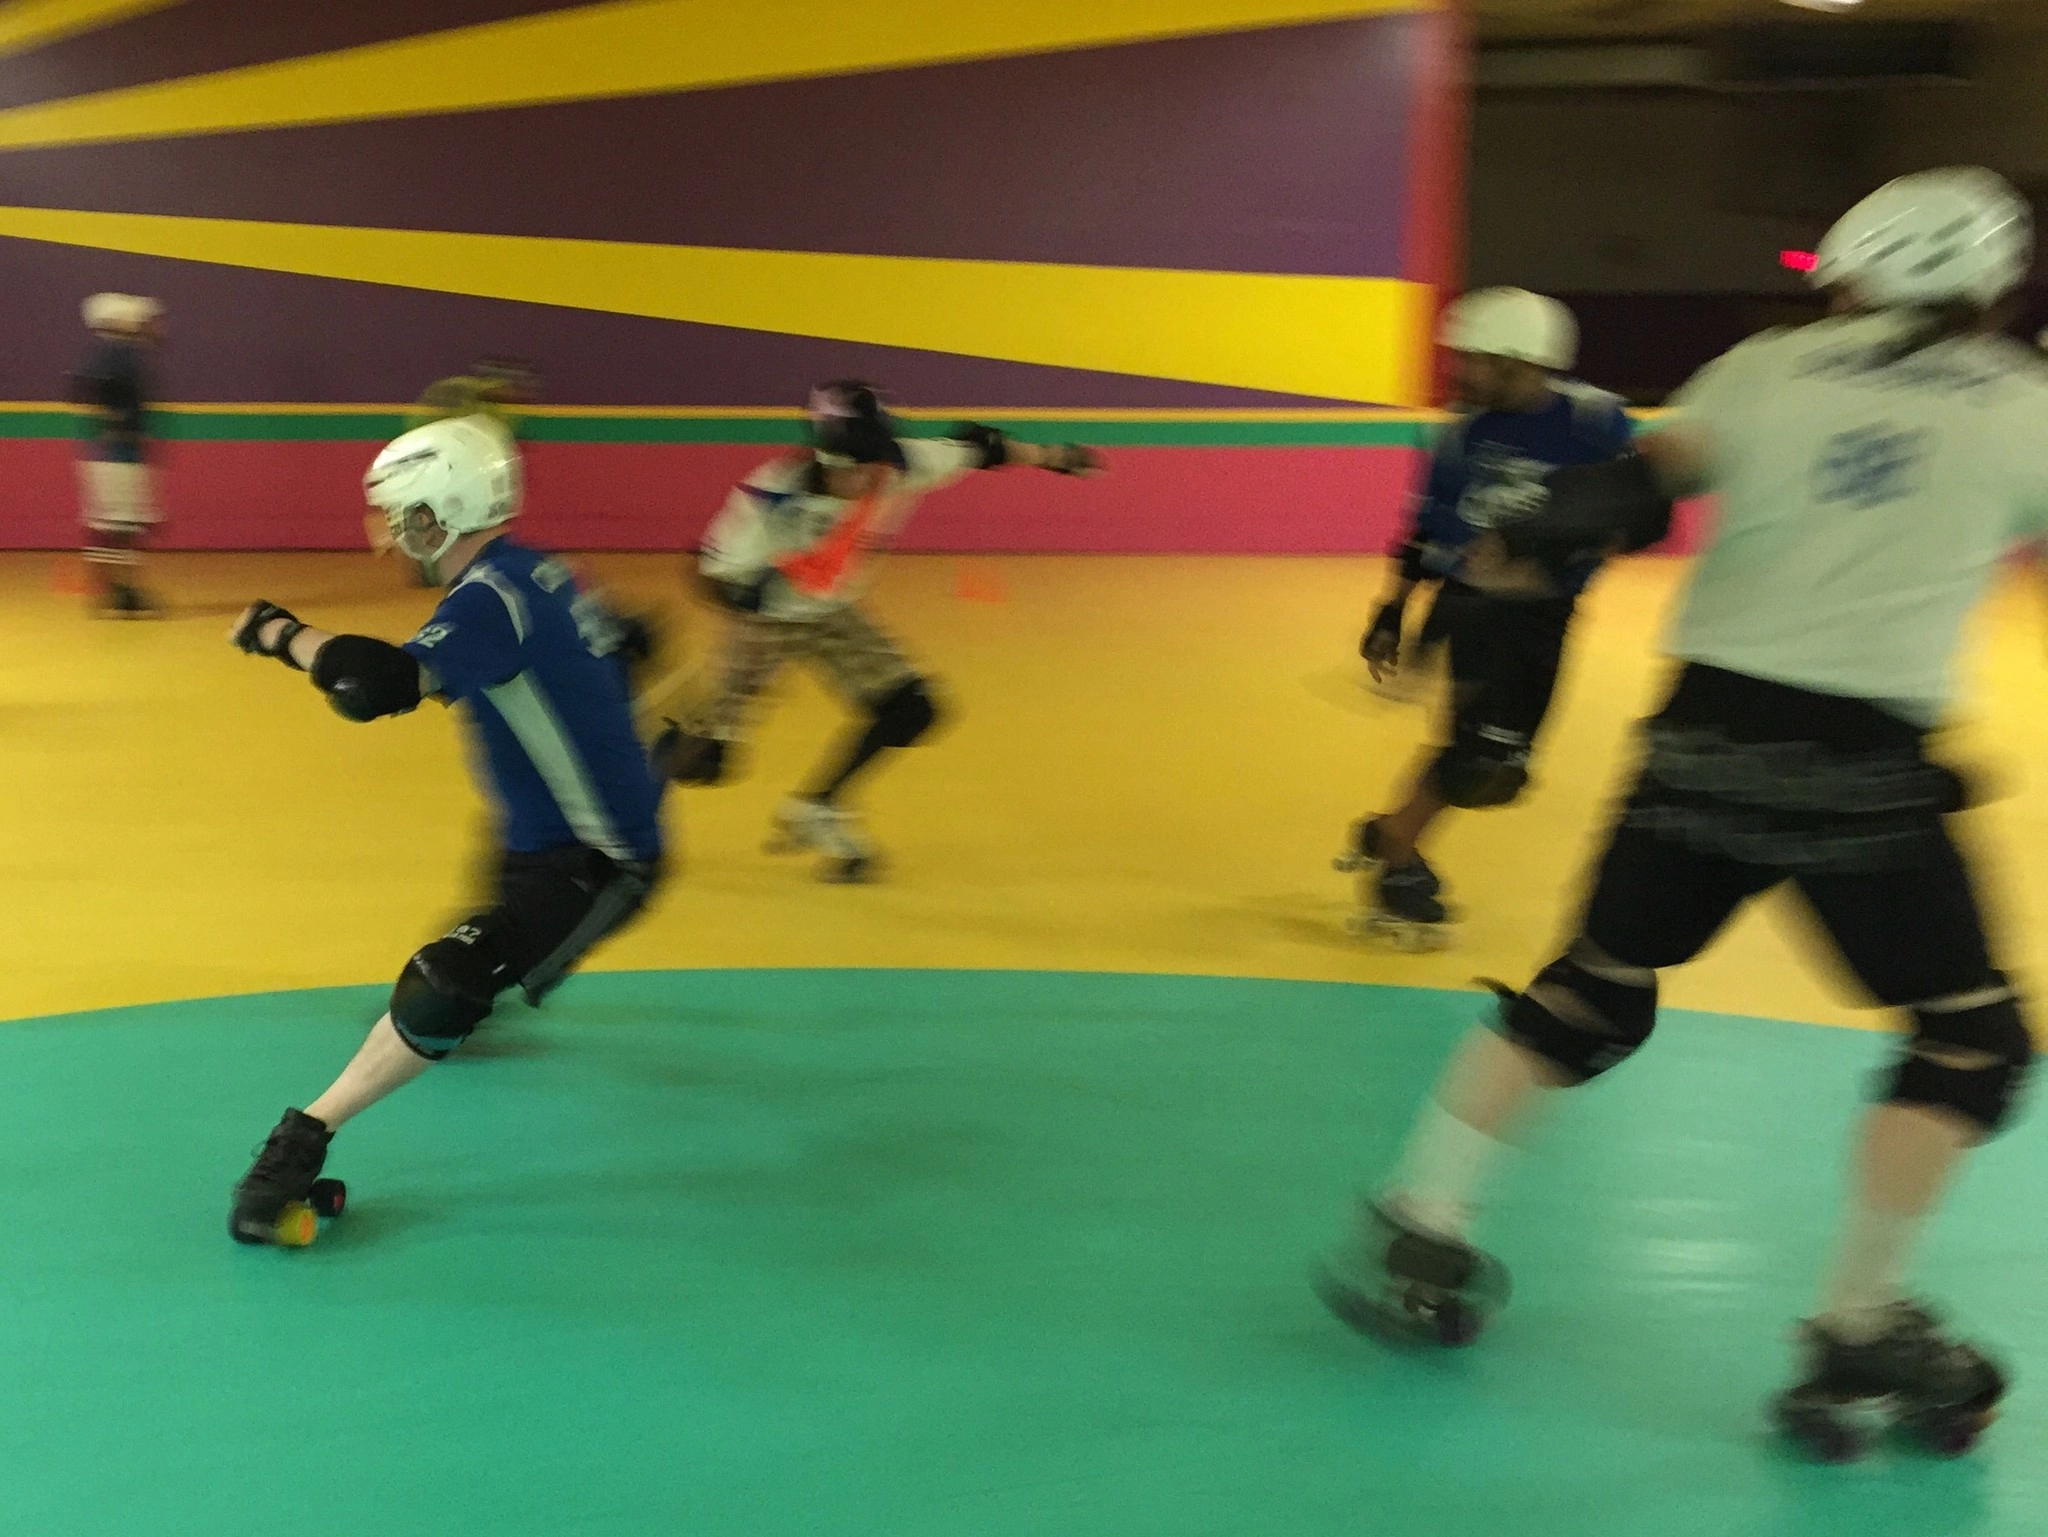
Follow the action with your camera
By panning your camera along with the action, you not only have a better chance of framing your subject properly — you can often get spectacular pictures highlighting your subject with the rest of the scene in blur.

This type of shot is called pan-motion photography: In traditional DSLR shooting, you'd want to manually slow your shutter speed anywhere from 1/60 - 1/200, but your iPhone actually has software built-in to try and grab the best clear shot during a pan, especially if you're shooting in a burst.
Use burst mode for fast action
Speaking of bursts, I use them almost exclusively when shooting iPhone sports photography: It allows you to take a lot of photos in quick succession and get a better shot when attempting pan-motion. The behind-the-scenes software also intentionally puts together the best, clearest shots, so you have a higher likelihood of getting a crisp, well-lit photograph.

Bursts also give you more freedom to frame your photo. After all, do you really want to stress over taking one perfect shot and accidentally crop off the player's head in the process?
Use equipment to frame your scene
If you're trying to take an overview photograph to properly represent your sport, dimensionality is key — if there's a lot of motion on the track or field or rink, and it's all in the background, it's hard to draw focus properly to what you want represented.
In contrast, try using a foreground object to frame the background action. For example, in the shot above, I used a stationary roller skate to frame the drill going on in the background; you can also use things like balls, nets, gear bags, equipment, and the like to give overall context and dimensionality to your scene.
Close-ups are rare, but possible
The iPhone's real weakness when compared to a DSLR is its fixed lens: Most fantastic sports photos are taken from hundreds of feet away and crop the scene to a specific action. Similar close-ups with an iPhone are much more difficult, even with an external lens kit, so you have to get creative if you want to get in the action.

When shooting derby, I'll try and get closeups by skating along the inside track or skating in front of a pack during a drill; similarly, to shoot other games, try snapping photos courtside, or getting pictures of athletes before they go on their playing surface or after they've just come off. You can also, of course, mount your iPhone to a player (with their permission) and shoot from the sidelines with a Bluetooth remote.
Use slo-mo to heighten movement
If it's video you want to capture, the iPhone has a leg up on all but the fancier DSLR video cameras: its slo-mo mode, easy portability, and auto-stabilization give you a lot of great tools for taking good sports video. The same caveats with photo-taking apply — you'll want to follow the scene with your camera, and the lack of a zoom lens means that you have to be closer to the action than a traditional DSLR photographer — but shoot well, and you'll get something worth bragging about.
Some tips for slow-motion videography: If you're shooting in lower light, you can drop the framerate to 120FPS from 240FPS on an iPhone 6 or 6 Plus; this will brighten up your image without too much of a slow-motion sacrifice.

Once you shoot the video, too, you'll want to adjust the slow-motion area to highlight movement appropriately; when you open the Photos app and tap on a slow-motion clip, there's a draggable timeline that lets you adjust both the length of the video (the black and white handlebars) and the speed of the video (the blue hash marks and black lines). If you tap and hold on one of the black speed bars, your clip's timeline will zoom inward, allowing you to have more precise control over when the slow-motion movement starts and stops.
Your tips?
Have you shot any iPhone sports photography before? Have any tips that worked really well or suggestions for things to avoid? Let us know in the comments. (And feel free to share your best iPhone sports photo!)

