Here's how to use Window Tiling on macOS Sequoia
Finally!

iMore offers spot-on advice and guidance from our team of experts, with decades of Apple device experience to lean on. Learn more with iMore!
You are now subscribed
Your newsletter sign-up was successful
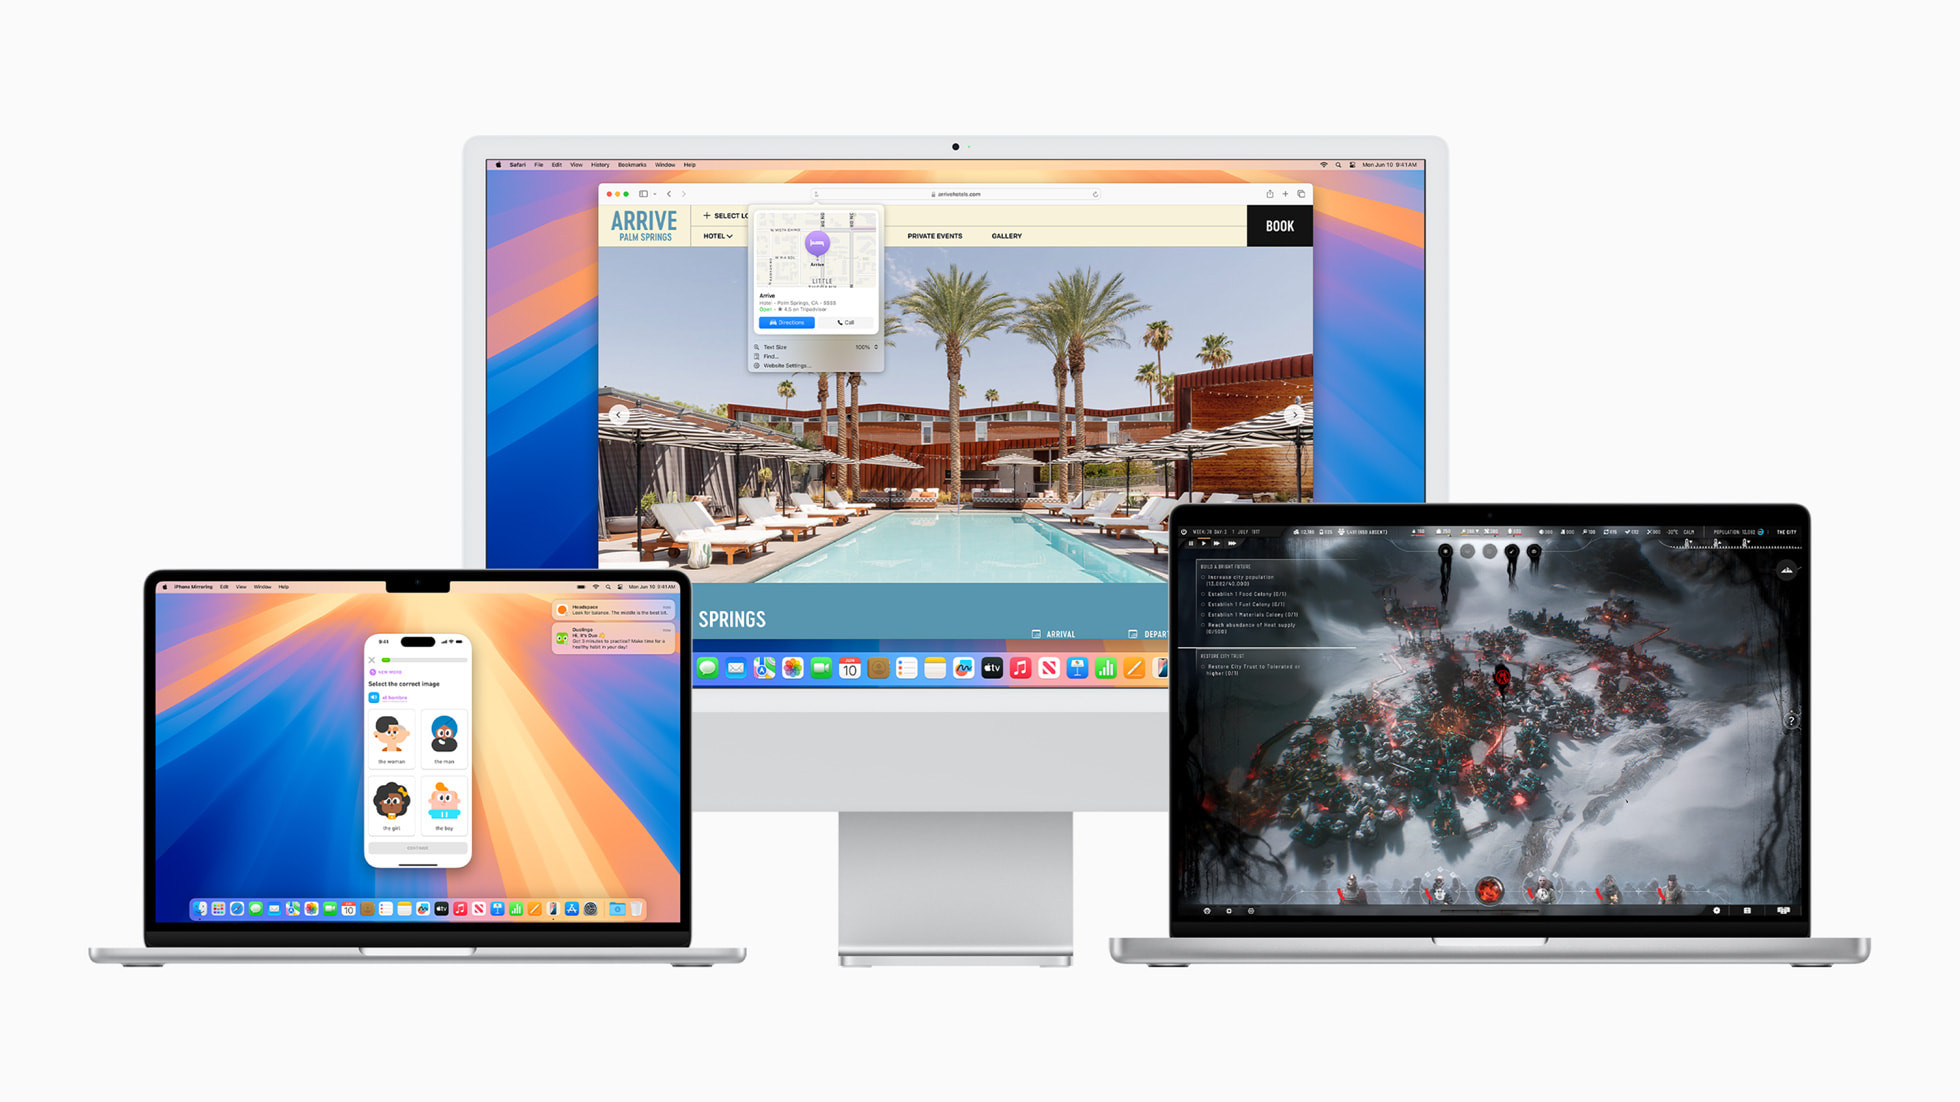
macOS Sequoia (also known as macOS 15) is inching closer, and it's packing a few nifty features. From iPhone Mirroring, to a new Passwords app, there's a little something for just about everyone.
One of the major features that we've been waiting for for years is an updated suite of Window Management tools. Traditionally the domain of Windows (it's in the name, after all), Mac users have needed to use third-party apps like Magnet or Moom to be able to snap windows side by side or in a variety of configurations, but macOS Sequoia will finally bake it into the OS.
It's remarkably easy to use, but there are also a variety of additional features you may not have spotted if you're running the beta.
Here's how to get the most out of window snapping in macOS Sequoia.
How to use Window Tiling in macOS Sequoia
If you've used any Windows machine in the last decade and a half, you'll likely know what to expect from window snapping - and it works similarly on macOS Sequoia.
Click to drag a window, and move it around, and by holding it for a second or two along the side of your screen you'll have the option to snap it to that side.
It's a little finicky in the current beta, but it'll likely get better with time. Other apps can't get smaller than a certain size, though, so your mileage may vary.
iMore offers spot-on advice and guidance from our team of experts, with decades of Apple device experience to lean on. Learn more with iMore!
You can hold your cursor over the green "traffic light" button on your app window, hold the click, and select a preset area there, too. Options include half-screen options, full-screen, and tiling with a couple of apps together.
The full-screen options allow for multiple apps to run on each side of the display, entirely borderless, too.
Additional window management options
If you head into the System Settings app on your Mac, and then Desktop & Dock, there are a few options inside the menu.
You can toggle "Tile by dragging windows to screen edges" on and off, as well as "Hold Option key while dragging windows to tile". The latter makes it easier to allocate space on your display, but Tiled windows will have small borders between them.
You can turn that off by toggling off "Tiled windows have margins". Try experimenting with the settings to find what works best for you.
What about third-party apps?
If you're already comfortable using an app like Magnet, you don't have to give it up just yet.
Third-party window tiling apps will still be able to be used with macOS Sequoia - but it's good to know Apple finally has an option, too.
Personally, I'll stick with Magnet. It's not that I don't like Apple's built-in option in macOS Sequoia, but it has a whole host of keyboard shortcuts that make it much easier to shift my active apps around.

Lloyd Coombes is a freelance writer with a specialism in Apple tech. From his first, hand-me-down iMac, he’s been working with Apple products for over a decade, and while he loves his iPhone and Mac, the iPad will always have his heart for reasons he still can’t quite fathom.
Since moving from blogging to writing professionally, Lloyd’s work can be found at TechRadar, Macworld, TechAdvisor and plenty more.
He’s also the Editor in Chief at GGRecon.com, and on the rare occasion he’s not writing you’ll find him spending time with his son, or working hard at the gym (while wearing an Apple Watch, naturally). You can find him on Twitter @lloydcoombes.
