How to complete a GameCube Mod on your Nintendo Switch
iMore offers spot-on advice and guidance from our team of experts, with decades of Apple device experience to lean on. Learn more with iMore!
You are now subscribed
Your newsletter sign-up was successful
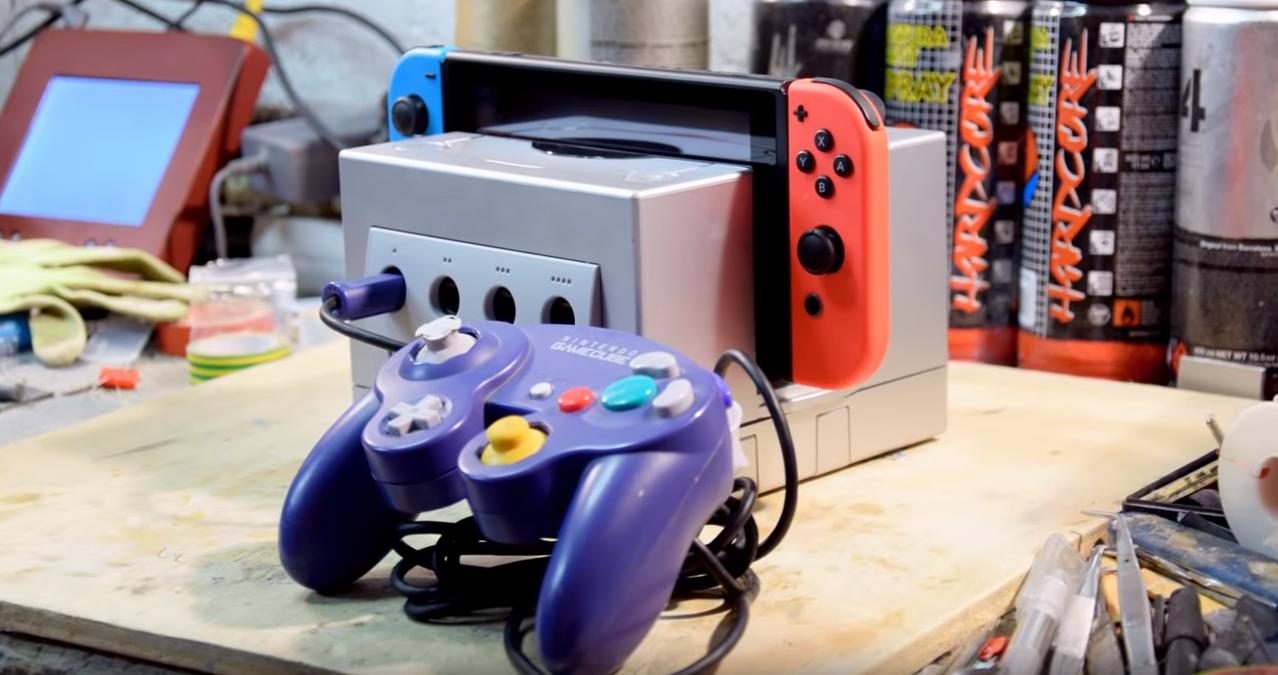
Sometimes when you fall down a YouTube hole you find something so cool that you just have to share it. This Switch dock Mod by Rated-e Mods uses an old GameCube carcass, a GameCube Controller USB adapter, and some 3D printed parts to transform your Switch Dock into an awesome looking GameCube hybrid.
WARNING: This mod involves completely breaking down your Nintendo Switch dock and gluing the pieces into something else. If you are at all unsure about this I recommend picking up a replacement dock to use instead of your original.
Products used in this guide
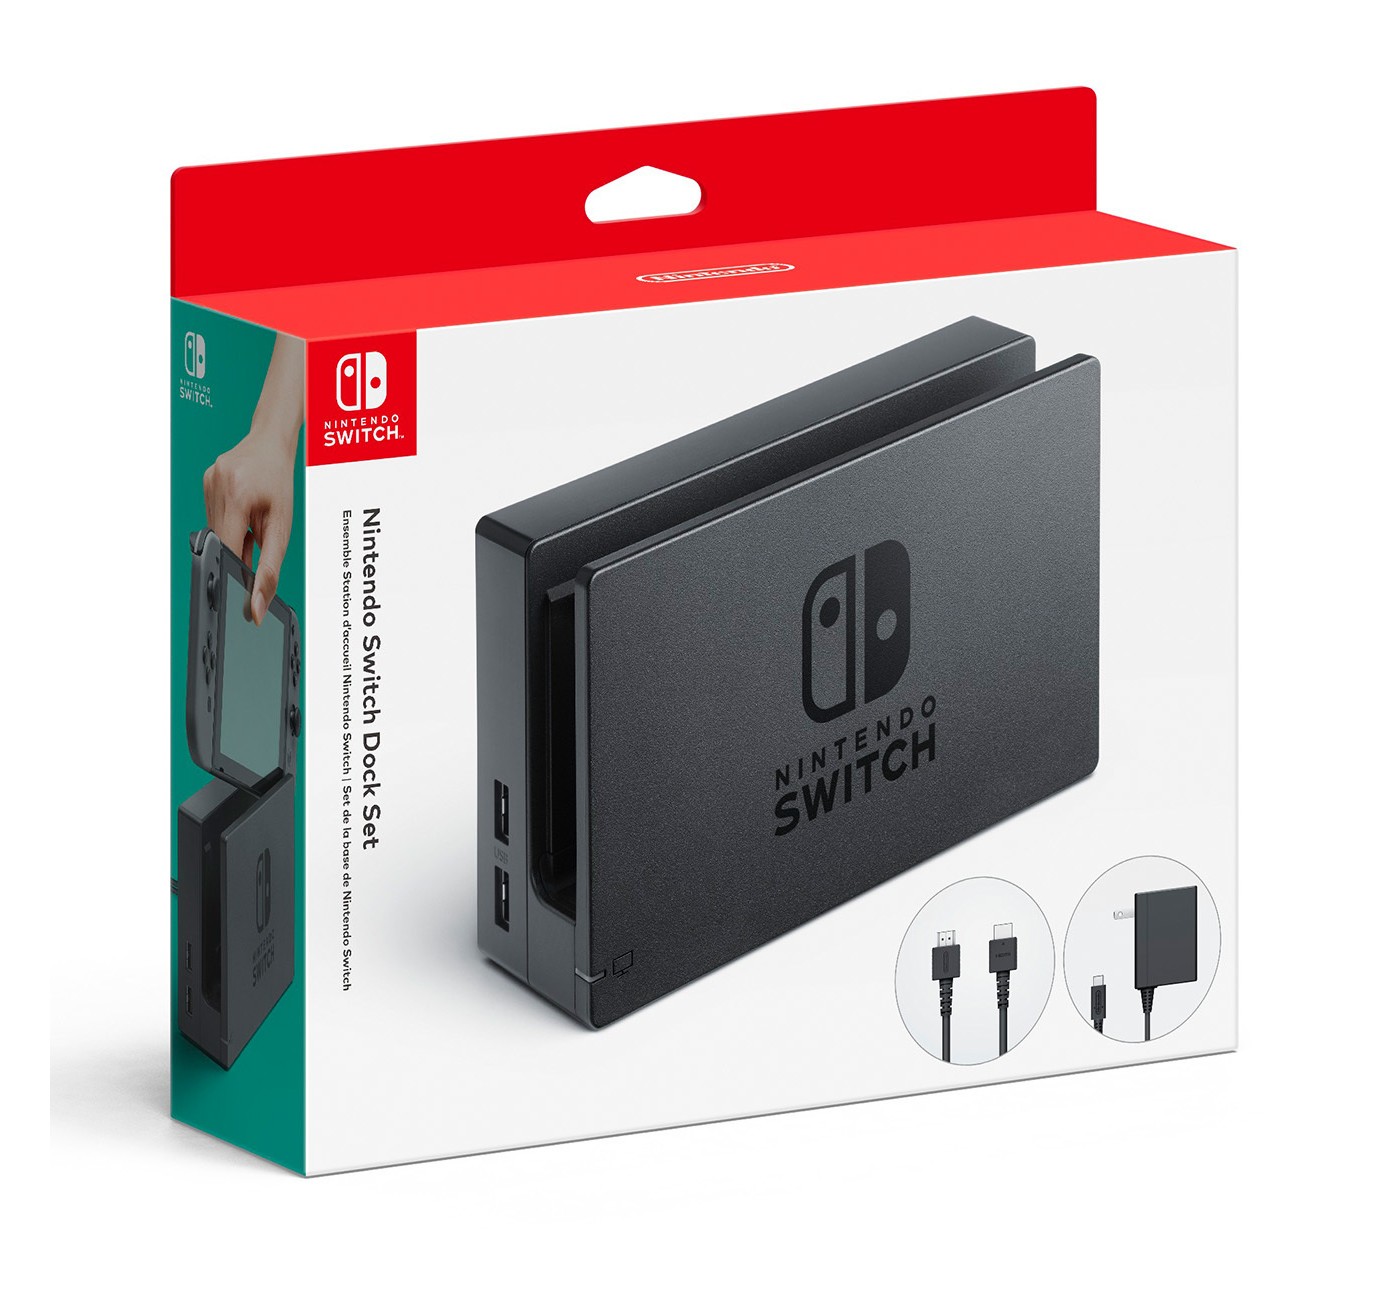
- Amazon: Replacement Switch stand ($90)
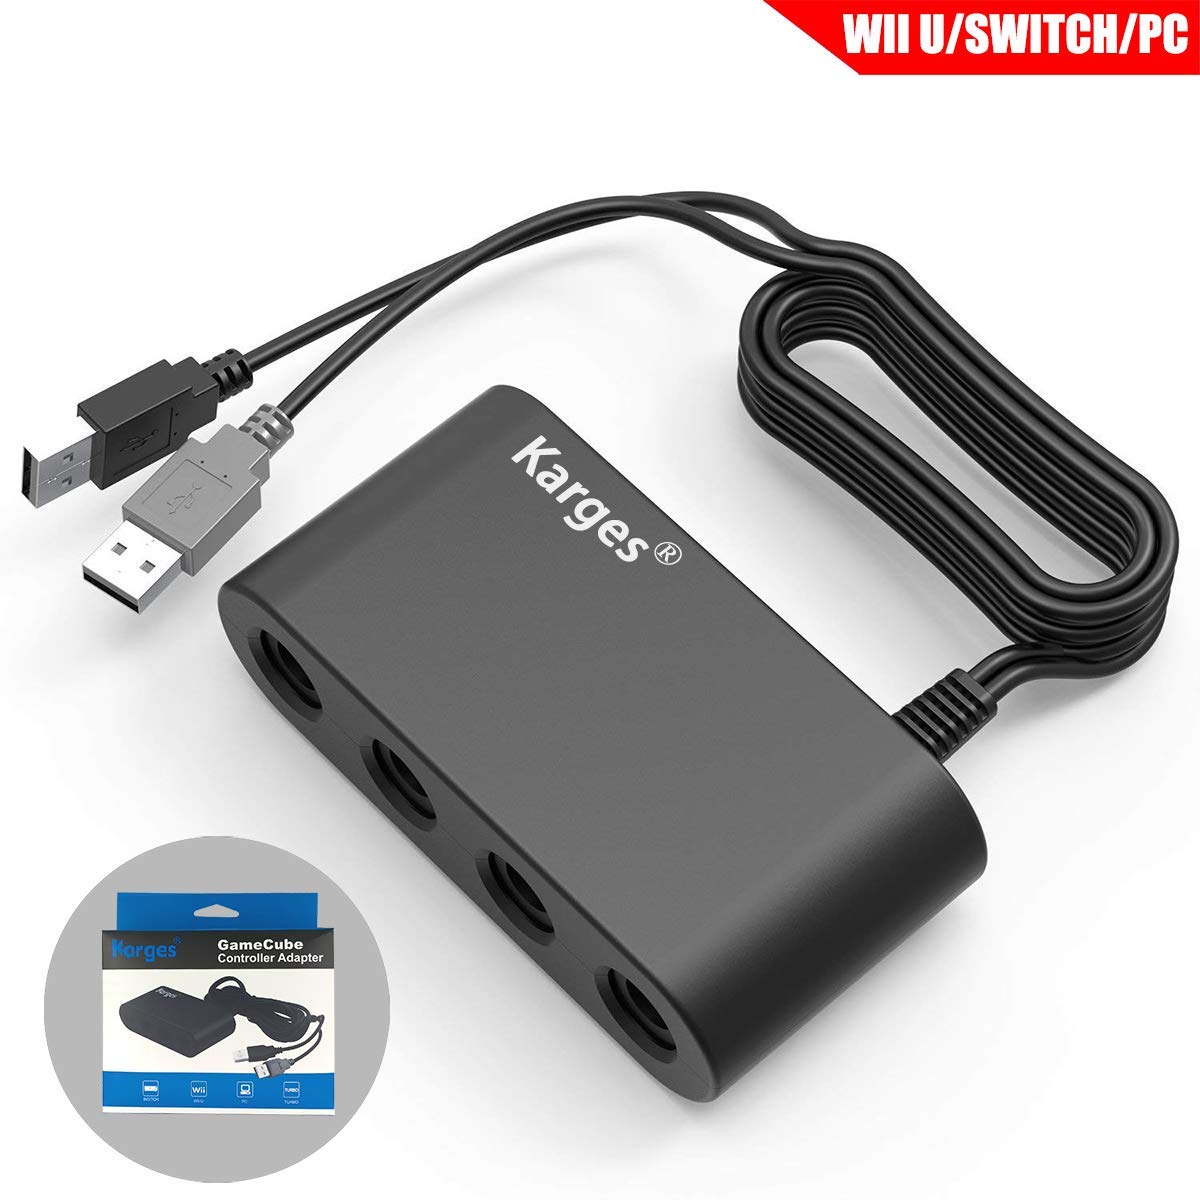
- Amazon: Gamecube Controller Adapter ($15)
- Amazon: Nintendo Switch ($299)
Step By Step
- Download the STL files for 3D printing.
- Cut the old GameCube carcass to the size of the 3D printed parts.
- Sand away the rough edges, making sure the fit for the 3D printed parts is snug.
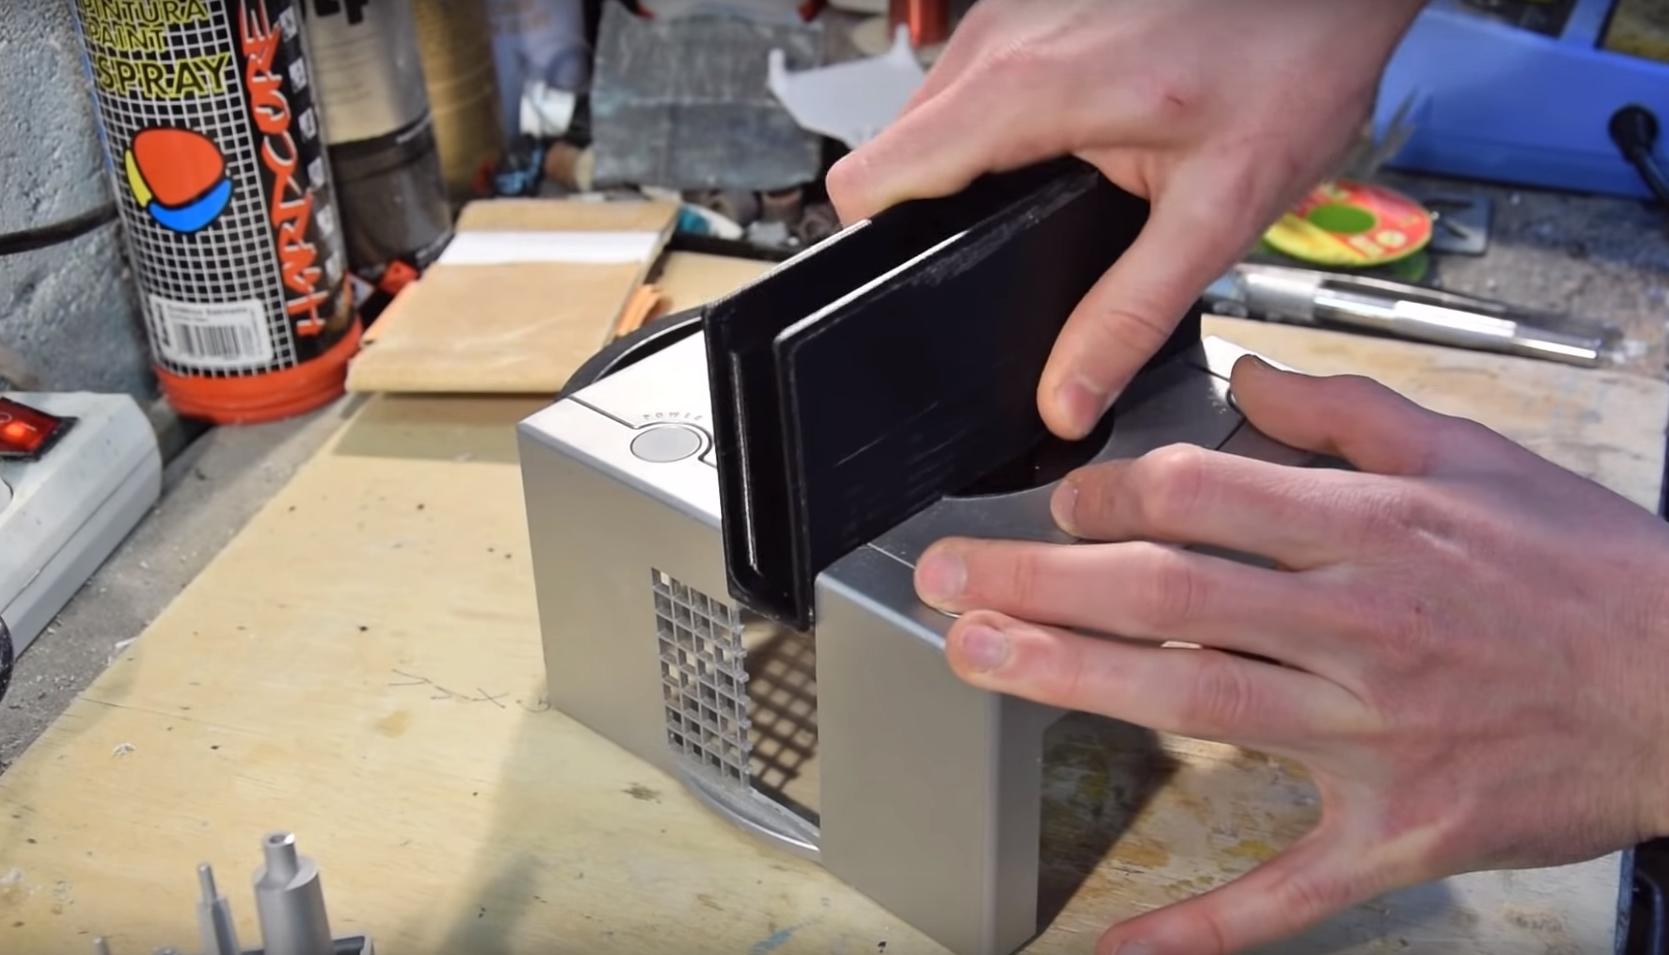
- Unscrew all the Switch Dock parts, making sure to keep the screws. You will need a triangle screwdriver as well as a Philips head screwdriver.
- Carefully remove the Switch dock circuit board and small LED board making sure you don't damage the flat ribbon connected to the spring loaded USB-c dock.
- Remove the spring-loaded USB-c port from the bottom of the Switch dock
- Align the spring-loaded dock to the 3D printed part and glue them using CA glue
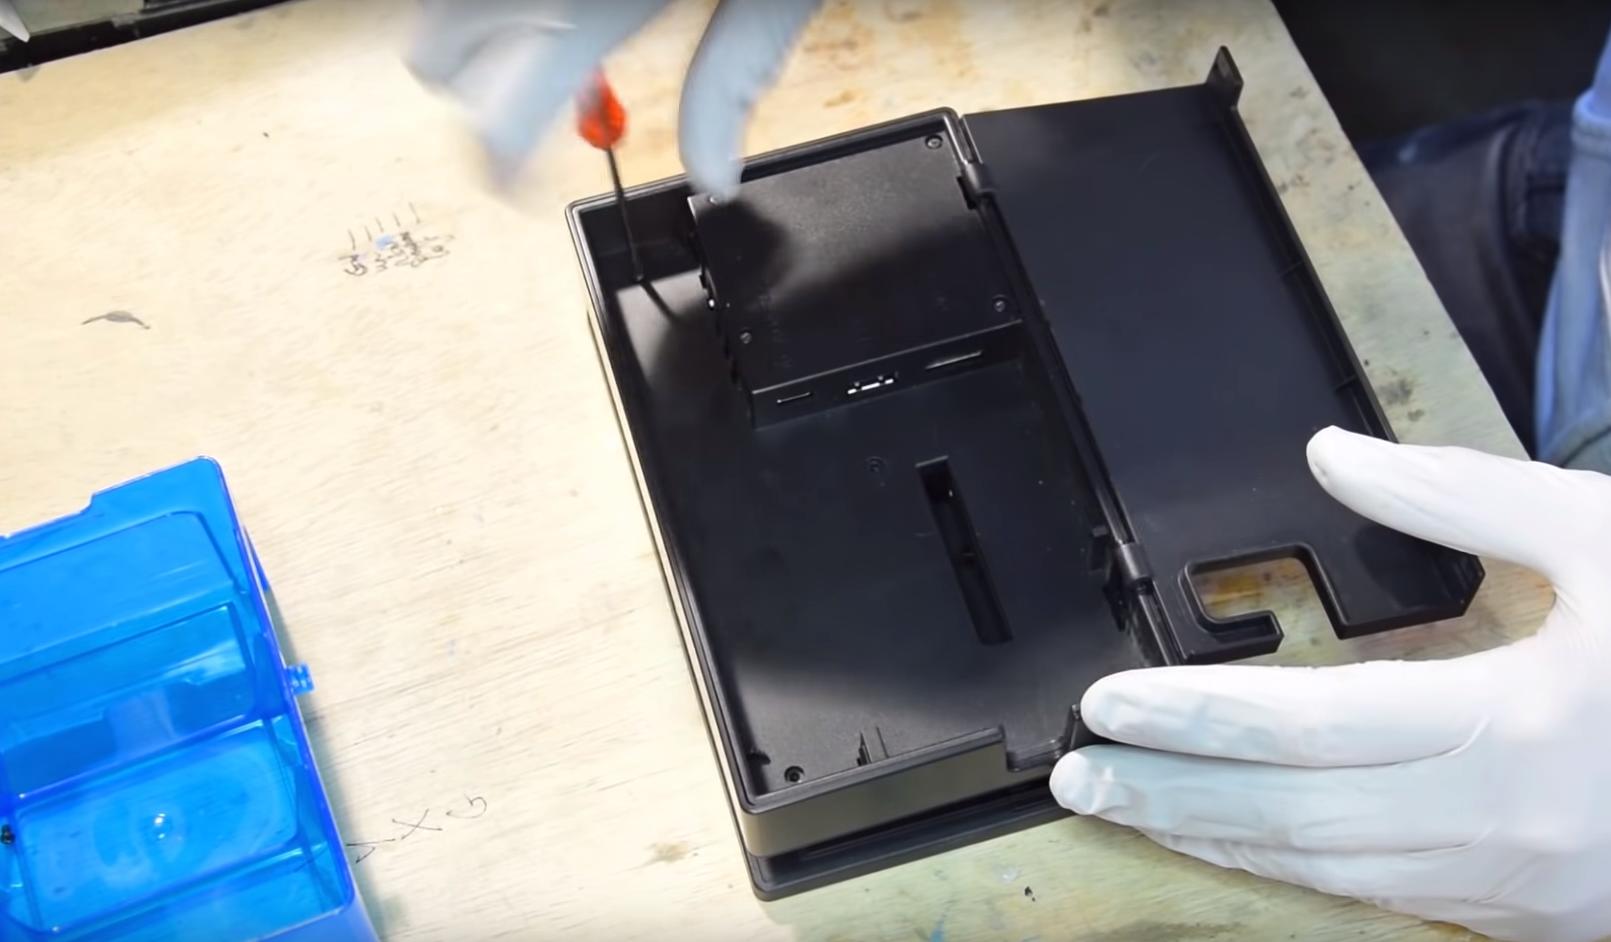
- Align the Switch Mainboard and cut holes into the GameCube rear plate to accommodate the ports needed in the back.
- Screw the main board into place on the 3D printed part and glue to the GameCube carcass.
- Unscrew the casing of GameCube controller adapter and remove the board and plugs.
- Strip the USB-A port to allow it to fit comfortably inside the GameCube housing. You can also re-solder it to a right angle if you prefer, as it will more securely that way.
- Line up the four port adapter to the GameCube case and glue in place. You will also need to plug the USB-A into the USB on the switch mainboard that is now inside the case.
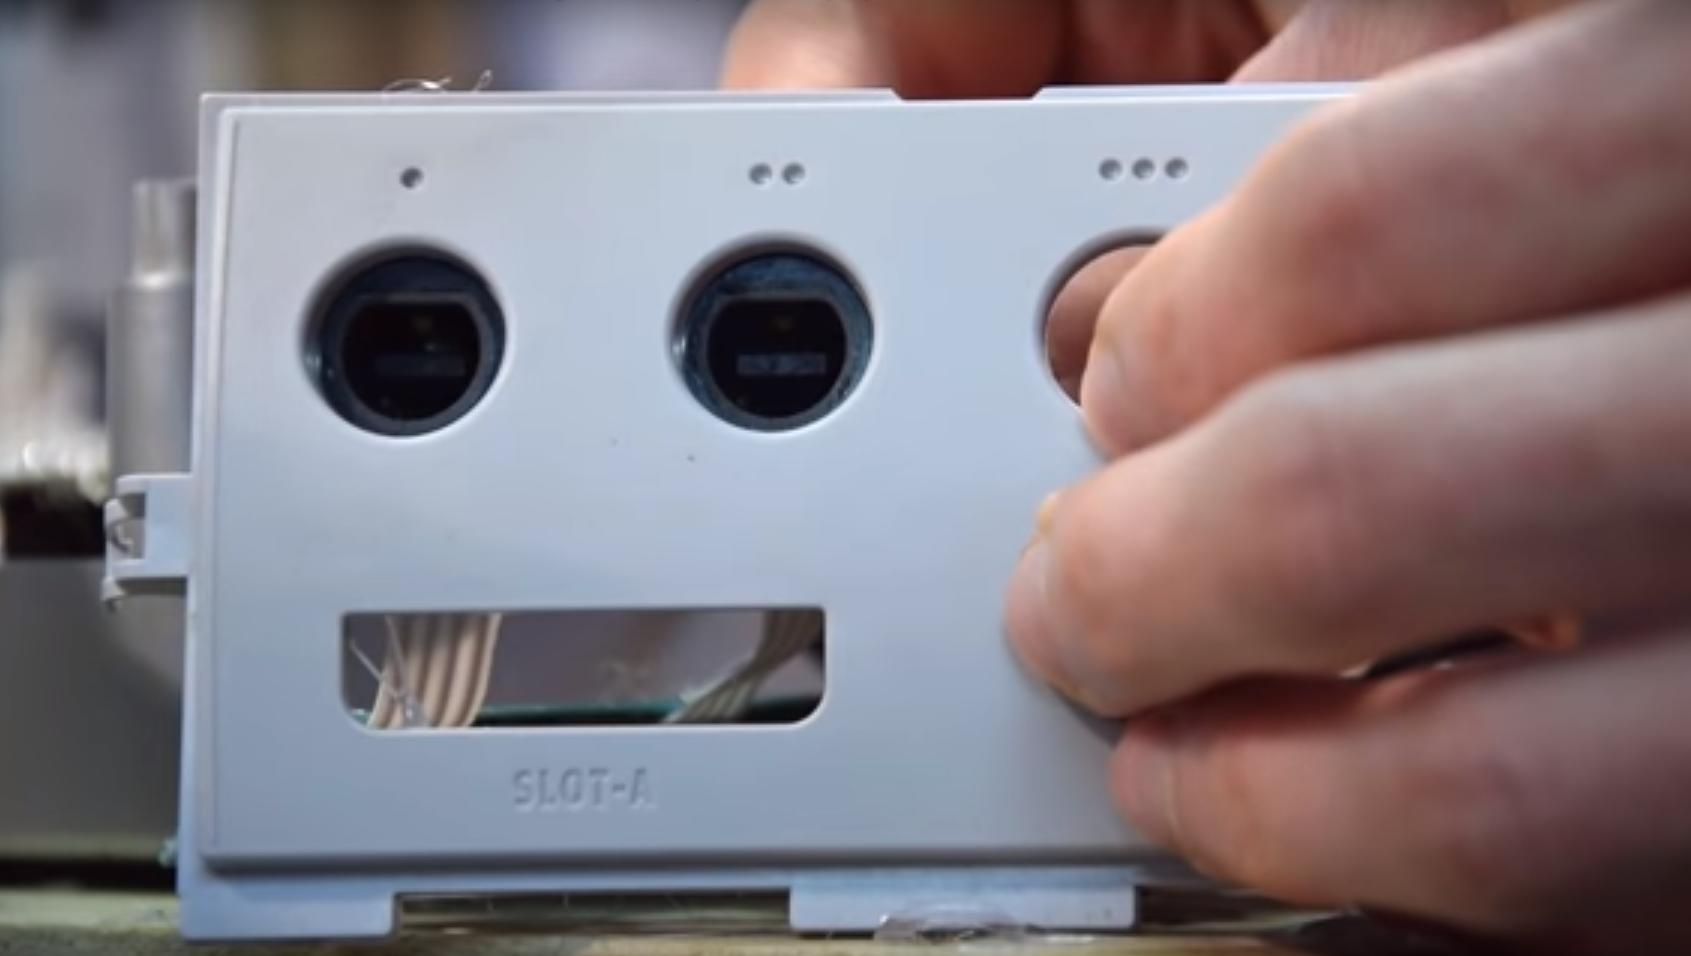
- Attach the flat ribbon cable from the spring-loaded USB-C to the Switch main board. This can be tricky as it is a small ribbon so take extra care.
- Screw the original screws into the bottom of your new GameCube Switch dock hybrid.
It's not as complicated as it seems
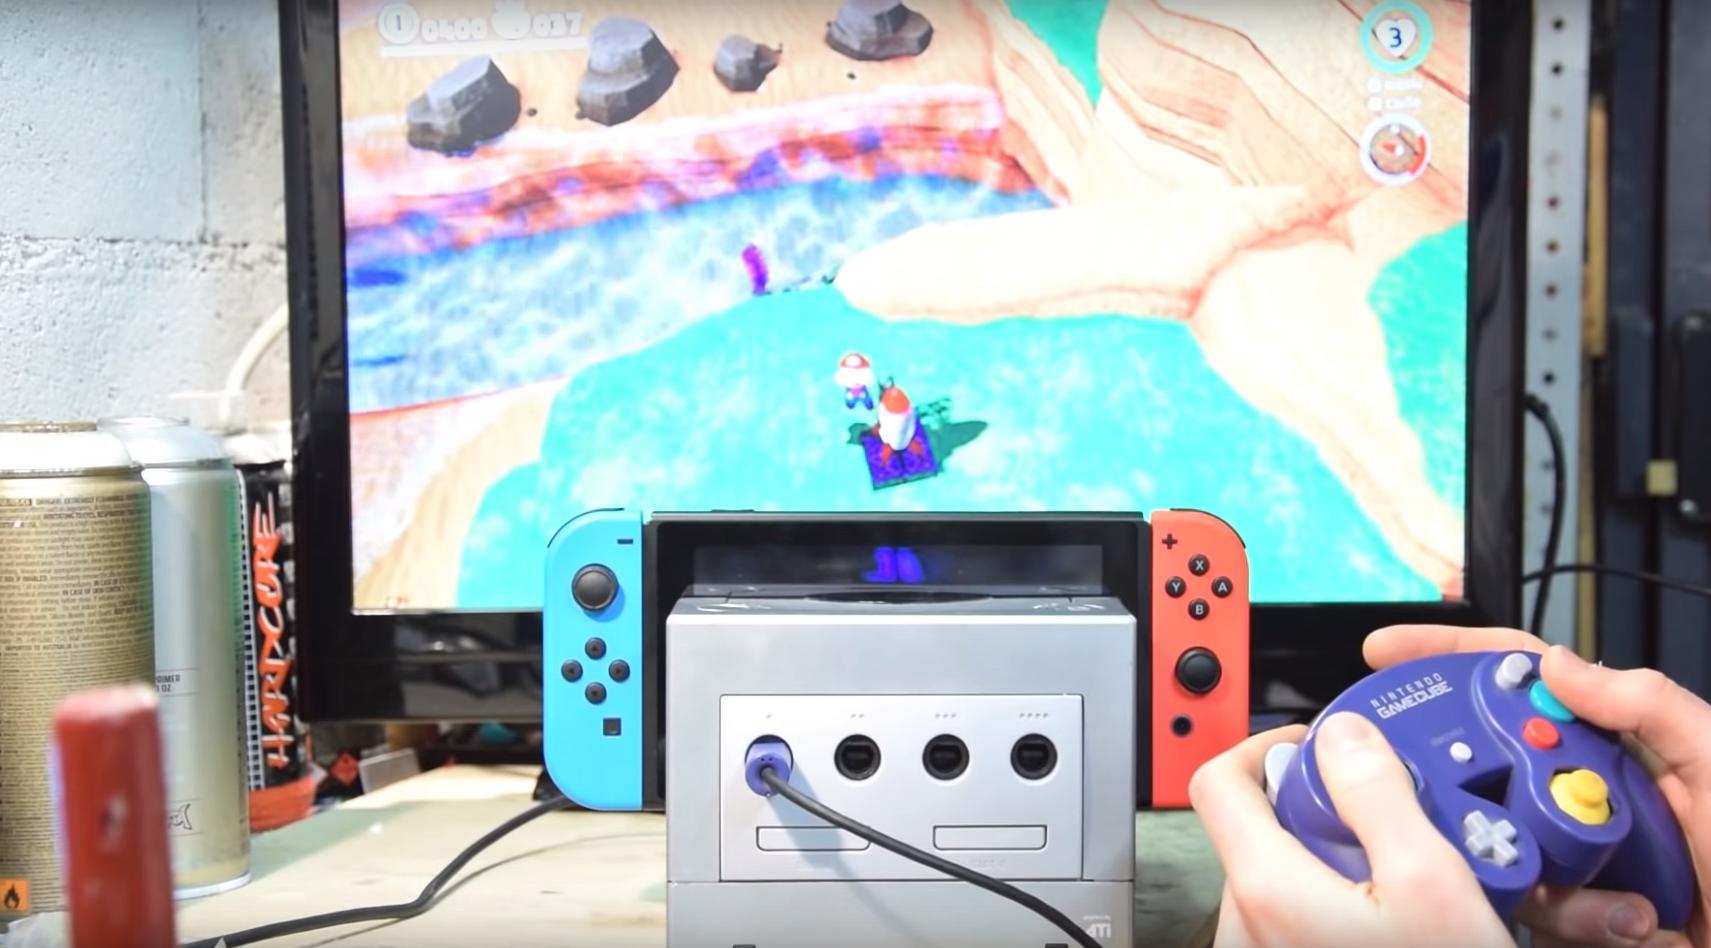
Despite the seemingly endless tasks involved in making this modification, it isn't as bad as it seems. I have included the video underneath so you can see all the fine details like where to sand and drill.
Part of the modification involves soldering the LED from the original GameCube to the Switch LED section of the main board. While this is a simple soldering job it isn't necessary for the mod to work and adds another layer of difficulty to the build. The same thing applies to using some scrap plastic to cover the GameCube vents. This will make the whole build look much cleaner but it is not an essential part of the overall build.
Have a look at the excellent video below for all the details you need to make this modification a reality.
Our top equipment picks
This is a fairly comprehensive modification with a lot of tearing down of complex parts. As I said at the top of the article, do this at your own risk, but if you do decide to make it, be sure to pick up the right equipment.
iMore offers spot-on advice and guidance from our team of experts, with decades of Apple device experience to lean on. Learn more with iMore!
James is a lover of all things new and shiny. From 3D printing to Nintendo he stays current with all the technology that will lead us into the future.
