If your computer uses macOS Mojave or earlier, these are the directions you need to manage your iTunes account on Mac. Your Apple ID is used for a lot of things in the Apple ecosystem, including syncing content in iCloud and making a purchase in iTunes, which can be accessed from multiple devices. Here's how to manage your Apple ID and iTunes account on your Mac.
- How to change your credit card and account information
- How to see your app purchase history
- How to manage apps you've given permission to access your Apple Music account
- How to change your Apple ID Nickname
- How to deauthorize devices associated with your iTunes account
Check out our newer guide if you're on macOS Catalina or later:
How to change your credit card and account information on your Mac
If you move or get a new credit card, you can manage your account information in iTunes on your Mac.
- Launch iTunes on your Mac.
- Click on Accounts in the app menu in the Menu Bar at the top of the screen.
- Click on View My Account.
- Sign in with your Apple ID and password.

- Click Edit next to Payment Type to change your credit card information.
- Click on Edit next to your billing address to change your address.
- Click on Change Country or Region to change the country or region your App Store is located.Note: You may have to cancel your Apple Music subscription, enter a new billing address, or change your credit card information if you change your App Store's country or region.

How to see your purchase history on your Mac
You can see all of the App Store purchases you've ever made using your Apple ID from your purchase history. If you're anything like me, you have a lot of them.
- Launch iTunes on your Mac.
- Click on Accounts in the app menu in the Menu Bar at the top of the screen.
- Click on View My Account.
- Sign in with your Apple ID and password.

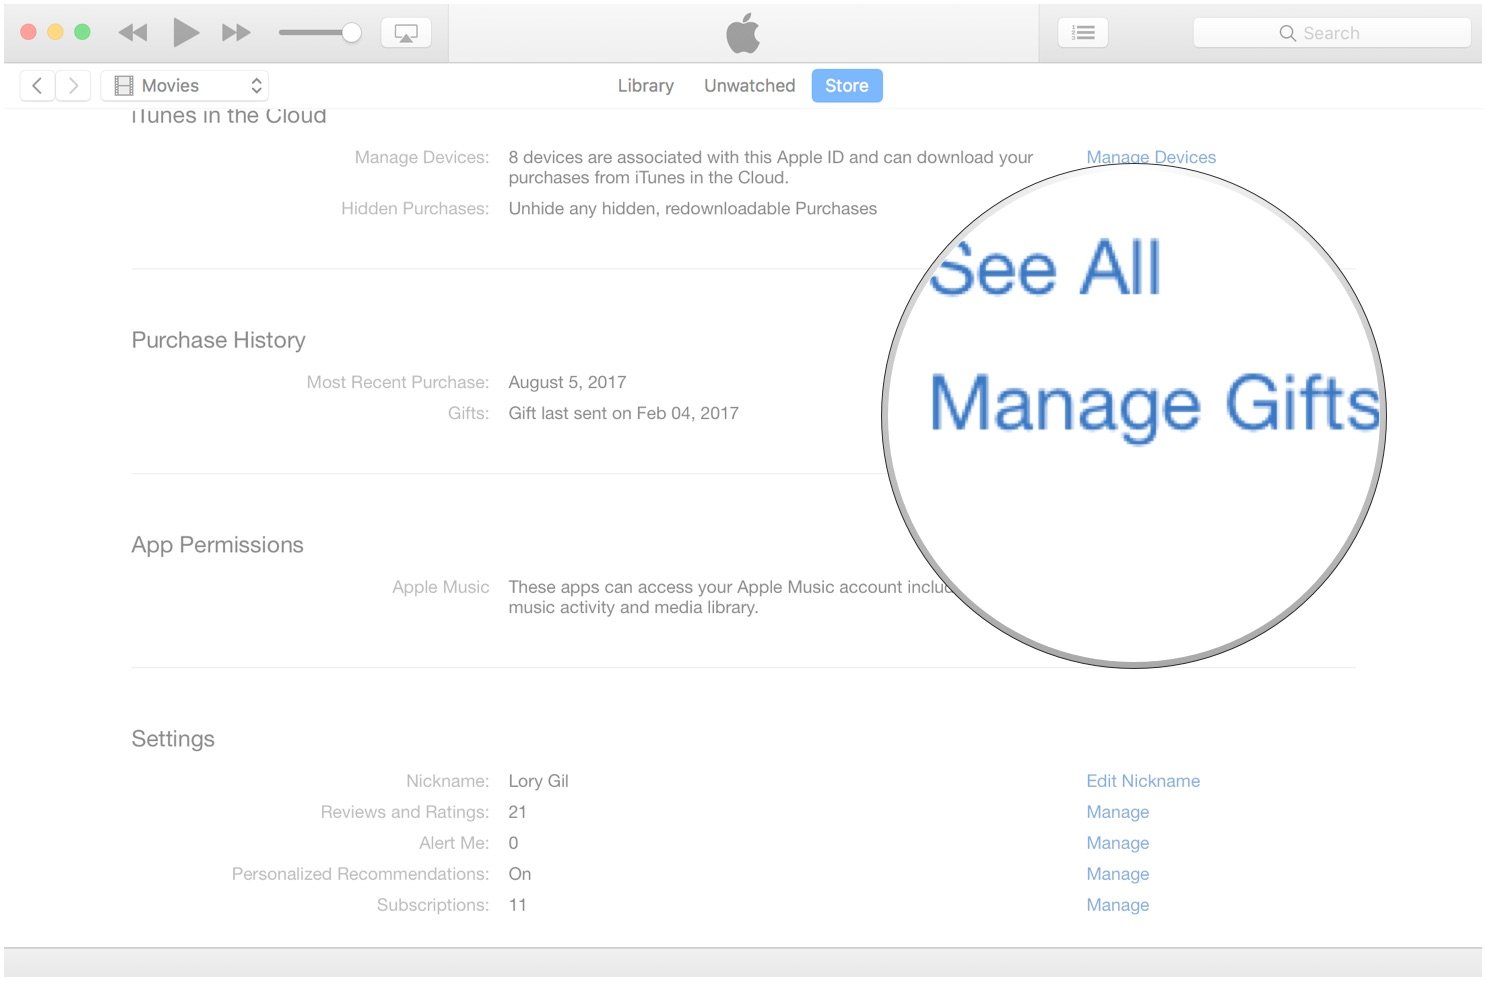
- Click See All to browse your purchase history.You can filter your search by month and year if you're looking for something specific.Click on the arrow next to a single-date purchase to see more details.

- Click on Manage Gifts next to Gifts in your purchase history section to see what apps you've gifted to others.

How to manage apps you've given permission to access Apple Music and your music library on Mac
As of iOS 10 and macOS Sierra, Apple implemented a permission requirement for apps that want to access your device's media library. It makes it so we know, and have given express permission, to apps that want to access our Apple Music account, including music activity and media libraries. You can see which apps have permission, and revoke that access at any time in iTunes on the Mac.
- Launch iTunes on your Mac.
- Click on Accounts in the app menu in the Menu Bar at the top of the screen.
- Click on View My Account.
- Sign in with your Apple ID and password.

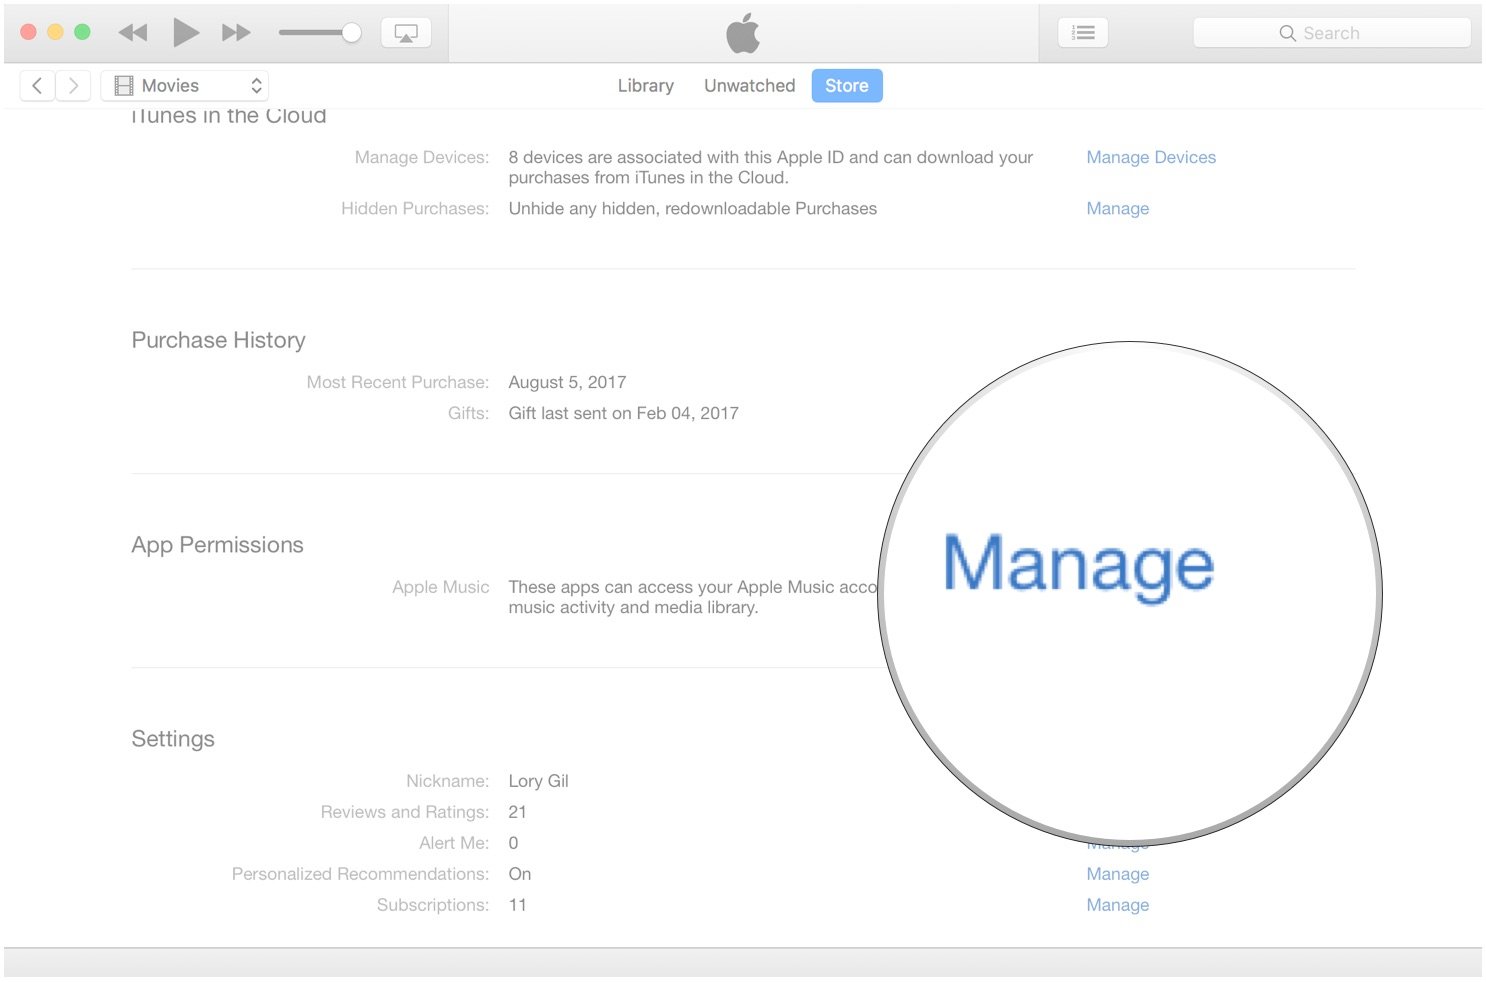
- Click on Manage next to App Permissions.
- Click on Revoke next to any apps that you no longer want to have access to Apple Music and your music library.

How to change your Apple ID nickname on your Mac
You can change the name that appears when others see when you're reviewing apps and games in iTunes. This does not affect your Apple ID. It is only to change what name the public sees when you're posting reviews.
- Launch iTunes on your Mac.
- Click on Accounts in the app menu in the Menu Bar at the top of the screen.
- Click on View My Account.
- Sign in with your Apple ID and password.

- Click on Edit Nickname next to your nickname.
- Enter a new nickname.
- Click on Submit.

How to de-authorize devices associated with your Apple Music account on your Mac
You can have up to 10 devices associated with your Apple ID and Apple Music account. You'd be surprised at how fast you get up to 10. If you have an older device that you don't use anymore, you can de-authorize it, clearing up room for a new device you'd like to add.
Master your iPhone in minutes
iMore offers spot-on advice and guidance from our team of experts, with decades of Apple device experience to lean on. Learn more with iMore!
- Launch iTunes on your Mac.
- Click on Accounts in the app menu in the Menu Bar at the top of the screen.
- Click on Authorizations.
- Click on Deauthorize this computer.
Any questions?
Do you have any questions about managing your iTunes account on the Mac? Put them in the comments and we'll help you out.
Updated December 2019: Includes link to article for macOS Catalina.
Lory is a renaissance woman, writing news, reviews, and how-to guides for iMore. She also fancies herself a bit of a rock star in her town and spends too much time reading comic books. If she's not typing away at her keyboard, you can probably find her at Disneyland or watching Star Wars (or both).

