How to use the Music app for Mac
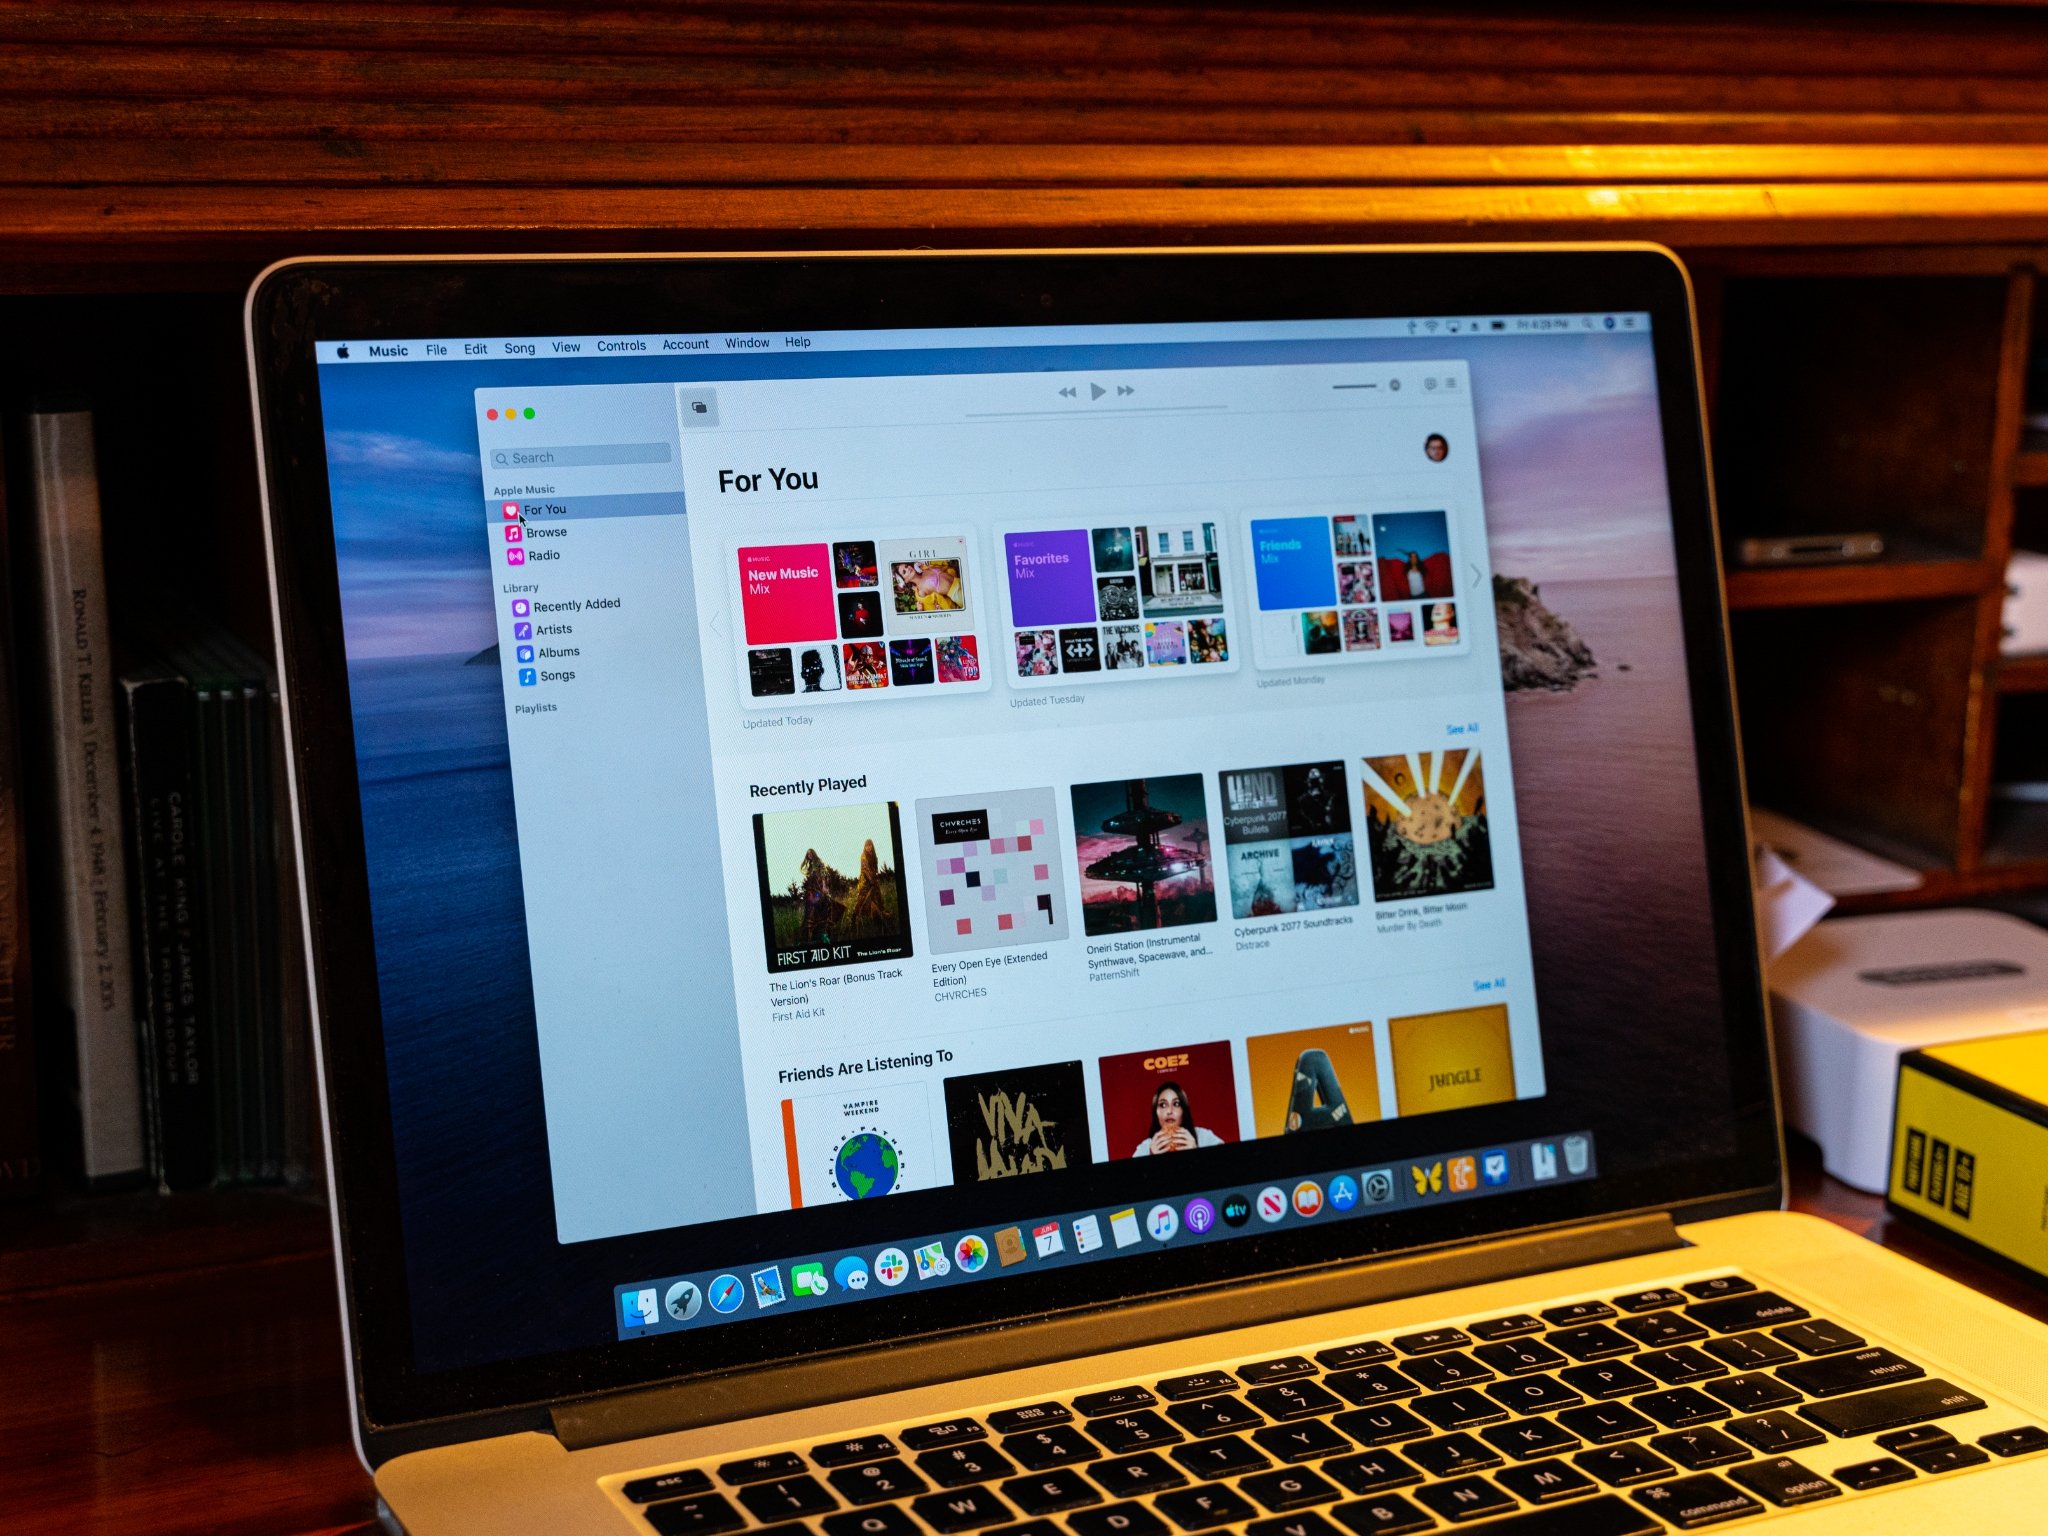
The Music app for Mac launched with macOS Catalina, replacing iTunes, and molded Apple Music and your personal music library into one convenient location. While the death of iTunes was a little painful for some, macOS Big Sur has proven that the Music app for Mac is here to stay.
If you were familiar with iTunes or the iOS Music app, using the Music app will likely feel pretty familiar. Still, if you're new to the Music app, this is a quick refresher on playing music, sorting your collection, and navigating the Music app for Mac. That way, your best Mac can get back to playing the tunes you love. Here's how to use the Music app for Mac
How to play music in the Music app for Mac
It doesn't take long to play music in the Music app, just a couple of clicks, and you're off to the races.
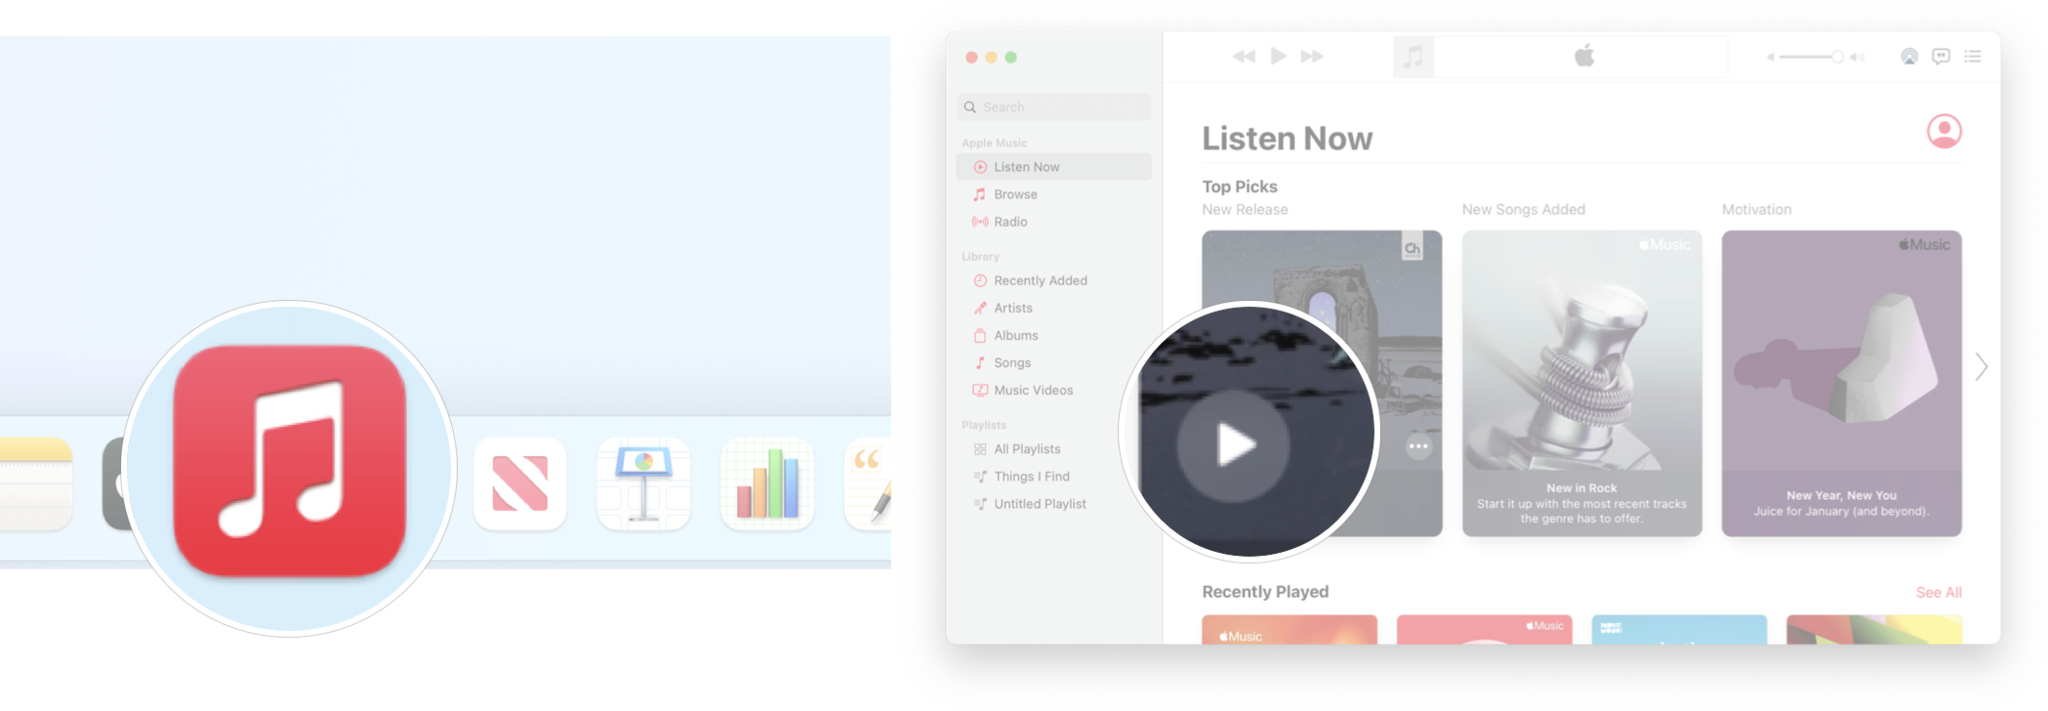
- Open Music from your Dock or Applications folder.
- Click the play button that appears when you hover over the album or playlist you want to play.
- Click on the album or playlist if you just want to play a particular song.
- Click on the play button that appears on the song's album art or track number when you hover over it in the tracklisting.
How to use Apple Music in the Music app for Mac
The Apple Music part of the Music app is broken up into three main sections — Listen Now, Browse, and Radio. You can navigate through all of them using the sidebar. Here's how.
- Open Music from your Dock or Applications folder.
- Click Listen Now in the sidebar to see your Apple-curated mixes and suggestions, recently played albums and playlists, and what your friends have been listening to.
- Click Browse in the sidebar to browse through currently-trending artists, new music, Apple's curated playlist selections, the rest of Apple Music's available library.
- Click Radio in the sidebar to view and play Apple Music 1 radio shows, both live at the moment and previously recorded.
- Click Music 1 , Music Hits, or Music Country in the Radio section to view and play those Radio stations content.
How to view your music library in the Music app for Mac
Your music library is also baked right into the Music app. You can easily see recently added songs, or you can view your entire collection by artist, album, or song. You can even change the sorting method of your collection based.
- Open Music from your Dock or Applications folder.
- Click Recently Added in the sidebar to view albums and songs (but not playlists) that have been added to your library.
- Click Artists in the sidebar to browse through the musical artists whose music is in your library.
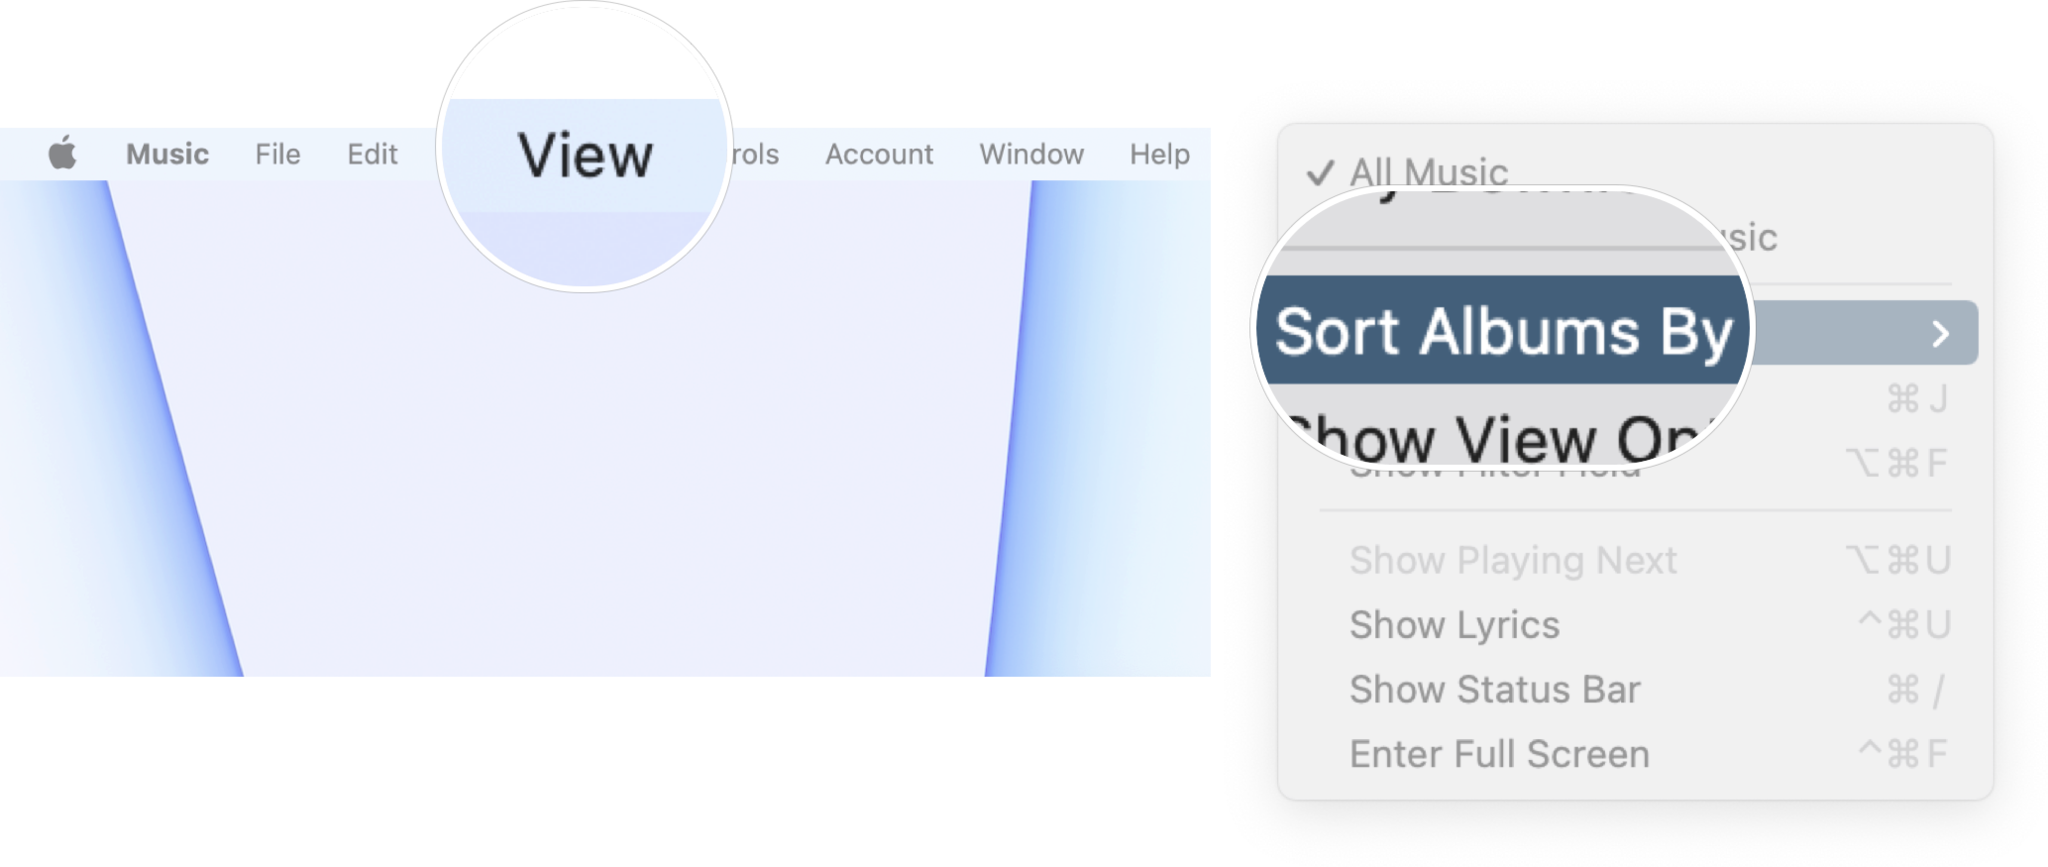
- Click View in the menu bar.
- Hover over Sort Albums By.
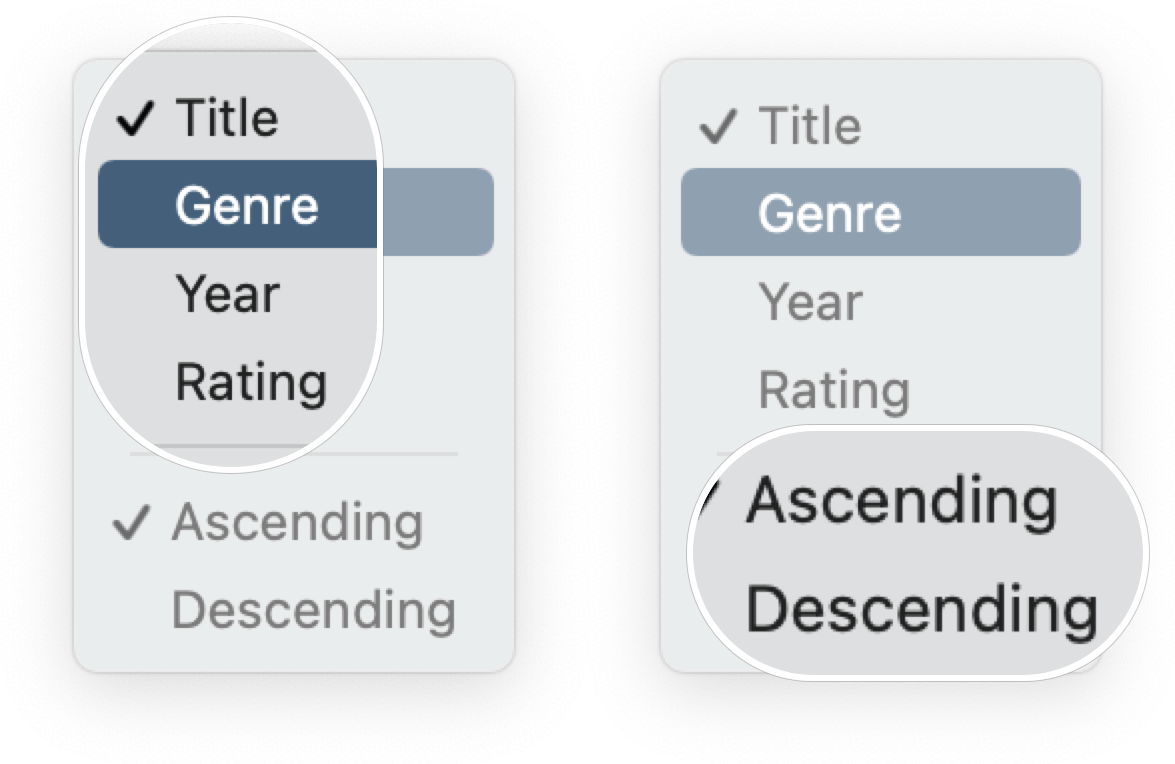
- Click Title, Genre, Year, or Rating.
- Click Ascending or Descending.
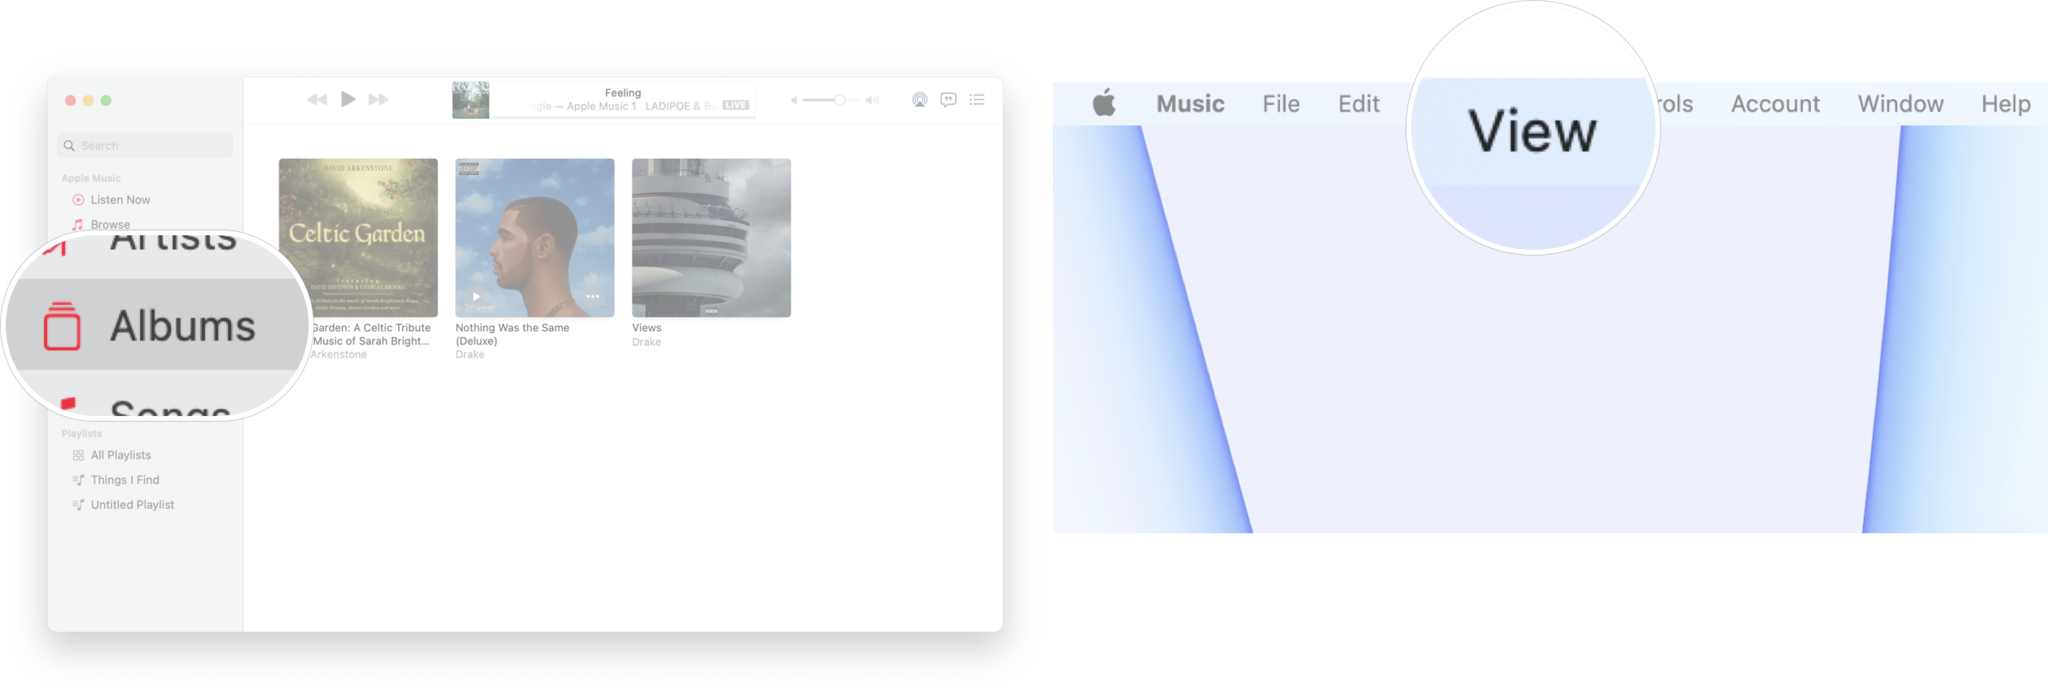
- Click Albums in the sidebar to browse your music collection by albums.
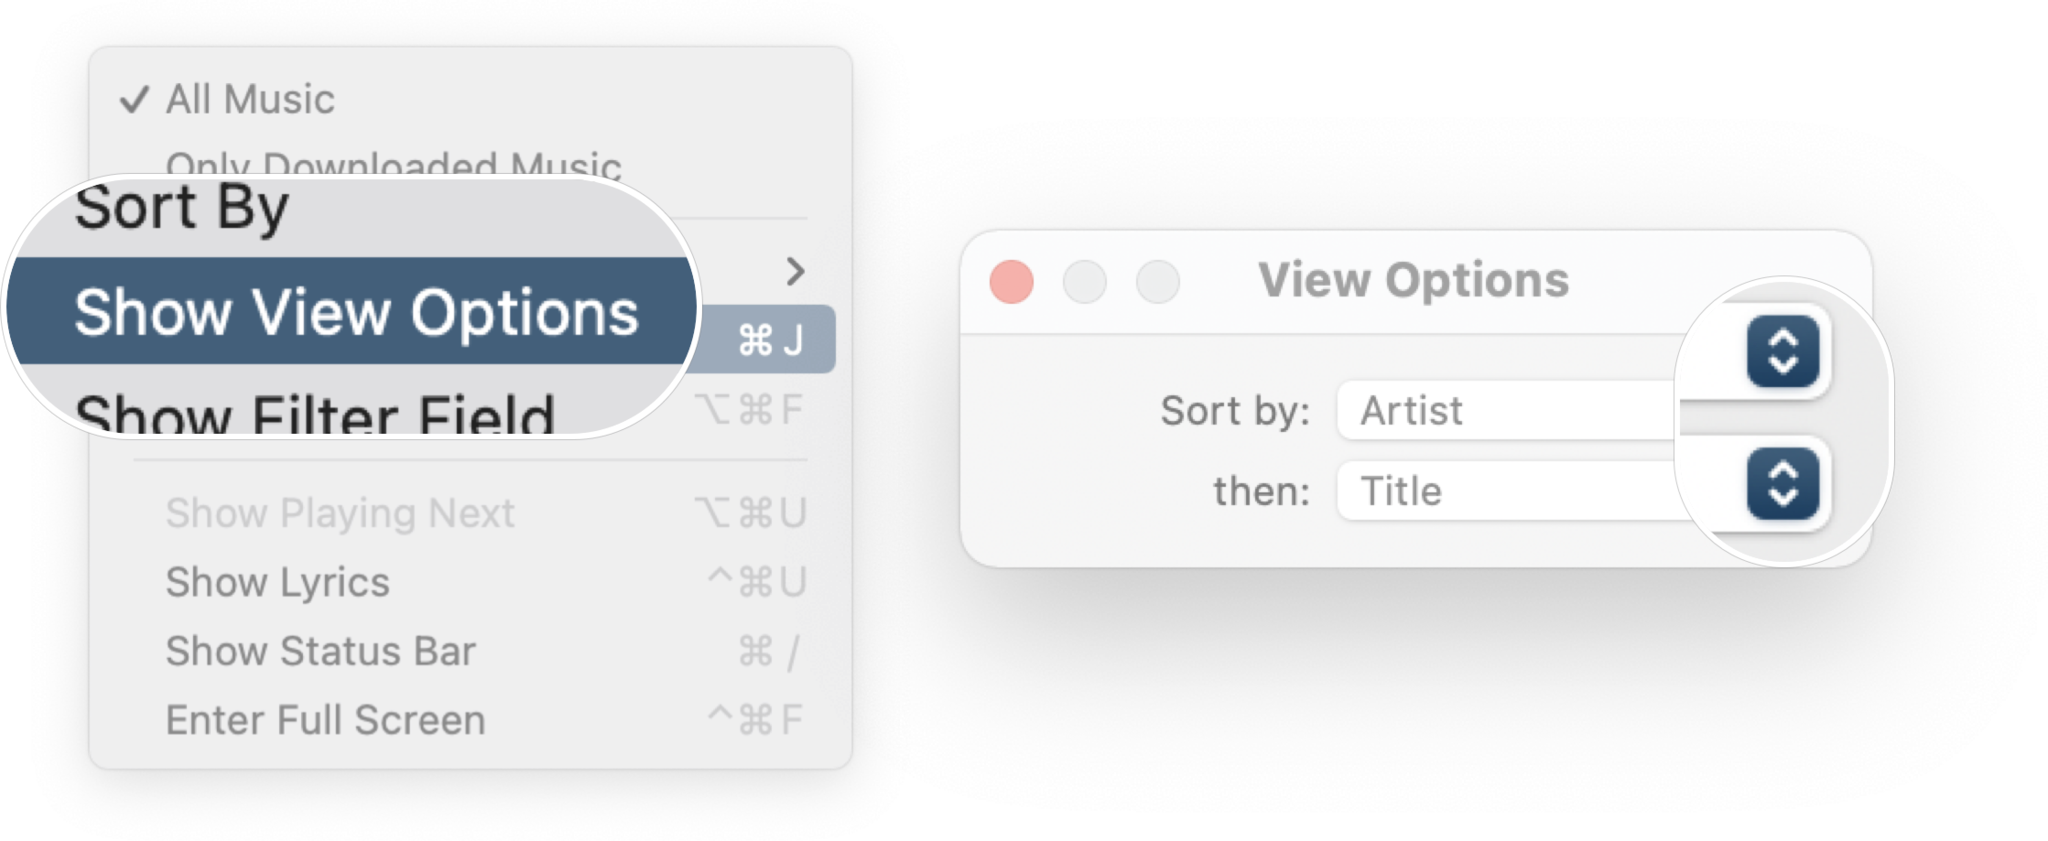
- Click View in the menu bar.
- Click Show View Options.
- Click the drop-down next to Sort by: to choose between Title, Genre, Artist, Year, or Rating.
- Click the drop-down next to then: to choose between Title, Artist, Year, or Rating
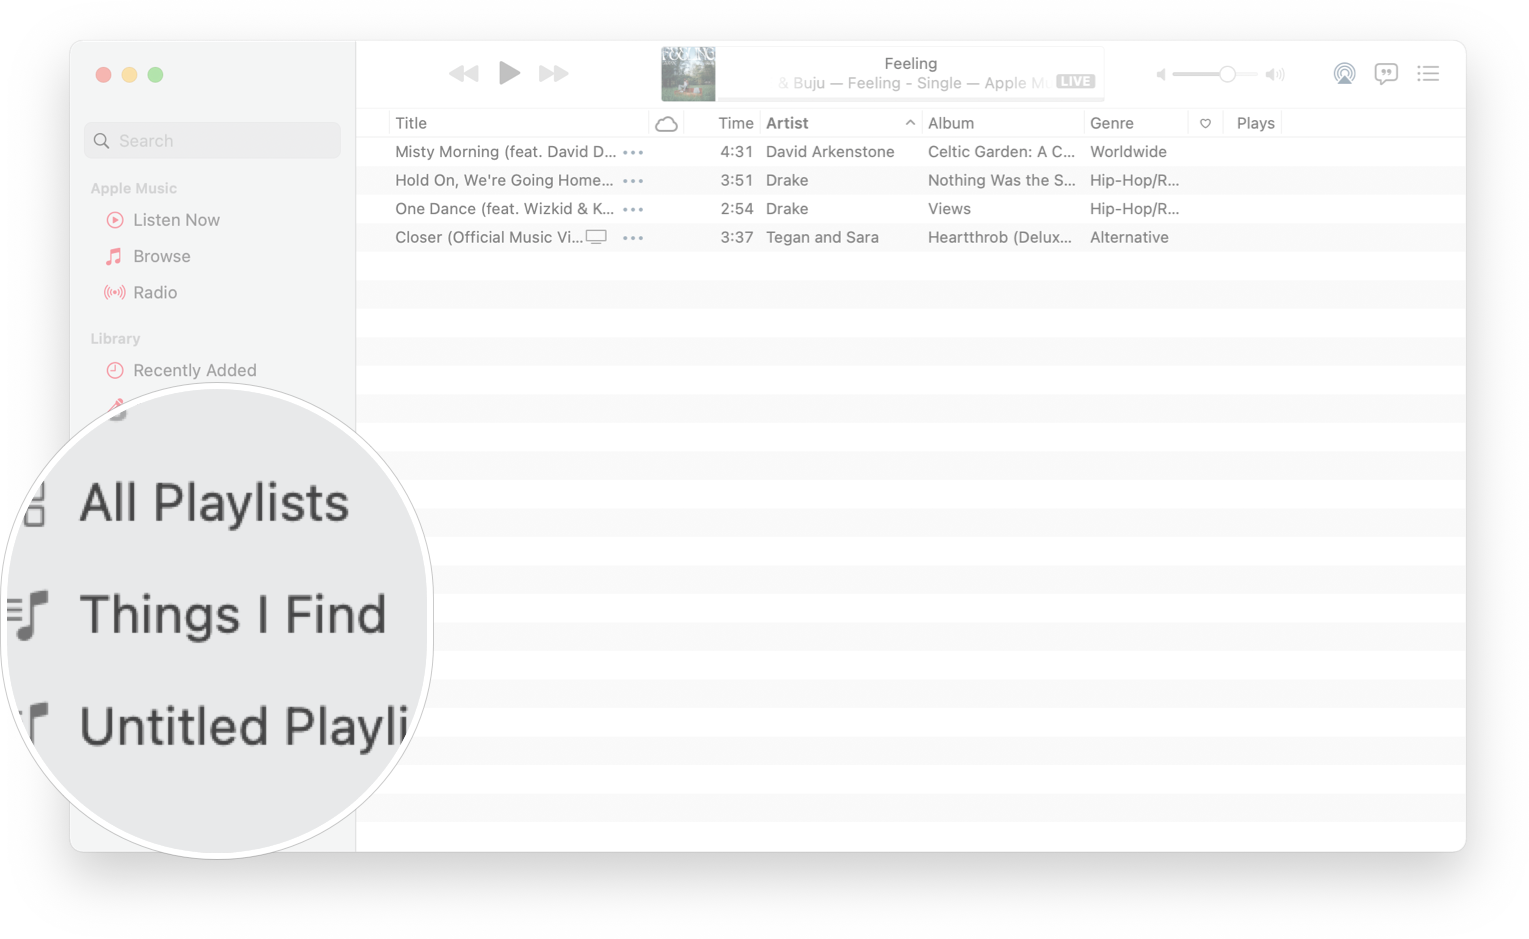
- Click Songs to view your songs. Many would say this is the classic iTunes view, going back to the original release almost two decades ago.
- Click the Name, Time, Artist, Album, Genre, or other category bars to sort your songs by those categories.
- Click on a playlist in the sidebar to open it. Your available playlists are sorted by origin in the sidebar, with your iTunes-created playlists listed first, then any playlists that you've created or subscribed to in Apple Music coming after that in alphabetical order.
How to import music into the Music app for Mac
Importing music into the Music app is very similar to how it was done before in iTunes.
- Open Music from your Dock or Applications folder.
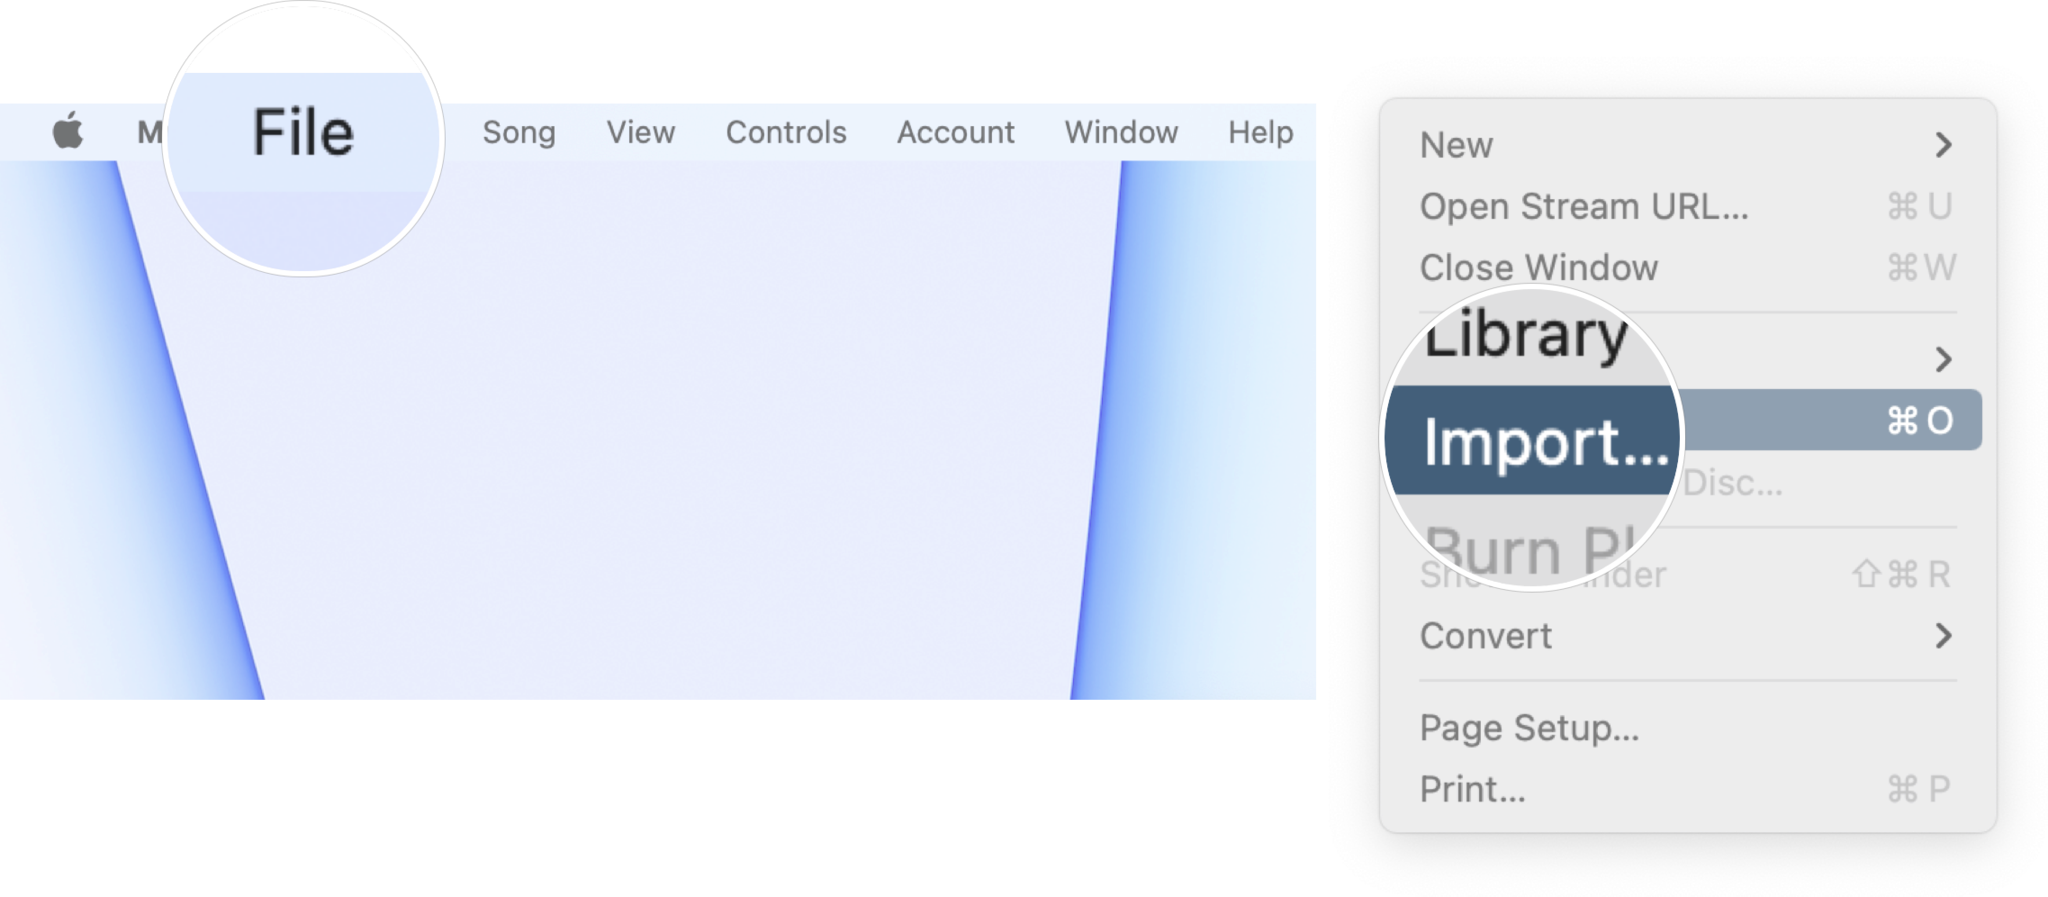
- Click File in the Menu Bar.
- Click Import.
- Choose the file or folder that you want to import.
- Click Open.
How to get song and album info in the Music app for Mac
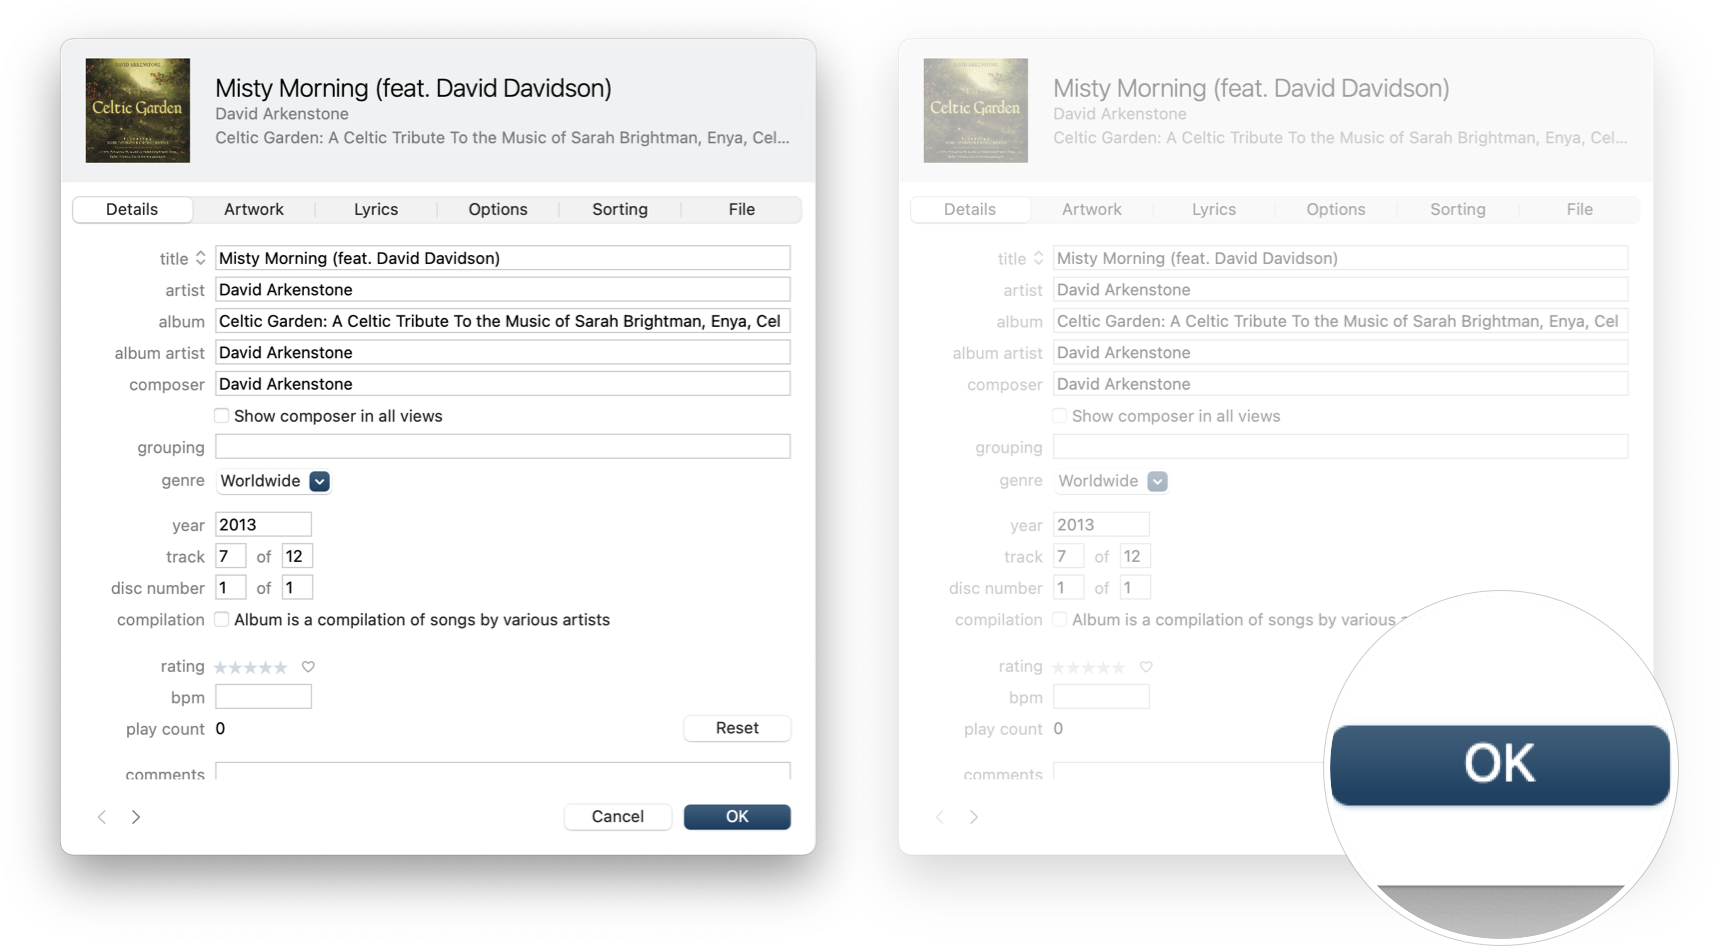
If you want to customize your collection and change the information on a track (like the album, artist, year, etc.), you can right-click on any track to do so.
iMore offers spot-on advice and guidance from our team of experts, with decades of Apple device experience to lean on. Learn more with iMore!
- Open Music from your Dock or Applications folder.
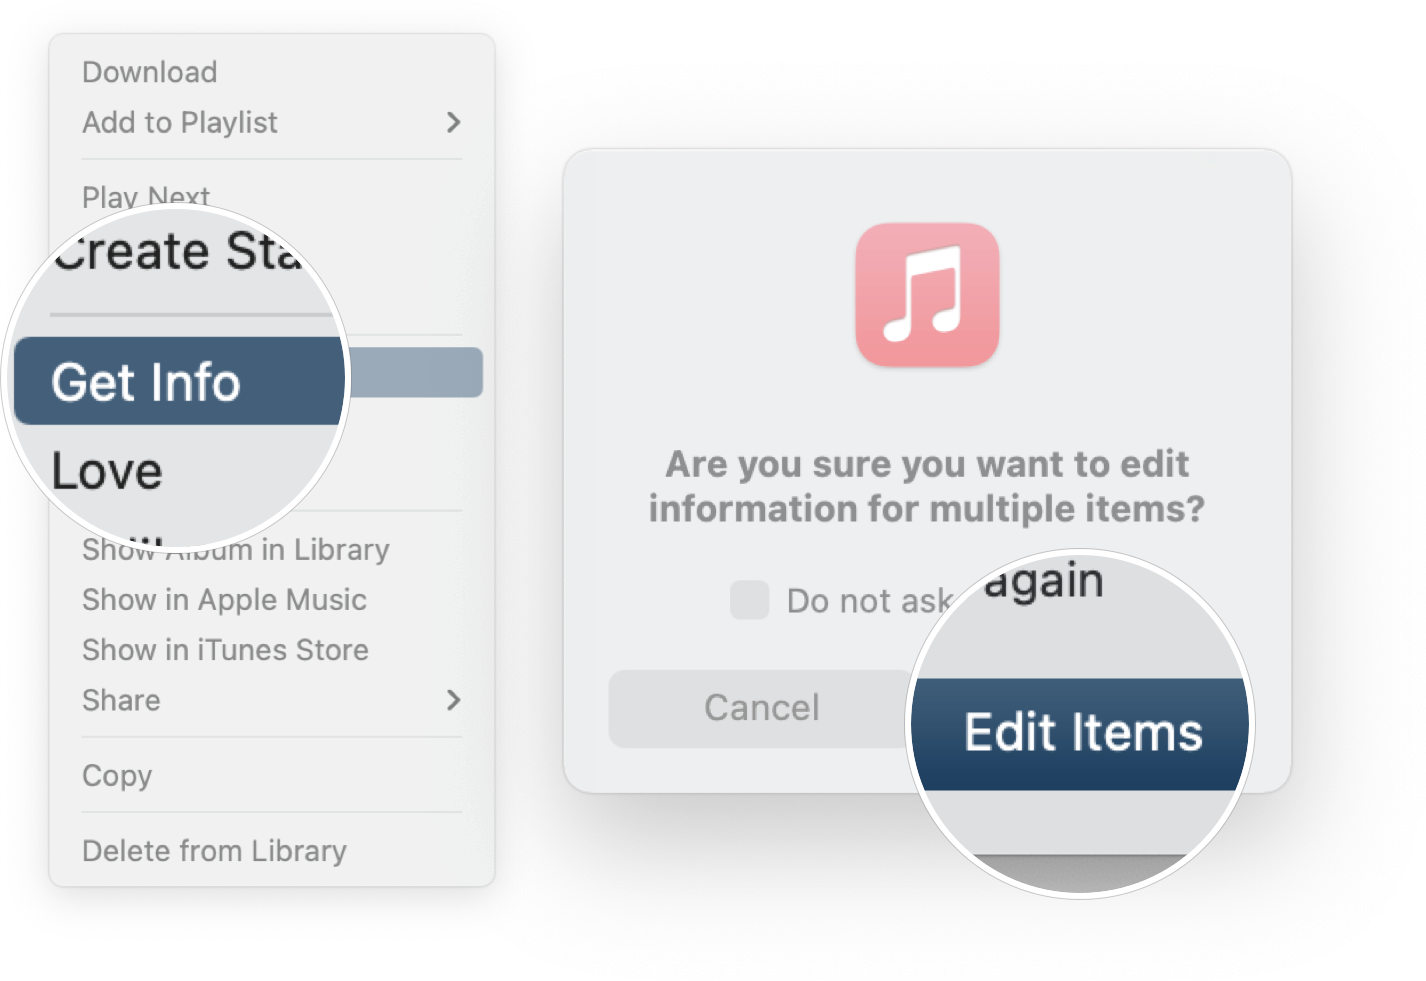
- Right- or Control-click on a song or album.
- Click Get Info.
- Click Edit Items if you're editing more than one song.
- Edit information under the Details, Artwork, Lyrics, Options, Sorting, and File tabs if you need to.
- Click OK when you're done editing.
You can even right-click on songs in Apple Music and see information on the track, but you won't change the information.
Updated July 2021: Updated for the most recent version of macOS Big Sur.
Joseph Keller is the former Editor in Chief of iMore. An Apple user for almost 20 years, he spends his time learning the ins and outs of iOS and macOS, always finding ways of getting the most out of his iPhone, iPad, Apple Watch, and Mac.
