No CD/DVD drive? No problem! Remote Disc enables you to share the CD/DVD drive of a remote Mac or PC on the same network
The CD/DVD drive is almost a thing of the past on the Mac - only one current Mac model includes one (the "standard" 13-inch MacBook Pro). If you need an optical drive but don't have an external handy, you may still be in luck thanks to a feature of OS X called Remote Disc. Here's how it works:
First of all, you need to have a computer - a Mac with OS X 10.4.11 or later, or a Windows PC running Windows XP SP2 or later - running on the same local area network as your Mac. It can be on Wi-Fi or Ethernet, doesn't matter.

There are some limitations to be aware of. Remote Disc works for data discs only. You can't use Remote Disc to share a DVD movie over a network for example, nor can you do so for audio CDs, copy-protected content like game discs, operating system installers (either Windows or OS X), and you can't use Remote Disc to remotely burn a CD or DVD, either.
If you need to do any of those things, you'll have to use a CD or DVD drive connected directly to your Mac via an available USB port.
Anyway, to continue, here are the instructions for making this happen on the Mac. Doing it in Windows is a bit beyond the scope of what our focus here is on iMore, so I'll defer to Apple's support pages{.nofollow} for details there.
Make sure that CD and DVD sharing is turned on, on the computer with the optical drive. To do so:
- Go to the menu and select System Preferences.
- Click on the Sharing icon.
- Check the box next to DVD or CD sharing.
- If you want to be asked permission before someone can use the drive, make sure to check the box next to Ask me before allowing others to use my DVD drive.


Once you've done so, the optical drive-equipped Mac should be ready to go. To access it remotely, go to the computer without an optical drive, then:
- Open a new window in the Finder by holding down the Command key and pressing N.
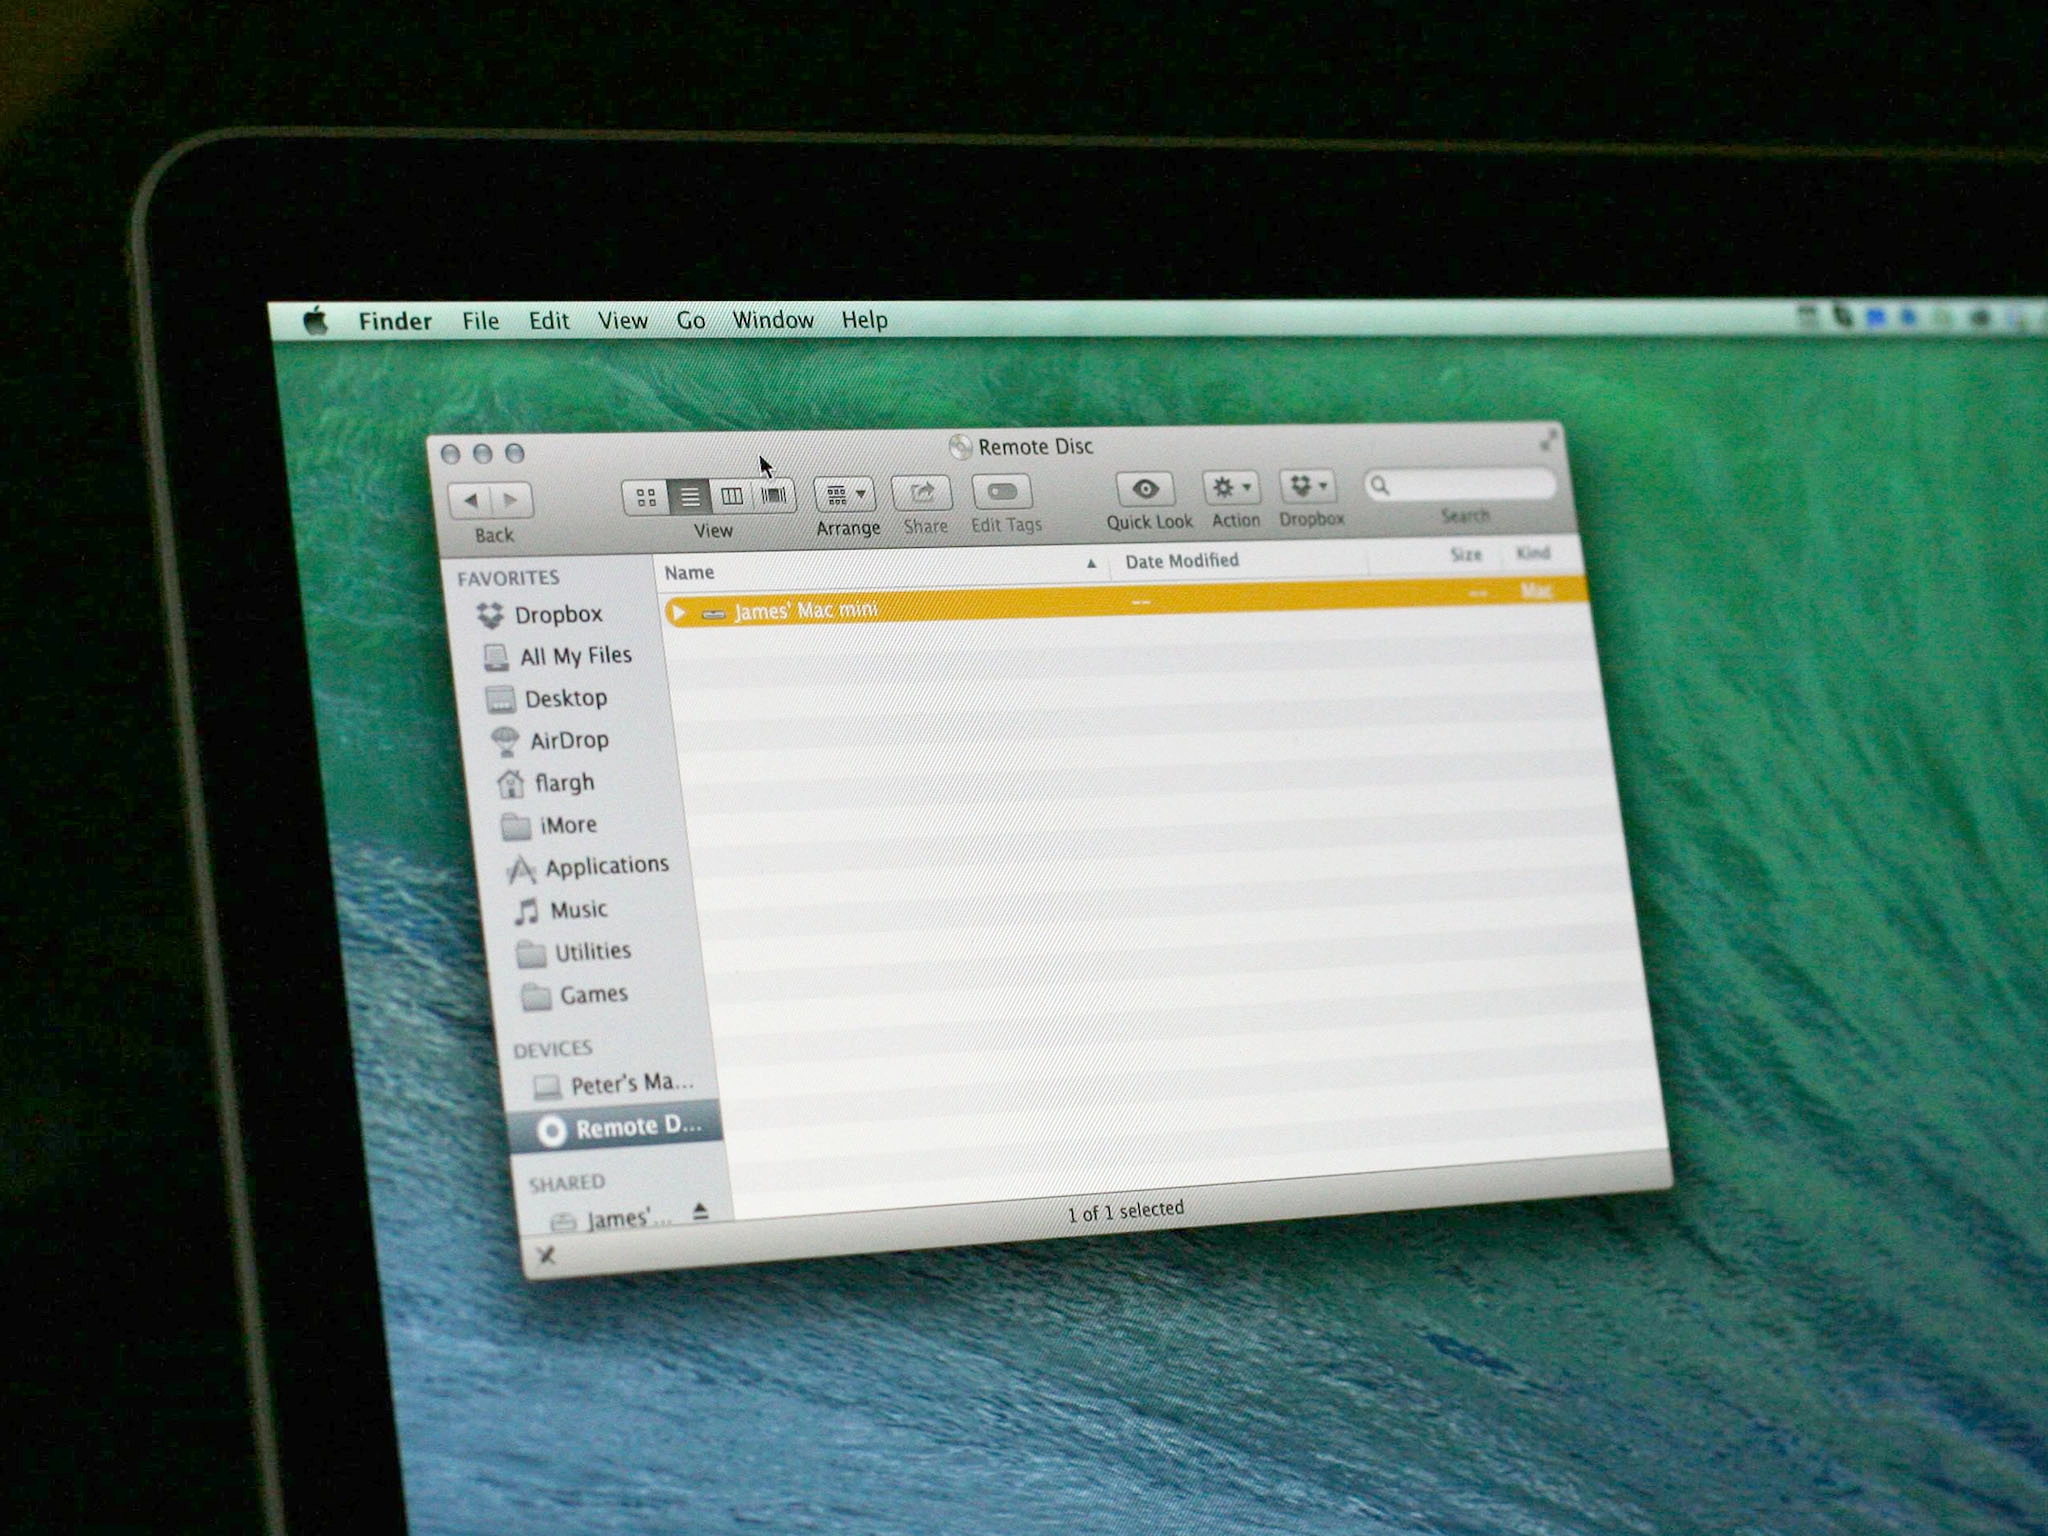
- Scroll down the sidebar on the left hand side of the window to the Devices list and click on Remote Disc.
- You should see a list of computers with disc sharing turned on. Select the host computer you want to use.
- You'll see Waiting for disc drive... while the drive spins up.


Have you used Remote Disc? Did you know how this feature works? Do you have any questions? Let me know in the comments!

