Sick of dealing with your Mac’s unwieldy trash? Here’s how to manage deleted files like a pro
Waste not, want not.

The Trash can is an overlooked feature of macOS, but it’s a pretty key element of any Mac. After all, if you end up losing a bunch of vital files because you forgot to take them out of the Trash, you’ll know how important understanding it is.
Using it is straightforward. You can drag a file onto the Trash can icon, right-click an item and pick Move to Trash, or select the file and press Cmd-Del. You can then empty the Trash when you’re ready. But there are plenty of extra features and little-known tricks that can save you a bunch of time and hassle in the long run. Mastering them can be an excellent way to use your Mac more efficiently.
Empty the Trash

It’s easy to just dump unwanted files into the Trash and forget about them, but just like an overflowing trash can in real life, this isn’t exactly an ideal situation. If your Mac’s Trash is full of very large files, it can seriously eat into your computer’s storage, so emptying it frees up valuable space for things you actually want to use.
To empty the Trash:
- Right-click the Trash icon in your Mac’s Dock
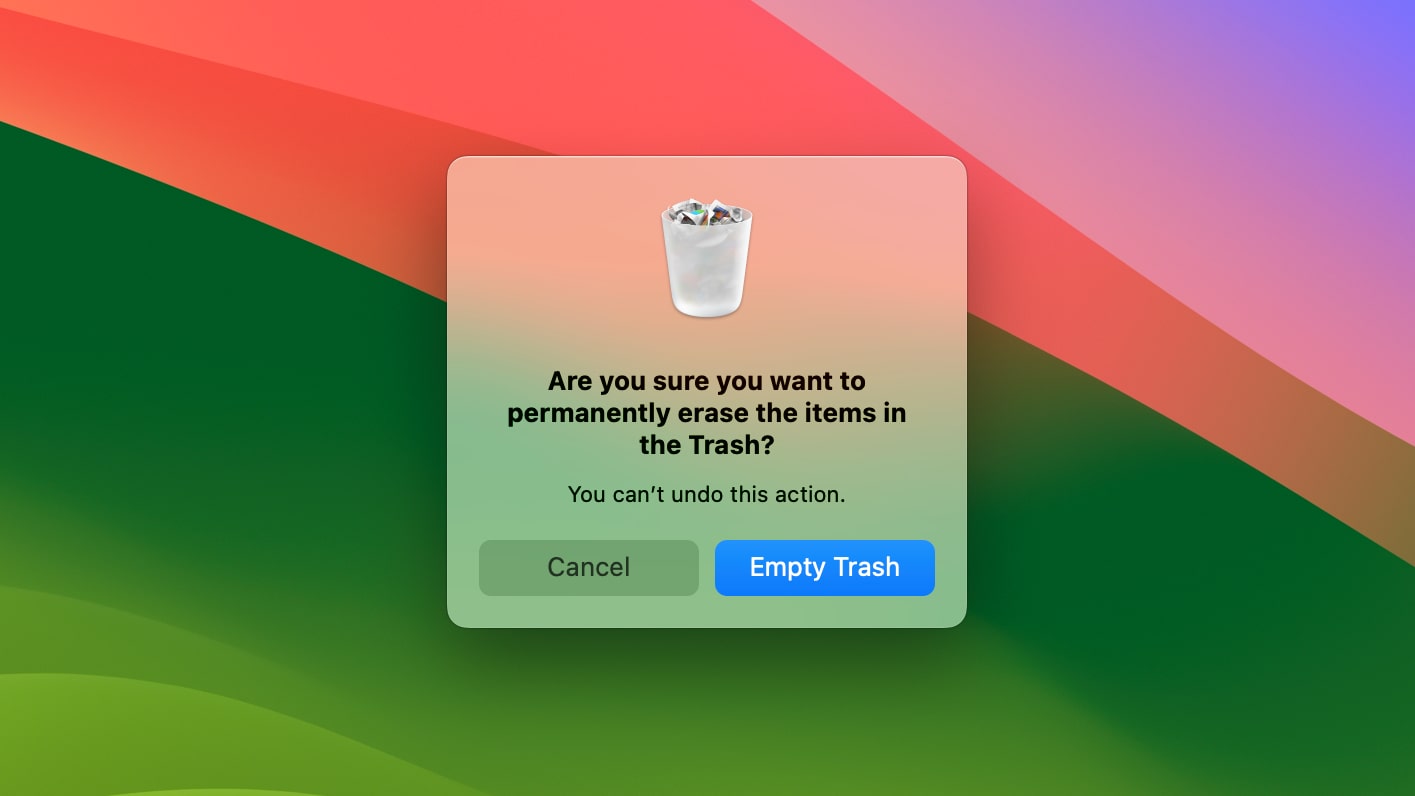
- Select Empty Trash, then click Empty Trash on the confirmation box
- Alternatively, open the Trash and click the Empty button in the top right
- Or open Finder and choose Finder > Empty Trash
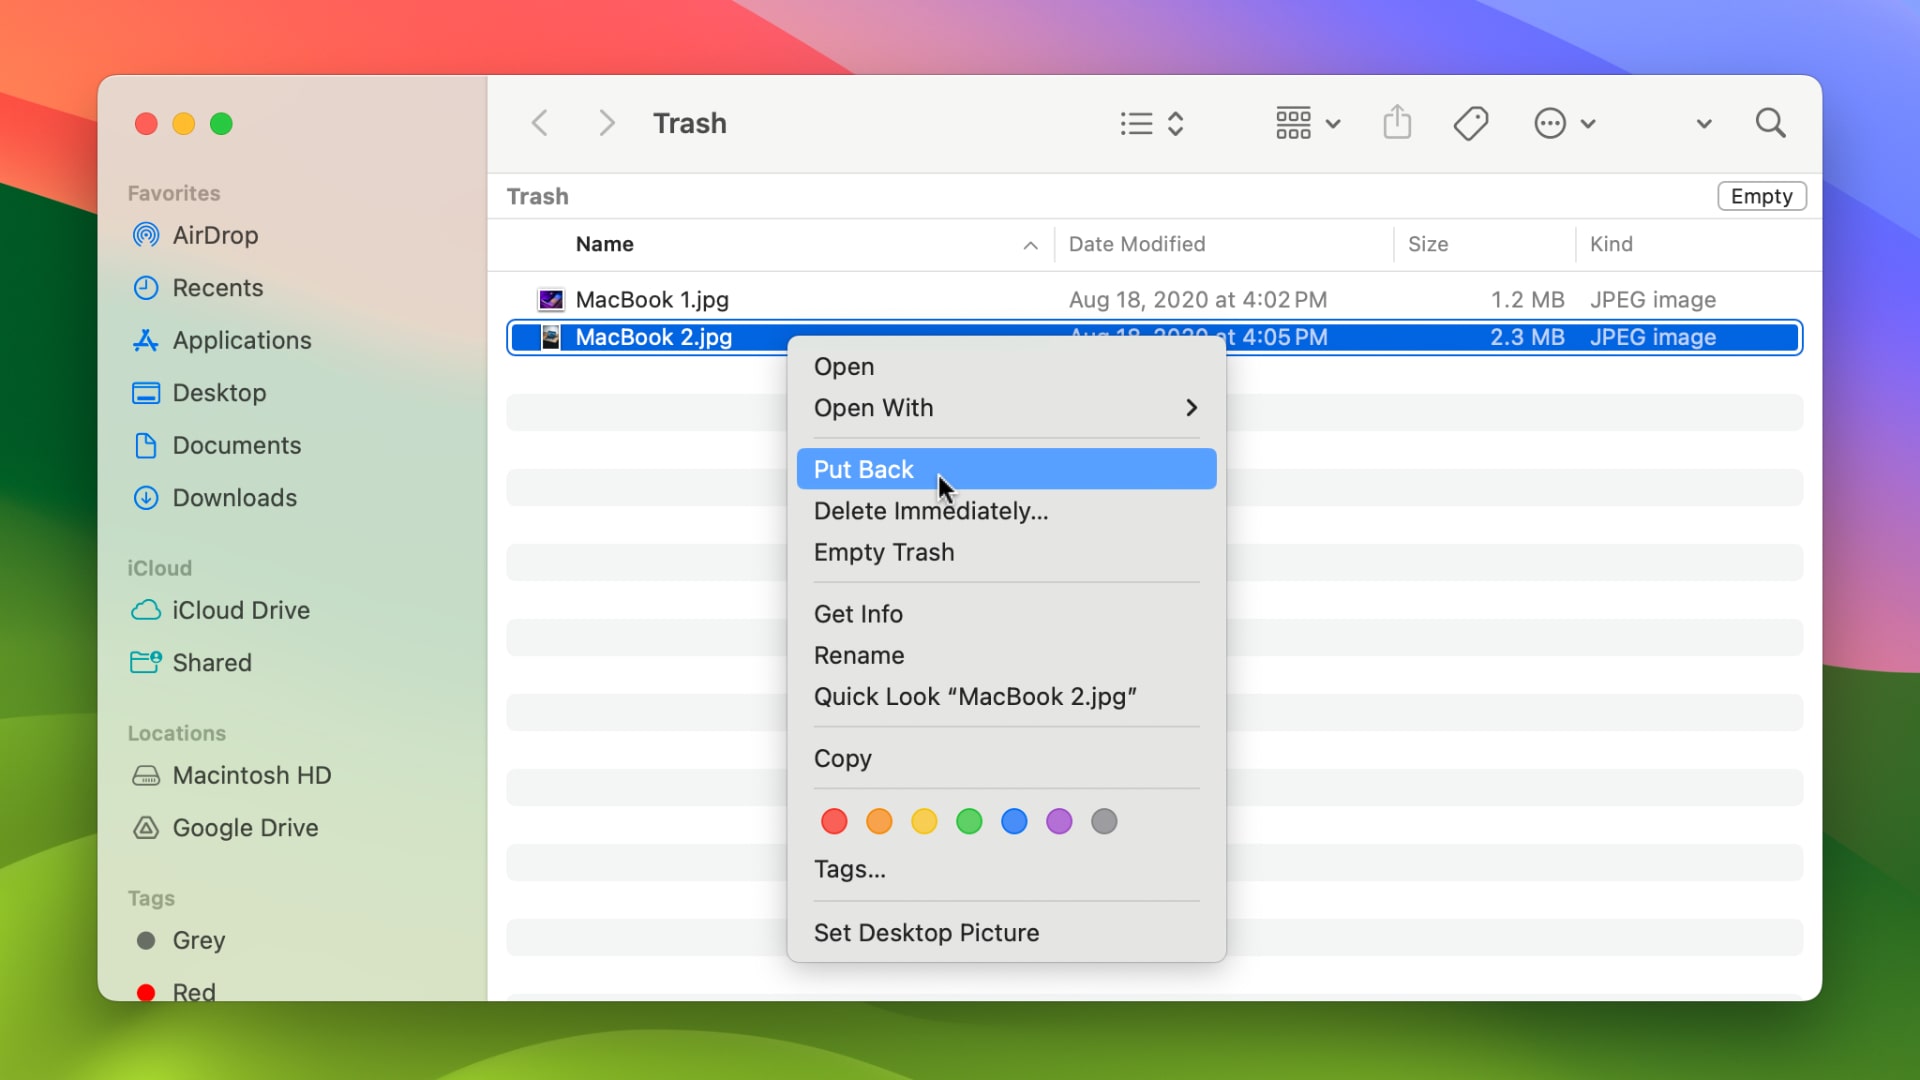
- The above steps will remove everything in the Trash. To just delete a handful of items, open the Trash, select one or more items, then right-click them and pick Delete Immediately > Delete
Doing this manually can be a hassle, especially if you don’t remember to do it very often. Instead, you can set your Mac to handle everything for you:
- Open Finder
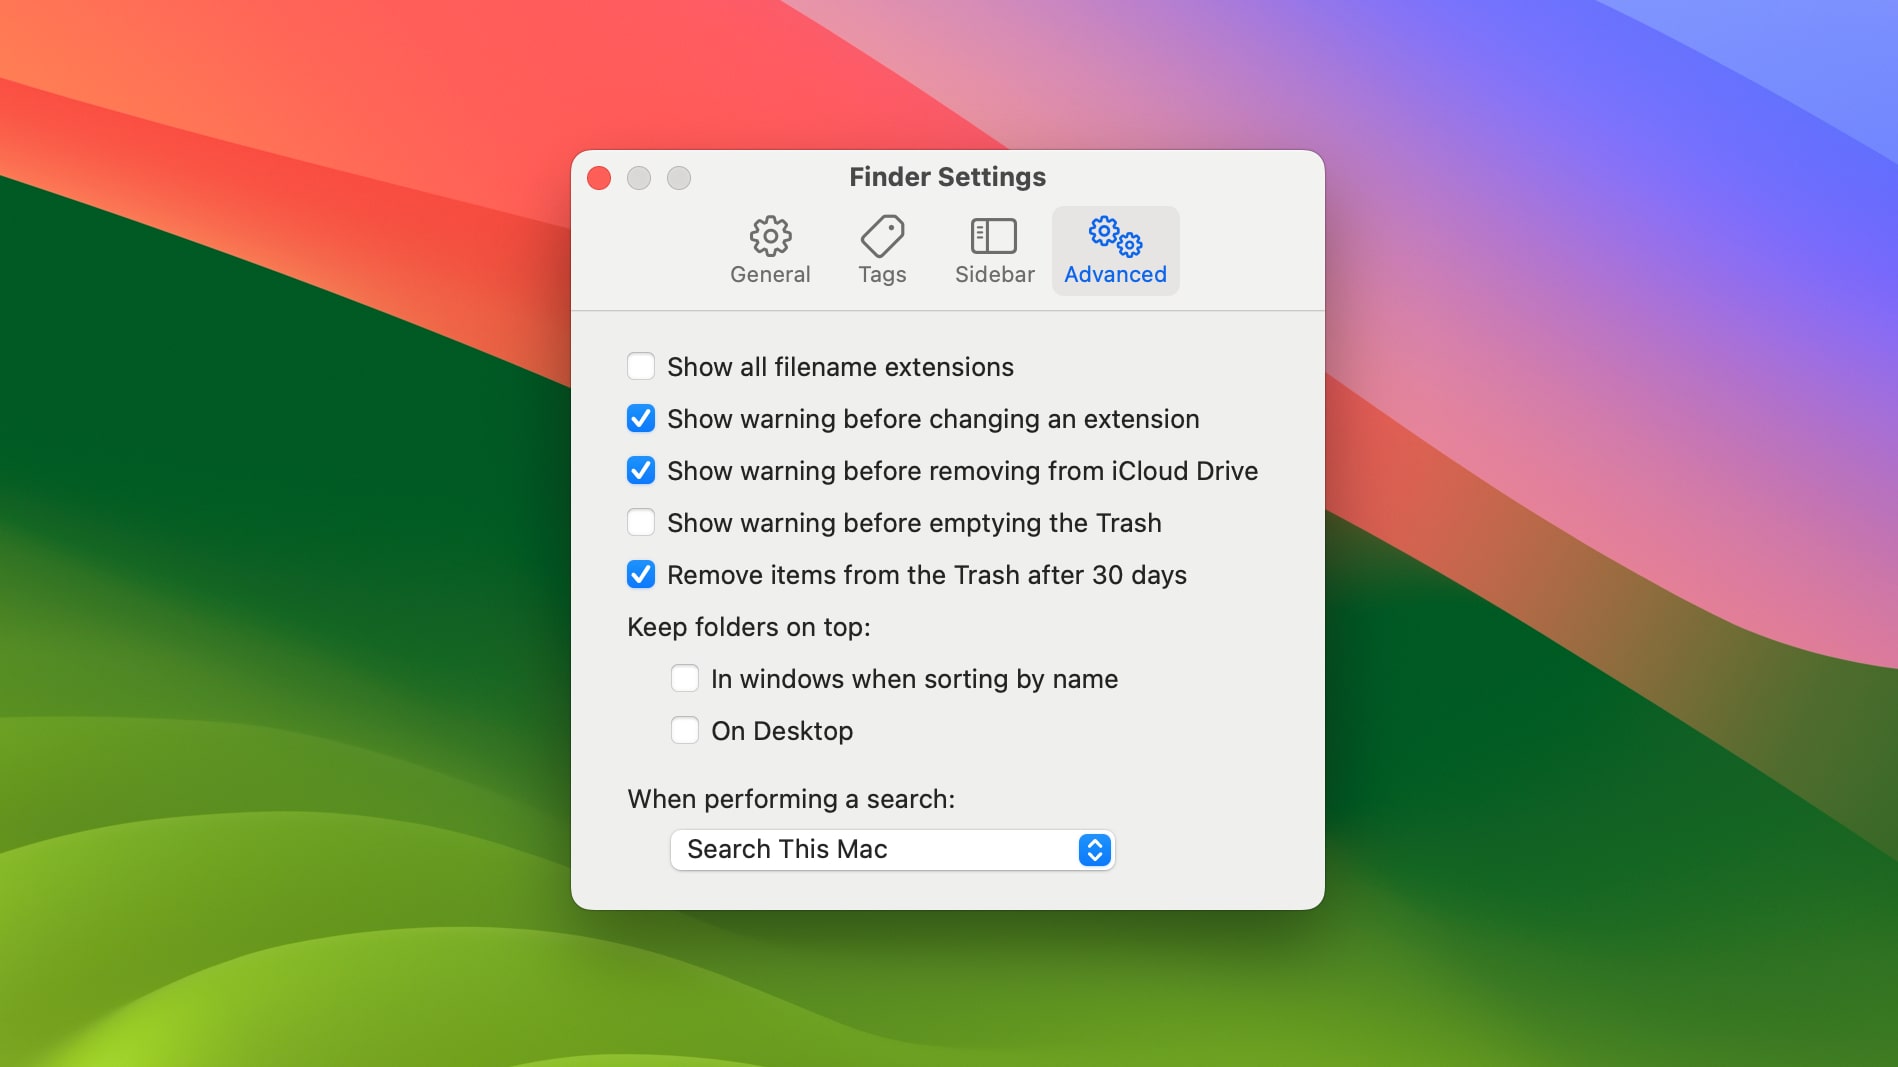
- In your Mac’s menu bar, select Finder > Settings, then choose the Advanced tab
- Tick the “Remove items from the Trash after 30 days” checkbox
Now, anything in your Trash will automatically be deleted after 30 days, without you having to lift a finger.
Restore files sent to the Trash

Once a file is in your Trash, it’s not the end of the road – you can restore it back to where it was if you change your mind.
iMore offers spot-on advice and guidance from our team of experts, with decades of Apple device experience to lean on. Learn more with iMore!
- Open the Trash, right-click the file you want to save, then select Put Back from the menu (or select it and go to File > Put Back in the menu bar)
- Alternatively, drag and drop your chosen file(s) from the Trash to your desktop or into a different folder
- Or select the file in the Trash and press Cmd-Del. Although it might seem like this would permanently delete it, this shortcut will actually put the file back to wherever it was before you deleted it
- If you’ve only just dragged a file to the Trash and have done nothing since, just press Cmd-Z to put the file back where it was before you moved it to the Trash
More shortcuts and ideas

There’s a lot more you can do with the Trash in macOS. For instance, there are a bunch of helpful keyboard shortcuts that can speed the whole process up:
- Select a file or files and press Cmd-Del to move them to the Trash
- Shift-Cmd-Del will empty the trash, with a confirmation dialog box asking if you’re sure
- Opt-Shift-Cmd-Del, meanwhile, will empty the trash without asking for your confirmation first
There are other ways to skip the confirmation pop-up window:
- Similar to the third step above, if you right-click the Trash and hold Opt when you select Empty Trash, you won’t see the confirmation box.
- The previous step requires you to hold Opt every time. If you want to automatically skip the confirmation without needing to hold Opt, open Finder and go to Finder > Settings in the menu bar, then select the Advanced tab. Here, untick the “Show warning before emptying the Trash” checkbox
One more thing: You can’t open a file in the Trash without restoring it first, but you can preview it. Select the file, then press the Space bar to bring up Quick Look. That might help you work out if you want to restore it or if it’s safe to be permanently deleted.

Alex Blake has been messing around with Apple tech ever since he caved to the pressure and bought an iPhone 3G “just to see what all the fuss was about.” He’s spent the subsequent 15 years prattling on about Apple and has somehow managed to do so professionally. Don’t ask him how.
