How to add spaces to your Mac's Dock using Terminal

On OS X, the Dock gives you a handy way of launching applications that you use the most frequently with a single click. To organize them, you can click and drag them around however you like. What you can't do, at least not directly from within the Dock's preferences, is divide up the apps using an easy visual separator. Fortunately, there's a workaround — if you're comfortable using the Terminal command line.
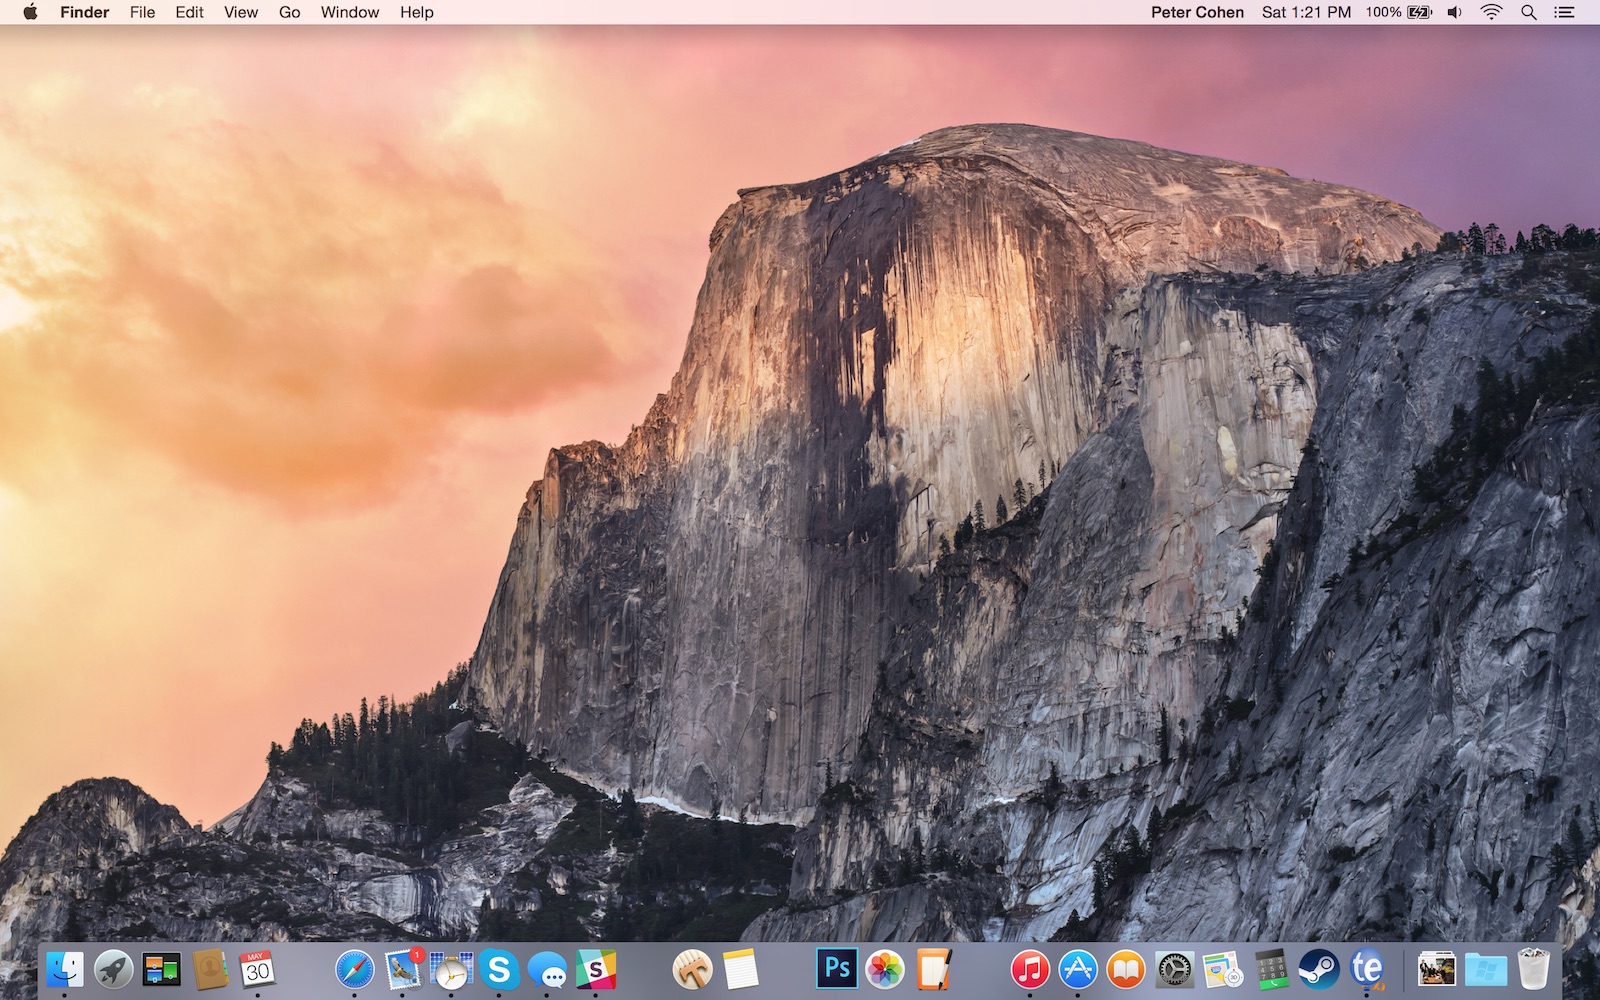
I've set up spaces to separate the apps I use: My Internet apps are all grouped together, as are my writing tools and creative apps, all with spaces in-between them. The other apps I still want access to are there, but out of the way.
Spaces break up the apps I use visually by function and makes it easier for me to locate them at a glance. As a result, I spend less time scanning through the Dock and more time working.
How to add a space to your Dock to separate your apps
This handy little Dock organizing trick requires the use of Terminal.
- Click on an empty space on your Home screen to ensure that no program is selected.
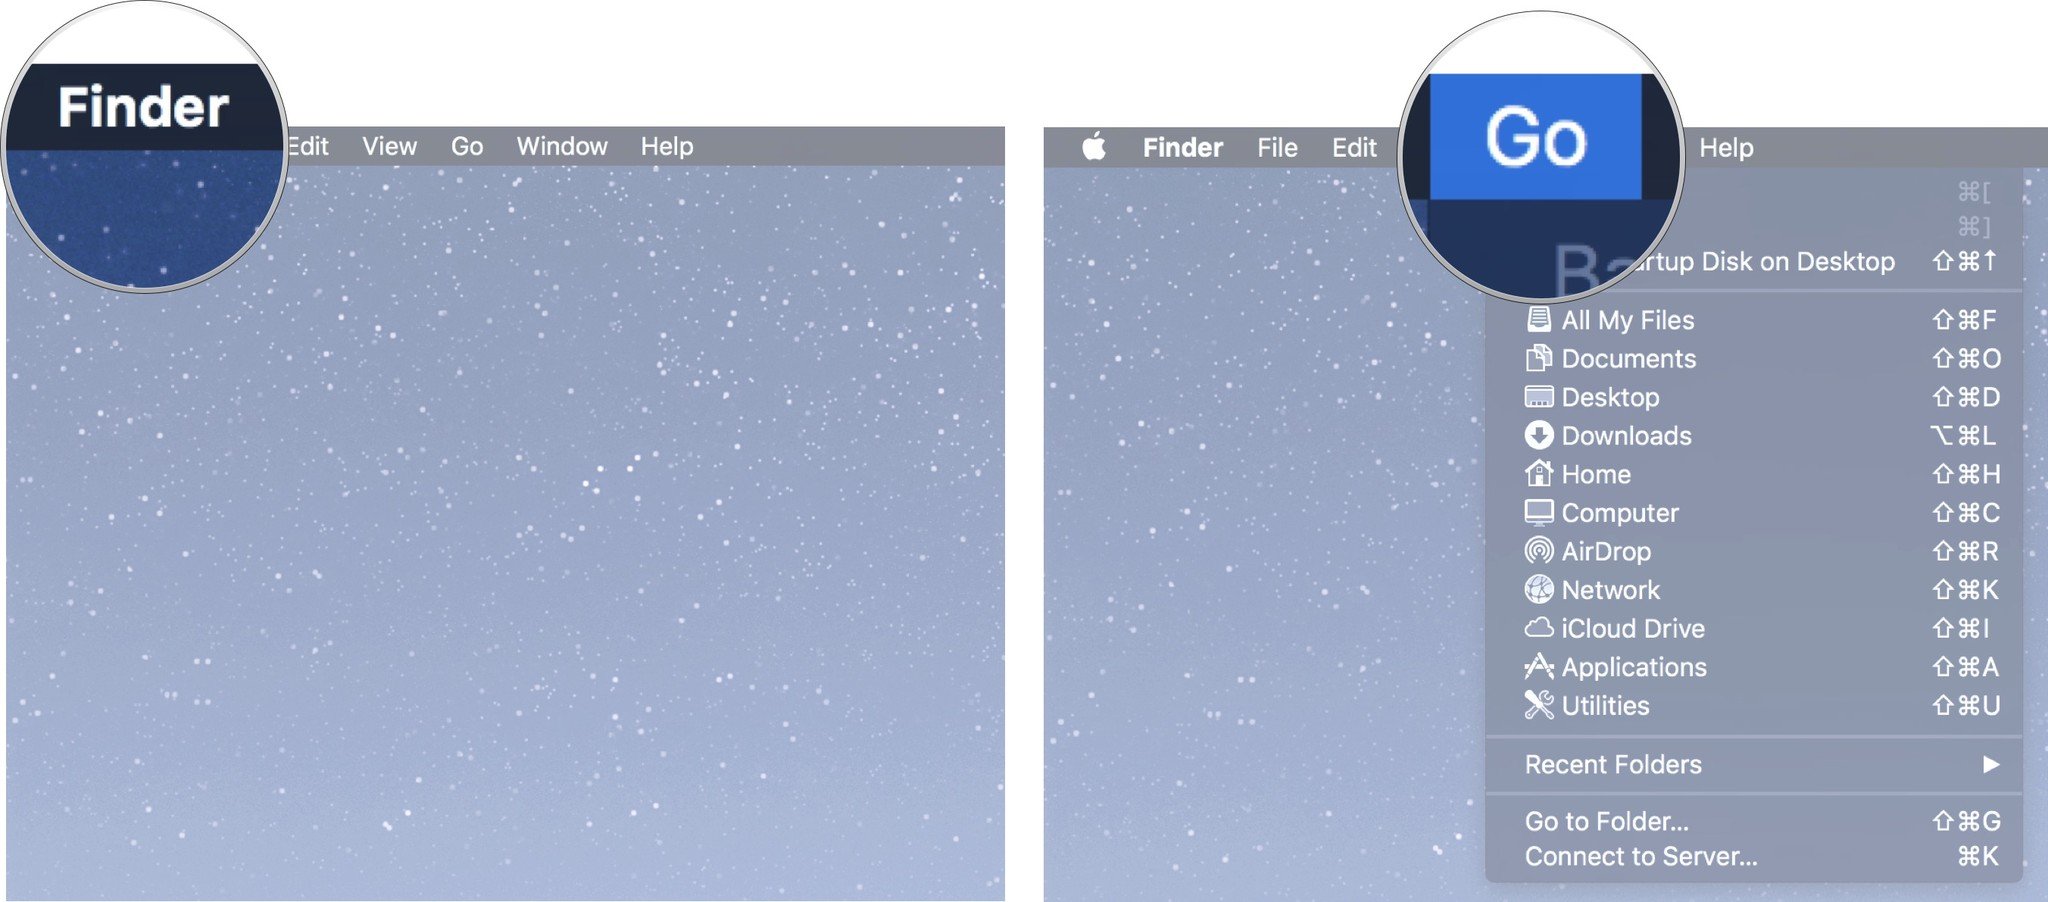
- Make sure that Finder is displayed in the far left corner of the menu bar.
- Click on Go.
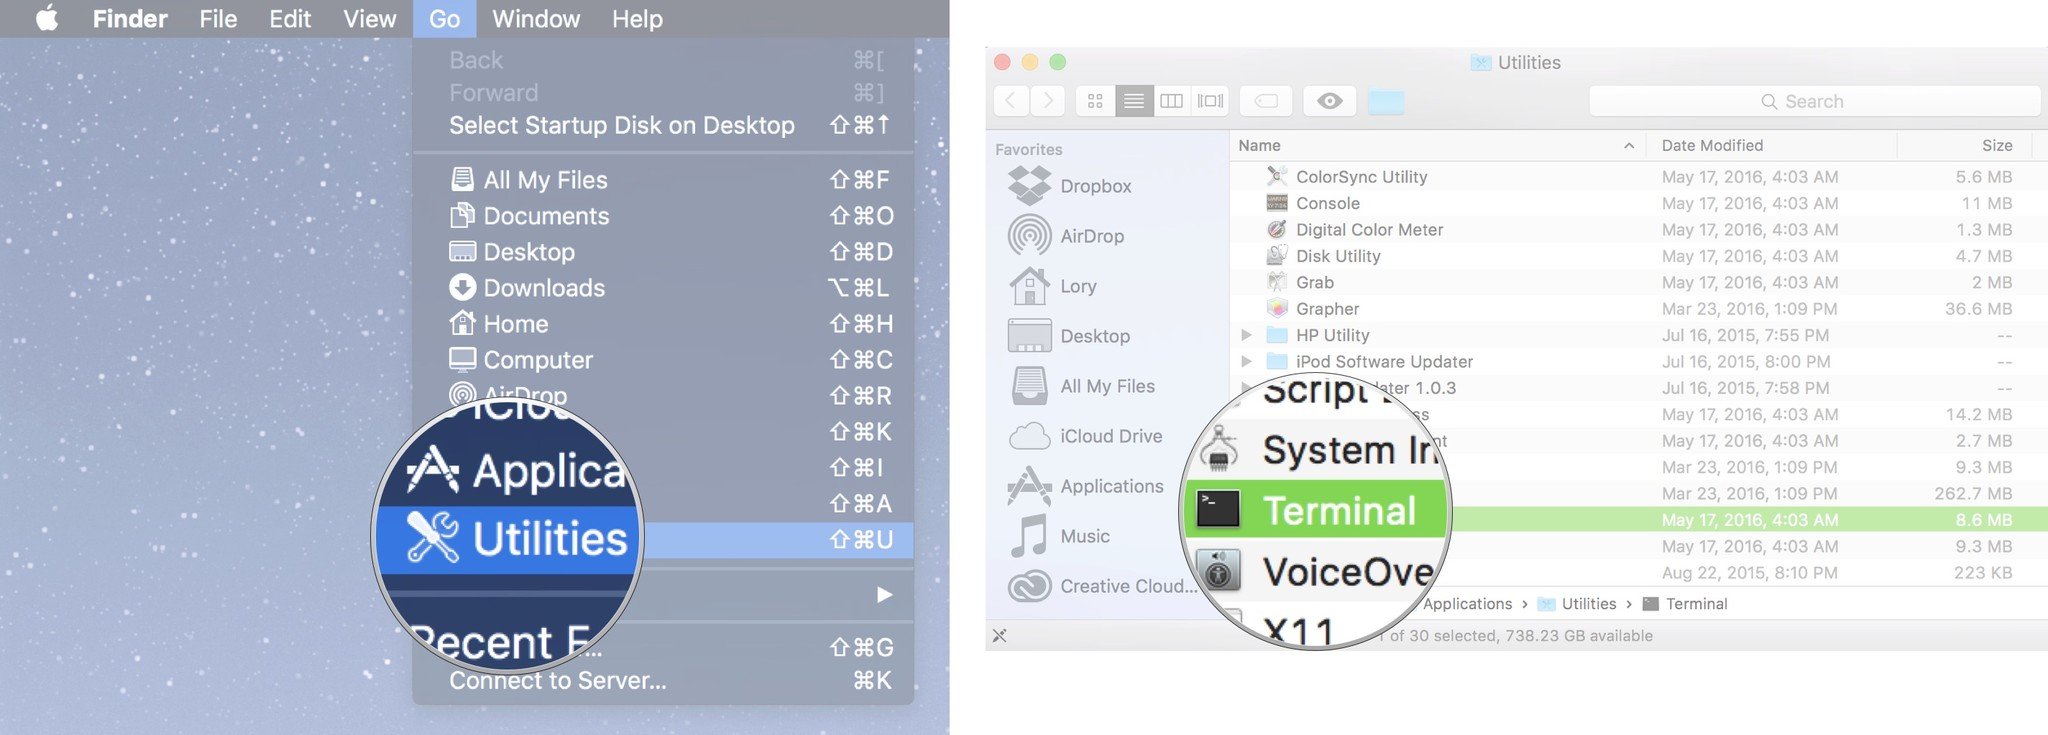
- Select Utilities.
- Scroll down and double-click on Terminal when the Utilities window pops up.
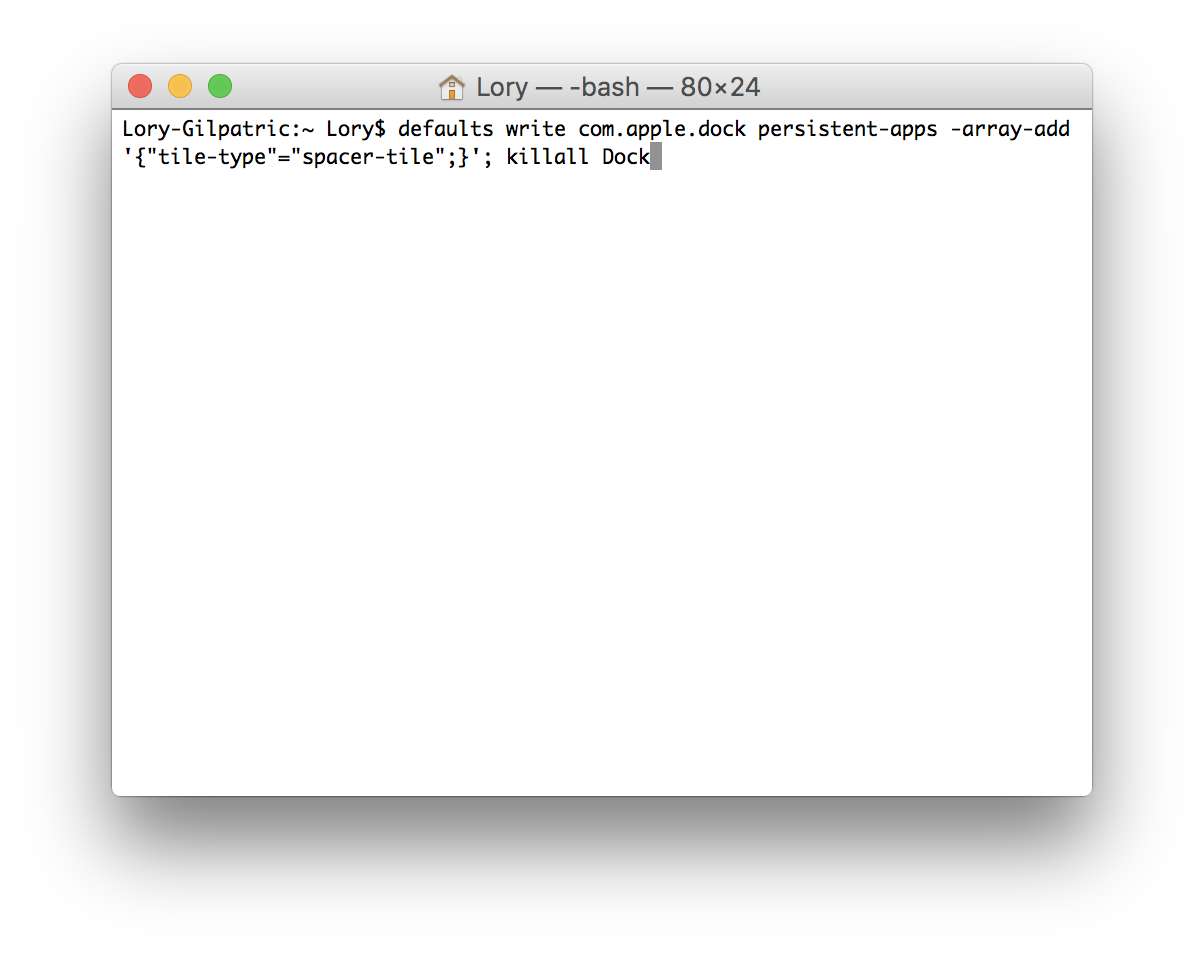
- Type
defaults write com.apple.dock persistent-apps -array-add '{"tile-type"="spacer-tile";}'; killall Dockand press return.

(You can copy the text above and paste it into Terminal if you'd prefer not to type it out.)
That'll create a single space in your Dock. Click and drag that space wherever you'd like it to go, just as if it were a standard app icon. (But notice that if you click on that space, nothing happens — it's truly just a space.)
If you want additional spaces, just repeat the same command in Terminal. Each time you do, another space will be created.
iMore offers spot-on advice and guidance from our team of experts, with decades of Apple device experience to lean on. Learn more with iMore!
If you decide you don't want the space, just click and drag the space out of the Dock in one fluid motion; after a couple of moments, you should see a "remove" popup appear. It's the exact same process if you were removing an app from your dock.


