
If you're a few days into your Animal Crossing: New Horizons game, you might have discovered that it's getting tough to find enough raw materials to craft all the beautiful furniture you want to make for yourself and your neighbors. It can be tough when literally everything is calling for Wood and absurd quantities of Iron Ore!

Build, craft, relax
Animal Crossing: New Horizons takes place on a deserted island. Start with a tent and upgrade to a house, customize it to your liking, make friends with the villagers, and play with your friends.
Fortunately, there are many ways to get more raw materials in New Horizons beyond just harvesting what you can find right in front of you. If you're struggling with the building blocks of crafts, here are some tips for getting more materials faster in Animal Crossing: New Horizons:

Clean out your island

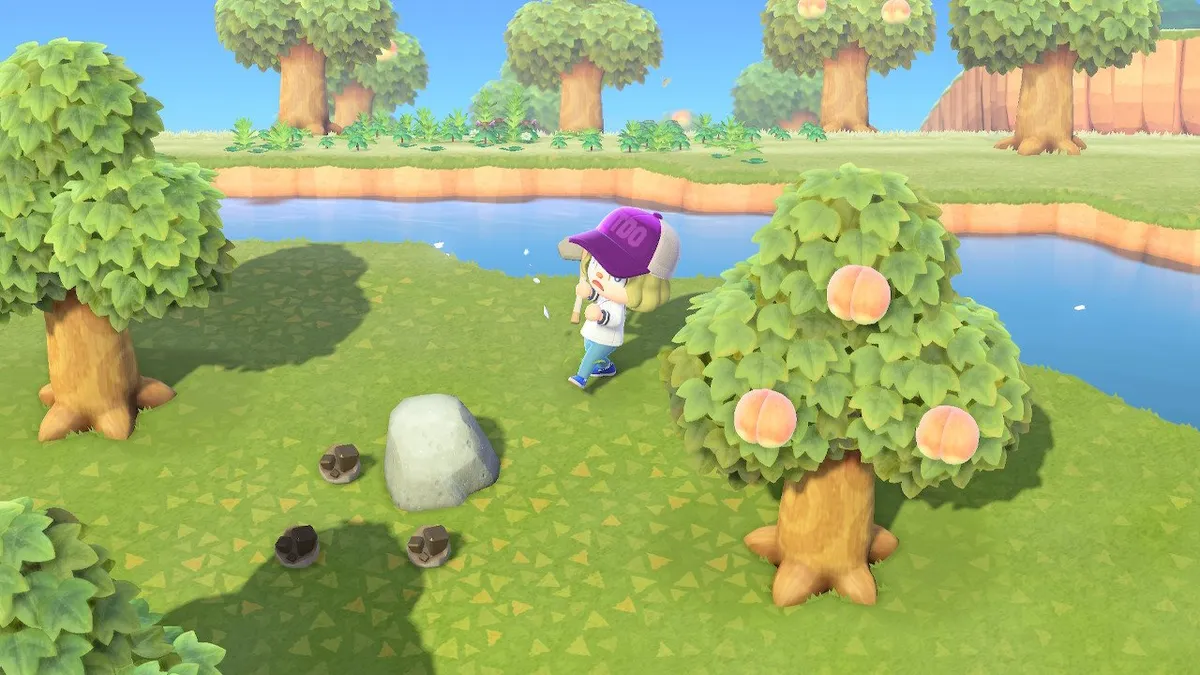
This is perhaps the most obvious step, but before you worry about going elsewhere for raw materials, make sure you've emptied your island first. Methodically go through the trees with your ax, hit the rocks with your shovel, and pick up everything off the ground.
It's easier to do this if you go through your island in the same order each day. For instance, I start with my "residential" district where all my animals live and where Tom Nook's tent is, then I gradually move to the area with Nook's Cranny, the section north of the river, and then the mountain. Because I go the same way each day, I always know what I've already harvested and what I haven't.
Find a system that works for you, then try to do it every day, even if you don't specifically need certain materials. And if you aren't immediately pressed for stone or wood, gather it anyway, and follow the next tip:
Don't sell raw materials
Don't do it!!! I know it is tempting early on to get Bells this way, but just don't! If you have extra raw materials, store them in your house or, if you're waiting to unlock the house, throw them on the ground and get them later -- they won't disappear.
It's easy to sell a lot of wood or stone early on, thinking you won't need it later, but the amount of materials you need for DIY projects ramps up considerably later. Plus, many of those projects are tied to progression. Don't worry about Bells. You can sell plenty of other things, such as fish and bugs and fossils, and you don't need piles of money right away. Materials are more critical. Save 'em.
Visit other deserted islands

On the second day, you'll unlock the ability to travel to other deserted islands by paying 2,000 Nook Miles for a ticket from the kiosk in Resident Services and then visiting the Airport. This is the absolute best way to acquire a lot of raw materials quickly. These islands will have tons of weeds, wood, and stone for you to harvest and often will have non-native fruits or flowers to collect too.
You can do this as often as you want, though you'll need 2,000 Nook Miles each time. Fortunately, visiting these islands has you doing so much that you'll often earn miles just for being there and harvesting materials.
Visit friends' islands
If you're out of Nook miles but have friends with bounties, ask them nicely if you can visit their islands and harvest some materials. Make sure they know you're going to be doing this in advance, as they may have collected everything from their islands already or may be planning to. And you'll need to request to be Best Friends with them first and have them accept that request.
Get the vaulting pole...

If you haven't yet, prioritize getting the vaulting pole as soon as you can. Both items will take a few days of gameplay, but you can get the vaulting pole as soon as the second day of the game.
The vaulting pole is unlocked by speaking with Blathers. First, you need to finish the DIY tutorial of the game and get your fishing rod (and, ideally, your net, though it's not necessary). Then, catch a total of five unique fish or bugs (it can be a combination of both) and turn them into Tom Nook using the "I found a creature!" dialogue option.
Once you do this, he'll call up his friend Blathers, and you'll be prompted to place a tent for the owl. He'll arrive in town the next day.
Once he's in town, visit him in his tent, and he'll give you the DIY recipe for the Vaulting Pole. Craft one using five softwood (obtained from using an ax on trees), and you'll be able to access more areas of your island to get more raw materials.
...and the ladder

Once you have the vaulting pole, you'll still find that there are high-ground areas of your island you can't reach. For those, you need the ladder, which can be obtained as soon as the fourth day of your game, or sooner if you can visit a friend to help.
To get the ladder in your town, you'll need a few things. You'll need to be able to visit other deserted islands with Nook Miles tickets, and you'll need Nook's Cranny to be open.
As soon as you can visit other deserted islands, try to visit at least two. On these islands, you'll find animals camping out who you can speak to and invite to move into your town. Do this for at least two animals, though you can do up to three at this stage of the game.
Then, once Nook's Cranny opens up, speak to Nook, and you'll be prompted to build a bridge. You'll receive a DIY recipe, so finish the bridge as soon as you can. From there, you'll receive housing kits for up to three new villager housing units, which you can place around the island.
Here's where the ladder appears. Once you've placed the second housing plot, Nook will call you and let you know you need certain DIY furniture to coax the animals to move in, and the materials for that furniture can only be found high up on the island. He'll then send you the recipe for the ladder, unlocking the remainder of your island for you.
At this point, you'll now have access to all wood and stone resources possible on your island. Harvest them all daily and save what you don't use!
Upgrade your tent to a house

Okay, hear me out here. Yes, I'm telling you that upgrading to a house will result in you being able to collect more materials.
The reason for that is because upgrading your tent to a house, while it requires an influx of materials upfront (including 30 iron ore, ouch), gets you access to Nook Miles+.
Nook Miles+ gives you a constantly rotating series of objectives to accomplish for Nook Miles, and they never run out. They're all simple tasks, including talking to neighbors, catching fish and bugs, and even buying and selling items.
Getting more Nook Miles is essential because you need 2,000 to buy a ticket to another deserted island for more materials. And without Nook Miles+, you might find it tough to keep earning them as quickly once you've gotten through the first influx of tasks.
Once you've got the first house, upgrading further than that is fairly optional. But that first upgrade is critical to continuing the game's loop, so make it a priority.
Just wait!
Animal Crossing: New Horizons is one of the best games on Nintendo Switch and is meant to be played slow and steady. If you're grinding for materials, it's okay to take a step back and wait a day for everything to regrow. Don't sweat it if you're not moving wildly fast through milestones. There's plenty of time.
Build, craft, relax
Animal Crossing: New Horizons takes place on a deserted island. Start with a tent and upgrade to a house, customize it to your liking, make friends with the villagers, and play with your friends.

