How to fix a 'Network Settings are not supported' error on Nintendo Switch
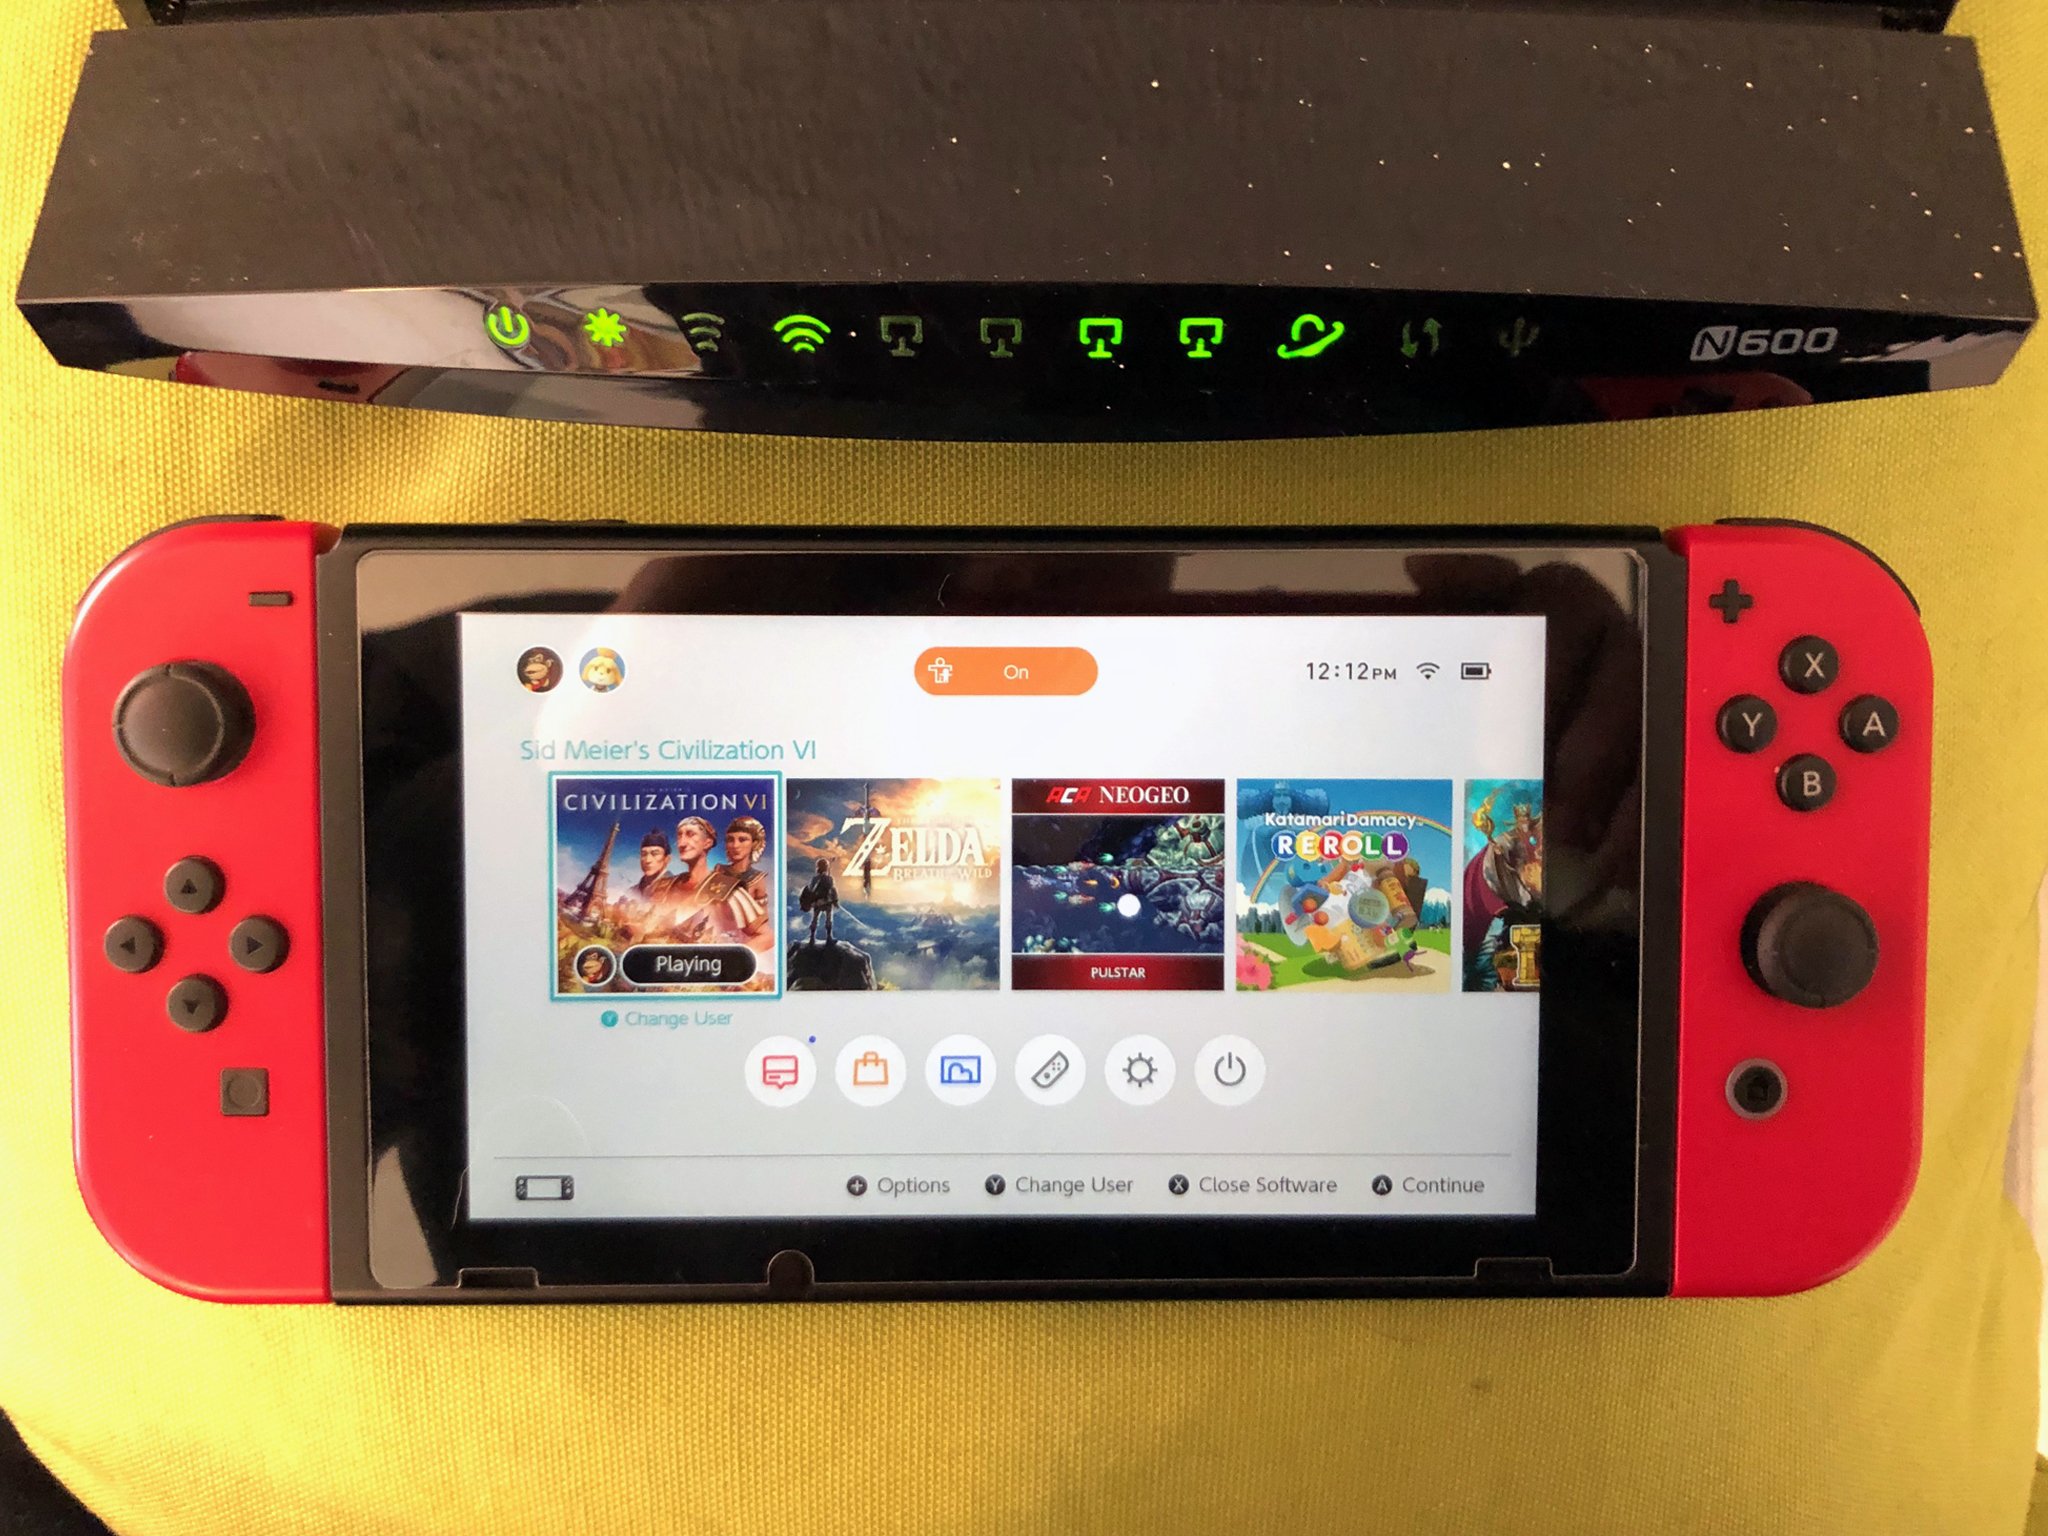
I think that most of us can agree that the Nintendo Switch has proven itself to be an amazing little piece of gaming hardware. However, much like most other modern technological wonders, experiencing internet connectivity issues can be an unfortunate roadblock. One such connection issue on the Switch is when you are told that your Switch's 'Network Settings are not supported.' You won't be able to enjoy the online aspects of some of the best Nintendo Switch games until this is resolved. If you see this message and you need some help, you are in the right place.
Products used in this guide
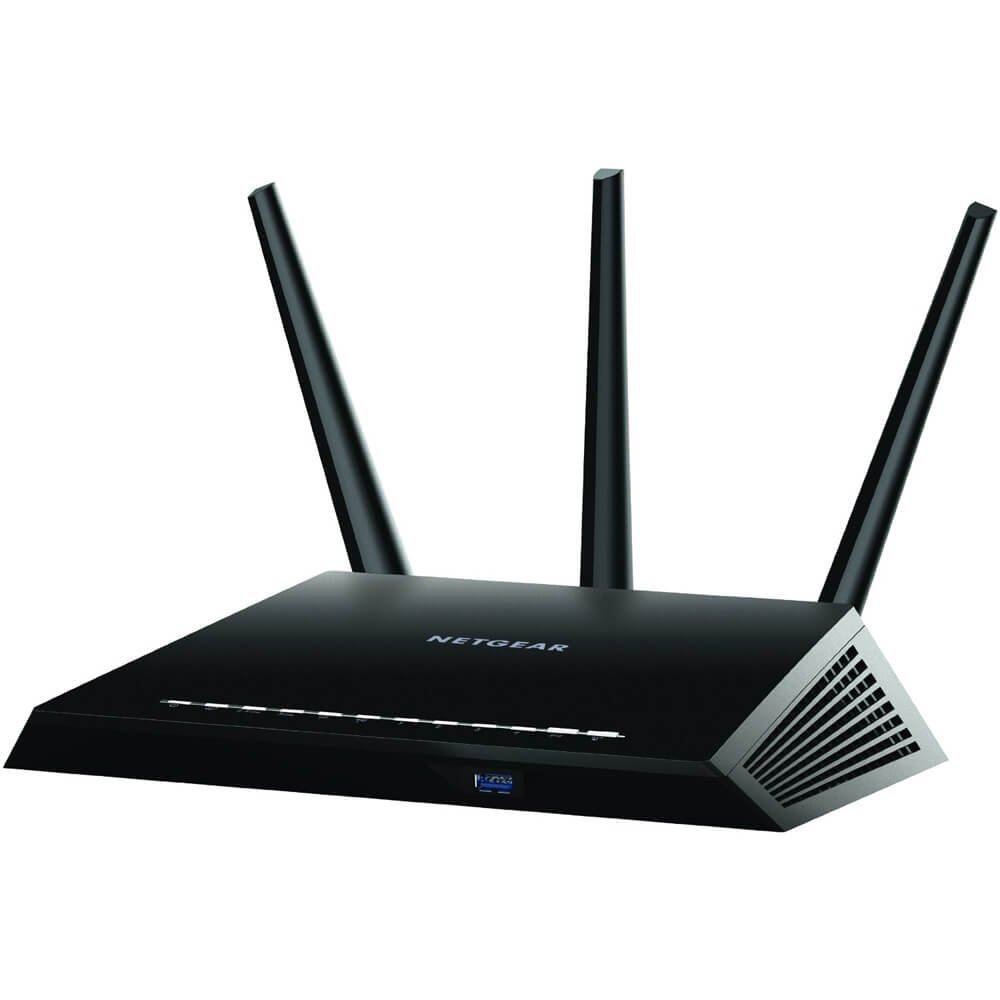
- Improved connection: Netgear Nighthawk AC1900 ($120 at Amazon)
How to fix Networking settings not supported error on Switch
Have you tried turning your Switch and Router off and on again? Whenever I experience an internet connection issue, I always restart my hardware. I would suggest giving that a whirl first.
- Unplug your router for at least 30 seconds and then plug it back in.
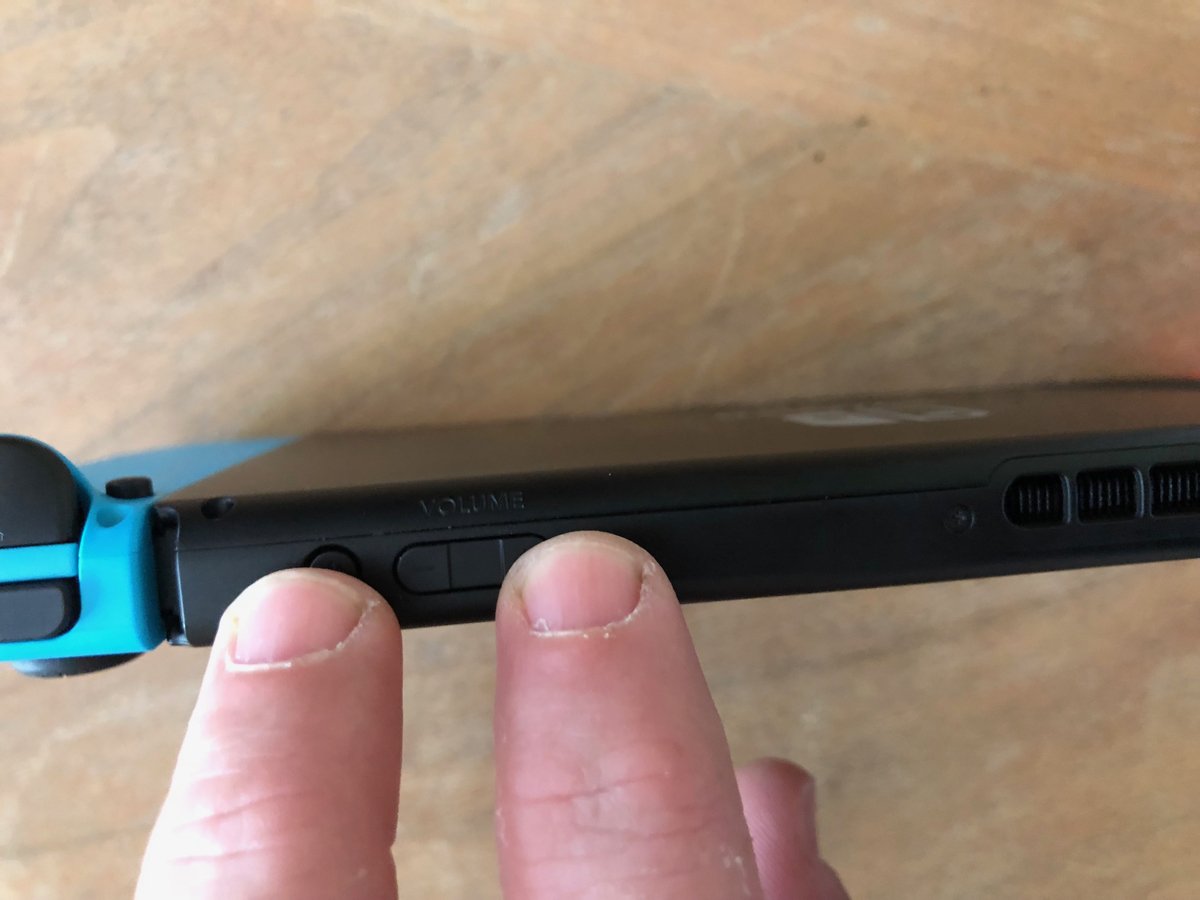
- Now hold down the Switch's power button until a menu pops up.
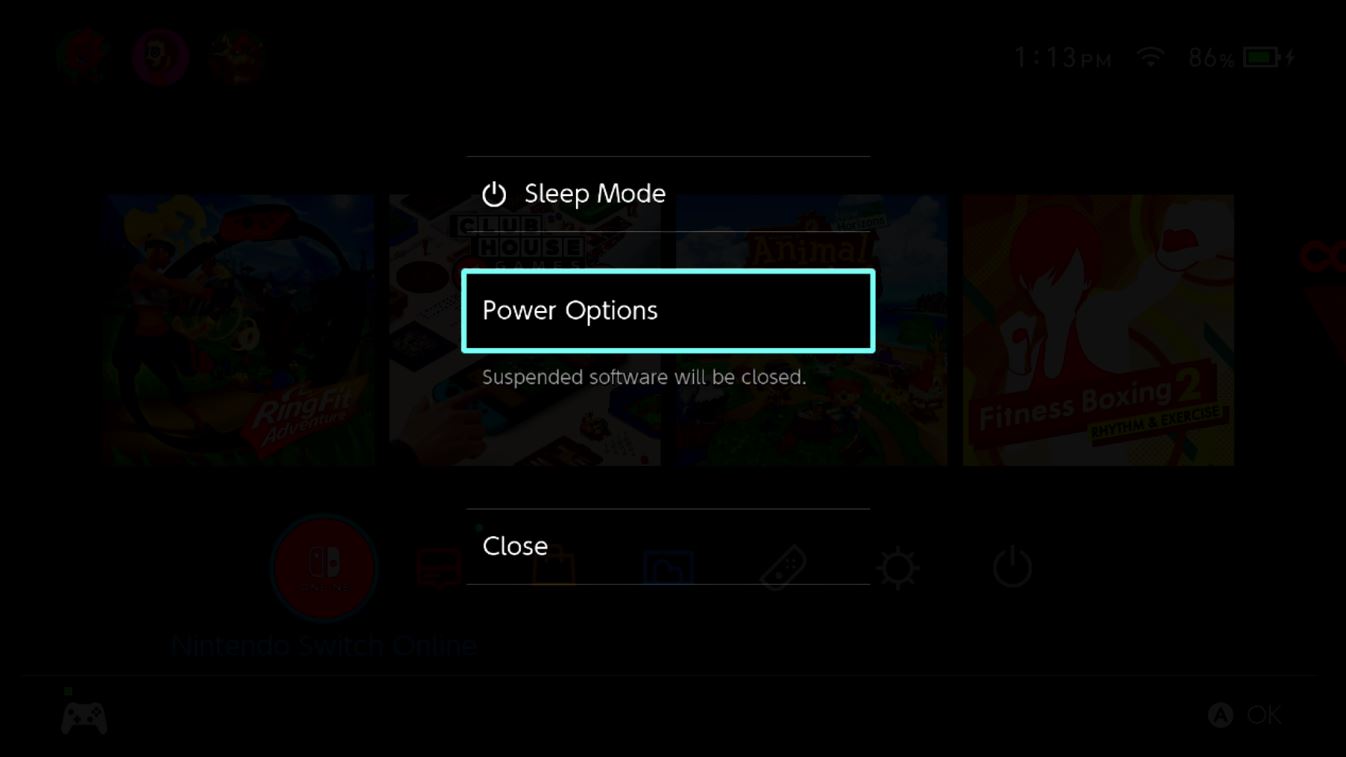
- Select Power Options.
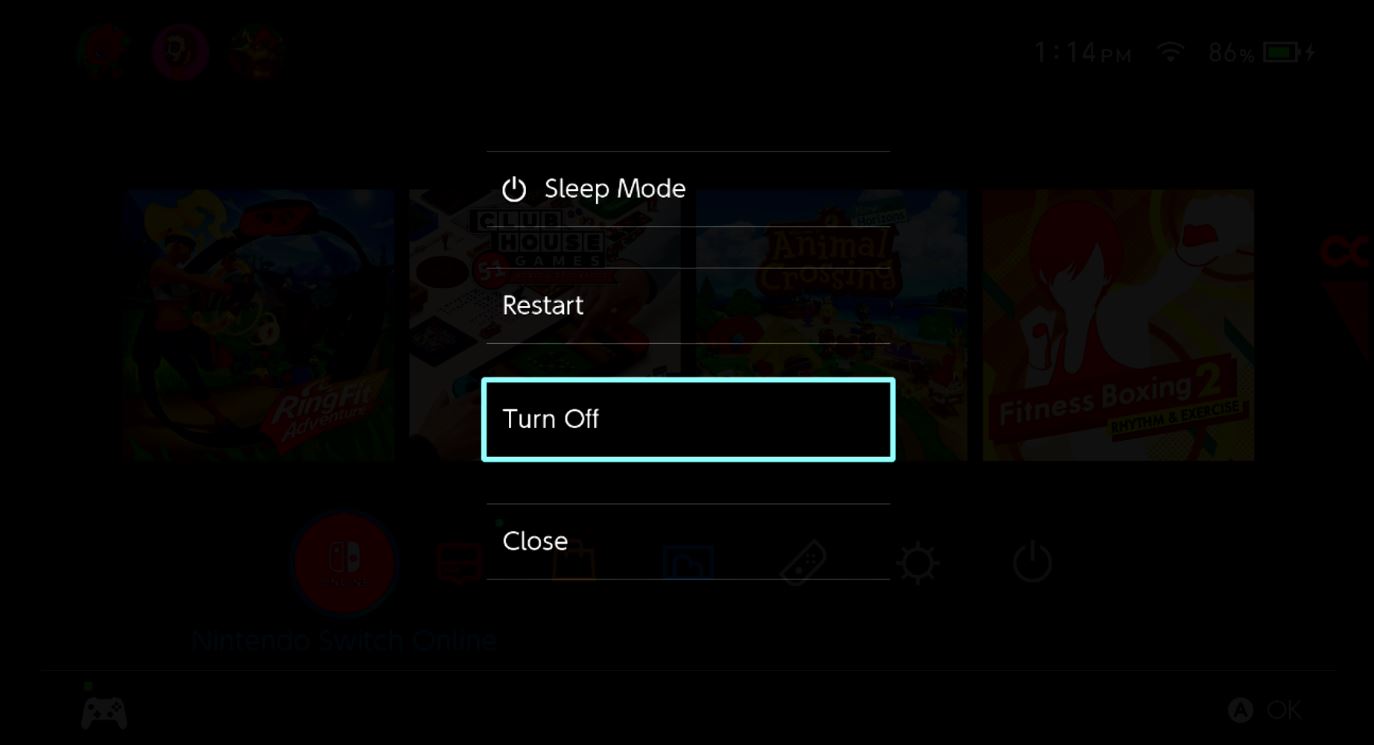
- Now select Turn Off.Source: iMore
- Wait for at least 30 seconds to pass and then press the Switch's power button to turn it back on.If turning your router and Switch off and then on again doesn't clear up your issues, it is time to move on to something else.
Check your router's wireless security settings
Unfortunately, the Switch does not support all of the flavors of wireless security protocols. If you are repeatedly experiencing these issues, it's a good idea to ensure that your router is set to utilize supported wireless security.
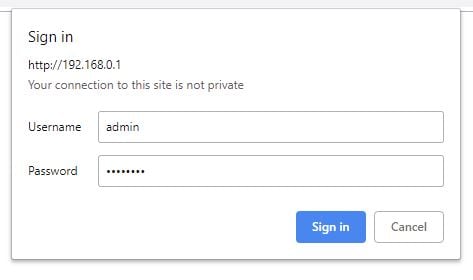
The process of logging into a router varies from type to type. However, many routers allow you to login in by using a browser and going to 192.168.1.1. However, if you are unsure how to access your router's settings, it is a good idea to refer to the documentation that came in the packaging. So, here's how to set up Nintendo Switch with your router.
- Log into your router using your computer or phone with a browser.
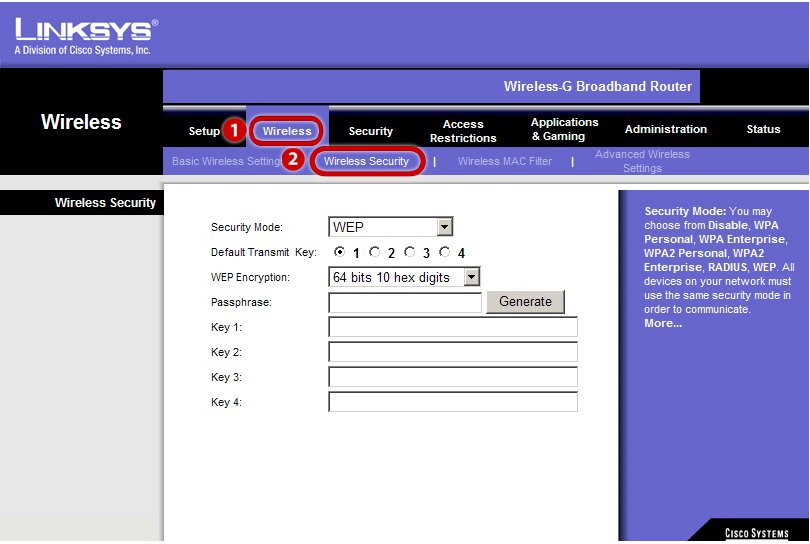
- Locate your router's wireless security settings.
- Select a security method supported by Switch - WEP, WPA-PSK(AES), and WPA2-PSK(AES) security types.
If you are receiving the error message that specifically mentions non-supported network settings, this should clear things up for you. By setting your router security to a method that is supported by Nintendo Switch, you should no longer experience this issue.
If you are going to be adjusting the security settings on a router, you will need a router (of course). This Netgear Nighthawk offers all the modern bells and whistles as well as gigabit speed. If you have an old one, this a great way to upgrade your router game without breaking the bank. Now you know the idea behind how to set up Nintendo Switch with your router. If you continue to have issues, you might want to consider talking to your router's customer service.
Our top equipment picks
Additional Switch accessories
Here are some Switch Lite accessories that I personally love to use. See if anything could help improve your own gaming sessions.
iMore offers spot-on advice and guidance from our team of experts, with decades of Apple device experience to lean on. Learn more with iMore!
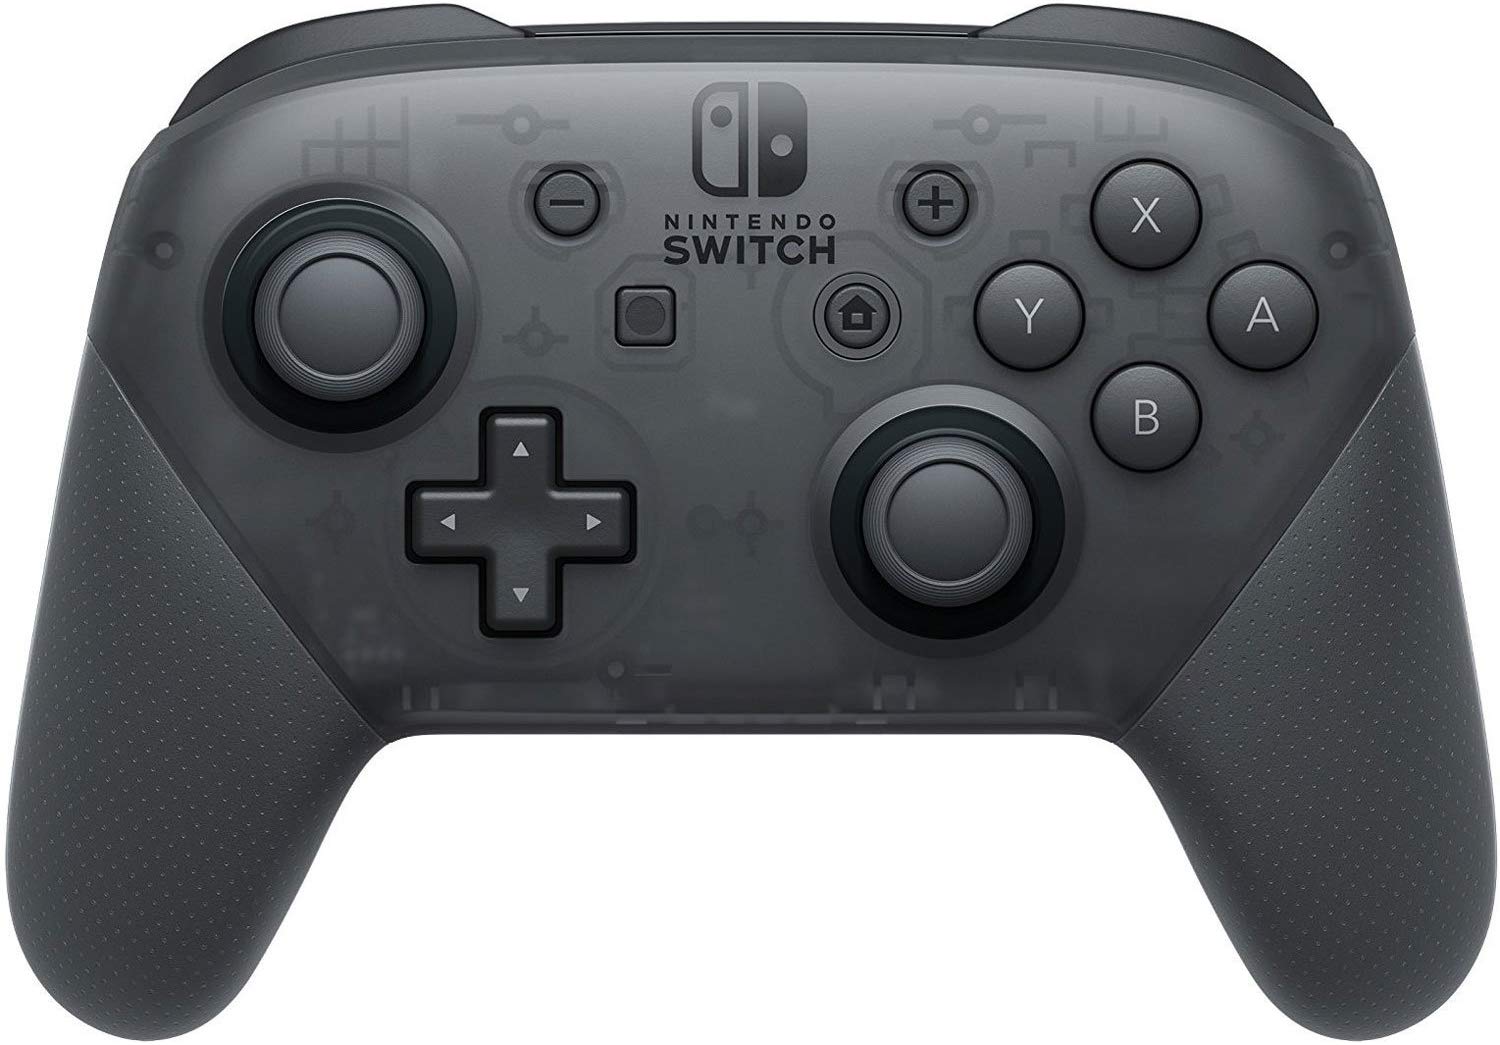
Pro Controller ($62 at Amazon)
Whether you've got the larger Nintendo Switch or the Switch Lite, you can benefit from using a Pro Controller. It features motion controls, amiibo functionality, and a better ergonomic design to enhance your gaming experience. It's also wireless, so you won't have to worry about tripping over cables.
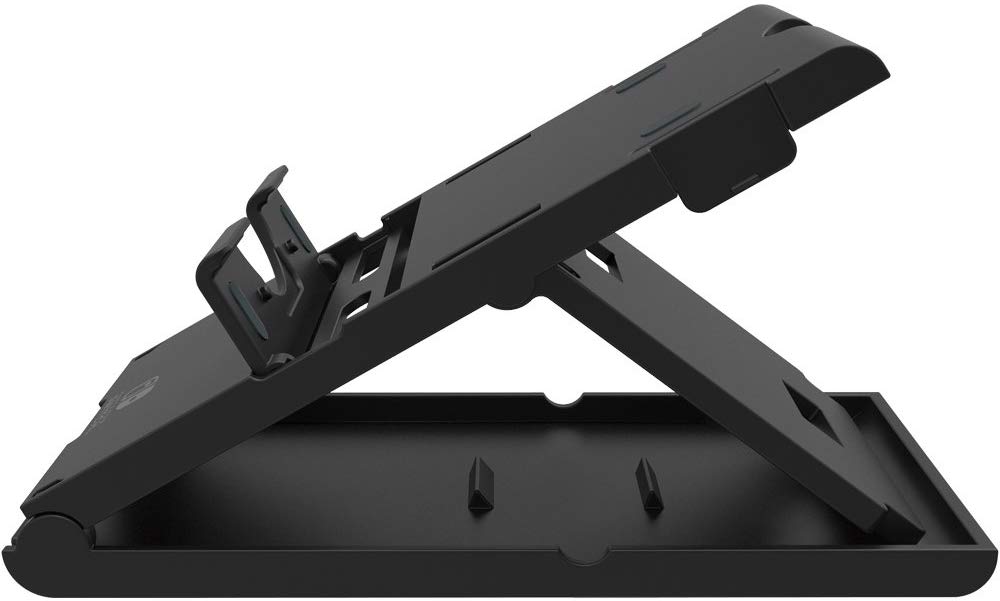
Hori Compact Playstand ($13 at Amazon)
Whether you're using a Switch Lite or the larger Switch, having a stand can be incredibly helpful. I typically use mine on the go when I either need to charge my Switch or when I simply want to bring the screen closer to my face.
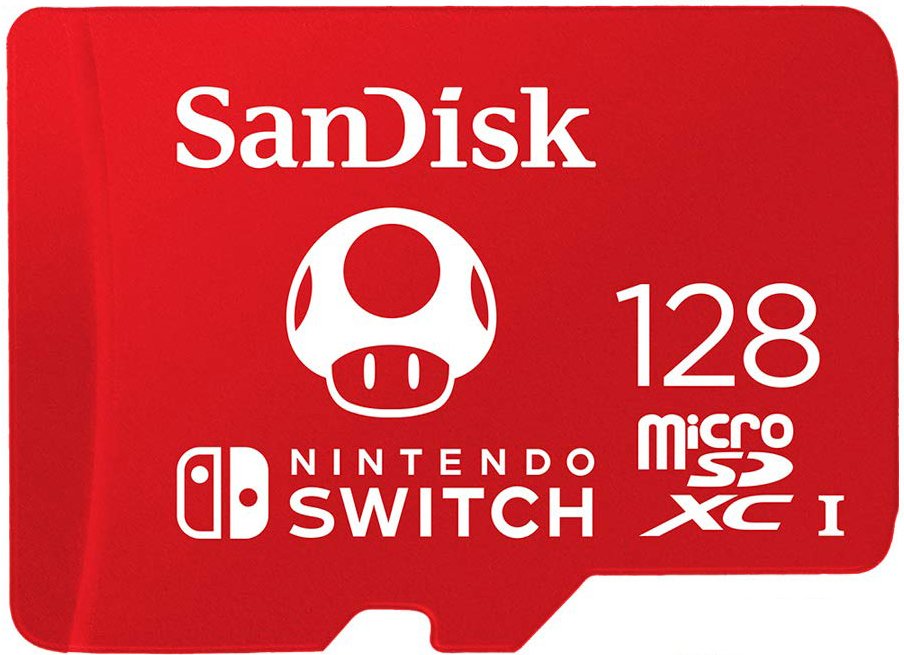
SanDisk 128GB MicroSD Card ($26 at Amazon)
Regardless of the Switch version you're using, you can always benefit from having more memory on the system. This microSD card has a cute Mario mushroom on it and gives you 128GB. That's plenty of space for screenshots, game data, and downloads.
