How to get the best time-lapse video with Hyperlapse

iMore offers spot-on advice and guidance from our team of experts, with decades of Apple device experience to lean on. Learn more with iMore!
You are now subscribed
Your newsletter sign-up was successful
Instagram's oft-overlooked companion apps are actually quite useful — not only do they feature easy integration with Instagram itself (duh), they're also good tools to use for image editing and video sharing.
- Layout from Instagram - Download Now
- Boomerang from Instagram - Download Now
- Hyperlapse from Instagram - Download Now
The Hyperlapse hype
Hyperlapse, in particular, is a useful standalone app for capturing and sharing time-lapse video. It also has some pretty powerful video stabilization tools to smooth out shaky, handheld shots.
As Instagram puts it:
Capture an entire sunrise in 10 seconds—even from the back of a moving motorcycle.
BRB, buying a motorcycle so I can capture some awesome sunrise footage.
The whole point of the app is to give you the ability to make good-looking time-lapse video without a super-fancy (super-expensive) setup. That said, there are some ways you can help Hyperlapse help you with your time-lapse video. But before we get to the tips, let's do a brief tutorial on using Hyperlapse.
Using Hyperlapse
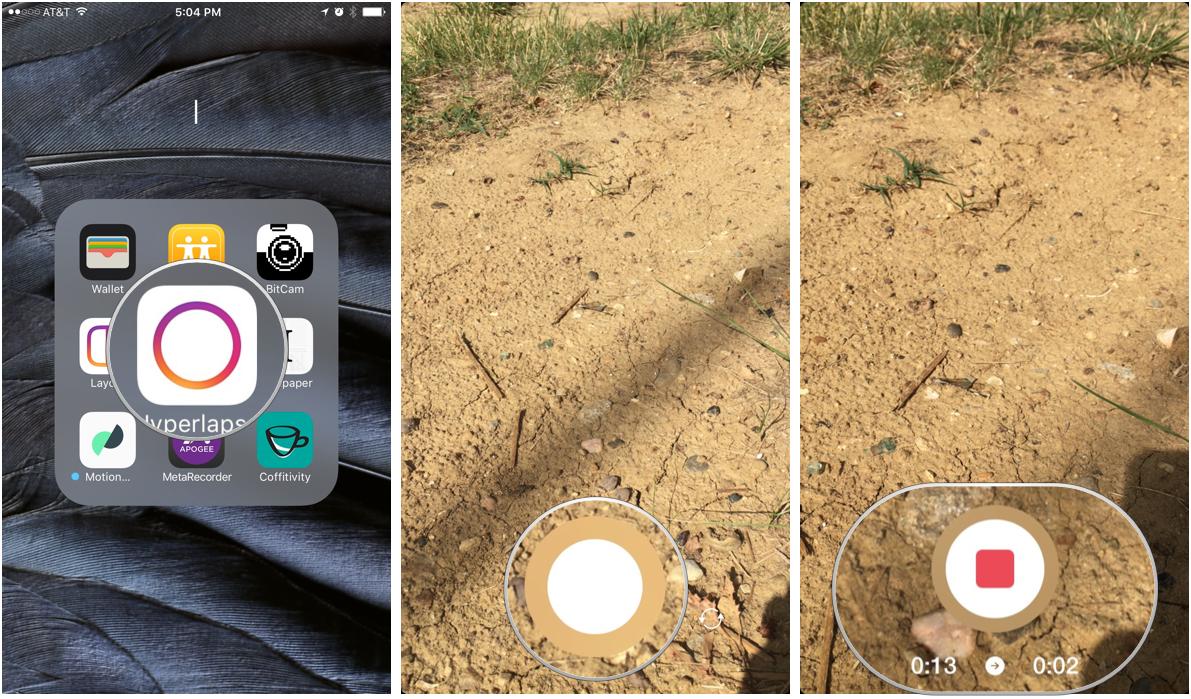
Hyperlapse is a super-simple app by design. To take a time-lapse video, follow these steps:
- Launch Hyperlapse from your Home screen.
- Hit the record button (looks like a circle near the bottom of the screen).
- Hit the stop button (same button as before, but now shows a Stop symbol with video duration below it) when you're done recording your Hyperlapse video.

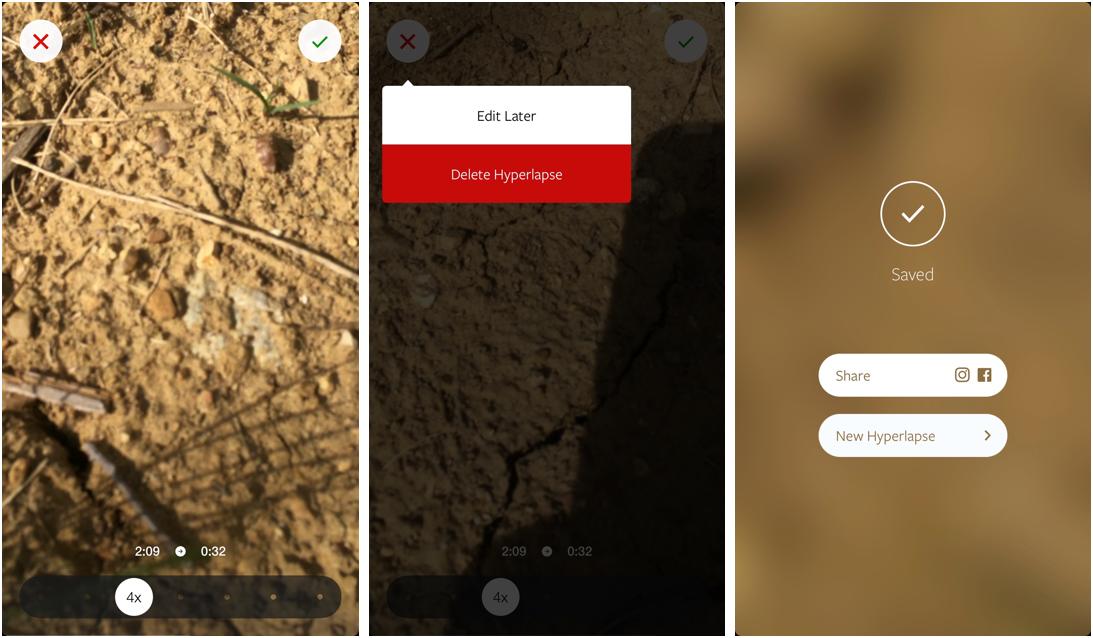
- Use the slider along the bottom to change the speed of the video.
- You can choose between 1x, 2x, 4x, 6x, 8x, 10x, and 12x.
- If you decide you don't want to share or save your video right now, hit the red X in the top left corner of the screen.
- Use this option to save your video for later or delete it entirely.
- If your video looks good, hit the green checkmark in the top right corner of the screen.
- This will automatically save the video to your camera roll.

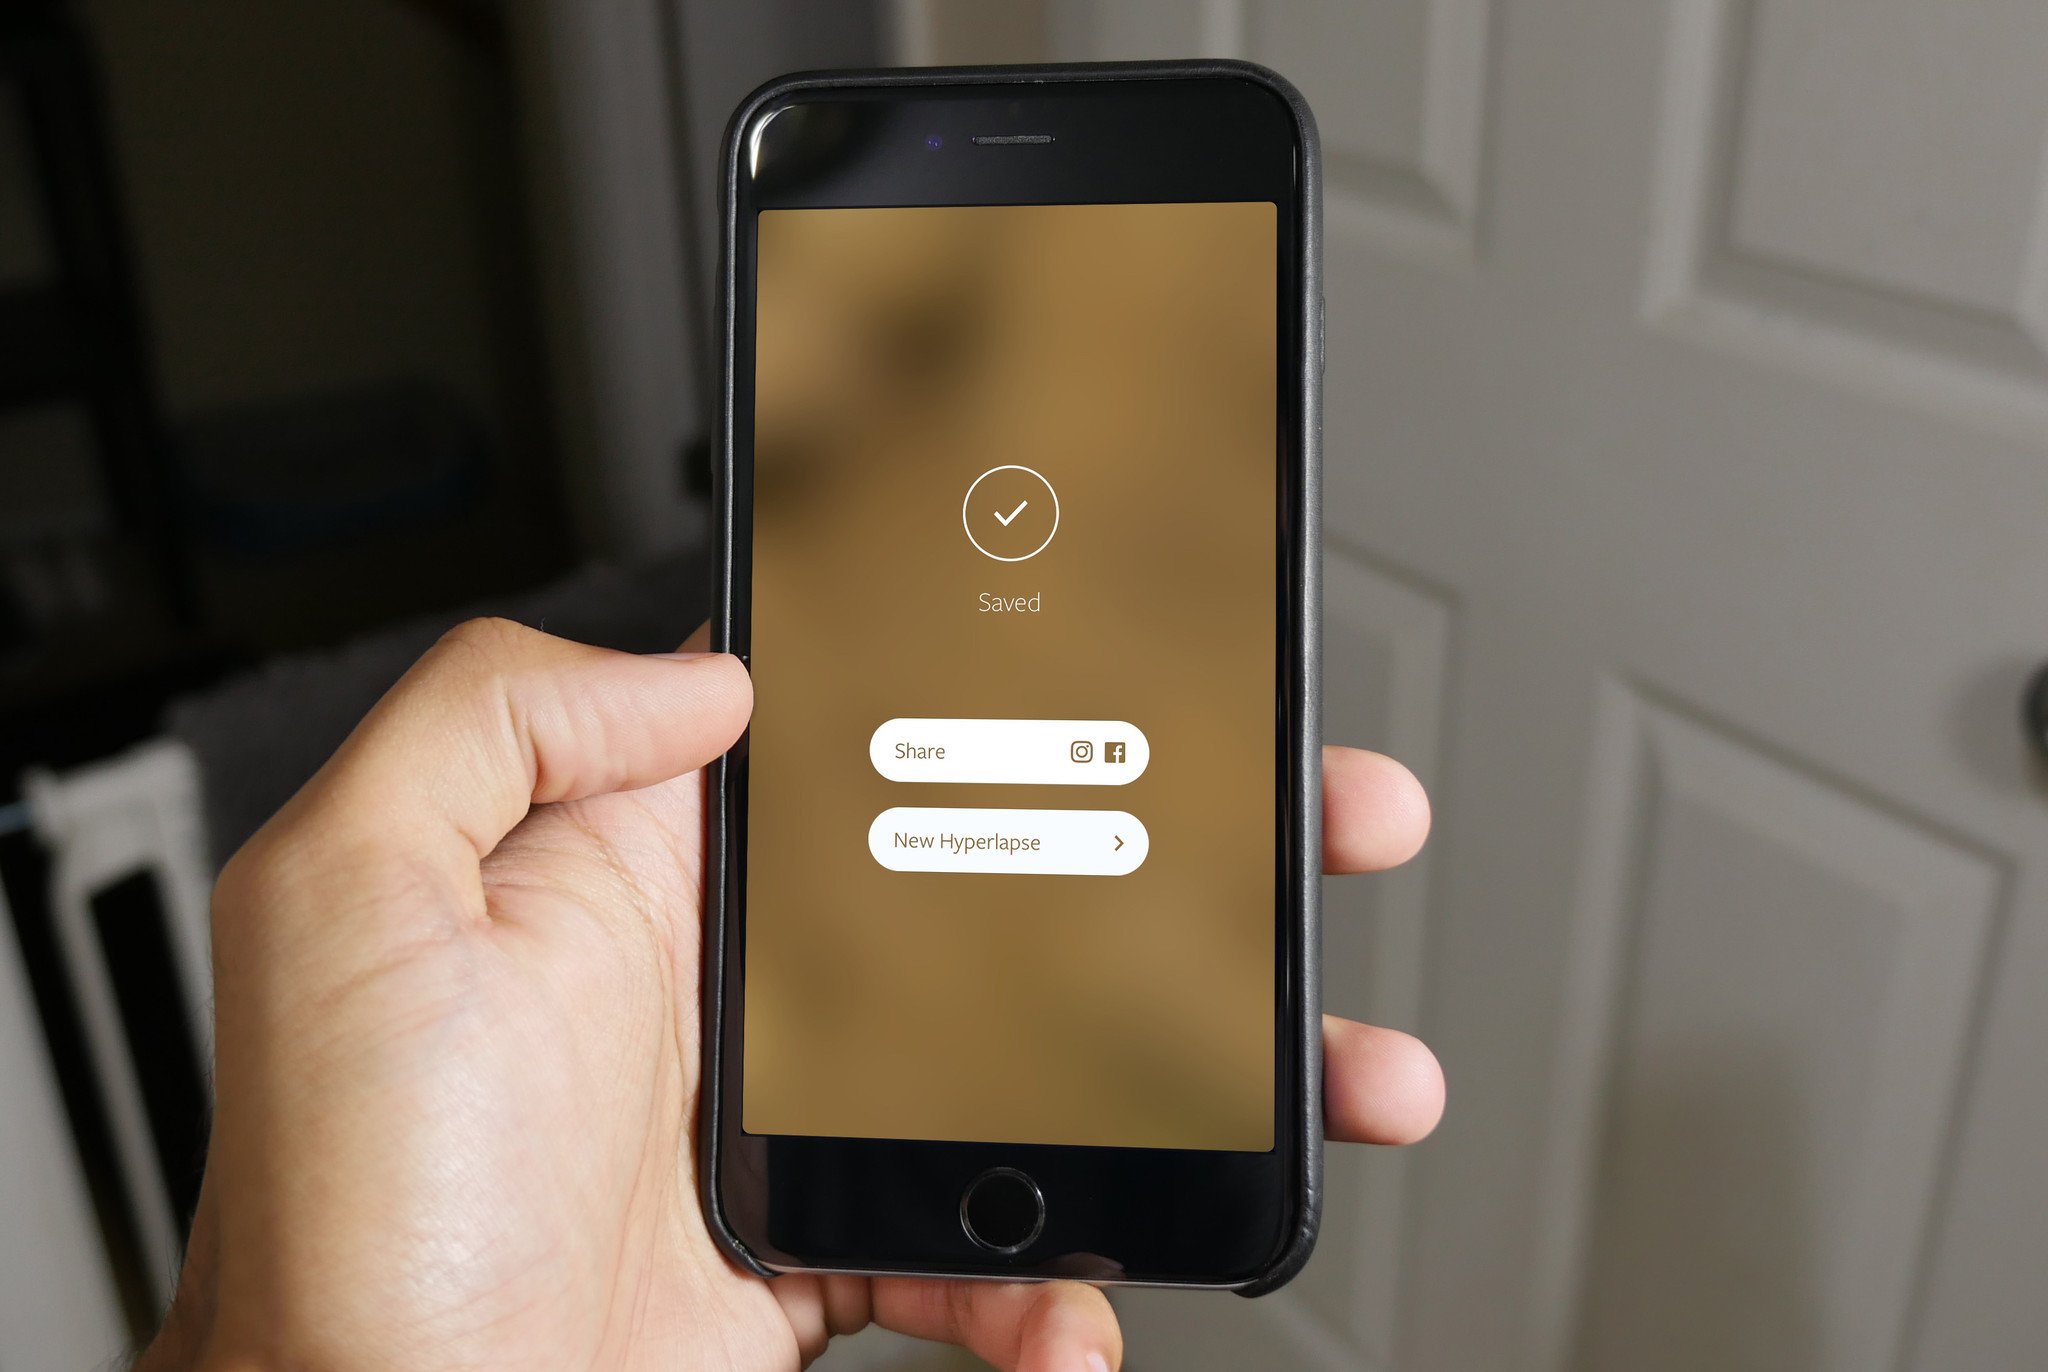
- Tap Share to bring up the iOS share sheet.
- Tap an app icon to share your Hyperlapse video on that app or service.
- When you're all done, tap New Hyperlapse to get back to business.
Quick, simple, fun. I can dig it. Now here are a few tips to get the best time-lapse videos using Hyperlapse.
iMore offers spot-on advice and guidance from our team of experts, with decades of Apple device experience to lean on. Learn more with iMore!
1. Steady as she goes
Try to keep your iPhone device as steady as possible.
"Dude, you were just going on about how Hyperlapse stabilizes shaky video."
I know, I know. But look, video stabilization can only do so much — even in Hyperlapse. More importantly, stabilization typically works by cropping the edges of the video as it reduces shake and bounce. The more steady your camera, the more video makes it into the final product.
Here are a few ways to stabilize your iOS device while shooting with Hyperlapse:
- Use your elbows: If you're going handheld, rest your elbows against your torso to keep things steady.
- Weigh things down: Attach a monopod, tripod, or even a selfie stick to your device. By adding weight in a focused location, you can help keep the camera steady even if you're in motion.
- Skip the movement: Choose a fixed location for your camera and you'll all but eliminate jerky footage — especially if you use a tripod or monopod.
2. Light it up
Forgive me for stating the obvious, but cameras love light. The more illumination, the better your video's going to look. That applies to stabilization, too: Better quality video will almost always result in better stabilization as the app performs calculations on your bright, clear, doggone-shaky videos.
Here are some ideas for lighting up your scene while shooting with Hyperlapse:
- Go outside: I know — it makes me shudder just thinking about it, but the big, bright ball in the sky makes for some damn good videography.
- Bulbs on bulbs on bulbs: If you insist on shooting indoors (you and I could be friends), you should turn on a few more lights. Dig out that old desk lamp, plug it in, and turn it on. Then, repeat.
- Visit Jony Ive: The closer you can get to an Ive-like, white room the better — it's bright, it's neutral, it's great for video. Find a white sheet or head to that one white room in your house you were supposed to paint a couple years ago, but still haven't gotten around to it.
3. Make a plan
Computers love patterns almost as much as cameras love light — particularly when they're running calculations. You're going to get a smoother, better-looking time-lapse if your shot is more consistent.
If you're bouncing the camera around, panning between light and dark areas, and capturing incredibly random footage, the stabilization is going to have a harder time doing its job.
Luckily, time-lapse is a pretty specific style of video requiring a pretty specific scene; planning is inherent.
Here are a few thoughts on planning your time-lapse shot before shooting with Hyperlapse:
- Get inspired: Think about time-lapse videos you've seen that you've enjoyed. Try to find opportunities to replicate those videos.
- Plan your route: If you're going to do a walking scene, plan your route to the best of your ability. A last-minute reroute can be jarring in the final Hyperlapse video.
- Choosy is choice: Be choosy about your subject matter; not every subject is going to make for an enjoyable, cinematic Hyperlapse. A macro video of grass blowing in the wind might not be all that compelling in time-lapse — ants carrying blades of grass, however, would be pretty awesome.
4. Don't think about it too much
I know that sort of flies in the face of everything I've just told you, but let's be honest with ourselves: Taking a bunch of video footage, smoothing it out, and speeding it up is going to look pretty cool whether it has perfect lighting or not.
Your best bet for getting the best time-lapse video with Hyperlapse is to capture loads of video as you perfect your technique.
Have any tips you want to share? Did our tips help you capture some fan-friggin'-tastic Hyperlapses? Send 'em our way — either in the comments below, or on the social network of your choice.
Mikah Sargent is Senior Editor at Mobile Nations. When he's not bothering his chihuahuas, Mikah spends entirely too much time and money on HomeKit products. You can follow him on Twitter at @mikahsargent if you're so inclined.

