Our friends at Android Central recently took a deeper look at Google's Nest, so we thought we'd do the same thing with the ecobee4, which as thermostats go, might be even smarter. And we're starting with a hands-on install!
- $249 - Order now
Step 1: Disconnecting the dumb
Right from the start, Ecobee did a good job with the instructions. They made the process seem simple, which took a lot of the stress out of something that could otherwise seem like a major change to your home.
First, we went into the garage to power off the HVAC system (heating, ventilation, and air conditioning). A couple of switches later, and we were ready to go. That meant taking the cover off the old thermostat.


The next step was the most daunting: We had to label all the wires. Ecobee provided stickers to make it easier, but it was slow going just because none of us had ever done anything like that before. For example, there was a warning about high voltage systems, which we didn't really understand. So, we ignored it and proceeded anyway. It turned out fine, but some extra help here would have been appreciated.
From there we followed the instructions carefully — we matched the wires from our old thermostat to the stickers Ecobee provided. Because we had the wire labeled "C", we got to skip ahead. If we hadn't, we'd have had to install the power extender kit as well.
Step 2: Setting up the smart
Attaching the back wall plate was also easy, but it wasn't obvious. There were only two sizes, but one was already attached to the unit and we didn't realize it. Once we figured that out, it was simple to install. ecobee4 even comes with a level, which is great, because it makes it easy to keep it straight.

Because the old thermostat was a horizontal rounded rectangle, and the ecobee4 is a circle, they don't cover the same wall area. That means Georgia has an excuse to will need to repaint.
Reconnecting the wires proved to be the biggest challenge. We couldn't figure out from the directions how to match them back up. So, we called Ecobee support. Even though it was a weekend, they answered quickly. While we were initially told we'd have to wait for a customer service rep, the rep answered almost immediately.
Once we started talking, the rep asked a few questions, which we answered, and then he told us exactly how to proceed. That level of support is impressive!
Next we plugged in the actual ecobee4 unit, then went down to the garage to turn the HVAC system back on. The Ecobee screen lit up right away with instructions on what to do next. We followed along to set up wifi, to register online with the provided code, and to get everything up and running. Much of it was done right on the ecobee4 touch screen, which was great. The registration was done on the iPhone, which was also great.

The remote sensor was even easier. We removed the battery sticker and it paired immediately. The we placed it, as recommended, in a high traffic area.
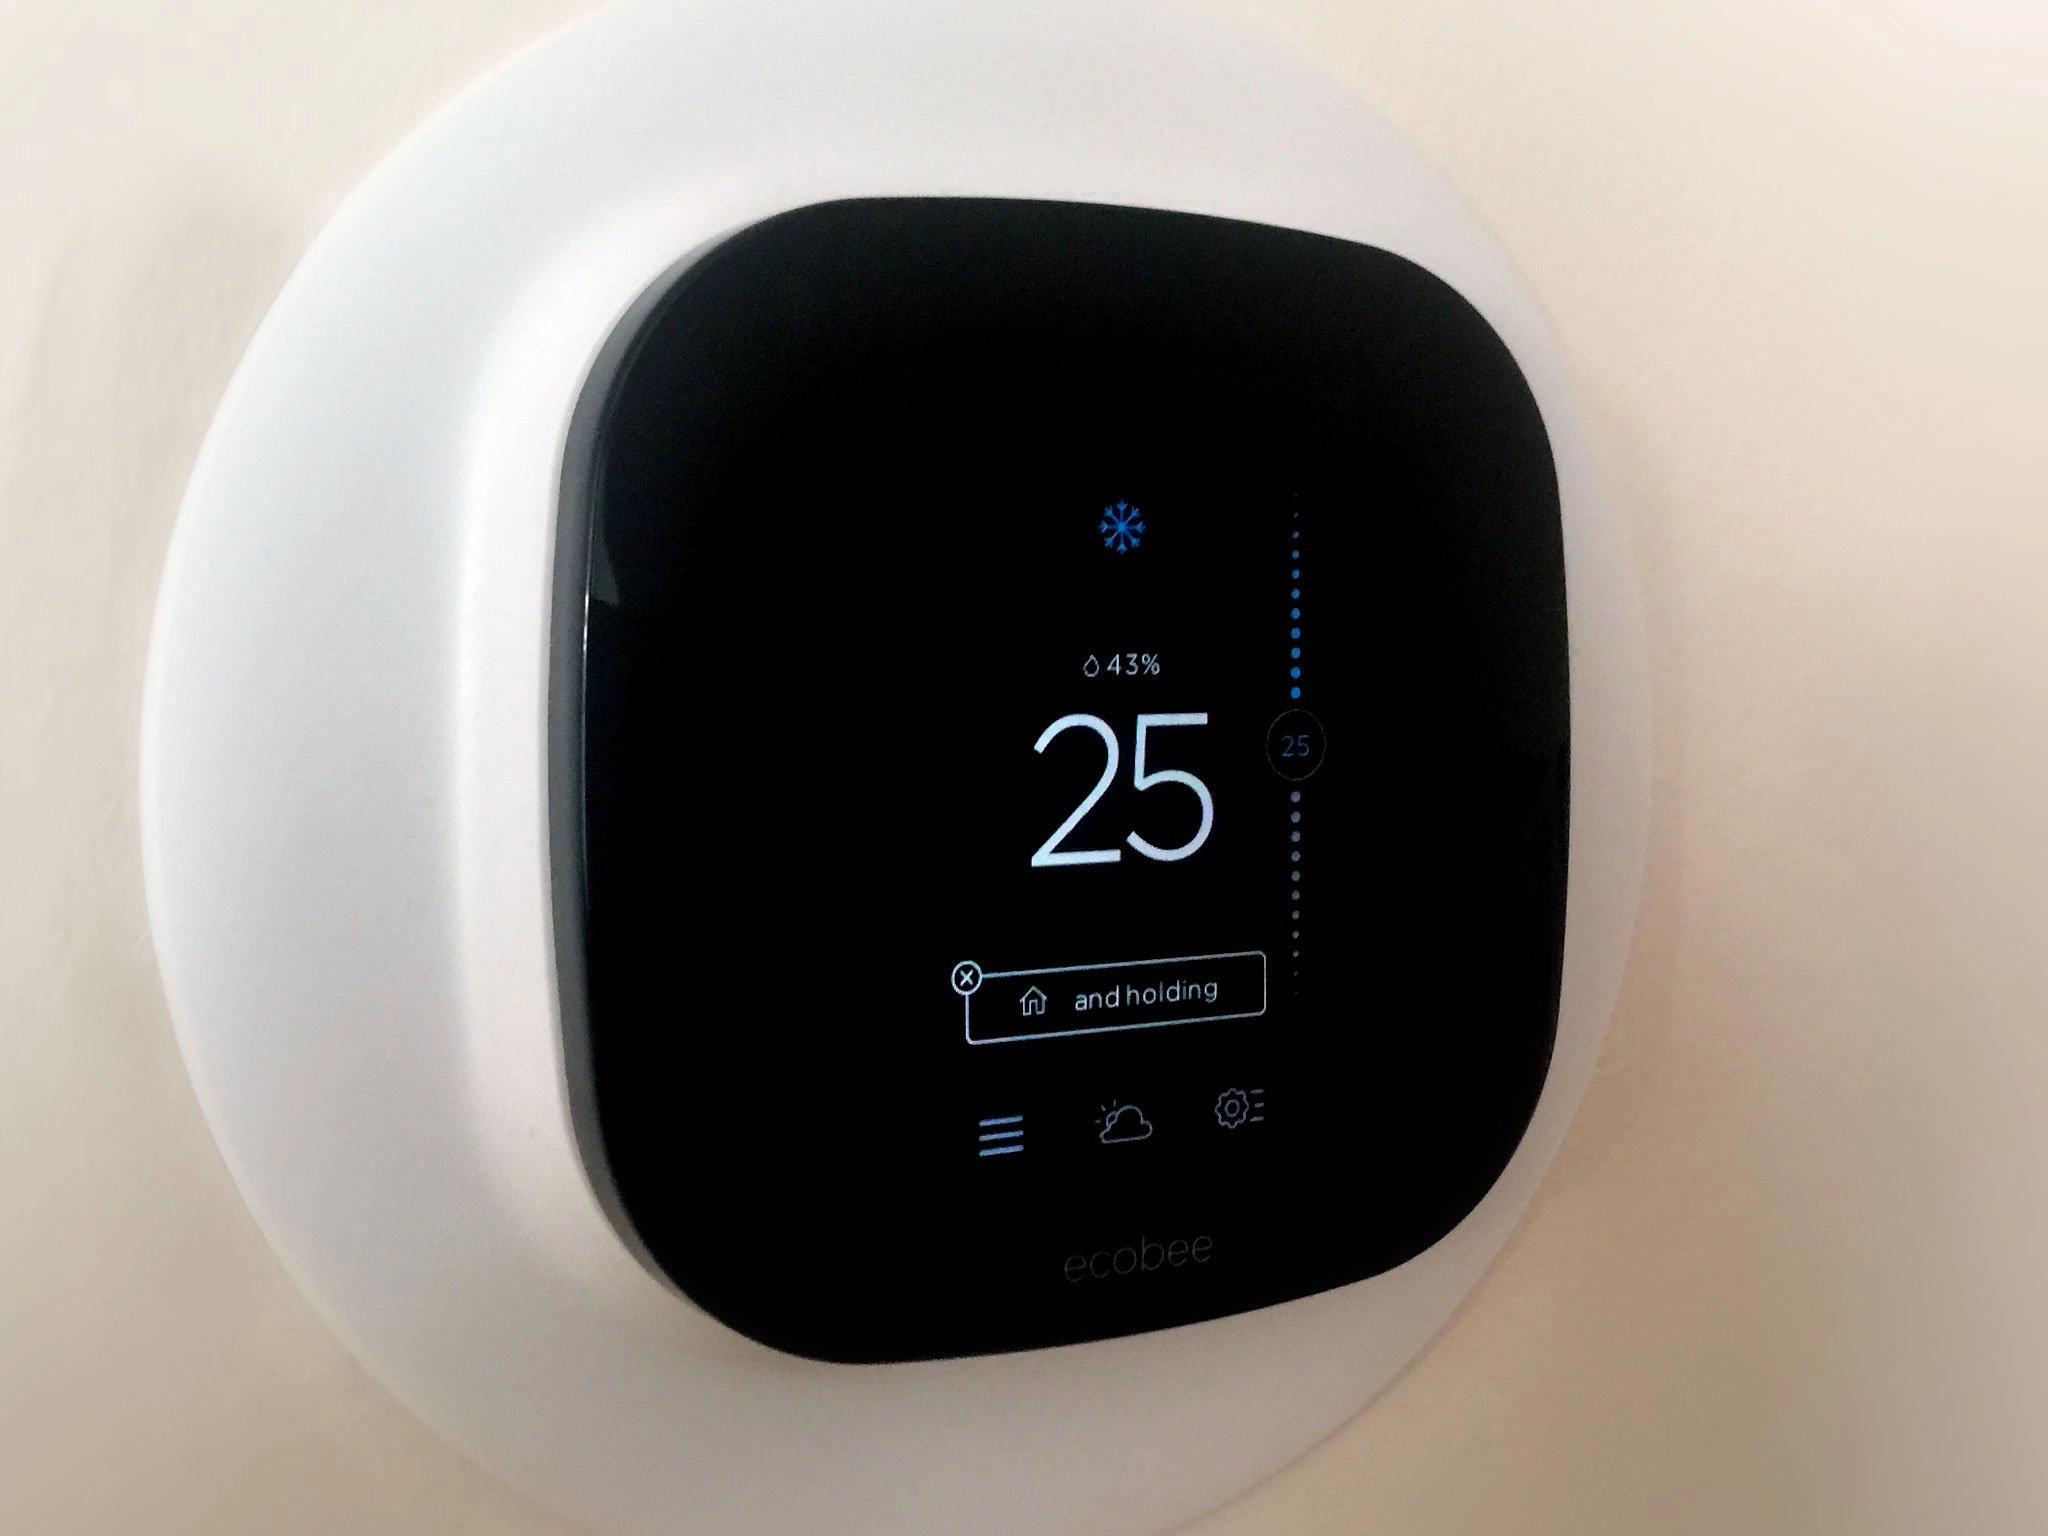
Step 3: Climate controlled!
The entire ecobee4 installation and setup was faster and easier than we expected, and now we're happily testing the smart thermostat on both our iPhones and Apple Watches.

That will be the subject of our next installments!
- $249 - Order now

