Monster Hunter Rise photo mode: Tips for taking the best pictures
Strike a pose... but watch out for monsters!
iMore offers spot-on advice and guidance from our team of experts, with decades of Apple device experience to lean on. Learn more with iMore!
You are now subscribed
Your newsletter sign-up was successful
Monster Hunter Rise is finally here and it's doing incredibly well. If you're not familiar with the Monster Hunter series, it's basically a game where you hunt large monsters and loot parts from them to craft armor and weapons for yourself, to take on bigger monsters. Oh, and you can craft armor and weapons for your companion cat and dog that join you on hunts. Who can resist a cat or dog in a hat, right?
In the last Monster Hunter game, Monster Hunter World: Iceborne, there was the addition of "View Mode," which allowed hunters to freely look around at their surroundings, and even pose directly for the camera. In Monster Hunter Rise, a "Photo Mode" has been added from the start, and it's even part of the game's tutorial early on.
There are a lot of beautiful scenes and creatures to observe when you're not hunting, so here's how to make the most out of the Monster Hunter Rise Photo Mode.
Why use Monster Hunter Rise Photo Mode?
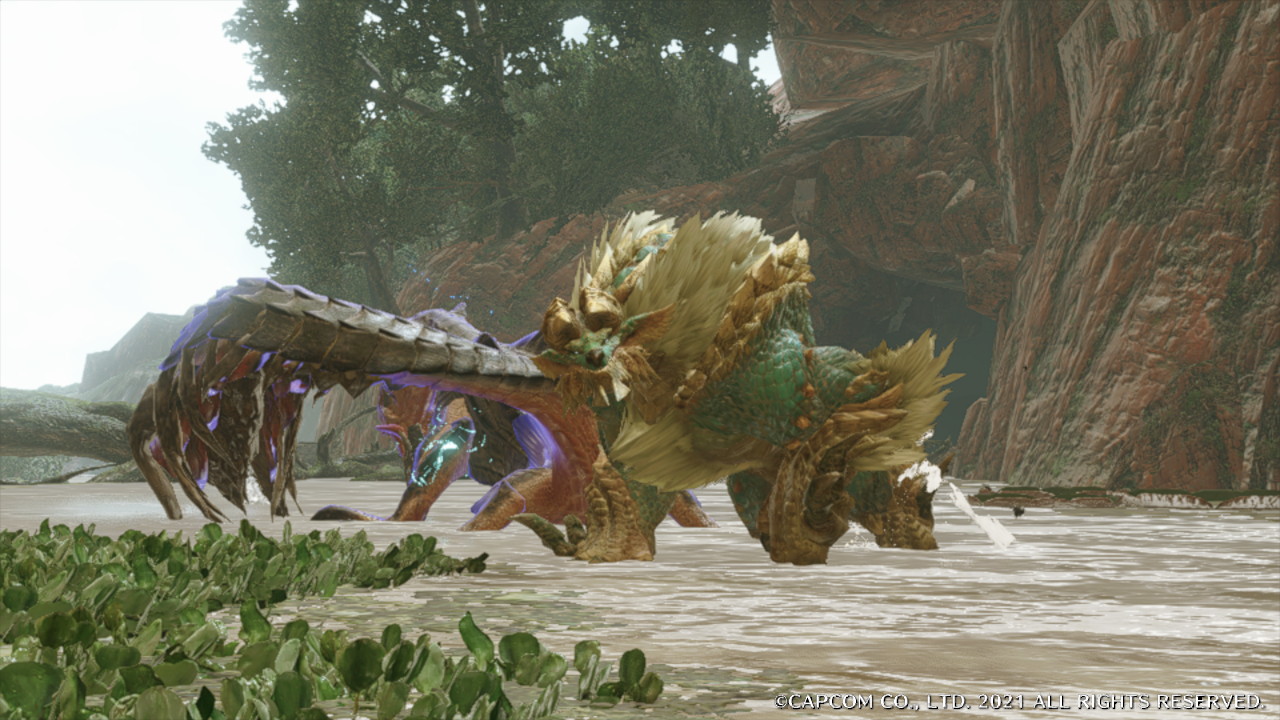
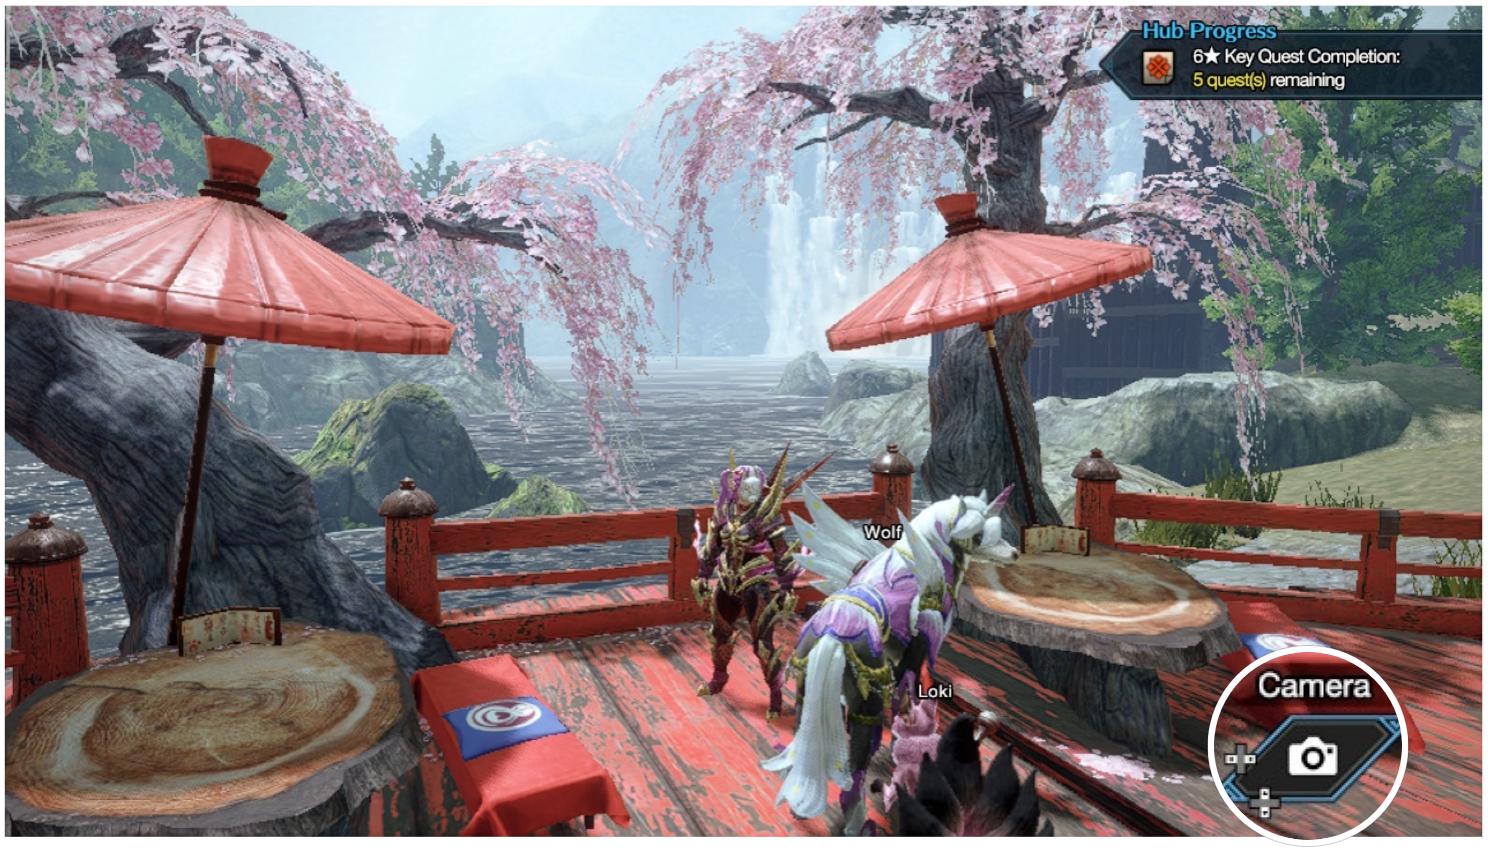
While you could technically use the Nintendo Switch's screenshot functionality to take screen grabs, the Photo Mode in Monster Hunter Rise is more akin to an actual camera — hence why you access it via the "Camera" option in the customizable Action Bar. When you take a photo with the Camera in the game, you only get what's in the viewfinder, without any of the game's HUD interface in the way. With this in mind, you can capture some great up-close shots of your Palicos or Palamutes, endemic life on the maps, or even large monsters (as long as they don't have their attention on you).
There are also some quests that will require you to use the Camera to complete. For example, Master Utsushi will introduce you to the camera, and ask you to take a photo of him in the beginning. Another NPC will ask you to capture a photo of certain endemic life out on the field, so if you strive for 100% quest completion, you'll need to get accustomed to the game's Camera tool.
How to access the camera in Monster Hunter Rise's Photo Mode
By default, the Camera can be accessed via the game's new Action Bar feature, which you can also customize. Another option is to add a shortcut for the Camera in the Radial Menu, which is also customizable.
Here's how to access the Camera as a default action in the Action Bar:
iMore offers spot-on advice and guidance from our team of experts, with decades of Apple device experience to lean on. Learn more with iMore!
1. Press left or right on the directional buttons on your controller until you find Camera.
2. Press up or down on the directional buttons on the controller to activate the Camera Viewfinder.
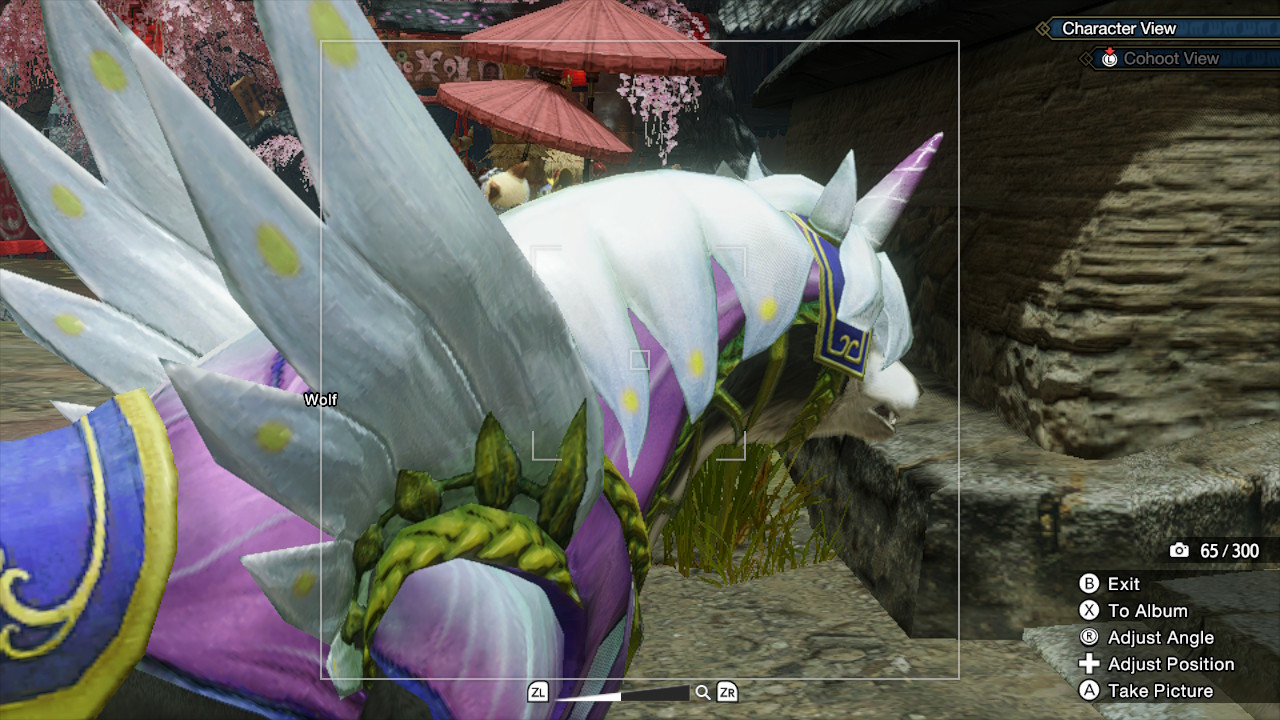
Once you have the Camera viewfinder HUD, you can do the following:
- Press B on the controller to exit.
- Press X on the controller to view your photo album.
- Use the right joystick to adjust the angle of the viewfinder.
- Use the directional buttons to adjust the position of the camera.
- Press ZL and ZR to zoom in or out.
- Press A to take a picture.
- Press the left joystick to activate Cohoot Mode, which lets your hunter join the scene, making it perfect for selfies and other fun scenes.
Now that you know the basics, let's get down to business — how to get the best pictures possible. Do keep in mind that the game will save any photos you capture in an in-game album, as well as the regular Album on the Nintendo Switch itself. The in-game album has only 300 slots, so it's not infinite — however, you can show off your favorite photos in your hunter's room. You'll have to delete some pictures if you hit the 300 photo limit.
Observe and photograph everything you can
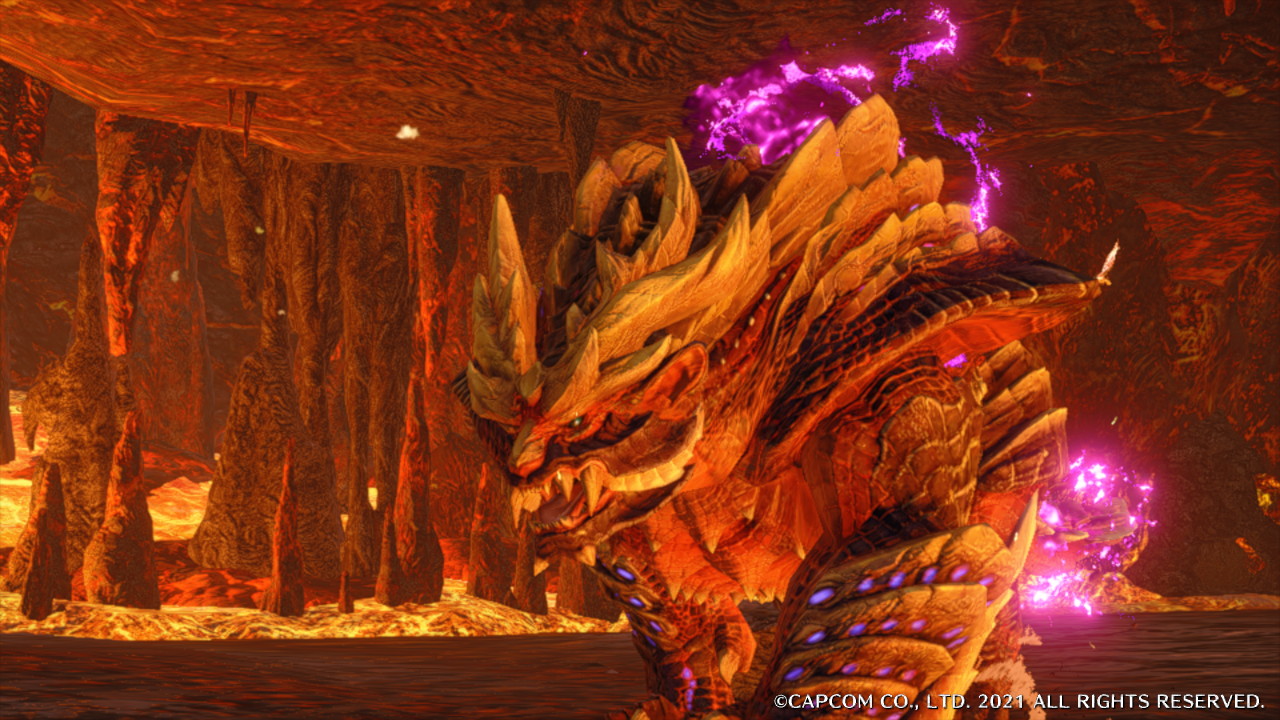
Monster Hunter Rise brings a handful of brand-new maps that have not been in previous Monster Hunter titles, though a few of them are inspired by older locales. These areas are all vast and lush, with a ton of different endemic life, small and large creatures, and other hidden surprises.
Of course, an intense hunt is not the best time to take photographs, which is why I recommend exploring each area during an Expedition. These give you unlimited time instead of the usual 50-minute limit for quests, and you can pretty much do whatever you want.
As you explore a map, it would be best to observe everything around you and just take a picture of whatever catches your eye, including various creatures whenever possible. It's fun to just watch how a large monster acts in its native habitat, rather than looking at you as its next meal.
Plus, since some quests will require a picture of a certain creature to complete, you might as well do it early. This way, you don't need to look for a needle in a haystack when the time comes. Also, taking photos of creatures will provide more info about them in Hunter's Notes — this applies to any creature that will show a name in the corner of the viewfinder.
Make use of your poses
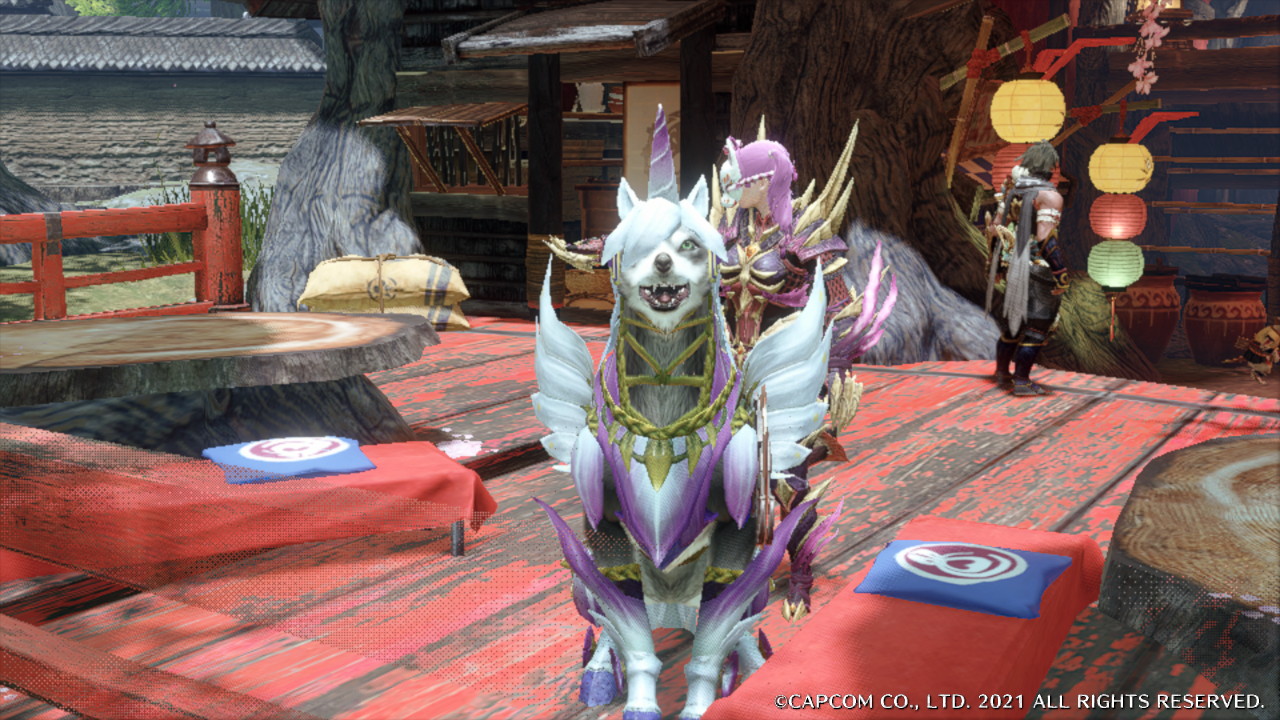
A signature part of any Monster Hunter game are the poses that your character can do. There are a handful of poses that are available by default with the purchase of the game, but some additional ones can also be purchased in the eShop, and the Deluxe and Collector's Editions of both the base game and the paid DLC expansion, Monster Hunter Rise: Sunbreak come with special poses that you can't get otherwise.
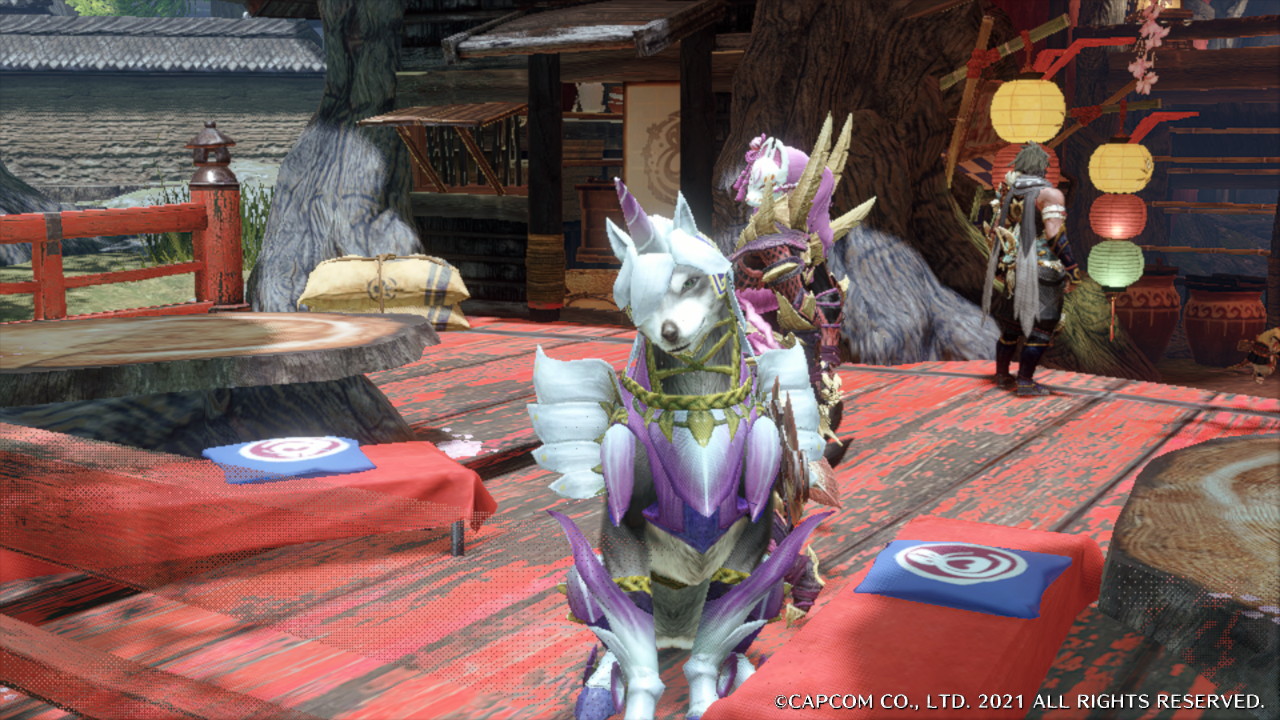
With the Cohoot mode for the Camera, you can use these poses and other gestures to make your hunter and buddies do cool things for a scene. Just make sure you angle and position the frame right and get your Palico and Palamute in the picture too for maximum fun!
It may take a little bit of fiddling around to get the perfect shot with a pose for your trio, but it can make a great memory for your room or even to use on your Guild Card.
Strike a pose!
With such a huge and open world to explore, there are a lot of photo ops with Monster Hunter Rise Photo Mode. The best tip I can give is just to have fun and be a little creative out there. It's even better if you're hunting with a group of friends and you all do something silly in the downtime of not bashing in a monster's face with a giant hammer or hunting horn.
Monster Hunter Rise is shaping up to be one of the best Nintendo Switch games of the year. I've already put dozens of hours into it, and I absolutely love it — easily the best Monster Hunter game to date, and I can't get enough! The Monster Hunter Rise Photo Mode just adds an extra bit of fun and silliness to the game that you can do in your downtime between hunts.
Monster Hunter Rise
Monster Hunter's gameplay loop is equal parts challenging and addictive. Take on quests to hunt a wide variety of amazingly designed monsters on your own or with friends as you protect the peaceful Kamura village from the impending doom that is the Rampage.

Christine Romero-Chan was formerly a Senior Editor for iMore. She has been writing about technology, specifically Apple, for over a decade at a variety of websites. She is currently part of the Digital Trends team, and has been using Apple’s smartphone since the original iPhone back in 2007. While her main speciality is the iPhone, she also covers Apple Watch, iPad, and Mac when needed.
When she isn’t writing about Apple, Christine can often be found at Disneyland in Anaheim, California, as she is a passholder and obsessed with all things Disney, especially Star Wars. Christine also enjoys coffee, food, photography, mechanical keyboards, and spending as much time with her new daughter as possible.
- Nadine DorniedenContributor
