The power of RAW: Professional iPhoneography
iMore offers spot-on advice and guidance from our team of experts, with decades of Apple device experience to lean on. Learn more with iMore!
You are now subscribed
Your newsletter sign-up was successful
There's been a lot of debate surrounding the iPhone X and whether it actually squares up to a DSLR in any way, shape or forum: and surprise surprise, it kind of does.
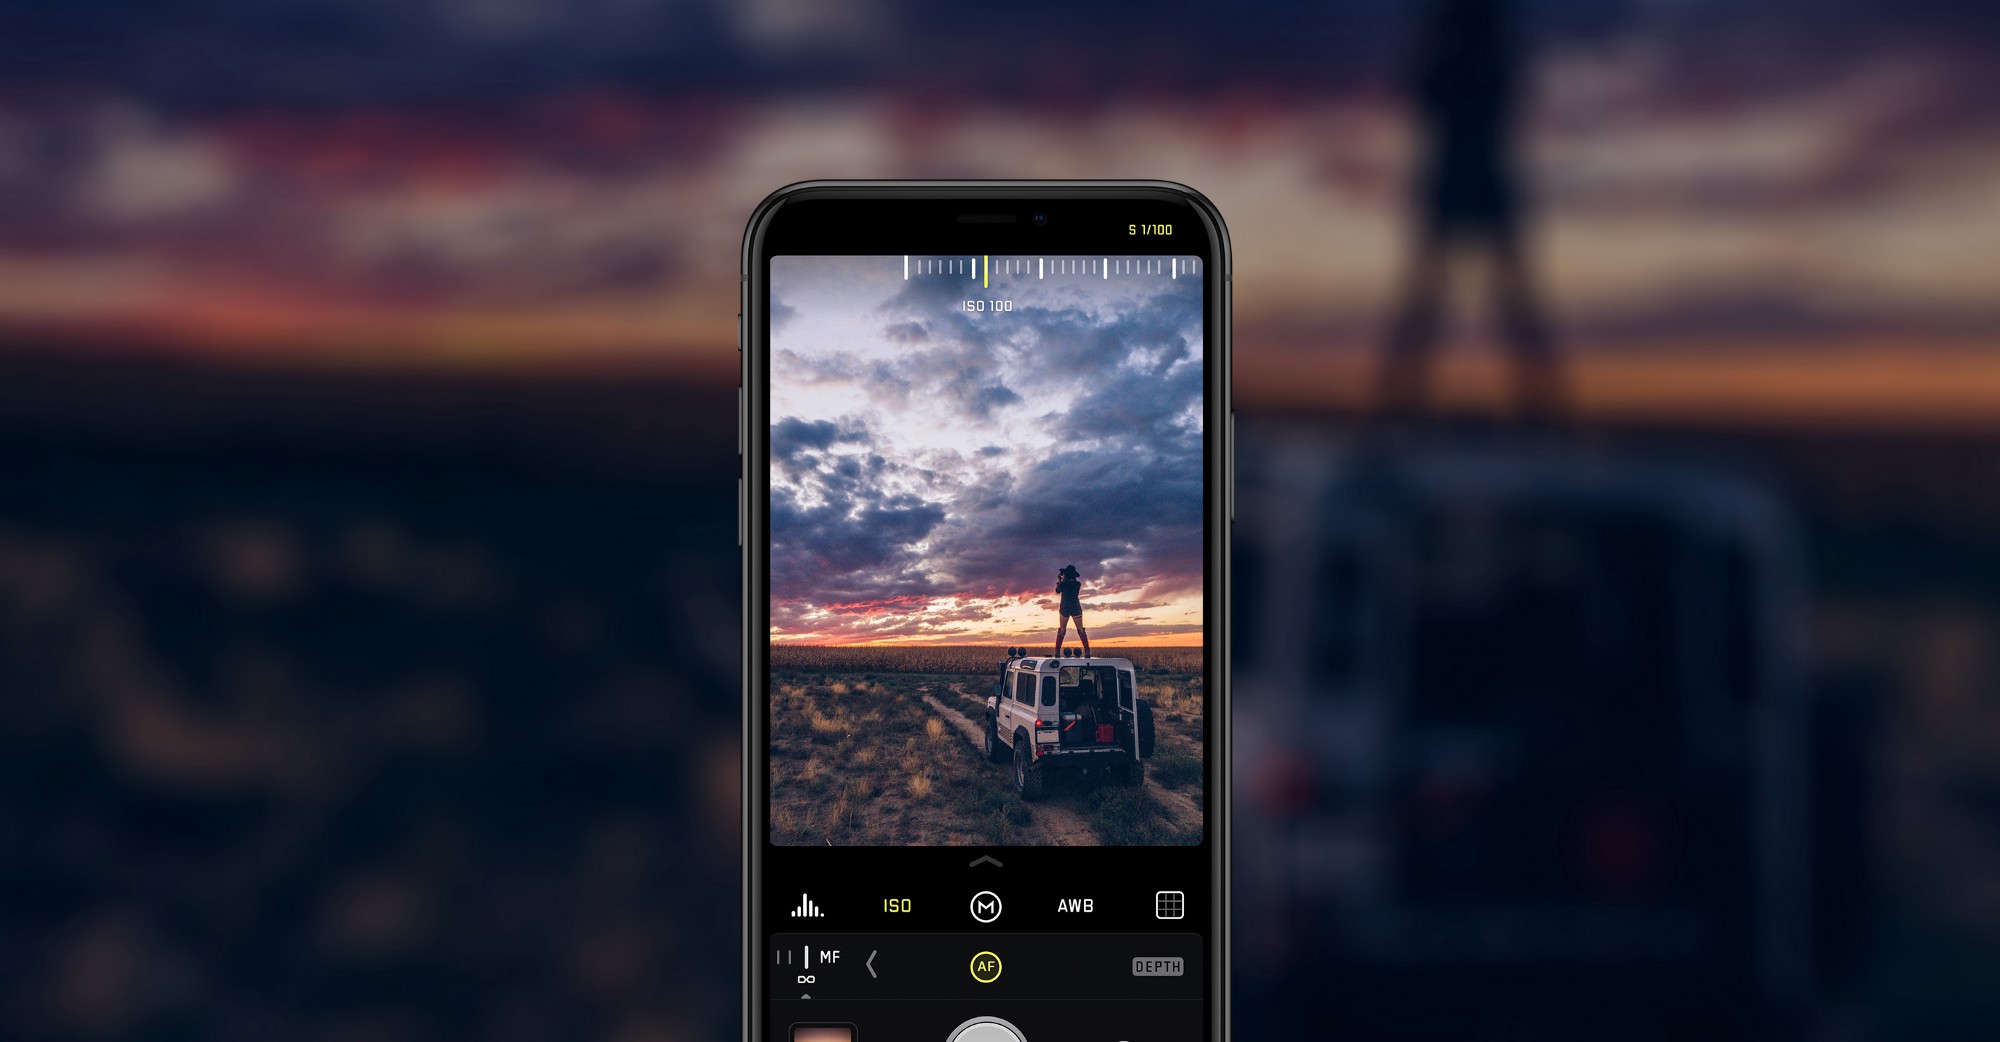
Sebastiaan de With is a photographer and one of the original creators of potentially the best camera app to come out of 2017, aka, Halide. If you haven't heard of Halide, it's essentially a photography powerhouse right in the palm of your hand, but long story short, "It's a premium camera for your iPhone".
Now de With is not only exploring and shooting on an iPhone X — the latest and greatest camera to ever be attached to an iPhone everrrr — but he's also exploring manual controls, and, most importantly, RAW capture.
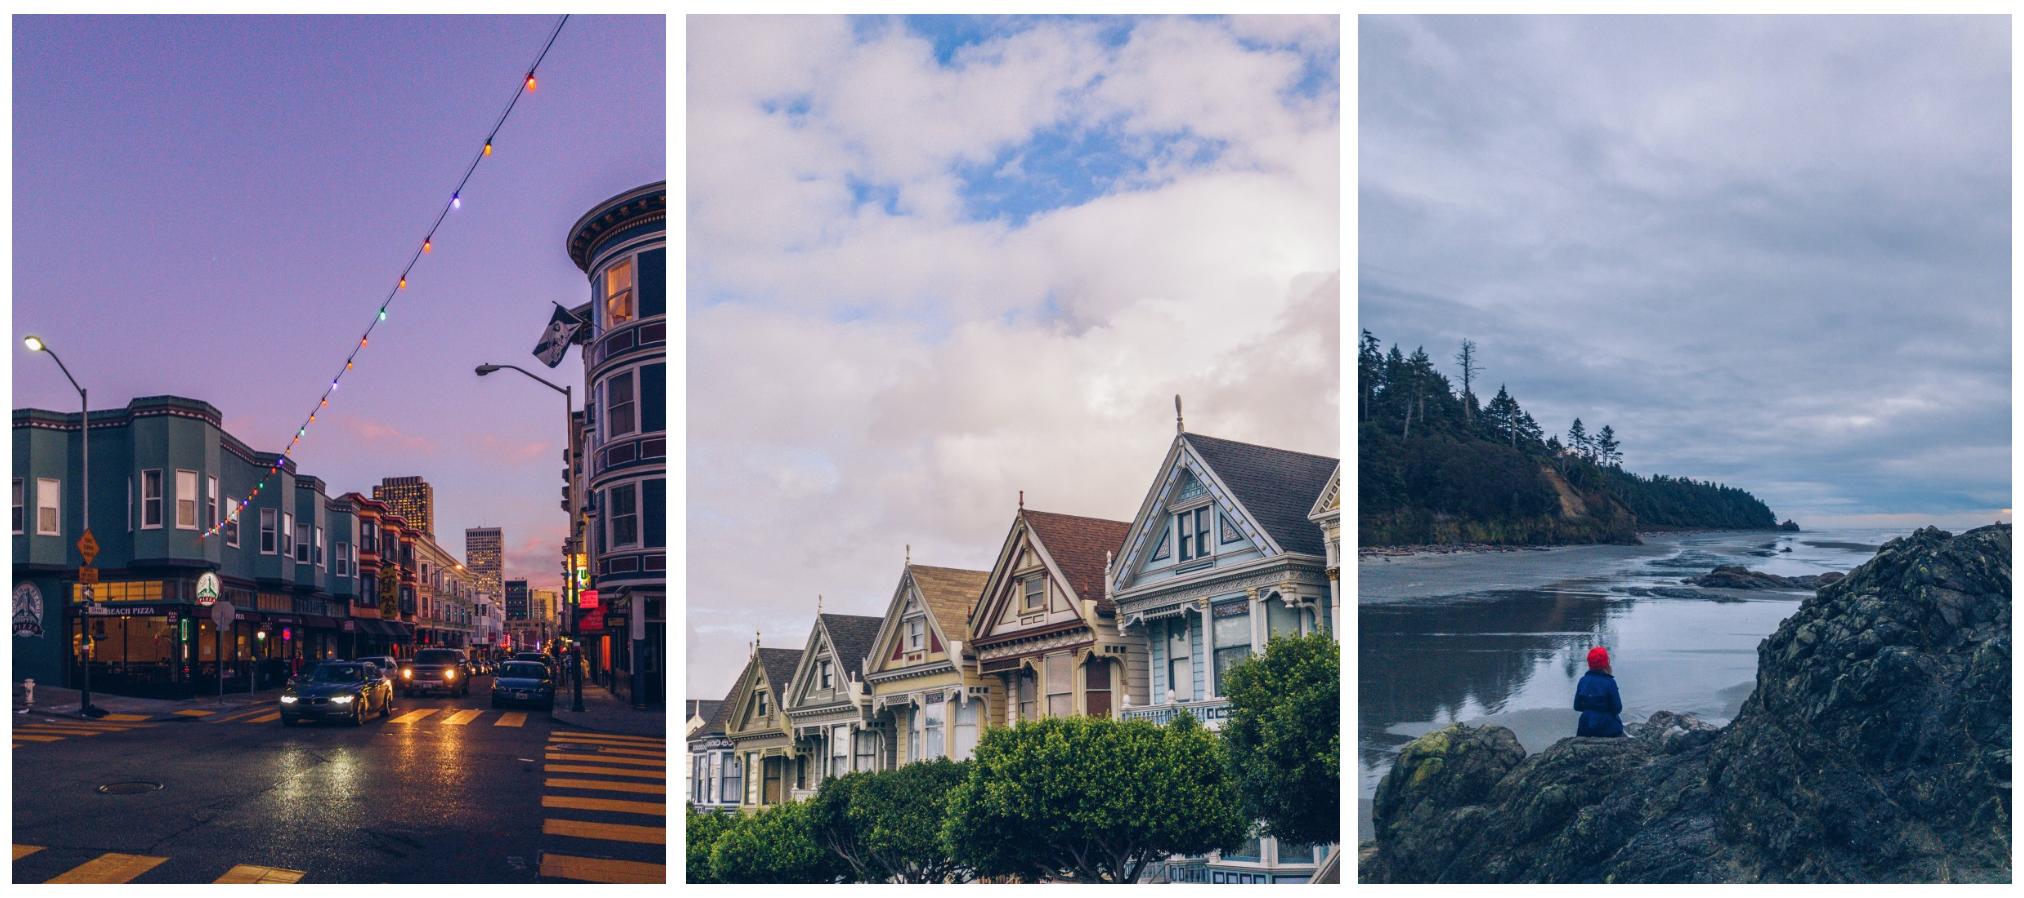
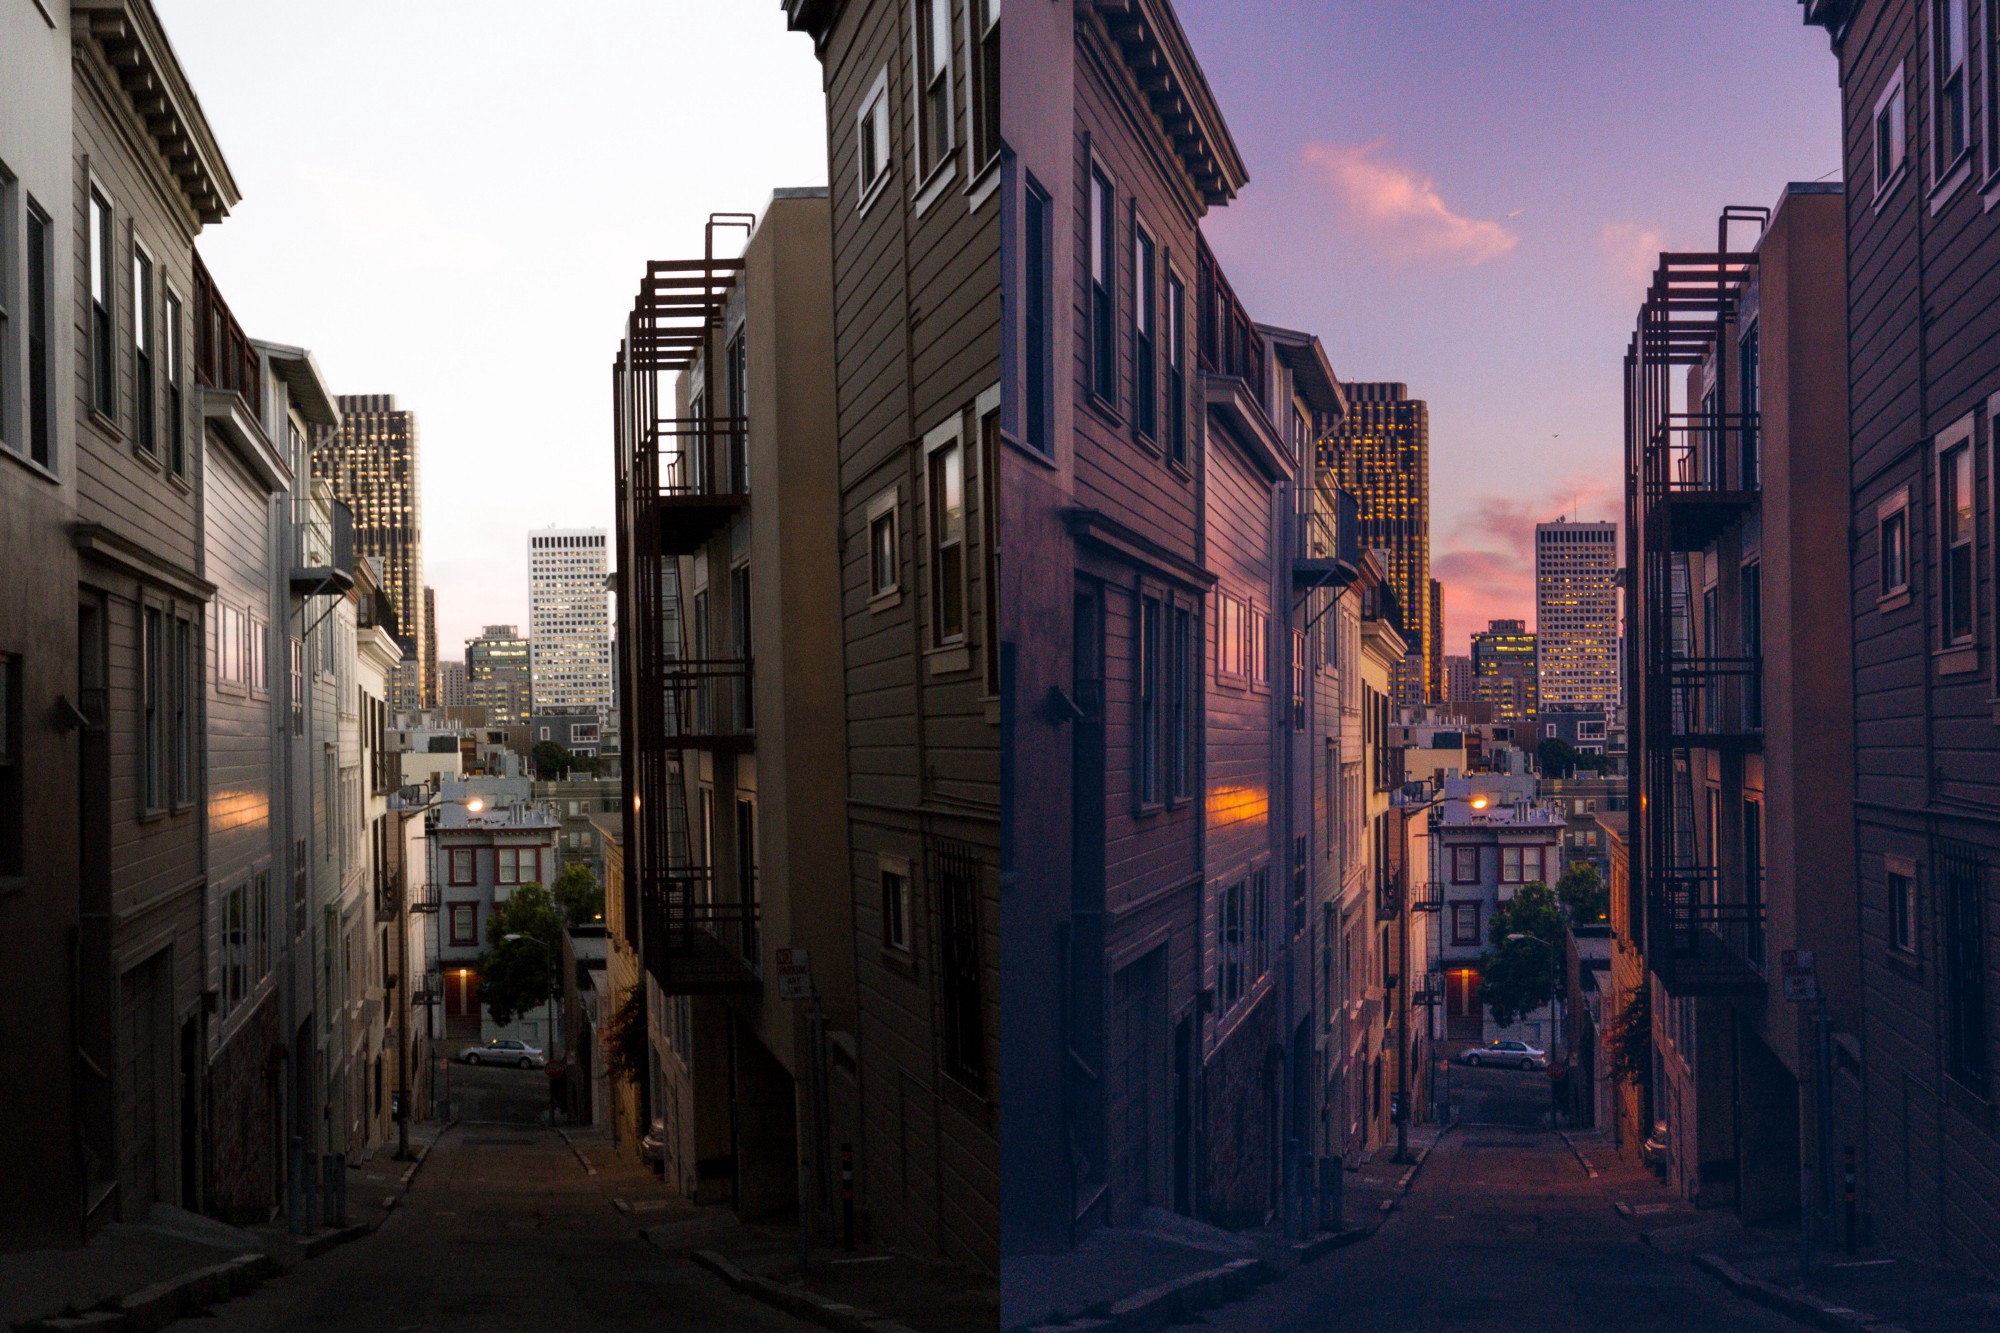
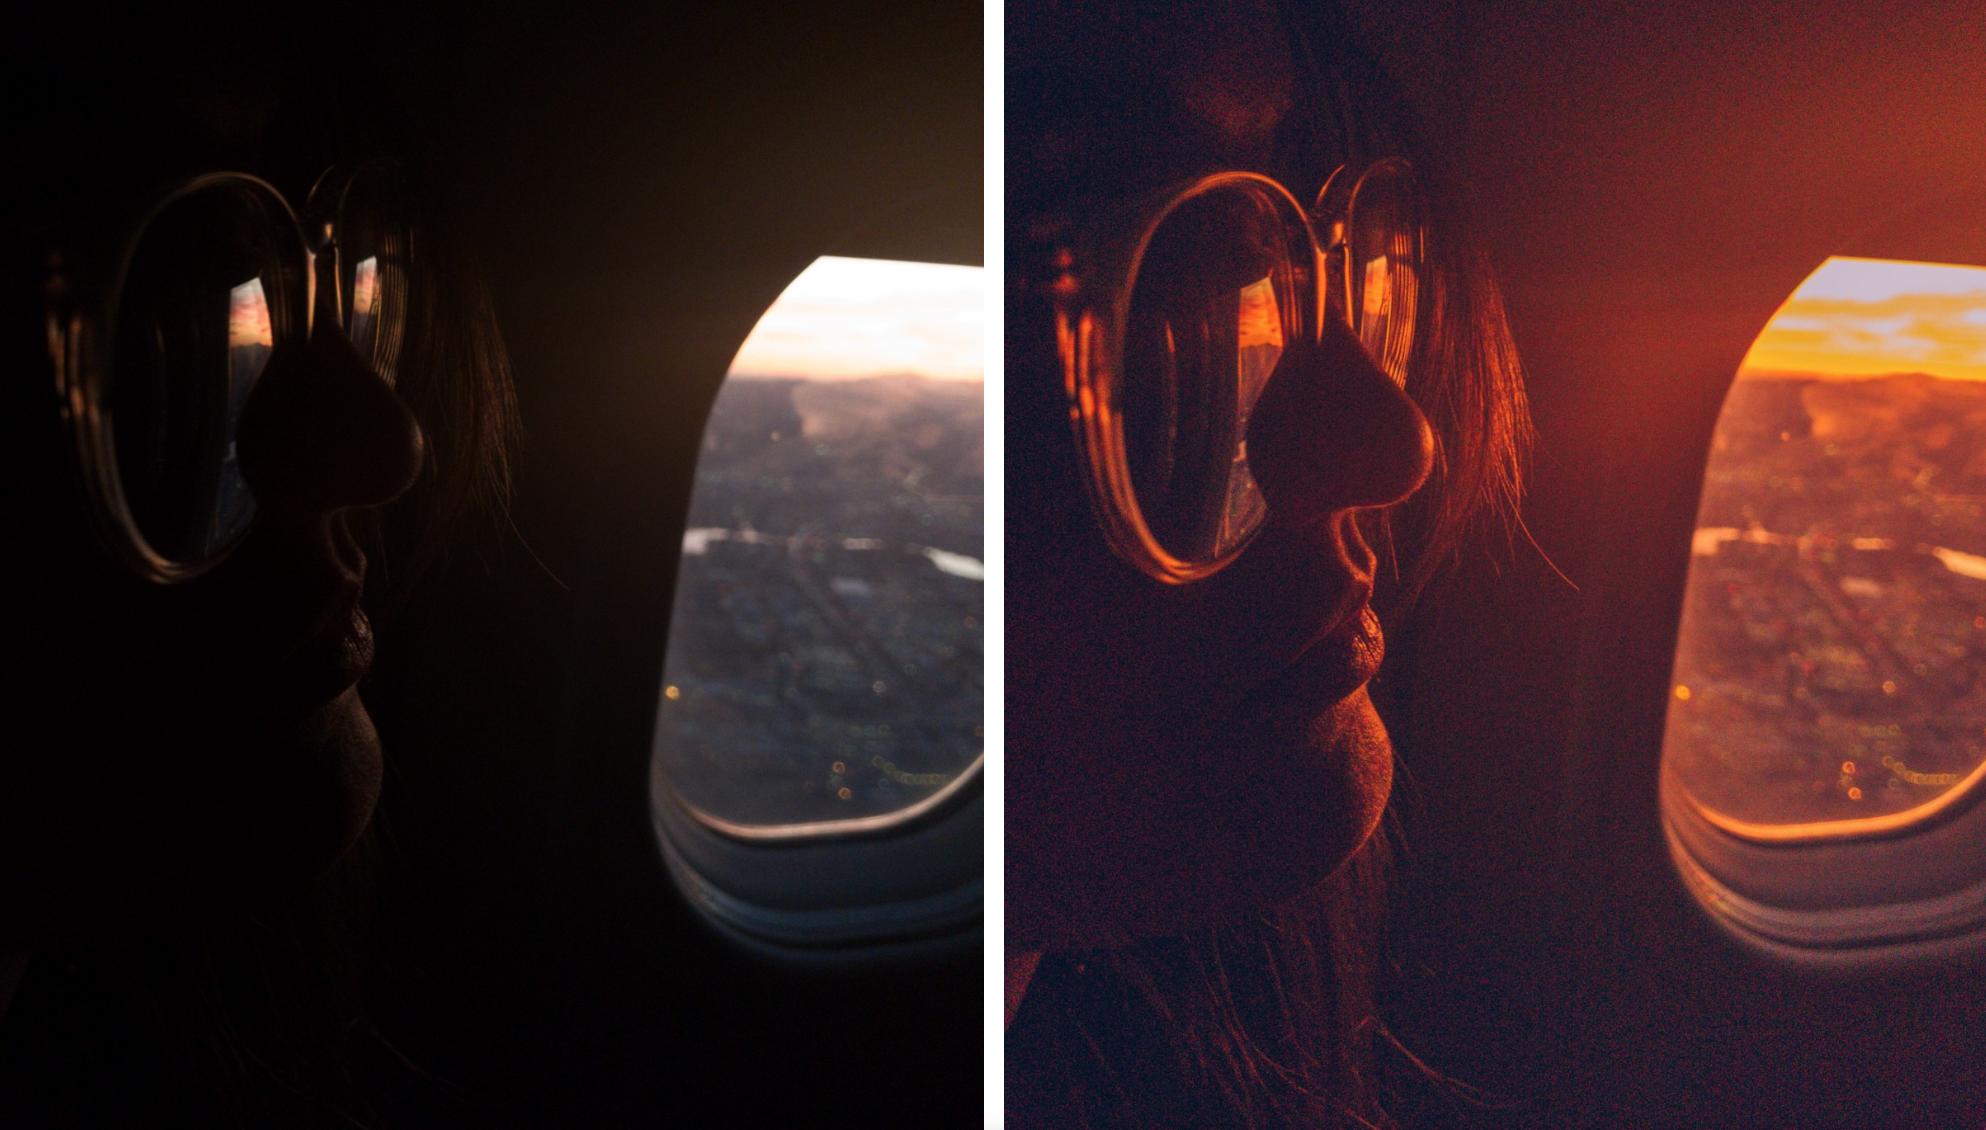
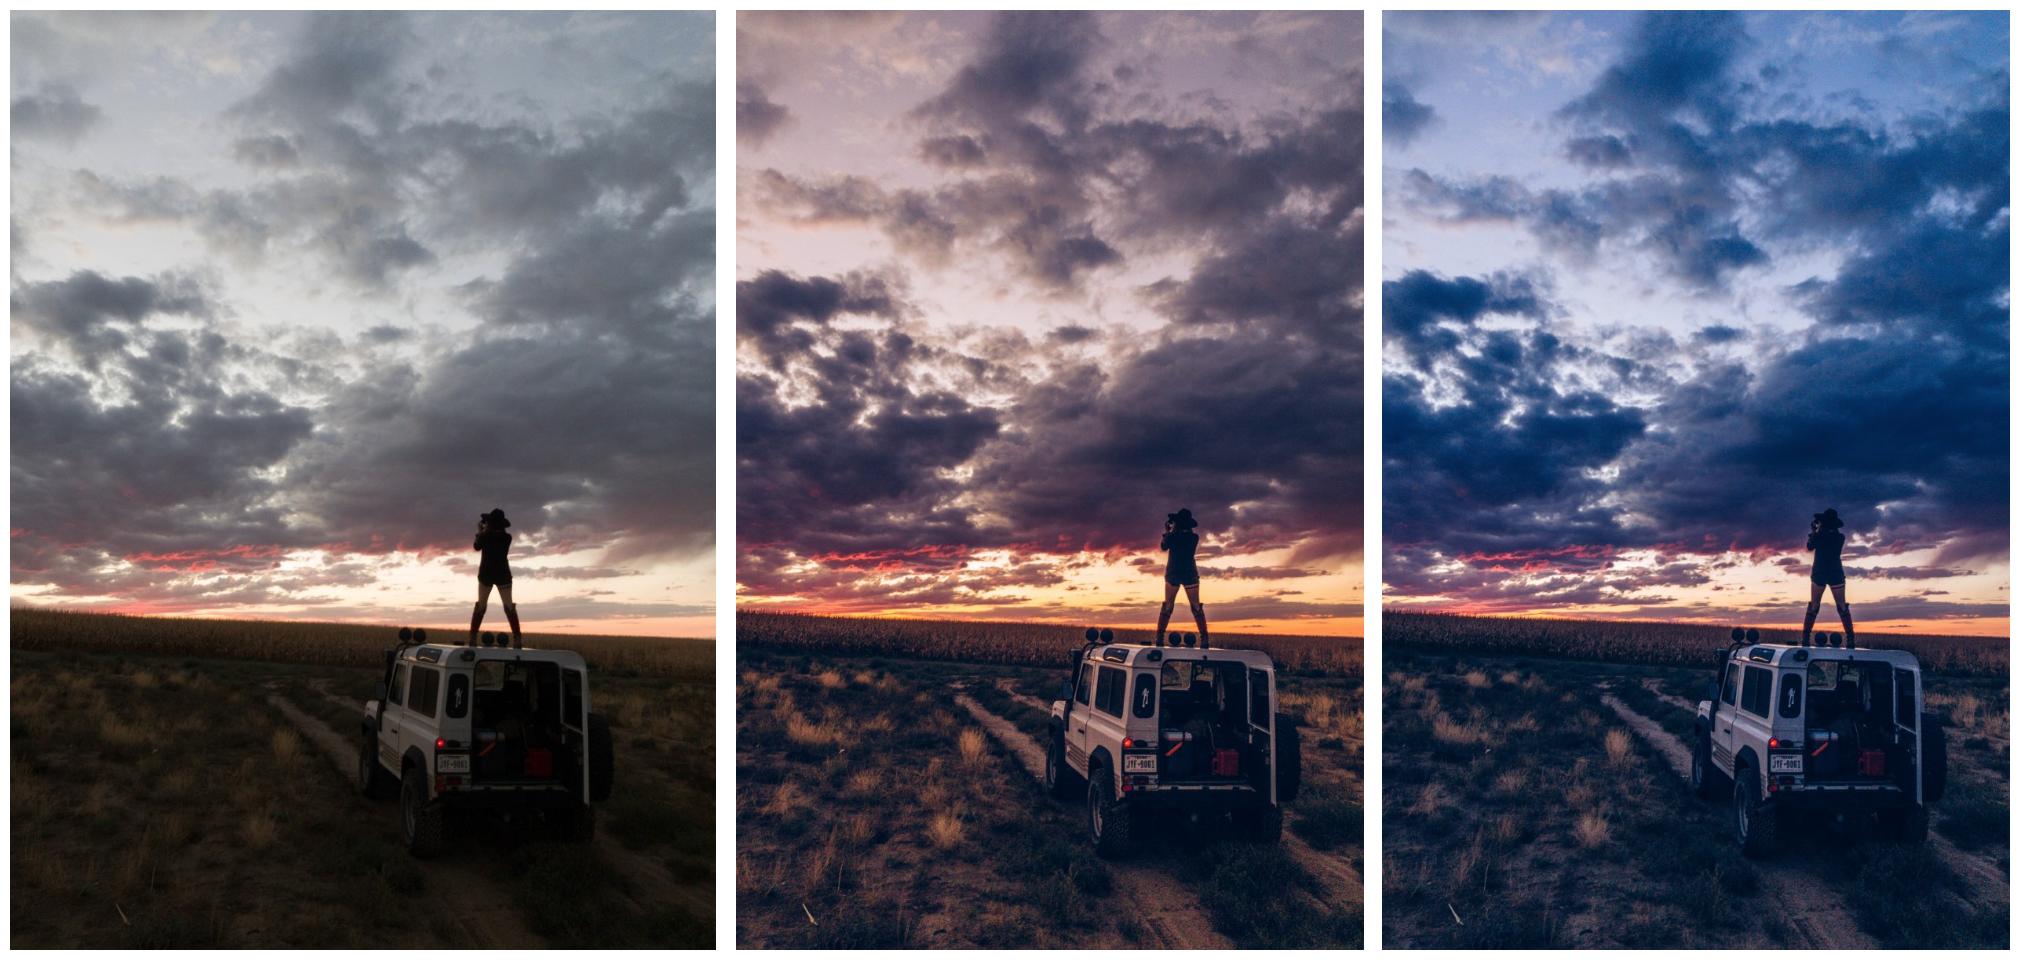
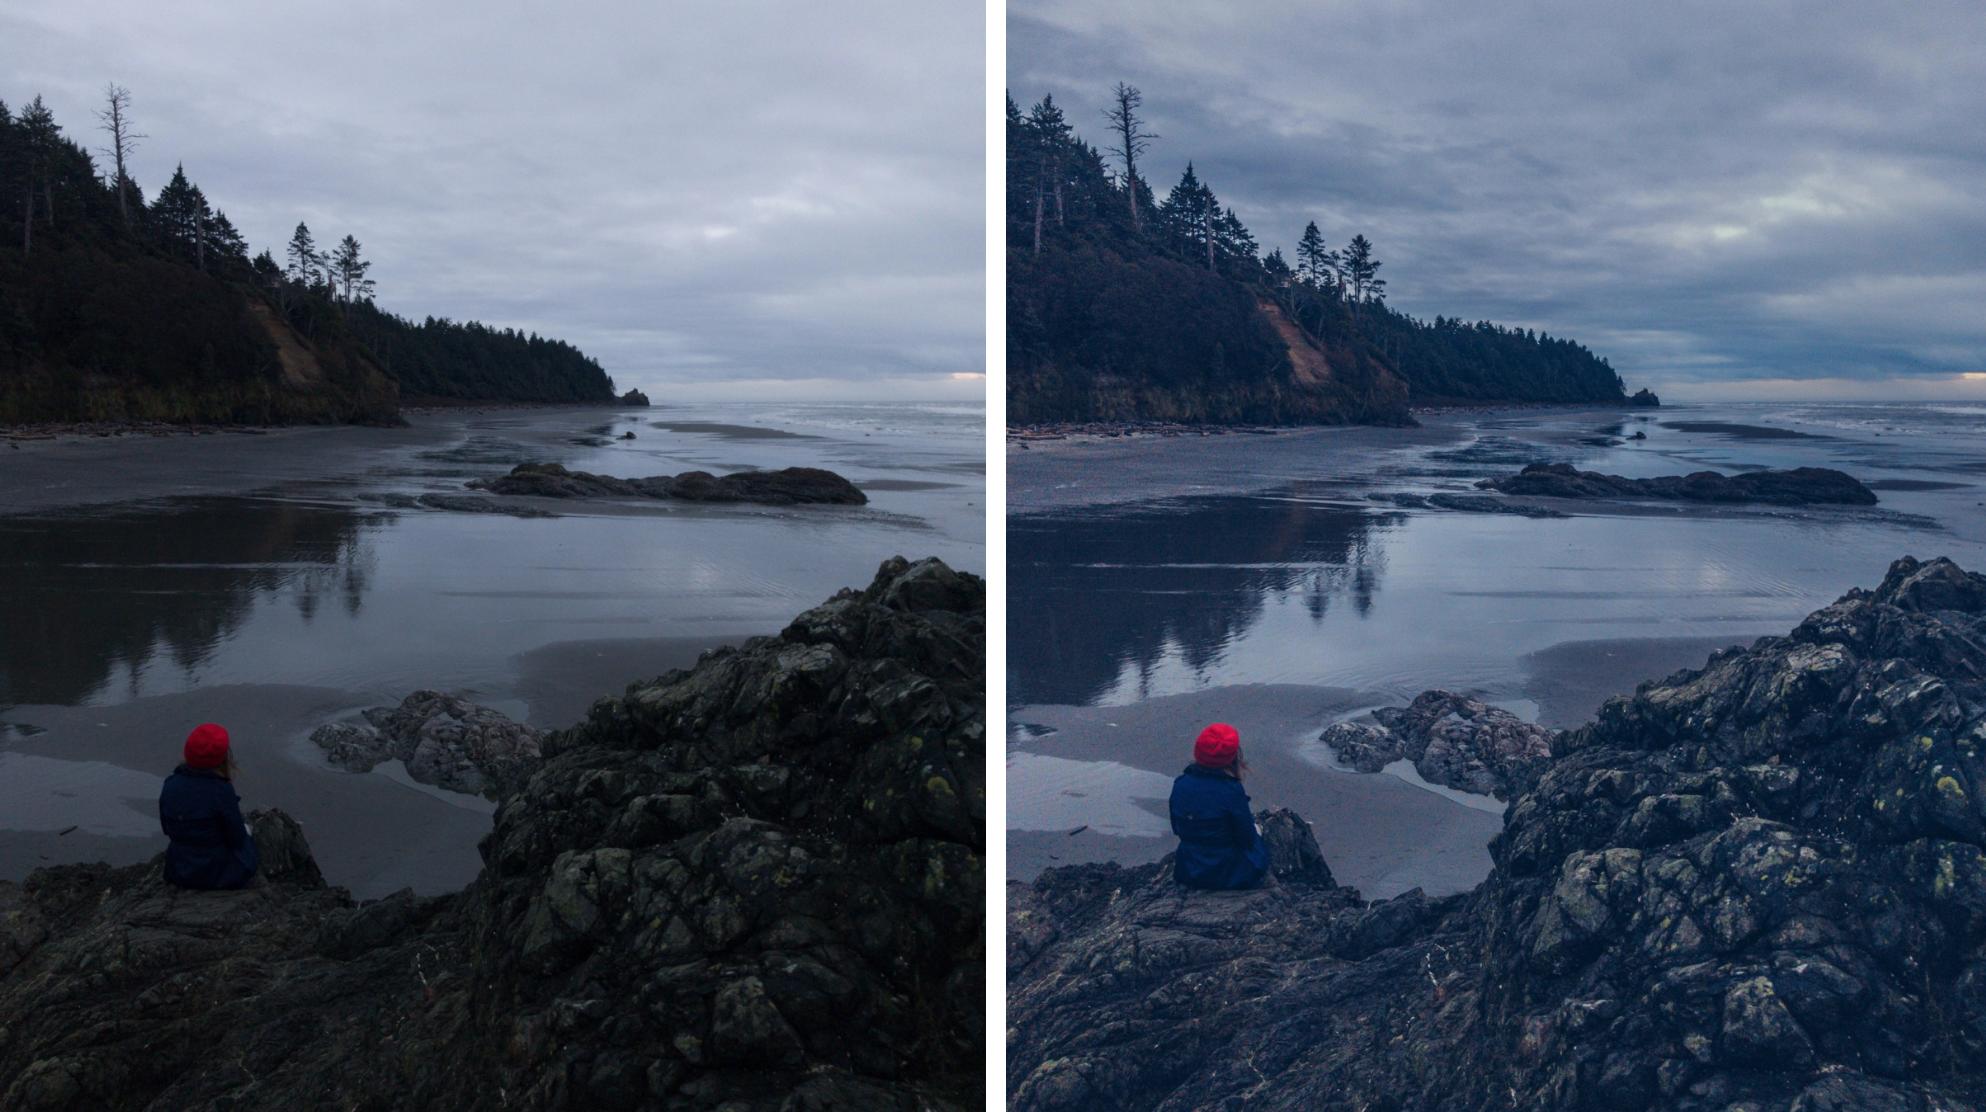
RAW affords you editing freedom. Absolute freedom to change the colors and white balance of a photo, or recover too-bright highlights and too-dark shadows. However, as awesome as RAW is, it's important to know RAW isn't a magic "enhance" button. Some of our users sometimes reach out with confusion about their RAW images looking worse than a regular capture from the stock camera app. It's helpful to understand how a RAW file is fundamentally different than JPEG, to fully understand the tradeoffs. (Sebastiaan de With, Halide)
De With breaks down the process of shooting a RAW photo into three steps:
1. A sensor captures the light:
Basically when you snap a photo, light from the camera shines through several optical elements before falling on a smaller-than-a-pinkie sensor behind the lens. This specific lens captures light.
To understand RAW files, you need to know that what your camera sensor sees is very different than what makes it onto the screen. A RAW file just saves the values it measures on this sensor. (Sebastiaan de With, Halide)
2. Software translates detected light values to a specific image
3. The image is saved as a file, just like a JPEG
For steps two and three, data is then passed into the imaging processor. This means that a chip will take what the sensor 'saw' and convert it to a JPEG file to store on your iPhone. This step is called processing.
That's the process for a JPG. Processing RAW files is a lot of work, so that's why Apple saves the processed file as a JPEG or HEIC. These require much less space, and they're much faster to load. (Sebastiaan de With, Halide)
RAW > JPEG?
So what are the benefits of shooting RAW compared to JPEG? Well with a JPEG, you have to make sure you get it right the first time, while with RAW and all its extra data, you can go in and edit to fix mistakes while still having a ton of room to experiment.
iMore offers spot-on advice and guidance from our team of experts, with decades of Apple device experience to lean on. Learn more with iMore!
Why not RAW?
But should you always shoot RAW? No. Absolutely not. RAW photos take up a TON of space and can be incredibly slow loading, and sometimes your RAW photos may look, well, icky. Why? Well, there may be a few reasons…
1. Always Check for RAW Support
We're not just talking about the app you use to take the photo: only load RAW files in apps you know support RAW files. This is very confusing because RAW files look like regular image files to most apps. Remember how we said RAW files are really slow to load? It would be annoying to flip through a folder, trying to find a particular photo, and have to wait a few seconds for every file to load. That's why RAW files also contain a very low resolution preview image. It isn't designed for editing, just finding your photo. This preview is only half a megapixel, while the real image inside is over twelve megapixels. (Sebastiaan de With, Halide)
2. RAW Skips Apple's Magic
One really incredible thing about shooting on a newer iPhone is the ability to have an image you've just shot look so incredibly polished and precise.
This is because Apple uses things like advanced noise reduction, merging several exposures to boots highlight and shadow details, and picking the sharpest frame in a set of images to get the stillest, clearest photograph.
I find that the new iPhones have a type of noise that isn't always bothersome. In some shots, it can almost look like film grain. However, if you're shooting in very low light, where the grain can get extreme, you may benefit from noise reduction. (Sebastiaan de With, Halide)
3. Portrait Mode
Simply put: bye-bye portrait mode.
" When shooting in this mode, iOS is taking two photos simultaneously and measuring their differences to figure out the depth of objects in scenes. While in this mode, RAW capture is unavailable. We don't know Apple's precise reasons, but we do know calculating depth-maps is very taxing on your phone. We wouldn't be surprised if it is just about performance. Hopefully someday they'll unlock the ability to capture RAW while in portrait mode. (Sebastiaan de With, Halide)
Is your photograph overcooked or too RAW?
What do you think? Are you a big fan of shooting RAW images with your iPhone? Do you have a favorite third-party camera app we should totally check out?
Let us know what your thoughts are in the comments below!
Cella writes for iMore on social and photography. She's a true crime enthusiast, bestselling horror author, lipstick collector, buzzkill, and Sicilian. Follow her on Twitter and Instagram: @hellorousseau

