Skyward Sword HD bosses: How to beat Ghirahim, Koloktos, Scervo, and all bosses
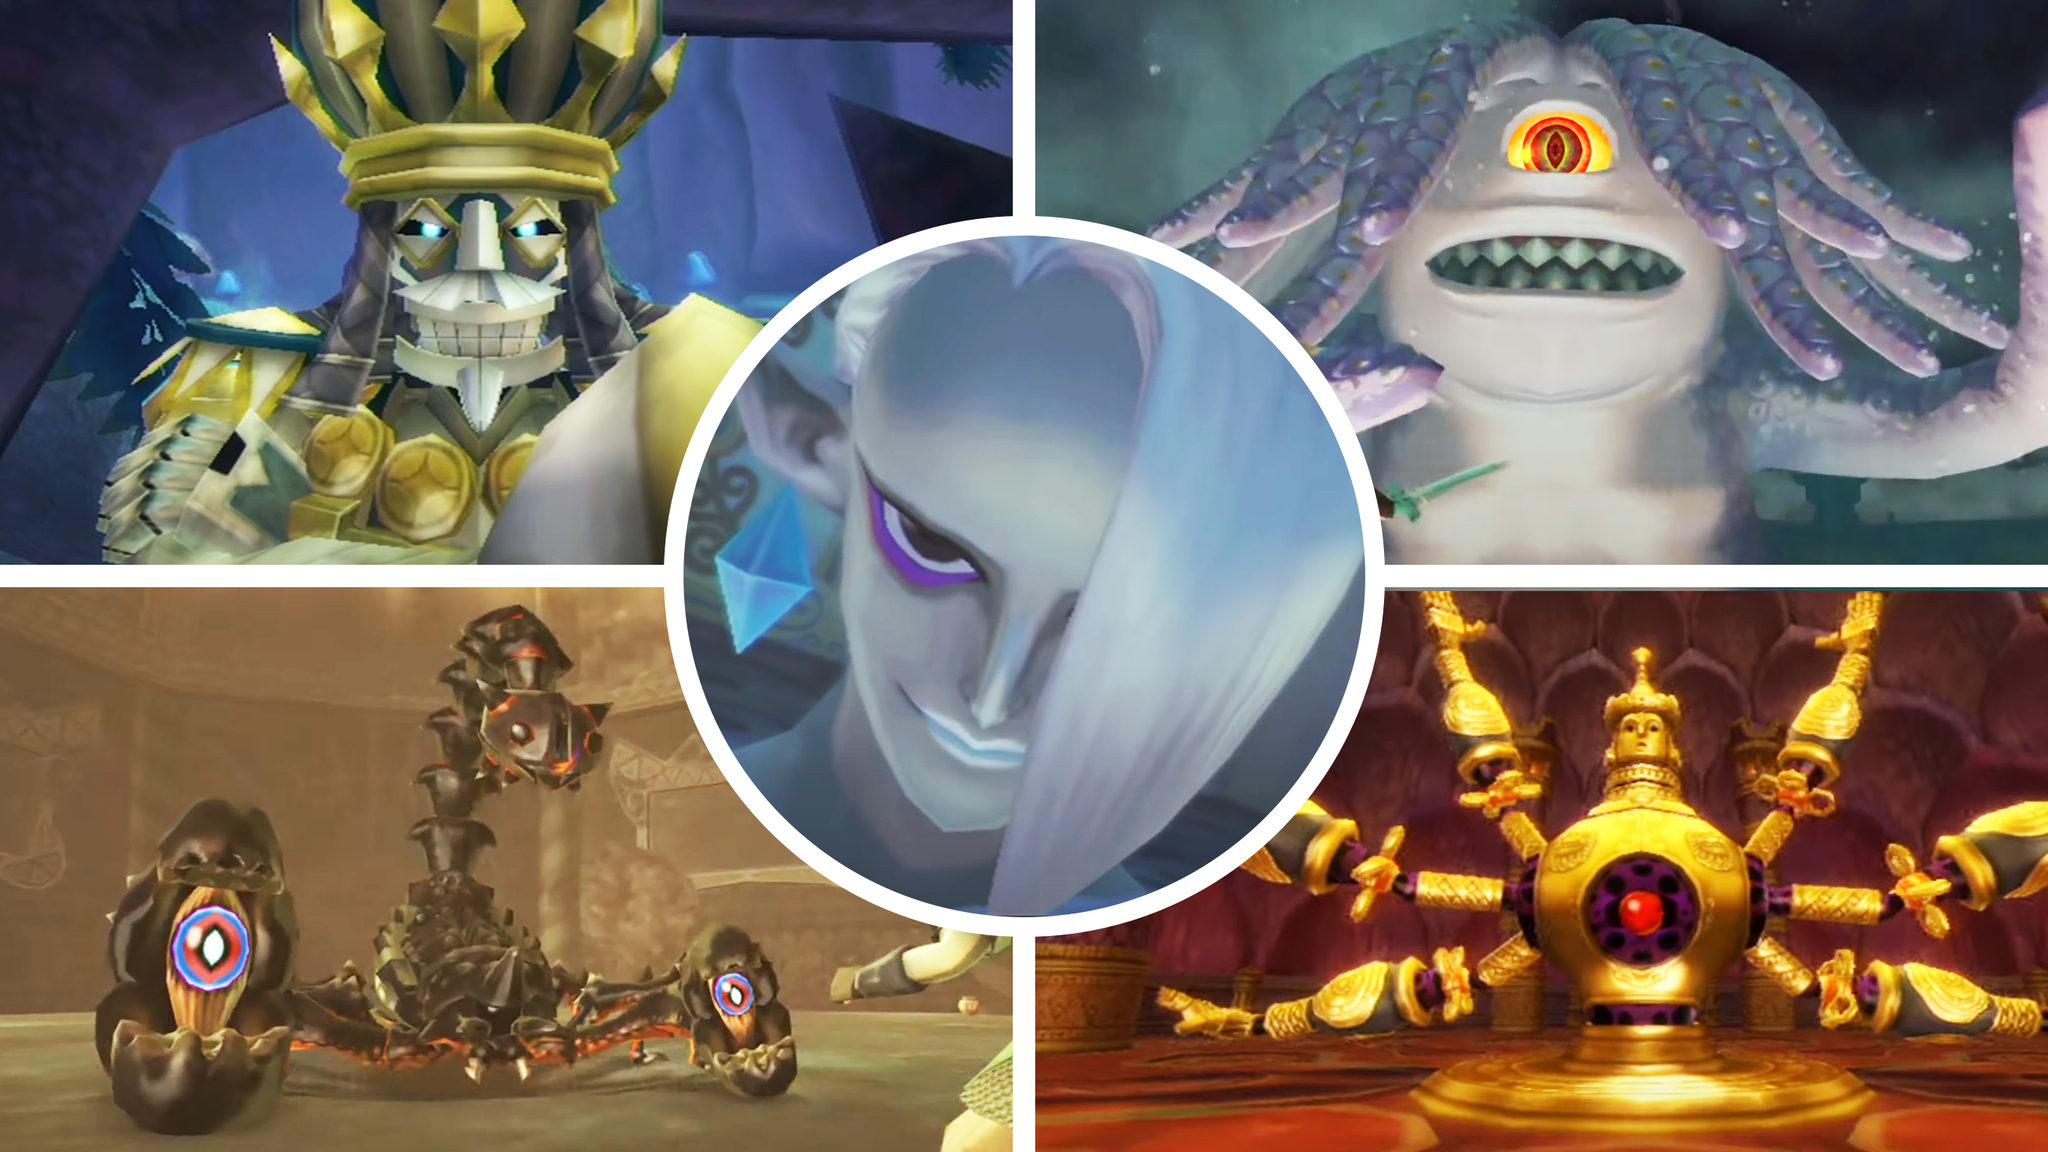
The Legend of Zelda: Skyward Sword HD is the first game in the official Zelda timeline. By playing through the story, we learn about the origin of the Master Sword and even the power behind Zelda and Ganon. But to do all of that, you've got to defeat those tricky bosses first. Some of them can be downright challenging, but we're here to help you through them all.
How to beat every boss in The Legend of Zelda: Skyward Sword HD
Each Skyward Sword HD boss attacks in patterns. The key is finding their weakness and knowing what tools to use to take them down. If you've just recently gotten a new gadget, you'll likely need to use it against the next boss you see. Without further ado, here's how to take down every Skyward Sword HD boss.
Stalfos (Skyview Temple)
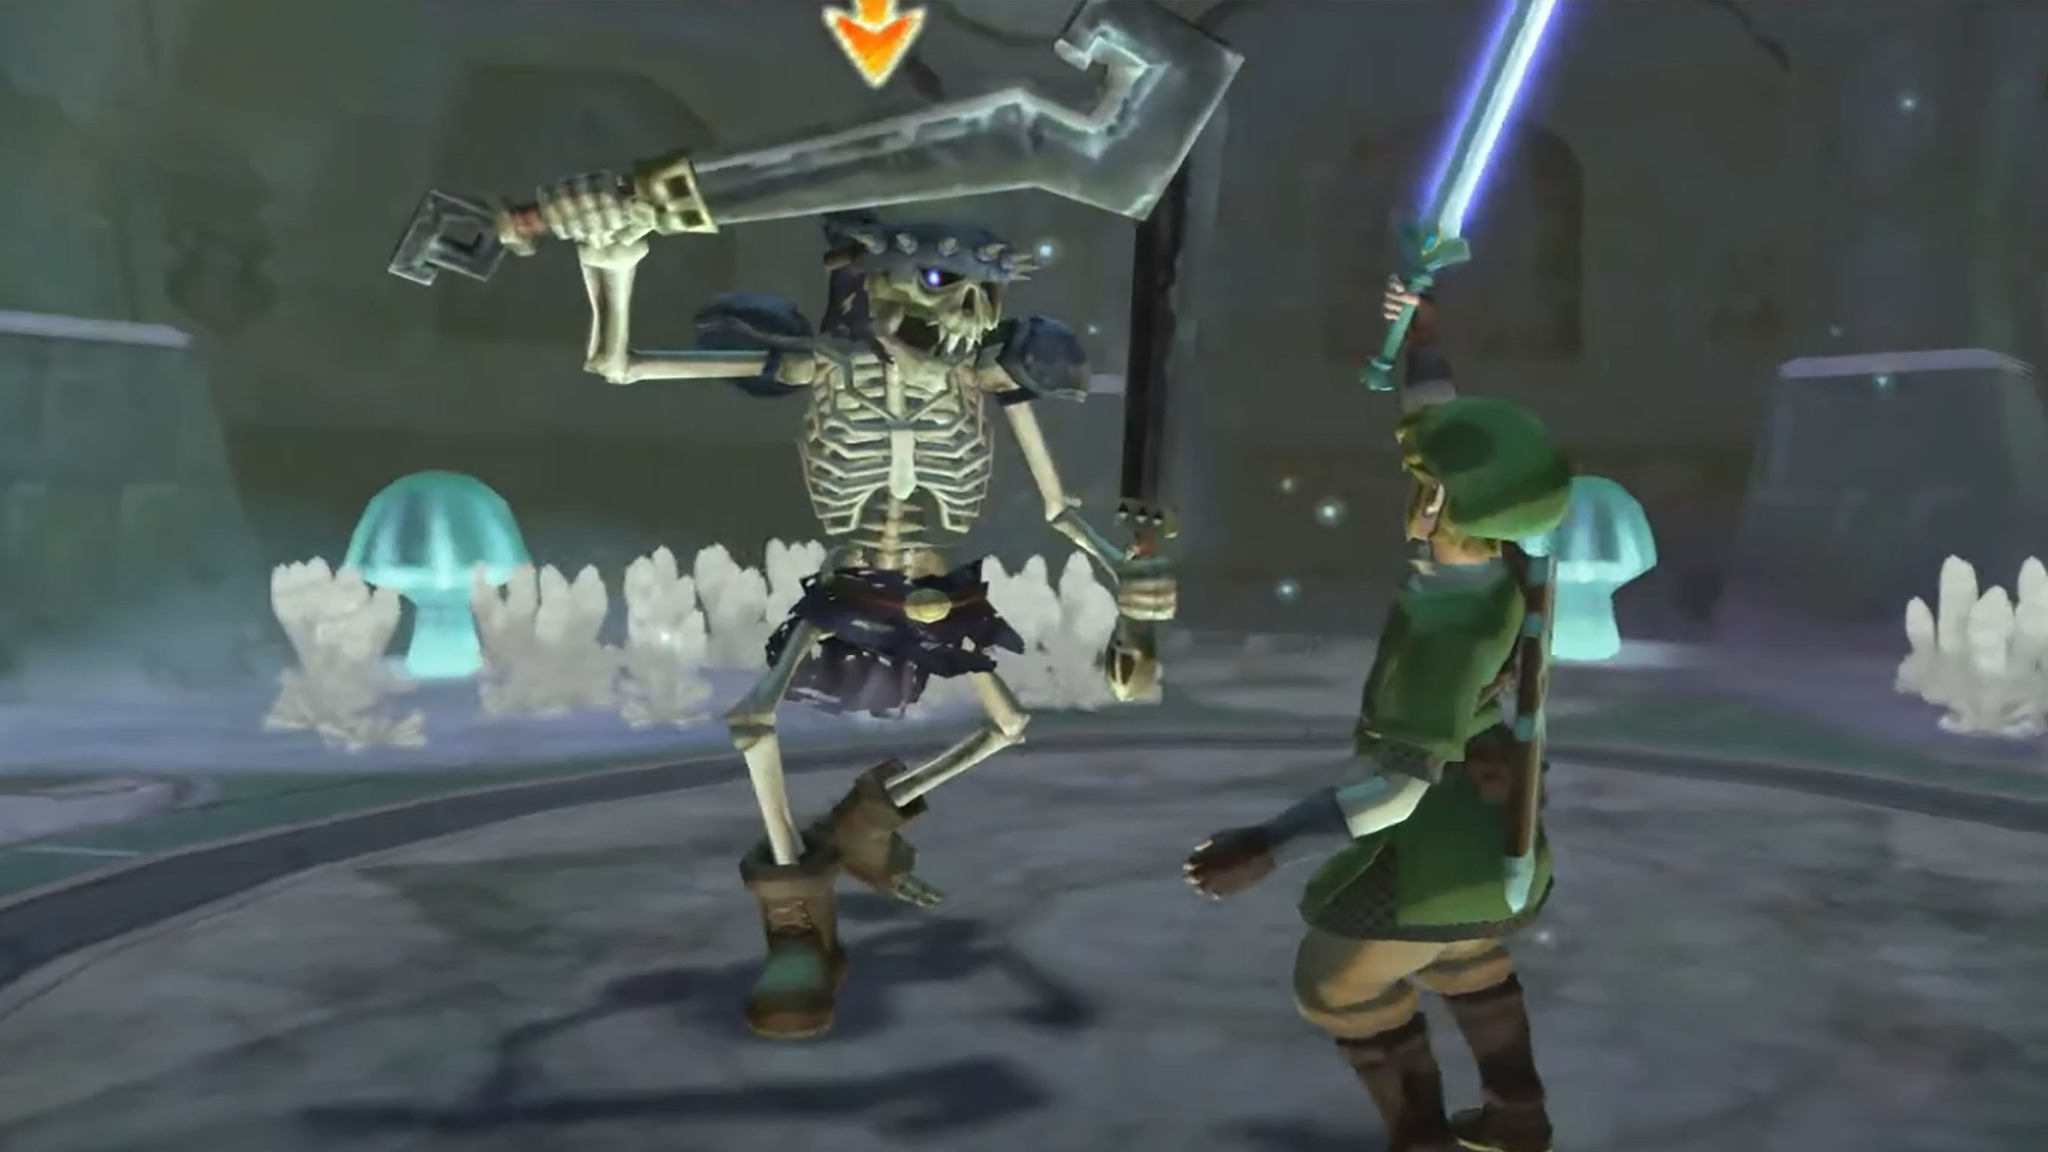
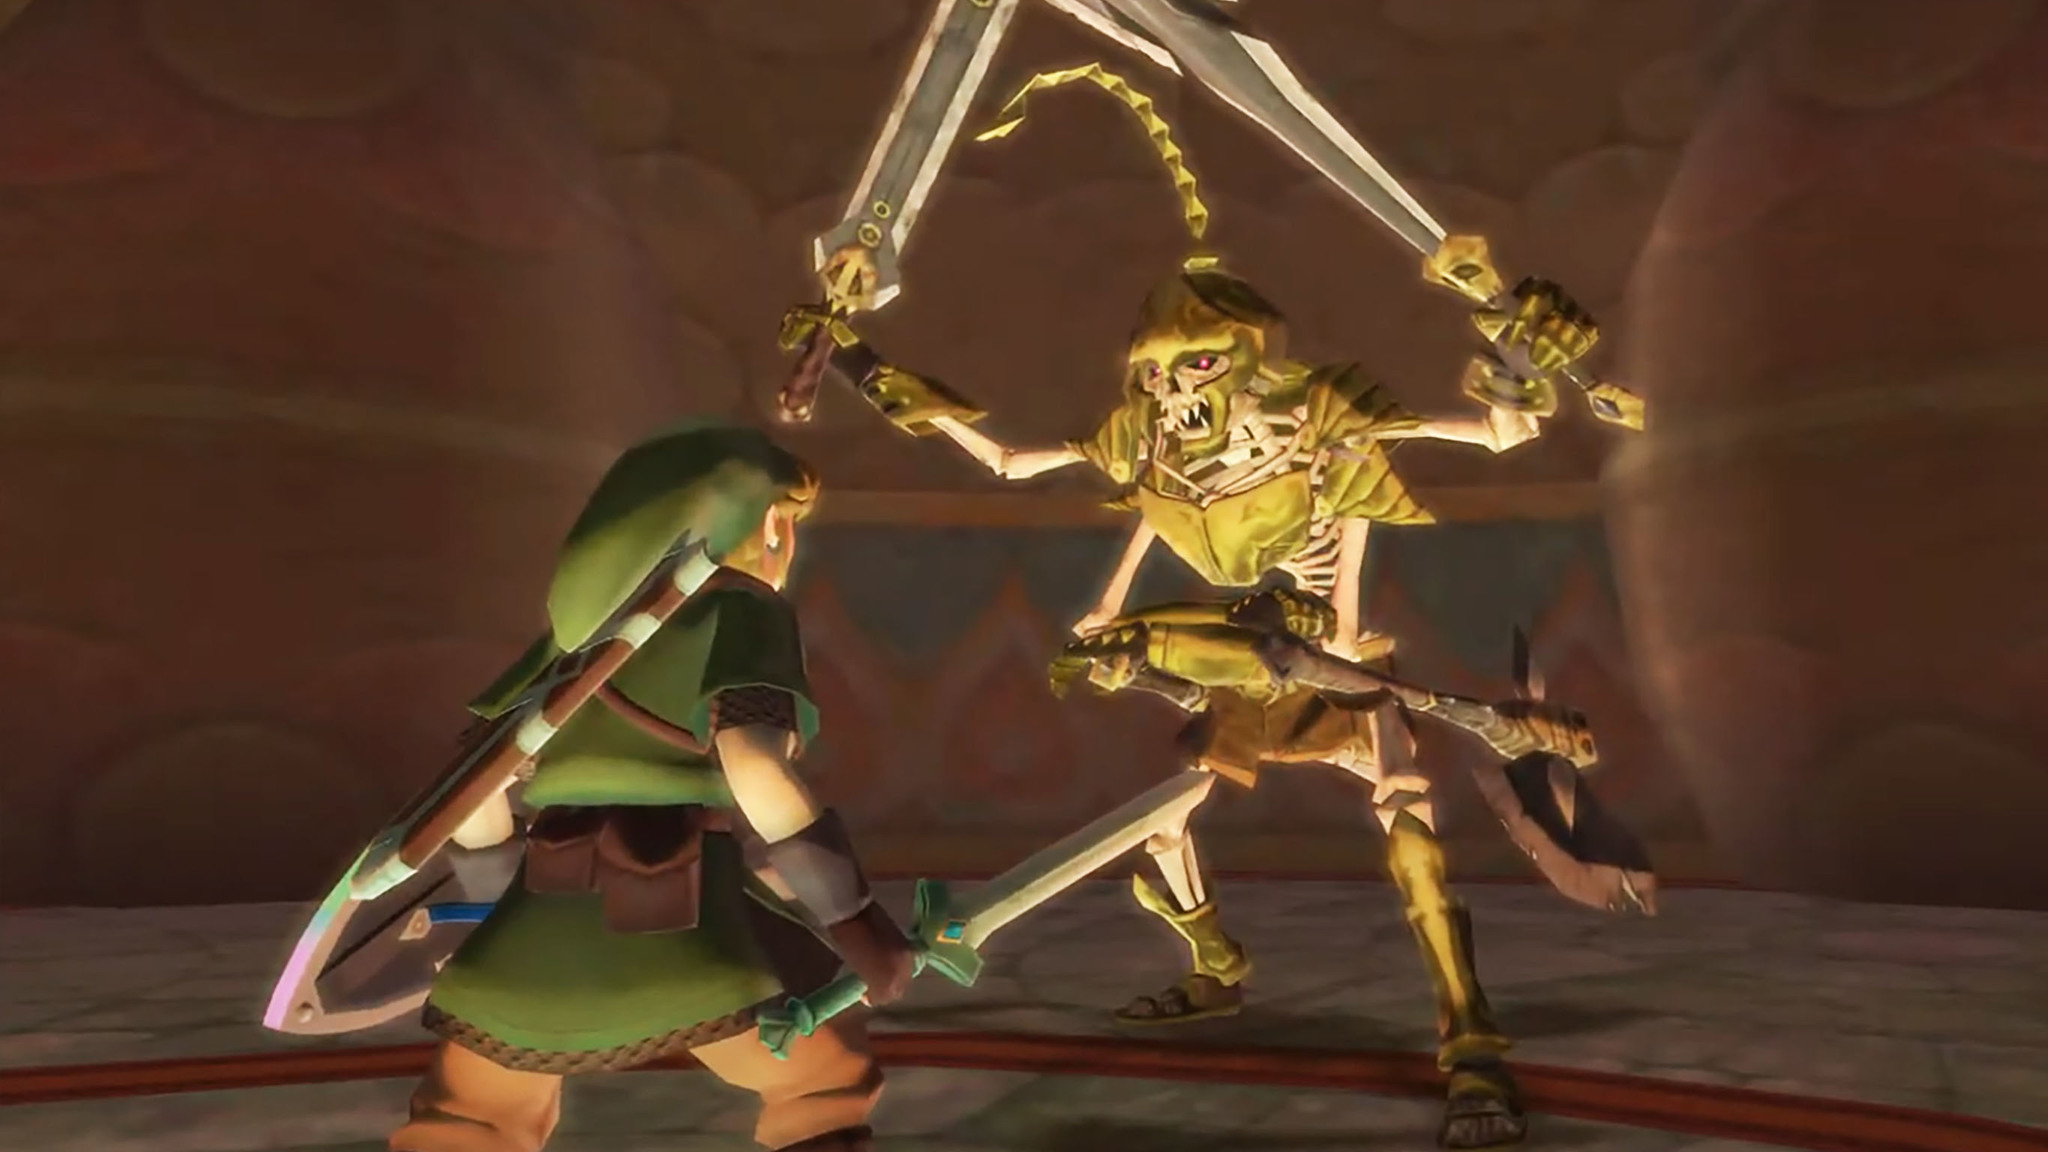
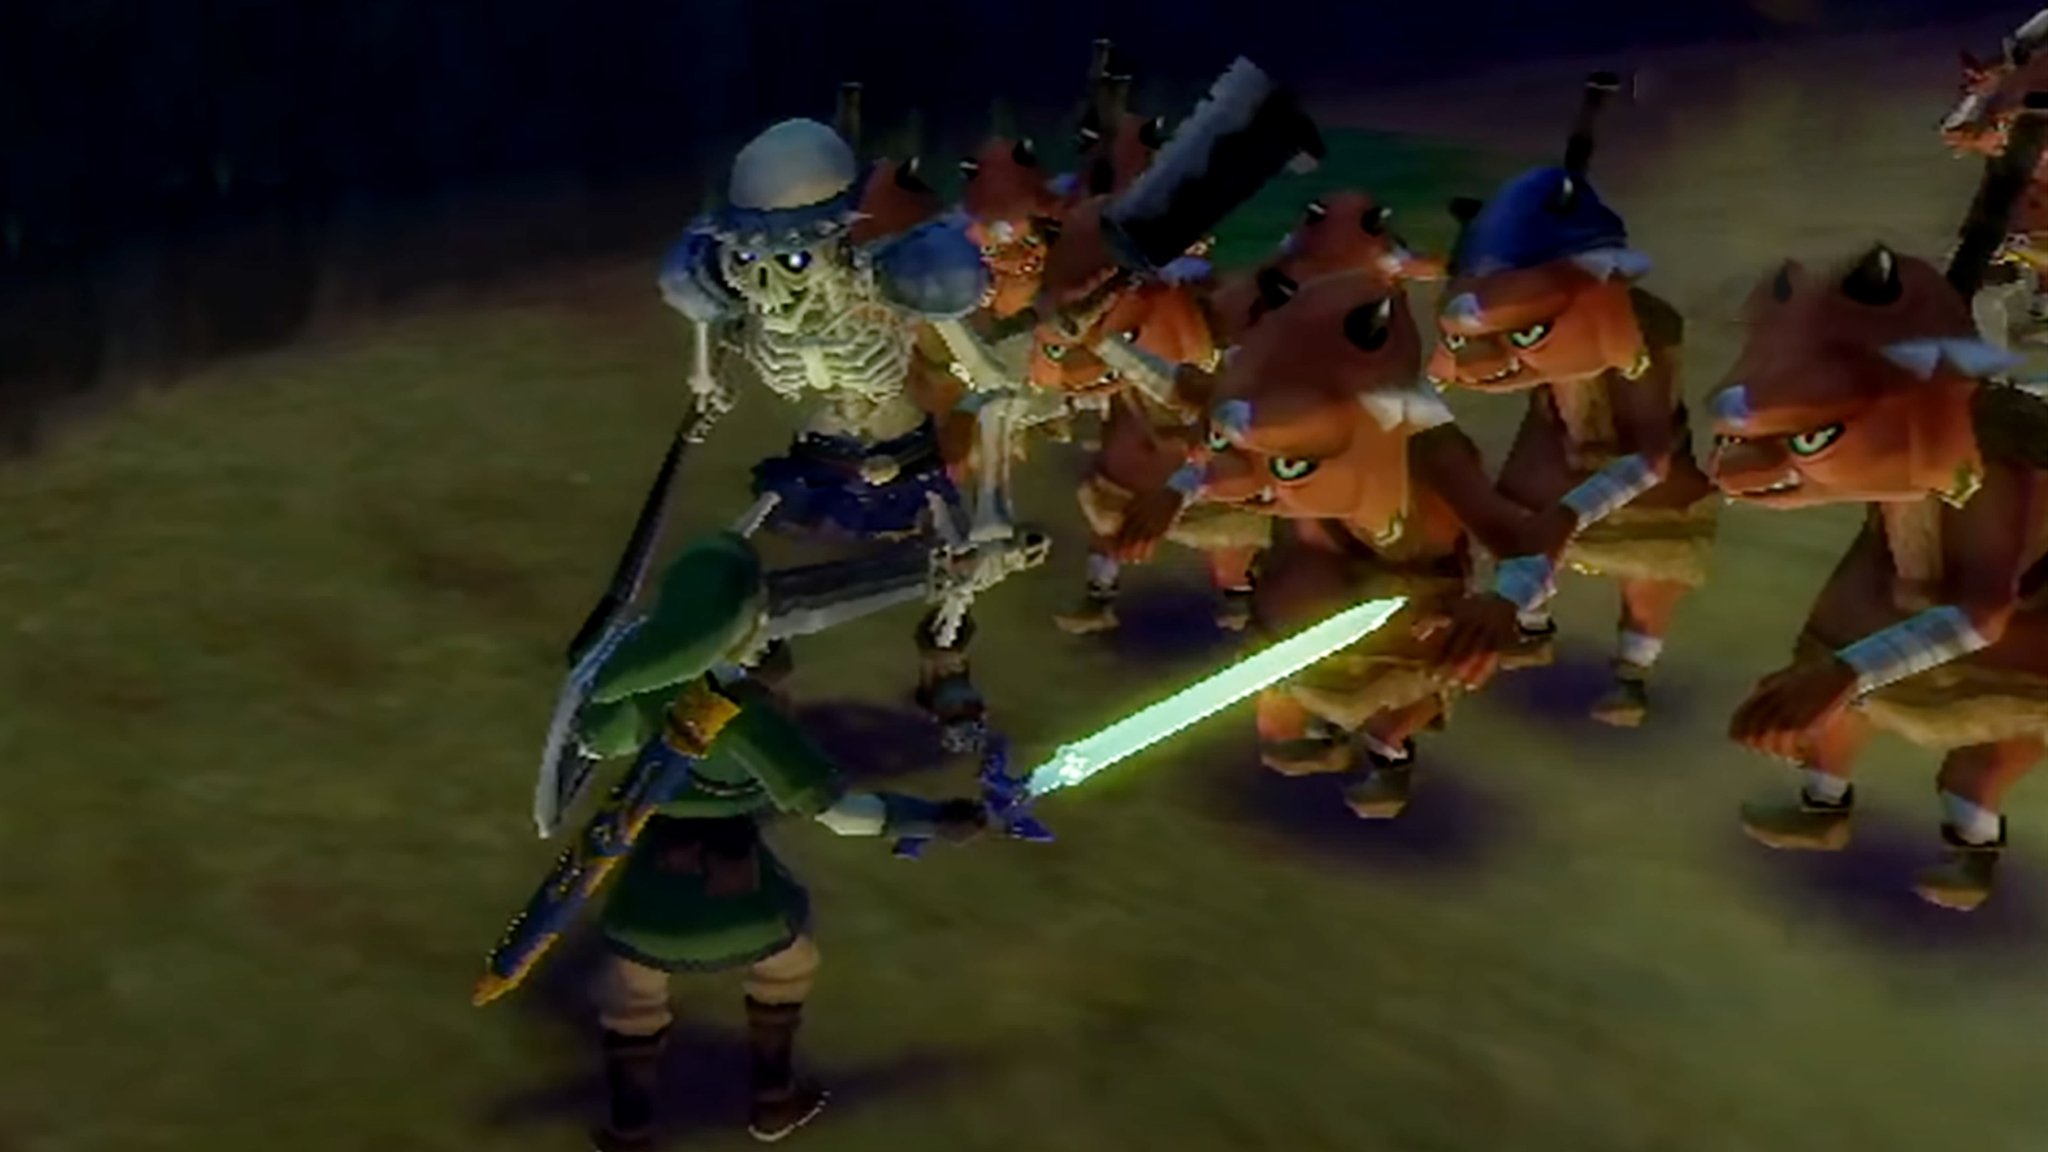
These skeletons wield swords and use them to guard against your attacks. To land a hit, you'll need to notice where its swords are currently shielding and then attack from an open angle. For instance, if it's holding its swords parallel to each other, you'll need to slice down the center. If it's holding the swods so they create a 90-degree angle (like in the image above), swing in from the open side.
You can also dodge out of the way or use a Shield Bash to disrupt its attacks. Strike whenever there are openings and you'll defeat it. It's important you get this type of fighting in your head as the majority of the fights in this game hinge on you swinging from the right directions.
Ghirahim #1 (Skyview Temple)
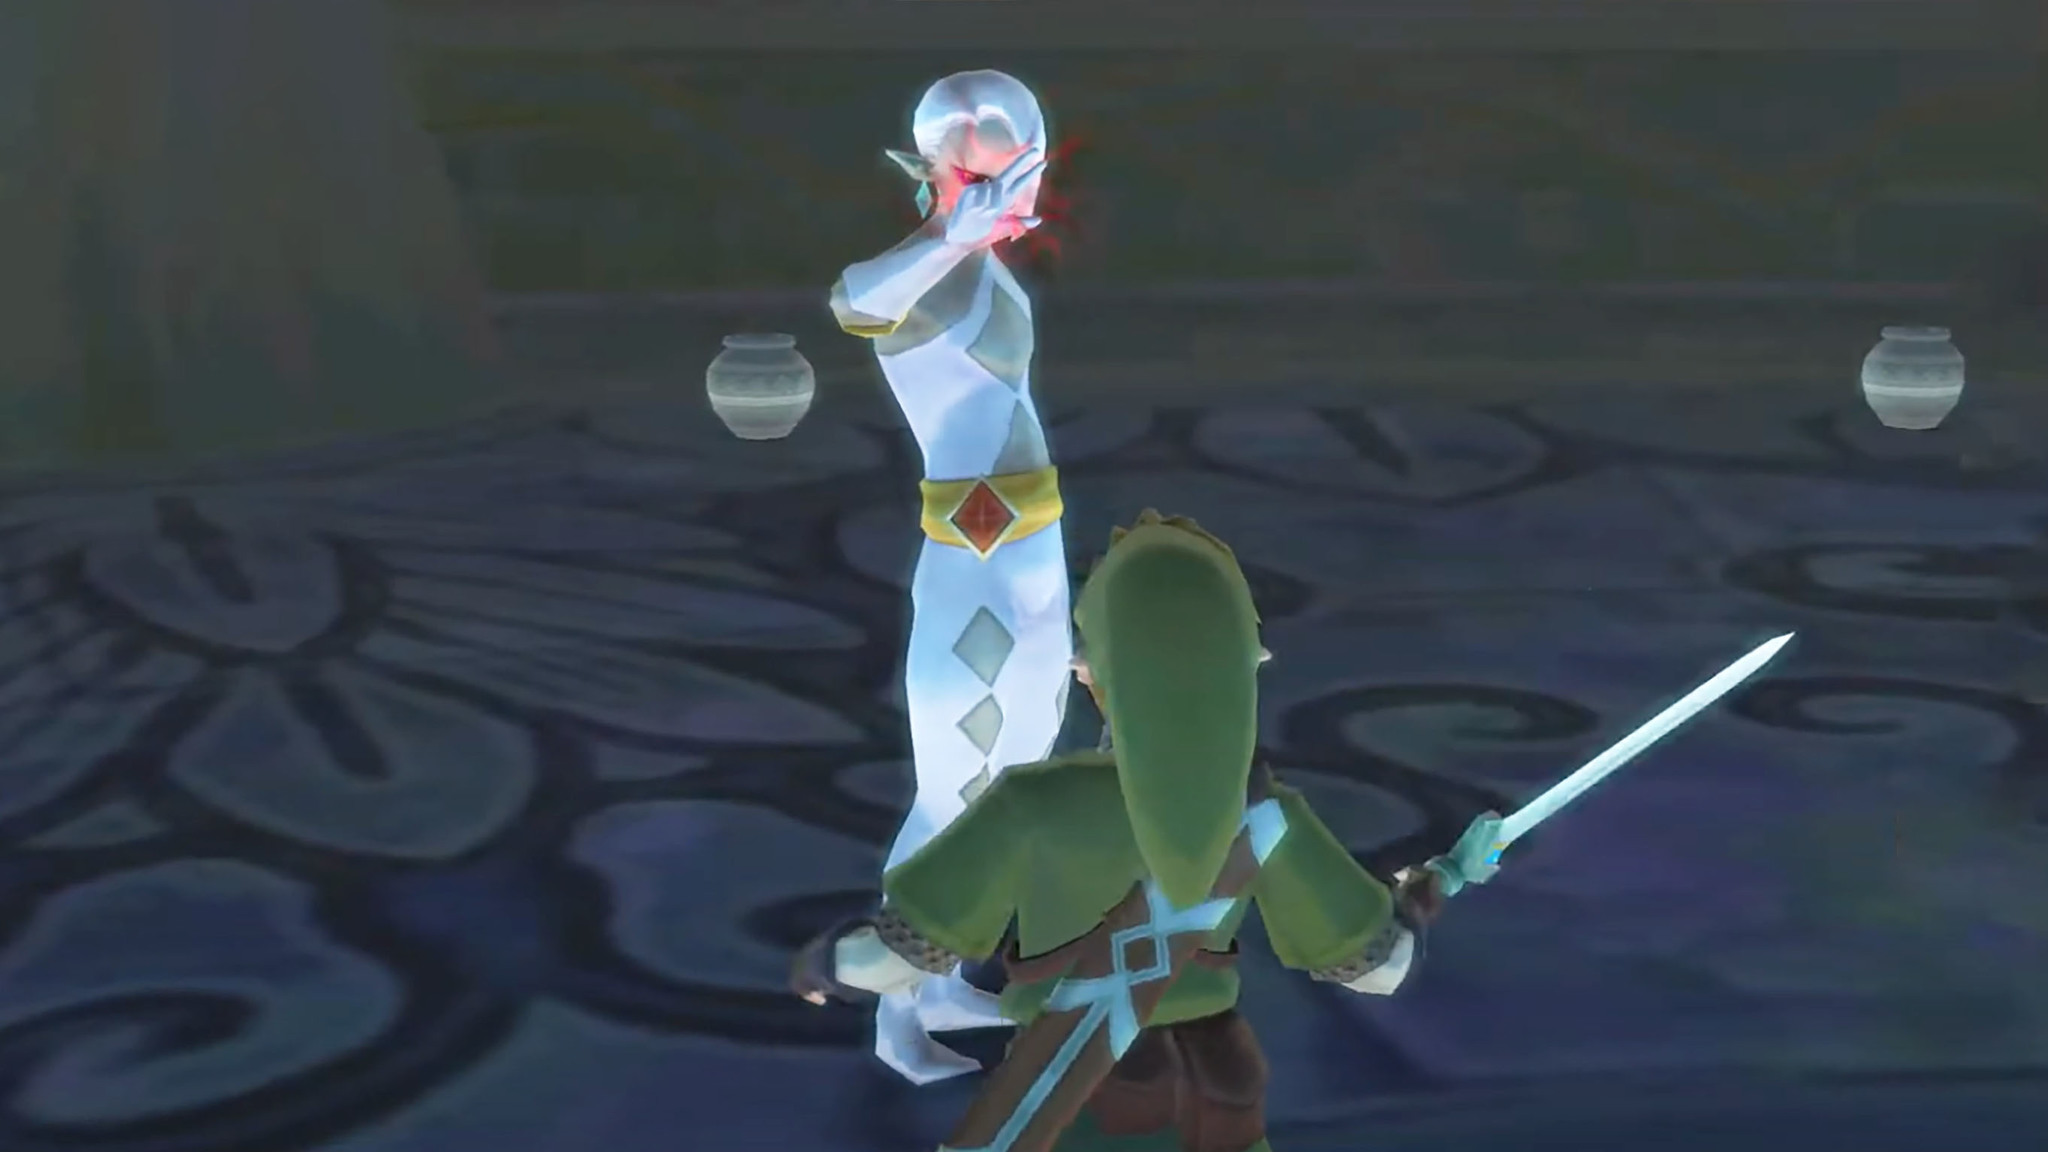
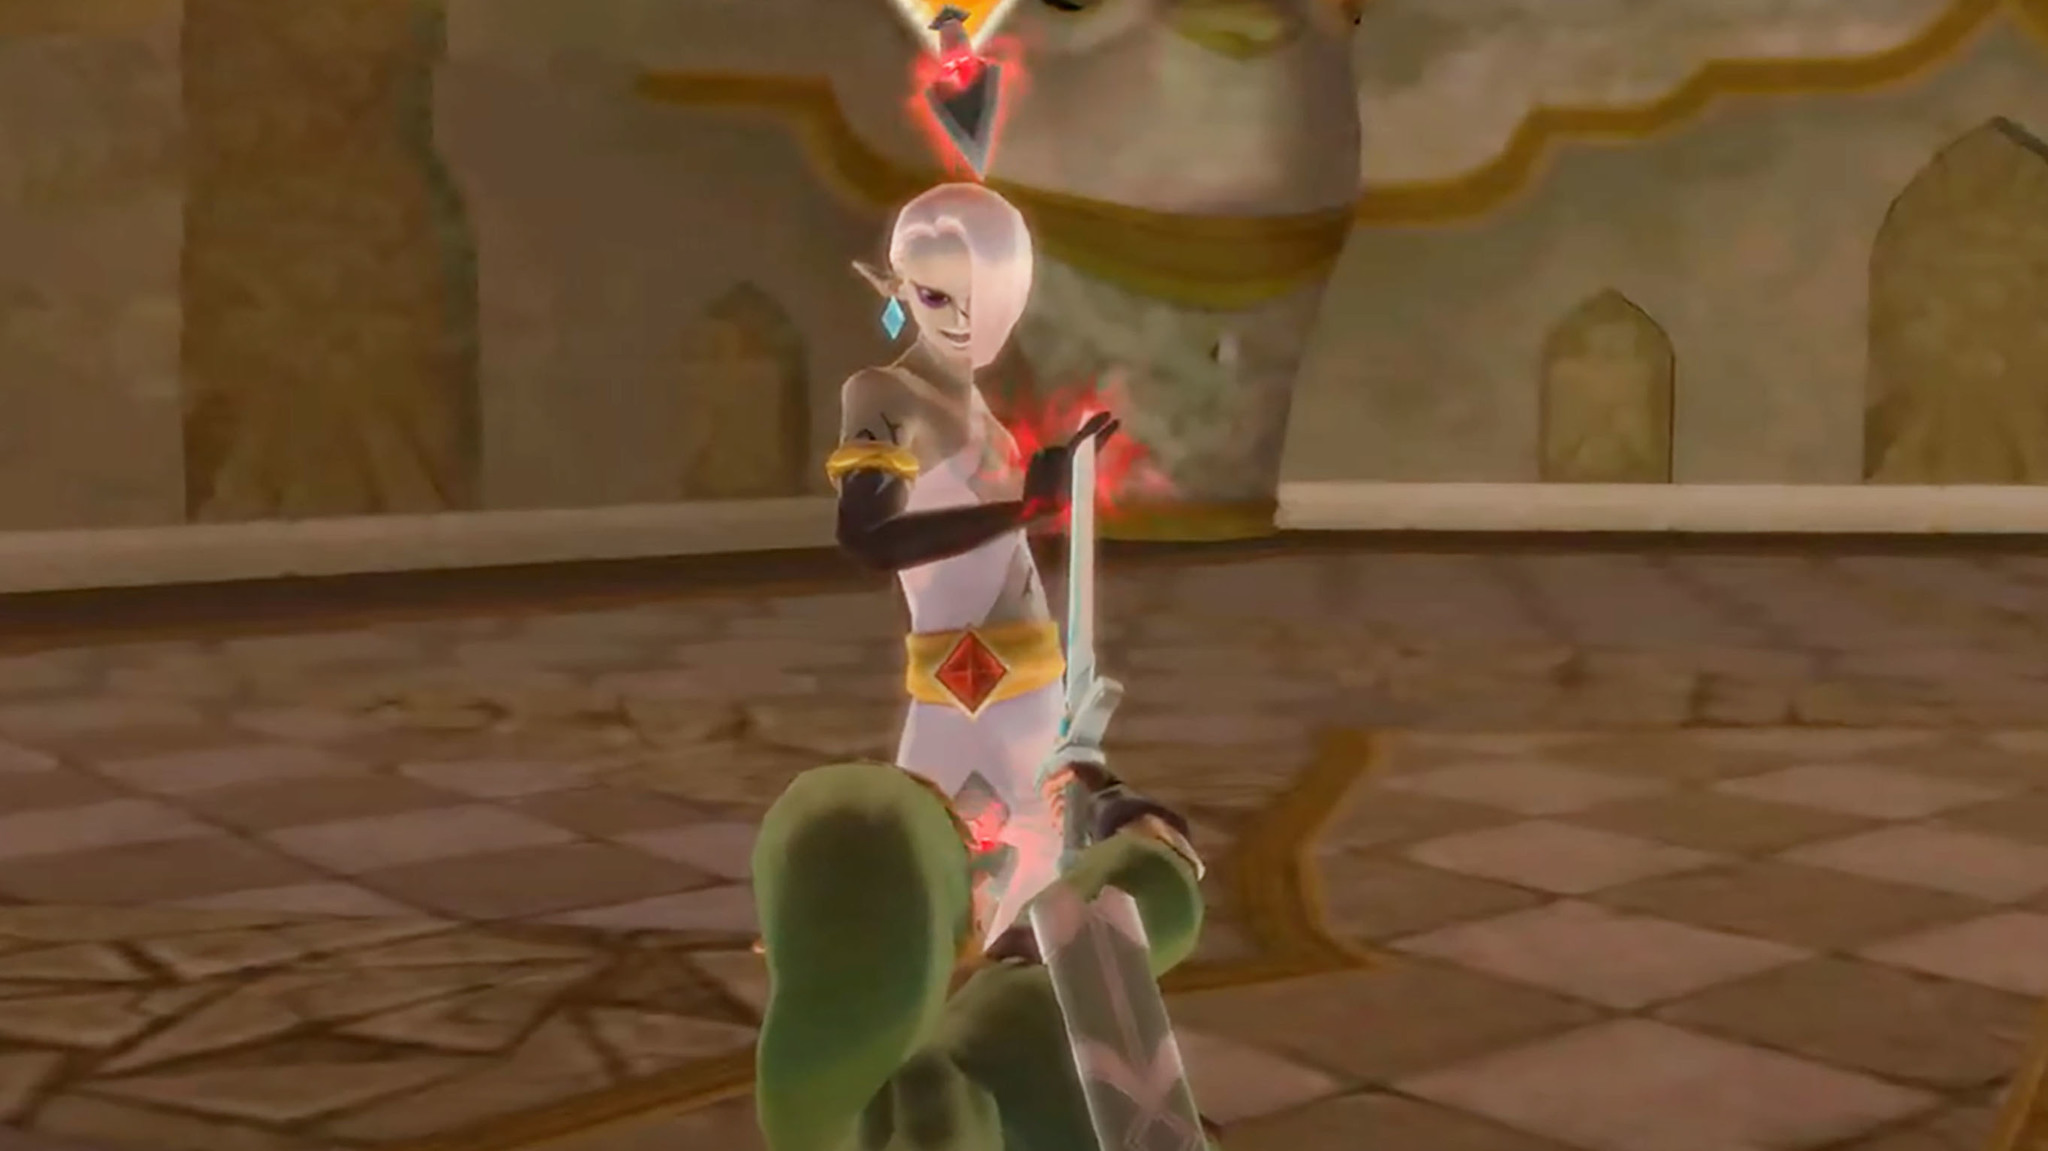
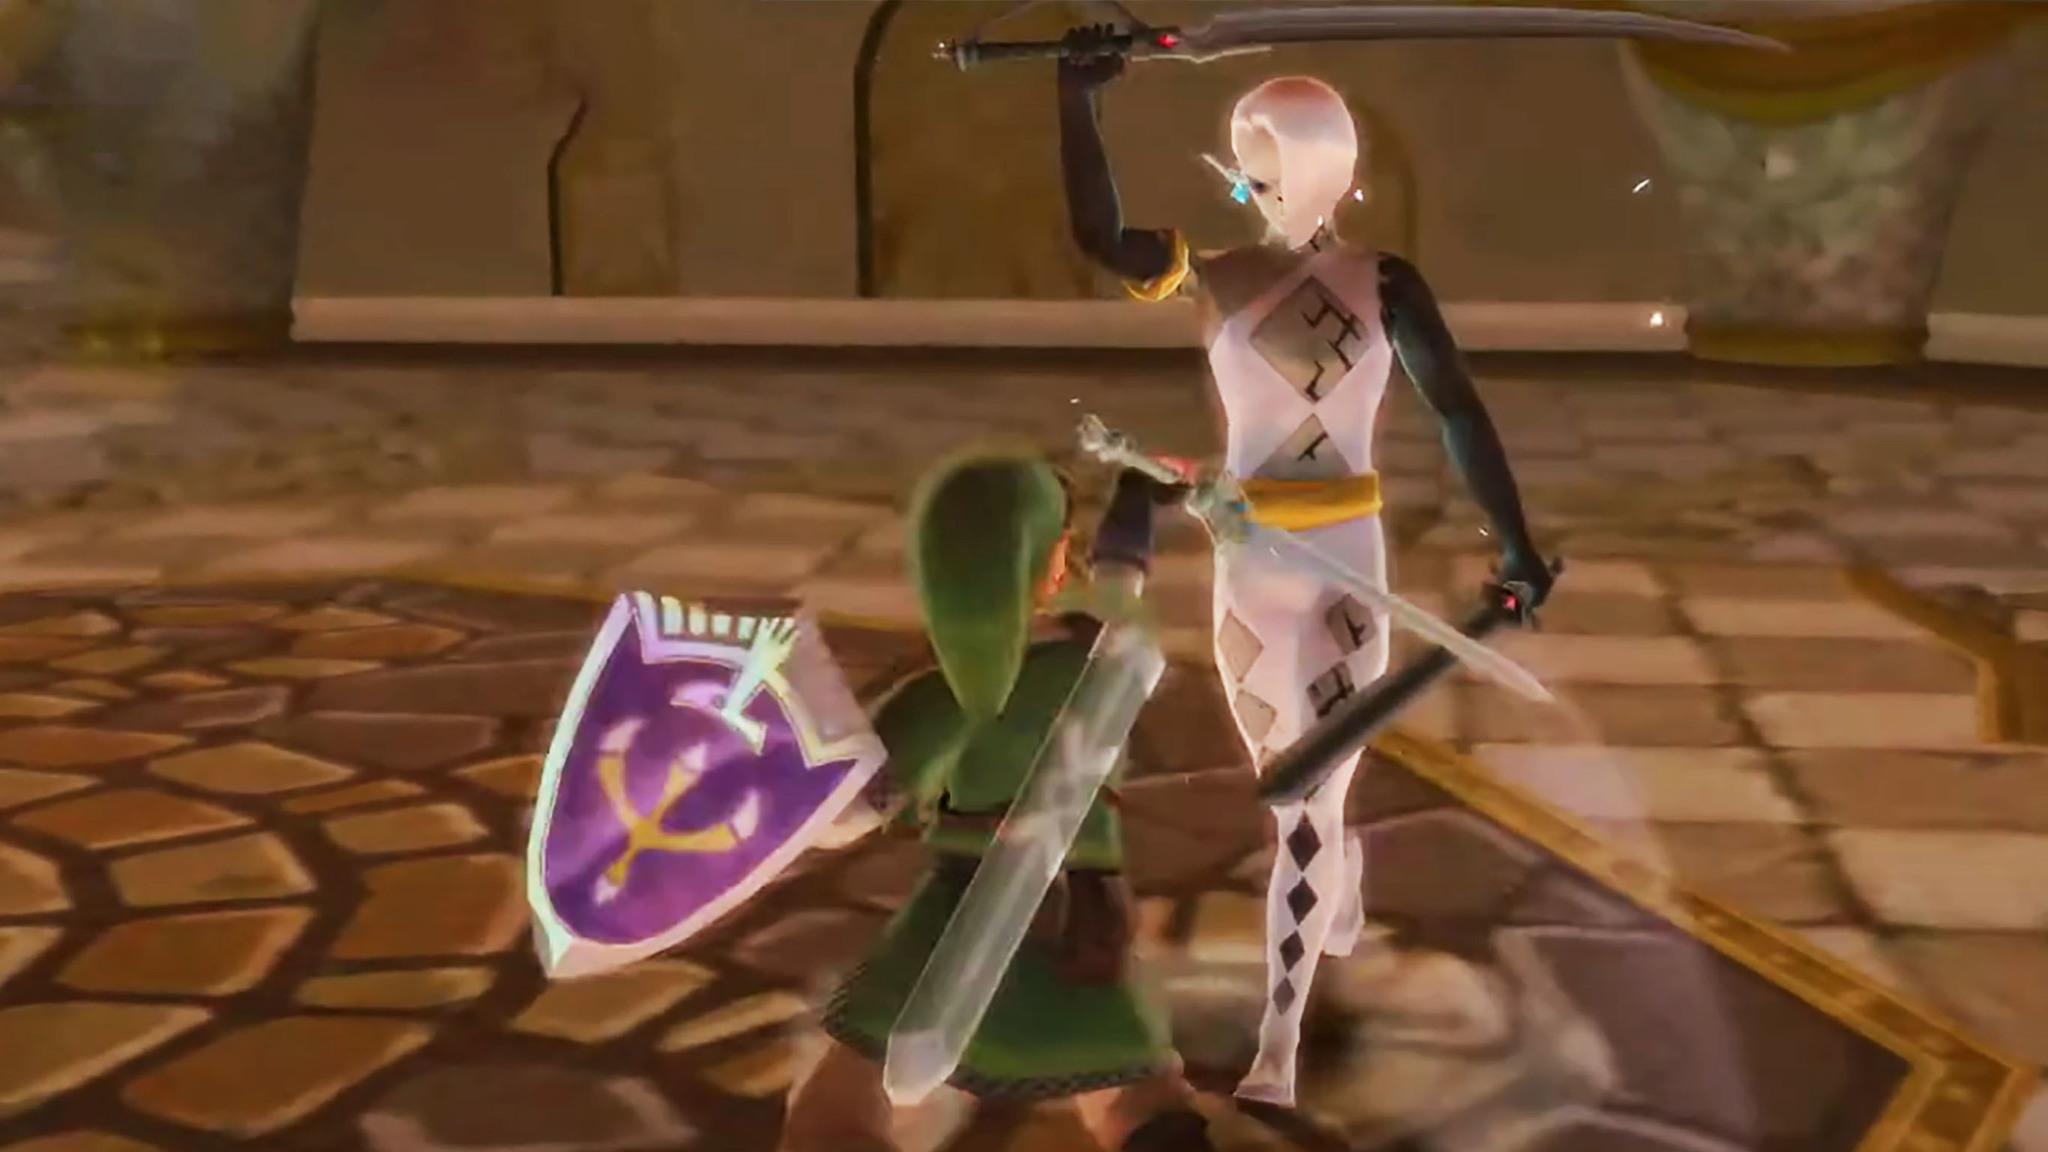
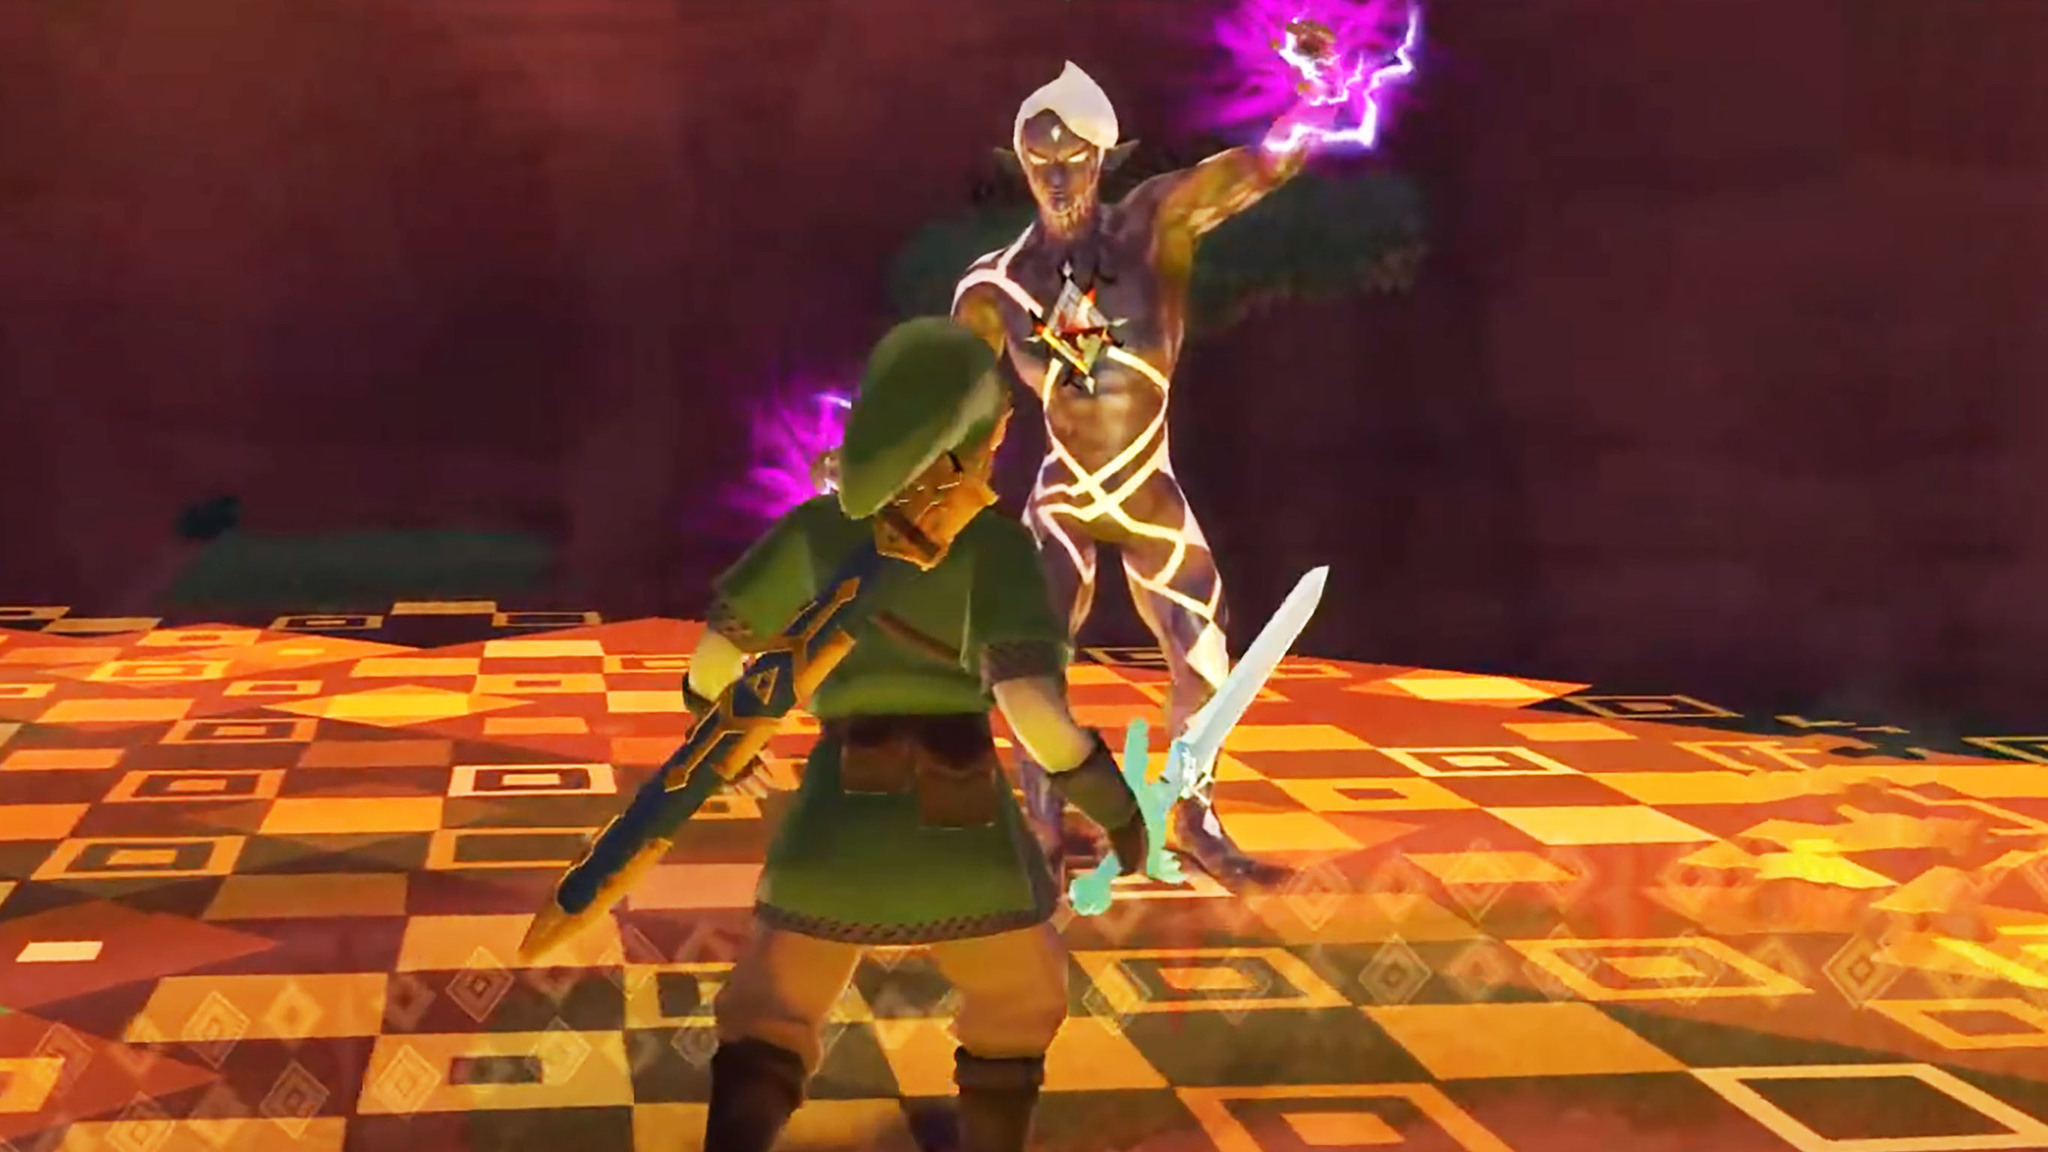
His fabulousness is a challenging opponent as he walks towards you and mirrors your sword movements with his hand. He can be pretty tricky to hit unless you know exactly what to do.
Phase 1:
If you strike straightforward, he'll grab your sword and proceed to hurt you. In order to land a hit against him, you'll need to intentionally lead his hand in one direction and then strike from the opposite side. For instance, lead his hand to the left and then strike from the right. Do this enough times and he'll pull out a sword.
iMore offers spot-on advice and guidance from our team of experts, with decades of Apple device experience to lean on. Learn more with iMore!
Phase 2:
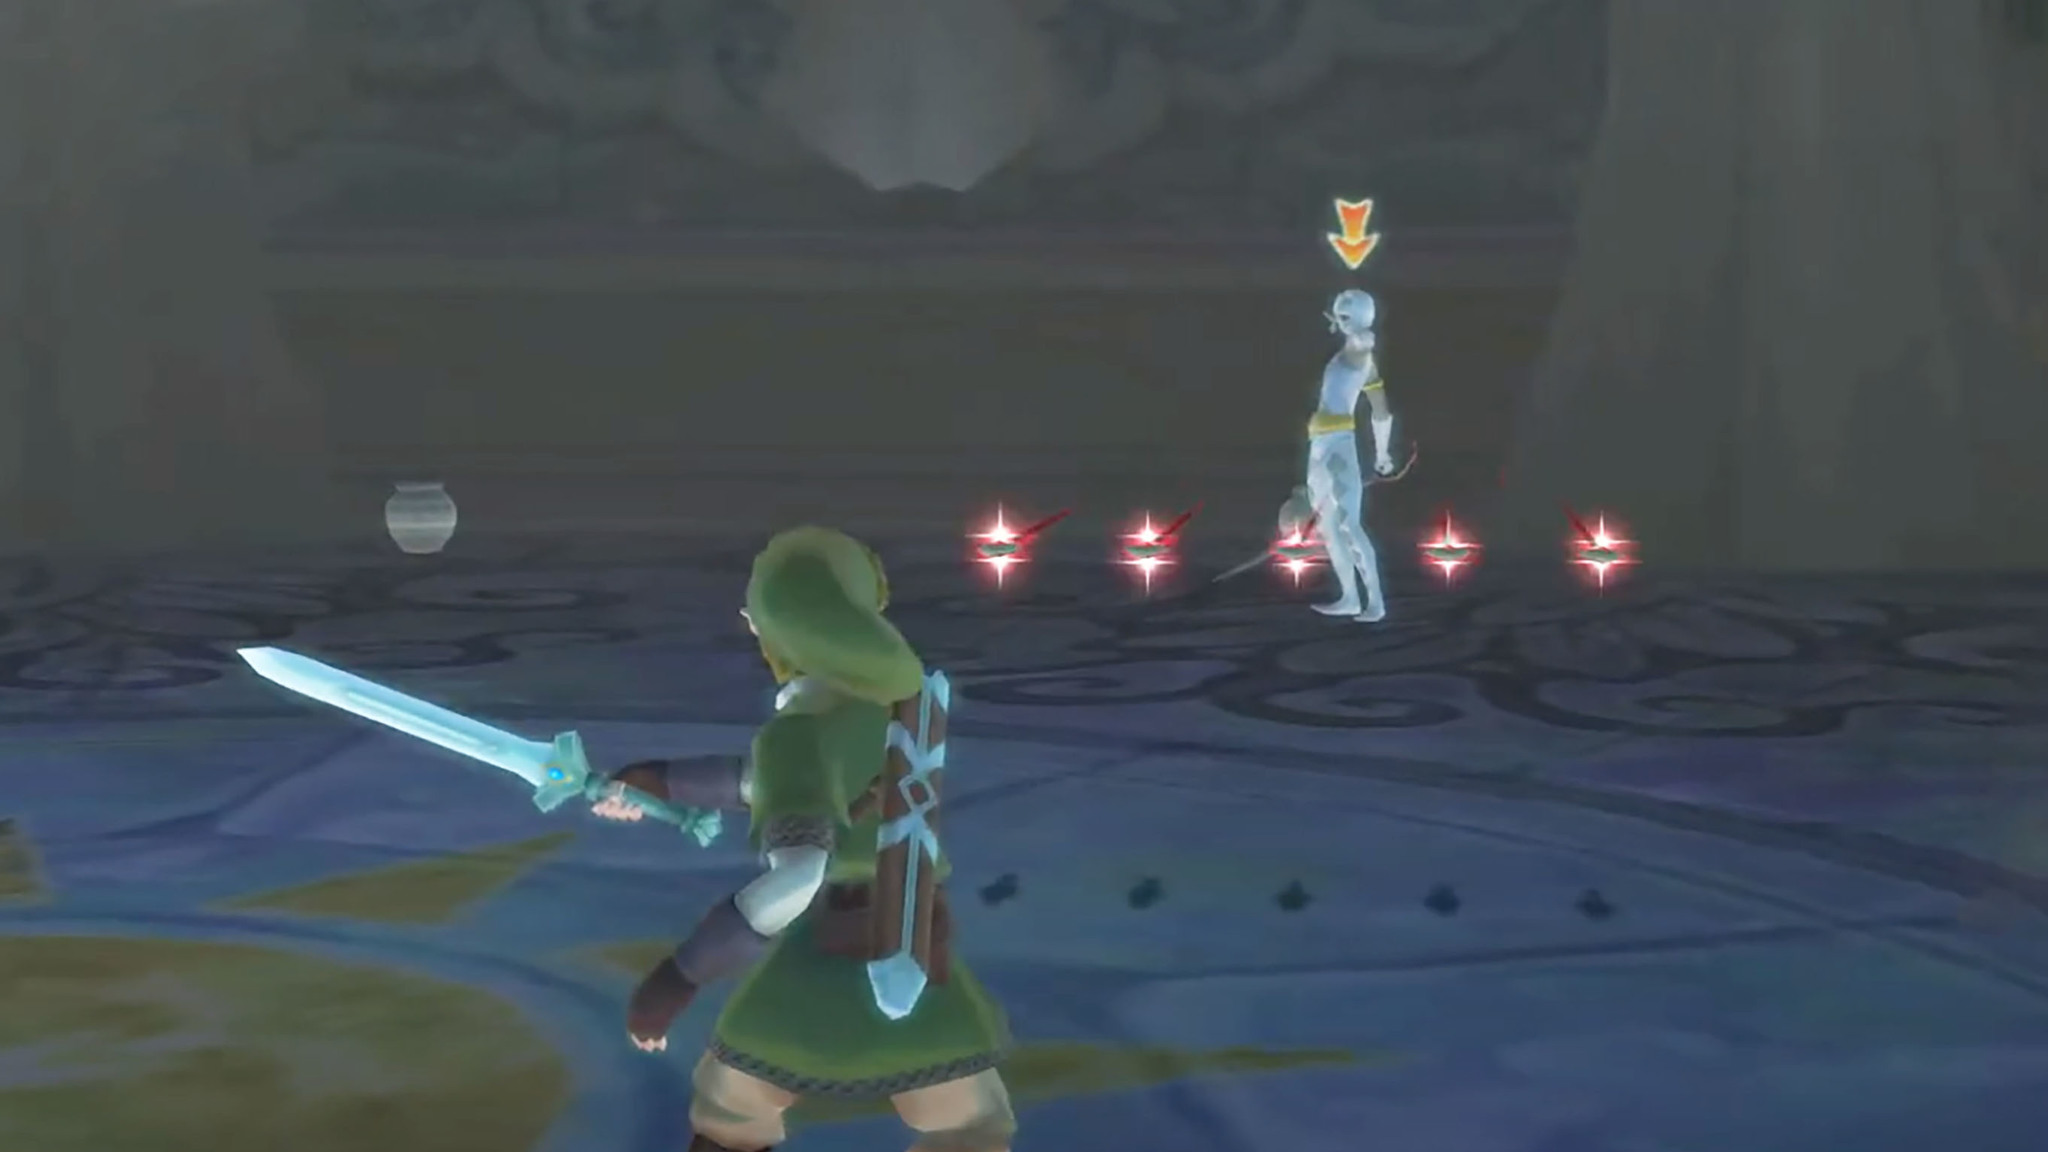
While holding a sword, he'll send red daggers hurling at you in a straight line. These hurt a lot. When the daggers are almost at you, you can either slash your sword in the same direction as the daggers to deflect them or simply dodge out of the way. He'll also charge up and then run at you really quickly before slicing you. Dodge out of his way. Slash at him whenever you have the chance until he moves on to the final stage.
Phase 3:
In the final stage, Ghirahim will start teleporting directly behind you. Quickly turn around, lock on, and attack from the opposite direction that his sword is currently angled. Repeat a few times to defeat him.
Lizalfos (Earth Temple)
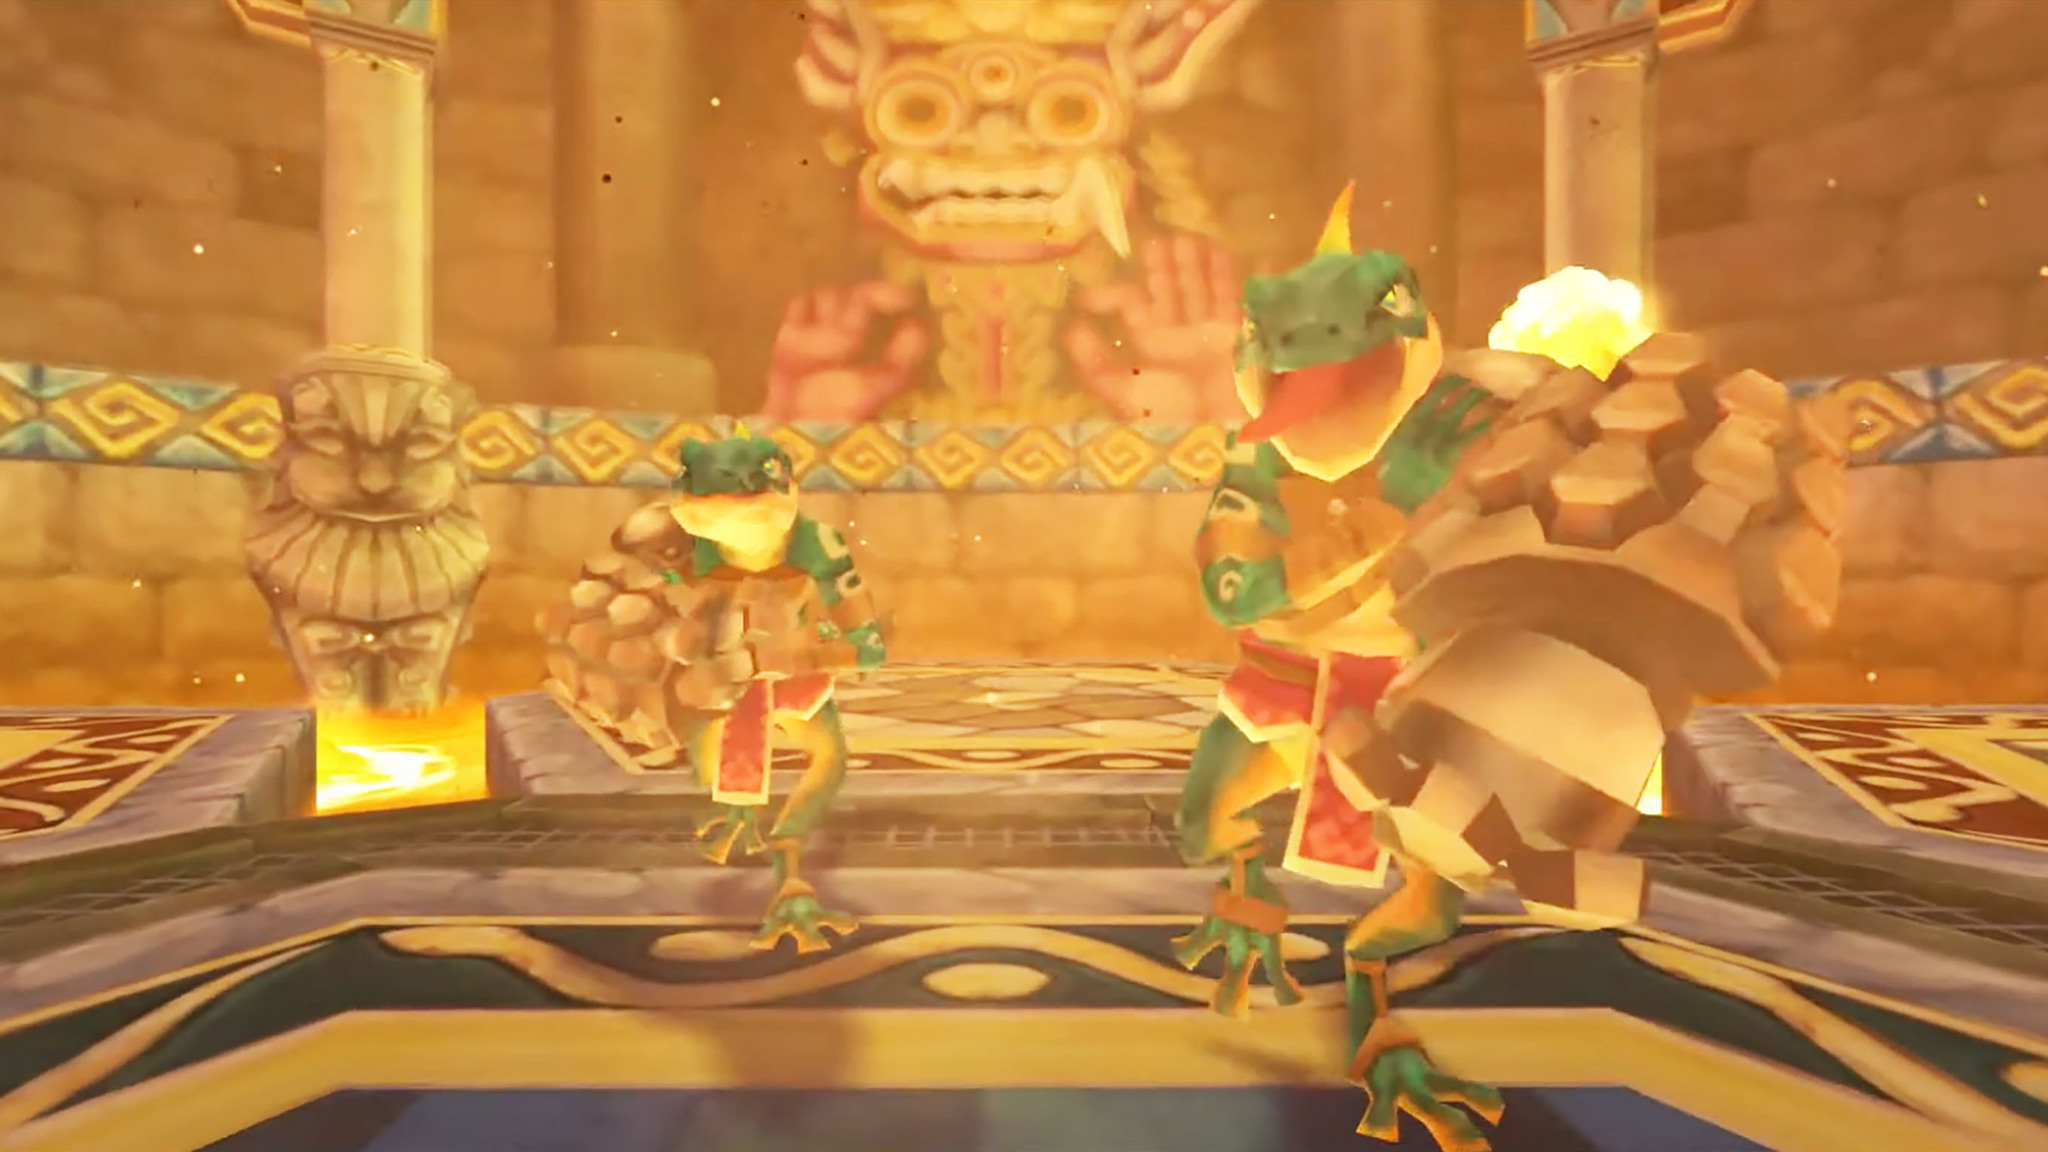
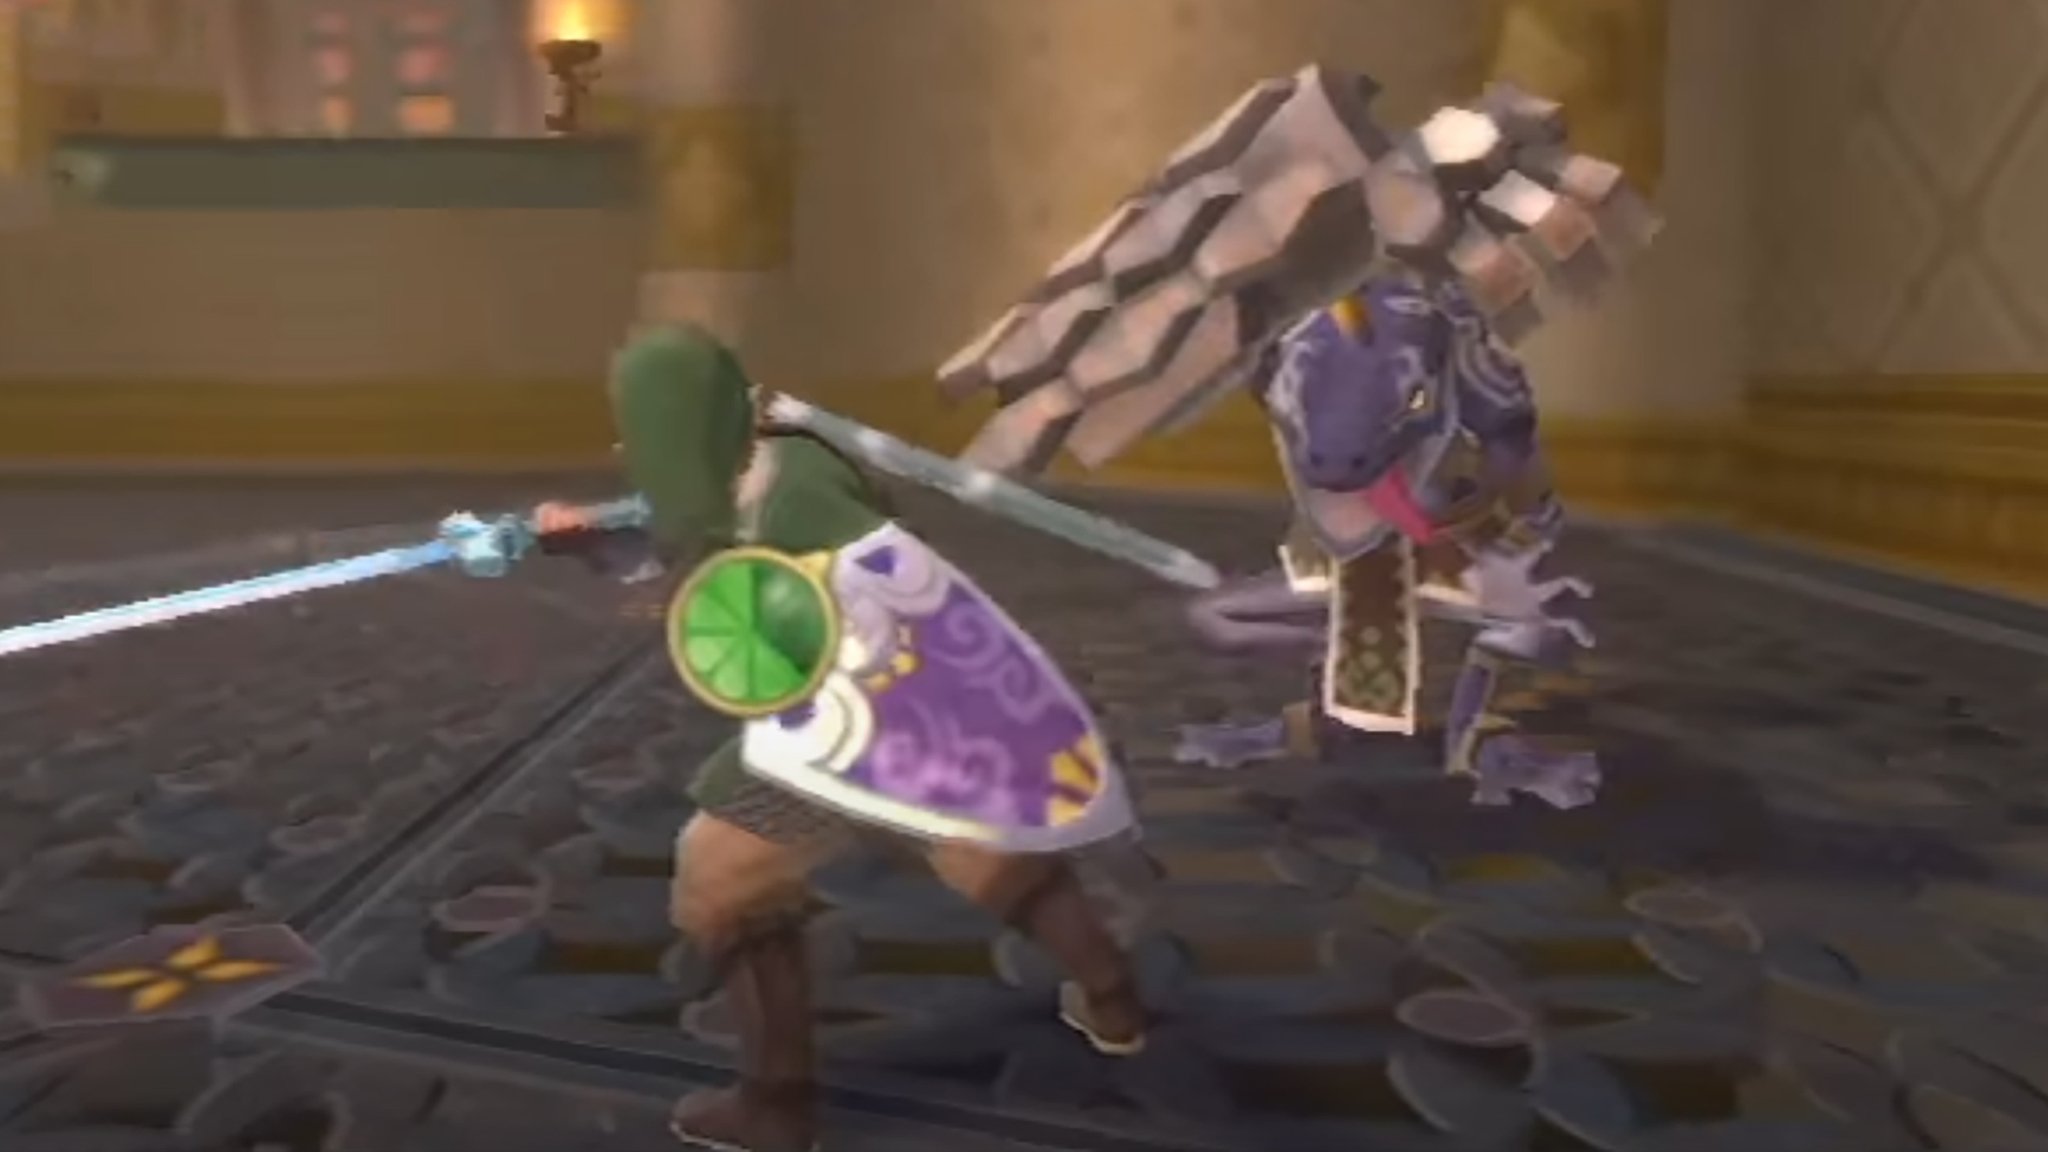
Lizalfos are basically lizard Stalfos that have arm guards to deflect hits instead of swords. You need to hit these reptiles in such a way that you avoid their armor and hit their main body. When they hold their arm guards up to protect themselves, swing in from an angle where they aren't protected. Keep strategically hacking away until they're defeated. This should only take four hits each.
Scaldera (Earth Temple)
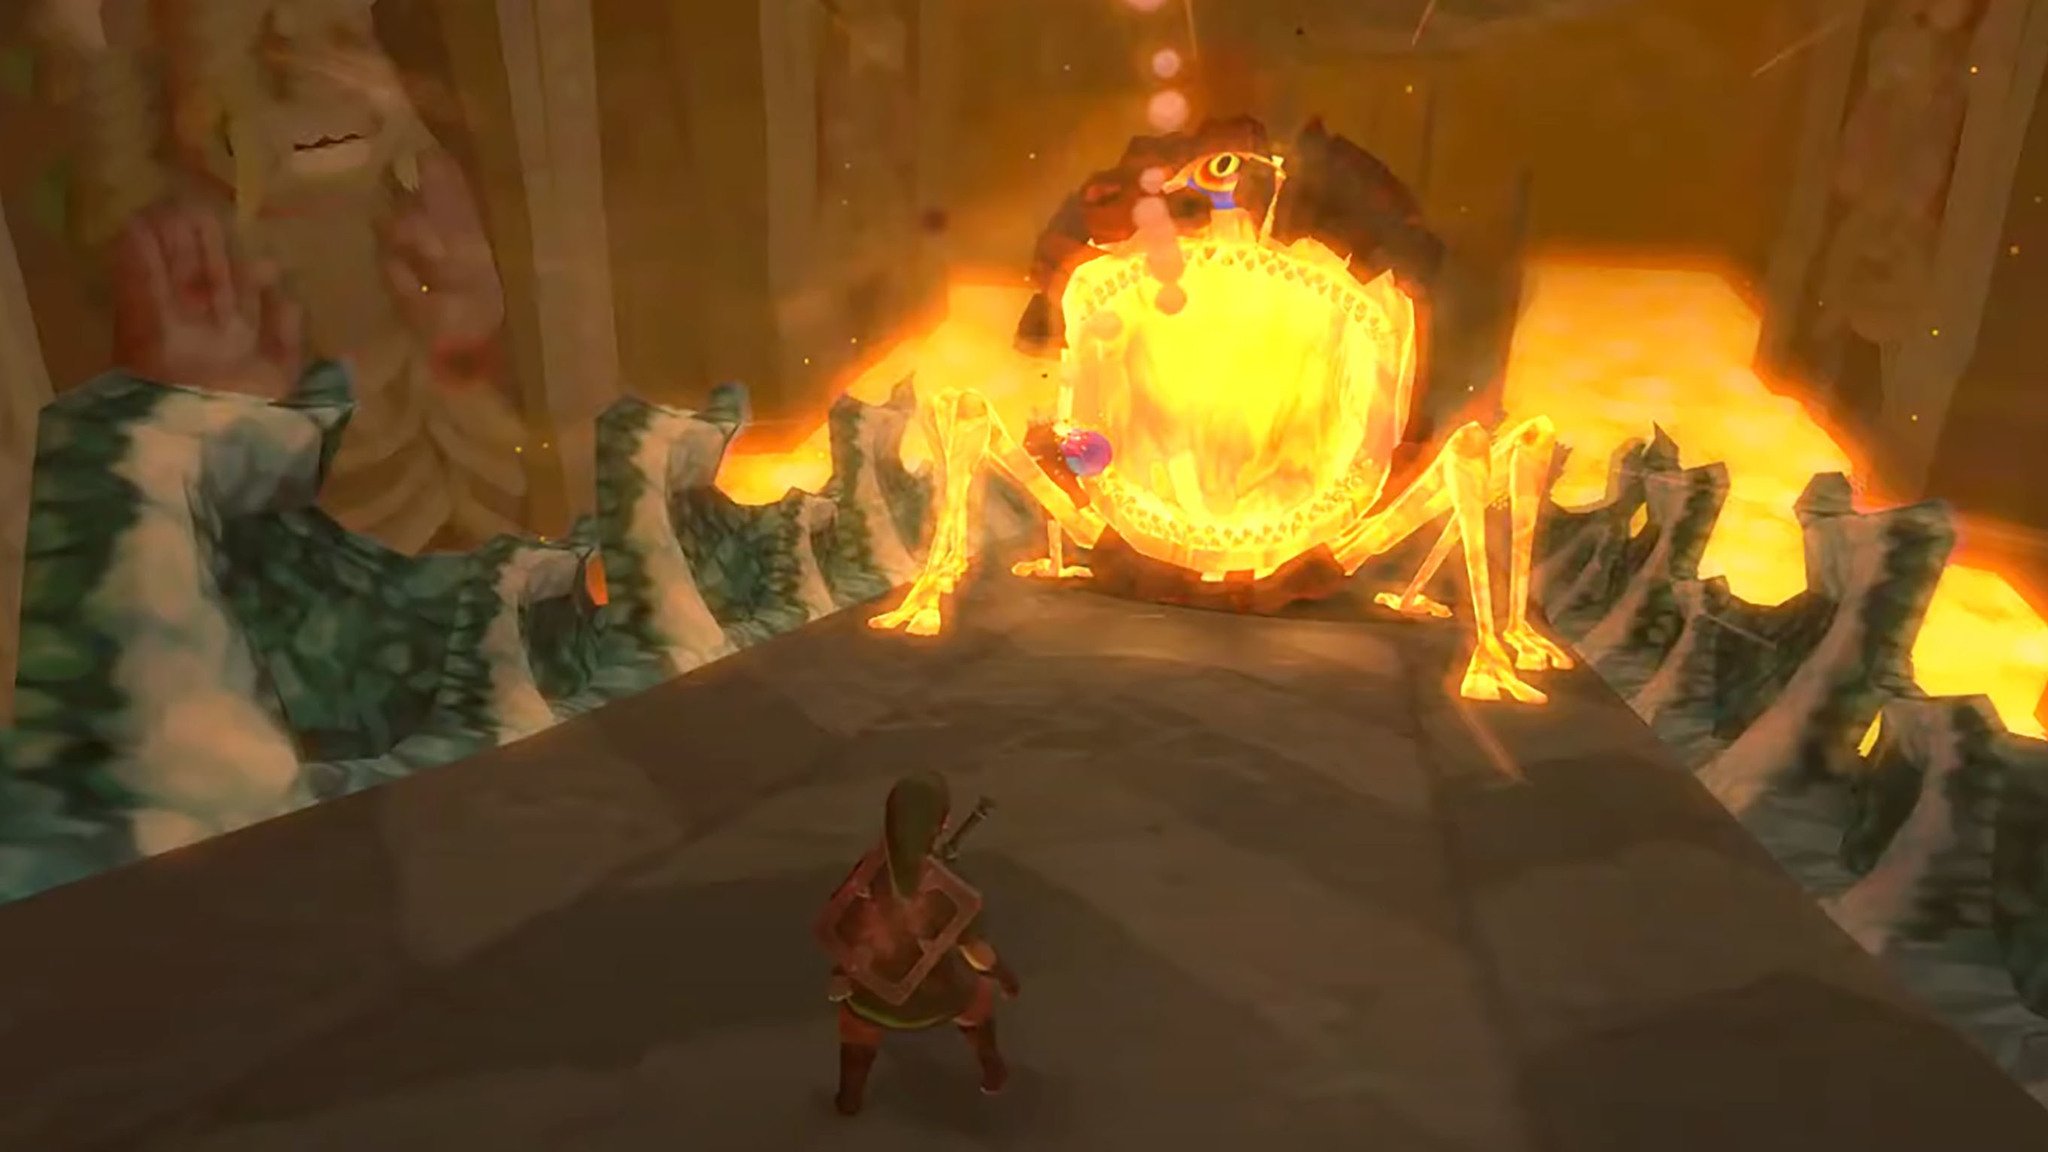
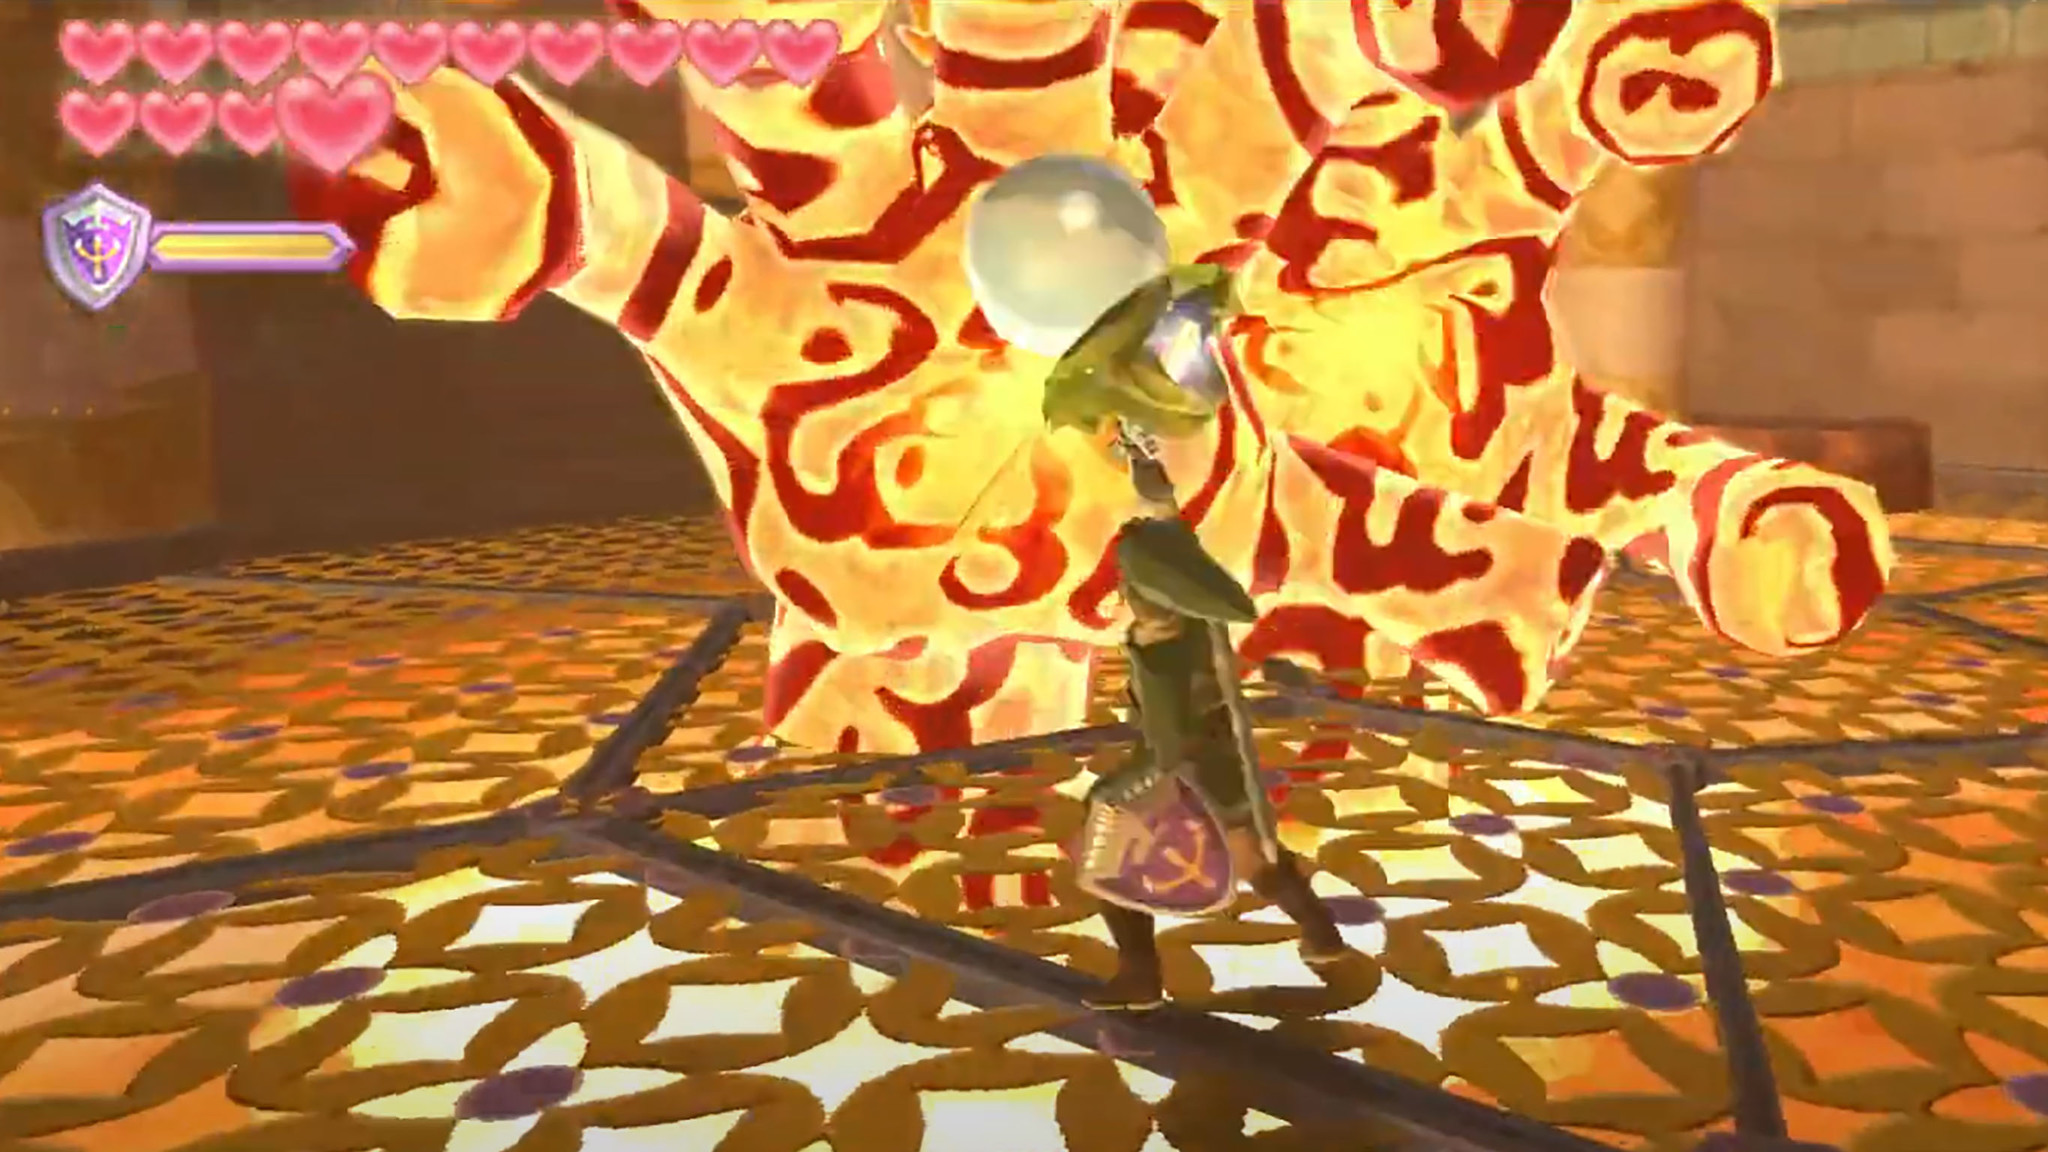
Scaldera is arguably the easiest boss in Skyward Sword HD. More importantly, it gives you a break from meticulous sword slashing. Here's how to defeat it.
- Run away from the fiery beast until you get to the top of the ramp with the Bomb Flowers.
- While chasing you, his fiery limbs will cause a bomb to go off and he'll roll back down.
- Pull out a Bomb and follow him.
- When he starts to suck in air, throw the Bomb. It will go into his mouth, explode and stun him, exposing his eye.
- Now quickly run up and slash away at its eye with your sword while he's stunned.
- When he lights back up repeat the process over again until he's defeated.
Moldarach (Lanayru Mining Facility)
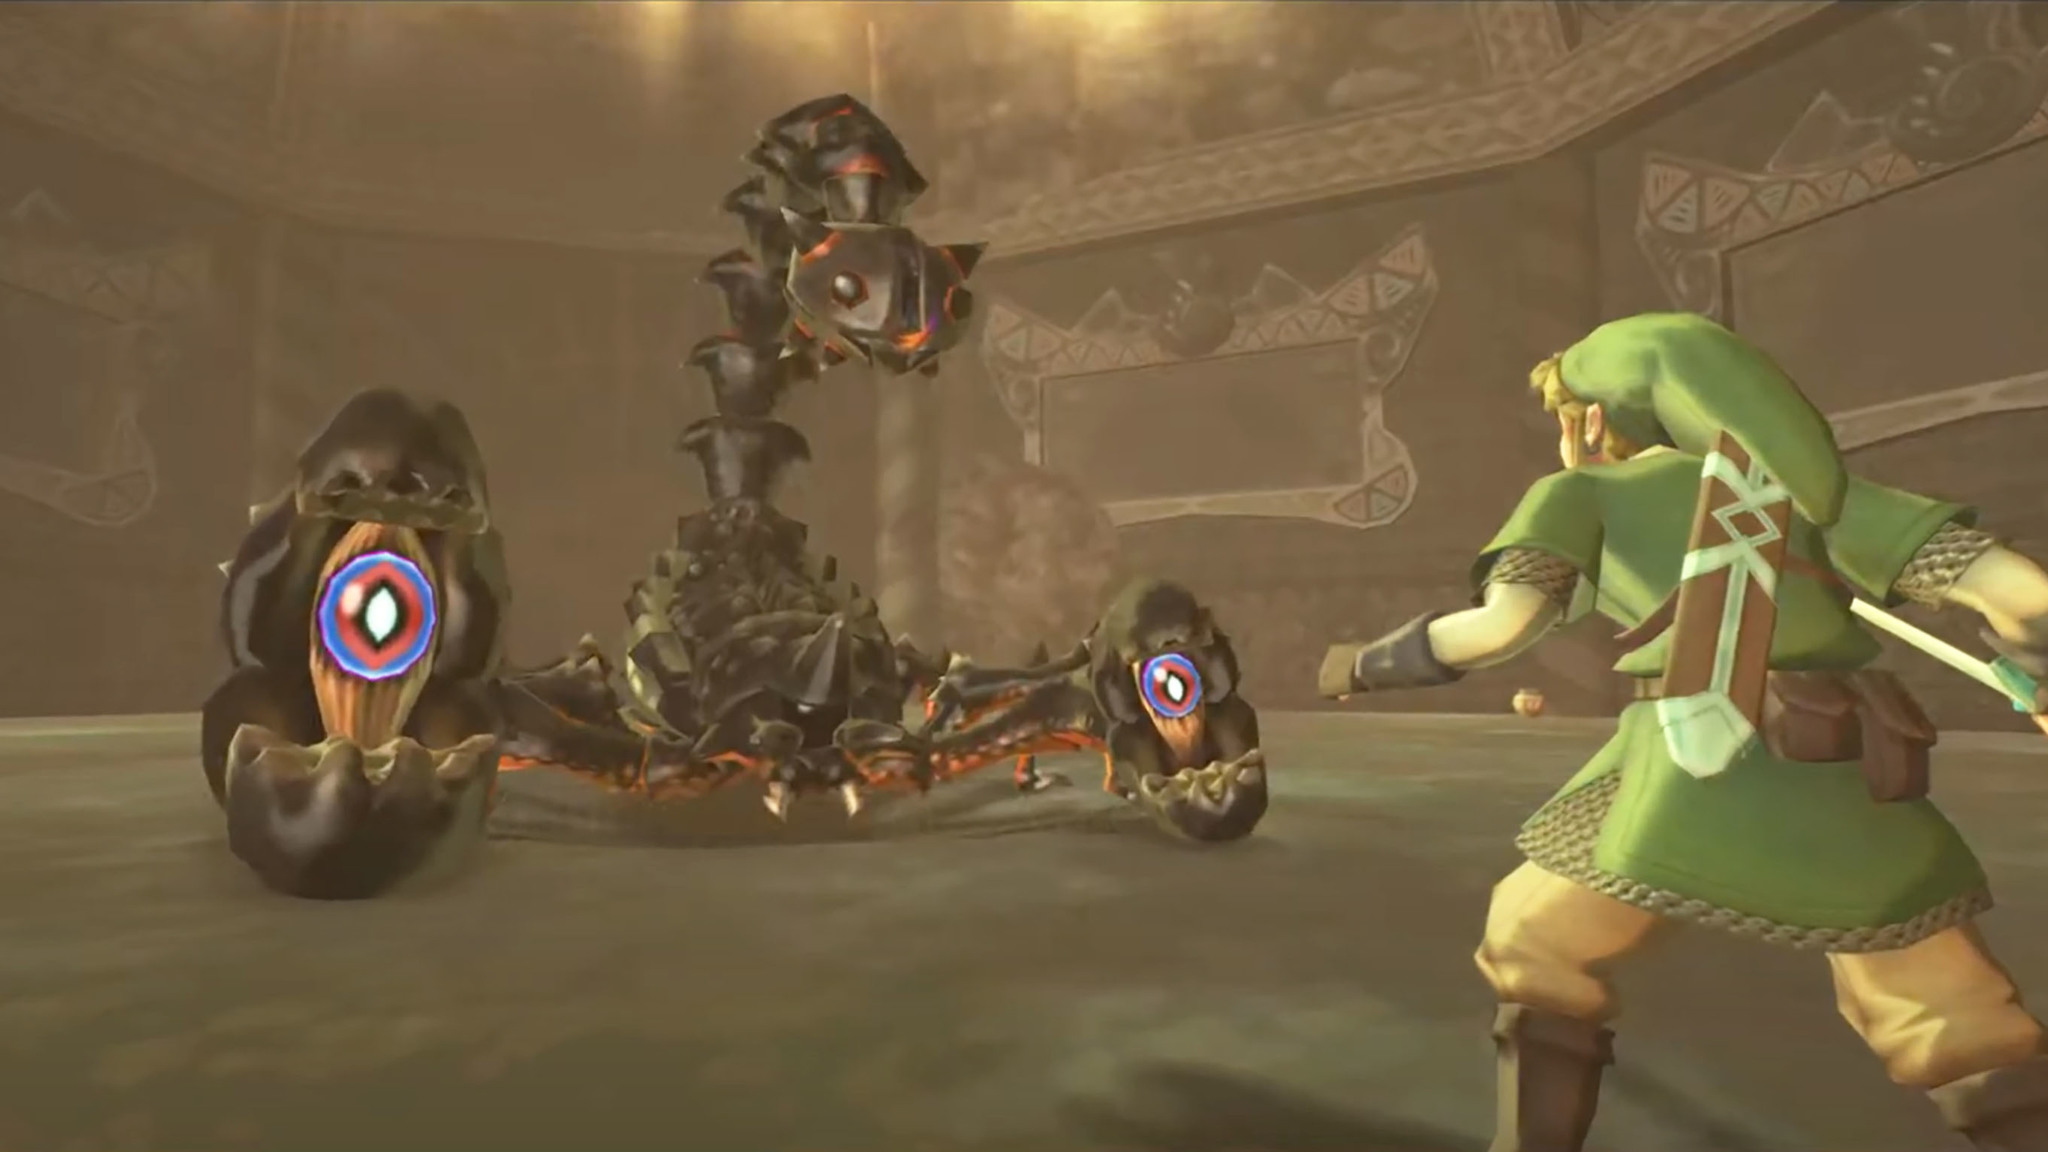
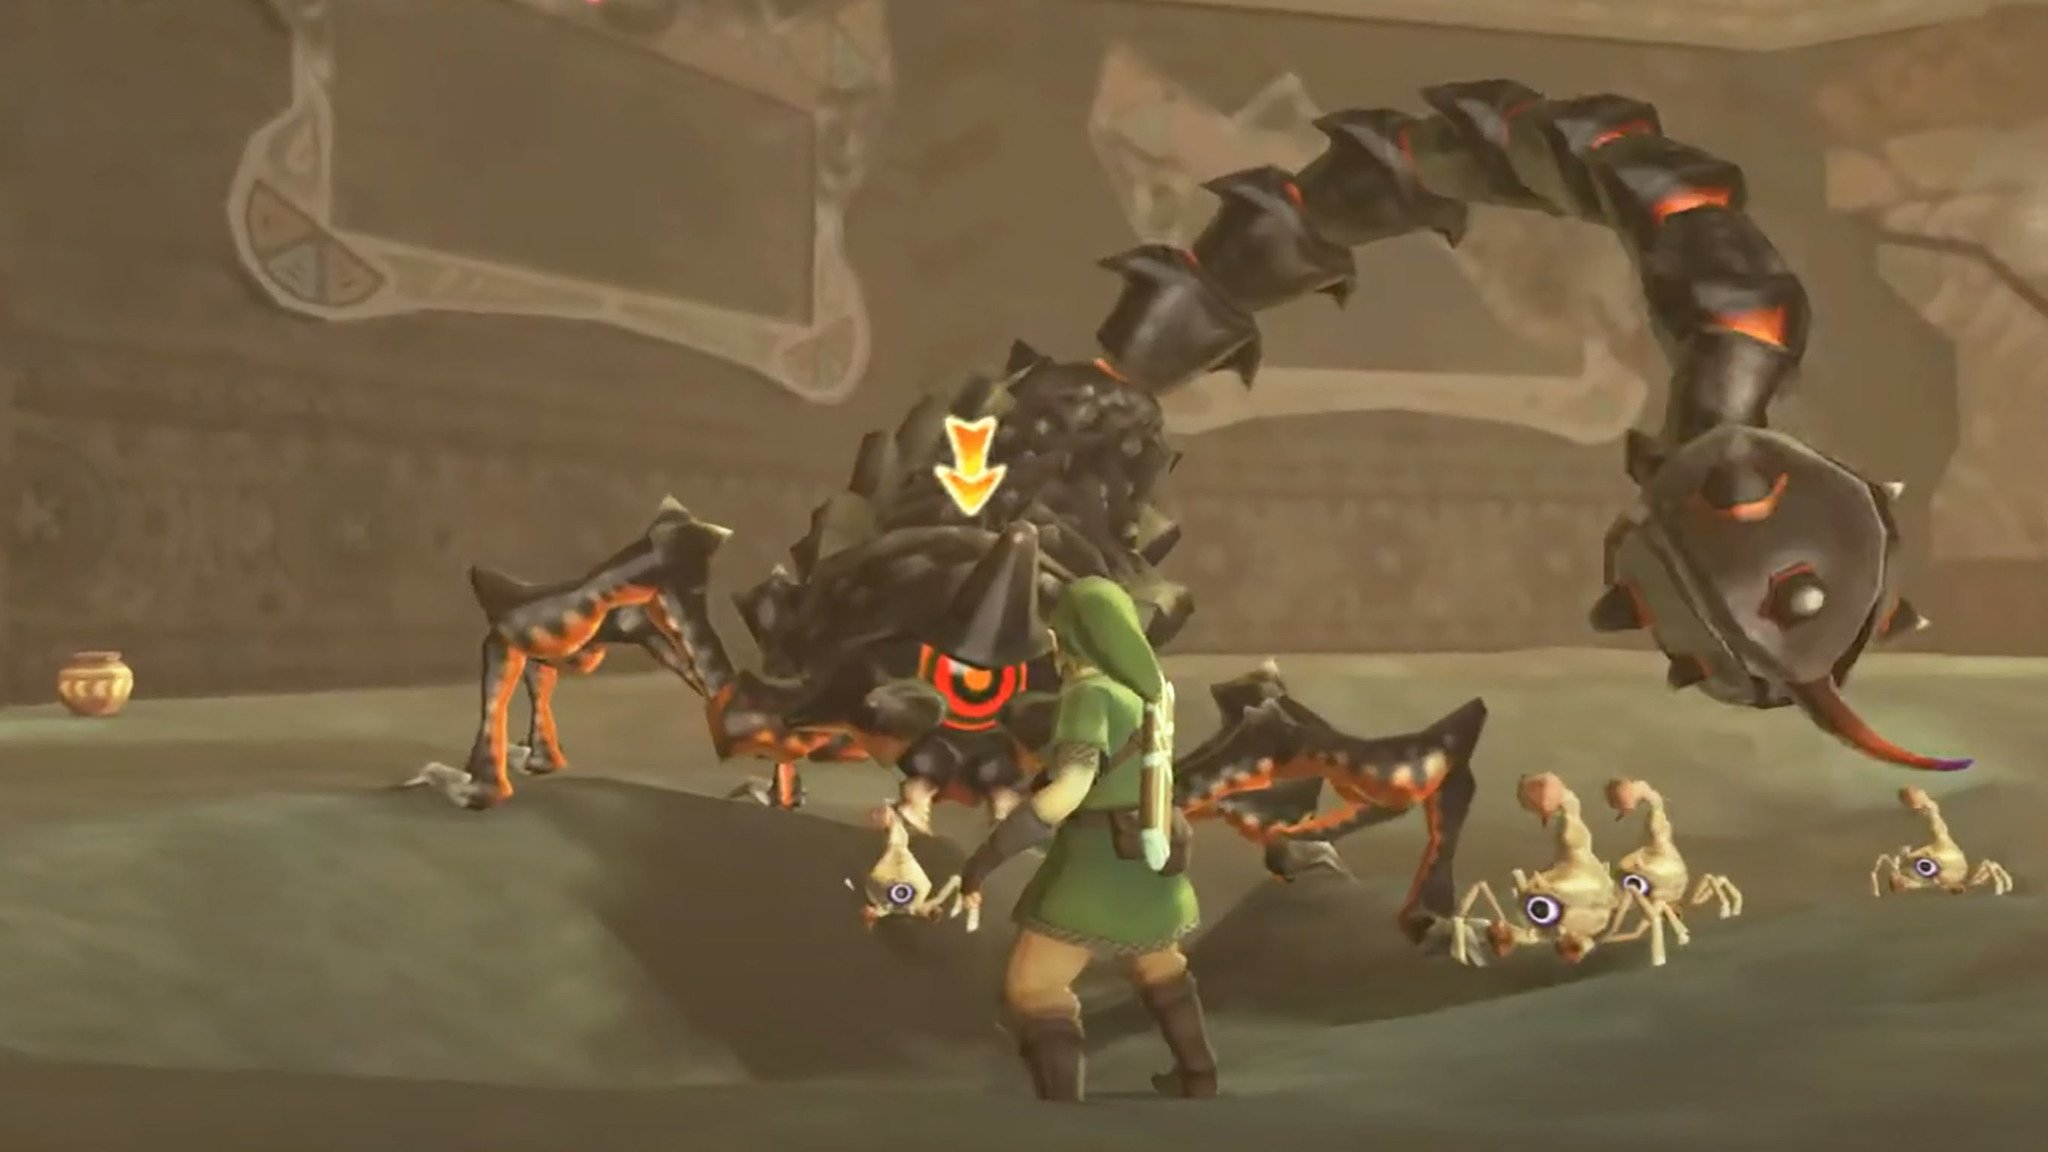
This is one of the easier bosses in Skyward Sword HD as long as you know how to hurt him. Here's what to do.
Phase 1:
You'll notice there are eyes within Moldarach's claws. To hit them, you'll need to swing your sword in such a way that you don't hit the upper or lower part of the claw. Whenever an eye turns red, get ready to run as Moldarach will strike. If it grabs you, you'll need to shake your Joy-Cons or repeatedly press A to escape. Continue to hit him until his claws fall off.
Phase 2:
A large eye will now open on his head. To hit it, you'll need to do a jabbing straightforward strike when you're up close. If he goes underground, use your Gust Bellows to expose him and make him come back out. Once again, his eye turning red is an indication that you should get out of the way of his attack. Defeat the small scorpions first since they can be a real nuisance in a mob. Keep jabbing his eye until he's defeated.
The Imprisoned #1 (Sealed Grounds)
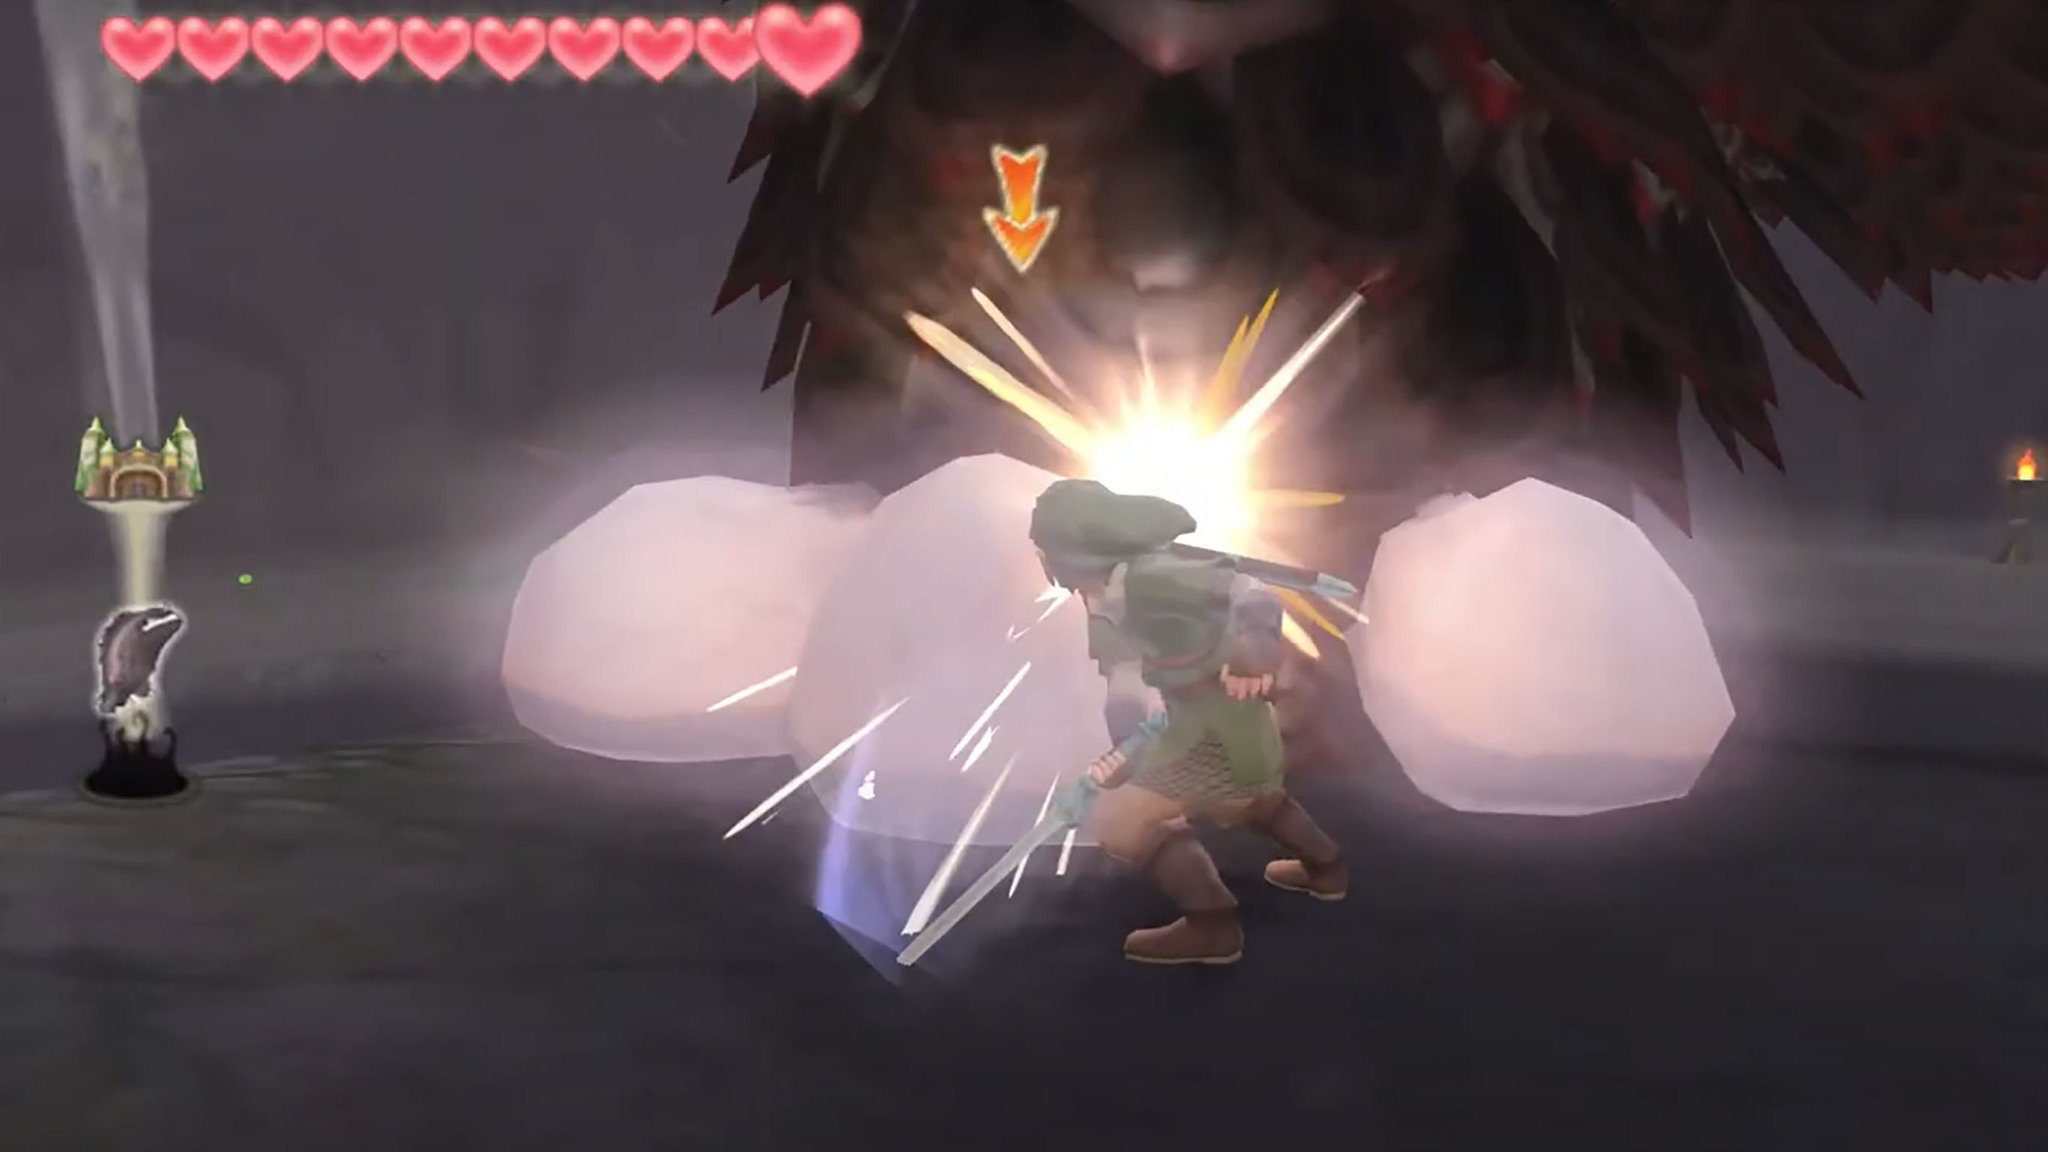
An evil force is trying to break from its seal, but with the right moves you'll put him back in his place.
Phase 1
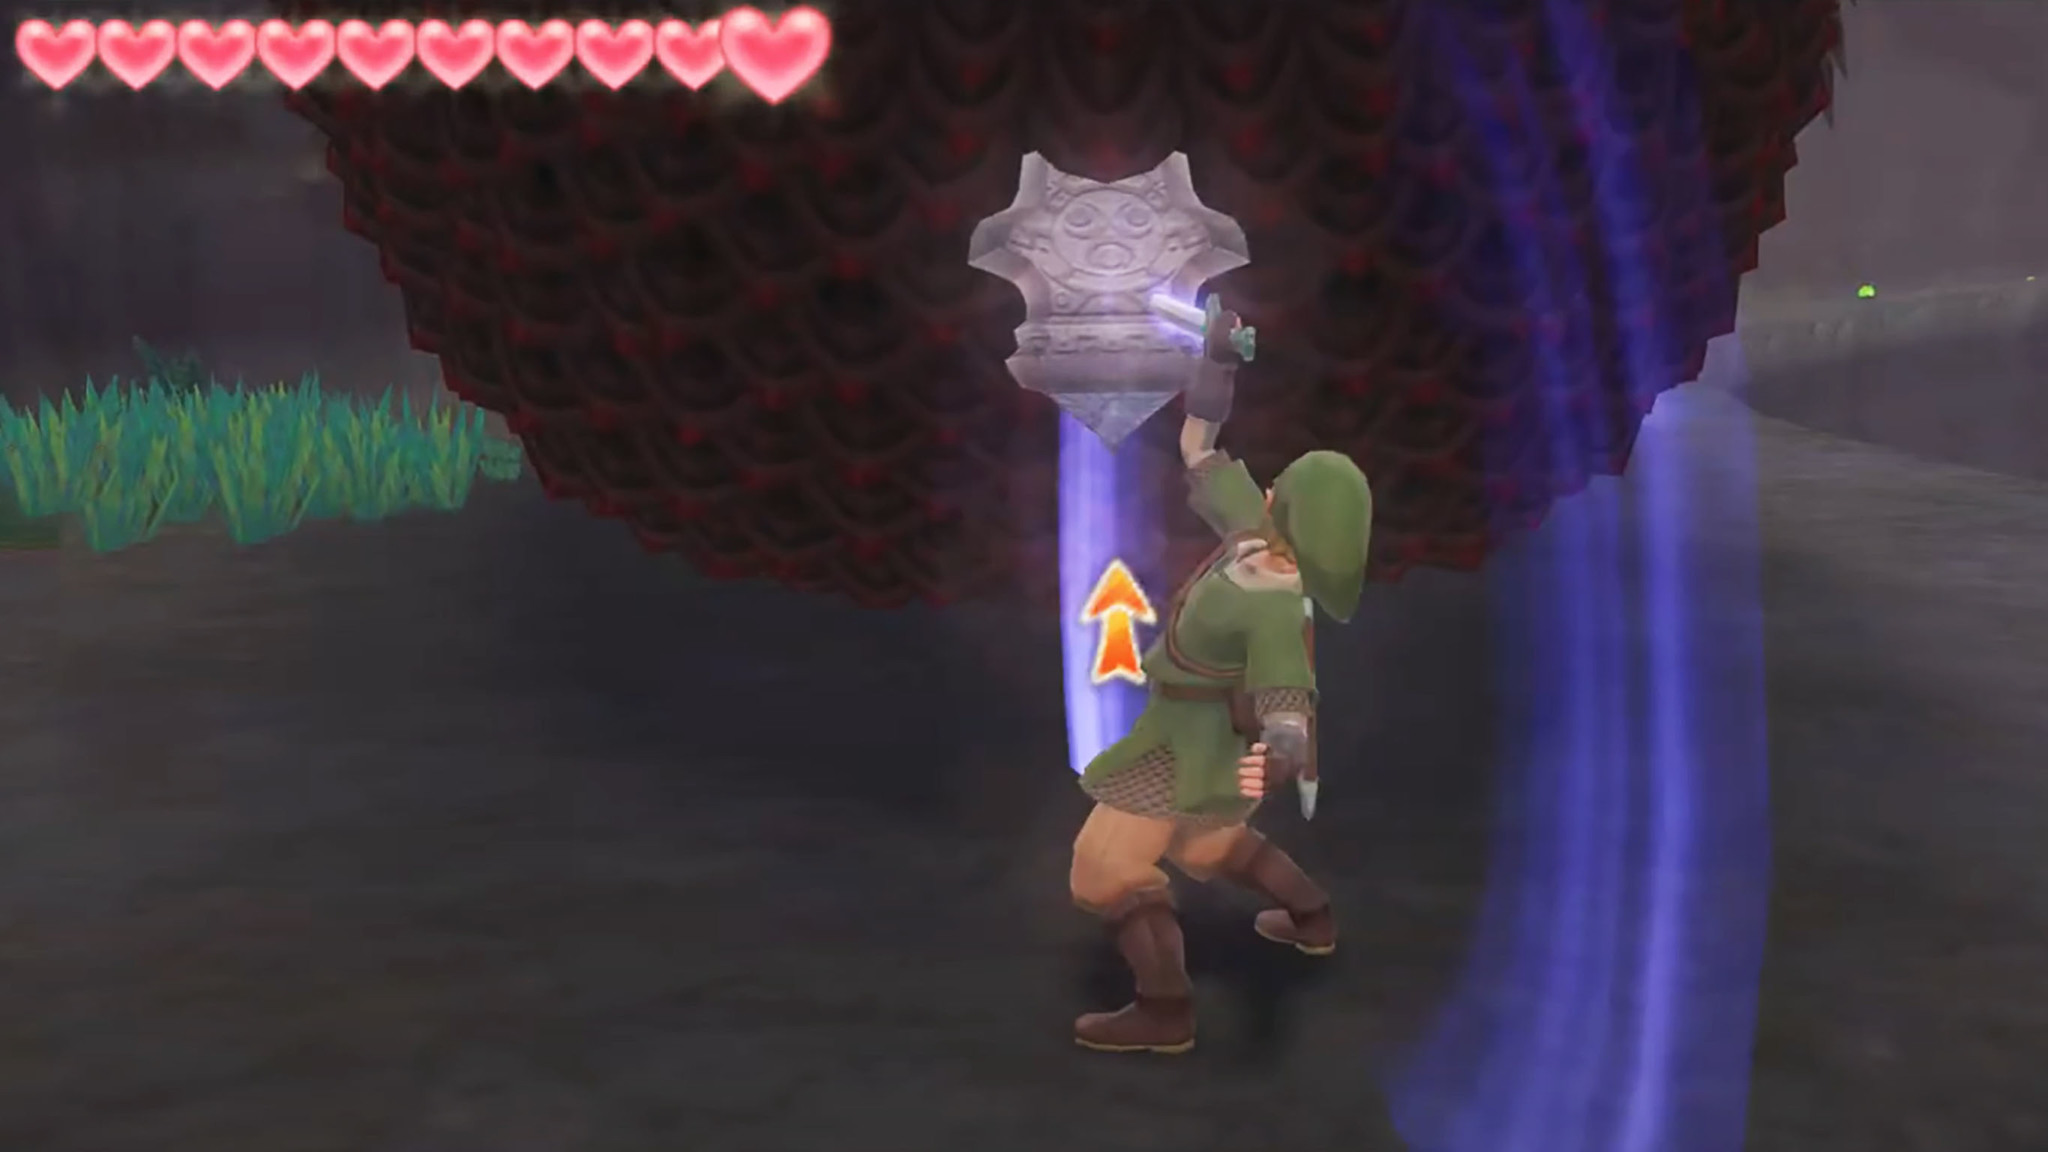
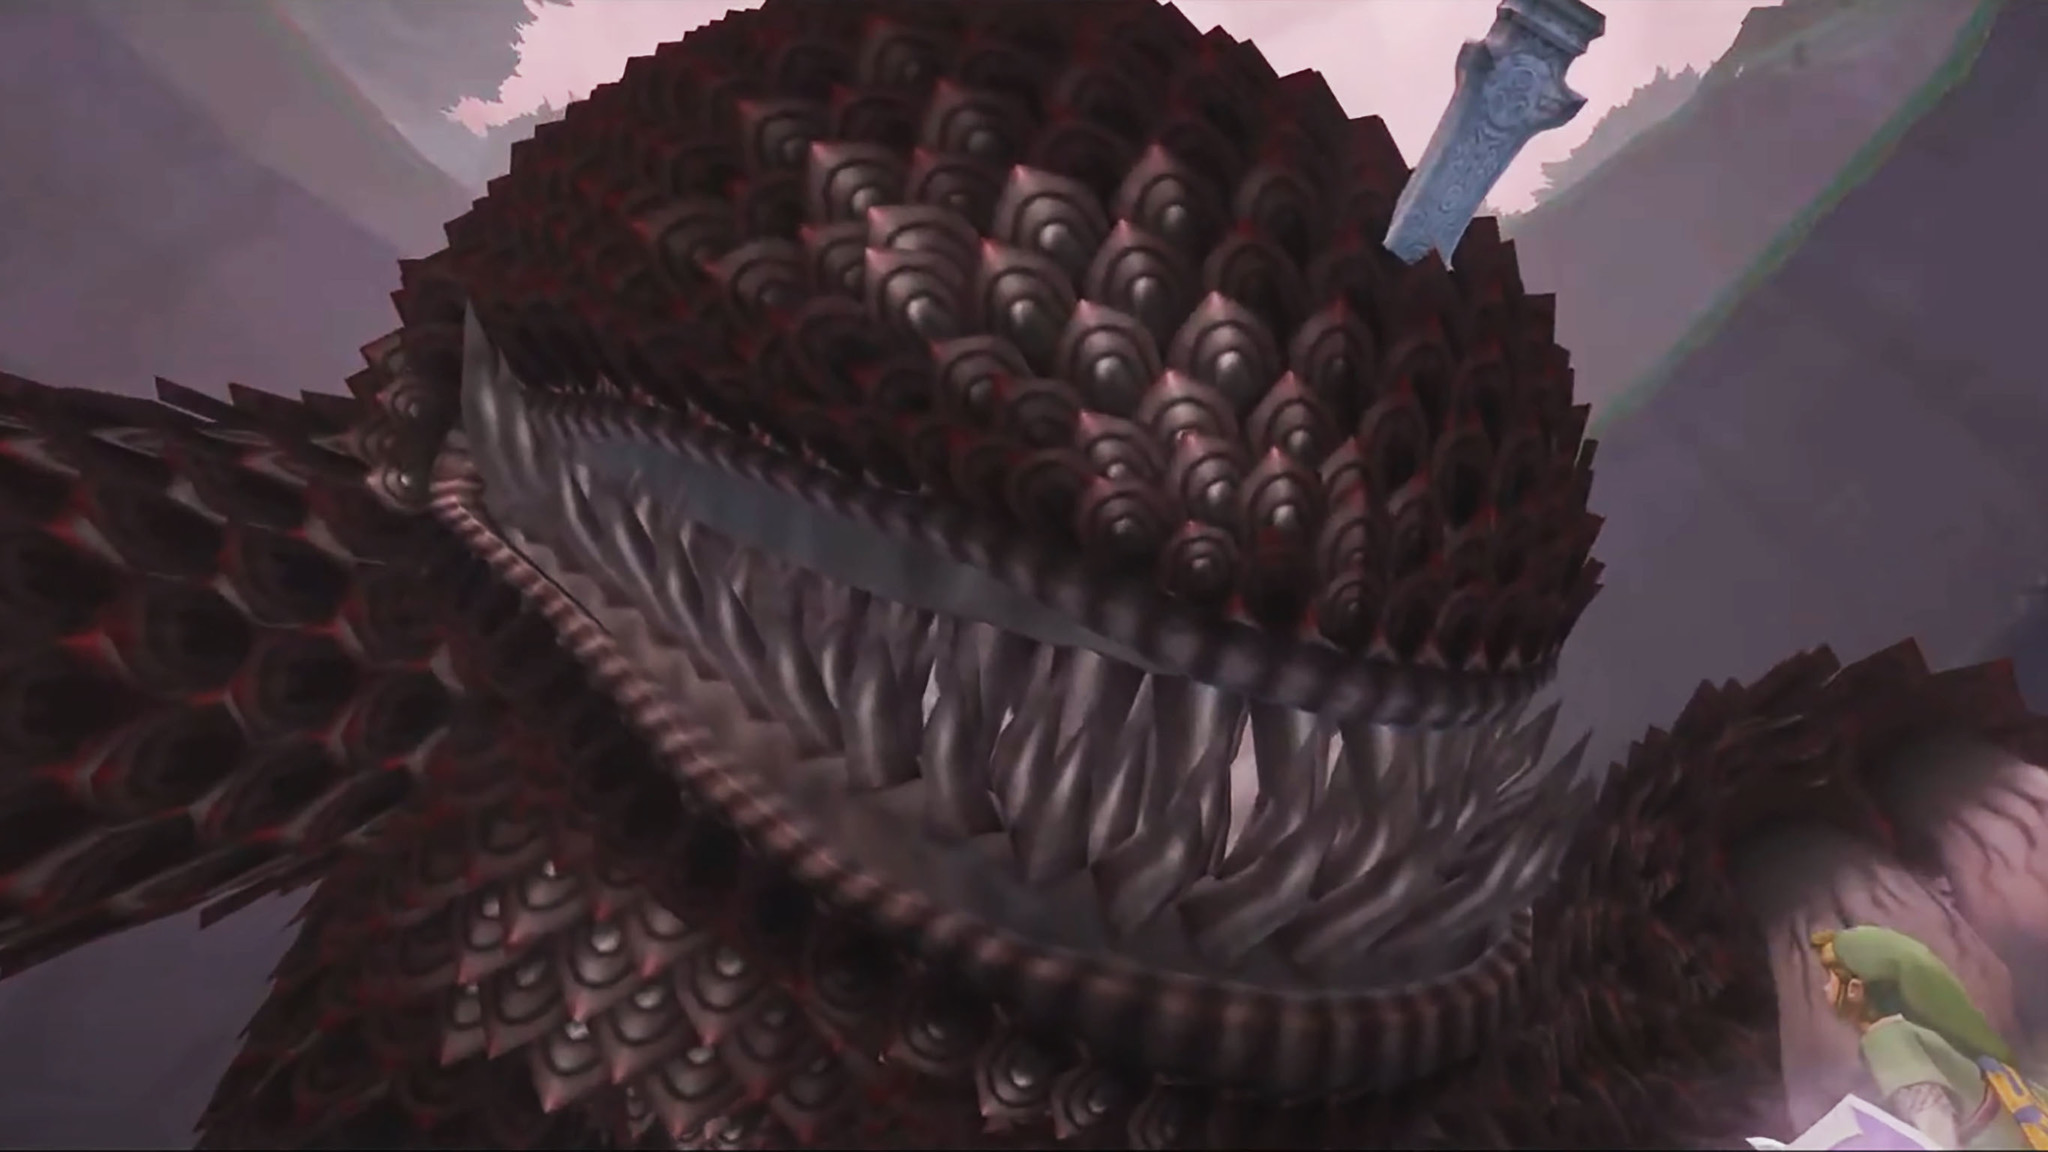
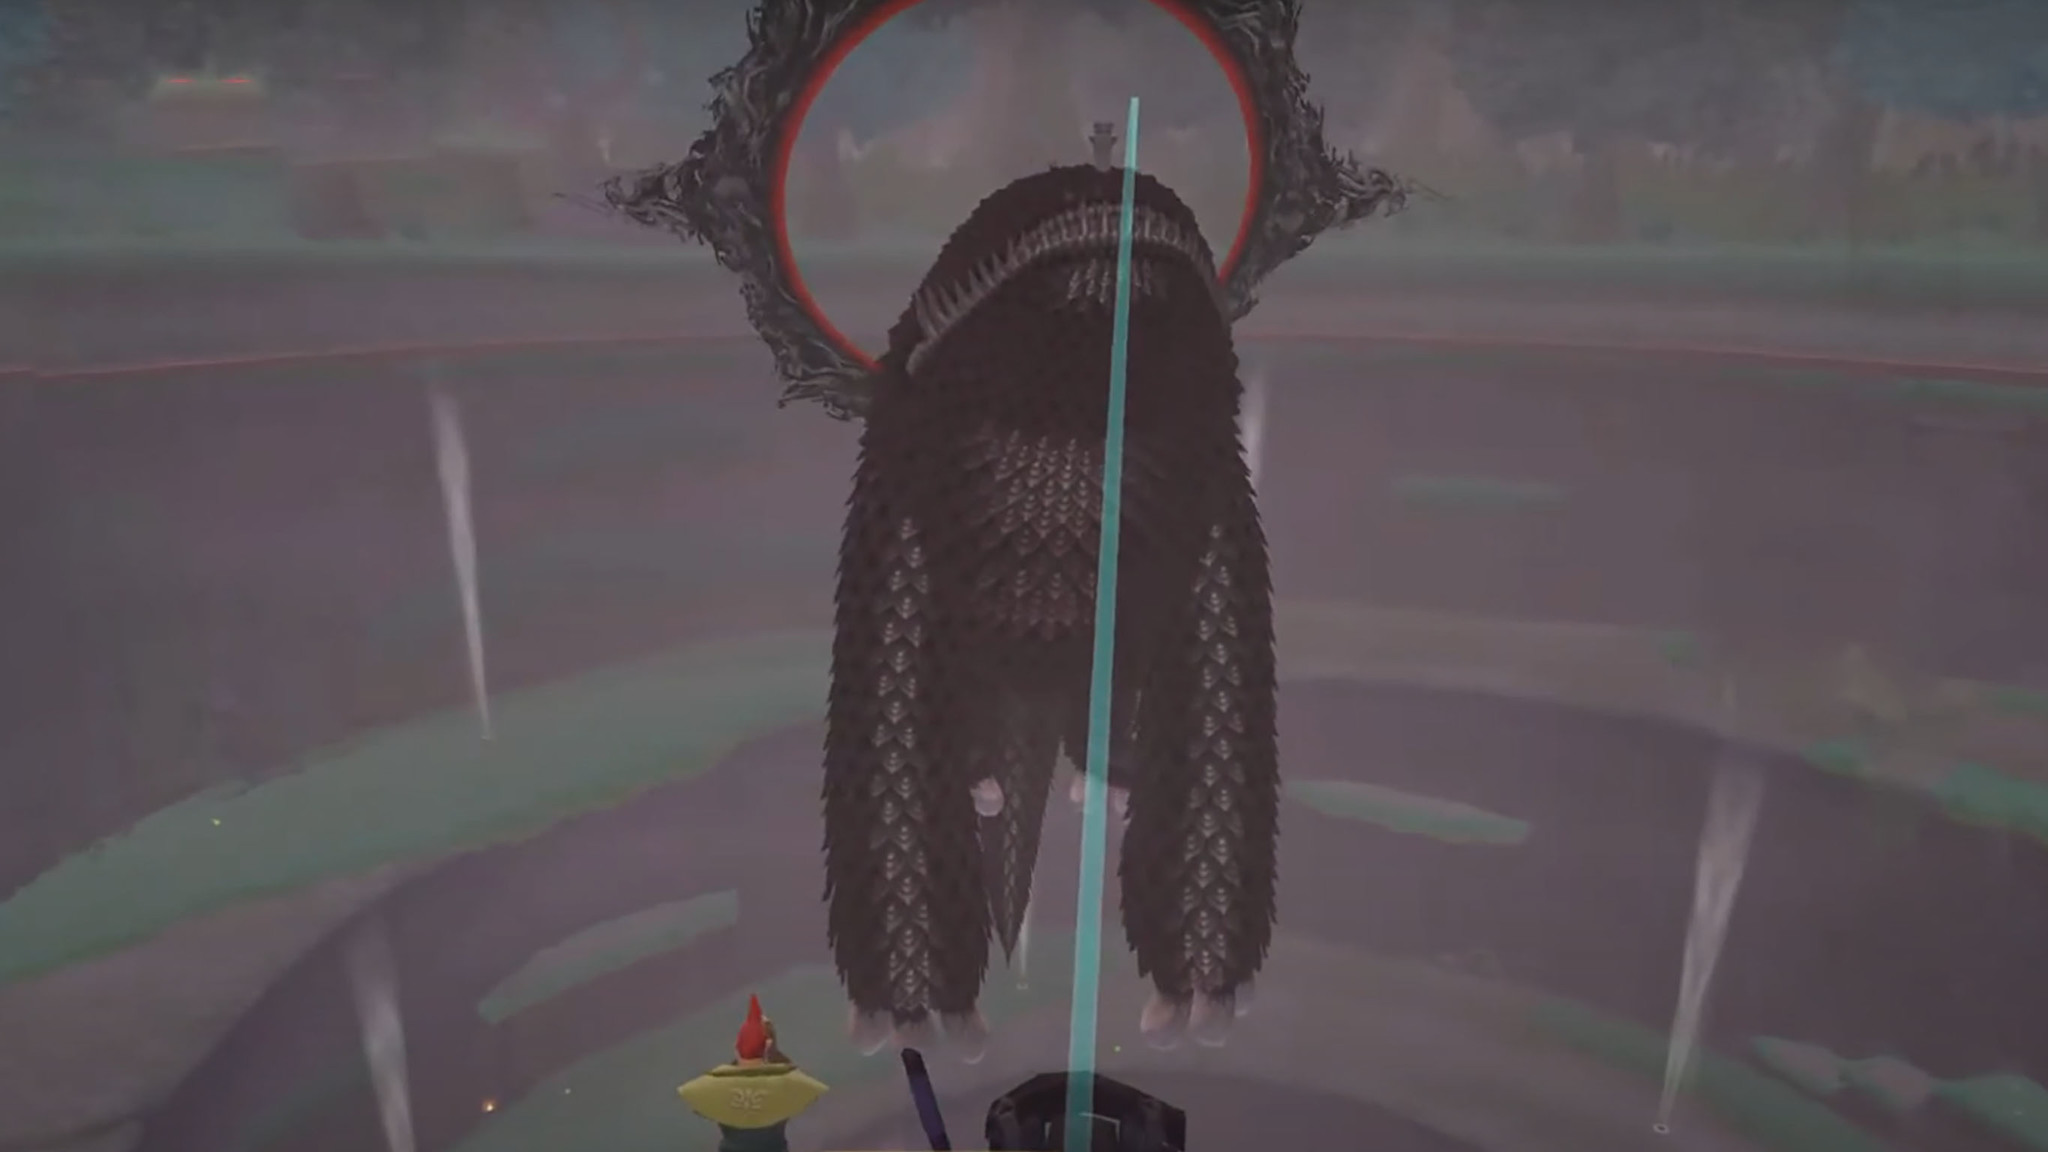
This monster's nasty water balloon toes are its weakness. Strike all three in front and the single ones on the back with your Sword until The Imprisoned topples over. Now run to the seal in its head and strike several times.
Phase 2
It will now flop over and move sluggishly up the ramp. If it manages to reach the top, you will fail. Use the wind geysers to quickly get in front of it and destroy its toenails like before. Only this time, make sure to dodge out of the way of the electric ring that issues after each stomp. When it falls over, run to its head again and attack the seal.
It once again starts slugging its way to the top. Get ahead of it using the air streams and attack those nasty toes again. When it falls over for the third time, attack the seal on its head once again to put it to bed.
Three Stalfos (Skyview Temple)
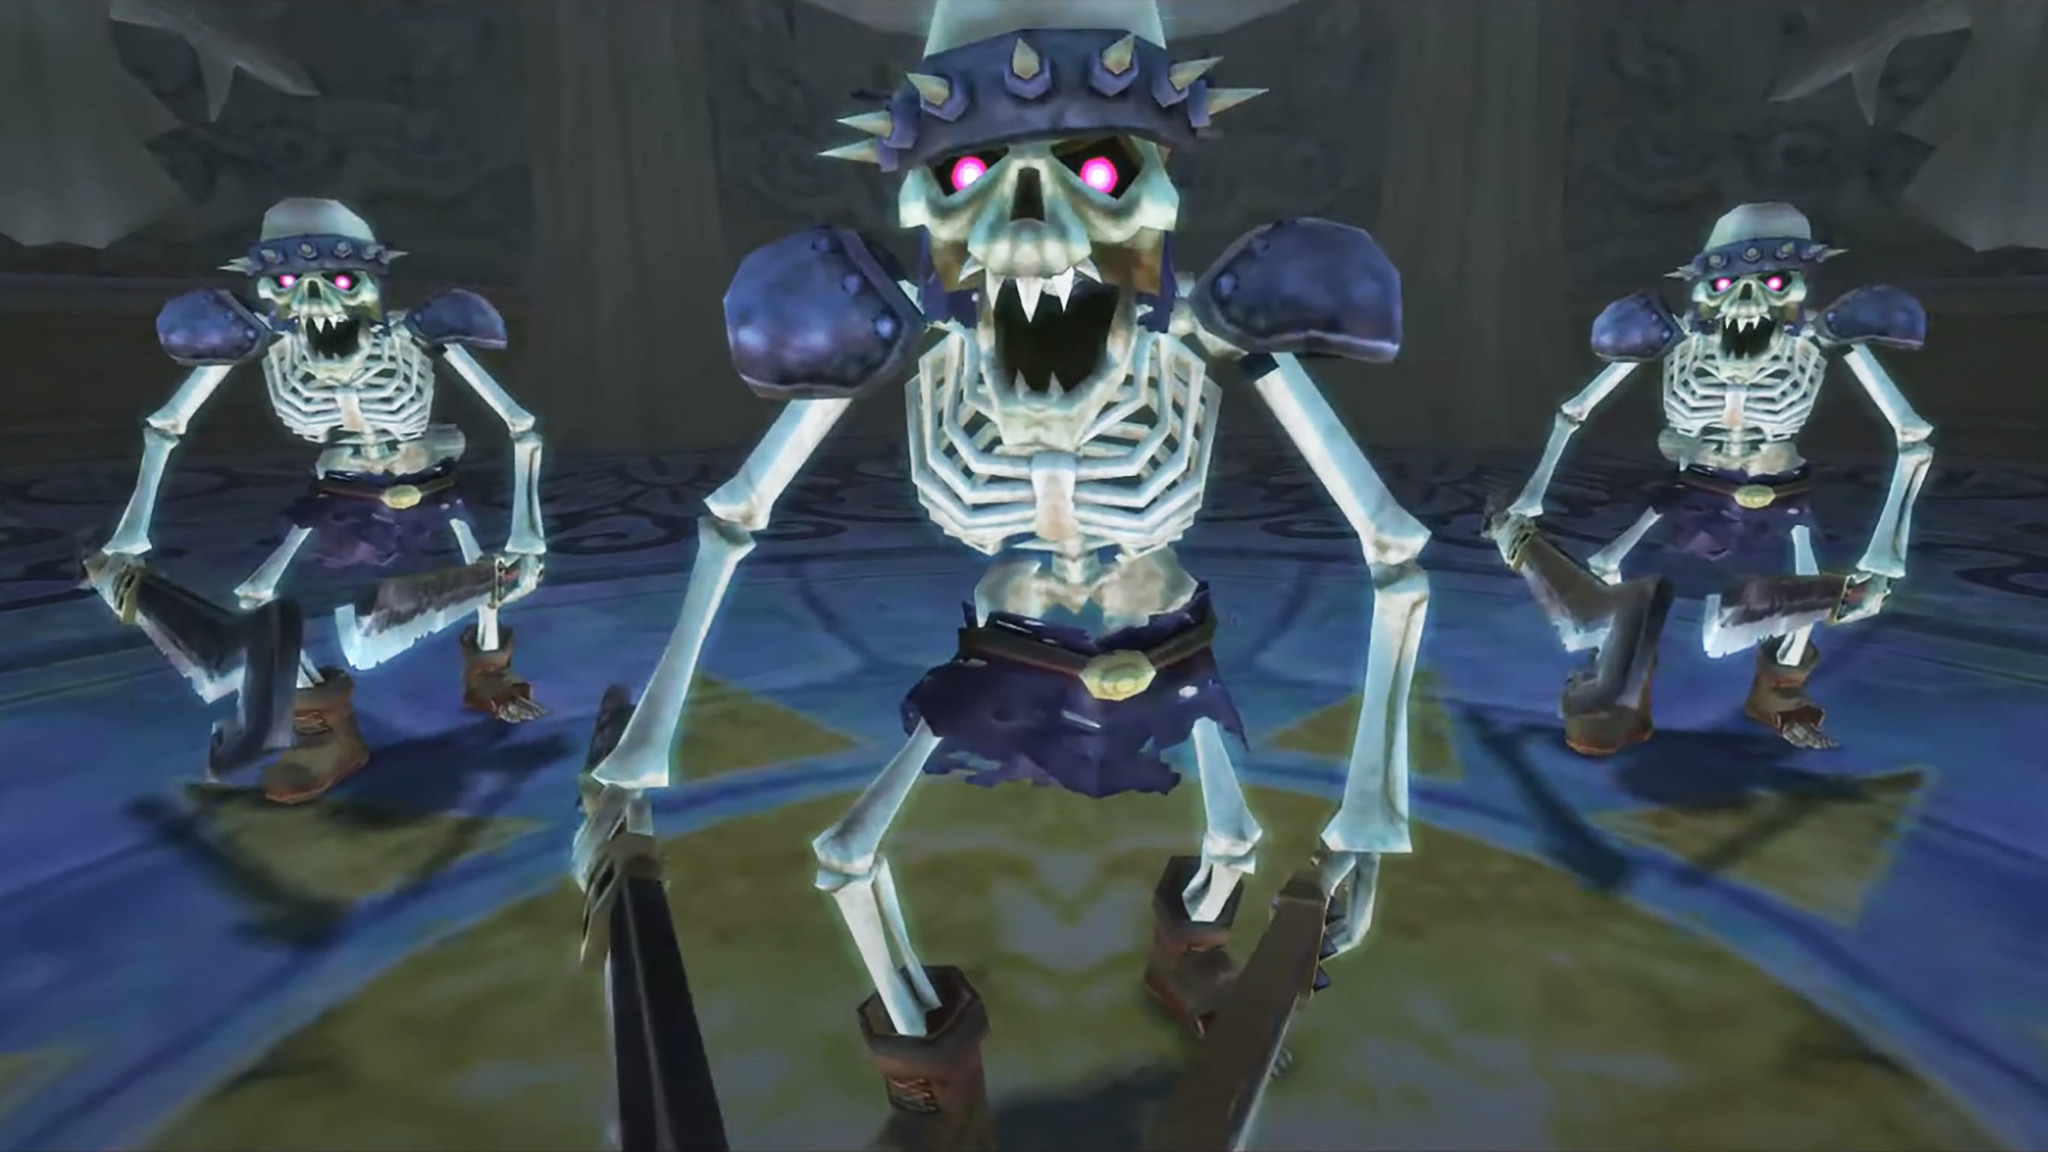
You've been tasked with revisiting the Skyview Temple in order to get Sacred Water for Faron the Water Dragon. But it can't be that easy, right? You'll need to come out victorious from a mini-boss battle by taking on three Stalfos in the room where you first met Ghirahim.
As before, they'll use their swords to shield themselves, so strike them where they're unprotected. Repeat this process until all three have been defeated.
Stalmaster (Ancient Cistern)
The Stalmaster is like a Stalfos on steroids as it adds additional weapons to the mix. Here's how to beat it.
Phase 1
First off, it uses two swords, so it'll block in two directions and move faster than Stalfos do. You'll need to swing your sword at it in such a way that you don't hit its swords. It's pretty obvious when it's gearing up for an attack, so dodge out of the way to avoid taking damage.
Phase 2:
After getting hurt a few times, it will pull out two additional swords and continue its attack and block method. You'll need to be a bit more careful about where you slash, but keep lunging for those openings, dodging, and hacking away until it's defeated.
Koloktos (Ancient Cistern)
This can be a very frustrating battle, so prepare yourself with fairies or potions before starting the encounter.
Phase 1:
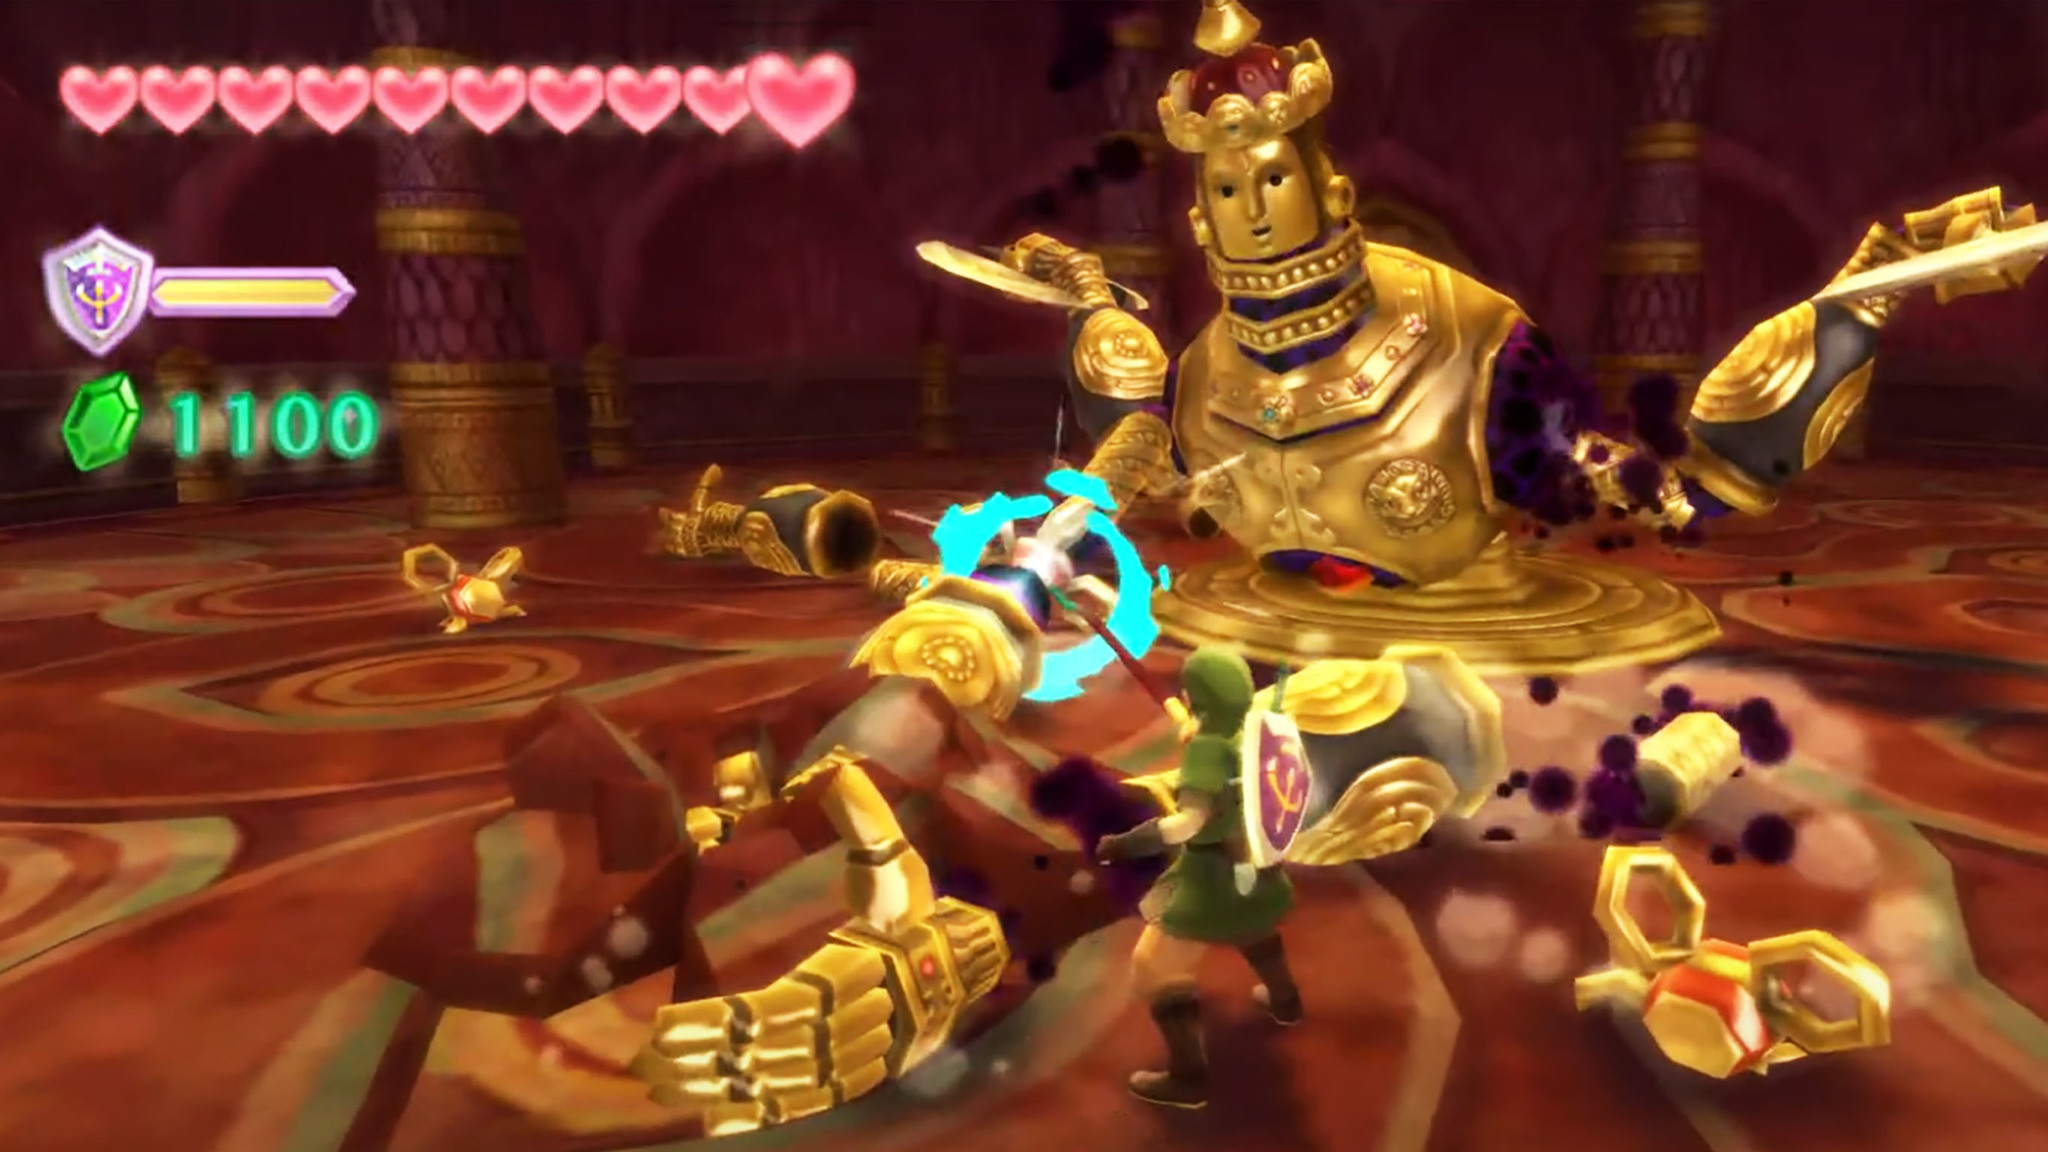
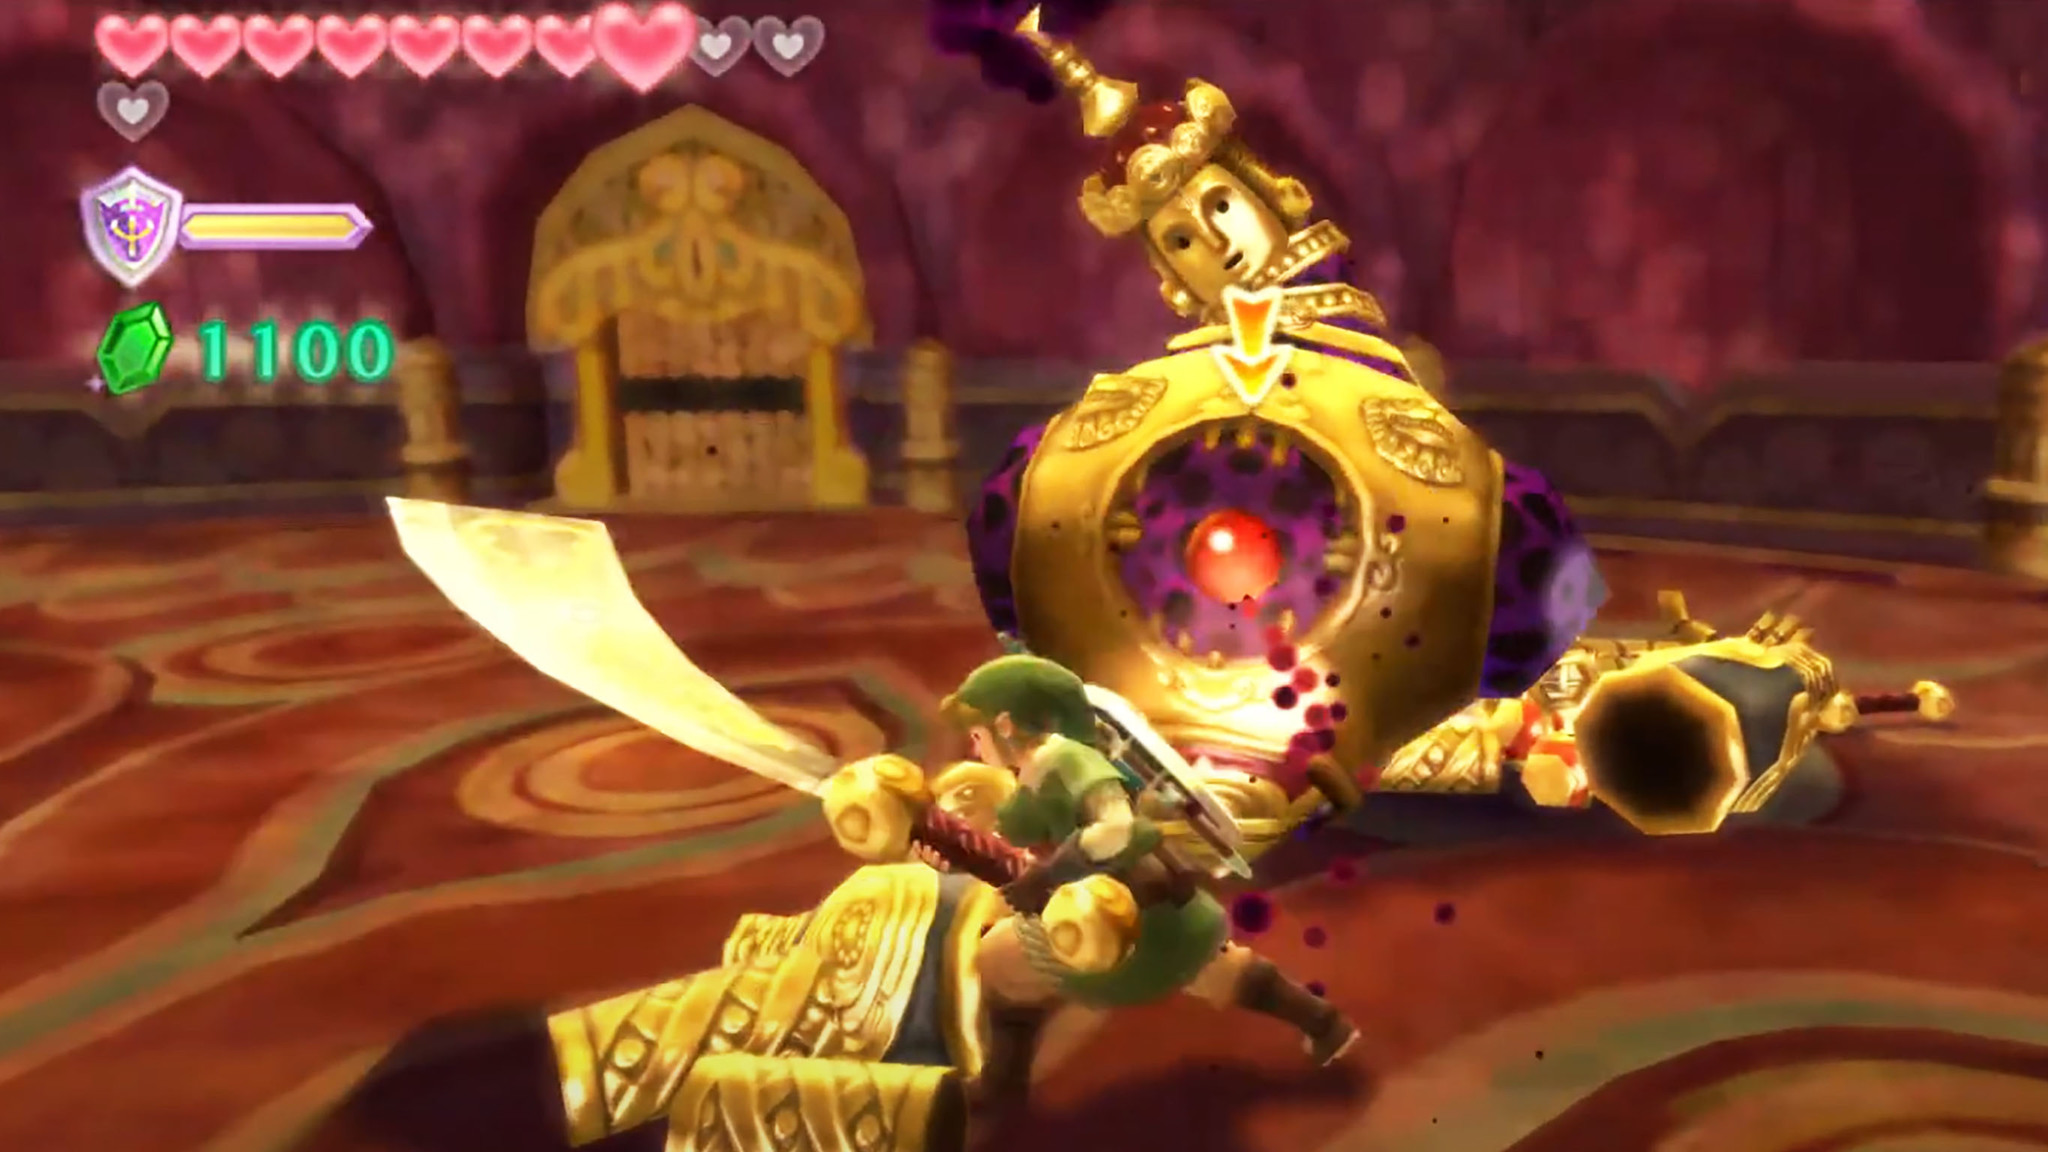
Koloktos has six arms with which he'll hurl swords and try to hit you with his two axes. Just keep running around to avoid getting hit. After striking and missing, his arms will get stuck in the ground. While it's stuck, quickly pull out your Whip and destroy the arm's joint. Repeat this for the remaining arms. When the arms that had been covering its heart are gone, run up and jab at the red stone with your Sword to injure the automaton, but beware of its axes. Repeat this a few times until it comes out of the ground.
Phase 2:
Now, this ancient robot will equip itself with six swords and walk around trying to strike you. If you need health, lead Koloktos to one of the columns and have him swing at it to reveal hearts. Run out of the way and dodge its three-armed attacks until they get stuck in the ground. Then, quickly use the whip on its lodged arms.
A large sword will fall to the ground. Pick it up and use it to attack Koloktos' arms when they get stuck. Just note that you cannot run while holding a giant sword, so move carefully. When most of the arms have fallen off and there's an opening, slice at the caged heart repeatedly with the giant sword to hurt it. After a few hits, it will reattach its arms. It will also eventually raise a horde of undead Bokoblins. Defeat them so they don't get in your way. Otherwise, they'll hold you down and make it harder to move. Repeat the whip and sword process over again until Koloktos is defeated.
LD-002G Scervo (Sandship)
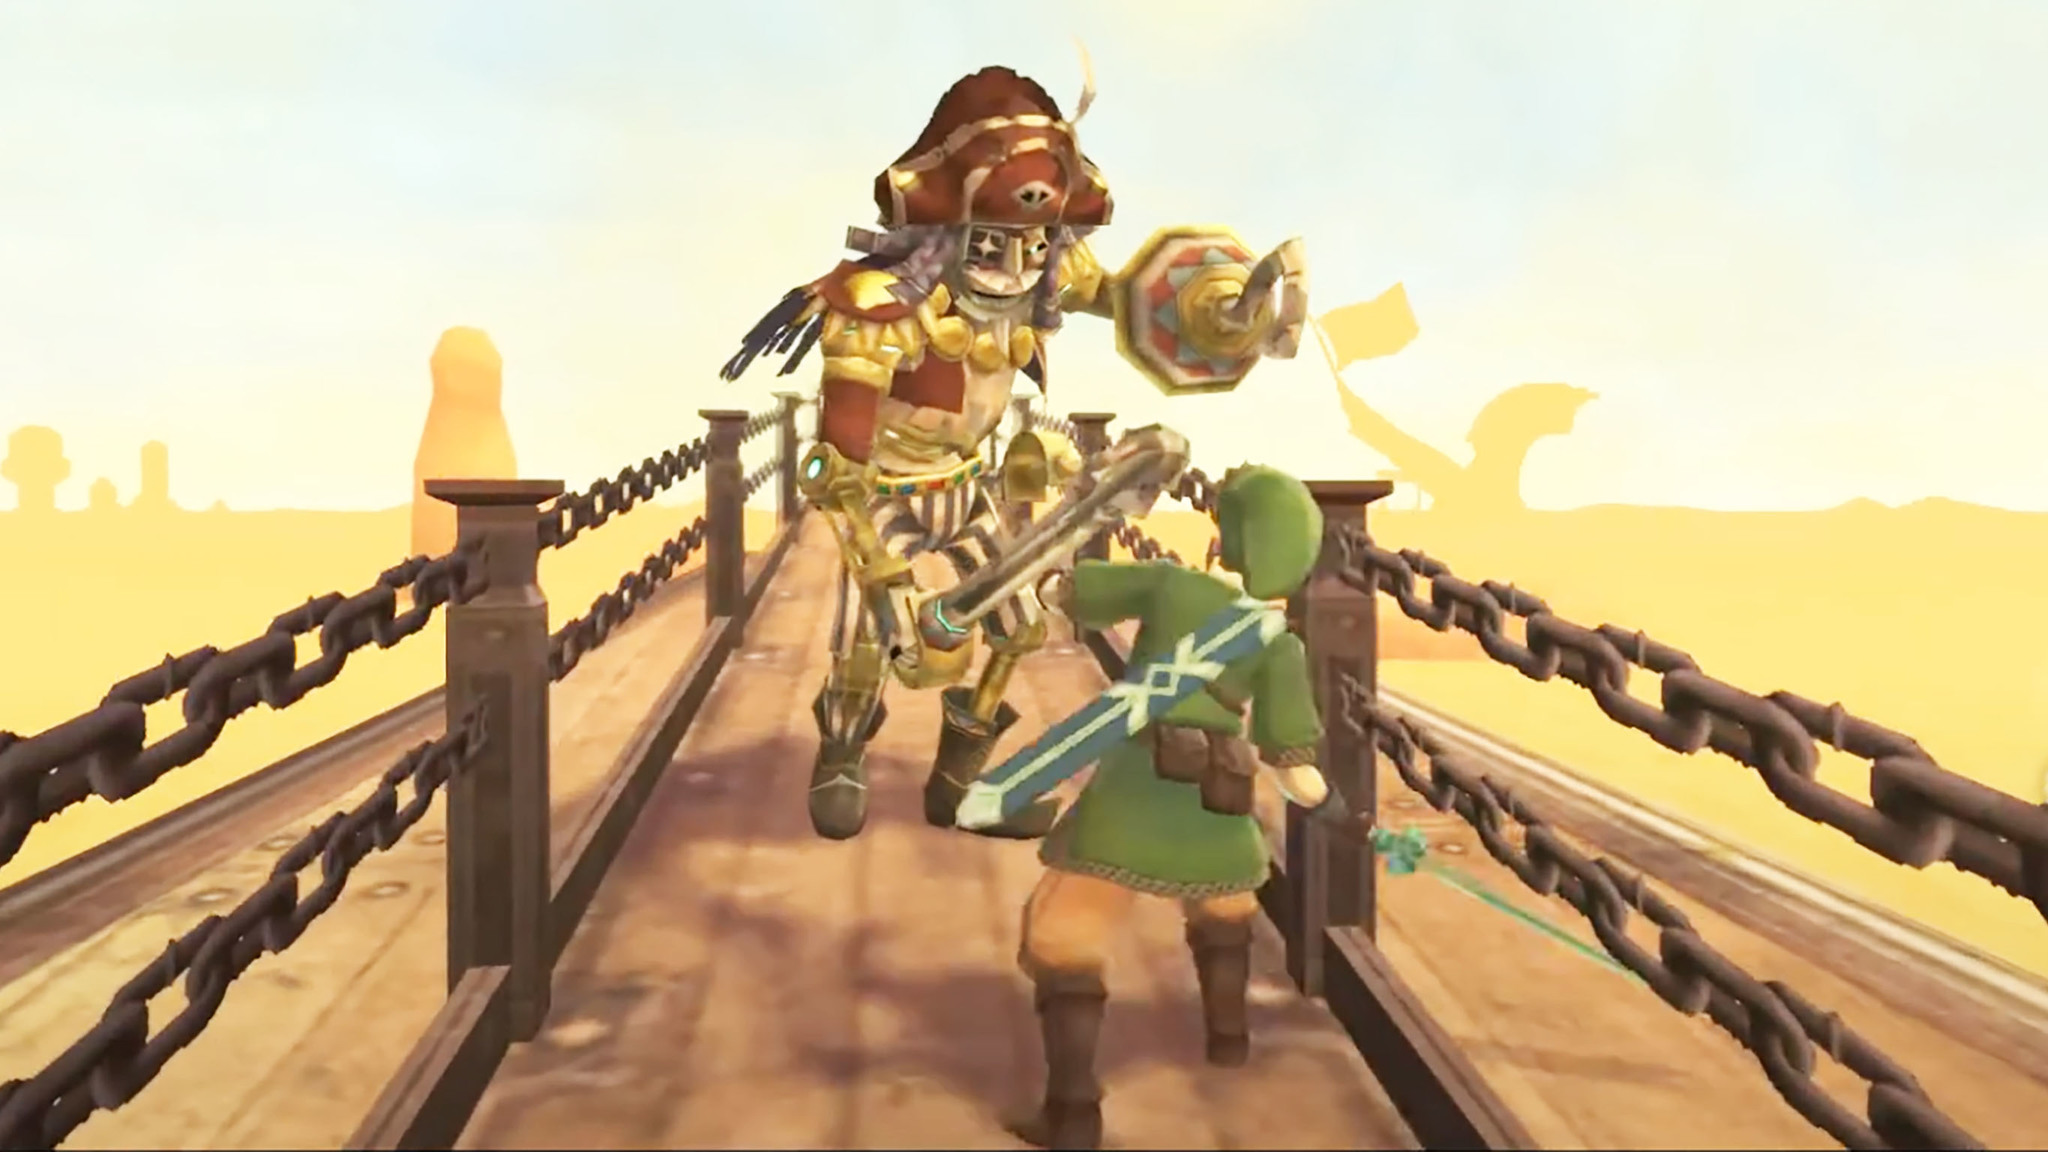
Your battle with the robot pirate basically takes place on a large gated plank and requires you to be strategic with your sword swinging.
Phase 1:
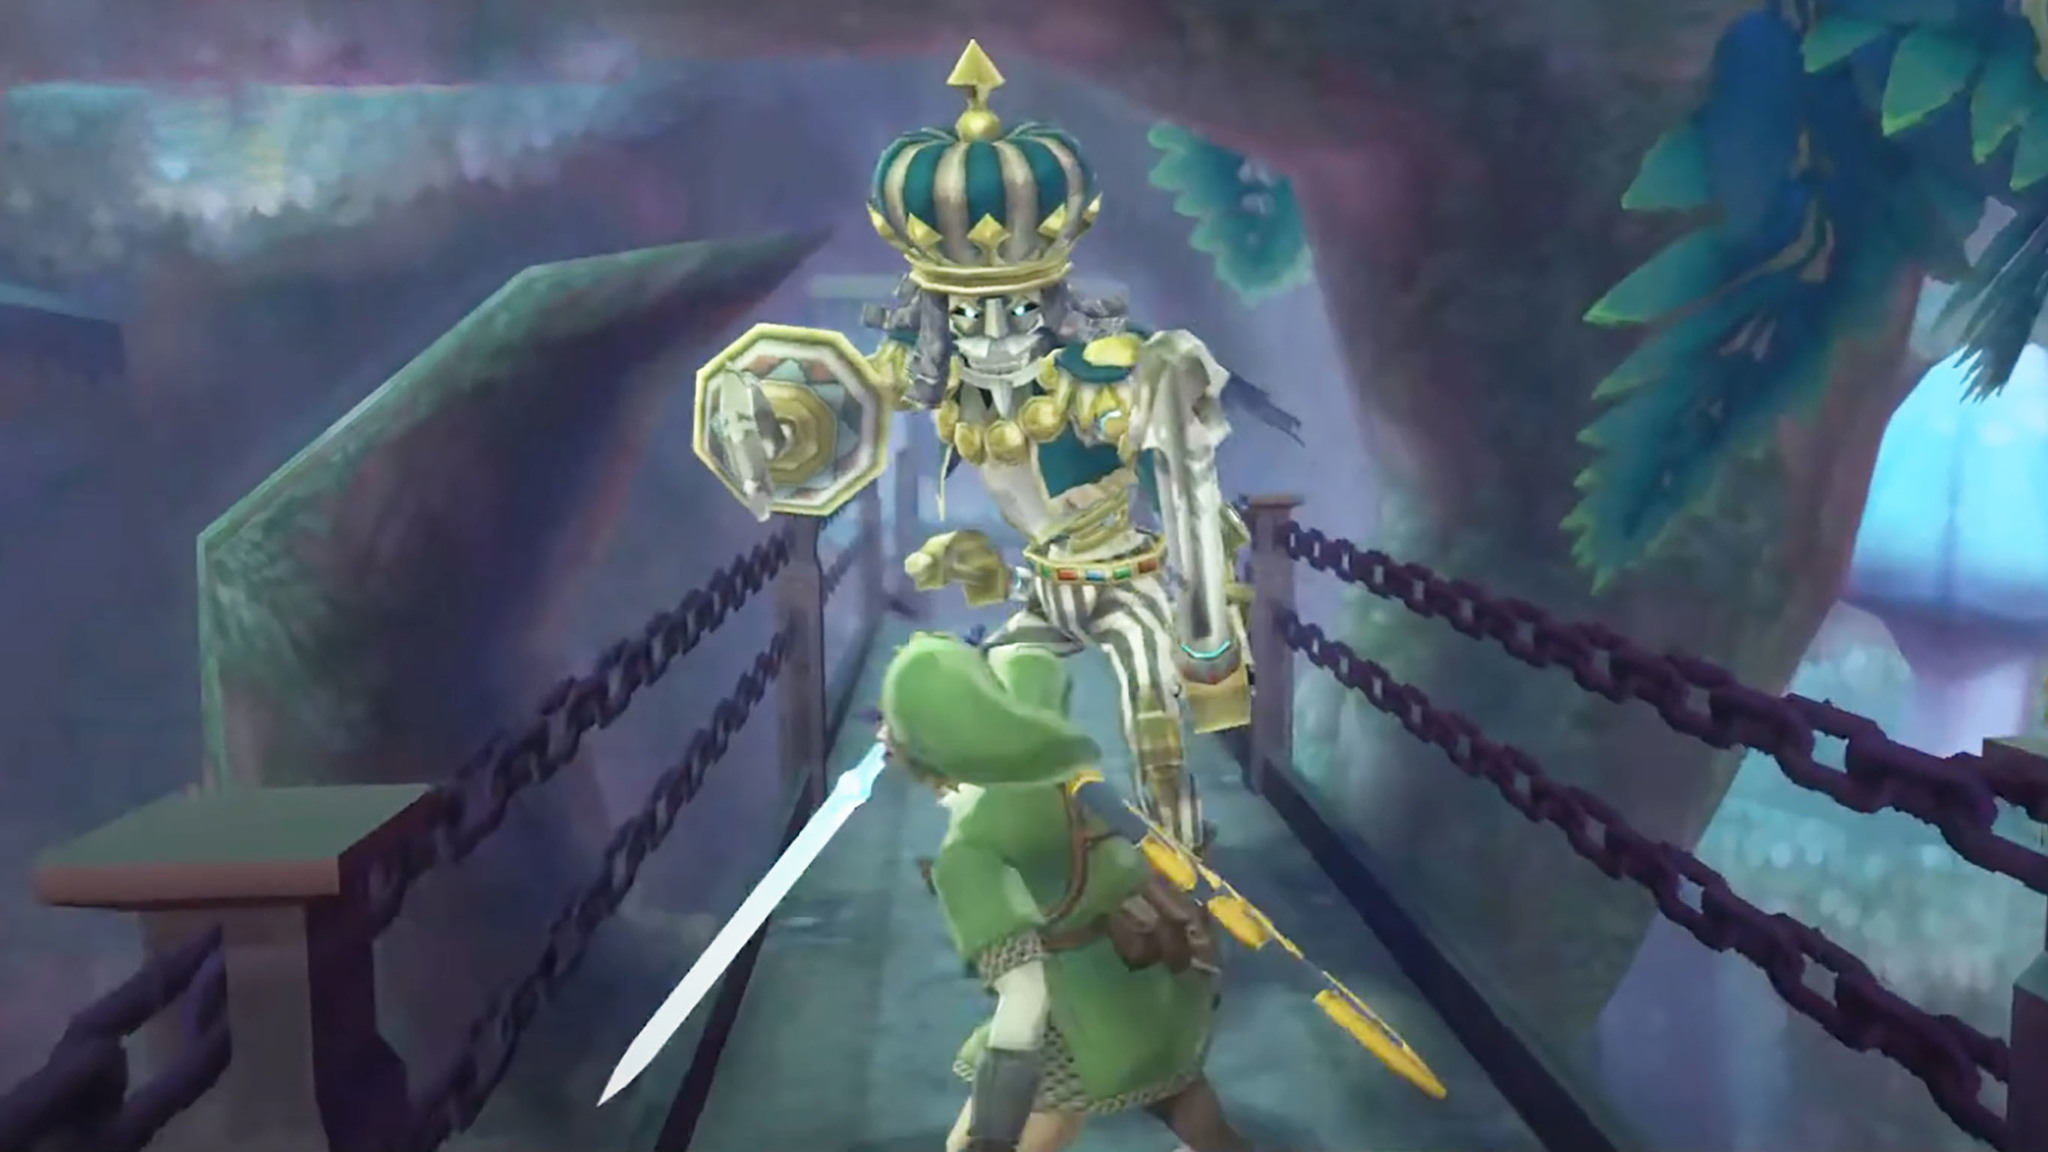
Similar to many of the other skeletal enemies you've faced up to this point, you need to strike him while avoiding hitting the hook and sword. Figure out where to slash so you won't bounce off his gear and then hack away. If he blocks your attacks he'll immediately make his own attack, so either step back or do a shield bash at the right moment to stun him. Each time you land a successful hit, he'll get pushed backward. Keep hitting him until he almost falls off the plank, and he'll make the battle area smaller.
Phase 2:
He'll start attacking more frequently and can even do two attacks in succession. Keep working on pushing him to the end of the plank by slashing at him while avoiding his sword and hook. Eventually, he'll be right at the edge again and his shield arm will fall off. He'll make the battle area even smaller and then phase three of this battle will begin.
Phase 3:
You'll be able to hit him a lot more now that his sword is gone, but you'll still need to beware of that hook. When you see him preparing to strike you, run up and slash away to push him towards the edge. You'll need to be more precise with your timing if you want to use Shield Bash on him at this point. Continue to knock him back until he falls off the plank.
Tentalus (Sandship)
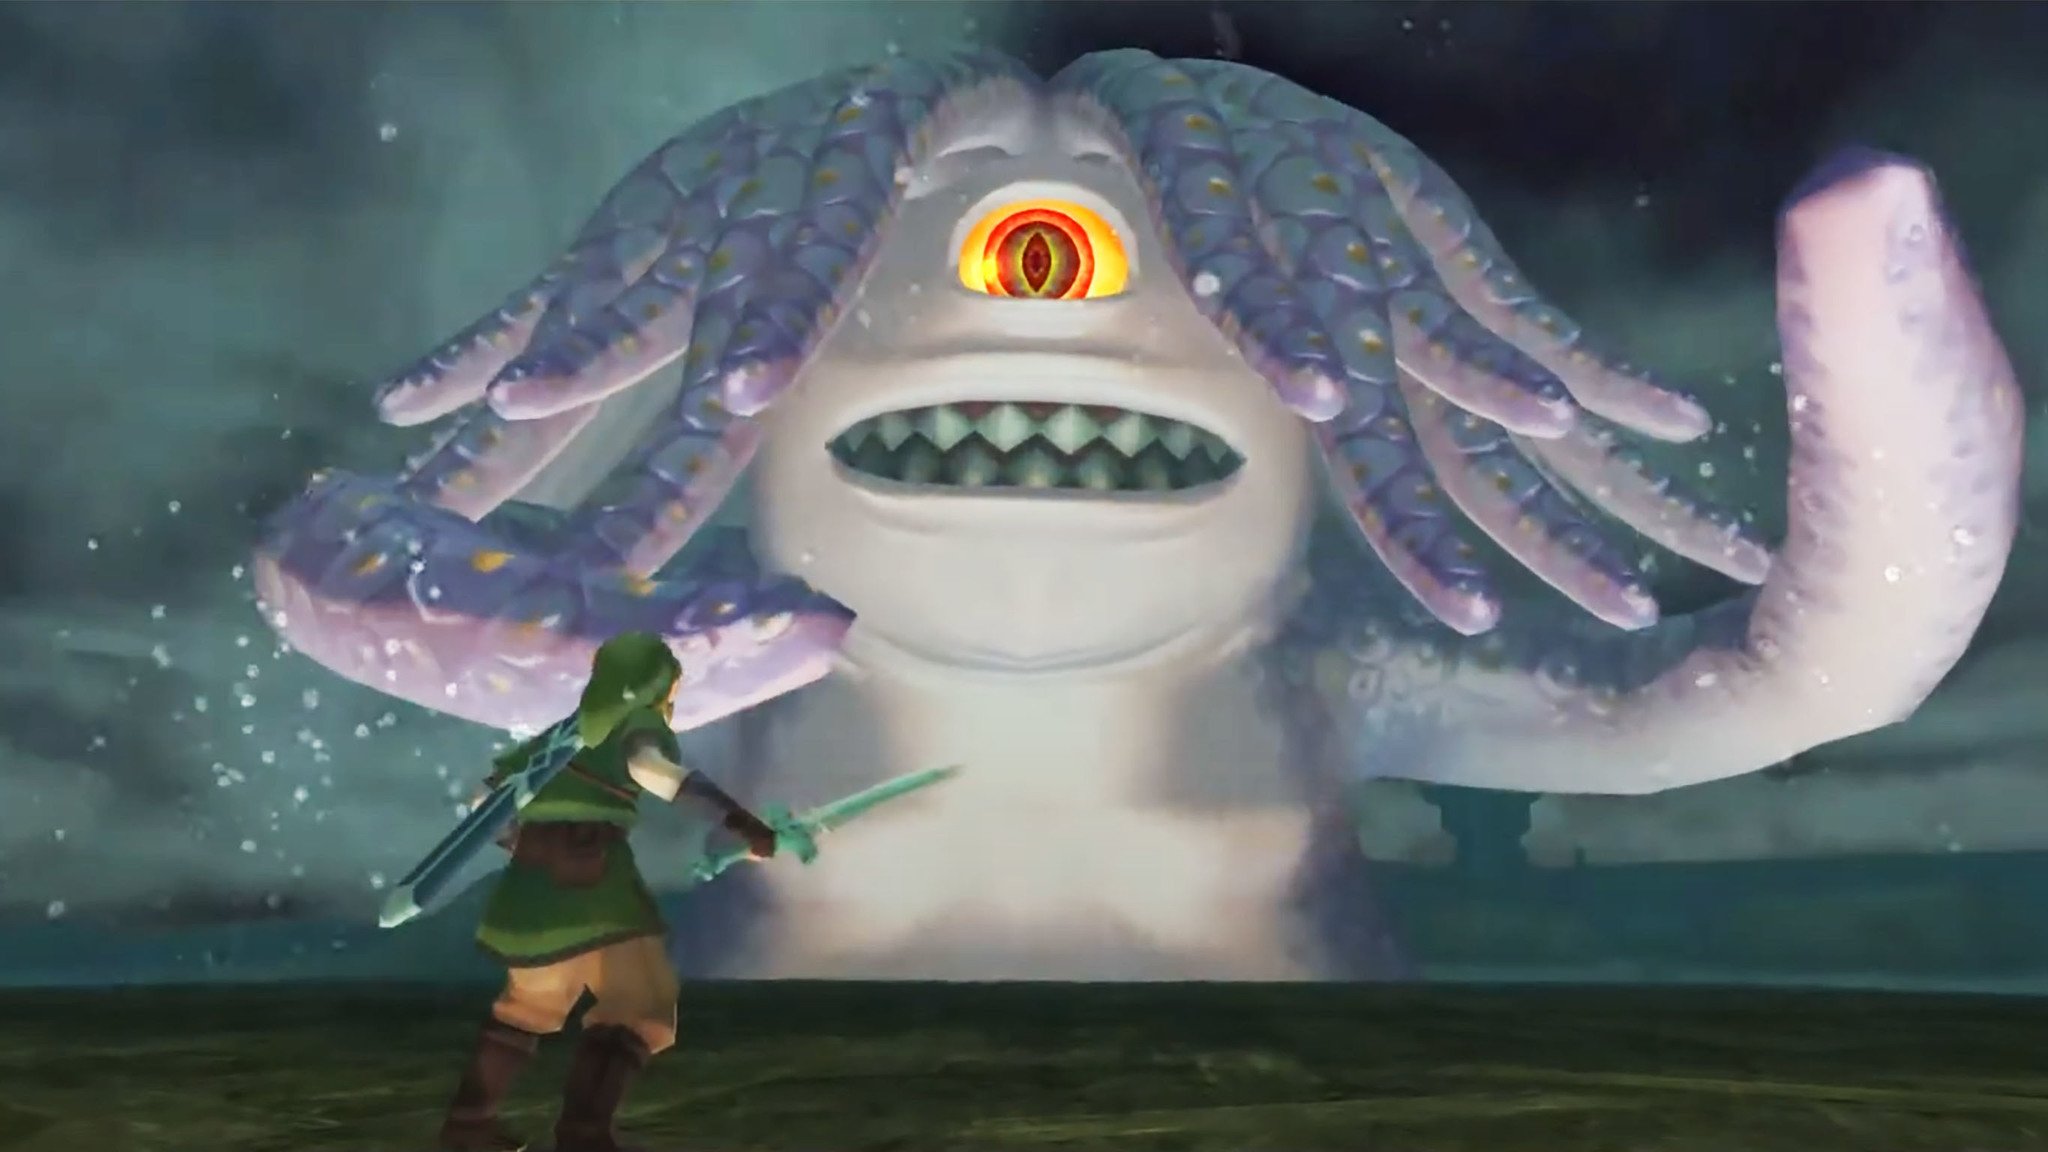
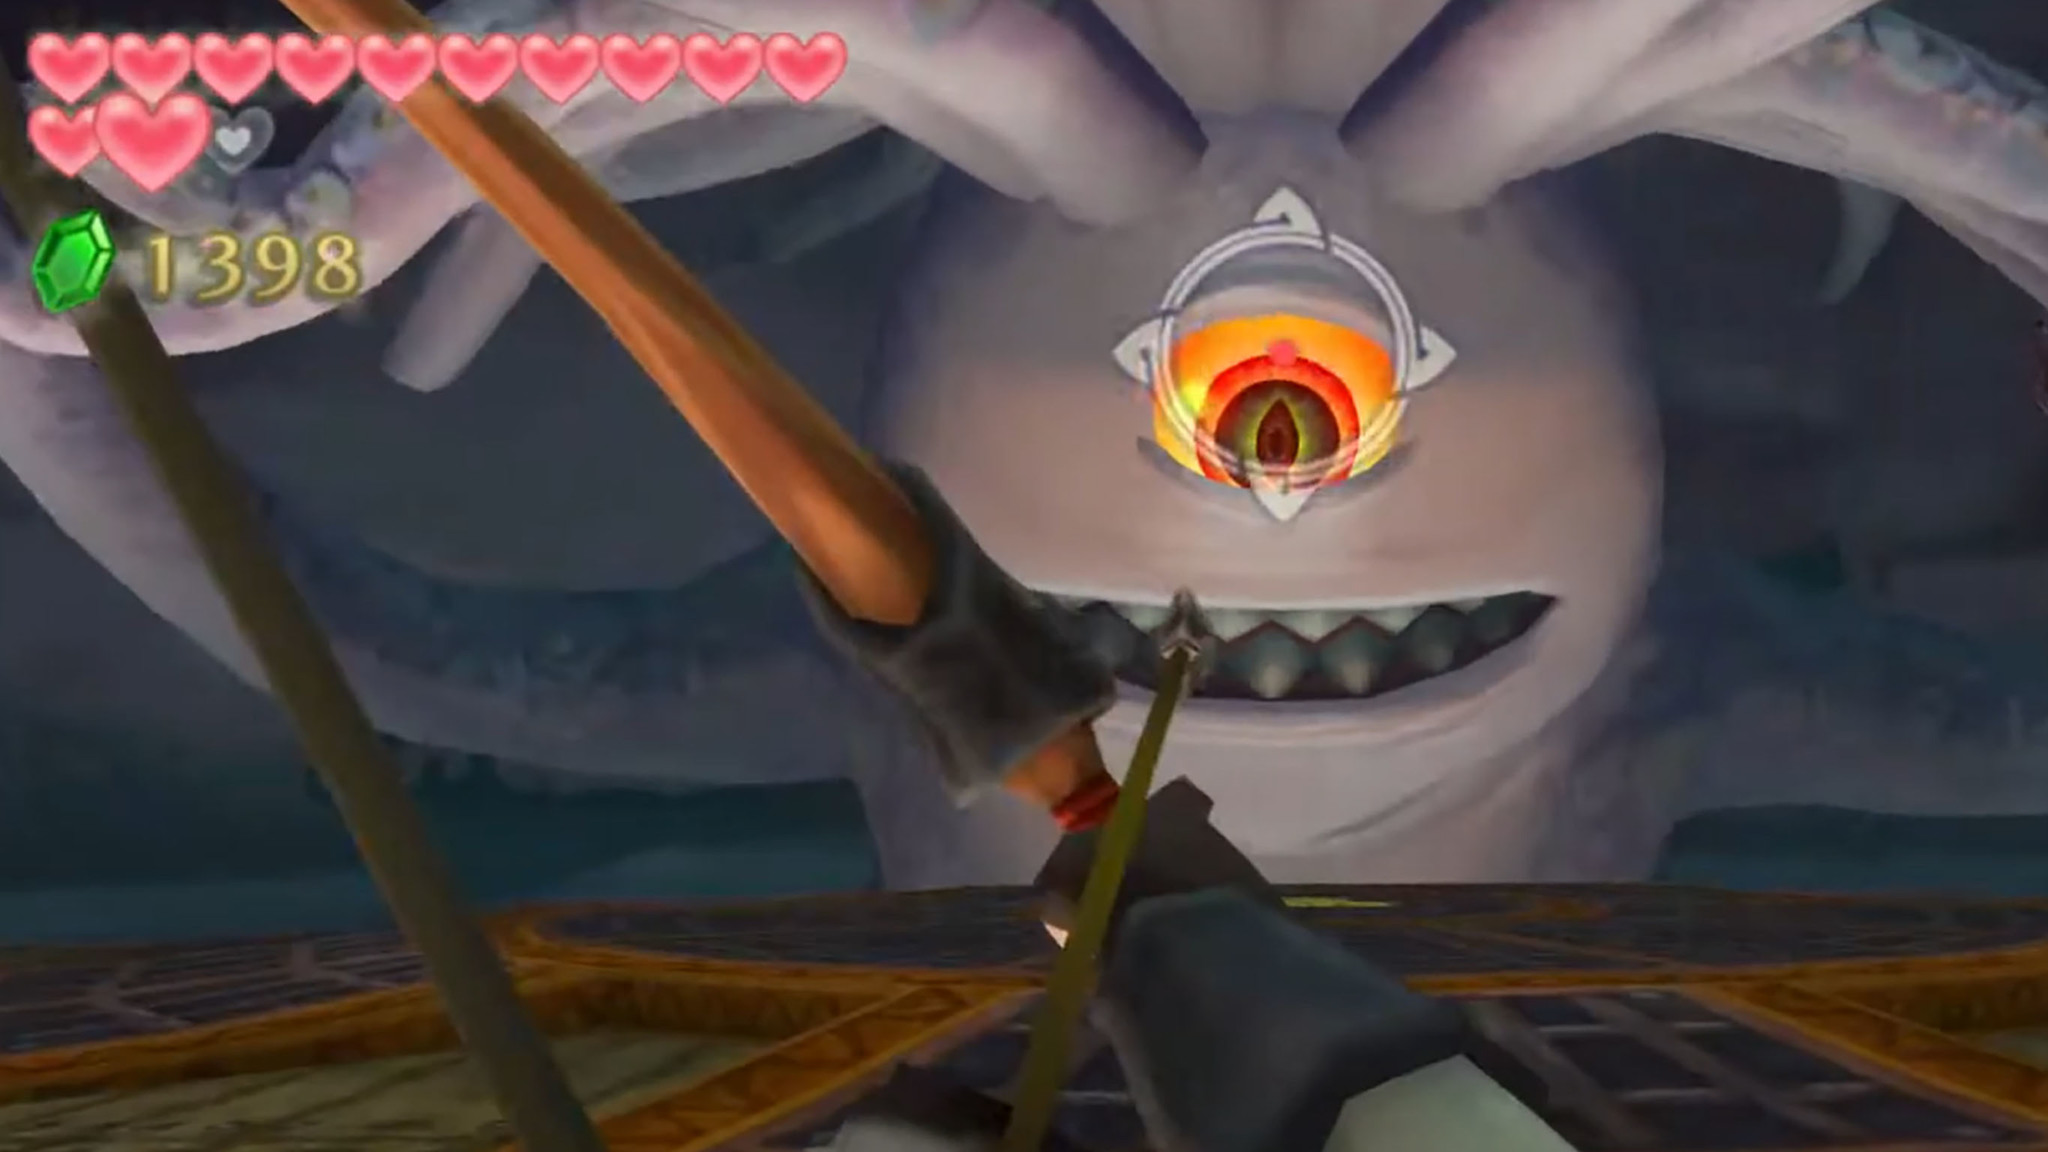
Be prepared to use a mixture of sword slashes and bows and arrows to take this boss down.
Phase 1:
Several tentacles will pop through the ship. Swing your sword horizontally to cut them off. Doing a Skyward Strike can help you remove multiple tentacles in one go. If a tentacle grabs you, shake your Joy-Cons or press A repeatedly to escape. After the tentacles are gone Tentalus will appear. Shoot it in the eye with a bow and arrow and then run up to it and hit its eye with your sword while it's stunned. Repeat this process until Tentalus knocks a block onto the main deck.
Phase 2:
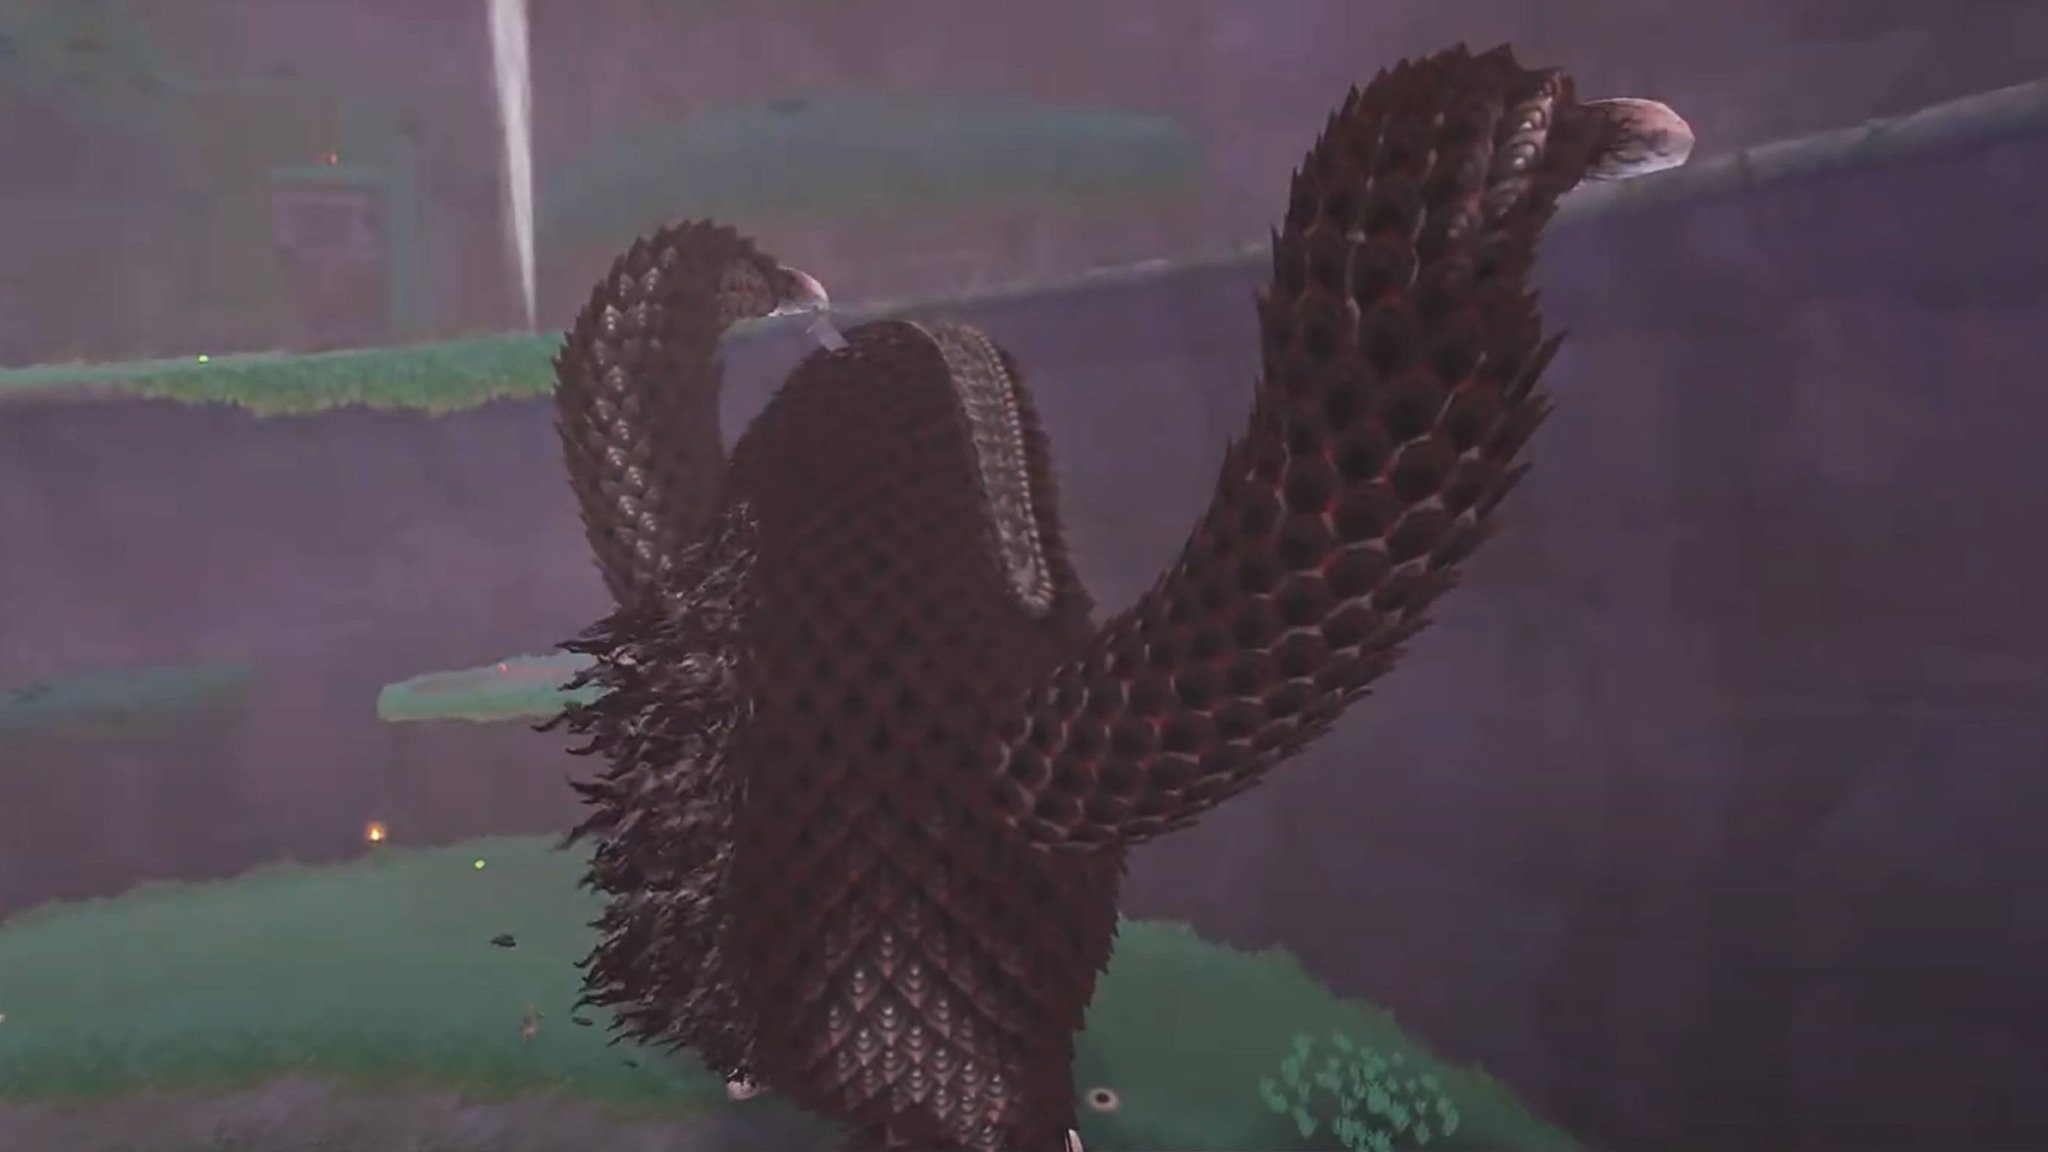
Run to the block and use it to climb onto the back end of the ship. When Tentalus appears, shoot it in the eye and attack it with your sword. Tentalus will now start attacking you with its... hair tentacles. Hack them with your sword. When these wriggling dreads go away shoot Tentalus in the eye and hit it with your sword until it's dead.
Dark Lizalfos (Fire Sanctuary)
These lizard enemies are a bit faster and have more health than the regular Lizalfos you faced at the Earth Temple, but otherwise, they're basically the same. Strike them in such a way that you don't hit their shoulder/arm armor, whether that be by slashing or jabbing. I find it's easiest to focus on one of these enemies and get it out of the way and then to move onto the other one. It should only take about eight hits each to defeat them.
Magmanos (Fire Sanctuary)
Technically, the first time you see this miniboss, you won't be able to beat it. Luckily, you can trick it into acting like an elevator by standing on a rock, which it will lift off the ground. Come back when you have access to some Water Fruit.
Once more, trick the Magmanos into lifting up a rock platform like an elevator and then stab the Water Fruit you see to skewer it on your blade. Next, fling the skewered Water Fruit at the Magmanos to cool it down. Then, slash at it until it crumbles away. Repeat for the other one to defeat them both.
Moldorm (Fire Sanctuary)
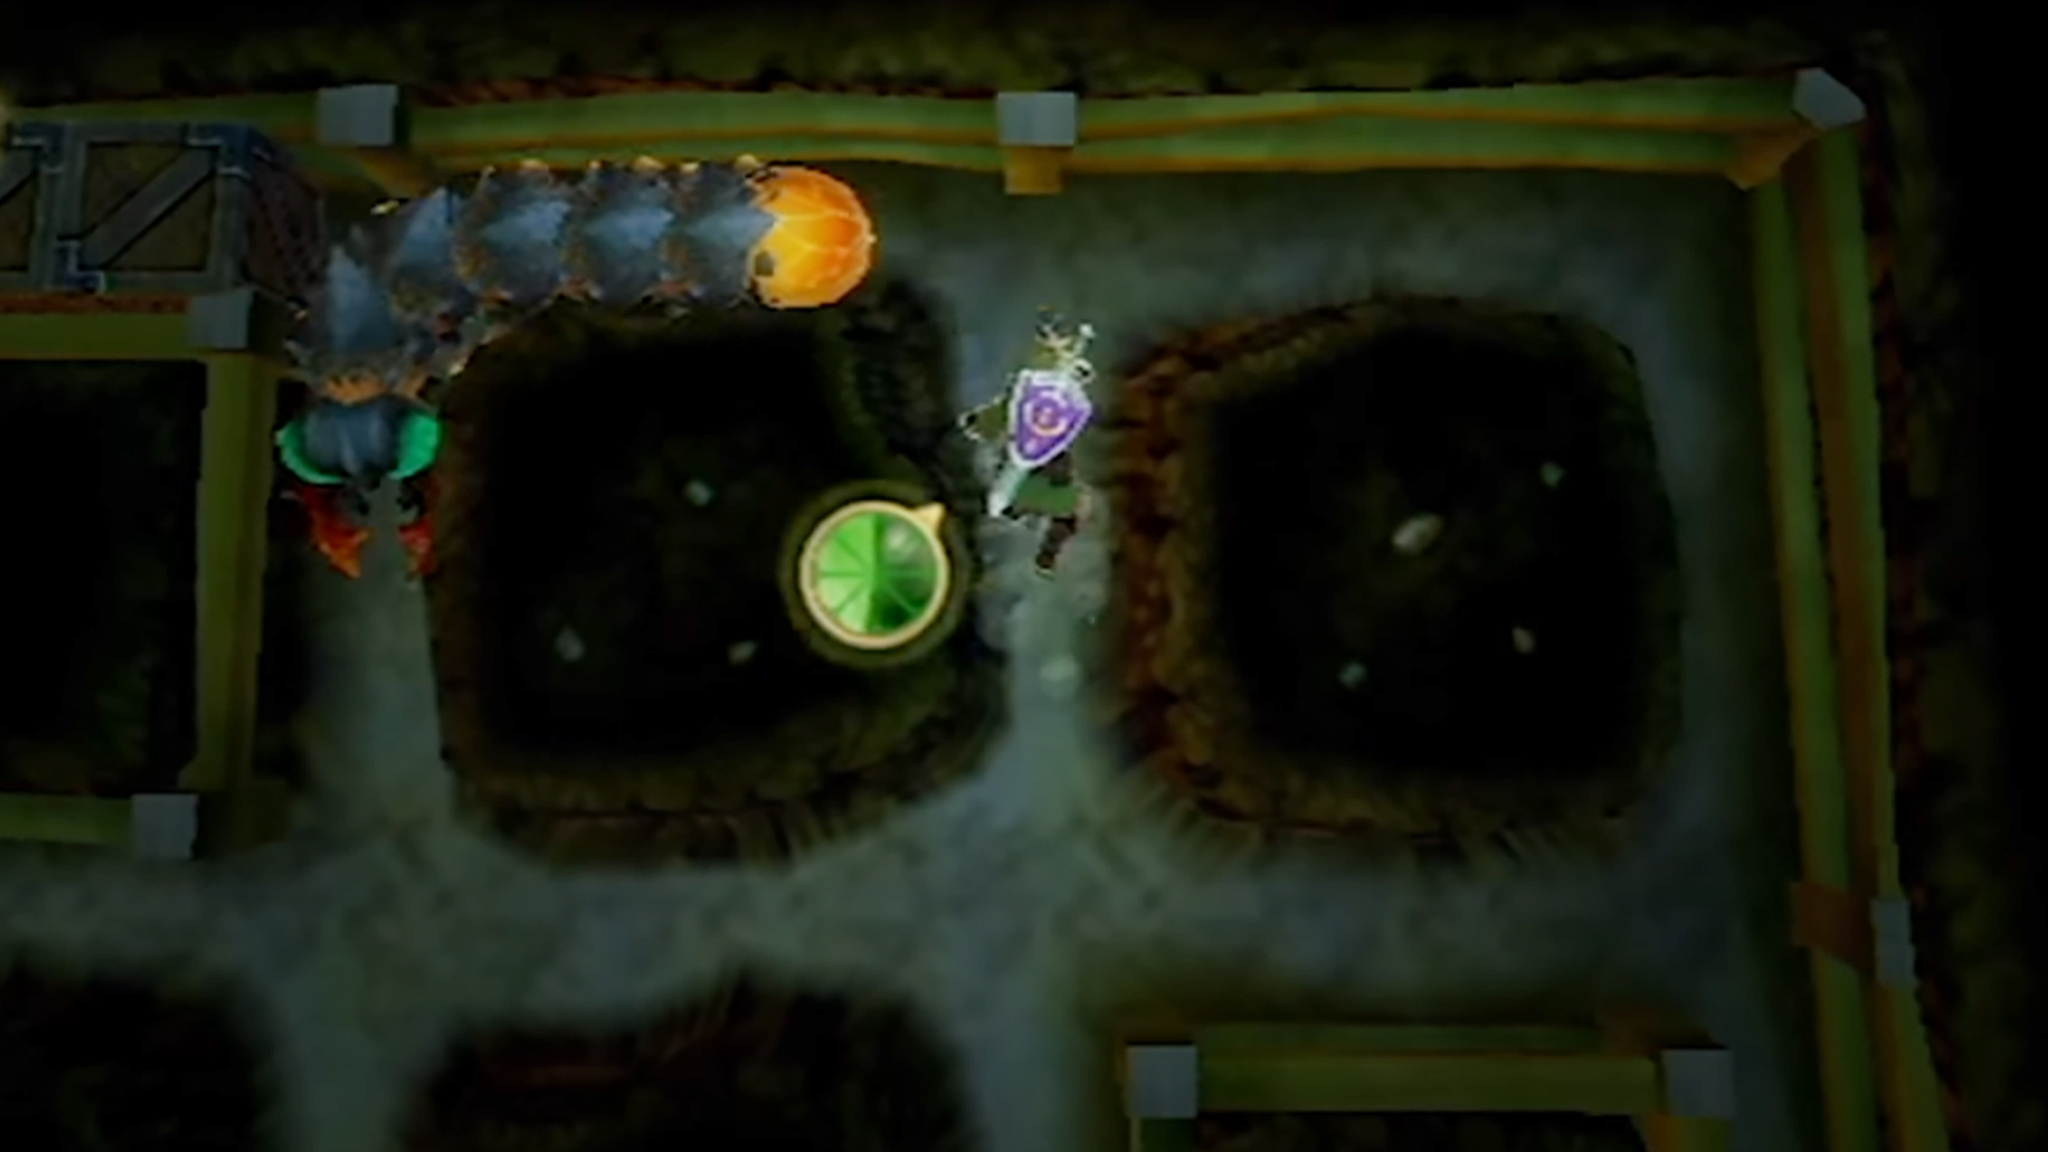
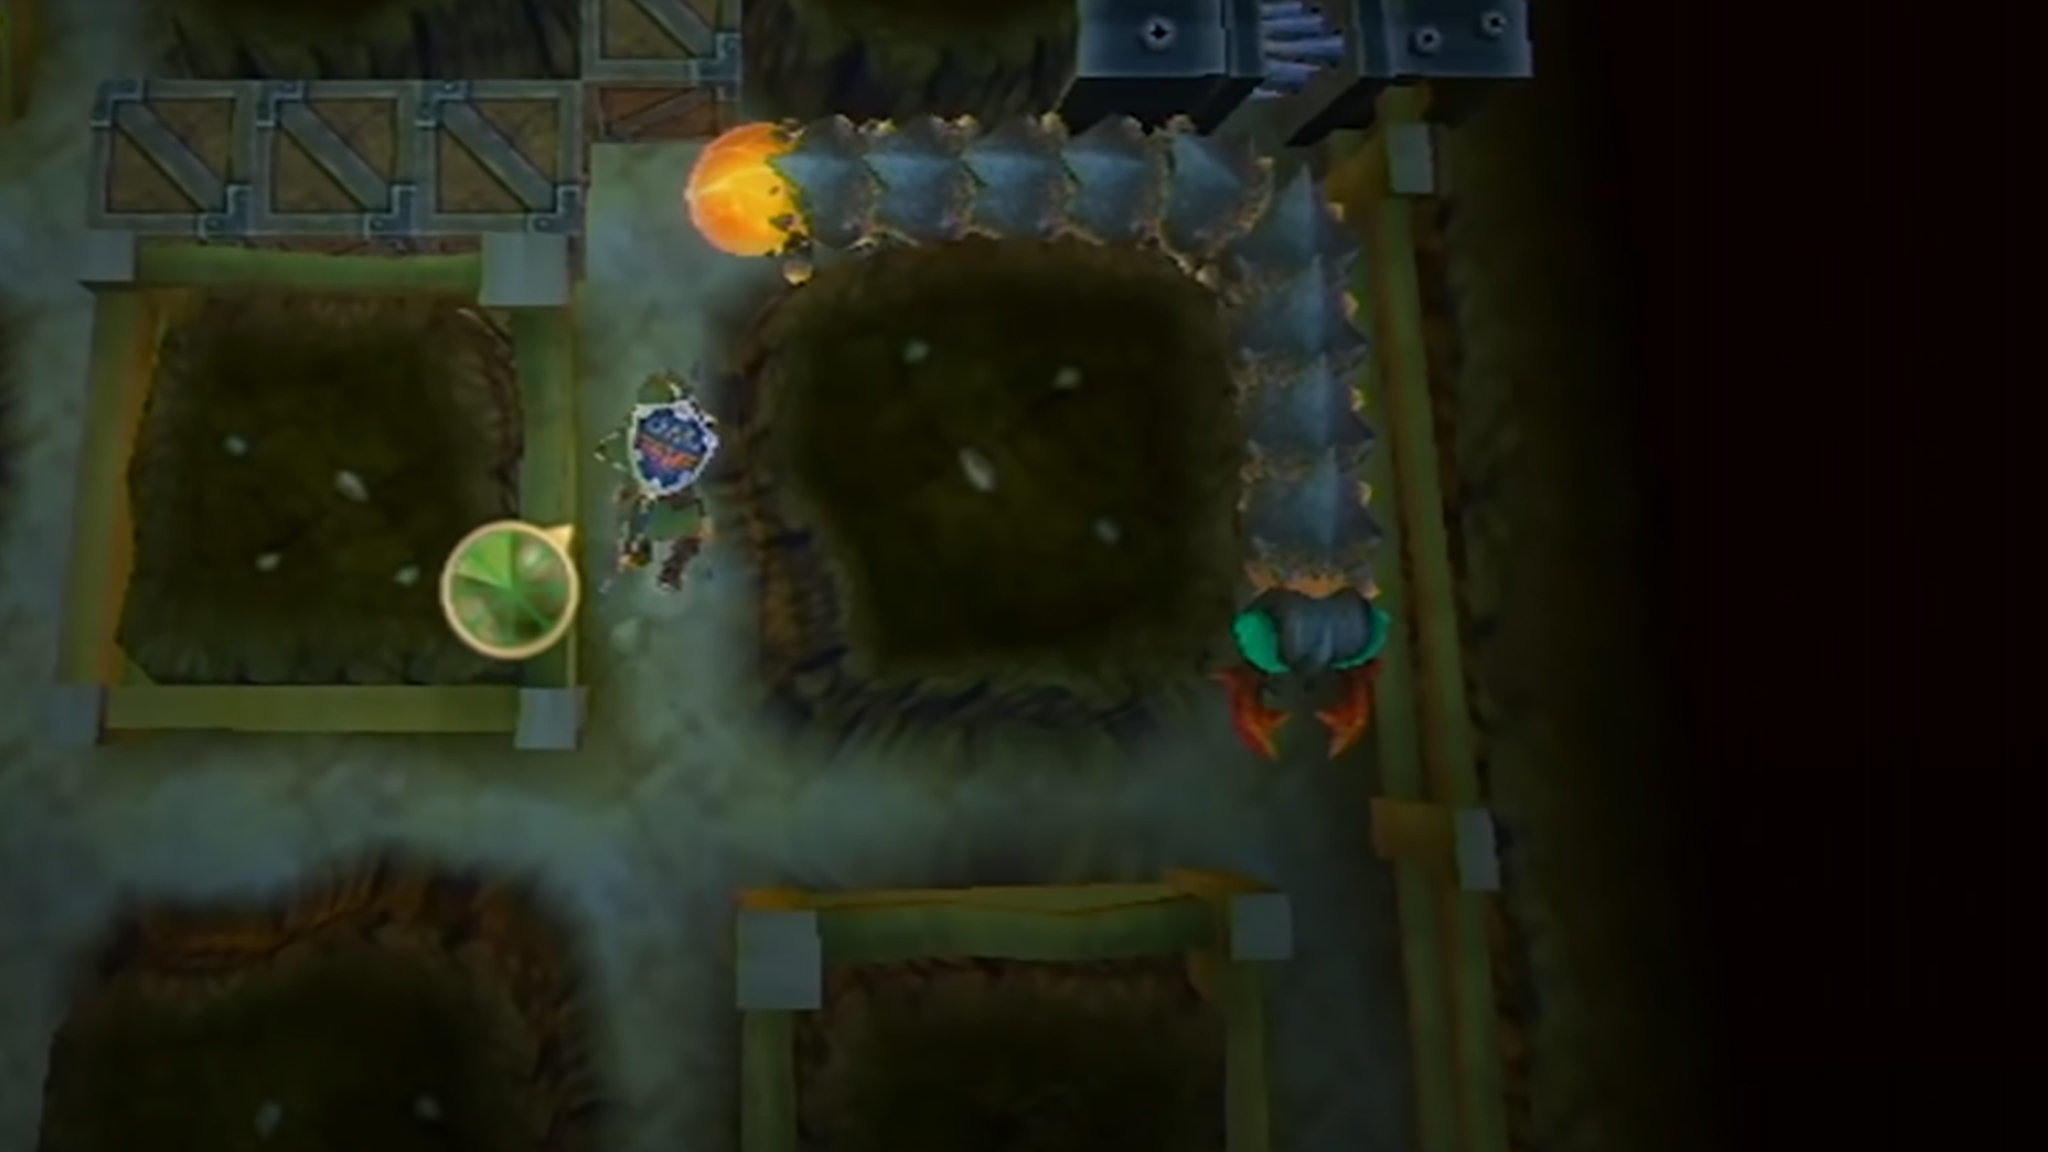
You'll notice that these nasty worms have golden orbs on their butts. The goal is to get close without a Moldrom seeing you and then strike its golden ass with a sword. Each time you do, the worm will get a little smaller but it will also get angry and will charge around while moving faster than normal. If it spots you crawling around, it will also charge and try to bite you.
Quickly crawl away from it to avoid getting hurt and then repeat the process of stabbing it in the butt. When it gets really small, chasing after it won't be as easy. It can be helpful to wait in one spot for it to come around the corner and then strike when the centipede's butt is right in front of you. Hit its butt three times total to beat it.
Ghirahim #2 (Fire Sanctuary)
To be honest, this can be a very frustrating battle, but you've got this!
Phase 1:
It starts off relatively similar to the last Ghirahim fight. He'll walk around with his hand raised and two red daggers floating beside him. If you strike where his hand is, he'll grab your sword and might hurt you. In order to hit him, you'll need to avoid slashing where the daggers are while still leading his hand in one direction and then attacking from another. So first, figure out where the daggers are, lead his hand in one direction, and then swing from the other.
Note that if you get too far away, he'll just launch the dagger at you. He'll eventually add two more daggers, limiting the kind of slashes you can make. Adapt accordingly and hit him in such a way that you don't hit any daggers or his hand. Repeat this a few times until he moves on to the next phase.
Phase 2:
Eventually, he'll pull out a couple of swords and surround Link with some red daggers. If the daggers are above you, do a vertical spin attack to deflect them. If they're surrounding you, do a simple spin attack to get rid of them. Whenever you're close enough to strike Ghirahim, he'll guard. Strike at his exposed areas to break his stance and then land several hits before he recomposes himself.
After a while, he'll start swinging his swords like crazy and he'll try to jump into the air and come crashing down on you, but this will temporarily get his sword stuck in the ground. Whenever he jumps, make sure to keep moving so he can't hit you, but then pummel him while he's stuck. Continue to dodge out of the way of his daggers whenever he sends them at you. As things progress, he'll pull out more daggers. Continue to hit in the areas that the daggers appear to deflect them. Repeatedly work on dodging, breaking his guard, and striking until you've beaten him.
The Imprisoned #2 (Sealed Grounds)
This encounter is very similar to before, but with some new elements added to it. For one thing, The Imprisoned now has large sloth-like arms it can use to climb up the walls and Groose is here to help you. Just like before, you're supposed to pop The Imprisoned's nasty water balloon toes, make him fall over, and then whack the seal on his head. However, there's an easier way to beat him.
Get on a ramp above him and then jump on his head and proceed to whack at the seal with your sword. If The Imprisoned starts slinking his way up the ramp too quickly or climbing up the wall, switch to Groose and have him fire a bomb to stun The Imprisoned. Then switch back to Link, jump on The Imprisoned's head again, and attack that seal until he's defeated.
Levias/Bilocyte (Thunderhead)
This is the one and only battle that takes place in the skies. Prepare to use your Loftwing's spin attack and your sword.
Phase 1:
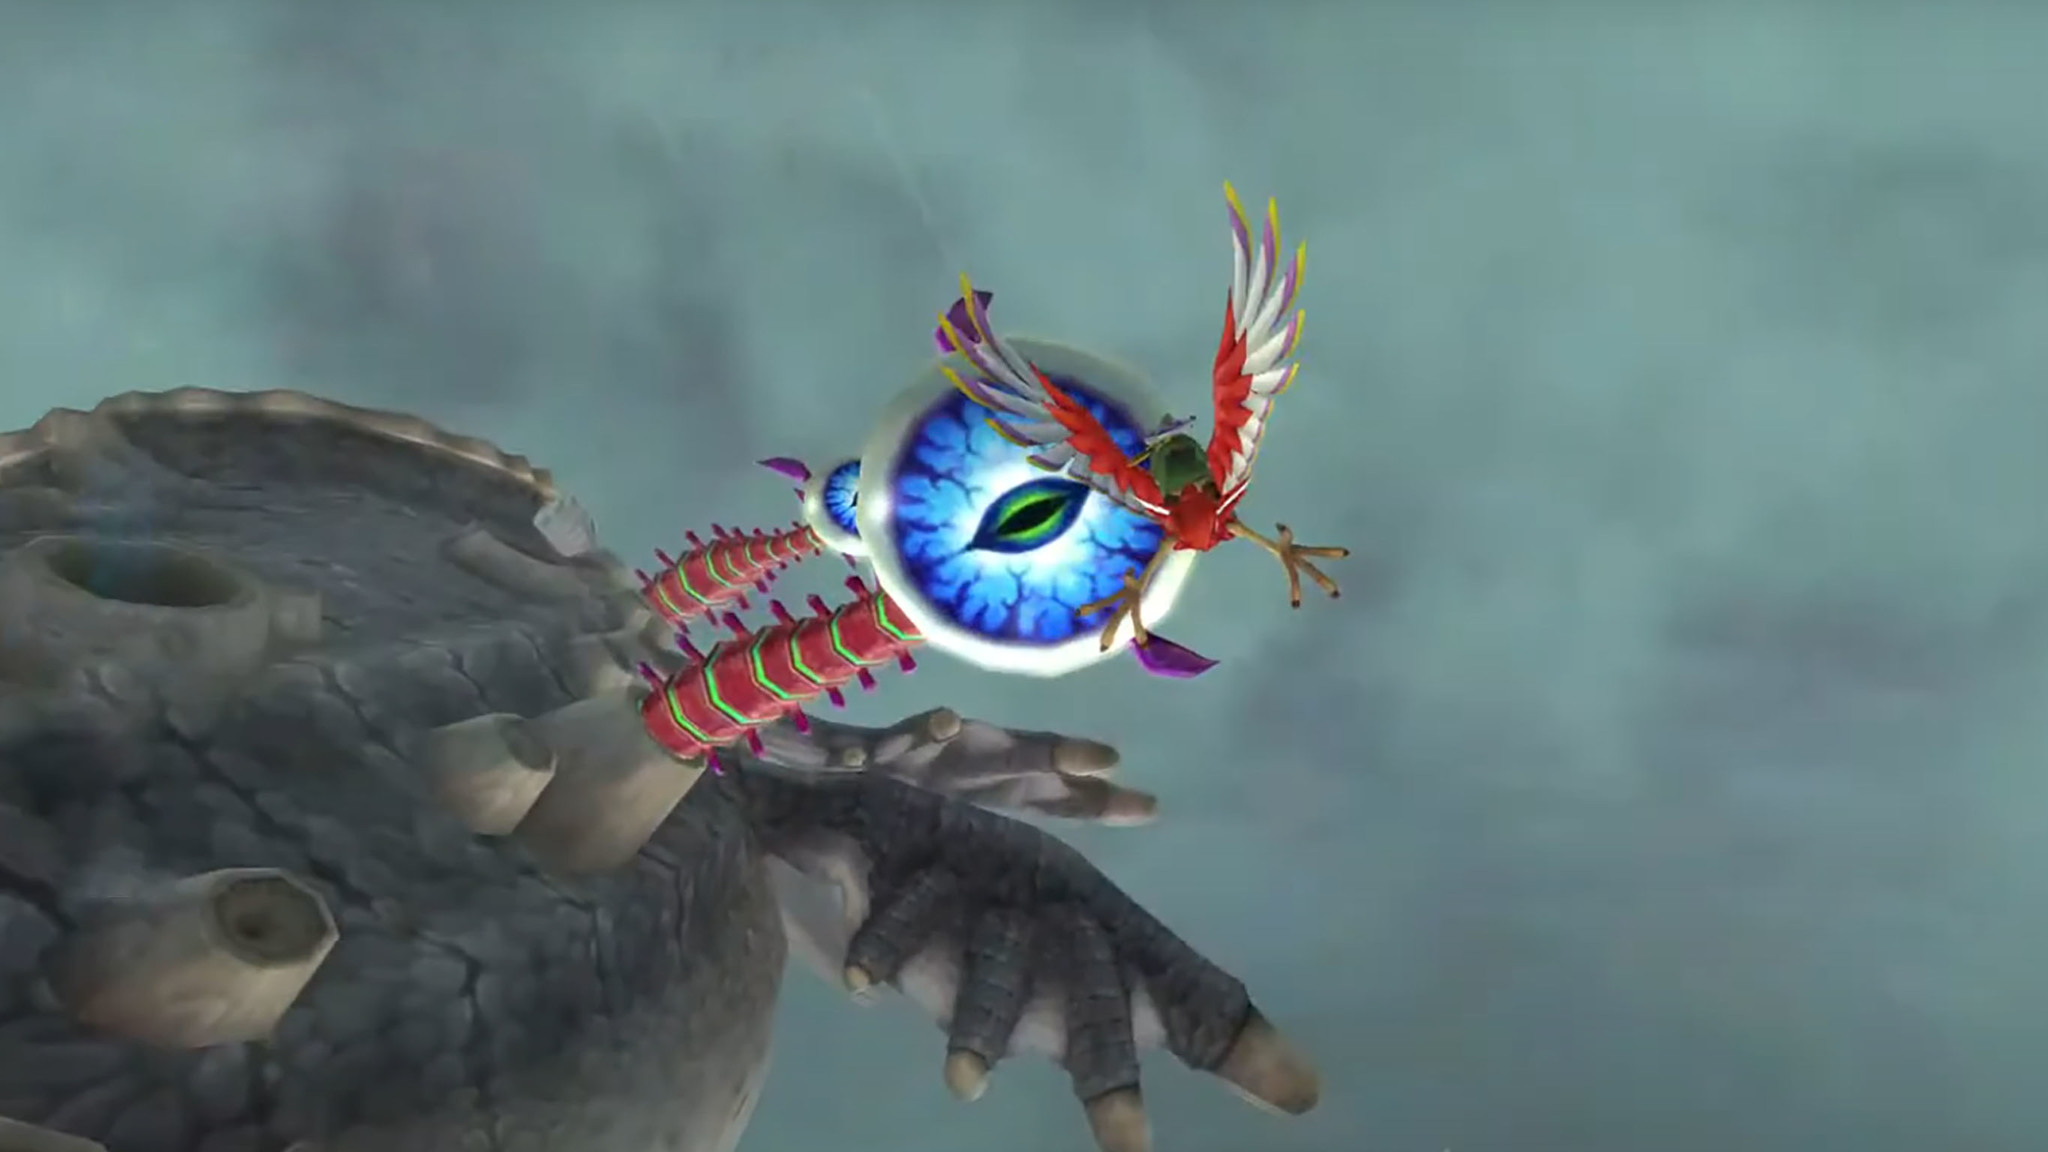
Jump off the floating island and call your Loftwing to you. This massive flying whale is infected and the only way to bring him back to normal is to perform a Spiral Charge at each of the four nasty eyes coming out of its body. Just be careful, touching Levias without doing a spin attack hurts you. Once you've destroyed all four eyes, jump onto Levias' back to continue on to the next phase.
Phase 2:
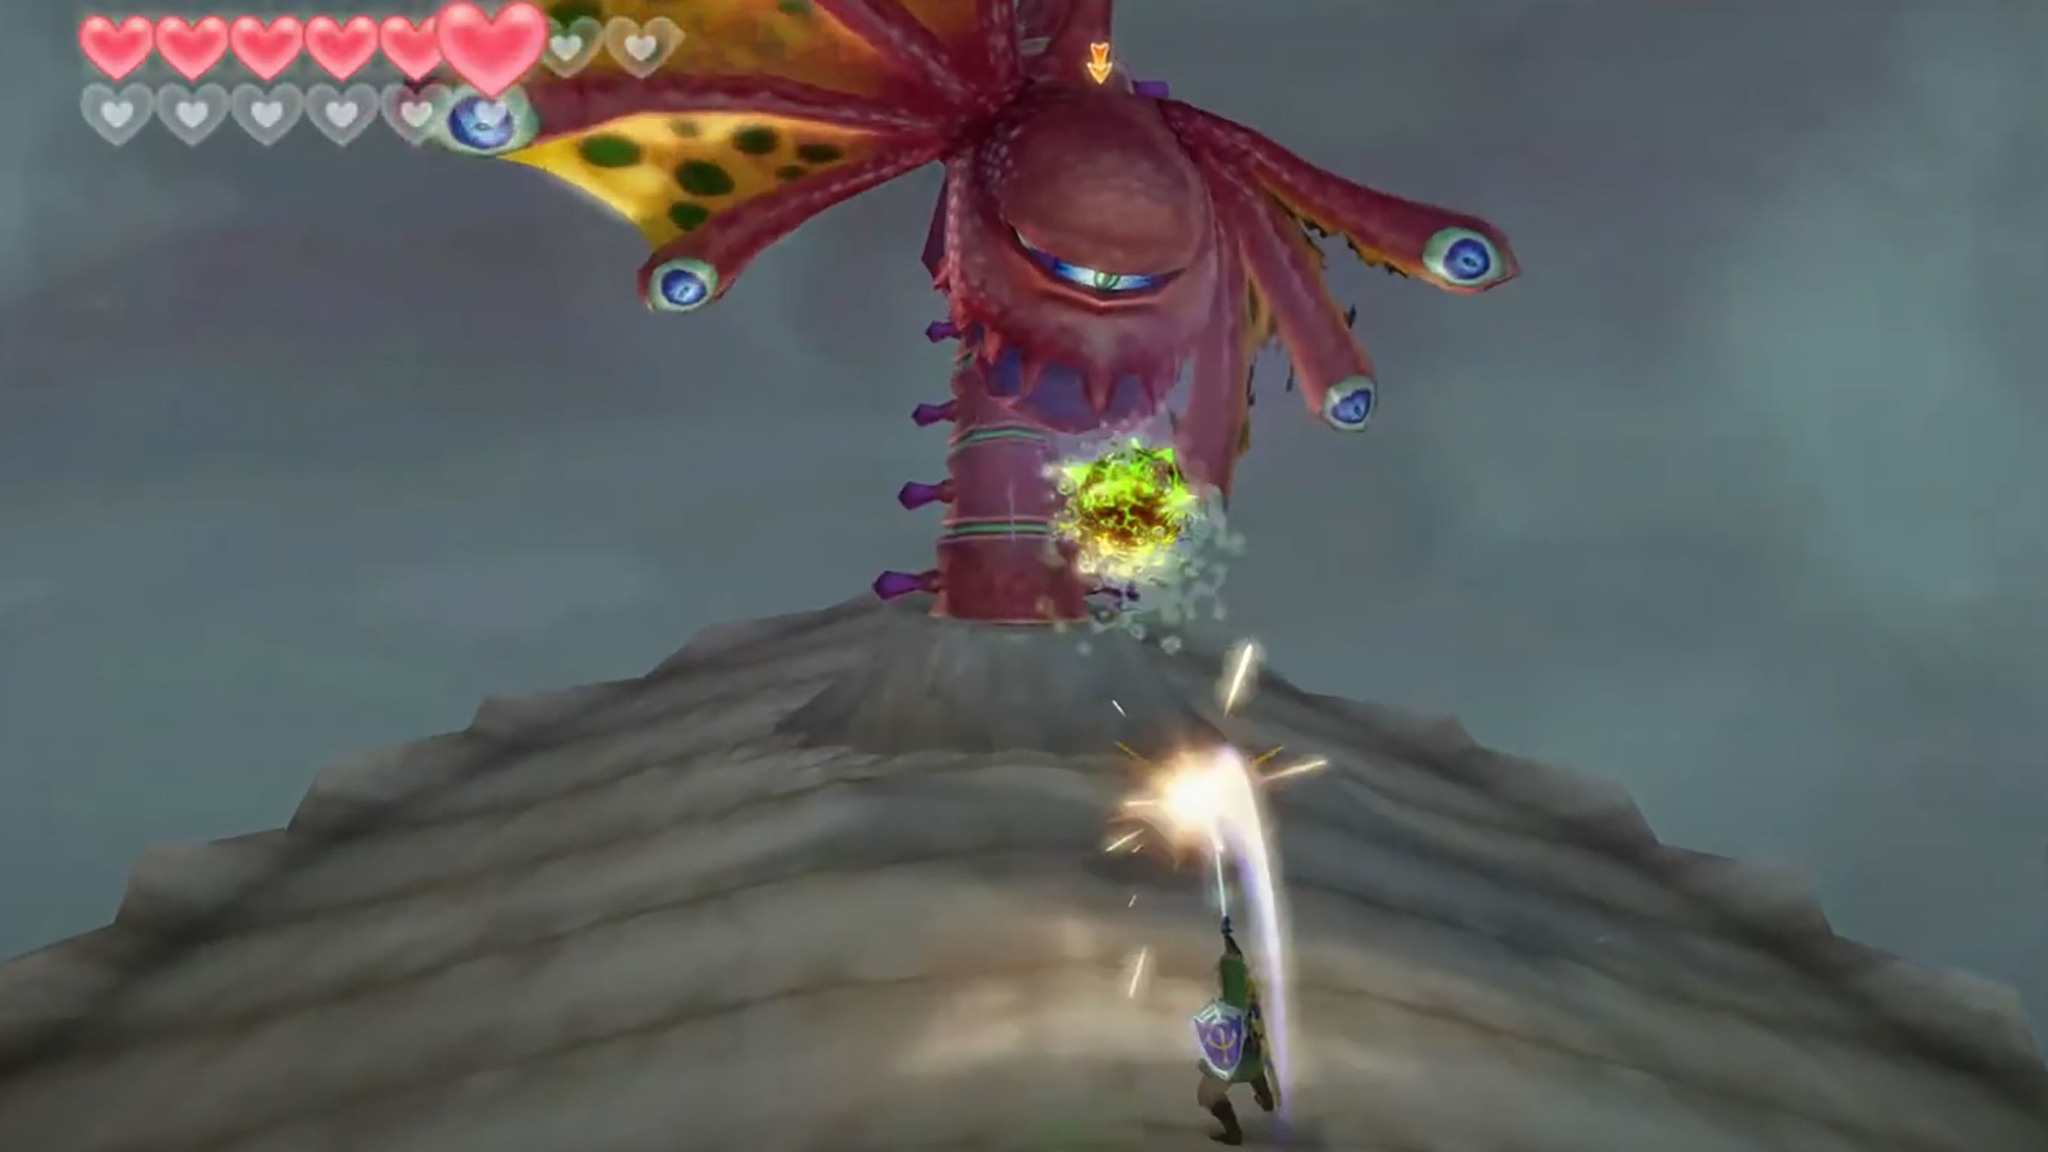
The Ocular Parasite Bilocyte appears from the blowhole and will shoot a green ball at you. Play ping pong with your sword to smack that green blob back at its wings. Left to right and then right to left. Once the wings are gone, Bilocyte changes up its attack by moving its head after shooting the green ball. Hit the green wad in such a way that it hits Bilocyte in its main eye. Then when it falls forward strike at the large eye with your sword.
Alternatively, you can charge up your skyward sword, dodge around its green blob attacks, and then send a charged sword attack at its eyeball to make it fall over. Repeat until this disgusting parasite is defeated.
The Imprisoned #3 (Sealed Grounds)
Oh joy, we're fighting The Imprisoned again, only this time he's going to be able to fly. Don't worry, this is the last time you'll fight it.
Phase 1:
Once more, the idea here is to pop its veiny toes and then jab away at the seal on its forehead. Or if you want to end this fight faster, use the wind streams to get above it and then use Groose to stun with a bomb. While it's stopped, jump on its head and whack away at the seal.
Phase 2:
After a few hits, The Imprisoned will grow an evil halo of sorts and start floating. To stop it, bomb it with Groose's help and it will fall back down to the bottom of the pit. Now jump down there and whack the seal up into its head while it's stunned. Eventually, Groose will have a problem and you'll have to load yourself onto his catapult. Once you land on The Imprisoned's head, strike the seal until it's defeated... for now.
Moldorm (Sky Keep)
This is basically the same as the Moldorm you defeated in the Fire Sanctuary, only now there are two of them in one area. Take them on one centipede at a time. As before, each time you hit their butts, they'll get smaller and will charge around. Avoid getting hit and then strike their butts three times each to defeat them.
When they're really small it's almost impossible to chase after them and hit their weak area. Instead, it's best to figure out where they're going and then cut a path to their butt before slashing away. They can be really annoying to hit, but just keep at it and you'll get it.
LD-003D Dreadfuse (Sky Keep)
This boss operates a lot like the robot captain Scervo from the Sandship, only this guy has his hook and sword in opposite hands. Oh, and his sword is electrically charged.
Phase 1:
Knock him back along the long plank by slicing and jabbing at him in places he isn't defending. If you do hit his hook or shield, he'll attack, but you can either dodge or use a well-timed Shield Bash to knock him backward. Keep slashing away. Once you've pushed him to the edge of the plank, he'll shorten the battle area and move on to the next phase in his attacks.
Phase 2:
He'll move a bit quicker and will often strike twice in a row. Either jump back to avoid his attacks or use a well-timed Shield Bash to push him backward. Keep slashing until he's once more at the edge of the plank. At this point, he'll lose his sword and will make the battle area smaller.
Phase 3:
Now he's coming at you solely with his hook. Carefully time your Shield Bash while he swipes to stun him and then hack away to push him back. Continue to slash at him as much as you can until you push him off the plank and defeat him.
Enemy Horde Battle (Sealed Grounds)
While Link rushes to the bottom of the Sealed Grounds, Ghirahim will set up walls that can only be removed by defeating waves of hordes comprised of Bokoblins and Moblins in a Hyrule Warriors: Age of Calamity hack-and-slash style. You'll be facing five horde groups in total. Here's how to beat them.
Pro Tip: While facing the horde, you don't have to defeat every little enemy unless you want to. In fact, I suggest running past them all until you can't run anymore and then dealing with the lead horde enemies at the end of each area. However, the basic enemies are good for harvesting hearts. So stock up when you need to.
Horde 1:
This first group is really easy to beat. Simply slash away at them and collect any hearts that you need along the way. When you get to the first wall, several Bokoblins with swords will appear. Slash at them in the direction that they aren't blocking in order to defeat them. Once they're all gone, the wall will disappear and you can move on to the next blockade.
Horde 2:
This next batch will start with Bokoblins carrying bombs. Don't slash at them as this will just make them explode and hurt you. Instead, run past them and get to the next magical wall. Three Wooden Shield Moblins will pop up. Run at their shields with A, to climb up like a wall and then slash at them from their backside until they're defeated. Now continue on.
Horde 3:
Now archers will get added into the mix. A Blue Bokoblin with a sword will appear at the end. These guys have more life and they will also charge you. If you can Shield Bash at the right moment you can take them out more easily. However, you'll likely be distracted by the rest of the horde. Take out any smaller enemies that are getting in the way and then defeat the Blue Bokoblin to lift the wall and move on.
Horde 4:
There's a Bokoblin among this lot with a horn. Each time he blows it, more enemies will appear. Take him down quickly to make this section easier. A couple of Stalfos will appear on the next wall. Pay attention to where they lift their two swords and then slash at an unprotected area to hurt them. I suggest focusing on one and then the other. If the rest of the horde gets to be too much, take a few of the smaller enemies out then focus back on the skeletons. Once the Stalfos are dead you can continue forward.
Horde 5:
You don't have to fight any more of the Bokoblins that are in the pathway unless you want to get more hearts. Otherwise, just run towards Ghirahim and leave everyone else behind. Once you get into the middle circle, Ghirahim will raise a smaller circular wall around himself and Zelda. A bunch of Bokoblins will appear. Take them all out with some slashes and spin attacks. Now you're ready to face this Zelda-kidnapping demon.
Ghirahim #3 (Sealed Grounds)
Now things are getting serious. This Ghirahim battle is like a mixture between the robot pirates and previous Ghirahim encounters, so be ready to use the same tactics to defeat him.
Phase 1:
As before, you need to slash at Ghirahim in places he isn't protected to push him back until he falls off the magical platforms. He'll try to hit you with some punches and kicks, so avoid those as much as you can. Eventually, he'll put up his hands and you'll need to hit him while avoiding those guarded areas. Continue to push him off the magical platforms to move onto the next phase.
Phase 2:
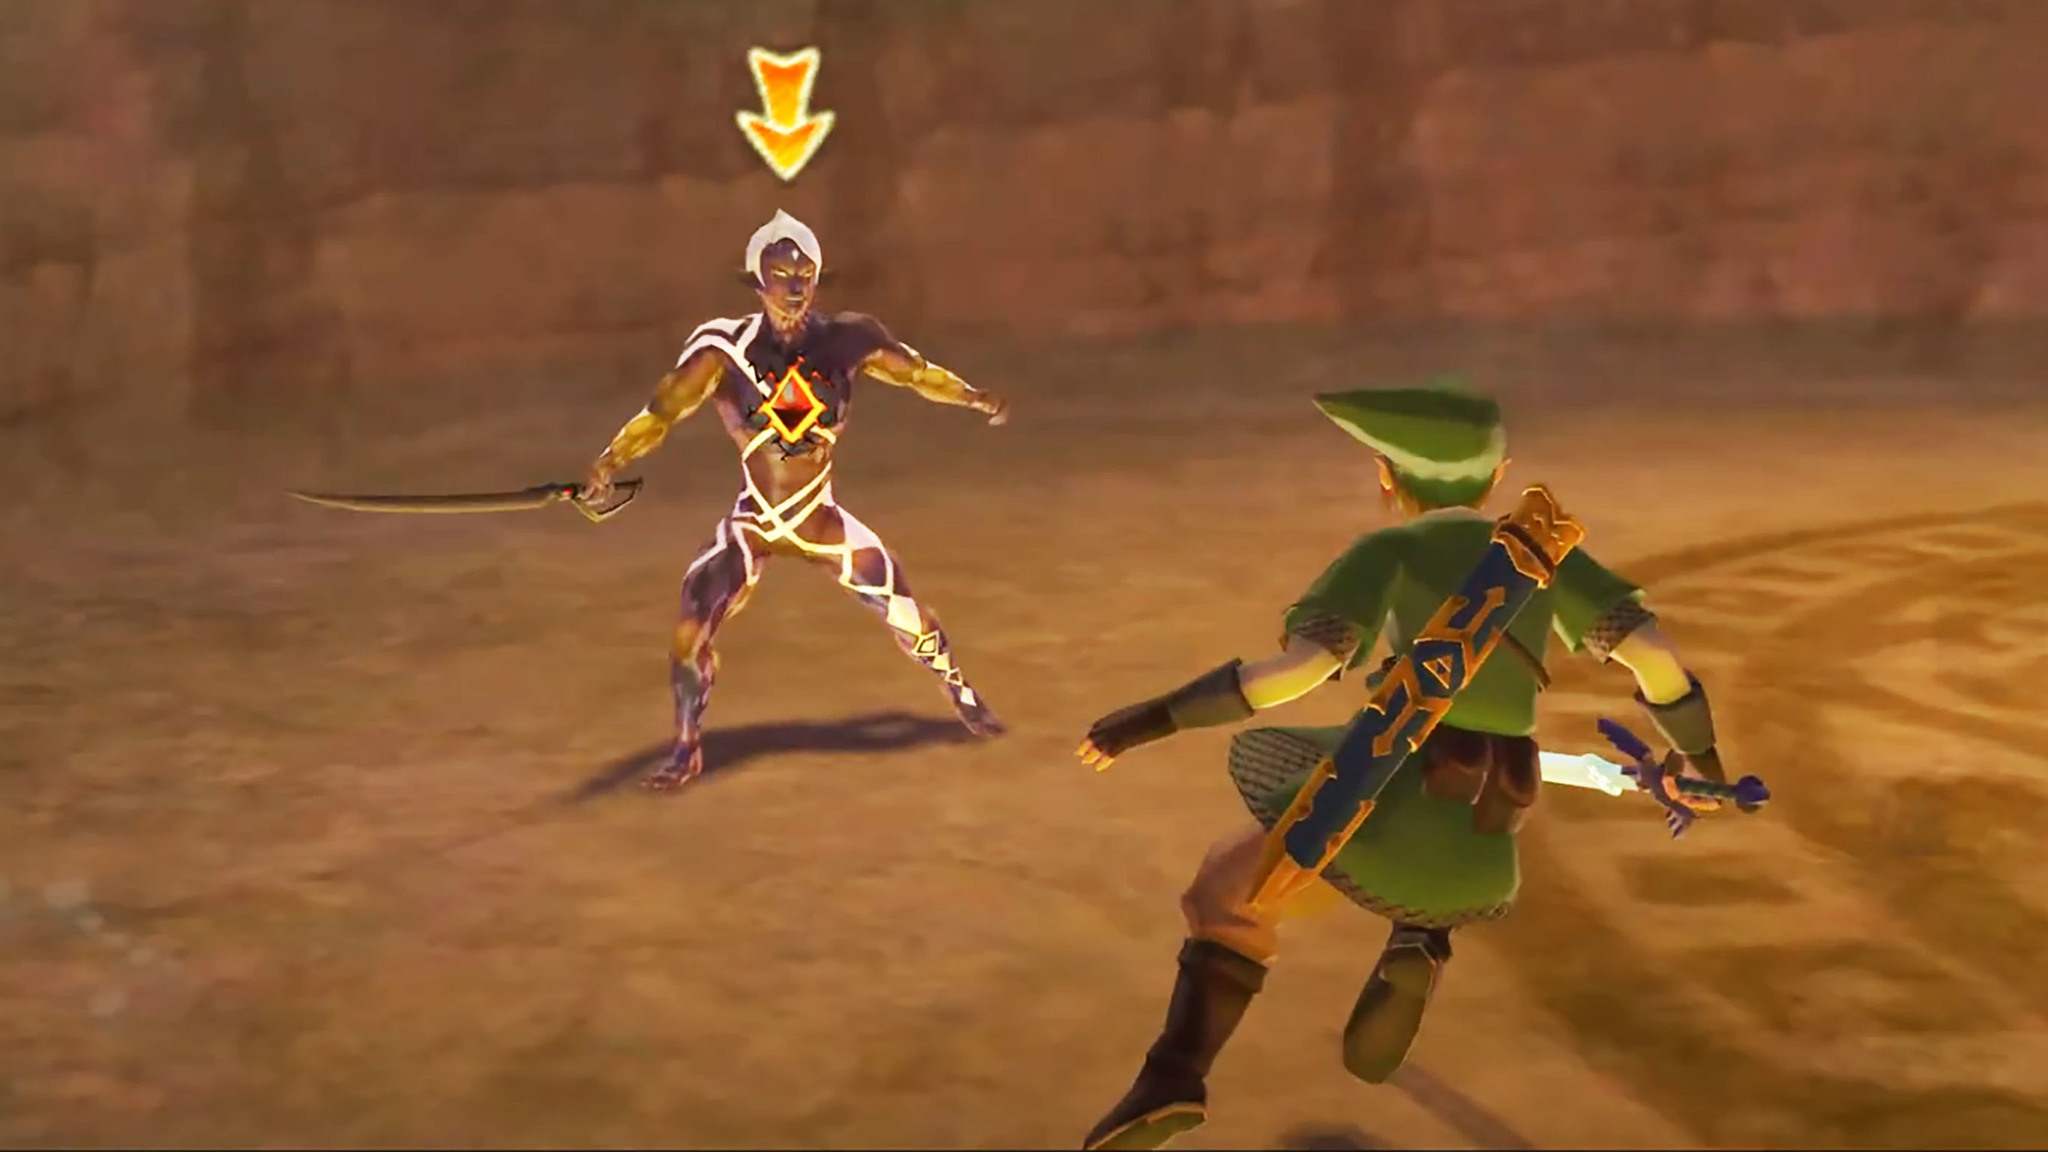
You'll eventually end up back on the ground and Ghirahim will pull out a thin sword. When he attempts to jab you, time a Shield Bash and then jab the diamond in his chest repeatedly until he moves on to the next phase.
Phase 3:
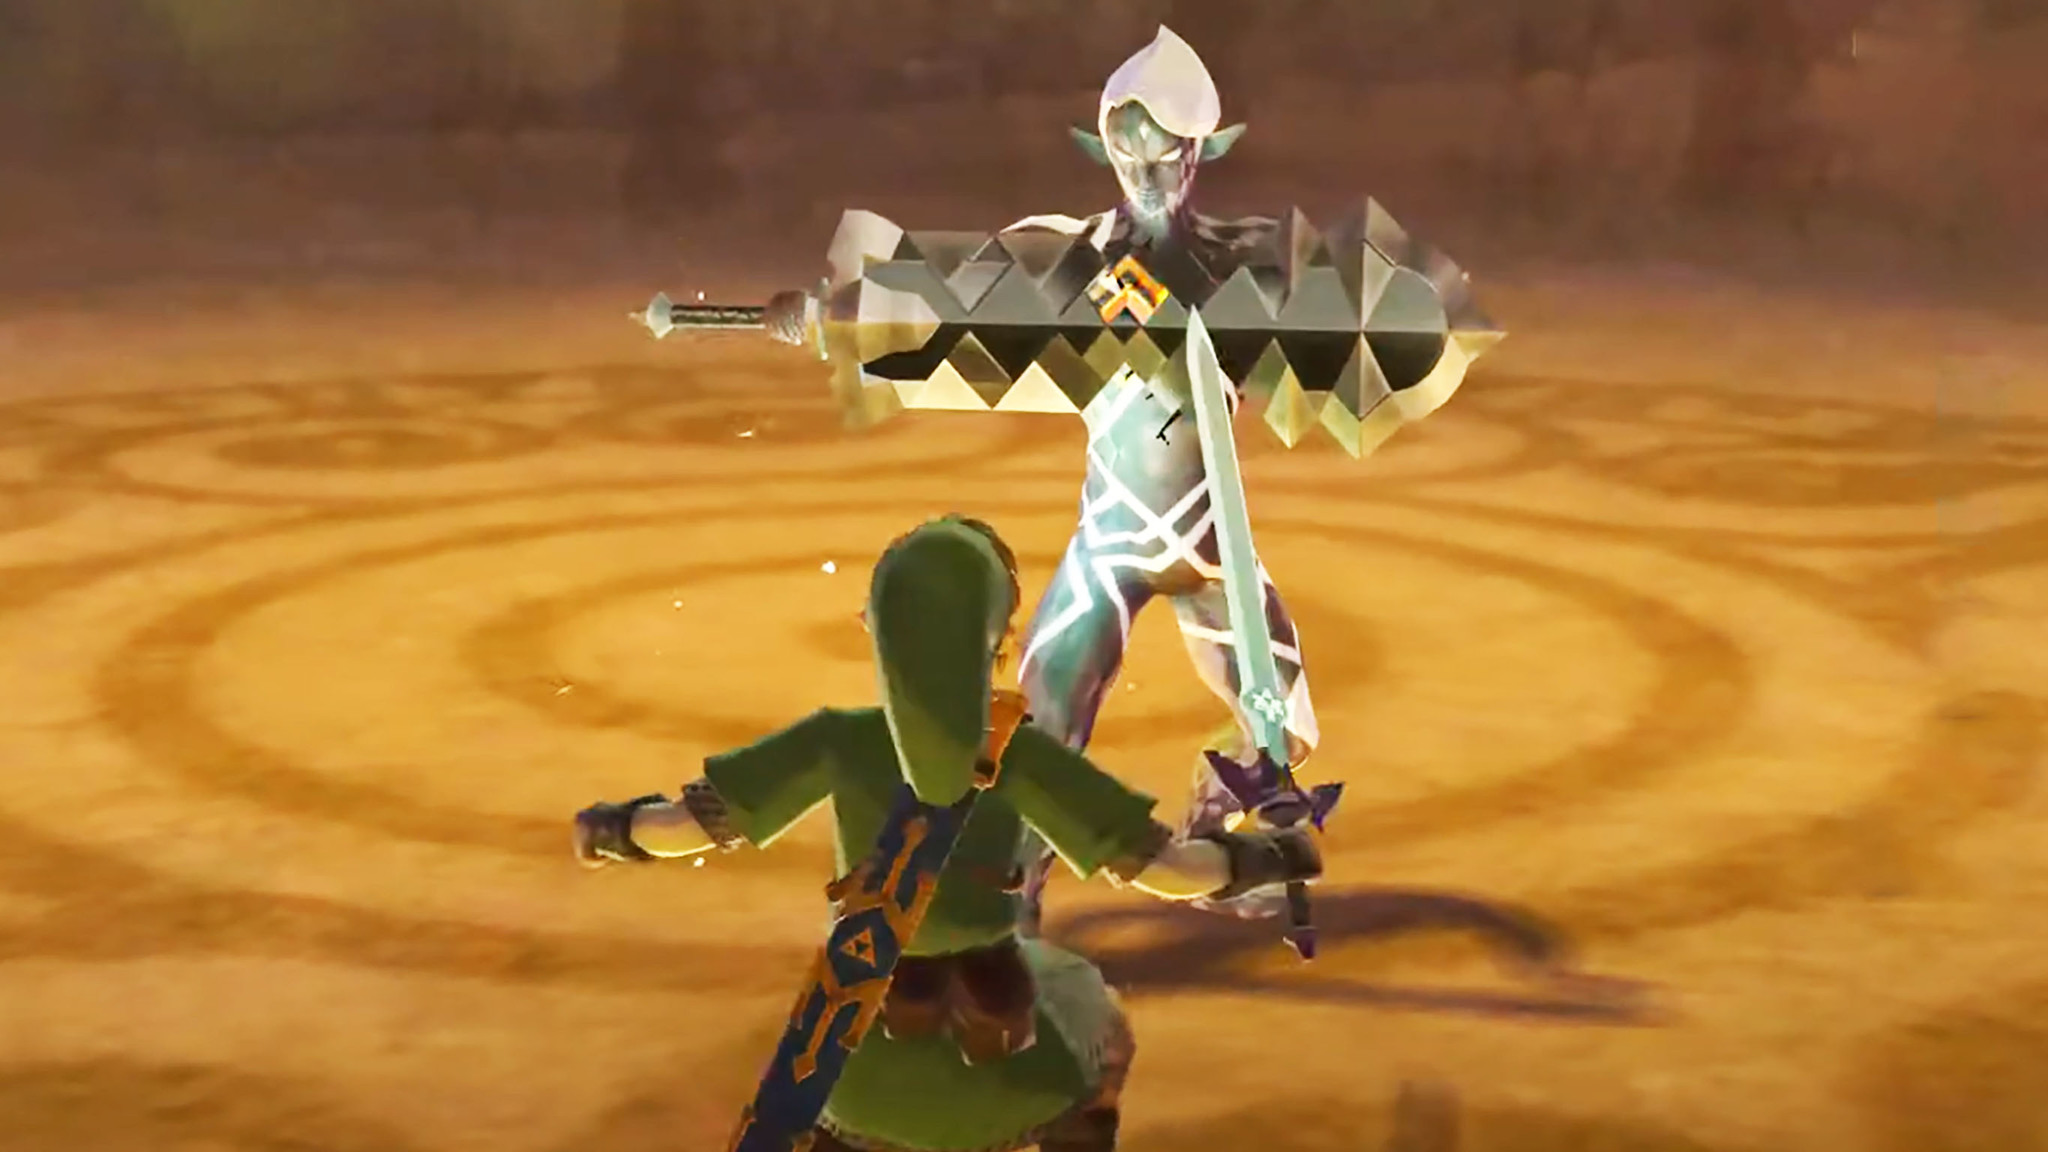
He'll swap out his thin sword for a thick one. Whenever he gears up for a slash attack, backflip away from him. When he holds his sword up to shield, carefully hack at it back and forth from both sides to expose its center. Don't hit the same side twice as this gives him an opening to hurt you. Properly attacking his sword will stun him and knock his sword away. Quickly jab at his chest until he's defeated.
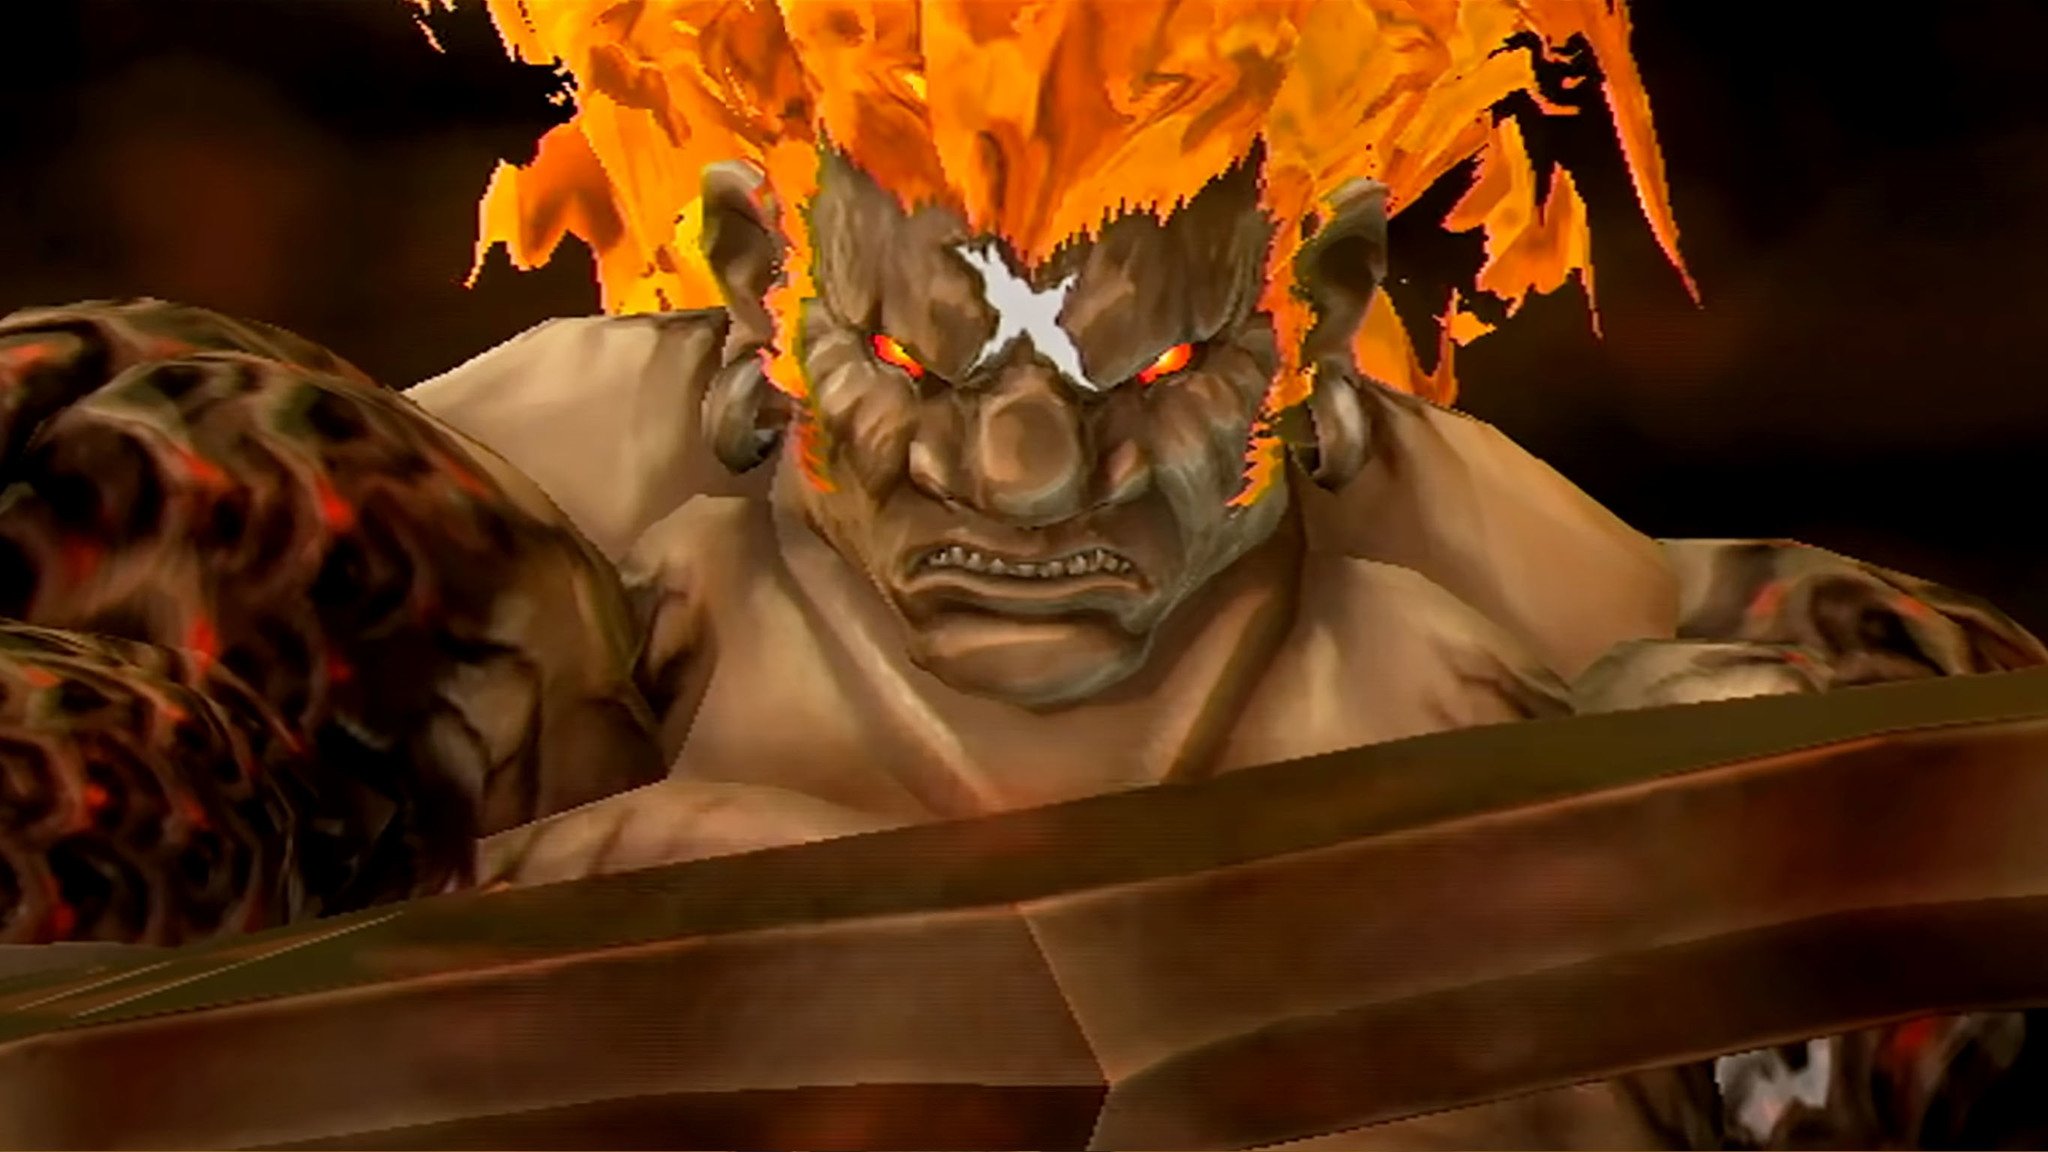
Demise (Demise's Realm)
Despite all your efforts, Ghirahim has succeeded in awakening his master, Demise - the Demon King. He's a fearsome opponent, but you can take him down with the following moves.
Phase 1:
First things first. You need to stick relatively close to him. If you get too far away, he'll do a devastating charge attack. So run up and slash away at him, left to right and then right to left. Back and forth. The first few hits will get blocked, but you can eventually hack away at his unprotected areas. After landing a successful hit, get ready to dodge as he will likely do his own attack. You'll need to hit him roughly 28 times before he moves on to the next phase.
Phase 2:
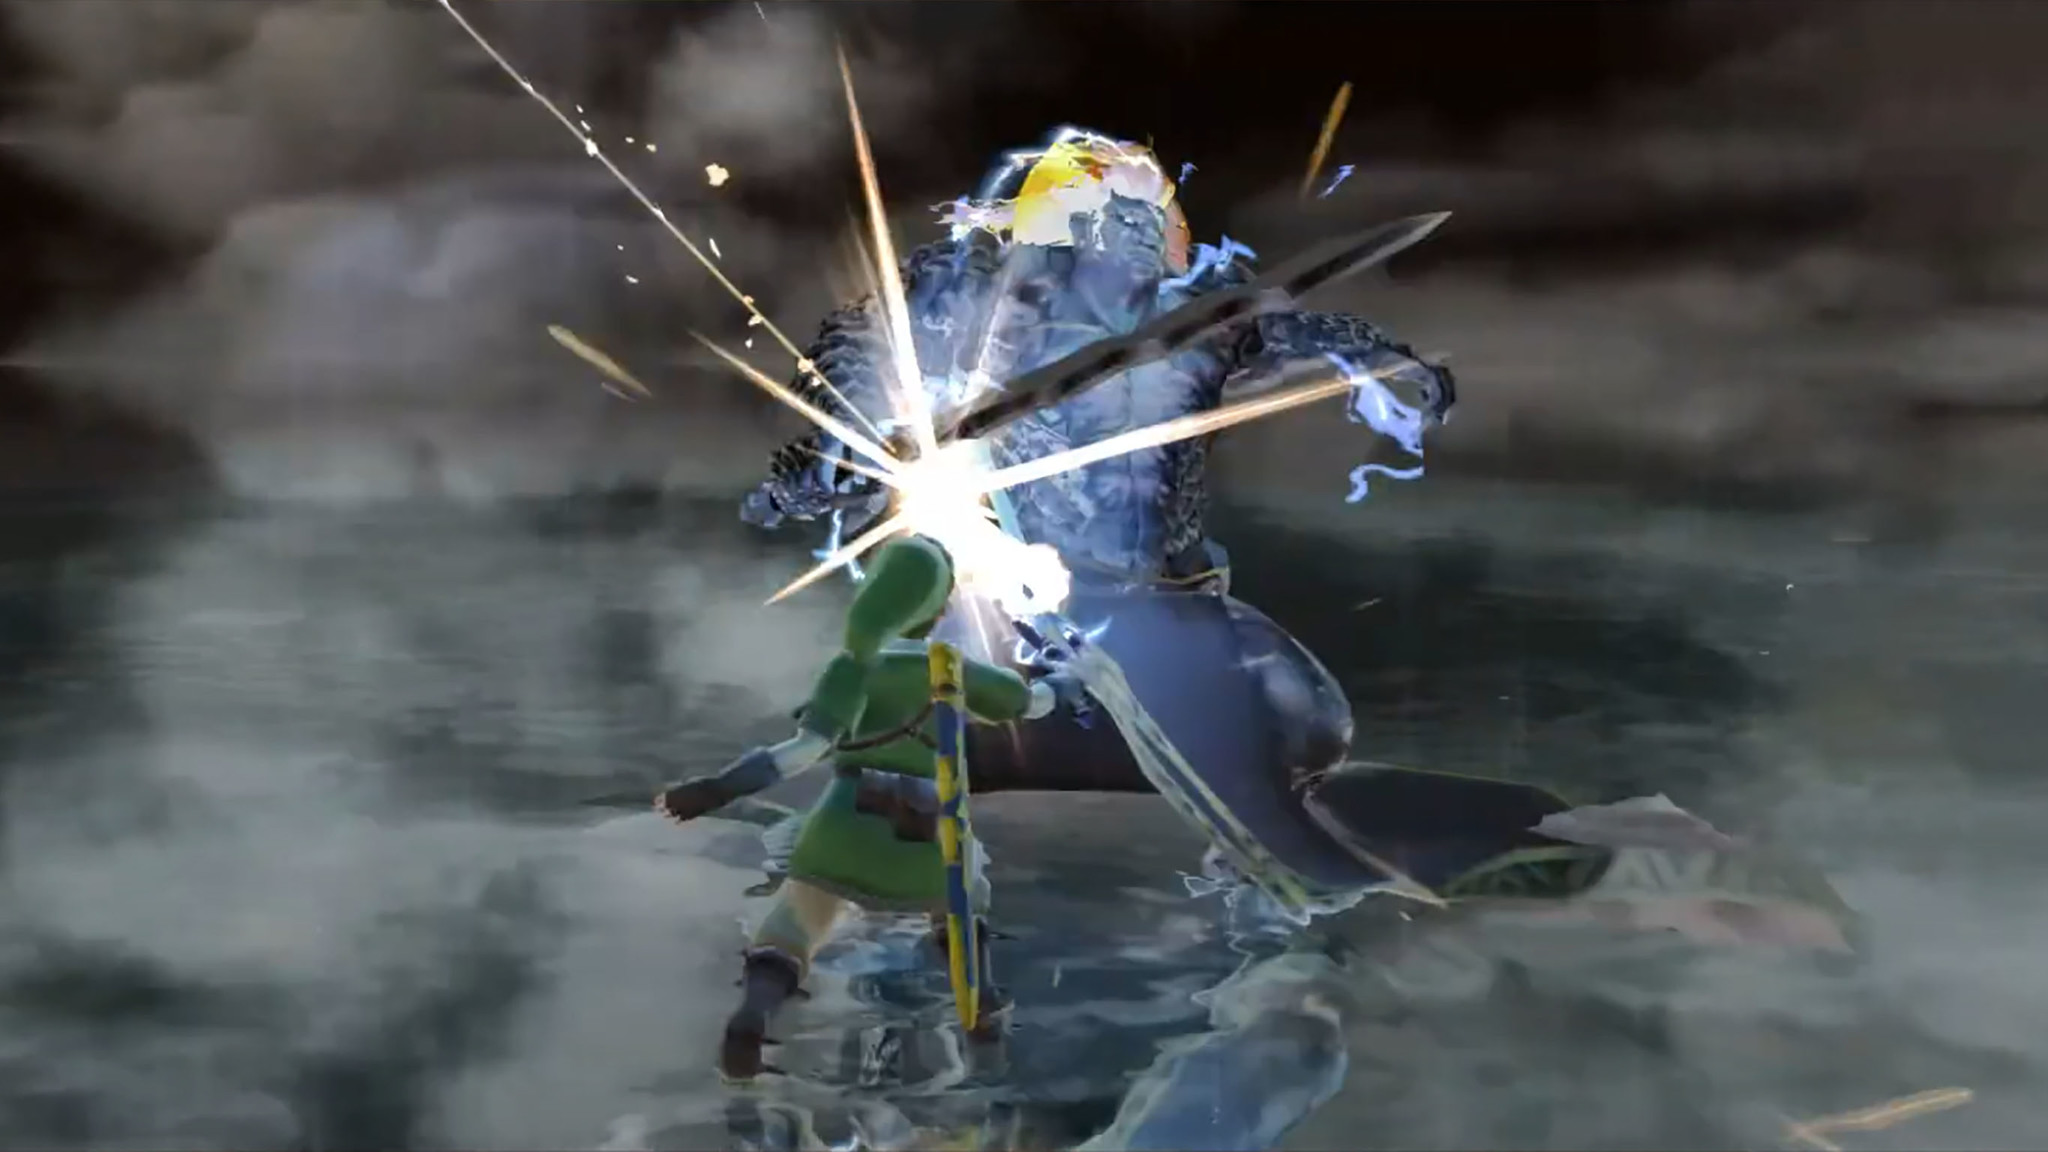
Now a storm is brewing with lighting, rain, and thunder. Charge your Sword with a Skyward Strike and then quickly unleash it at Demise. If you take too long to let it fly, he will try to hurt you. Thing is, Demise will do his own Skyward Strikes back at you. If you sling one at him when he slings one at you, they'll cancel out, so plan accordingly to prevent getting hurt.
Hurl Skyward Strikes at him and then slash away at him several times. He'll eventually fall to his knees and give you the chance to perform a Fatal Blow, but don't take the bait. He's not ready to go down yet.
Continue to slash at him with Skyward Strikes and then hack away at him when he's on his knees. The second time he falls to his knees, take the Fatal Blow option to end the battle and beat the game.
Woooo! That was a lot. My palms are sweaty. But you did it and you rock!
The end of the beginning
After you've defeated him, Demise states that his hatred will be reborn in the coming ages. As we've seen from several Zelda titles, we know that this comes in the form of Ganon. But we also know that Zelda will be there to stop him as she is the Goddess Hylia reborn.
With the earliest game in the Zelda timeline complete, we now know the demonic force from which Ganon gets his power in all following Zelda titles.
*If you're looking for other fun Nintendo titles, don't forget to check out our list of the best Switch games of all time. *

Gaming aficionado Rebecca Spear is iMore's dedicated gaming editor with a focus on Nintendo Switch and iOS gaming. You’ll never catch her without her Switch or her iPad Air handy. If you’ve got a question about Pokémon, The Legend of Zelda, or just about any other Nintendo series check out her guides to help you out. Rebecca has written thousands of articles in the last six years including hundreds of extensive gaming guides, previews, and reviews for both Switch and Apple Arcade. She also loves checking out new gaming accessories like iPhone controllers and has her ear to the ground when it comes to covering the next big trend.

