Ten tips for taking great photos with your iPhone
The iPhone is a fantastic device for snapping pictures: It has excellent hardware, smart software, and it's easy enough for your grandmother to use. It has limitations, as any camera does, but you can work around most of them by being smart about your snapping. Here are ten of my favorite tips to help you along the way.

1. Use the iPhone camera shortcut

There are lots of great third-party camera apps out there, but if you want a quick shot of your tiny cousins being cute or a rare appearance of the family cat, you need speed on your side — speed that you may not get if you have to unlock your device, find your app, tap on the icon, and wait for it to load.
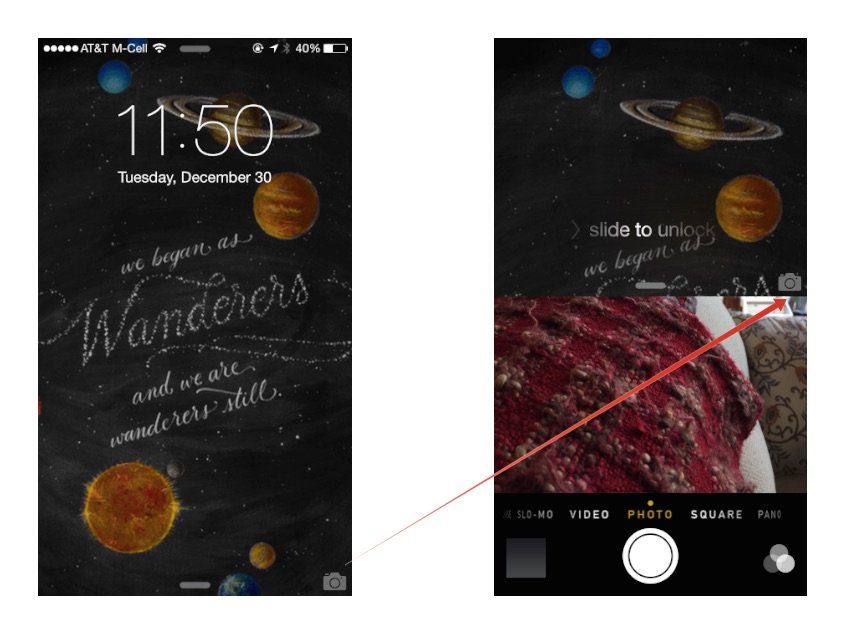
Swipe up on the iPhone camera shortcut from the Lock screen, however, and you can quickly take that picture with no significant wait time. You can also do something similar while in an app or on your Home screen by swiping up from the bottom of the screen to launch Control Center, then tapping on the Camera button.

2. Experiment with third-party apps

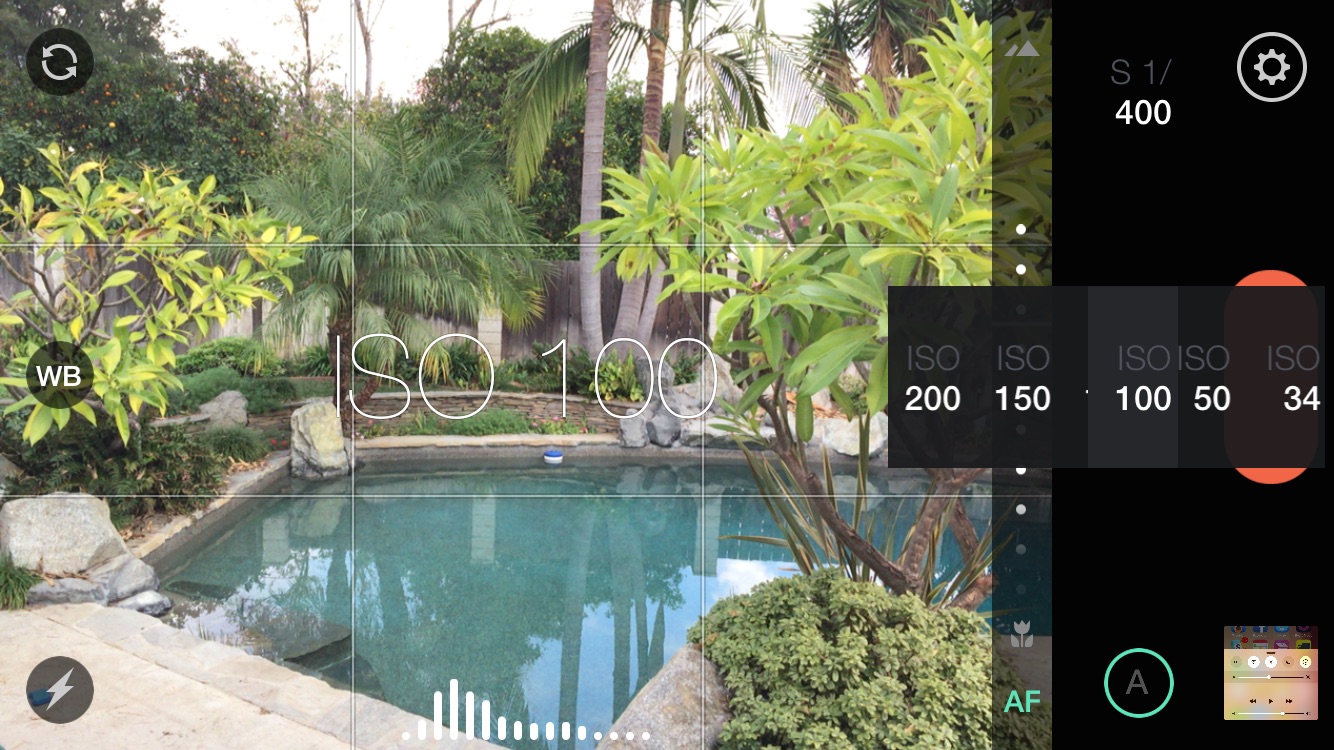
If you're not in a rush to snap a quick shot, I suggest downloading some of the third-party manual camera apps available. Apple's opened a bunch of controls up to developers, including shutter speed, ISO, white balance, and exposure, which means that you can often snap a photo with much more clarity than you would be able to from the default camera application.
Bonus tip: Though you can't assign the camera shortcut buttons to third-party apps, you can put those apps in your Dock, so that they're easily accessible from any part of your Home screen.

3. Target your shooting mode around your end result

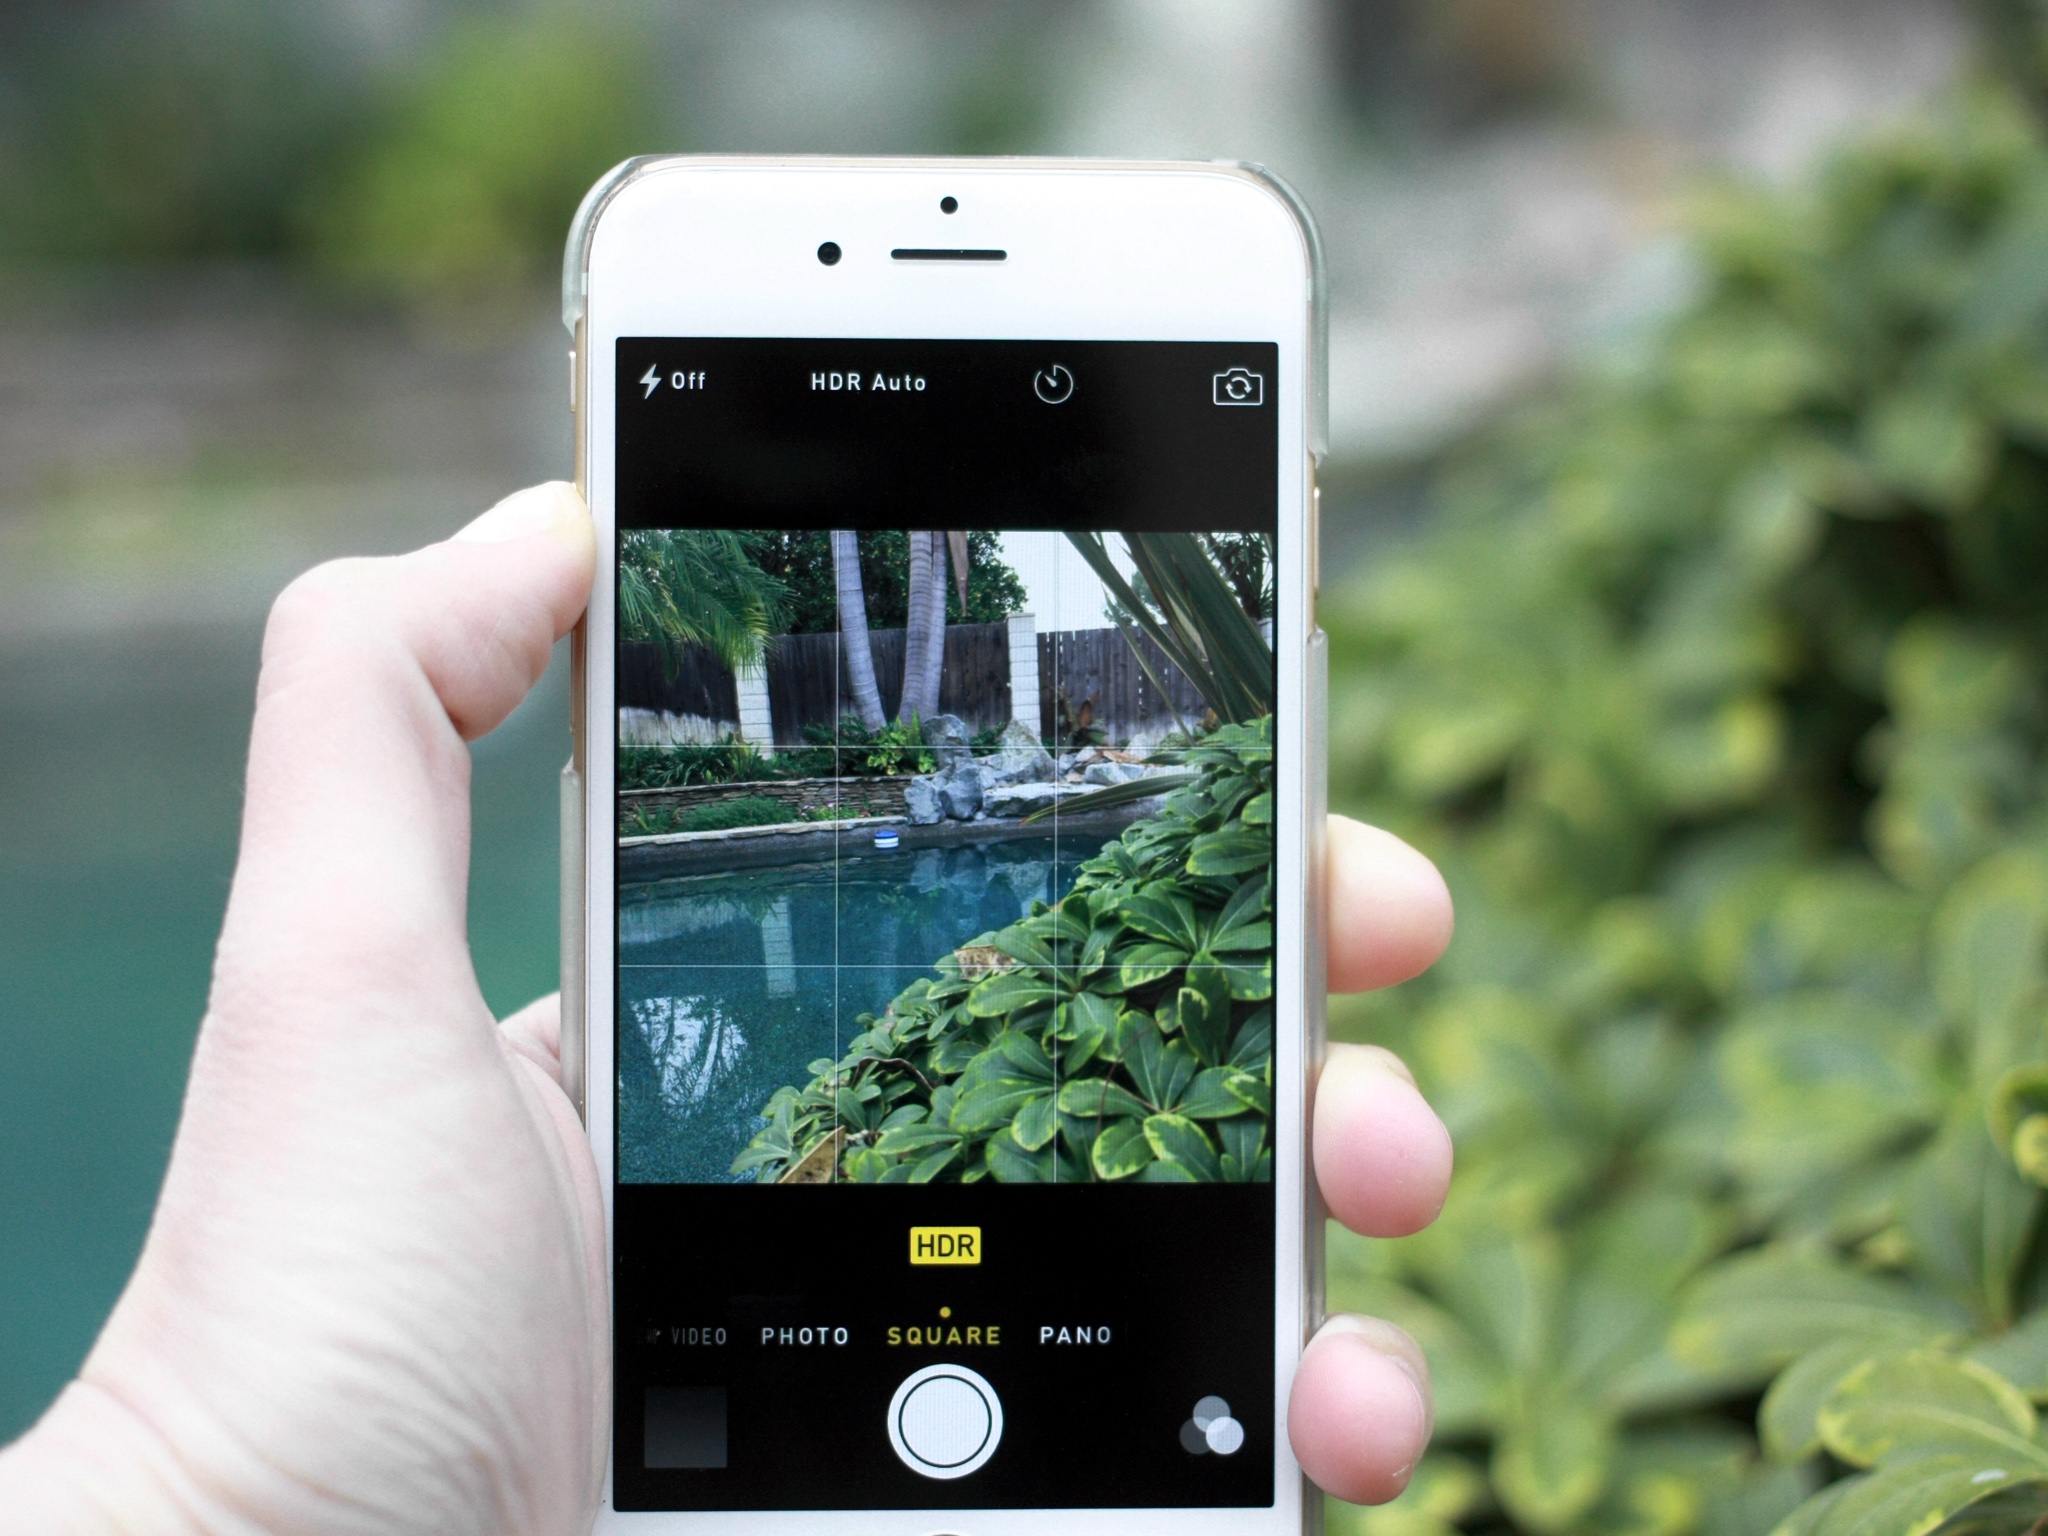
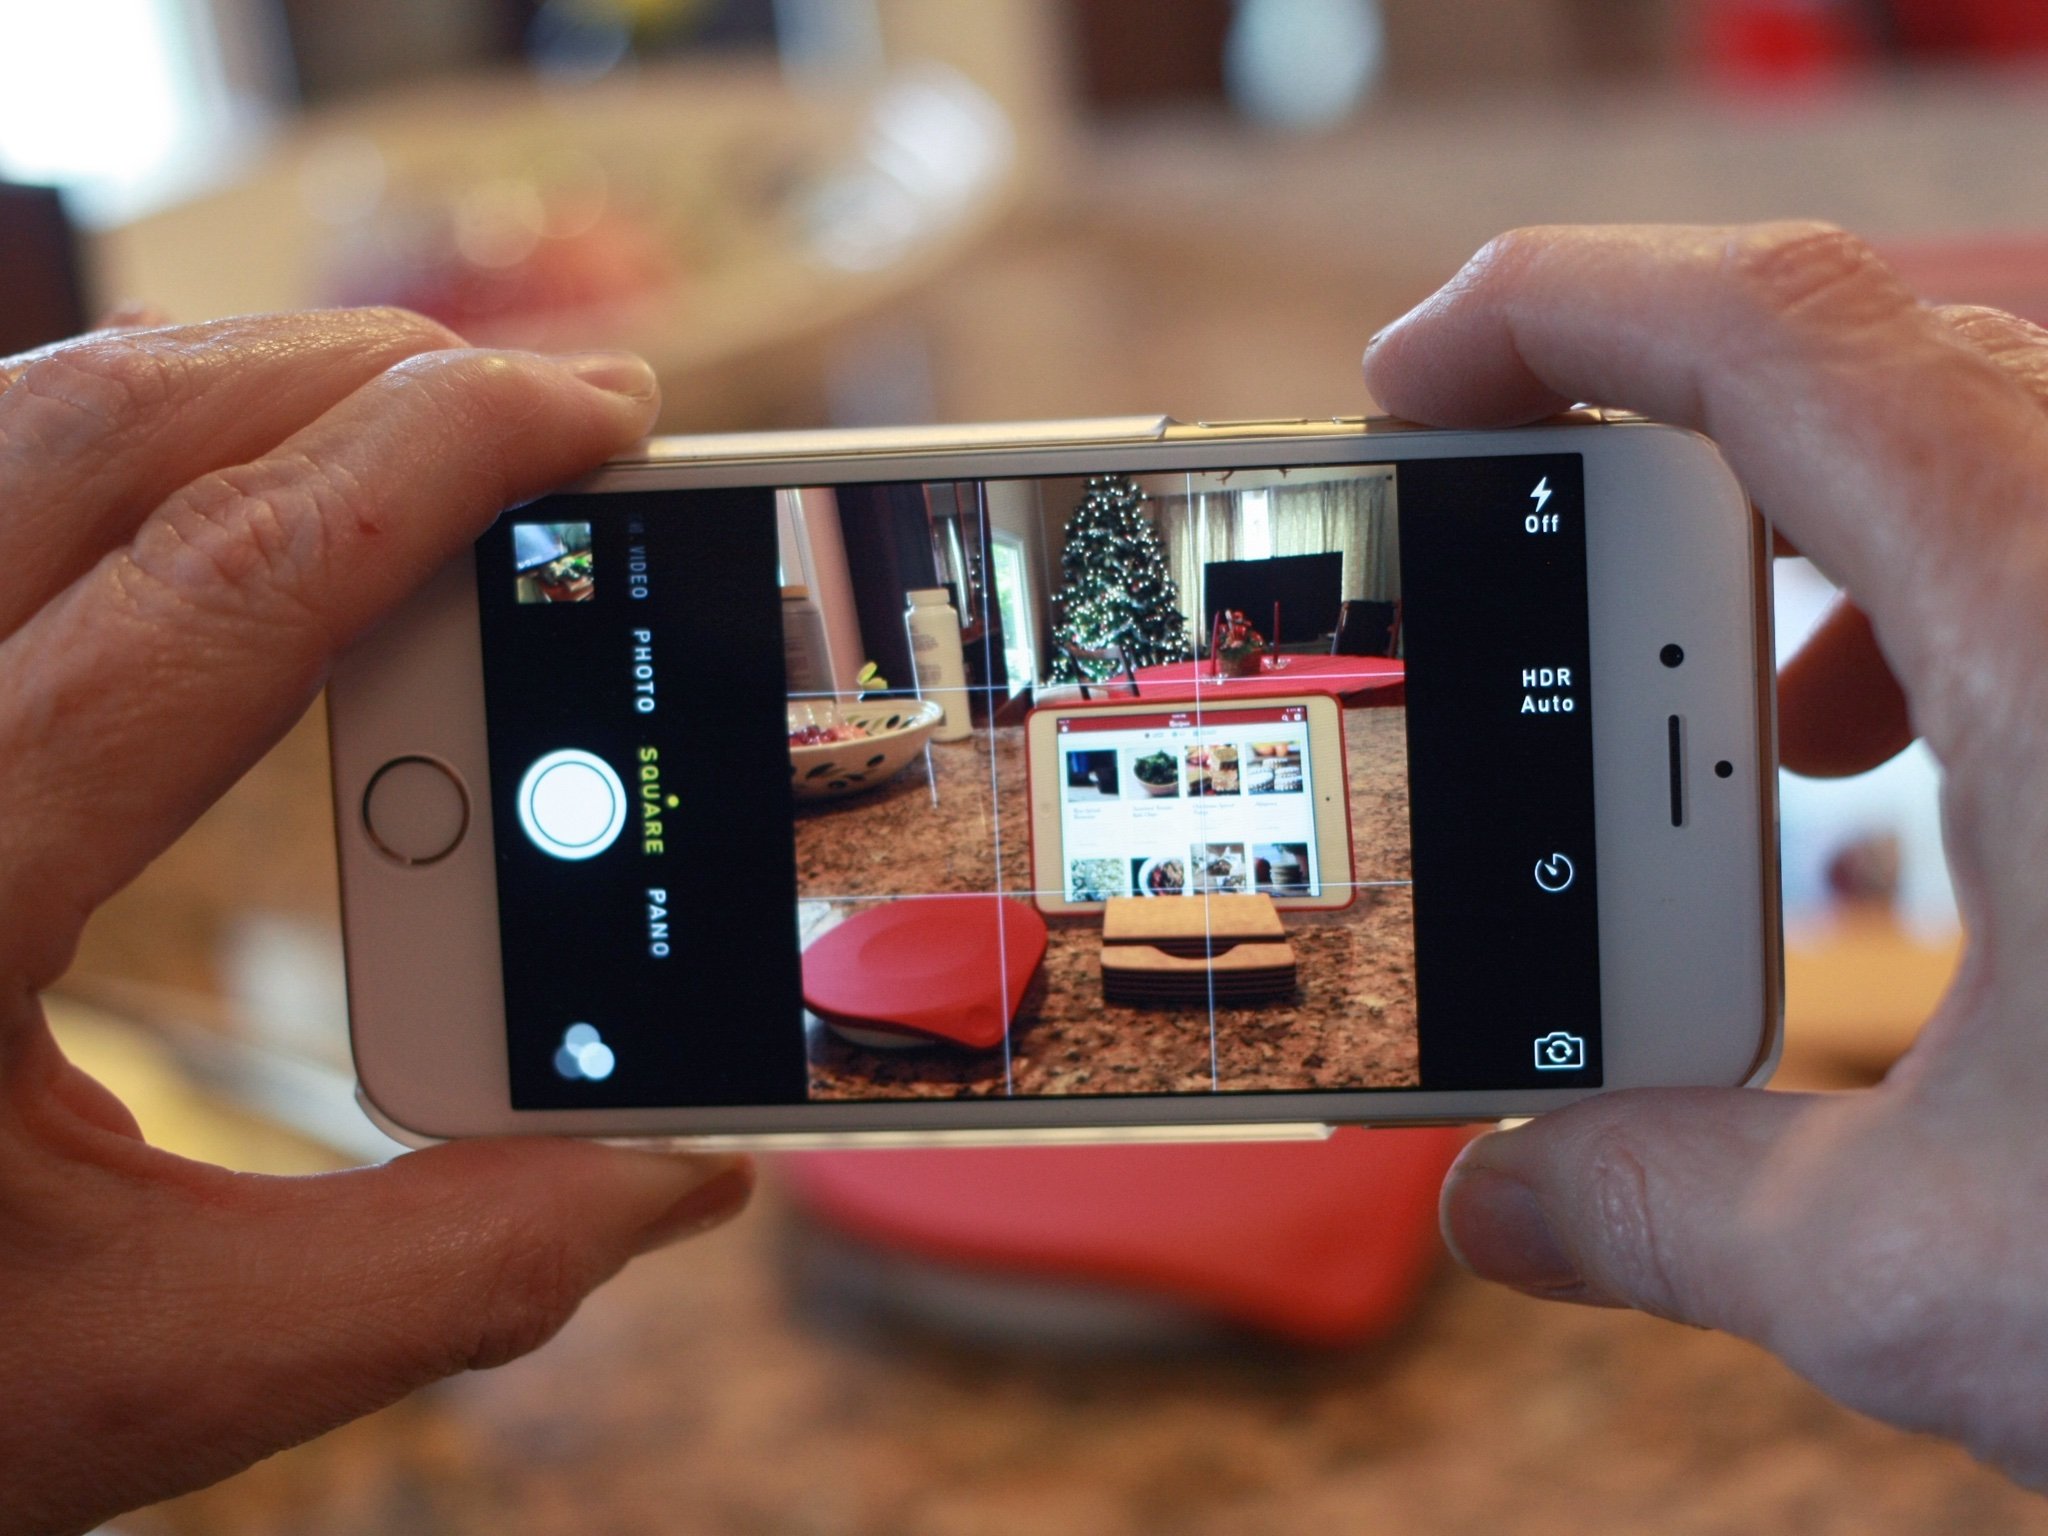
Apple's default camera app offers a variety of different modes for taking pictures, including panorama, square, and photo. It may seem like common-sense instruction, but I find that it really helps to shoot in the mode you plan to publish for — for instance, when I'm taking pictures I want to post to Instagram, I shoot in square mode rather than shooting in photo mode and cropping the image afterward. It helps you better frame your picture, rather than trying to invent new framing after-the-fact.

4. Follow the rule of thirds

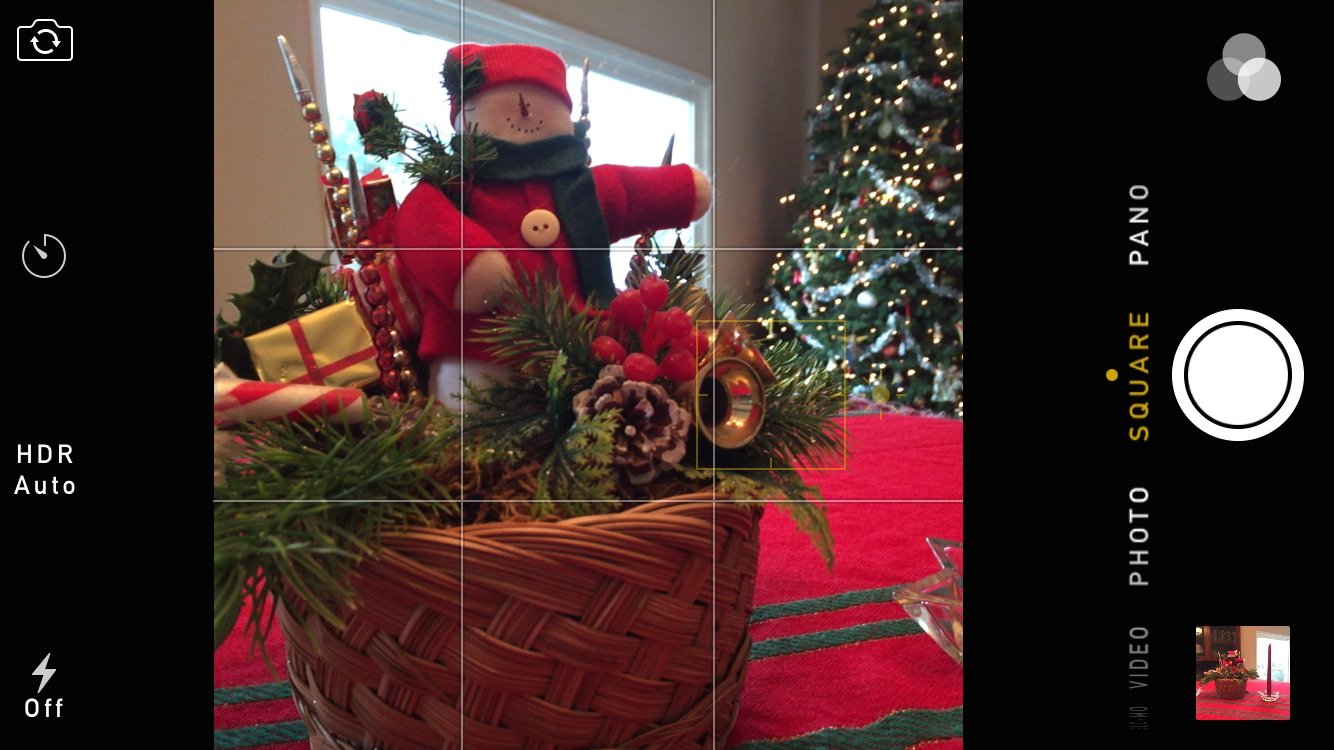
Your iPhone has a grid option available, which can aid you in lining up photographs so that they follow the rule of thirds. You can turn this option on by visiting Settings > Photos & Camera and enabling the Grid switch.

I prefer to keep it on at all times, so that it's there as an aid and a reminder, but you can switch it off at any time by returning to the Photos & Camera preference screen.

5. Turn off your flash

Recent generations of the iPhone flash are much improved upon their predecessors, but at the end of the day, the flash is still just an LED light: It's just not that powerful, and even with the TrueTone technology it can occasionally emit a strange hue onto your photographs.

Instead, try shooting in natural lighting sources, or if you're shooting at night, use the Camera app's exposure slider to boost light in the photo. If you don't mind carrying around a little bit of extra gear, I also recommend Photojojo's Pocket Spotlight, which emits considerably more light than your iPhone's tiny flash.

6. Use Burst mode for action shots

Chasing around a bunch of kids? Going on a bumpy ride? Attempting sports photography? Whatever the case, burst mode (available for the iPhone 5s and up) might be just the option you're looking for to capture the best images. Apple included burst mode originally for snapping clear pictures of moving subjects, but I find it works well when your camera is moving, too — by snapping images in quick succession, you're more likely to get a clear shot and you have more options to choose from.

To shoot in Burst mode, just tap and hold down the shutter button (or volume up button) when you want to begin. While holding down the shutter button, you'll see a counter appear at the bottom of the screen, letting you know how many shots you've snapped. To stop shooting, just lift up your finger and the burst will be saved to your Camera Roll.

7. Turn on HDR Auto

Your iPhone comes with a software feature called High Dynamic Range, or HDR: This lets you snap photos that may have high contrast light sources (say, a bright sunset against a darkening mountain) and still capture a nice image without distorting either the light or the dark area of the picture. Your iPhone does this by snapping several pictures in quick succession at different exposures, then merging them together to create a unified image.
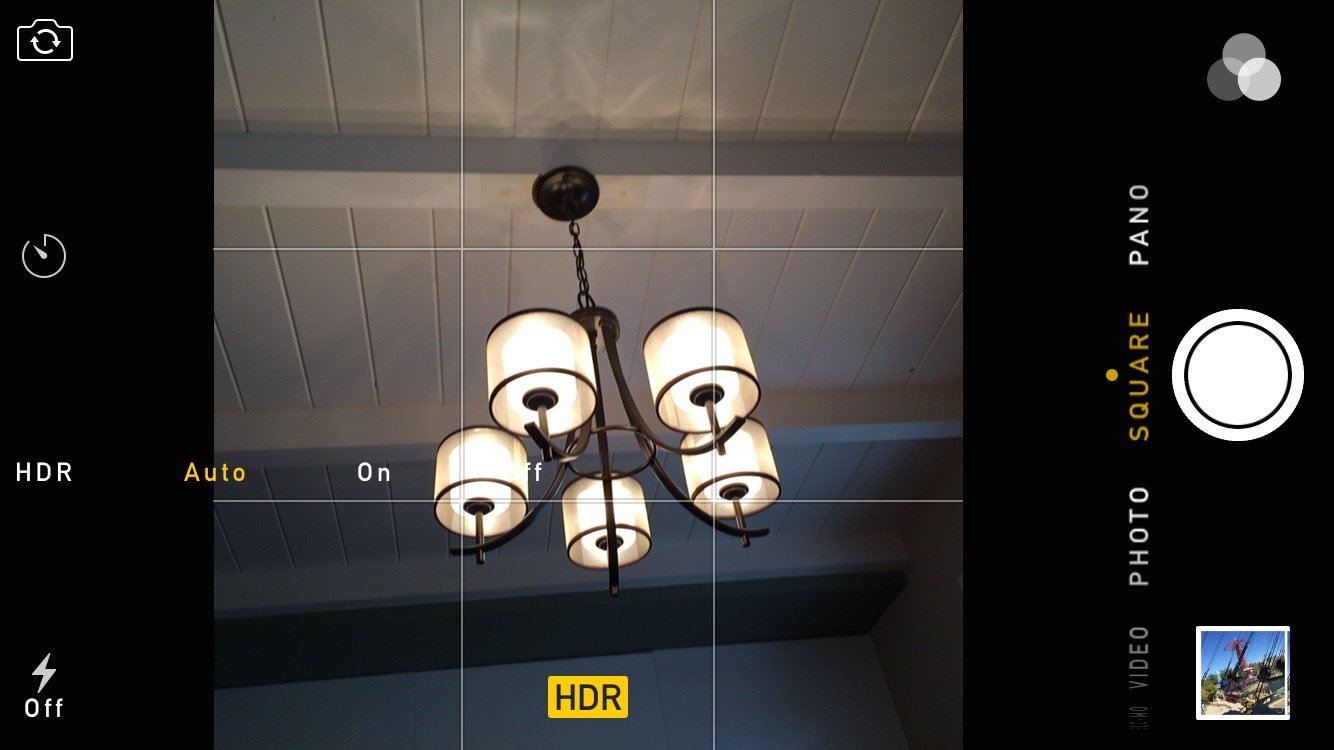
You can manually turn HDR on or off from the Camera app, but I prefer iOS 8's HDR Auto (available for the iPhone 5s and up) — it uses information from your iPhone's sensor as you point your device at a subject to determine when an image might need HDR correction, and only then does it turn on HDR mode. (You'll know HDR is enabled by the little yellow "HDR" box that appears at the bottom of the screen.) This can save a little bit of extra storage space on your device, and prevents you from shooting HDR unnecessarily.

8. Hold down a spot on your viewfinder to lock focus

If you're trying to shoot macro photography or want to prevent your iPhone's camera from attempting to grab a different subject in the frame, it can be incredibly useful to lock your focus point on your current subject.
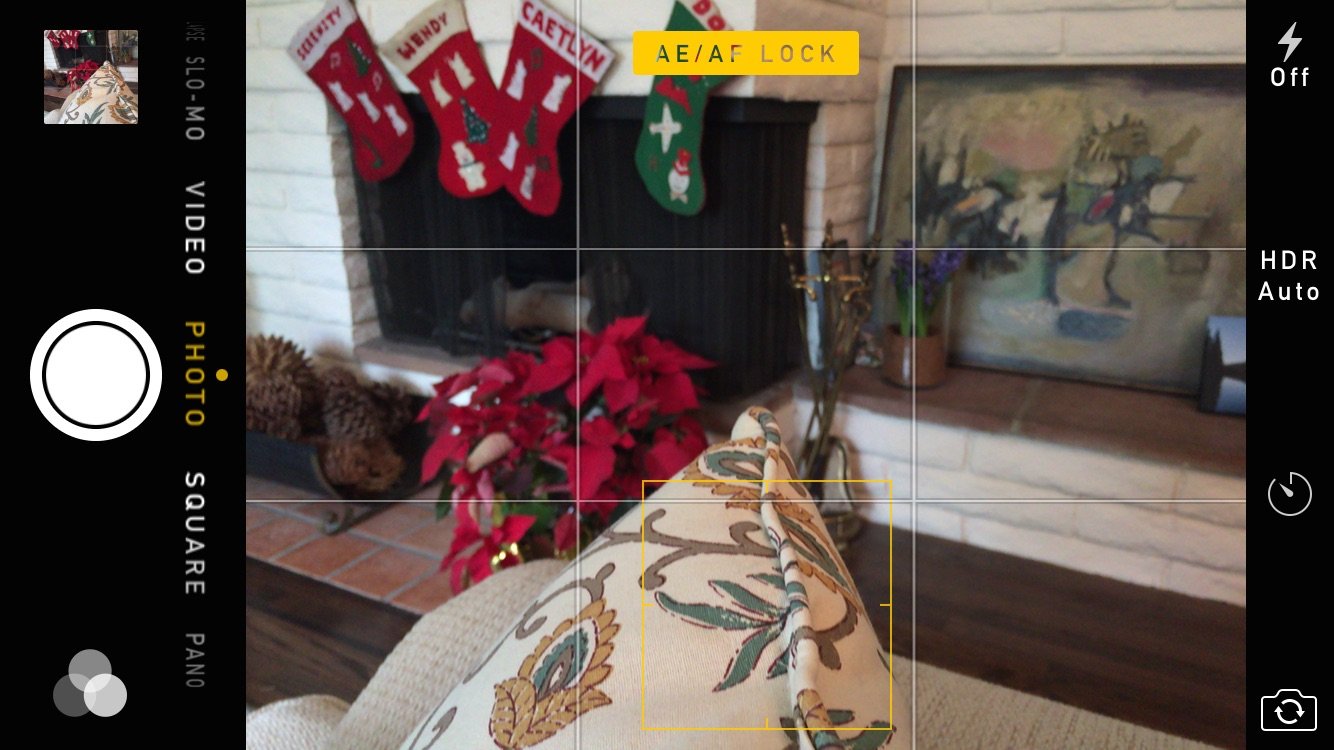
You can do this by tapping and holding on the subject in question until you see the yellow AE/AF Lock alert. This means that the automatic exposure metering and automatic focus metering have been locked on your subject; to remove the lock, just tap anywhere else on the frame.

9. Slide the exposure meter to brighten (or darken) images

If an image is too blown out or underexposed for your liking, you can fix it before snapping the picture by adjusting the yellow exposure slider next to the focus square.
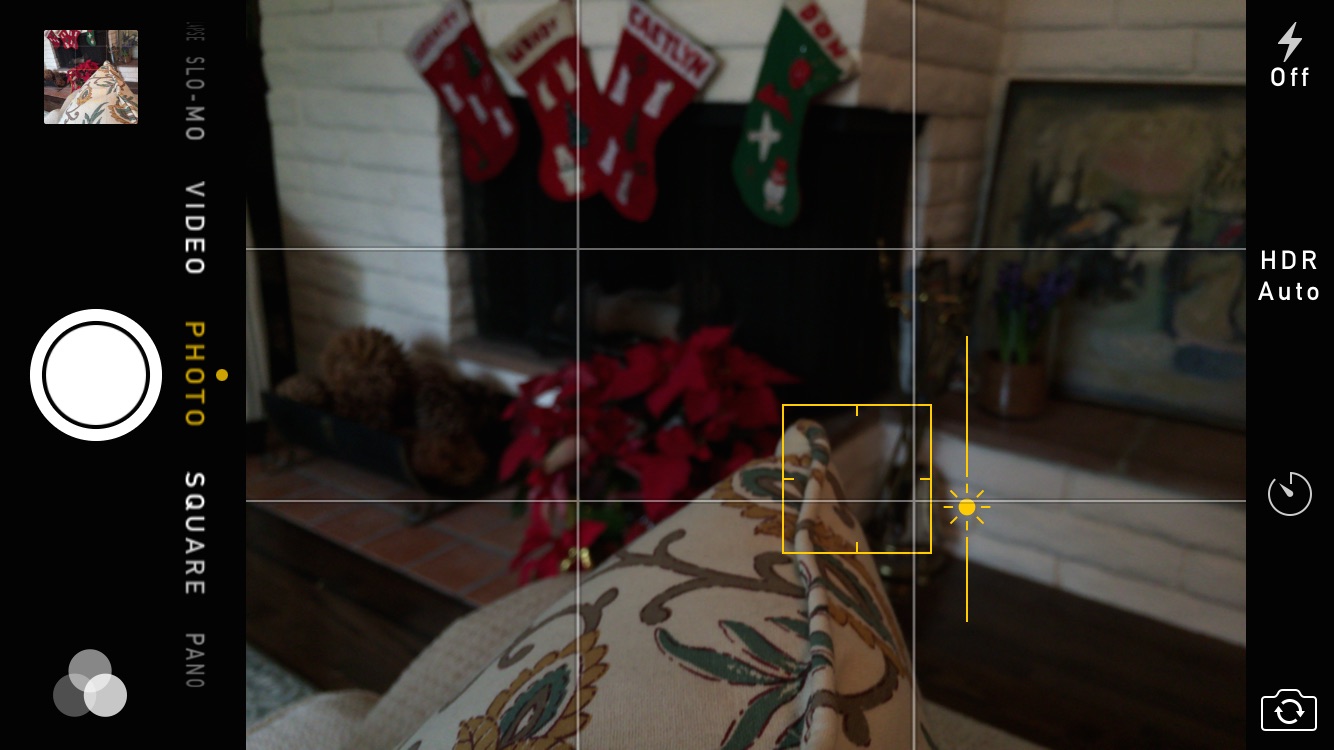
Just tap once on the focus square and exposure slider, then use the sun icon to increase your exposure by sliding upward, or decrease exposure by sliding downward.

10. Snap photos with the volume button

Because the iPhone is so thin, tapping the digital shutter button can cause camera shake and blur the photo you're trying to take. Instead, you can use the volume up button when in the Camera app to snap a photo — and avoid camera shake entirely.
What are your favorite iPhone photography tips?

If you have suggestions, questions, or thoughts on iPhone photography, I want to hear them! Let 'em loose in the comments.

**Updated September 2020: Updated for iOS 14. Serenity Caldwell contributed to an earlier version of this article.

Luke Filipowicz
Staff Writer

Luke Filipowicz has been a writer at iMore, covering Apple for nearly a decade now. He writes a lot about Apple Watch and iPad but covers the iPhone and Mac as well. He often describes himself as an "Apple user on a budget" and firmly believes that great technology can be affordable if you know where to look. Luke also heads up the iMore Show — a weekly podcast focusing on Apple news, rumors, and products but likes to have some fun along the way. 


Luke knows he spends more time on Twitter than he probably should, so feel free to follow him or give him a shout on social media @LukeFilipowicz.

39 Comments
  • Auto HDR and Burst are not found on my iPhone 5 using iOS8. Are they only available on the 6/6+ If so, please re-word the description to say so. The thinnness of the device has no bearing on whether the thing will move when tapping the screen to use the shutter button vs using the volume control hard button. The advantage of the hard button is that you're most likely automatically bracing against it with your thumb under the bottom edge. You can also brace the back of the phone against the screen tap with your hand. For a good solid shake-free picture, you should be holding it with two hands anyway. Since the lens is in a corner, you can brace almost the entire backside of the phone with the fingers of the other hand.
  • Thats an interesting question. iPhone 5 isn't sold any more. It's not supported by iPhone 3G either. How far back is it useful for us to go? I'd argue currently sold hardware only, so maybe iPhone 5s and iPhone 5c?
  • Technically the 5C is a 5, so by your definition, I'd say that the 5 is worth mentioning as it is currently sold - just with a plastic shell over the same internals. Also, I think your response had more snark than was warranted. In response to the original question, my 5 had burst mode but did not have auto HDR. The 5S was the first iPhone to have auto HDR, however burst mode is available on any iOS 7 and up device (unless I'm mistaken). Burst mode isn't an option to toggle, just hold down the shutter button and it will automatically take burst photos.
  • I'd say his tone was reserved and about right given the snark of the commenter.
  • There was no snark intended in my original comment. I was asking for clarification on the availability of the features specified since I did not know burst mode was a hidden feature (all the 3rd party camera apps I've seen that have it specify it as a shooting mode), and auto-HDR is not seen either on my iOS8.1.1 iPhone 5.
  • There's a subtle difference - modern iPhones use the ISP to select the best shots from a burst. Older iPhones simply take multiple photos one after the other.
  • So happy this series is coming back. Leanna really rocked it, and I can't wait to see what Serenity does with it!
  • /clap... Awesome photography article, keep them coming... Posted via my Note 4 or iPhone 5s.
  • Excited to see what Serenity has to say, as a iPhone Photographer I am excited to see more from you guys! I always crop my photos and never try to zoom in. When you zoom in you loose the quality of your image.
  • I never understood the rule of thirds until I read the link in this article. Very informative! I just turned on my grid lines and will give it a shot. Thanks!
  • Another option you can use to take photos without shaking the camera is to press the volume up (+) button on a pair of connected ear pods. The volume/mic on the ear pods can serve as a remote shutter button. Give it a try some time. Very useful, especially if you are using an improvised tripod. Sent from the iMore App
  • I don't like using the volume up button to take a pic on my phone due to the placement of the camera lens. My fingers almost always end up in the way when I'm trying to quickly get a snapshot. If it's a still shot that's planned out its not as bad, but it gives me one more thing to consider and watch for before I start shooting. Sent from the iMore App
  • It's good for taking selfies ;) Sent from the iMore App
  • Taking pictures and video is my central use case for my iPhone. Thanks for the tips and tricks. I'm looking forward to this series.
  • Serenity, thank you for starting this column again! I have definitely felt the loss of Leanna Lofte leaving iMore and her photography column was my favorite. I, of course, wish her all the best with her family. I'm glad you joined the iMore team and happy to see that you are giving the readers what they want. I was the one that brought this up in the 'What do you want to see from iMore in 2015?' article so it is awesome to see that you listened and responded so quickly! I look forward to learning more photography tips. You're off to a great start! Sent from the iMore App
  • Off topic. But, It just occurred to me that Serenity Caldwell kind of reminds me of Rebecca Hall the actress.
  • Serenity! Where did you get that awesome background from? I love it and I love you for all the work that you do here
  • It's Casey Lignon's fantastic Carl Sagan chalk print: http://www.caseyligon.com/shop/wanderers-carl-sagan
  • You are awesome! Thank you so much.
  • I've been taking some great pictures with my 6+. Taking iPhone pictures and editing them all on my phone has become something of a hobby of mine. My tip is to search through some of the photo editing apps like snapseed and aviary they can really make your photos stand out.
  • Thanks for a really useful article! I had no idea that you could tap to get a brightness option before taking a shot. Very useful in low light. Have a great New Year! Sent from the iMore App
  • Wonderfull the series is back! Great article, this article focuses mainly on the features and possibilities of the camera app, beside the mentioned rule of thirds. Would love to see more 'in-depth' articles about the composition aspect of photos. I know the functions and to control the camera app on my iphone but composing/framing an great picture is way harder for me
  • Items 3 - 9 were unknown to me. I also found the rule of thirds article very useful and depressing at the same time (Can't go back and retake 35 years of crappy pics!). These tips are must haves for iPhone photo junkies!
  • You can, however restore and crop the old photos. The reward is in the finished product. It is a lot of fun if you have the time.
  • Great article - any idea how to turn off the time stamp in photos ? When sharing albums, it appears.
    Thanks. Sent from the iMore App
  • I actually find that using the volume button makes me shake the device. This wasn't the case with my 4S, but the iPhone 6 is so thin!
  • I use a selfie stick as a shortened monopod in addition to a remote Bluetooth shutter with my 6+. This helps with shaking and is much easier to hold the stick then the phone when taking a shot.
  • I'm always looking to better myself at my iphoneography, so I am really excited to see Serenity bring this back. Can't wait to see what comes next!
  • Great tips thank you. I'm pretty new to iPhone photography and excited to try out all your tips !!'
  • Yes! Agree with all those above striving to perfect the trade. Have one goofy issue with Pocket Spotlight and don't know if anyone has a work-around. My phone jack in at the bottom on my 5s so it appears it would be somewhat cumbersome hanging off the bottom of my phone and shining light up someone's nose. ;=]
  • Good column - looking forward to more good iPhone photography info from Serenity & iMore. In addition to using Burst Mode for fast-action shots I've found it helpful to use Burst Mode when I'm taking a group photo. Inevitably someone will be looking away, blinking, talking, etc. Instead of chimping and then saying "okay let's try one more" .....I just take a 3-5 second burst-mode sequence, giving me 30-50 shots to choose the "best" one from.
  • IPhone's are the best they rock
  • These are very technical and good tips. Not many people know about these different things, like the rule of thirds. I learned that one in a high school movie making class. I am surprised how many people I have seen after that that didn't know about it.
  • I find I can use either volume button (and the buttons on the included EarPods as well). It might be good to note that you don't have to touch the little "sun" to adjust the brightness, just touch anywhere on the screen and slide up or down while the "sun" is visible.
  • Thanks for tips. My important tip I clean the lens everytime Sent from the iMore App
  • I think I am going to try using some good third party camera apps. Anyone have any suggestions for what I should use? I am using a 6s + if that helps any
  • it's dumb but NEVER SHOOT into the sun, so many people make this mistake it bothers me lol. Camera+ best app to edit pictures, focus on what is closer to you to have better light in the picture. Panorama for a better quality picture then crop. HDR doesn't always give you the best picture, you can adjust brightness, color and all that after the picture is taking for your liking.
  • HDR doesn't always give you the best picture... in what way? I thought HDR was best.
  • Any suggestions how to improve low light scene photos and not to get as much noise? I'm really disappointed with 6s in that matter. Sent from the iMore App