
You've customized your Finder windows, but what about the content that they display? You can change the view of the content in the Finder windows and display just the information you want, exactly the way you want it. Let's dive in.
Four views
Each Finder window can display its content in one of four views—icon, list, column, and gallery. All four of these views are customizable.
The four views can be accessed from the Finder's View menu, or by clicking one of the View buttons in the Toolbar of a Finder window. The buttons in the Toolbar are, in order, Icon View, List View, Column View, and Gallery View.

Icon View
When the Mac first appeared in 1984, it was all about the icons. Icons for documents, icons for folders, icons for disks, an icon for the trash. As a result, Icon View is the most traditional way to display content in a Finder window.
To set a window's contents to Icon View, select a window and do this:
- In the Finder, click the View Menu.
- Click as Icons.

You can choose to sort these icons in several ways.
- In the Finder, click the View Menu.
- Click Sort By
- Choose a criterion.

You may want to opt to sort the icons by name. Or perhaps you want the icons that were most recently modified to appear closer to the top left corner of the window.
You can also choose to have the window keep its contents neat and orderly all by itself.
- In the Finder, click the View Menu.
- Click Sort By
- Click Snap to Grid.

With Snap to Grid enabled, if you move an icon in the window, it will automatically snap to a point on the window's invisible grid.

There are two more features unique to Icon View.
The first is the ability to resize a window's icons using a slider built-in to the window. Slider? What slider?
- In the Finder, click the View Menu.
- Click Show Status Bar.

- Drag the slider in the lower right-hand corner of the window to change the size of the icons.

The size of the icons can be different for each window.
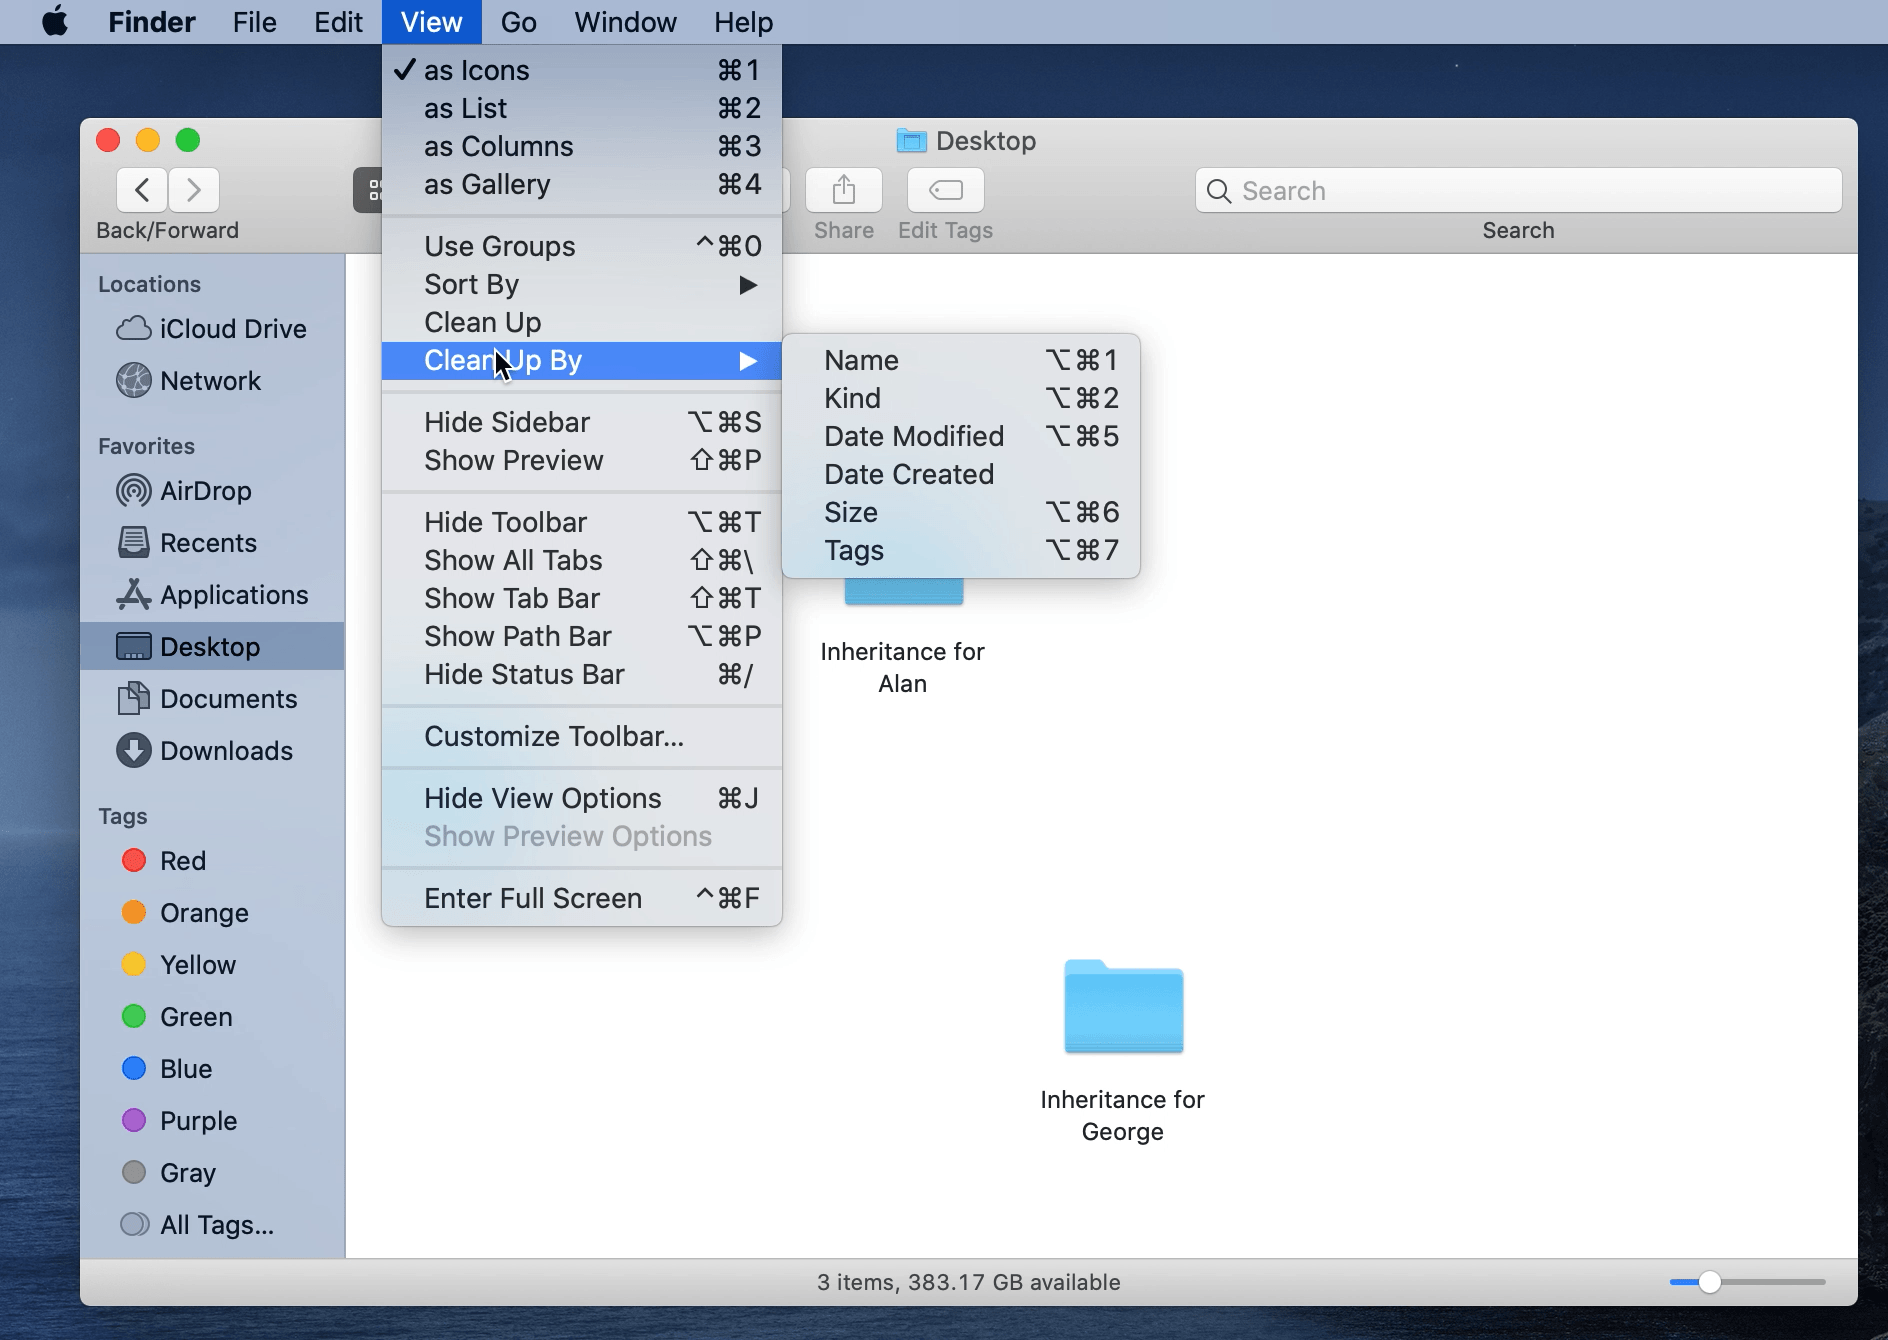
Unlike the three other window views, only Icon View has a cleanup command. If your icons end up scattered all over a window, you can tidy them up with a menu command.
- In the Finder, click the View Menu.
- Click Clean Up.Source: Mike Matthews/iMore


The icons will shift to points on an invisible grid within the window.
You can clean up the icons and sort them at the same time. Here's how to clean up and sort the icons by name:
- In the Finder, click the View Menu.
- Click Clean Up By.

- Click Name.

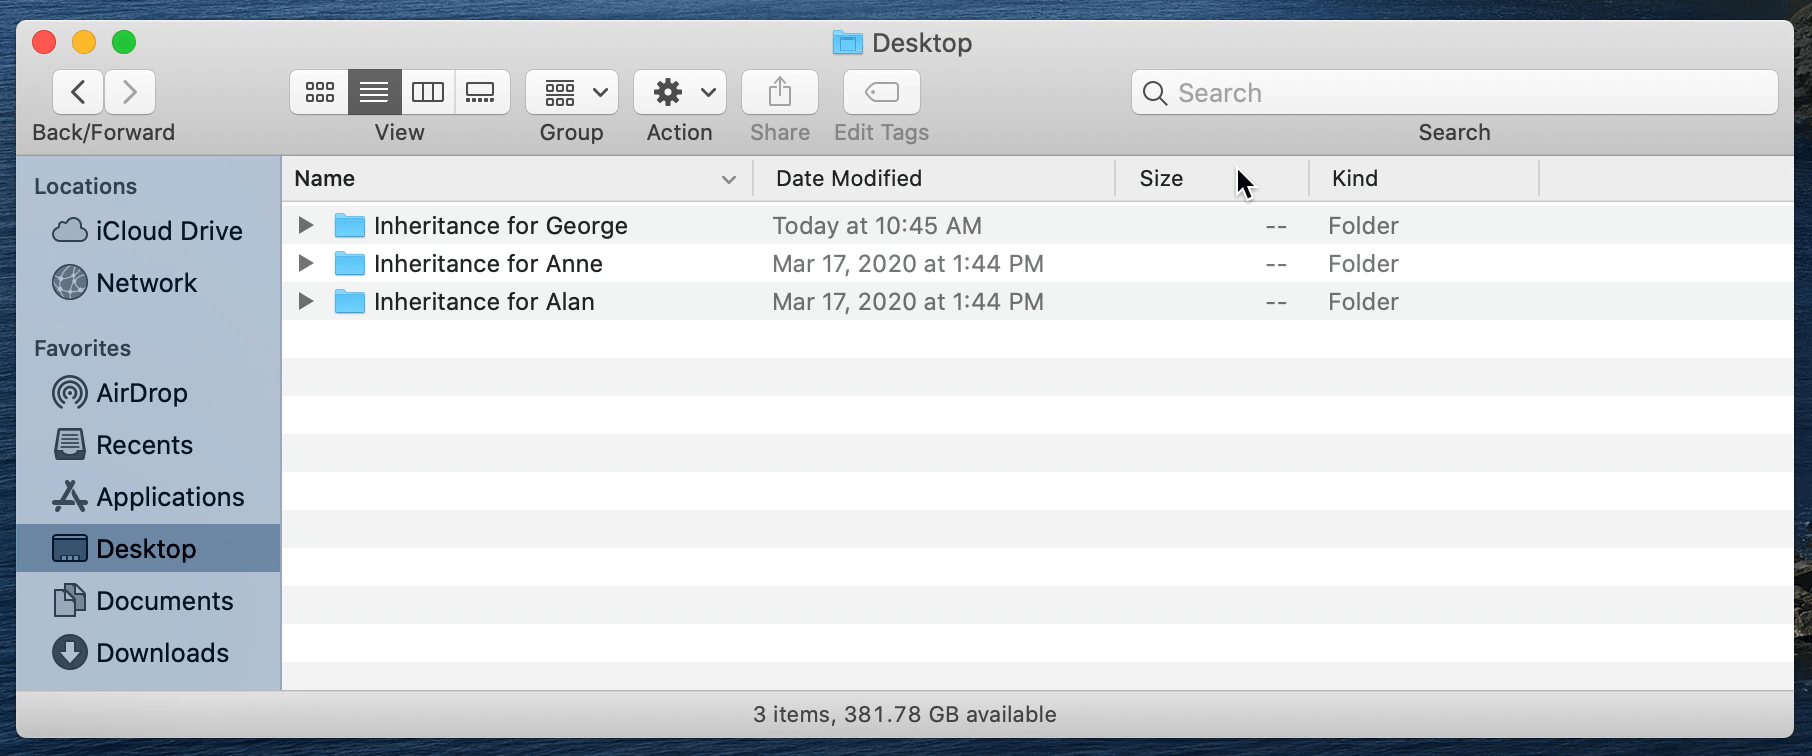
List View
If you want to show more icons in a window and see additional information about them at a glance, then List View is for you. List View presents information in a simple table of rows and columns, which is easily sortable. To use List View:
- In the Finder, click the View Menu.
- Click as List.

Once in List View, you can click any header to sort the list by that category. The small arrow on the far right of the category header indicates which category is being used to sort the list. To reverse the sort order (from, say, A-Z to Z-A), do this:
- Click the arrow on the right side of the category header.

You can change the width of the category columns.
- Place the pointer on the vertical line separating the column headers so that it turns into a double-headed arrow.
- Drag right or left to increase or decrease the width of the column.


Finally, you can also change the order of the category columns:
- Place the pointer on any category header.
- Drag right or left to move the column.

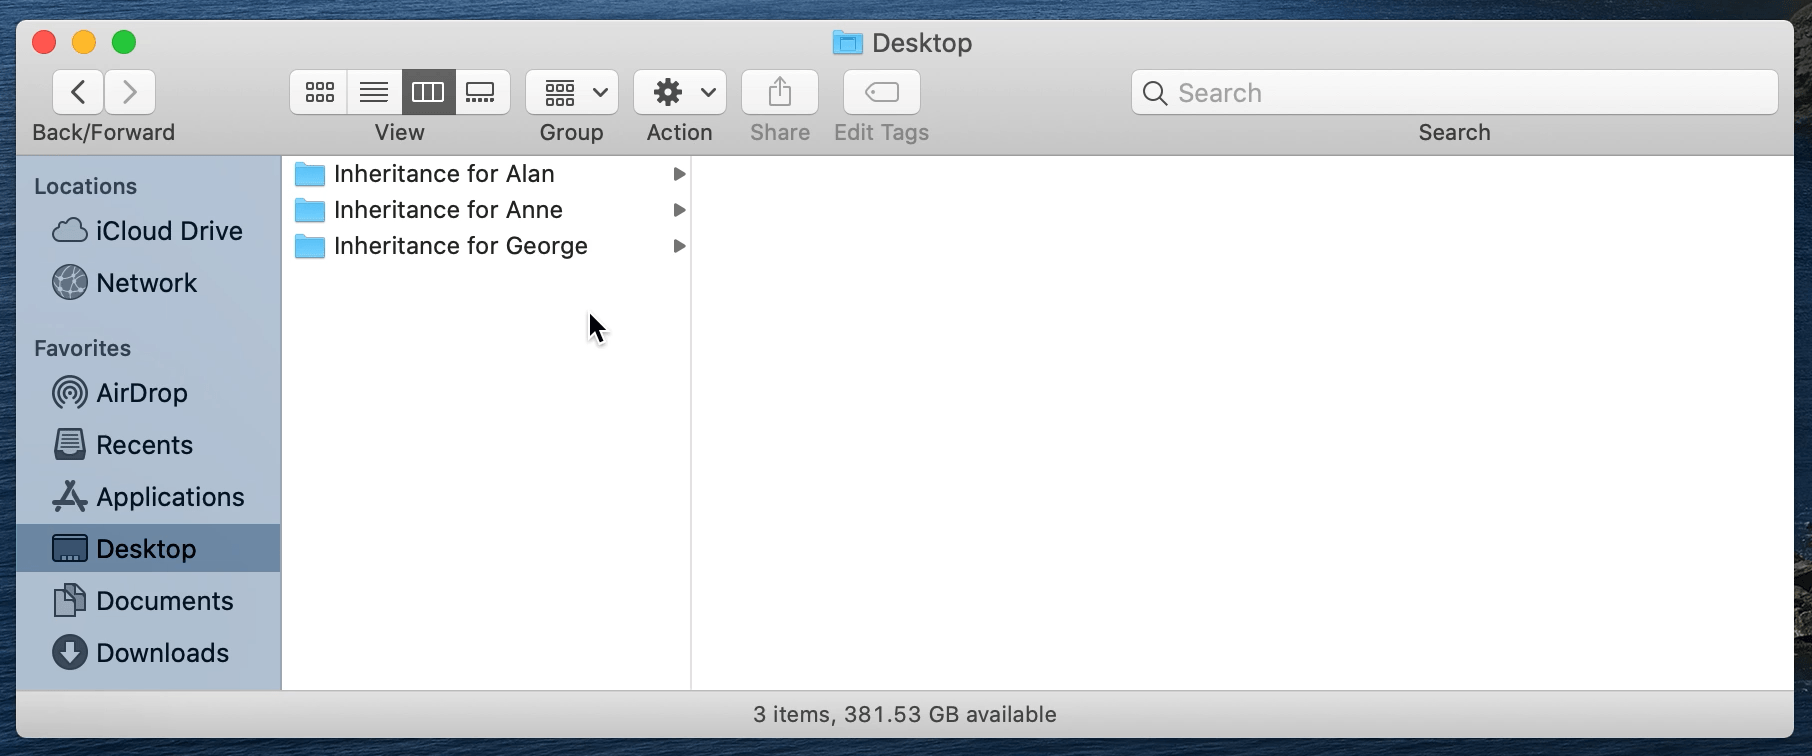
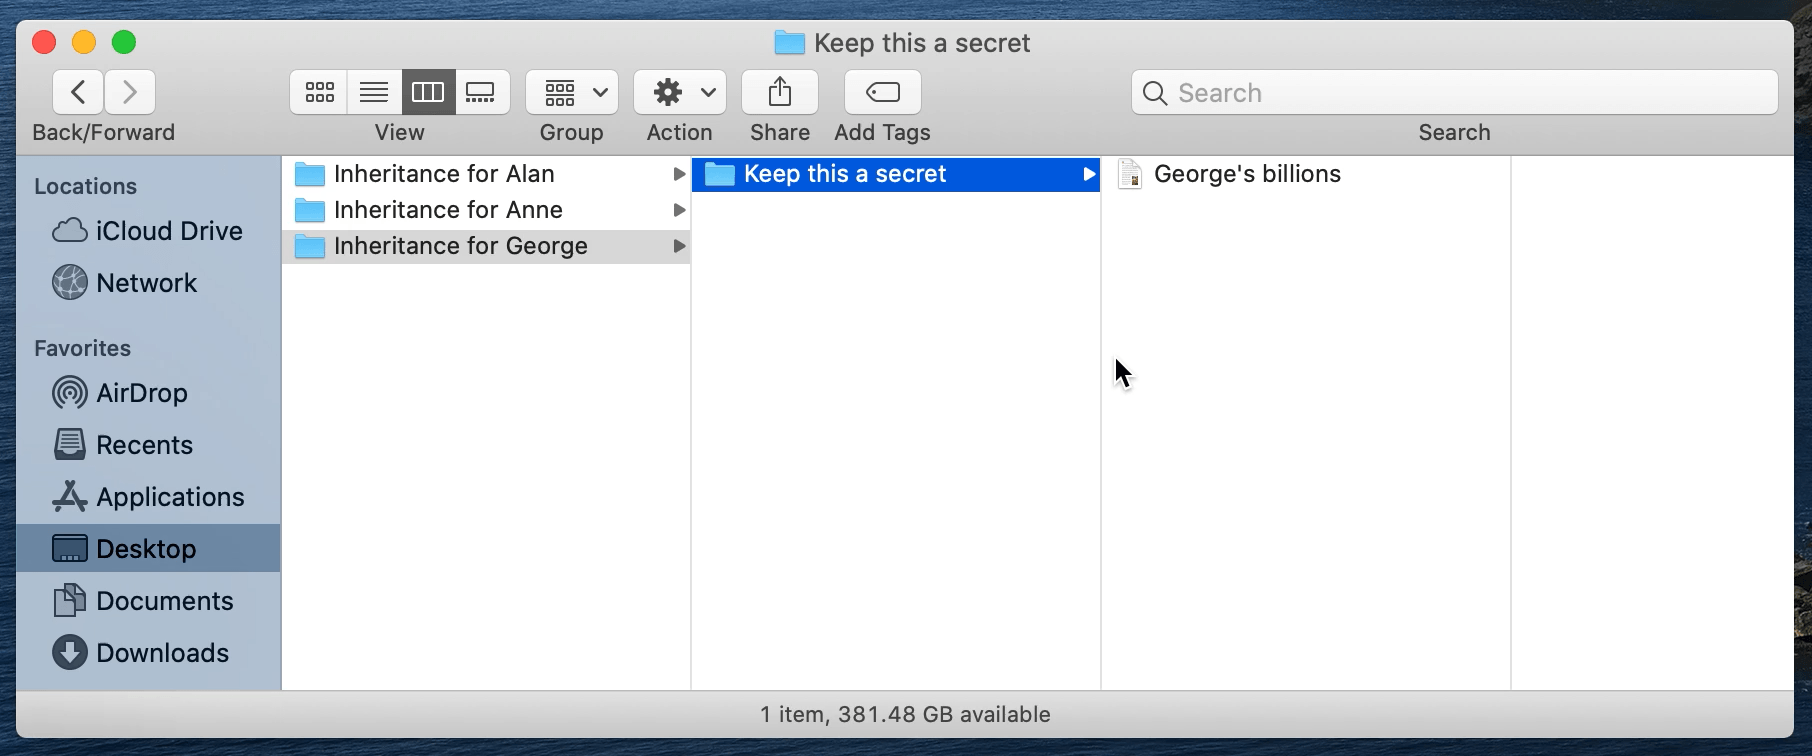
Column View
Introduced with the very first version of Mac OS X, Column View came to the Mac from NeXT after its absorption by Apple. The main strength of Column View is that it provides a visual representation of the location of files and folders, which makes navigating through the file system relatively easy. To use Column View:
- In the Finder, click the View Menu.
- Click as Columns.

To navigate within Column View:
- Click a folder to reveal its contents. Column View will automatically spawn new columns as needed.
To change the width of the columns:
- Place the pointer on the vertical line separating the columns so that it turns into a double-headed arrow.
- Drag right or left to increase or decrease the width of the column.

Gallery View
Introduced in macOS Mojave, Gallery View is particularly helpful if you have a folder full of images. In addition to displaying a preview of selected files and folders, Gallery View also displays information (or metadata) about the selected item. To use Gallery View:
- In the Finder, click the View Menu.
- Click as Gallery.

Items inside a folder are shown as thumbnails at the bottom of the window.
- To see a preview and metadata about an item, click the item.
- If there is more information about the item, click the Show More button to see it.

Some items may have Quick Actions that can be applied without having to open the item. If so, they'll be available below the information about the item. One example of a Quick Action is Create PDF. Here's how it works:
- Click the item to select it.
- Click Create PDF.

A PDF is created in the same folder with the item. There's no need to open the item or make a trip to the Print dialog box to make a PDF. It's quick...remember?
One folder, many views
Not only can you open multiple windows to display the contents of the same folder, each of these folders can have different views. For example, here's the same folder shown with icon, list, column, and gallery views:

More customization options
If the basic customization options for these four views are not enough for you...there's more.
Tags
Tags are an easy way to organize the files and folders on your Mac. It can help make items easier to find, and tags will also work with files and folders stored in iCloud. You can get more details about how to use tags right here on iMore.
Previews
Previews are on by default in Gallery View. But you can also enable previews for any of the other three views. Here's an example, using icon view:
- In the Finder, click the View Menu.
- Click Show Preview.

If the Mac can display a preview of an item it will appear in a column on the right side of the window, along with Quick Action buttons.
Groups
In any of the four views, you can further organize files and folders into groups. To enable and use groups:
- In the Finder, click the View Menu.
- Click Use Groups (which will enable the Group By menu command).

- In the Finder, click the View Menu.
- Click Group By and pick a category.

Here are examples of the desktop window in two different views using two different groups:

Still more customization options
View Options
There are even more tweaks you can make to the four views, some of them unique to a particular view. To delve deeper still, select a window, then:
- In the Finder, click the View Menu.
- Click Show View Options.

A floating panel will appear which you can use to further customize a window. The contents of the panel will change to align with the view of the window.
Here are the view options for windows that use icon, list, column, and gallery view, respectively (click to enlarge):

There are some settings that apply to all four views (e.g., choosing to always open a folder in a particular view, show icon previews, sorting options). Here's a list of things you can do that are unique to the various views:
Icon view: Adjust the icon size and grid spacing, change the text size and label position, show item info (such as the number of things—and their total size—in a folder), and change the background of a window (such as adding a red background to a folder full of important items).
List view: Adjust the icon and text size, select particular columns of categories to show, use relative dates (such as yesterday, today) rather than specific dates, and calculate the size of all items (including folders).
Column view: Adjust the text size and show or hide icons.
Gallery view: Change the thumbnail size and show the names of files and folders.
For all views other than Column View, you can create a set of view options and make it the default for all windows opened in that view.
Preview Options
Lastly, if you want to adjust how previews are displayed, do this:
- In the Finder, click the View Menu.
- Click Show Preview Options.

Like the View Options Panel, the Preview Options Panel will change depending on the item being previewed. Here are examples for a folder and an image, respectively.

The Finder: Nothing if not flexible
You can set up Finder windows in seemingly endless ways. If you have any combinations that work well for you, share them in the comments below.

