How to remap buttons on Nintendo Switch Joy-Cons or the Pro Controller
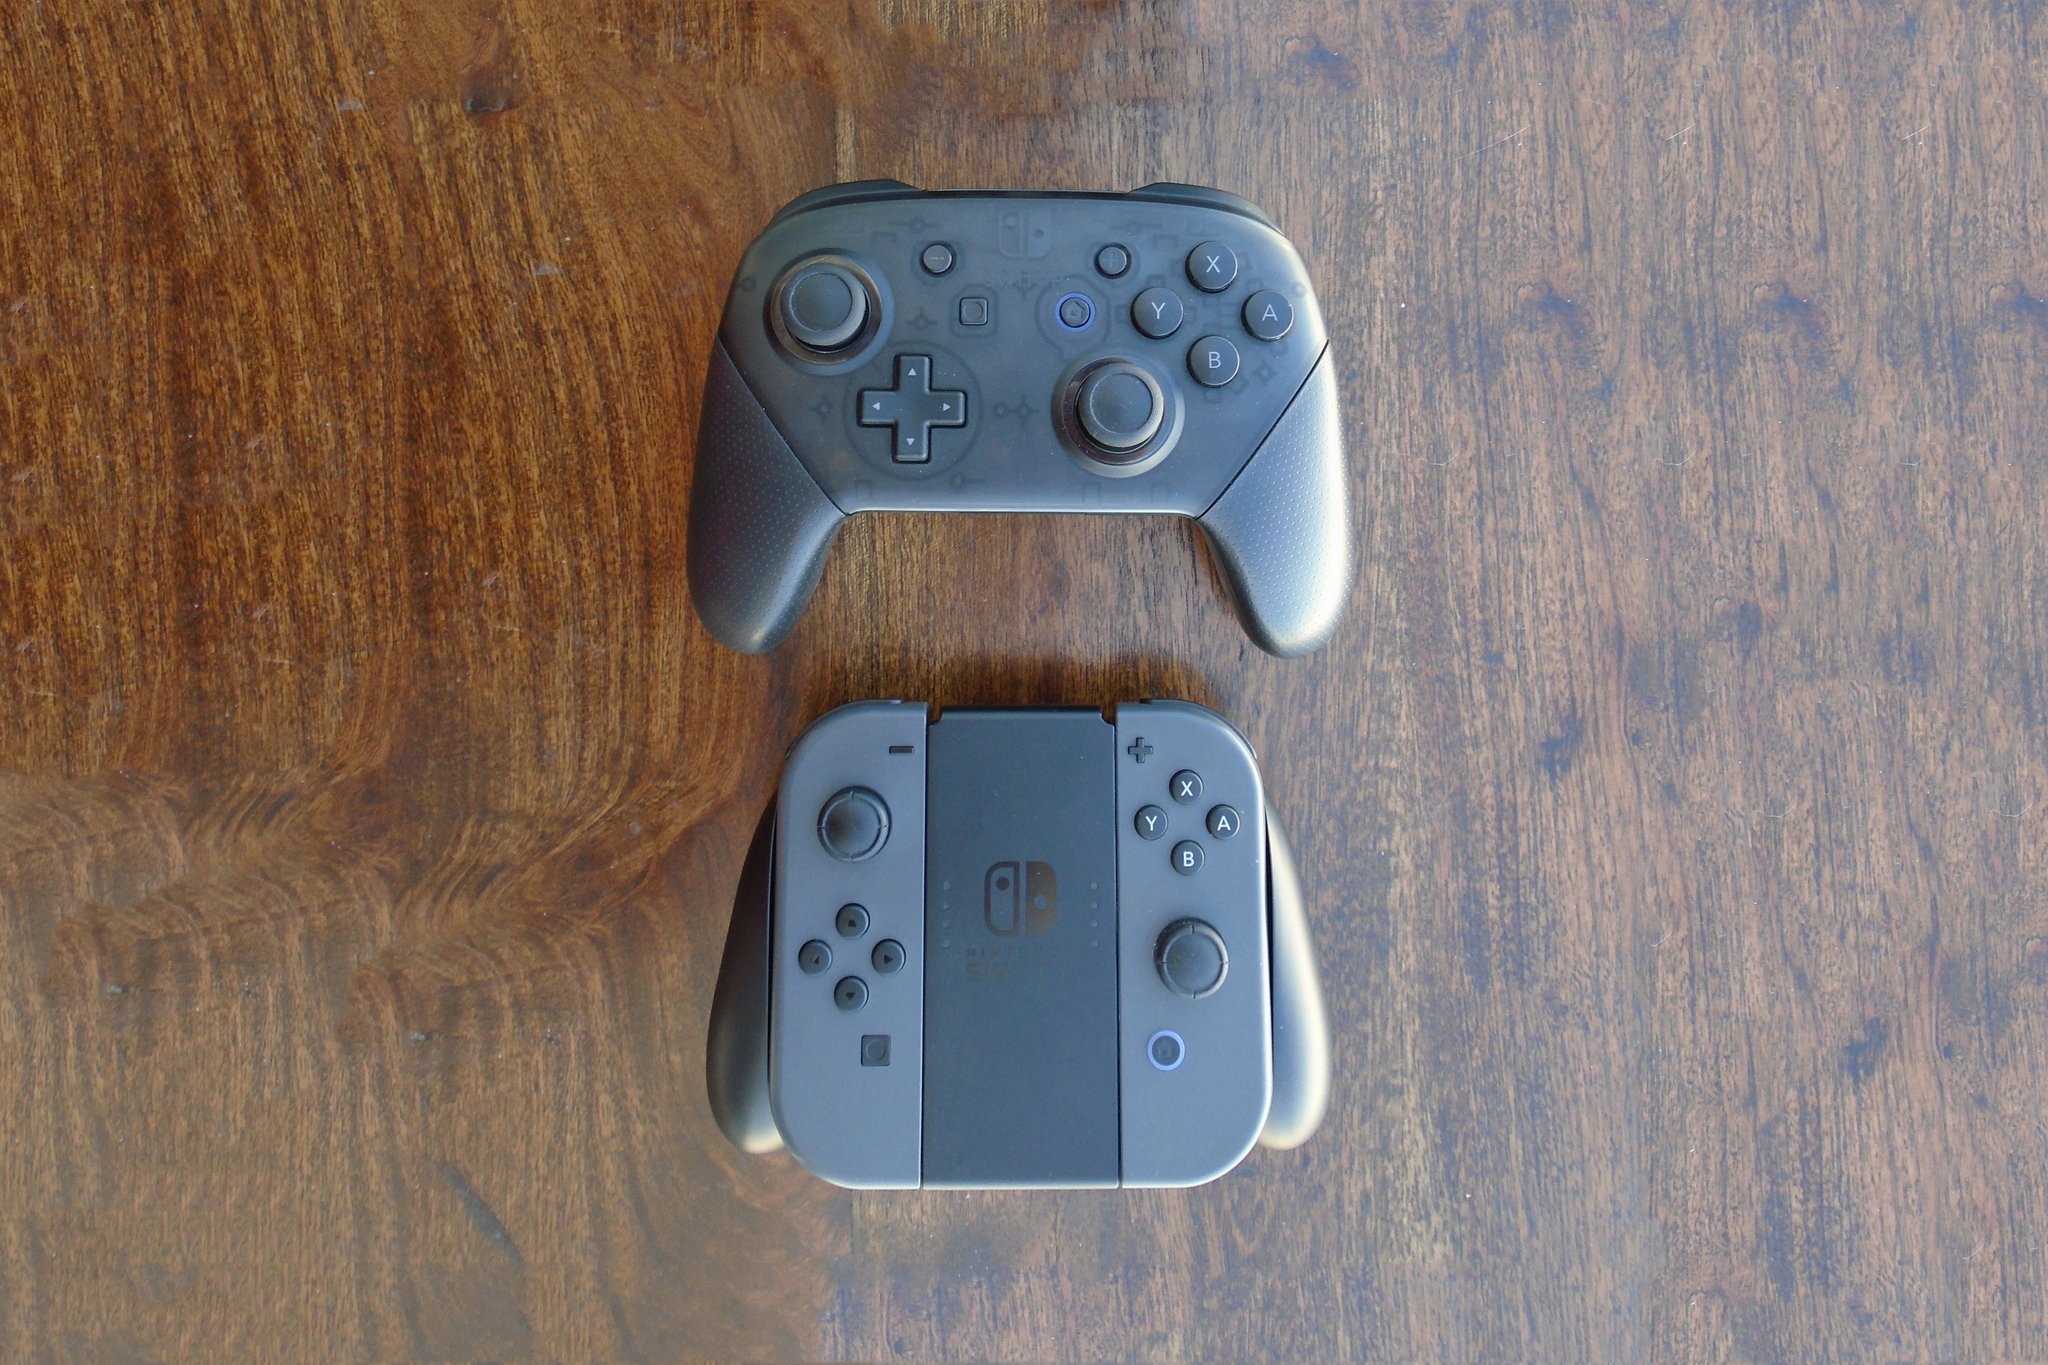
If you don't like how the buttons are arranged on your Nintendo Switch, you can easily remap the buttons and joysticks on Nintendo Switch Joy-Cons or Pro Controllers. Whether you're making adjustments for comfort or necessity, here's how to remap Switch controller buttons.
Remapping controllers for Nintendo Switch
How to remap Switch controller buttons
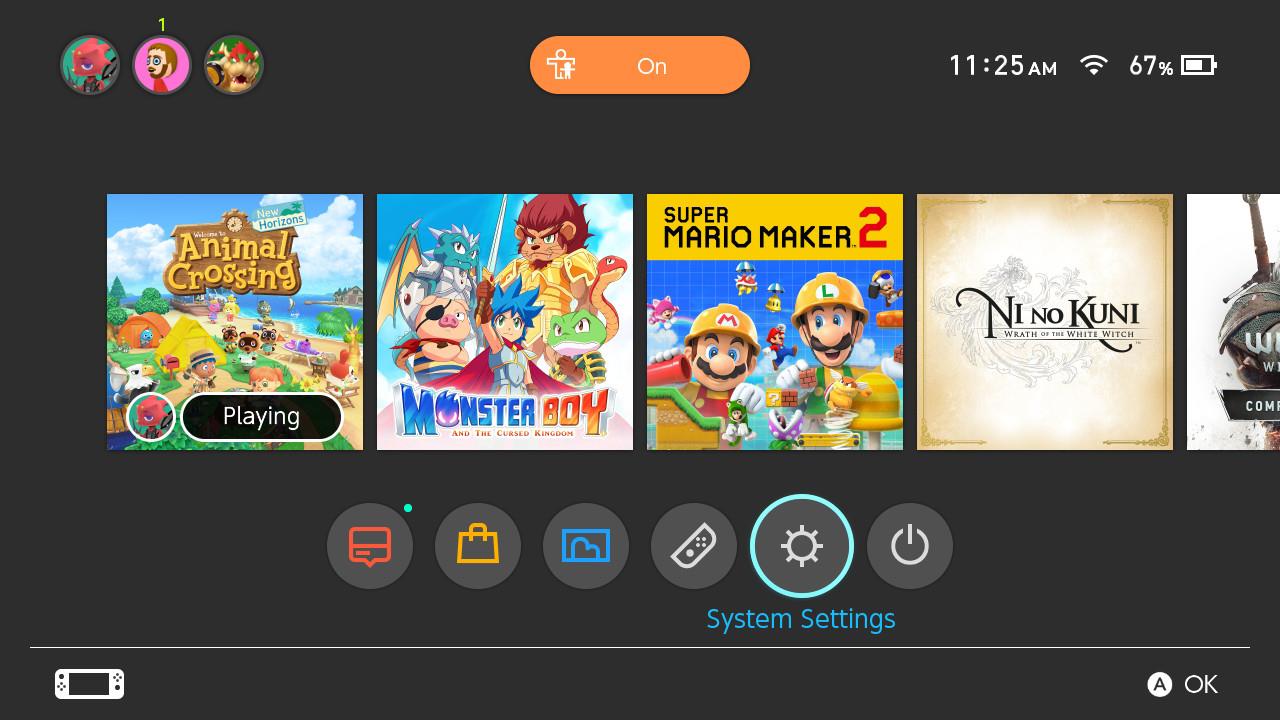
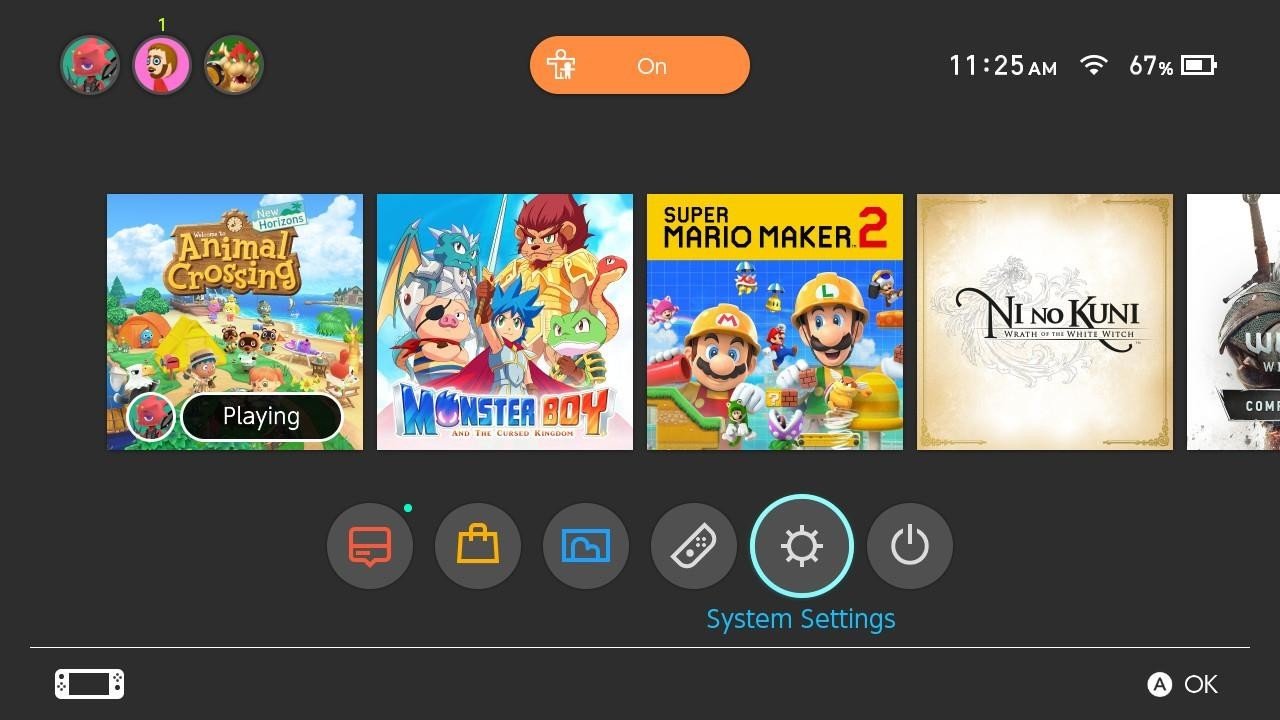
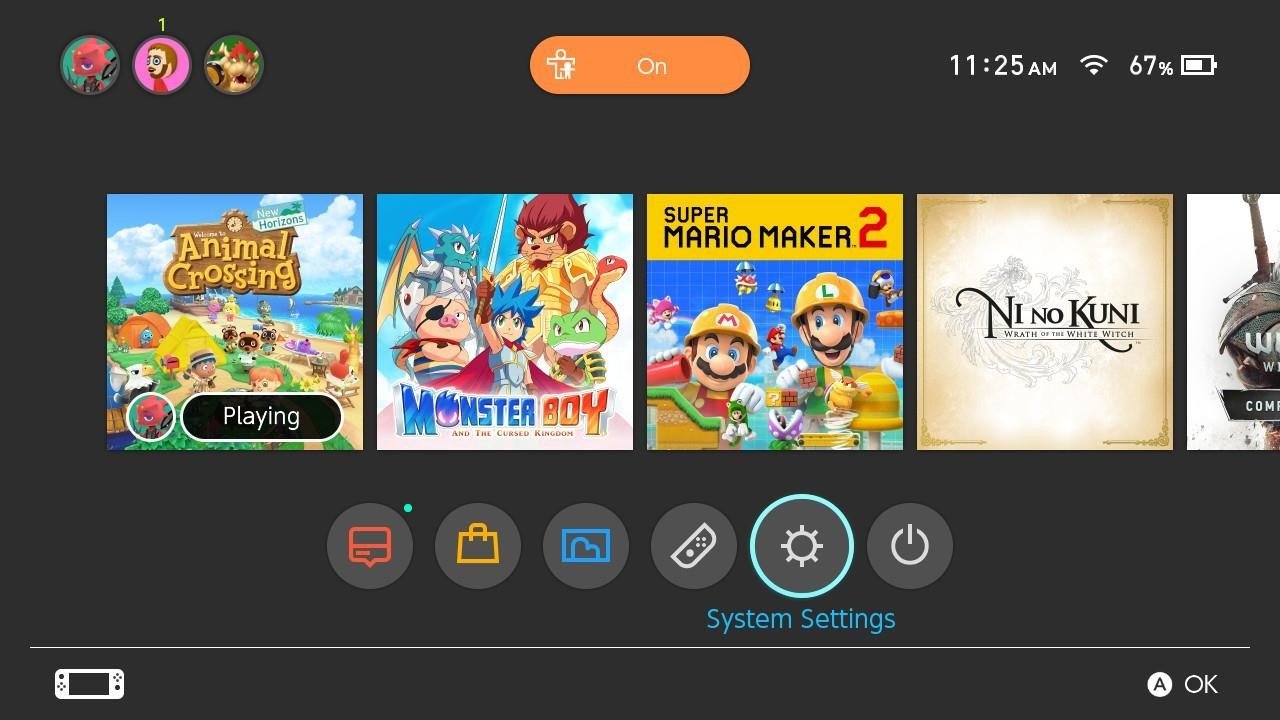
- From your main Switch menu, select System Settings.
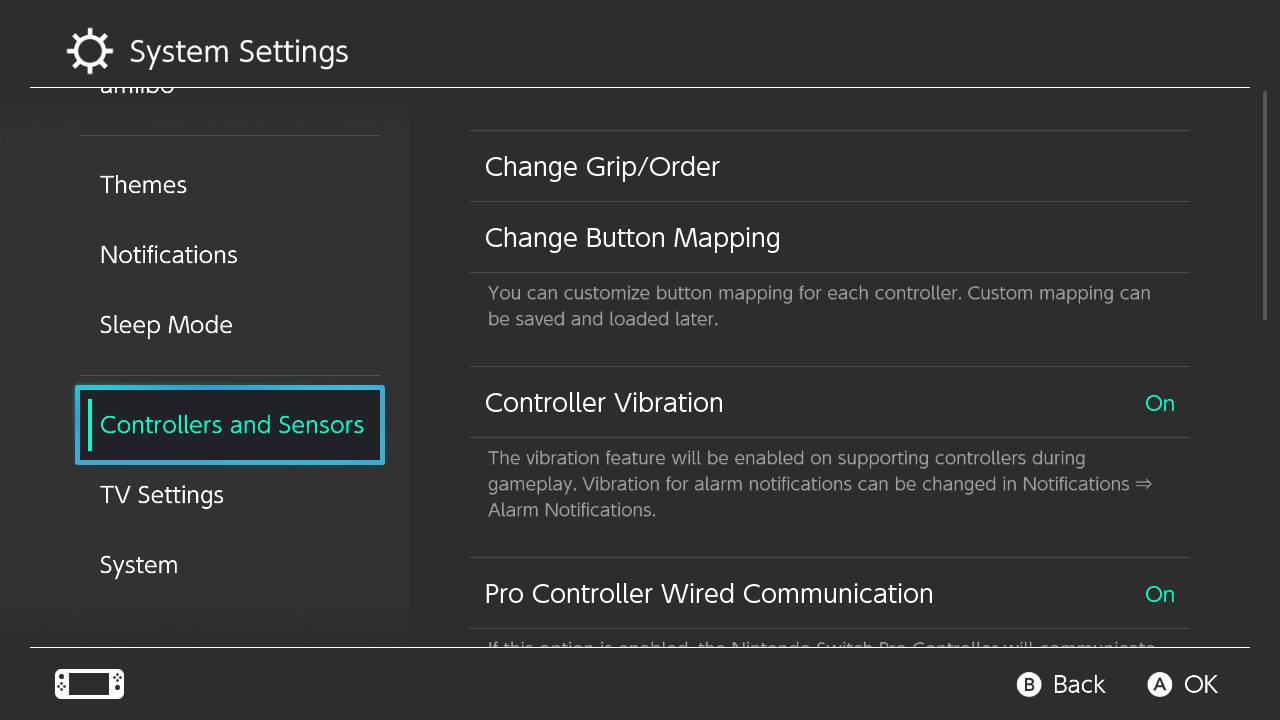
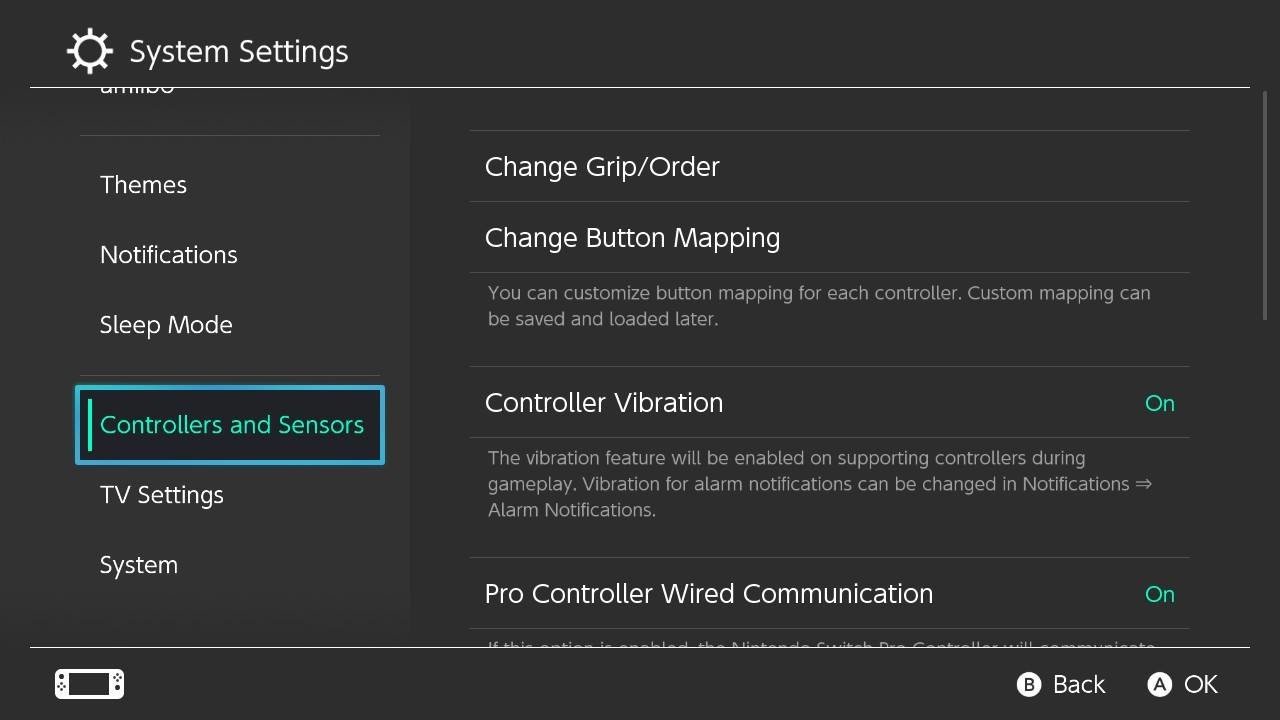
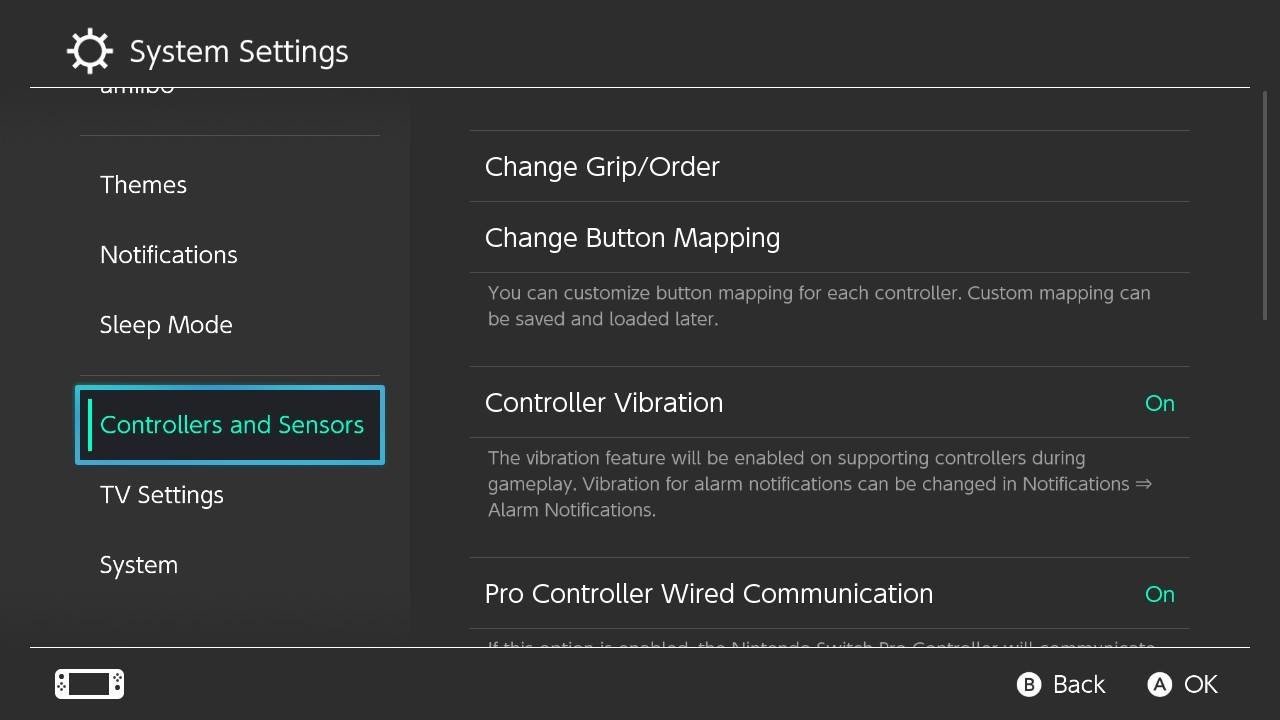
- Scroll down to Controllers and Sensors.Source: iMore
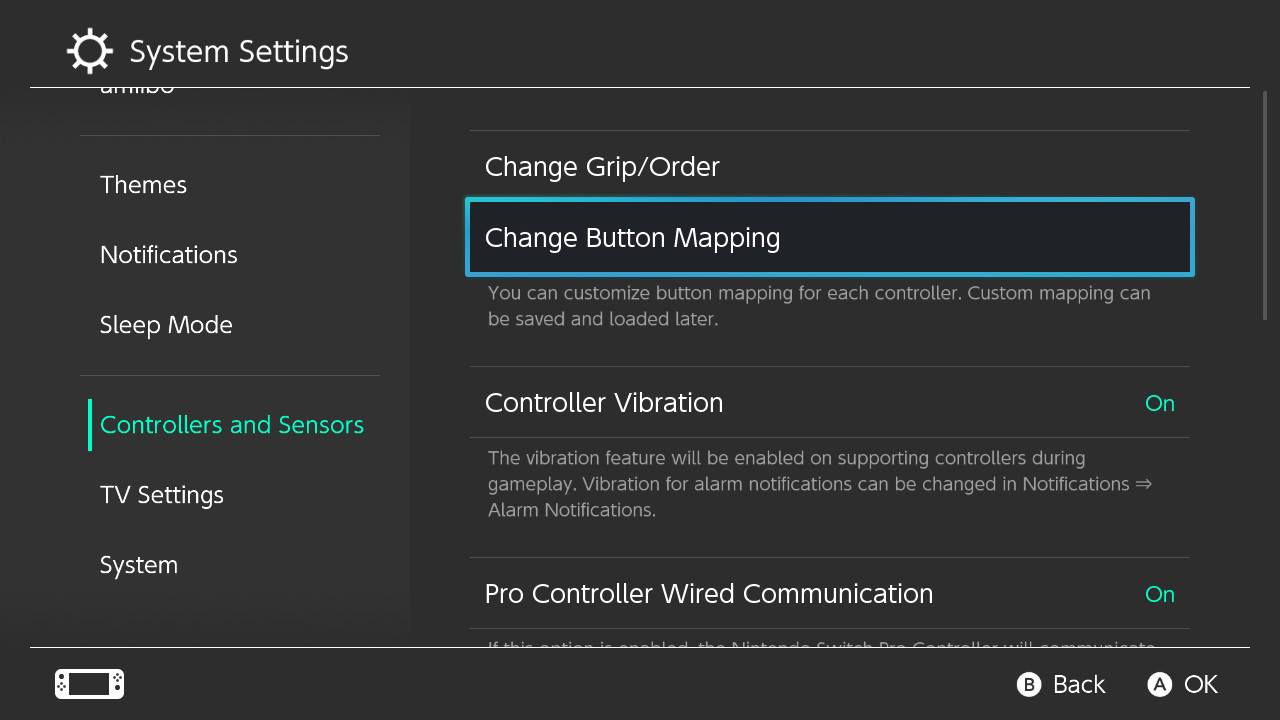
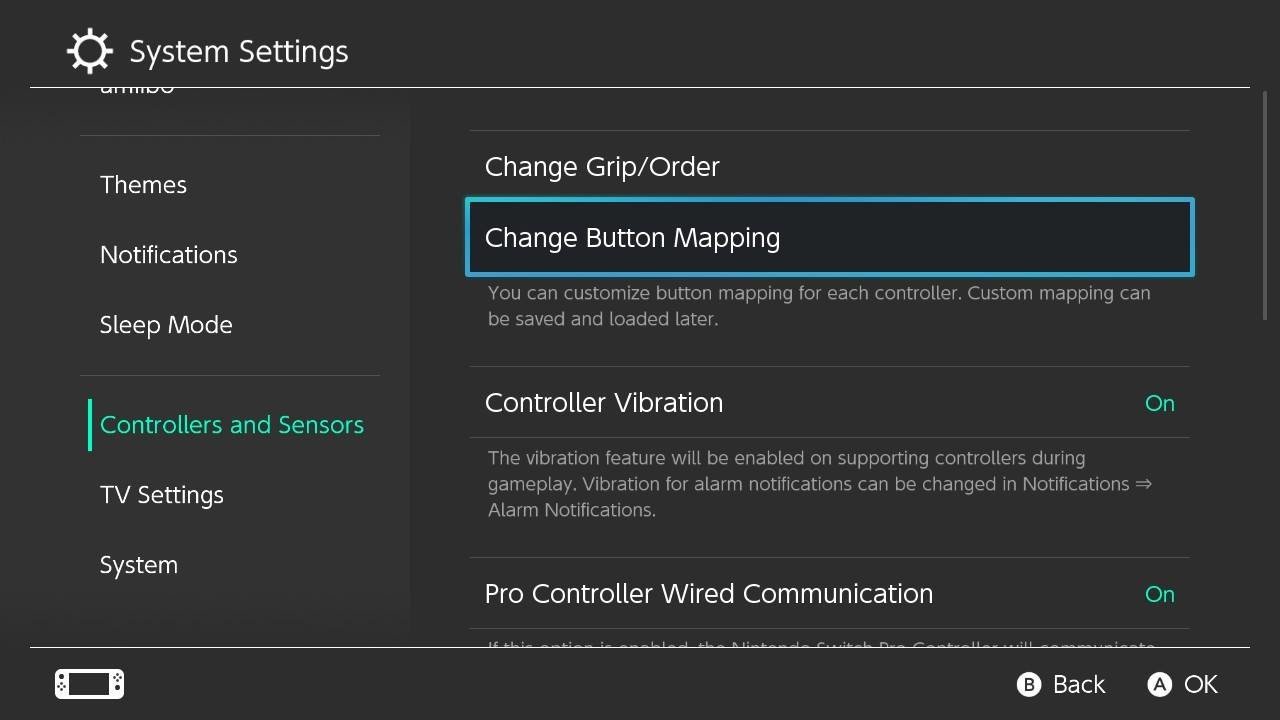
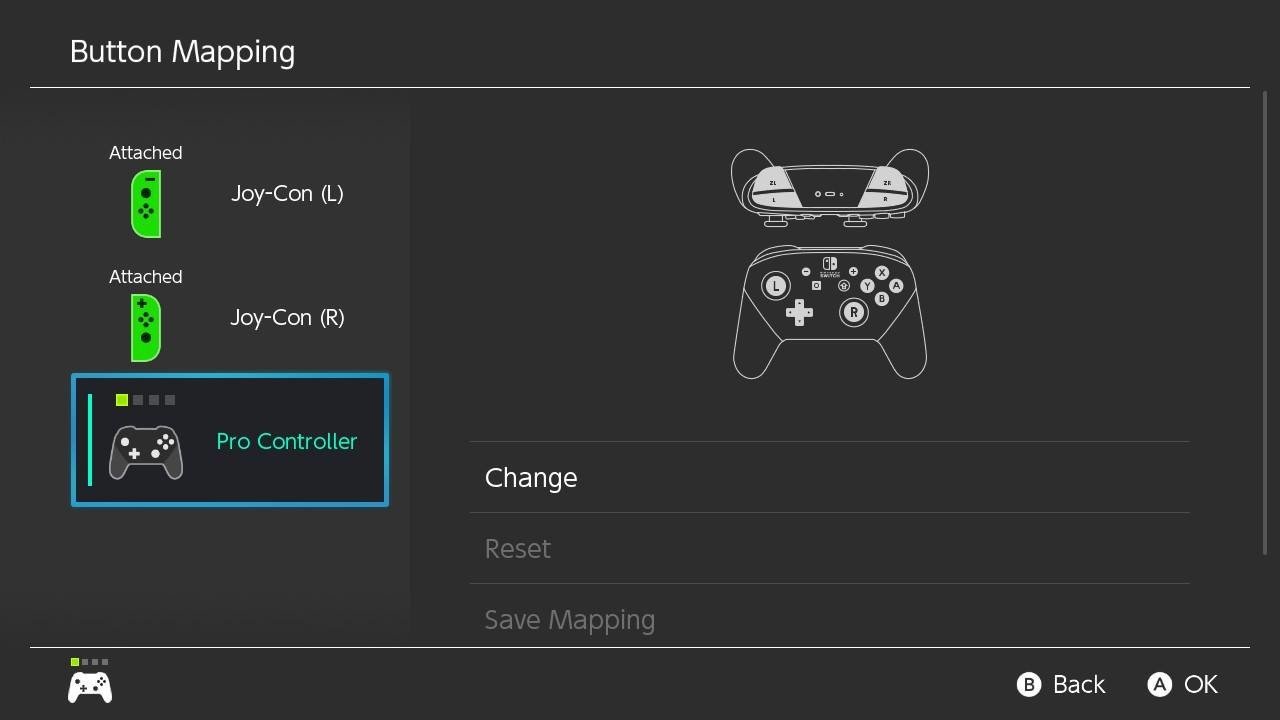
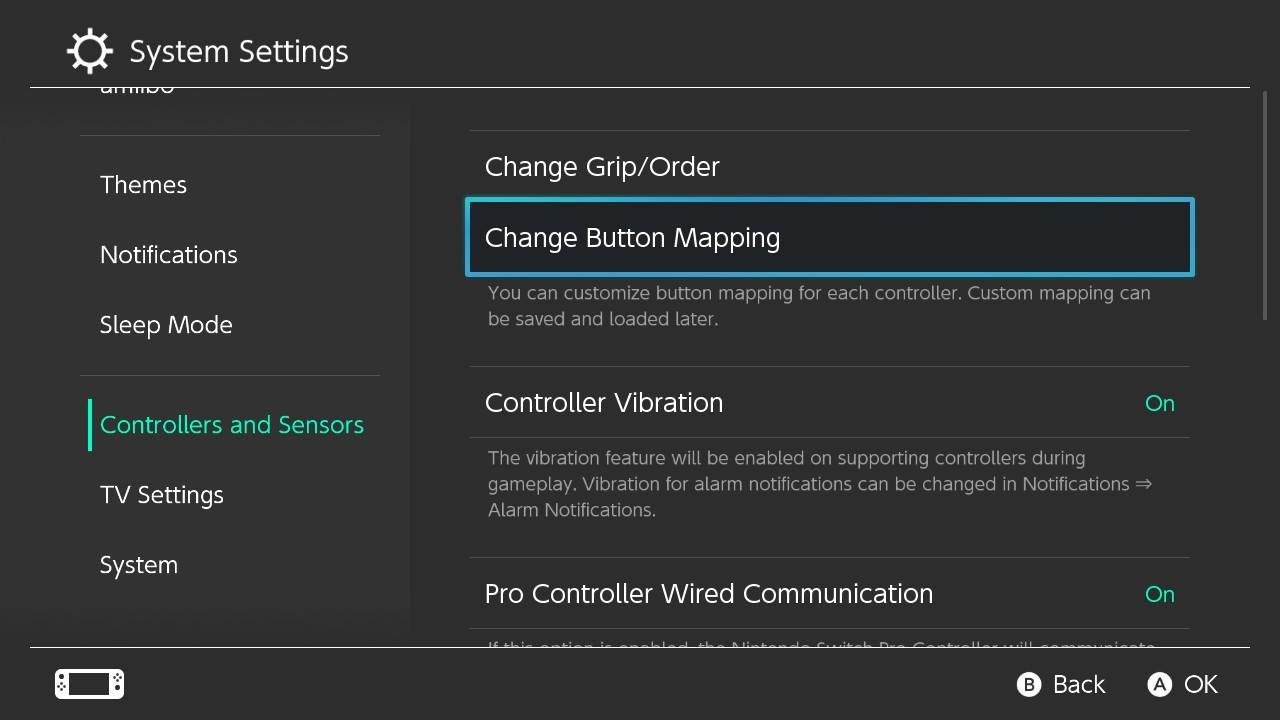
- Select Change Button Mapping.
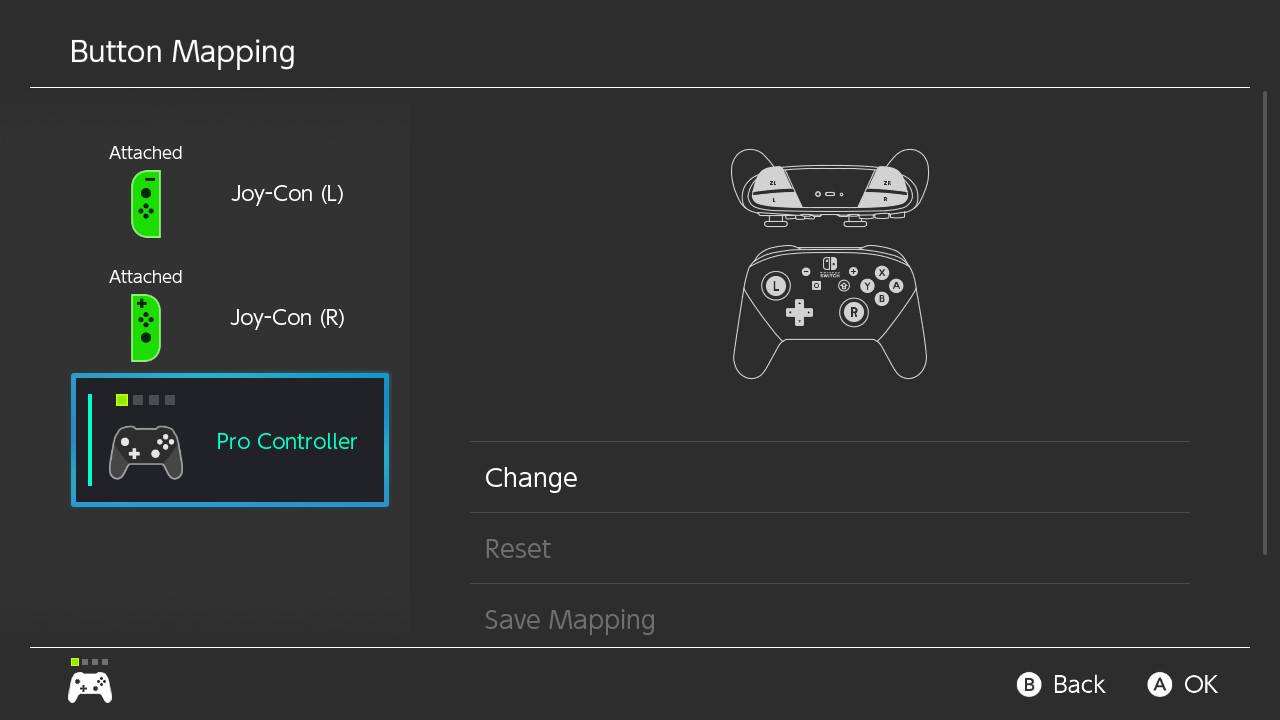
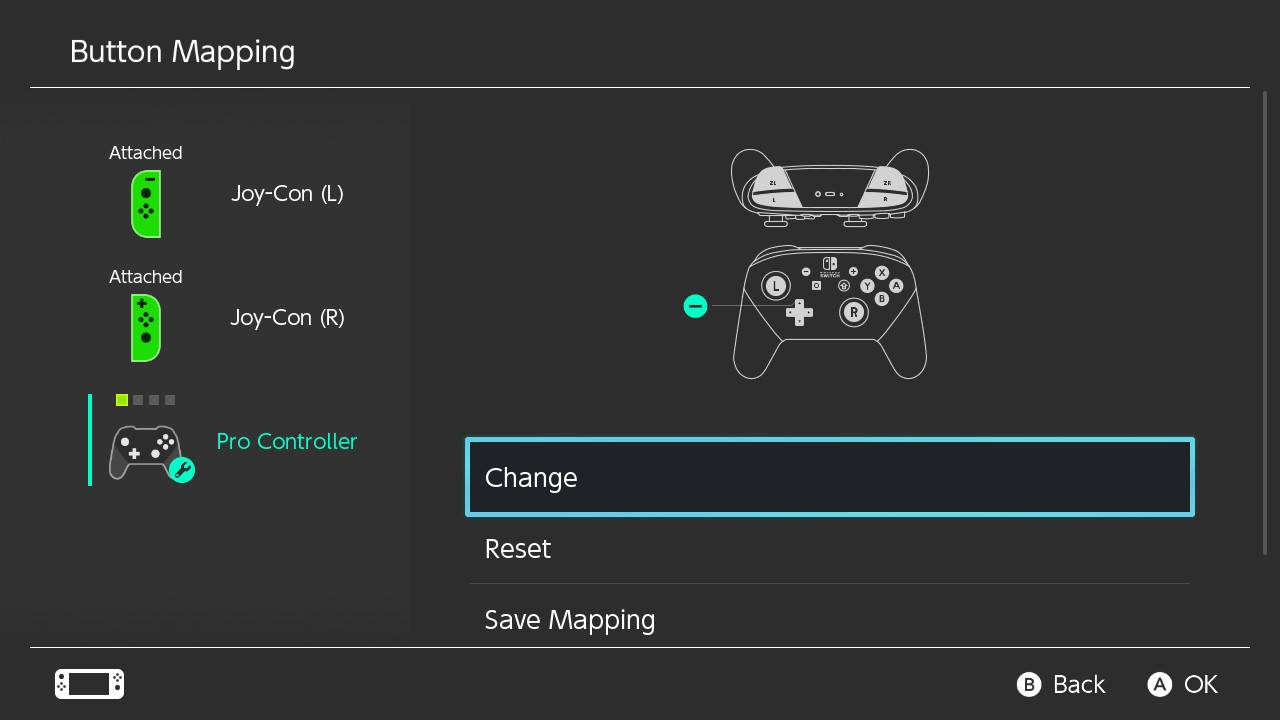
- Choose the Joy-Con or Pro Controller you want to edit.Source: iMore
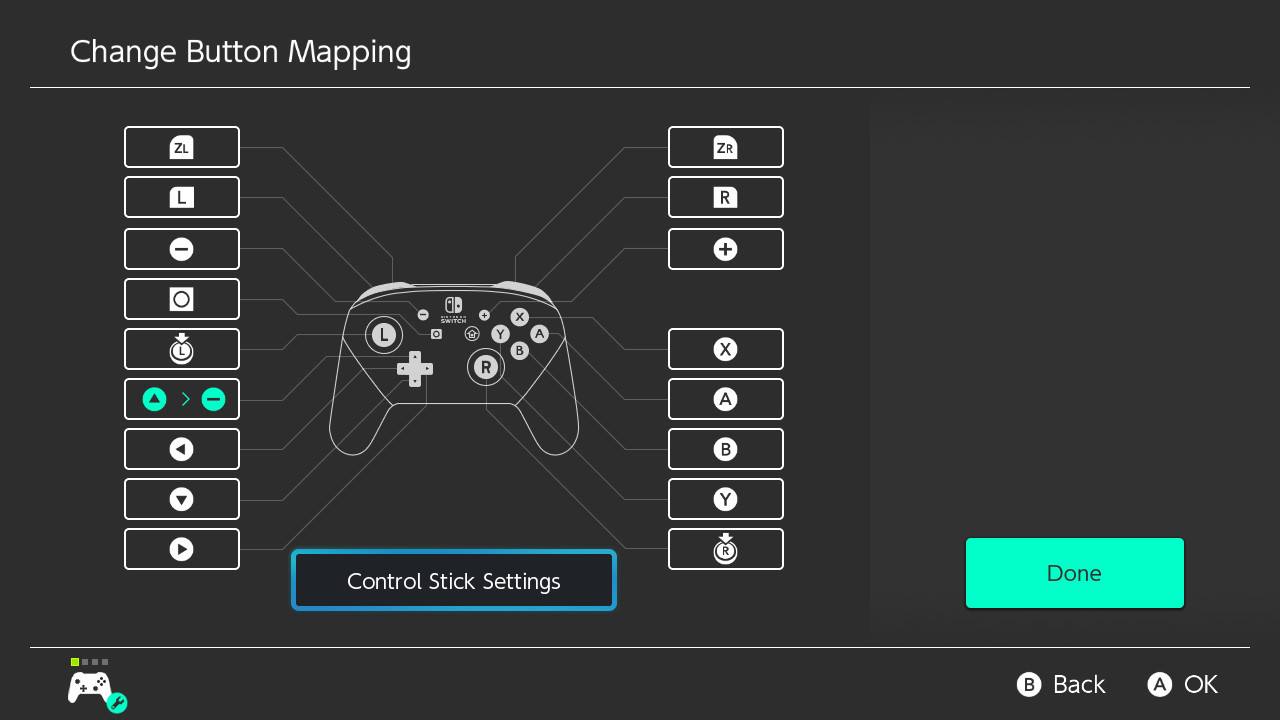
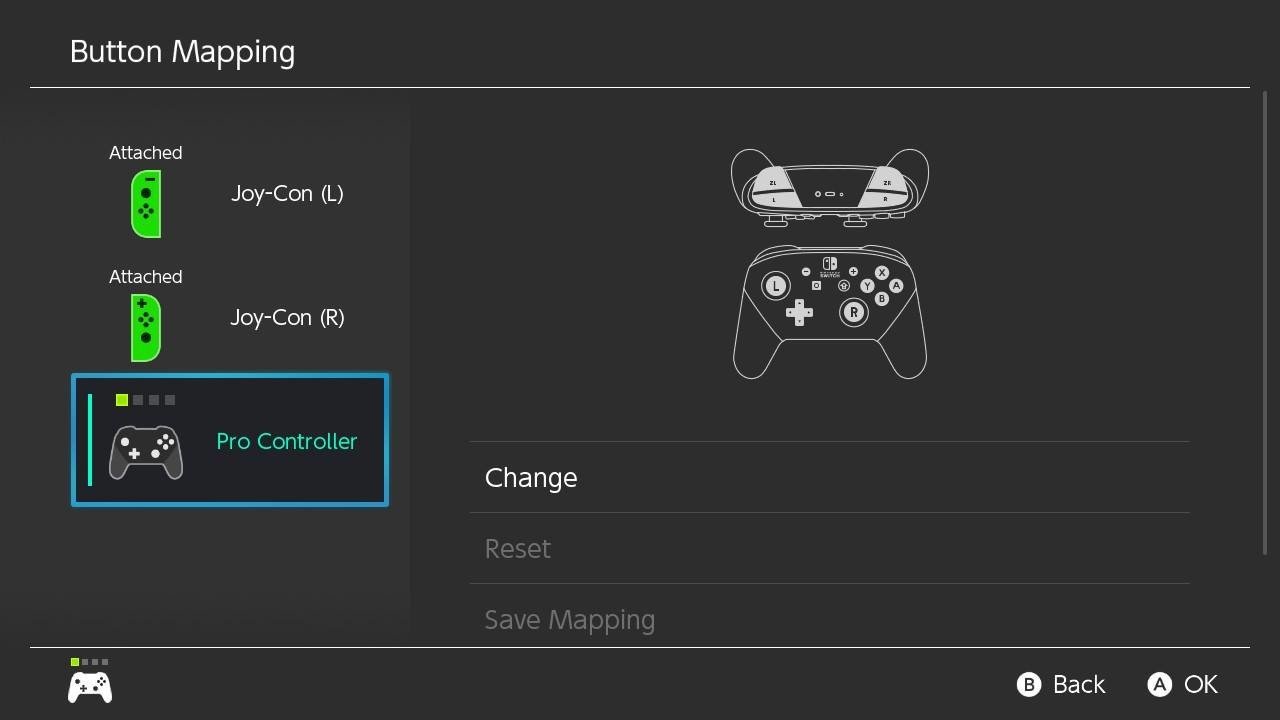
- Select Change.
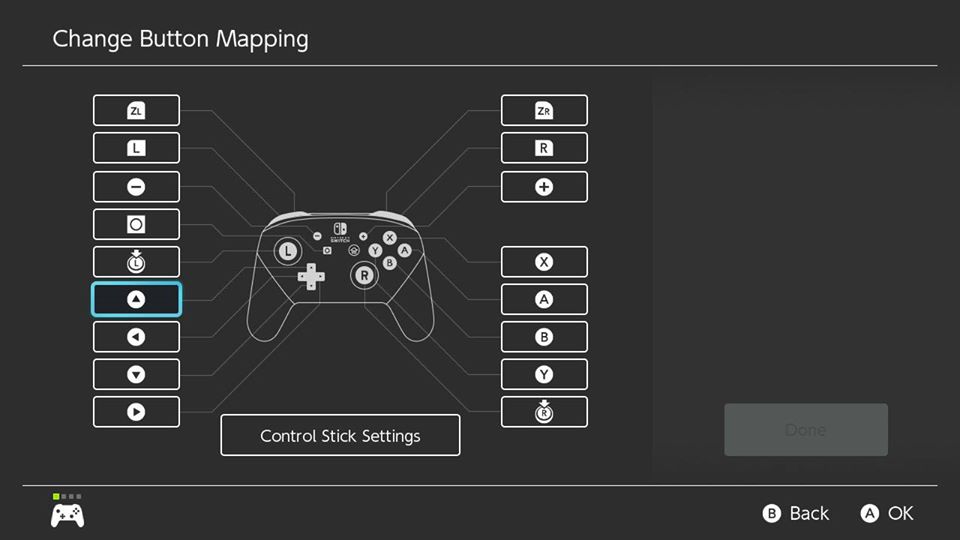
- Scroll to the control you want to change.Source: iMore
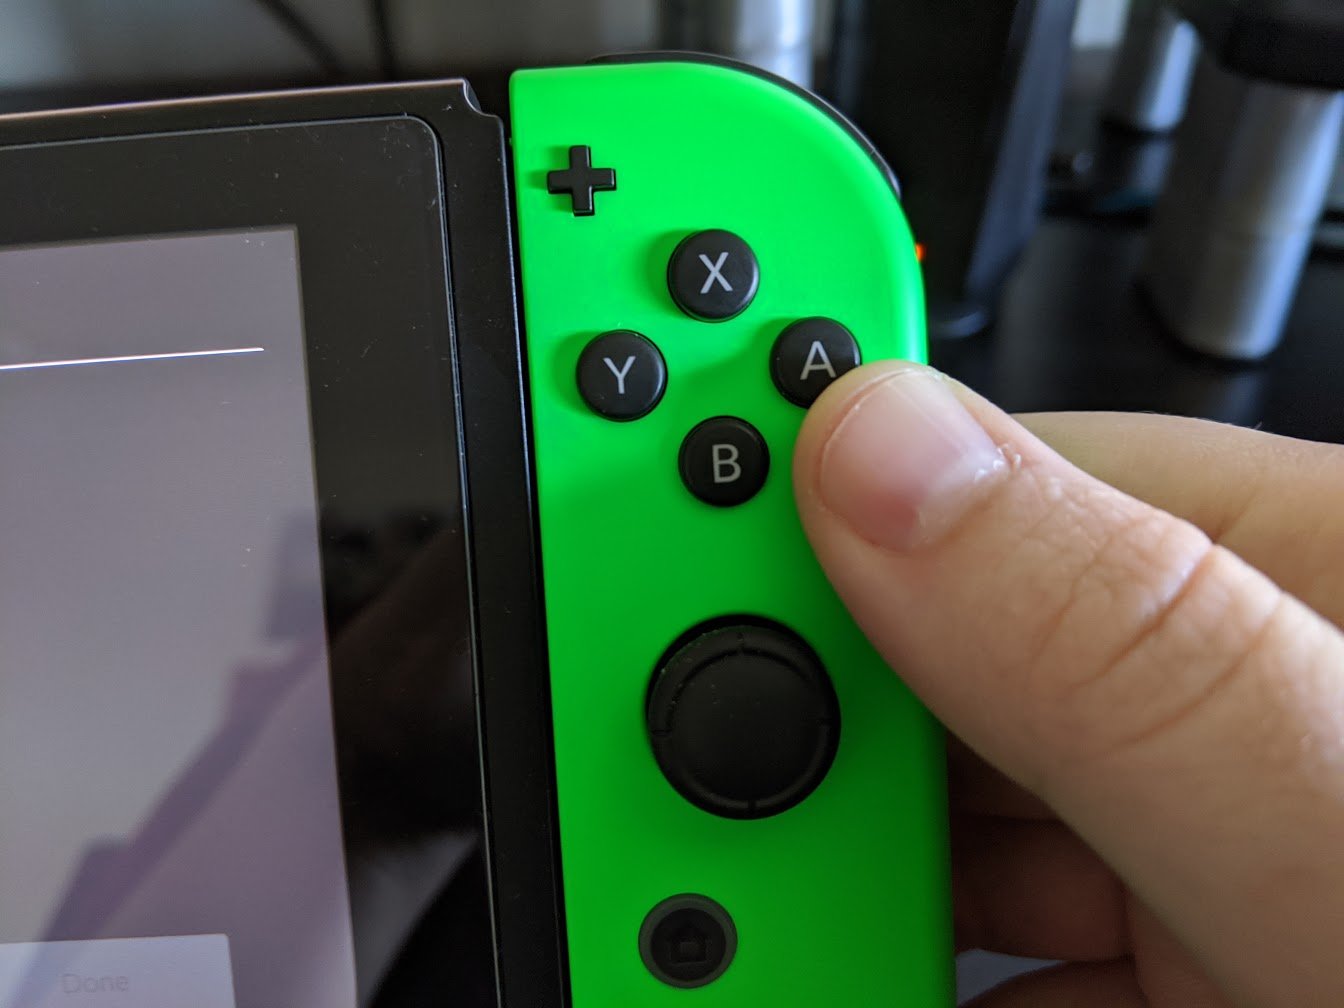
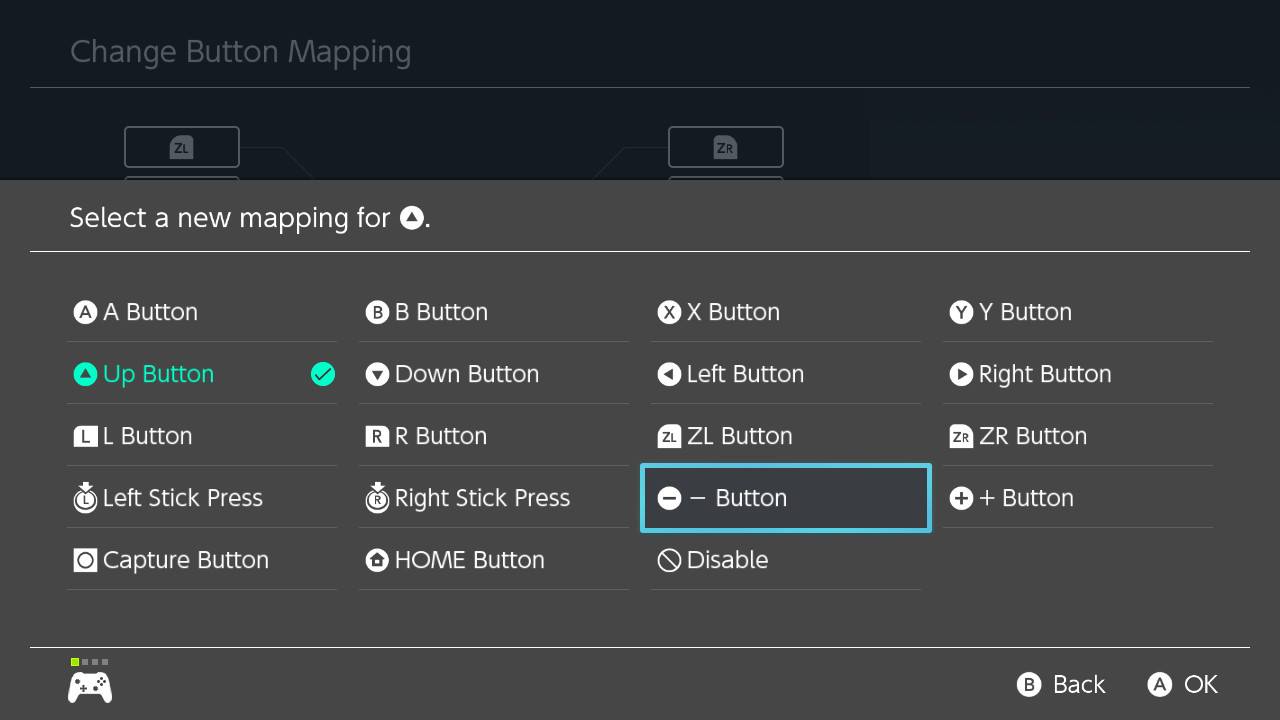
- Press A.
- Choose the new control you want for that button.Source: iMore
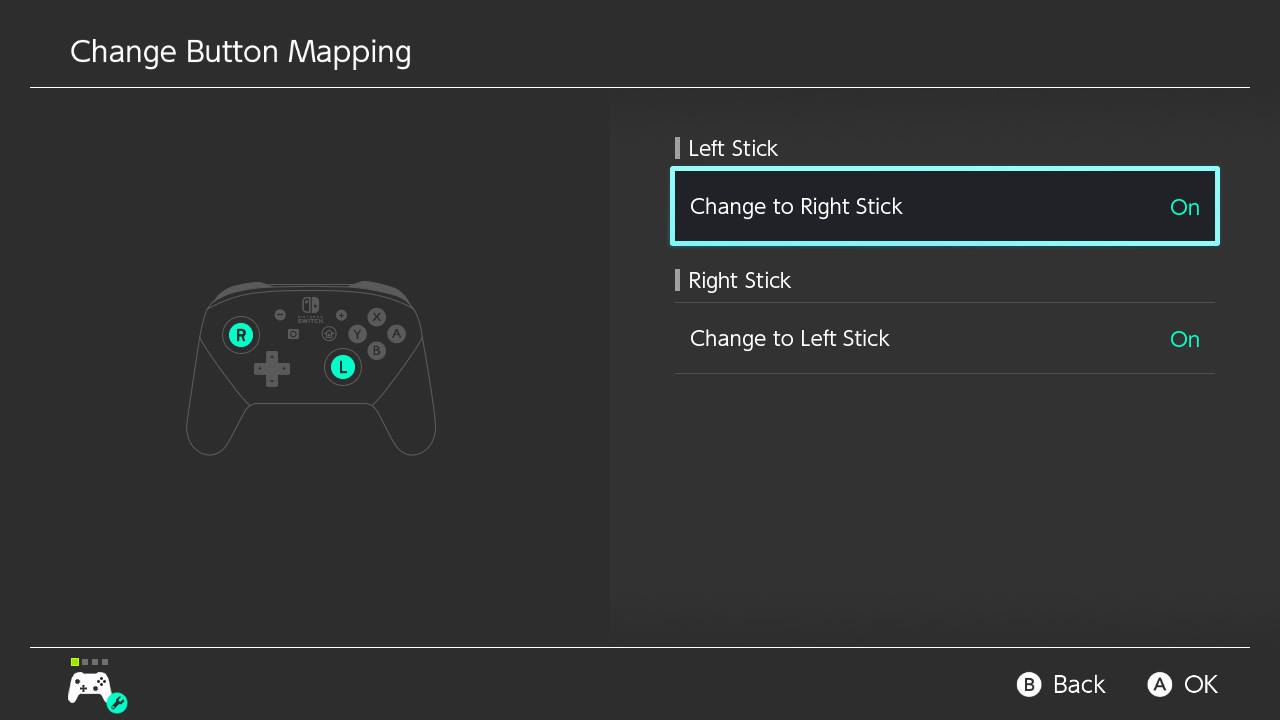
- To change the joysticks, select Control Stick Settings.
- Select the joystick you want to modify.Source: iMore
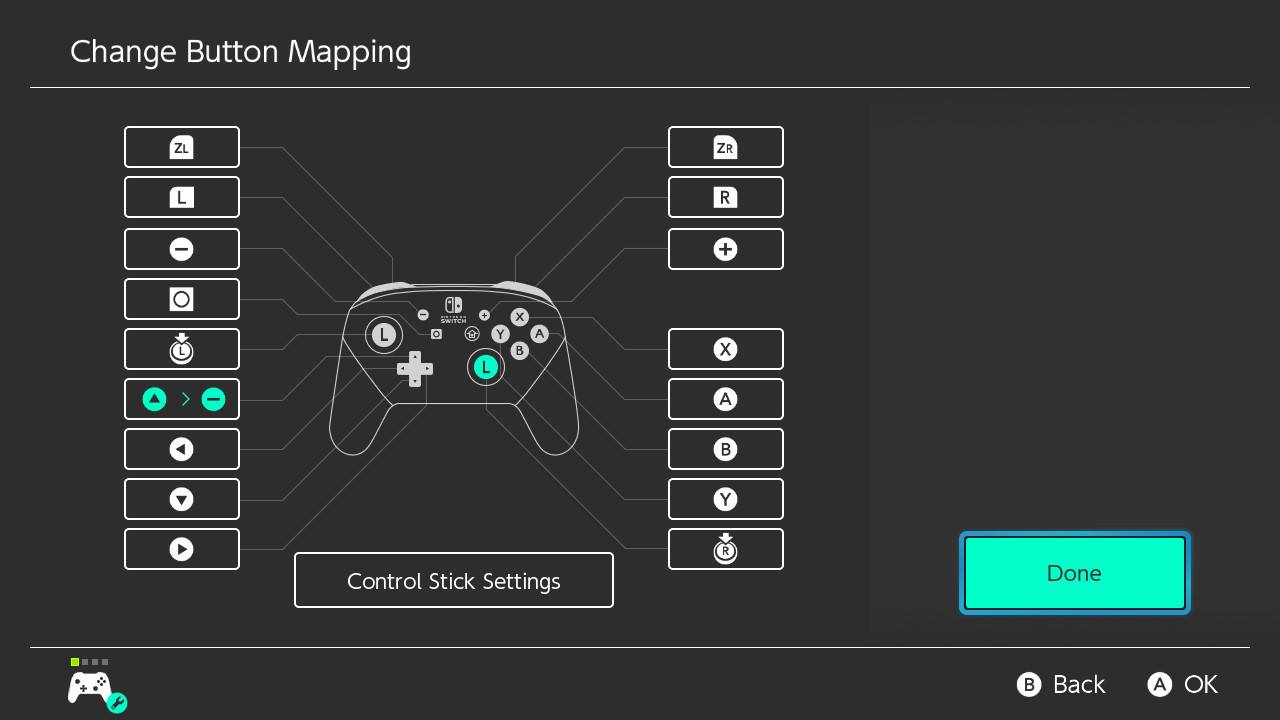
- After changing the joystick, press B to back out of this menu.
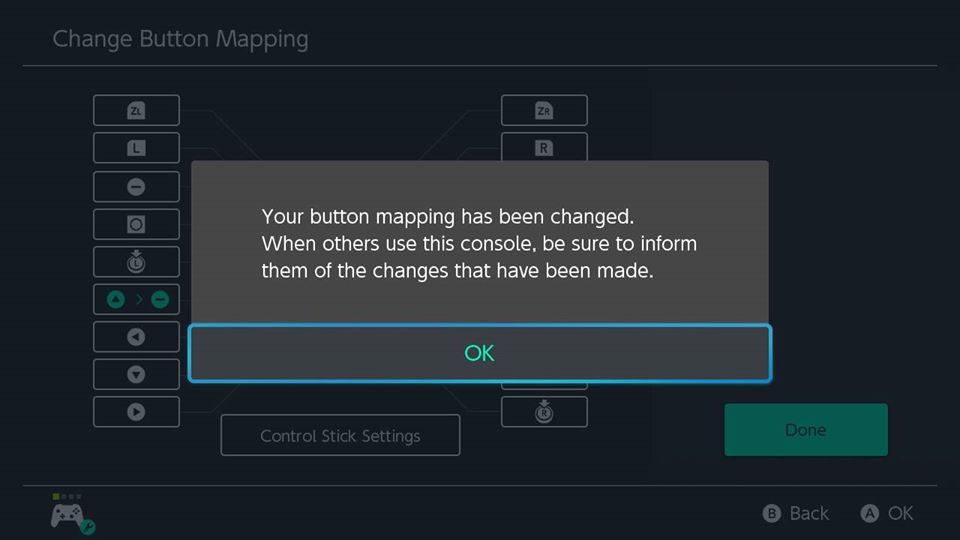
- When you're done making changes, select Done.Source: iMore
- Select OK.
How to save and load custom mapping
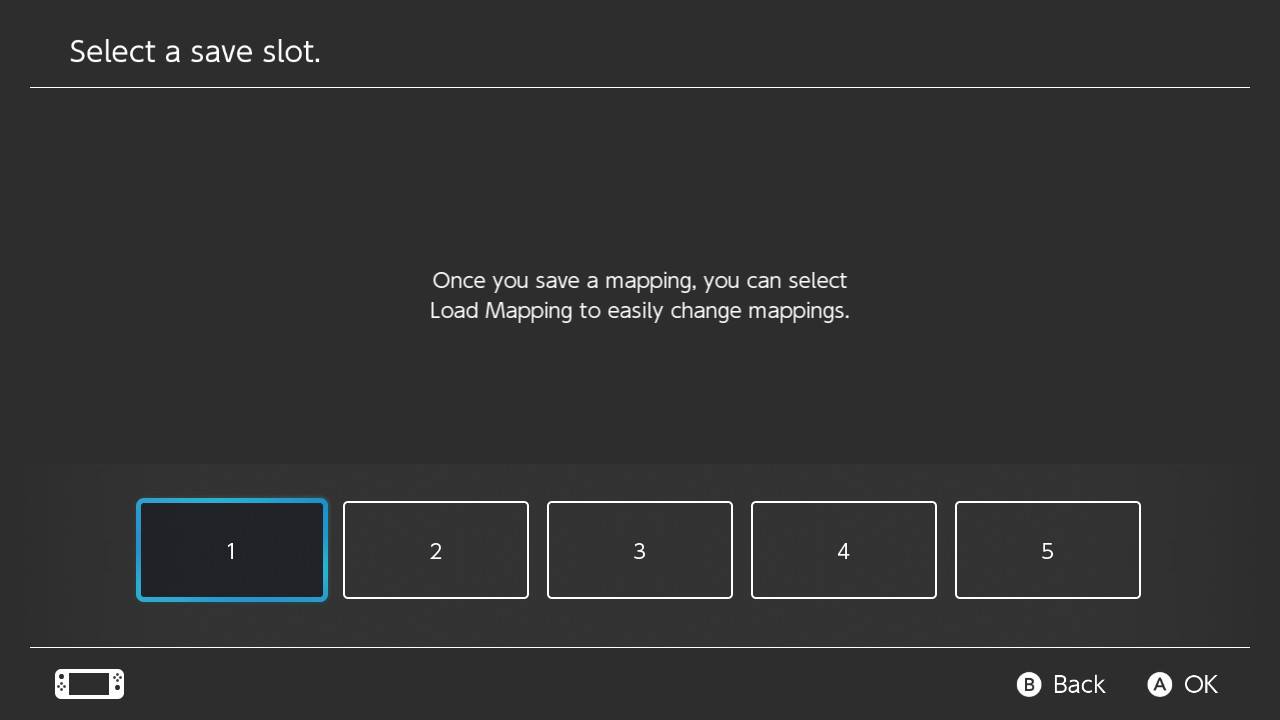
There are spaces for you to save up to five custom mapping configurations. You will first need to complete the steps above before you're able to save different mapping options.
How to save custom mapping
- Once you've customized your buttons or joysticks, select System Settings from the main menu.
- Scroll down to Controllers and Sensors.Source: iMore
- Select Change Button Mapping.
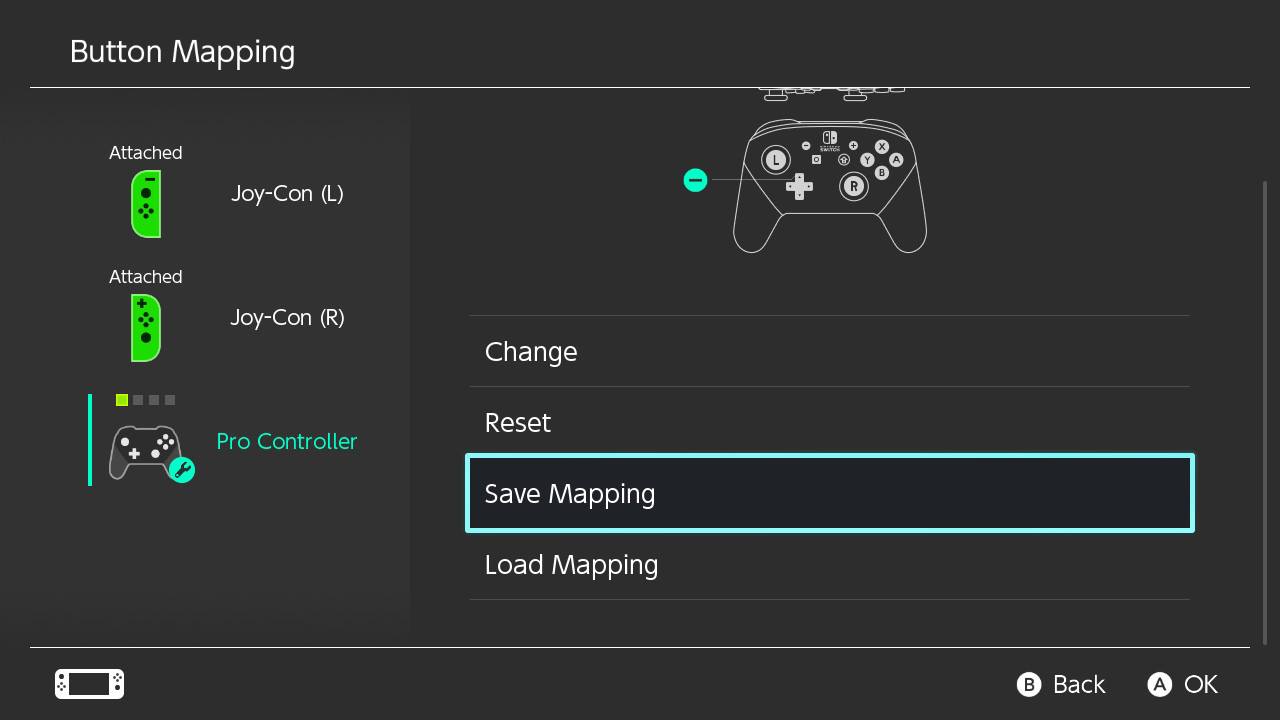
- Choose the Joy-Con or Pro Controller you want to edit.Source: iMore
- Select Save Mapping.
- Choose a slot from the five available spaces.Source: iMore
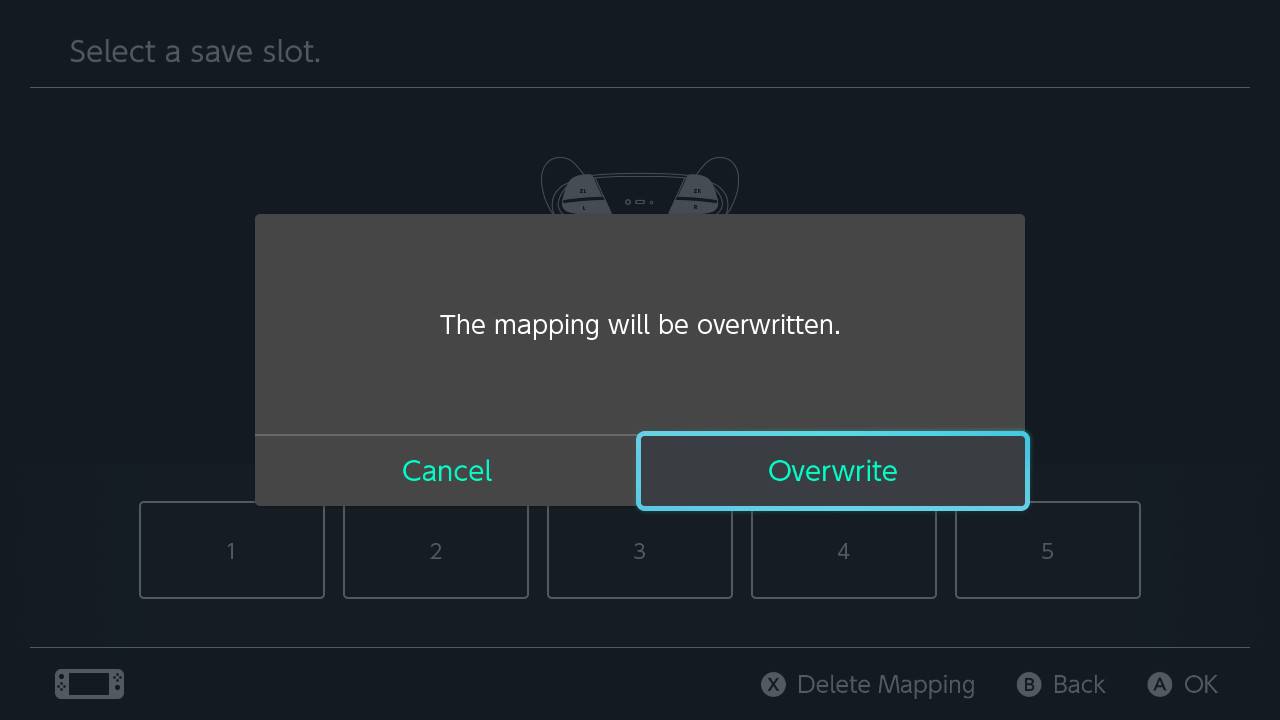
- Select Overwrite.
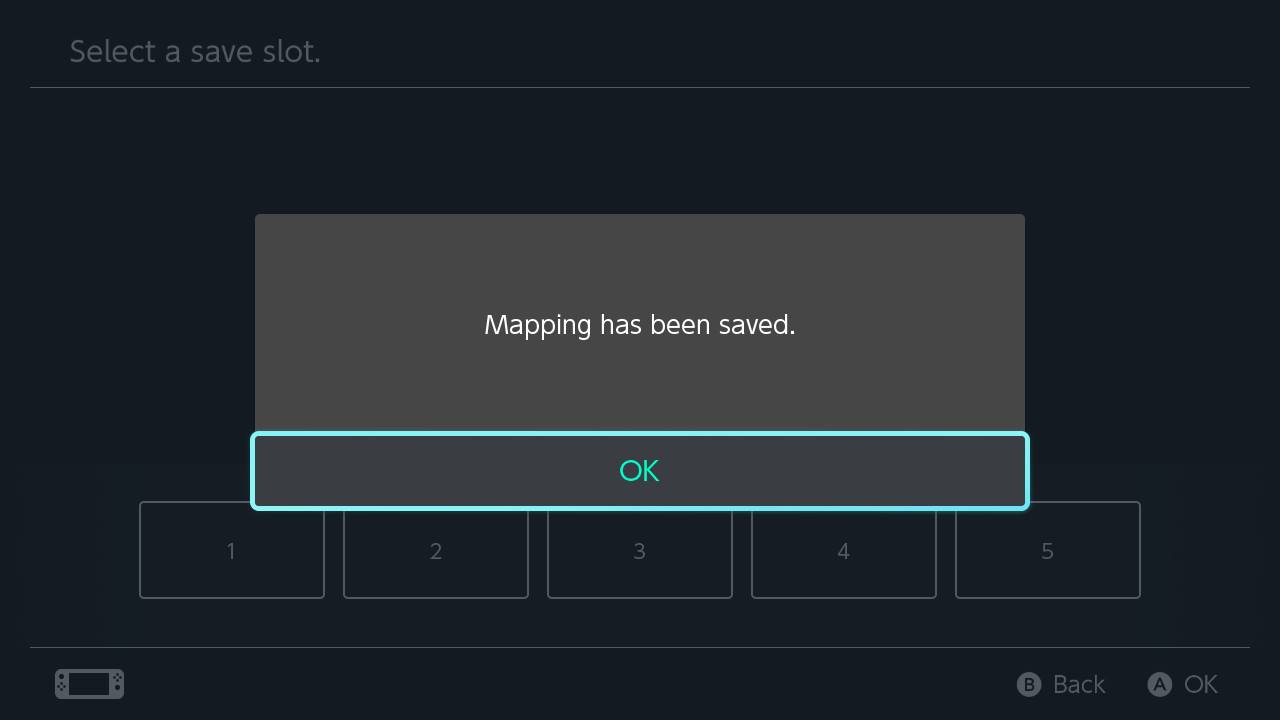
- Select OK. Now your custom mapping has been saved to that slot.Source: iMore
How to load custom mapping
- Once you've customized your buttons or joysticks, select System Settings from the main menu.
- Scroll down to Controllers and Sensors.Source: iMore
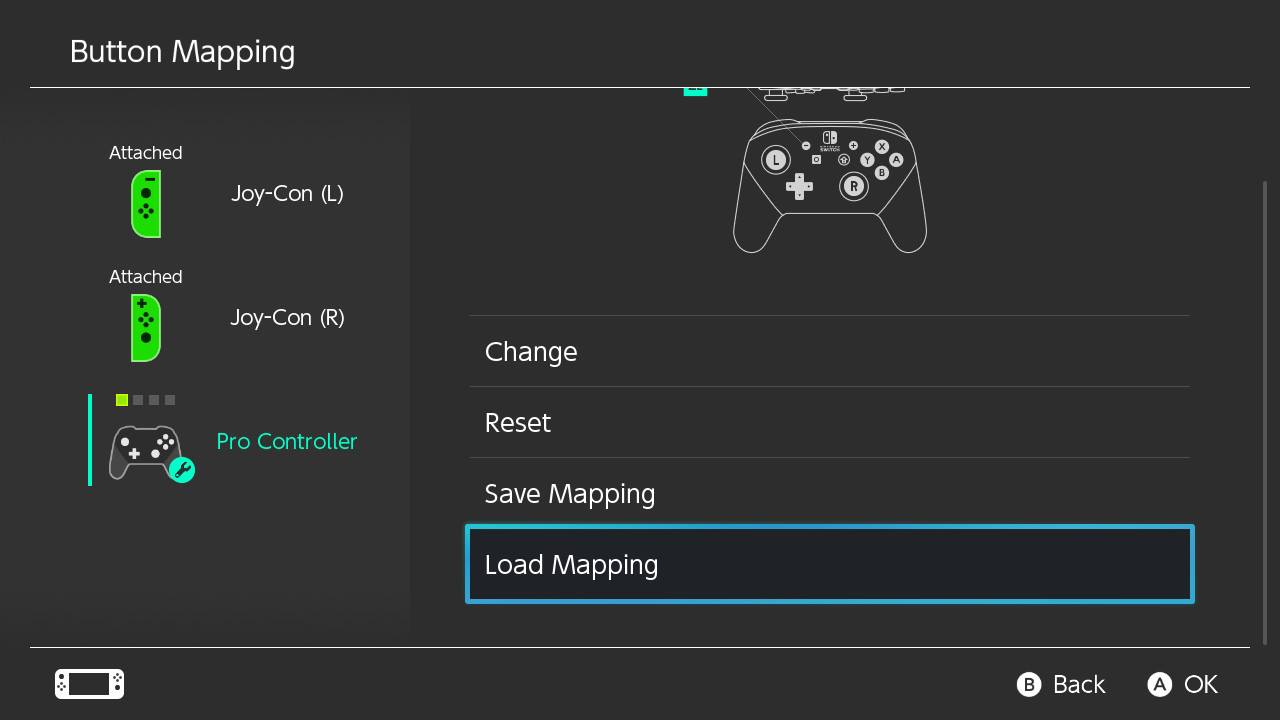
- Select Change Button Mapping.
- Choose the Joy-Con or Pro Controller you want to edit.Source: iMore
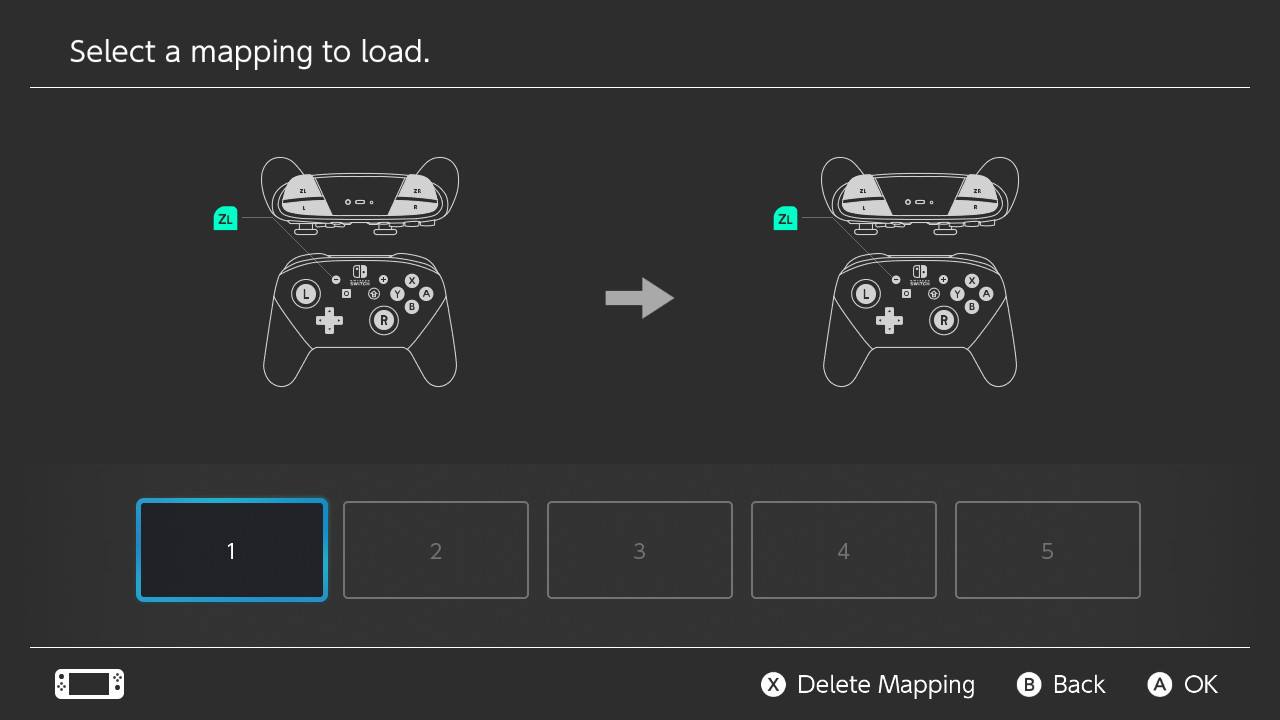
- Select Load Mapping.
- Select the slot you want to load.Source: iMore
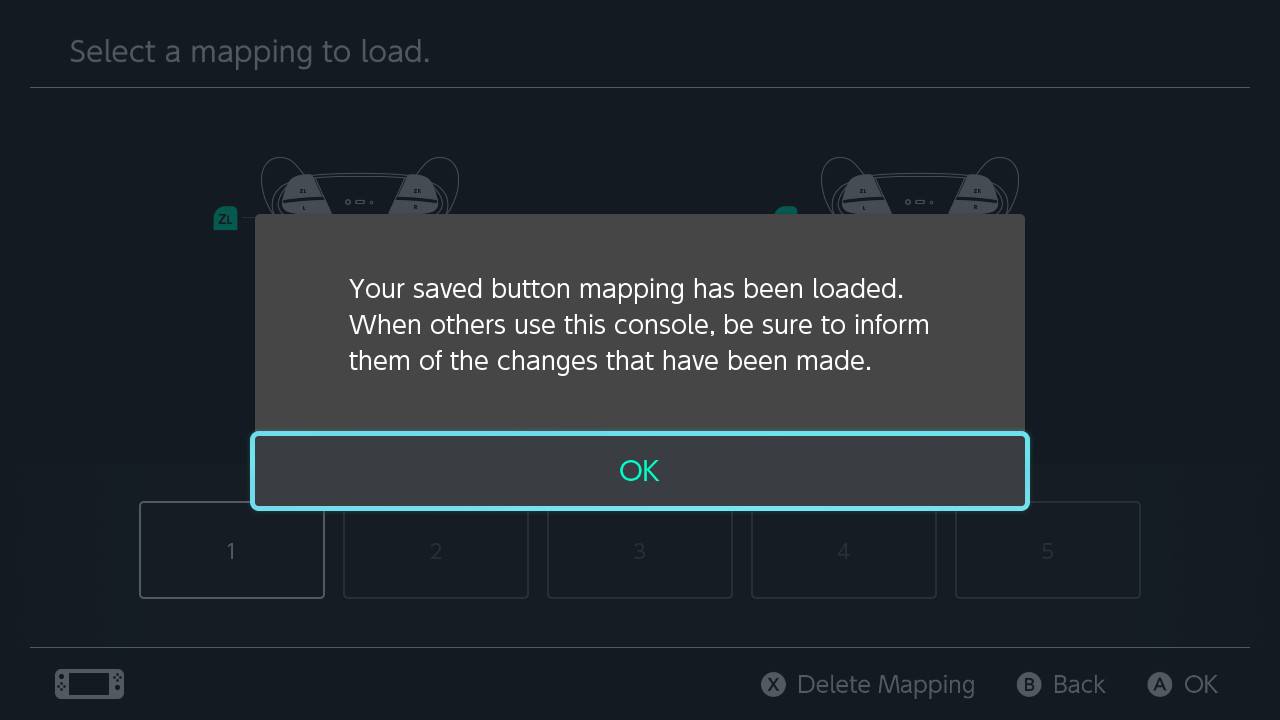
- Select OK.
Now you know how to remap Switch controller buttons or joysticks on your Joy-Cons or Pro Controllers. Have fun playing your games. I hope this button customization allows you to play more comfortably.
Additional Equipment
I love these accessories and have found that they greatly improve my Switch gaming sessions. See if anything catches your eye.
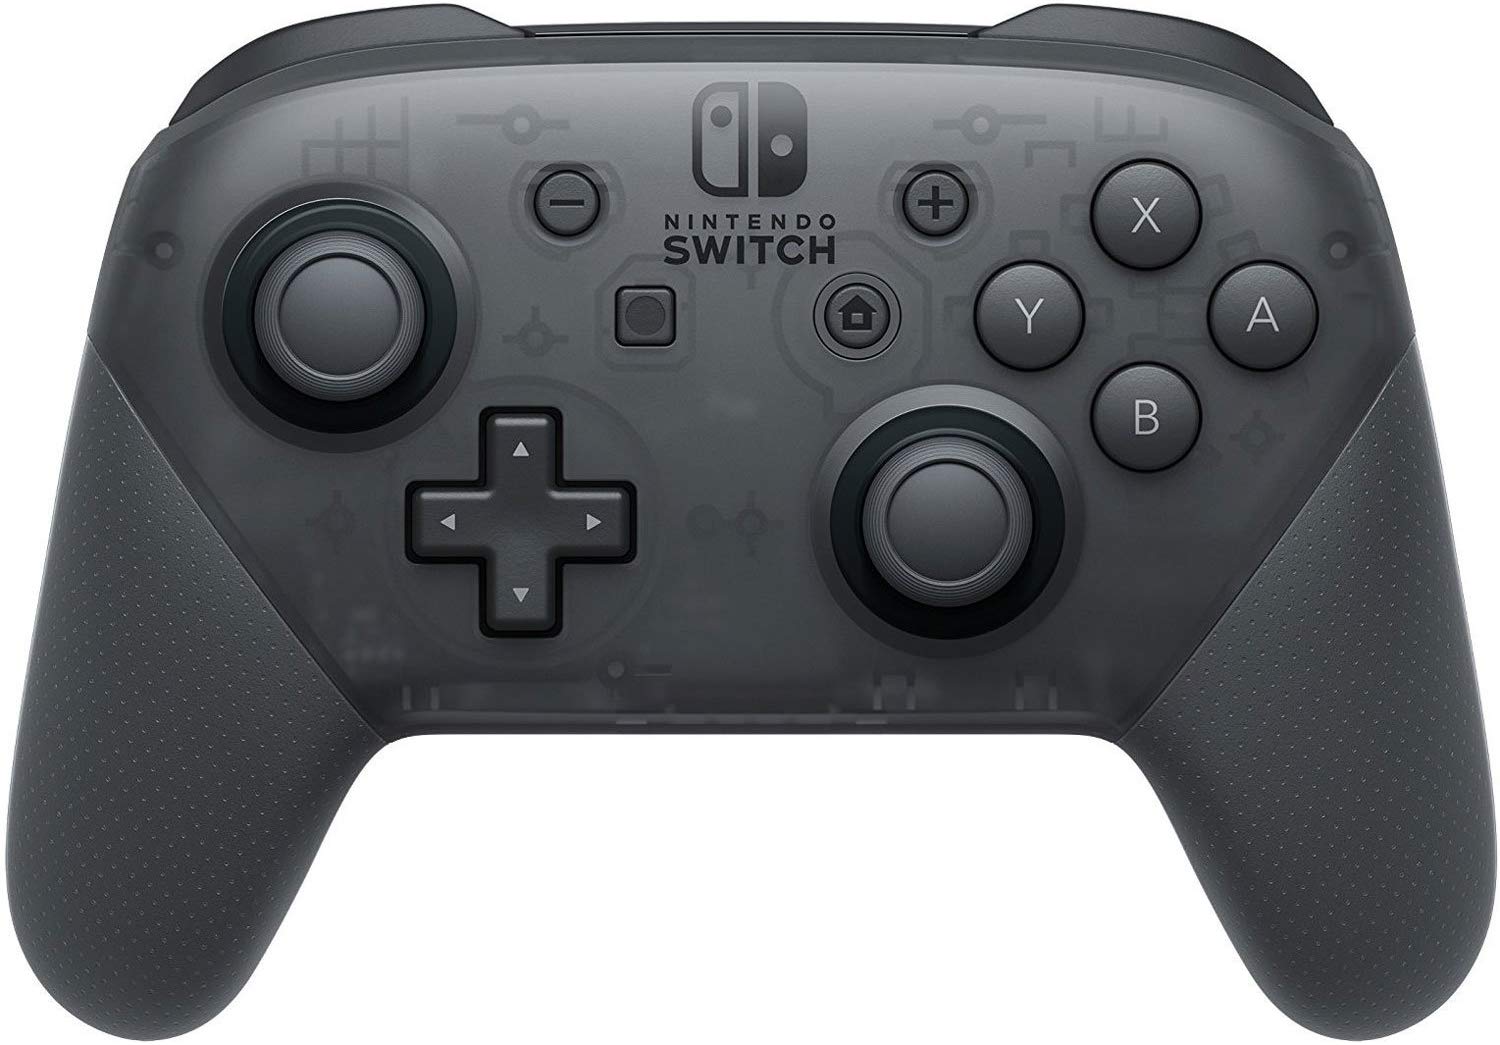
Pro Controller ($60 at Best Buy)
This traditional-looking controller features motion controls, rumble, and NFC capabilities. It works great with either the original Nintendo Switch or the smaller Switch Lite.
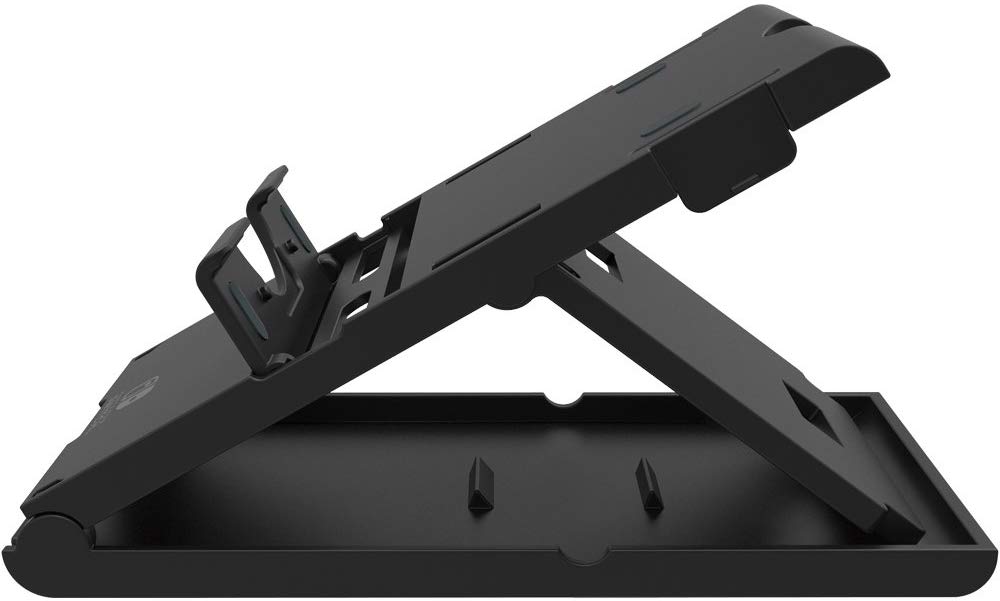
Hori Compact Playstand ($13 at Amazon)
iMore offers spot-on advice and guidance from our team of experts, with decades of Apple device experience to lean on. Learn more with iMore!
There are times when you want to prop up your Switch or Switch Lite without using your hands. I absolutely love this stand and use it every day.
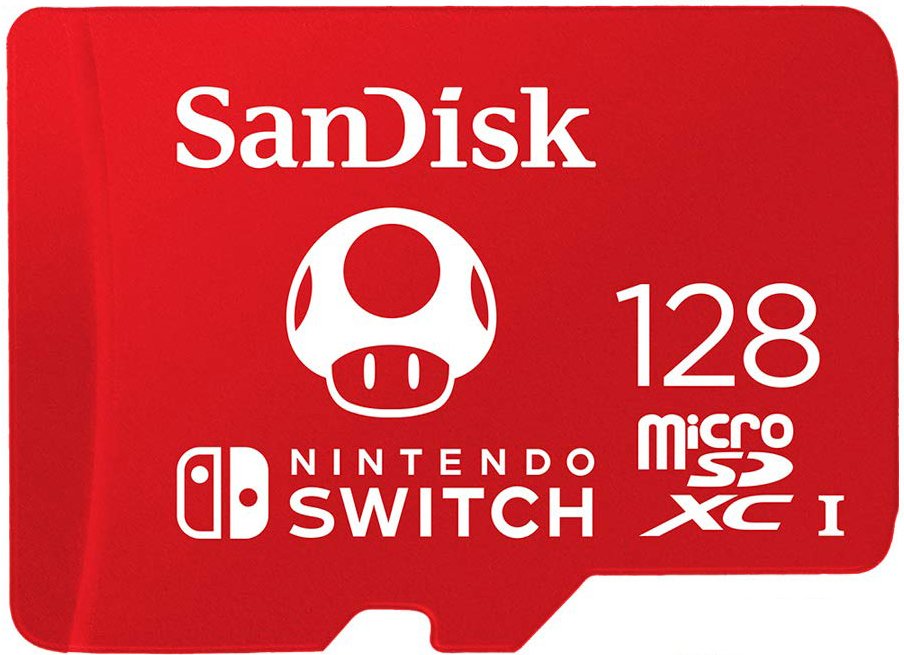
Gimme some space! ($24 at Amazon)
Your Nintendo Switch only has 32GB of internal memory. If you plan on downloading a bunch of games, you're going to want to invest in a quality micro SD card like this one.

Gaming aficionado Rebecca Spear is iMore's dedicated gaming editor with a focus on Nintendo Switch and iOS gaming. You’ll never catch her without her Switch or her iPad Air handy. If you’ve got a question about Pokémon, The Legend of Zelda, or just about any other Nintendo series check out her guides to help you out. Rebecca has written thousands of articles in the last six years including hundreds of extensive gaming guides, previews, and reviews for both Switch and Apple Arcade. She also loves checking out new gaming accessories like iPhone controllers and has her ear to the ground when it comes to covering the next big trend.
