How to tweak the Mac's display settings for better visual accessibility

iMore offers spot-on advice and guidance from our team of experts, with decades of Apple device experience to lean on. Learn more with iMore!
You are now subscribed
Your newsletter sign-up was successful
A few weeks ago a customer came in to the Apple reseller store I spend my weekends working in. She was a long time Mac user who'd had an older Mac and recently upgraded. But ever since she got her new Mac, she'd been experiencing powerful headaches that made it all but impossible to use the computer. Could anything be done to fix it? It turns out that we found some solutions that worked great — and they're built right in to the operating system.
My suffering customer no longer had her old Mac, and couldn't tell me quite how it was set up. I came to learn that she'd suffered a debilitating brain injury more than a year previously. She had made great strides to recover, but her visual processing changed radically through the course of her recovery. To be clear, her eyesight hadn't changed, but the way that her brain processed images and color had.
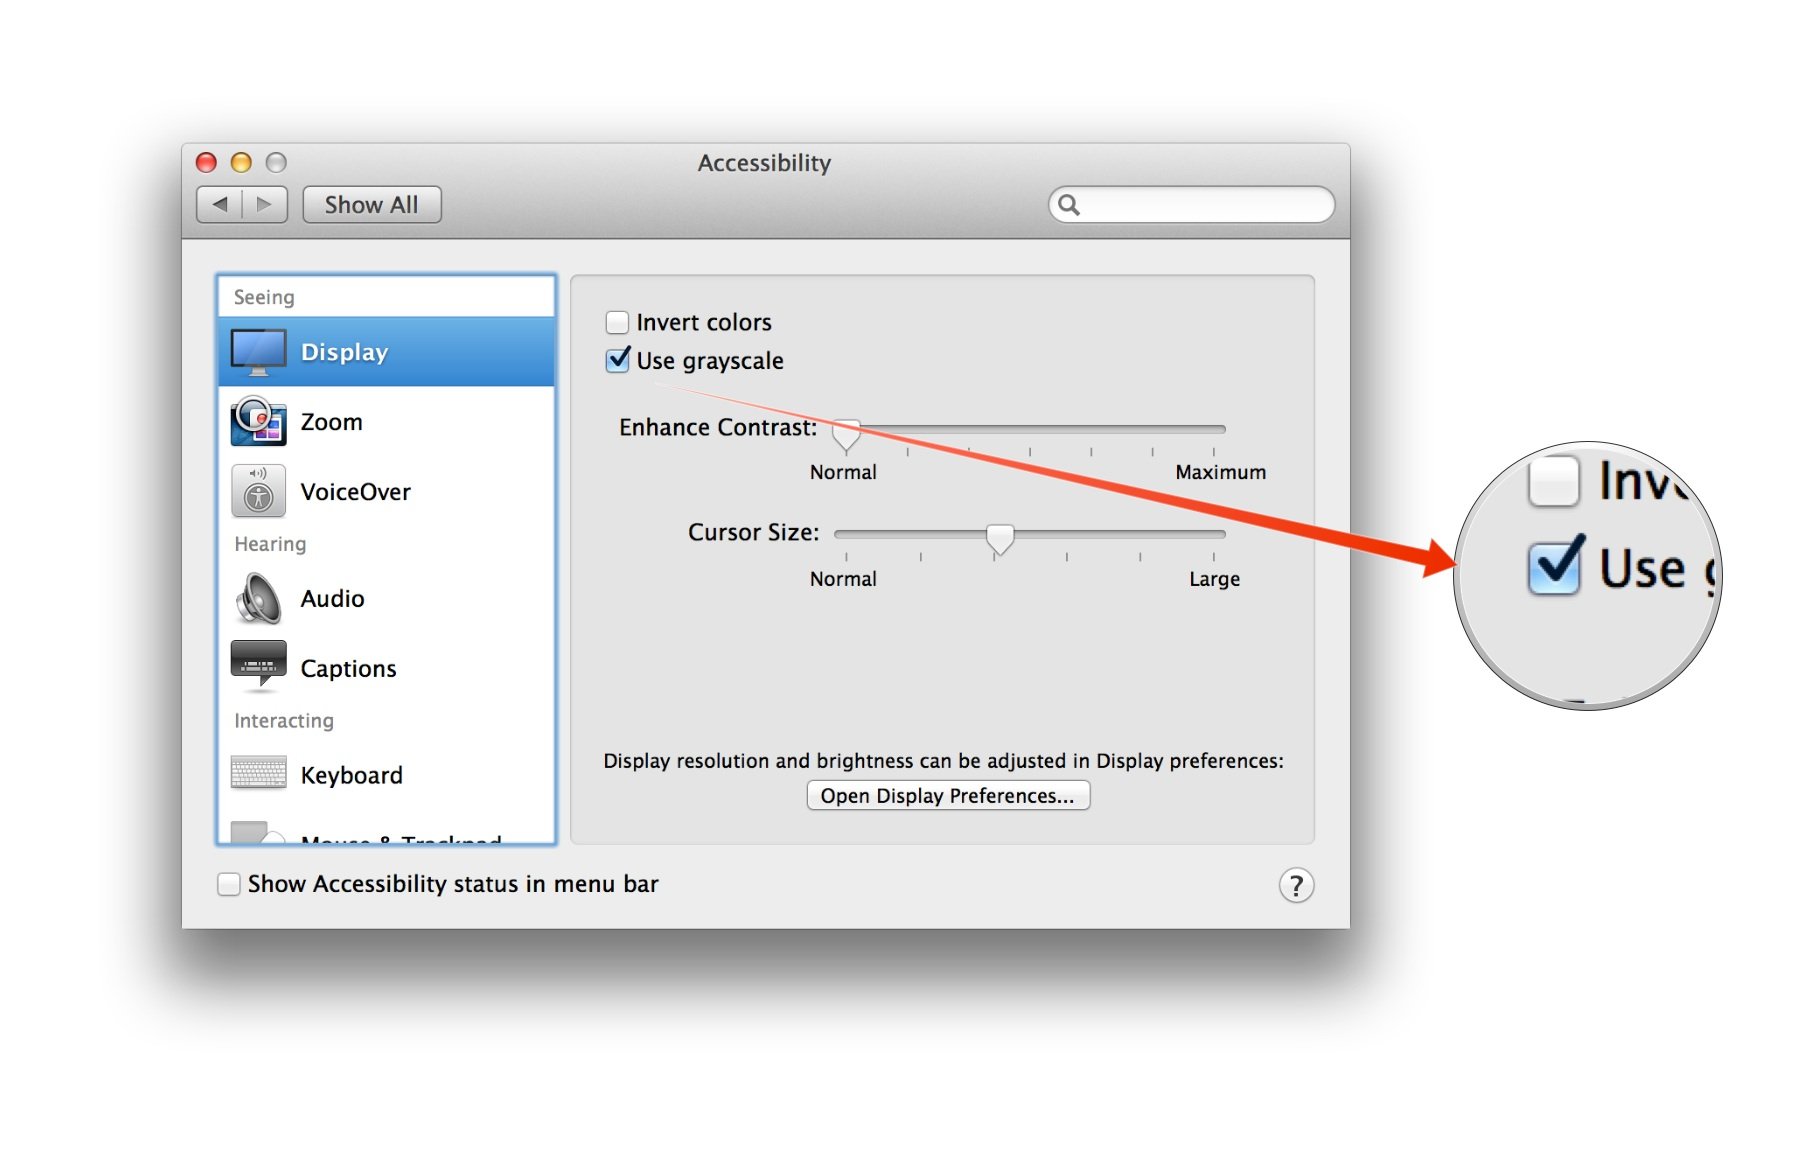
The Accessibility system preference gives you control over a number of key interface features of OS X, grouped into three categories: Seeing, Hearing, and Interacting.

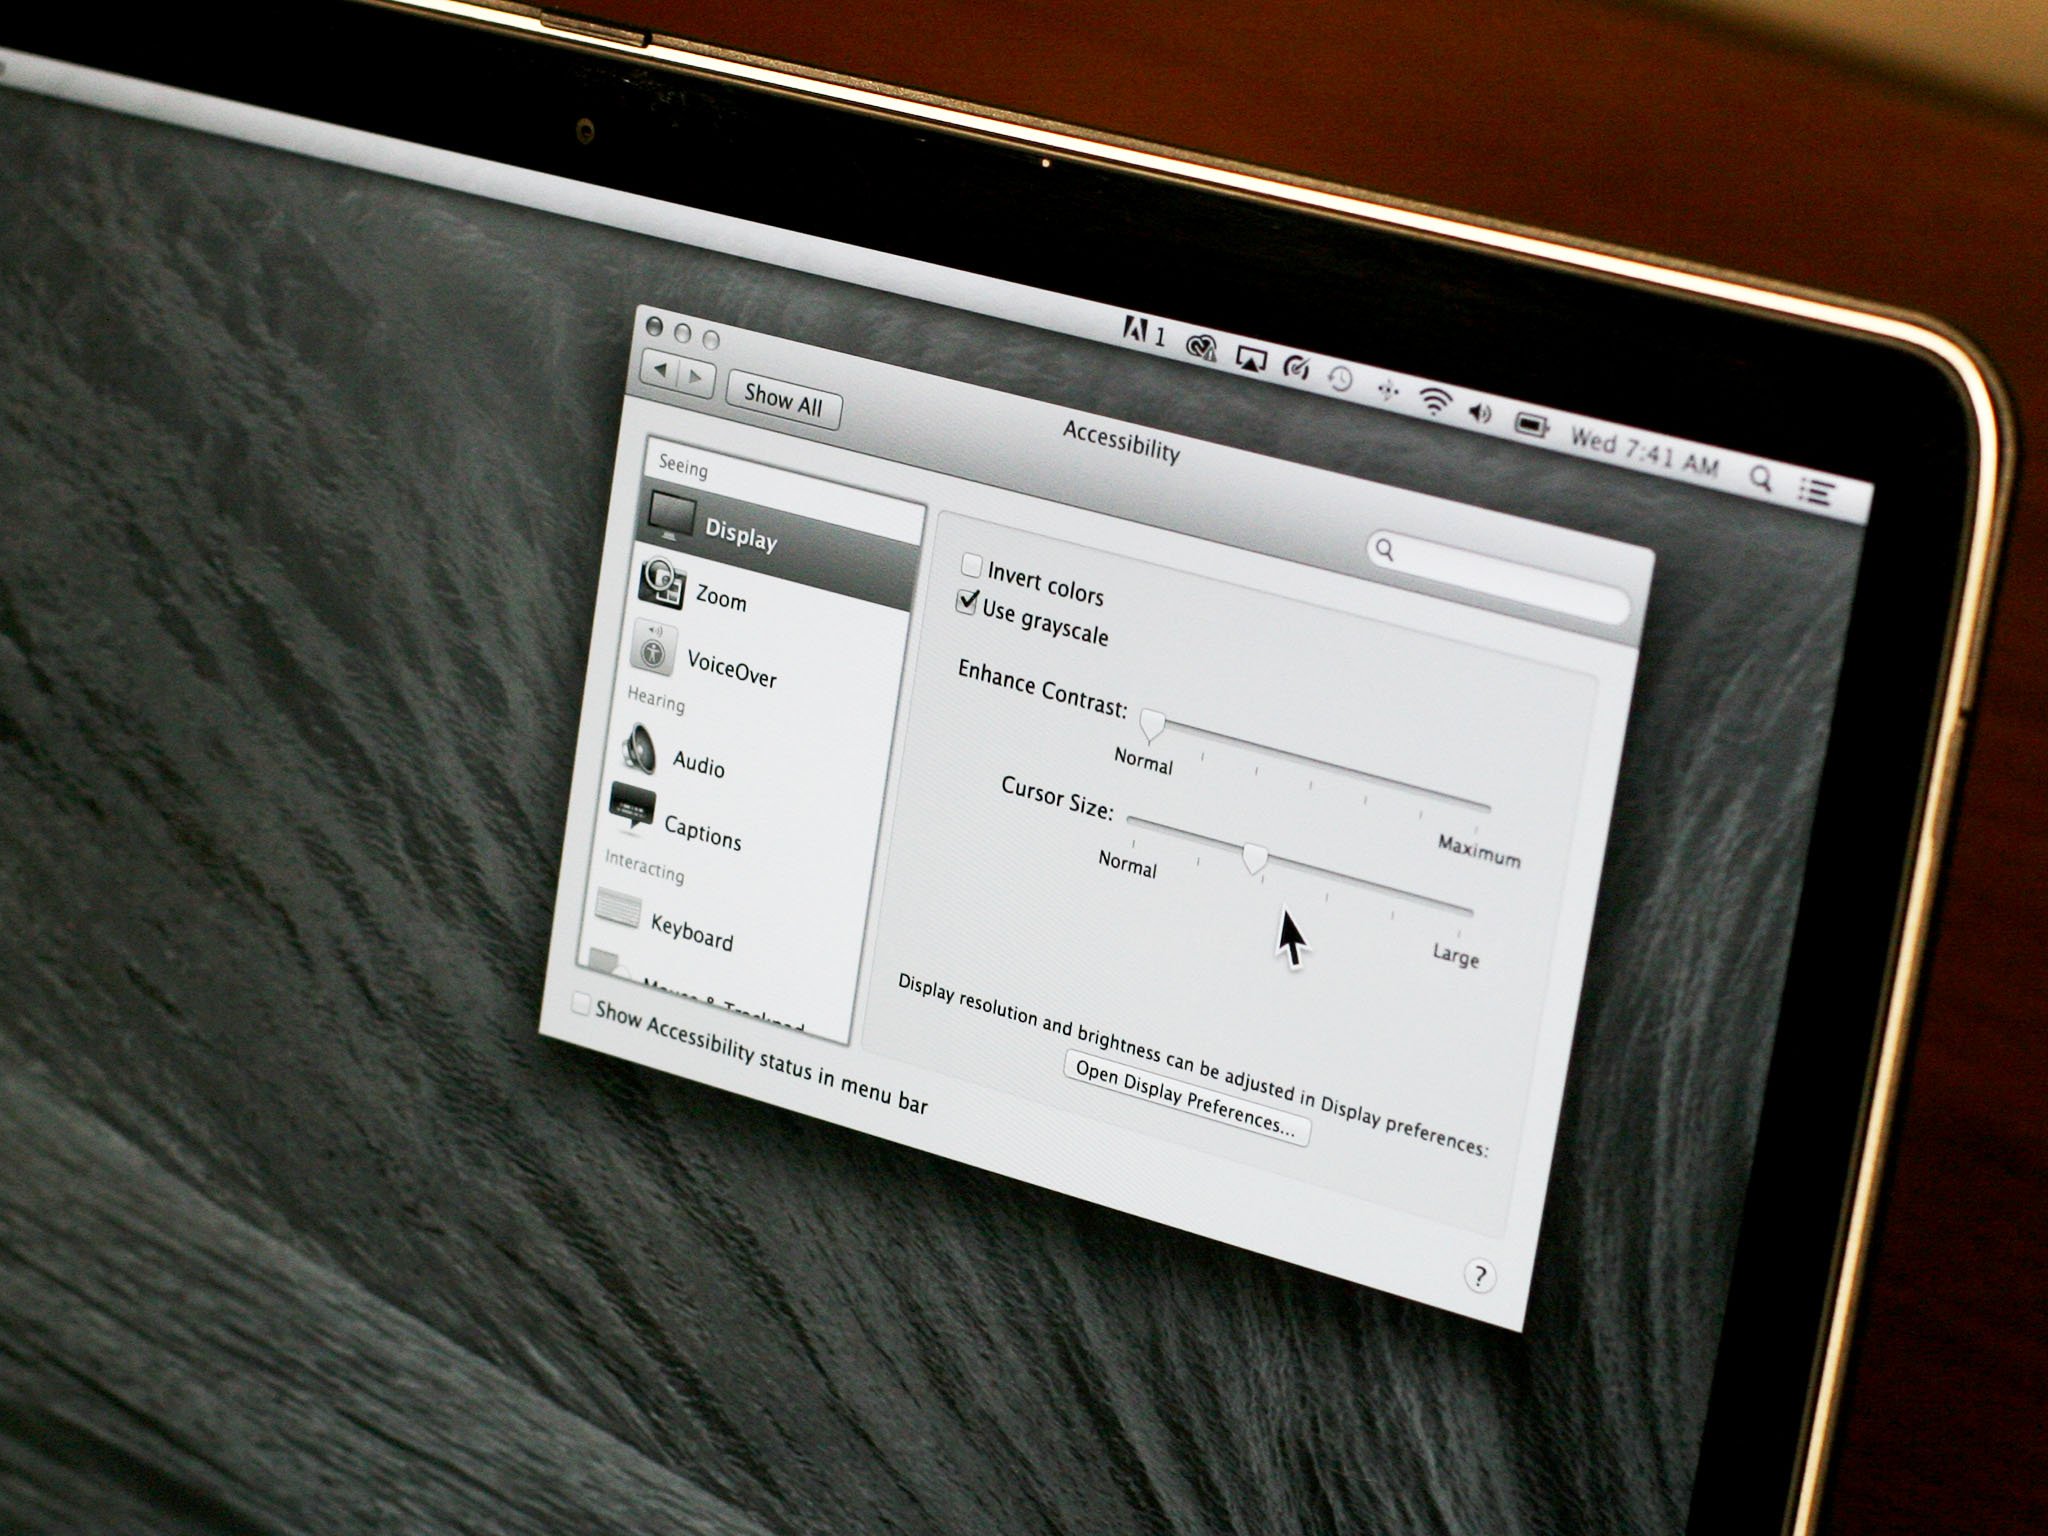
Under the Display section, two options were the most helpful for my customer: Use grayscale and Cursor size. Use grayscale removes color from the screen all together, and that caused her the most immediate relief. Increasing the cursor size made it easier for her to track cursor motion, which reduced her strain.
We tried playing with display resolution and brightness, too — those are accessible in the Display preference — but she was happy with their default settings.

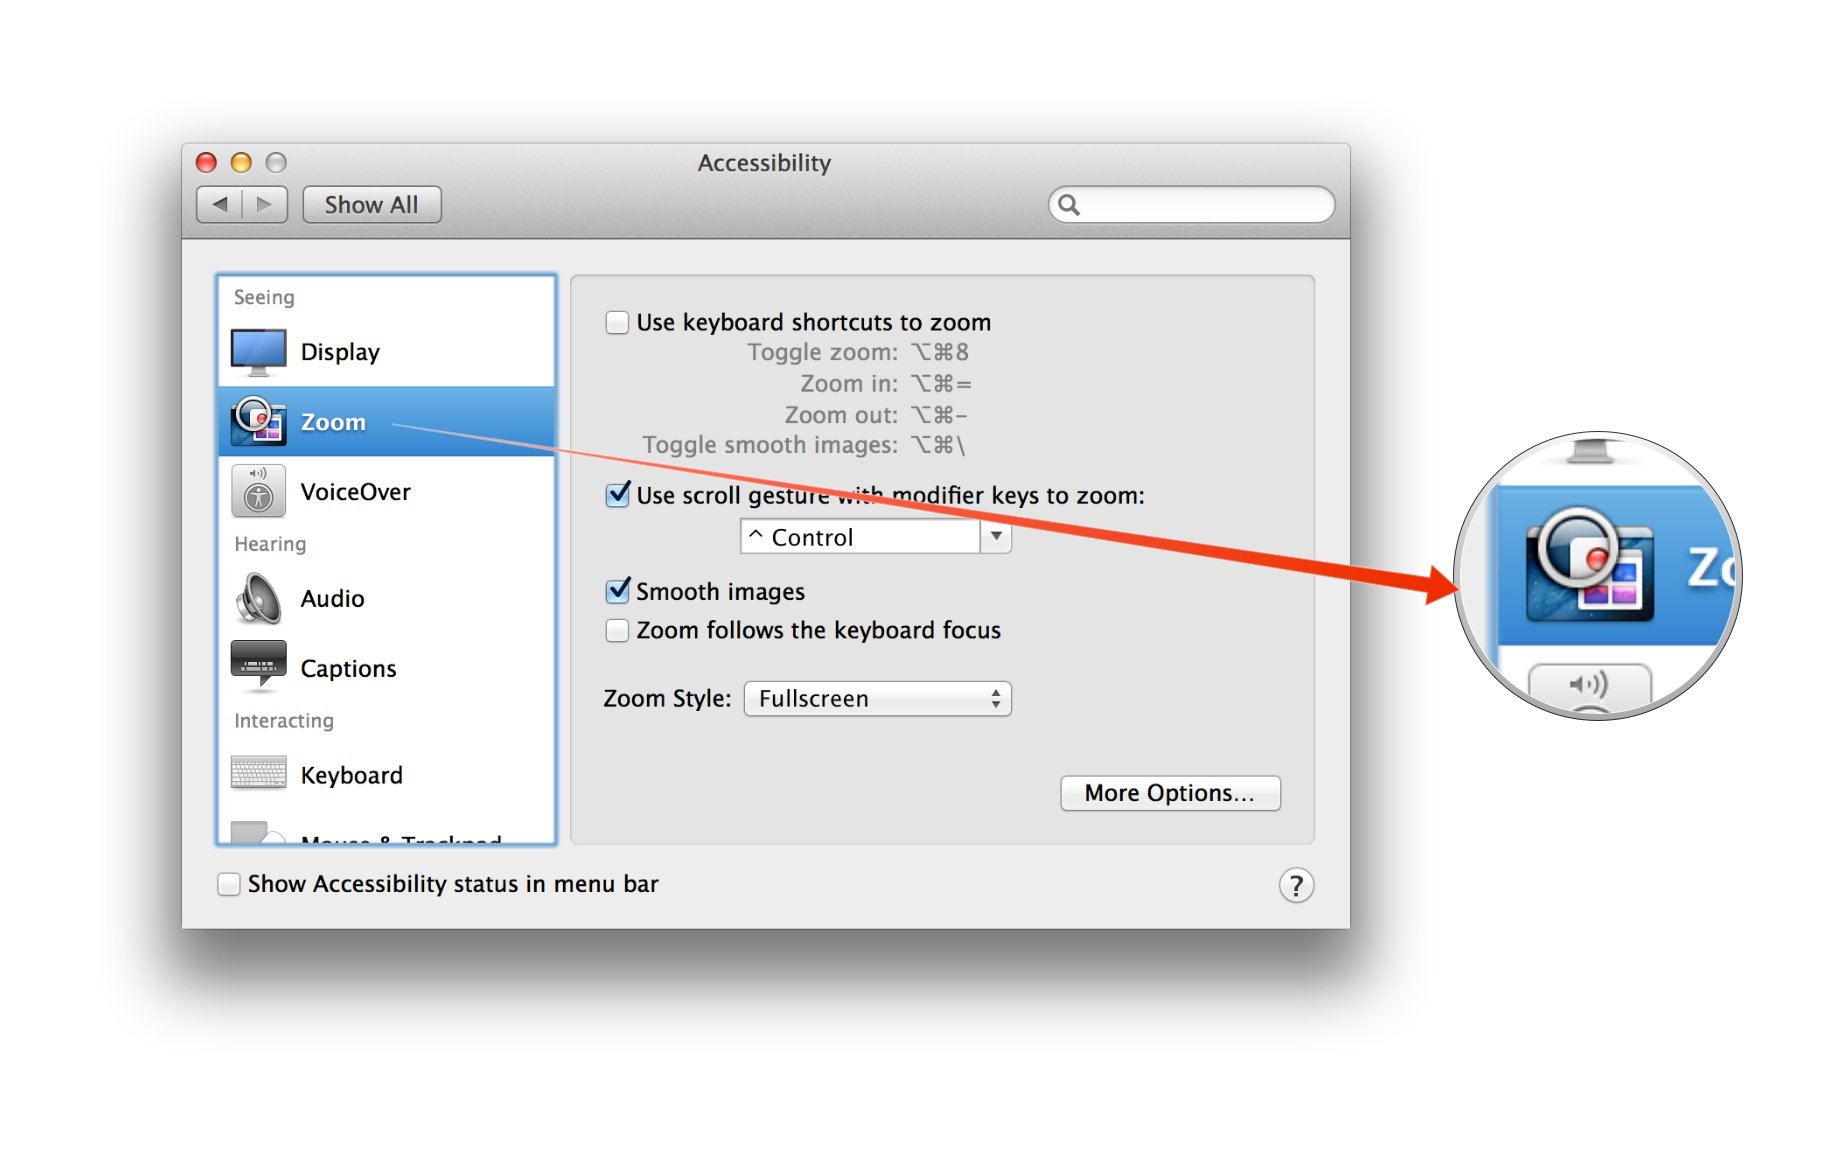
The two other subcategories under Accessibility's Display section are also really handy for users with visual impairments: Zoom enables keyboard and gesture-based control over screen magnification, with additional options available to control the actual level of zoom, whether a preview rectangle is rendered when you're zoomed out, and other options.
Even if you're not visually impaired, Zoom is a really handy feature to know about, especially if you've ever done any sort of presentation work with your Mac. If you need to show students or a group you're giving lessons to something on the screen that's easy to miss, activating Zoom enables you to immediately draw their attention to the area on the screen. I use it regularly when I'm giving one-on-one sessions and want to make sure my students know what they're looking at. I fully admit I copped the technique from watching an Apple employee give a group lesson at the Greenwich Village Apple Store in New York a number of years ago.
iMore offers spot-on advice and guidance from our team of experts, with decades of Apple device experience to lean on. Learn more with iMore!

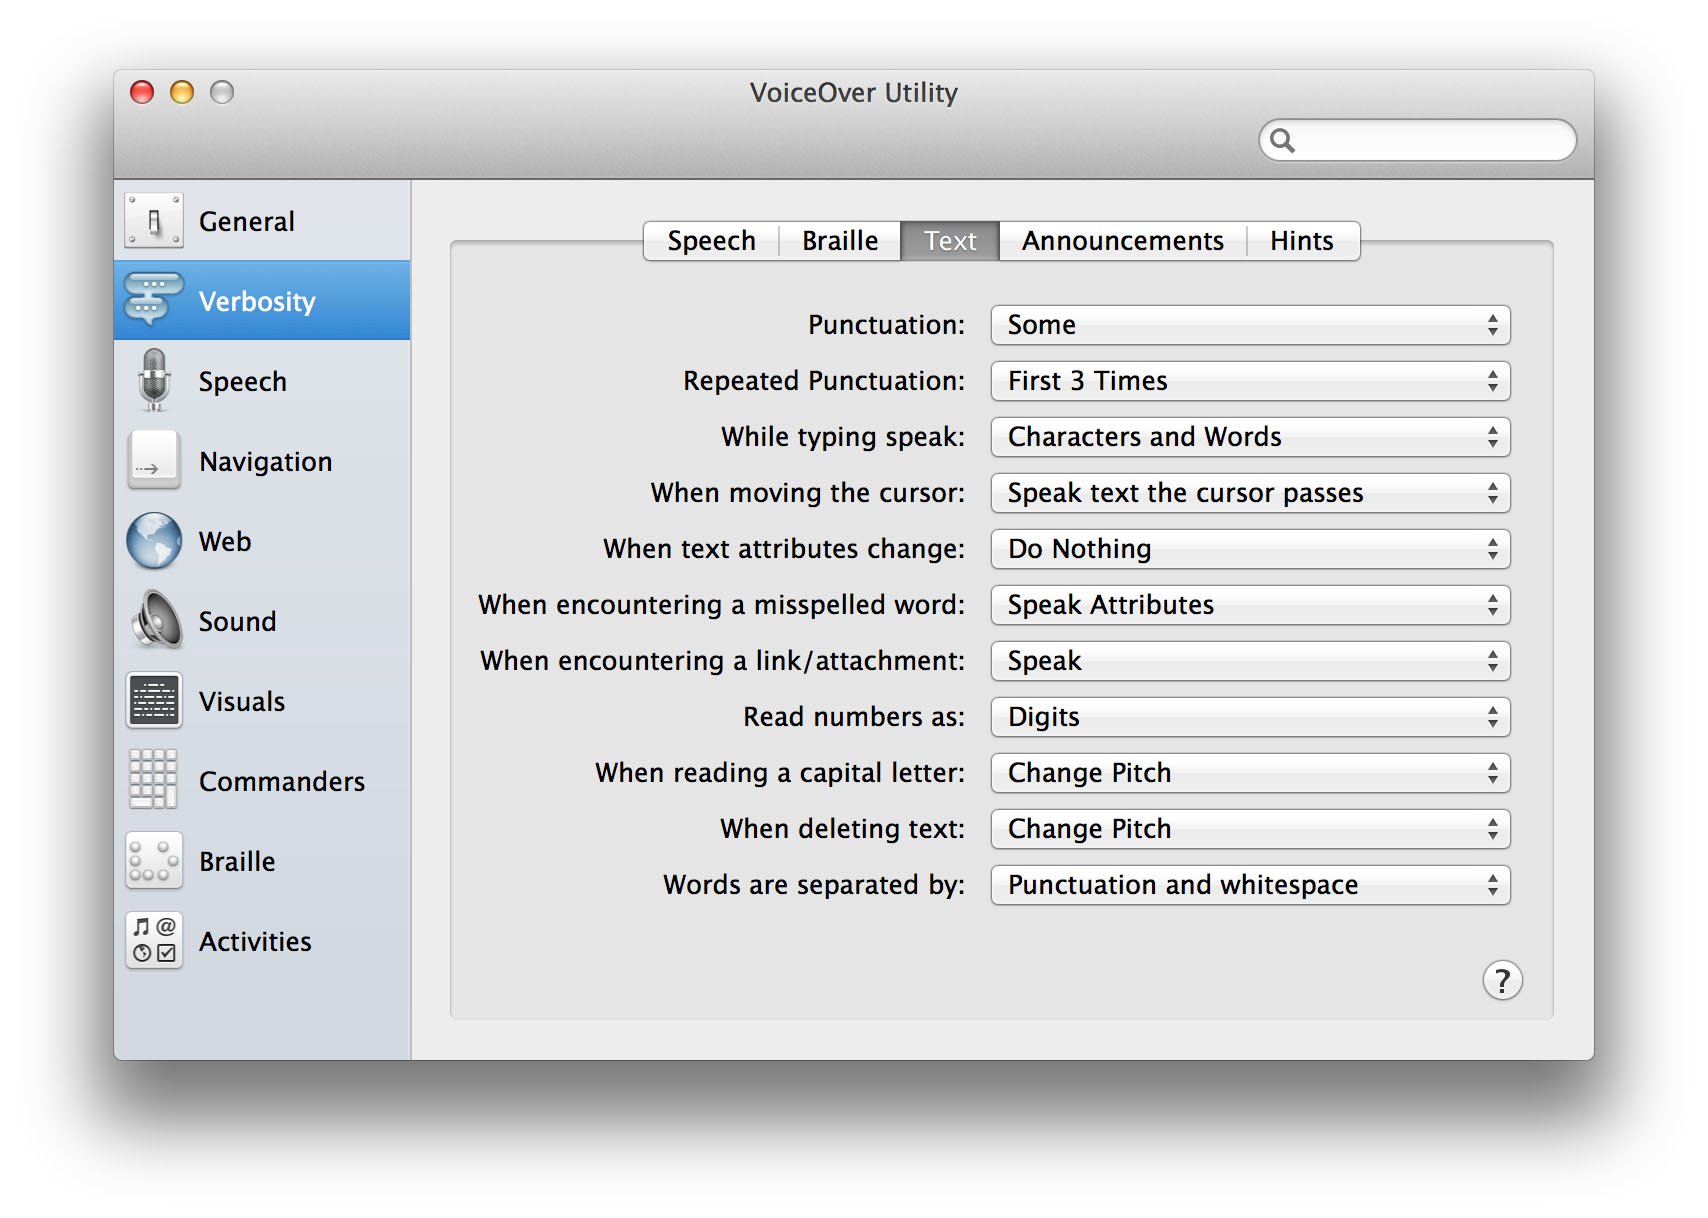
Finally, depending on the severity of your impairment, VoiceOver may be the most important option of all. VoiceOver is Apple's spoken description processing engine for OS X. The control screen in the Accessibility system preference only activates VoiceOver, but if you Open VoiceOver Utility... you'll see a wealth of options to customize the way that VoiceOver works: Everything from the amount of description given to web pages to control over how the VoiceOver voice sounds, even layout controls for a braille display, if your Mac is so equipped.
I admit this is a very cursory look at the Accessibility settings on your Mac, but I hope it'll help you get started to tweaking your Mac to make it as usable as possible depending on your needs.

