What you need to know
- A special firmware update for Wyze Cam v2 is now available that converts them into webcams.
- Once converted, v2 cameras can work with Windows and macOS for video conferencing.
- Updated cameras cannot be used with the Wyze app until original firmware is restored.
Wyze has released a special firmware update for its v2 cameras today that can convert the smart home staple into a webcam for Windows and macOS. Spotted by Dave Zatz on Twitter, the update, which can be found by visiting a dedicated Wyze support page, requires flashing the v2 camera firmware using a MicroSD card.
When used as a webcam, the Wyze Cam v2 supports the built-in mic, speaker, and of course, video, and it works with popular apps like Skype, Hangouts, and Zoom. The company cautions however, that the camera was not designed to be a webcam, and the update is only being released to help those who require a camera for conferencing. Wyze has stated that they are not planning any bug fixes or improvements for the feature, so it is definitely use at your own risk.

- Wyze Cam v2 was not designed to be used as a webcam. This firmware is for folks who need a webcam but can't buy one.
- This solution should be used "as is." We are not planning on continuous improvements or bug fixes.
- Once the Wyze Cam is flashed to webcam firmware, it will not be able to connect to the Wyze app, unless you manually flash it back to stock firmware.
- This may or may not be compatible with your computer operating system. We have tested and confirmed that it works on Mac OS 10.13, Windows 7 and 10.
- This solution has been tested and works with Zoom, GoToMeeting, Blue Jeans, Google Hangouts, Skype, and Cisco.
Once converted, the Wyze Cam v2 will no longer work as a security camera and will not work with the Wyze app. However, users can revert to the original firmware using a similar method if they wish to switch back. Here's what the process entails:
- Windows 10: Right-click on the folder and select Extract all.
- Mac OS: Drag and drop the folder on the root directory of your microSD card.
- For both Mac and Windows, rename the file to demo.bin.
- Unplug your Wyze Cam from power and insert your microSD card.
- Press and hold the Setup button, then plug in your USB cable. Continue holding the setup button for 3-6 seconds until the light is solid blue, then release the button.
- Wait 3-4 minutes. The camera will reboot, and the light status will change during this time.
- Once complete, the status light will flash yellow and blue at the same time (not alternating).
- Connect the USB A to A cable to the Wyze Cam (USB port, not the micro USB port) and computer USB port.

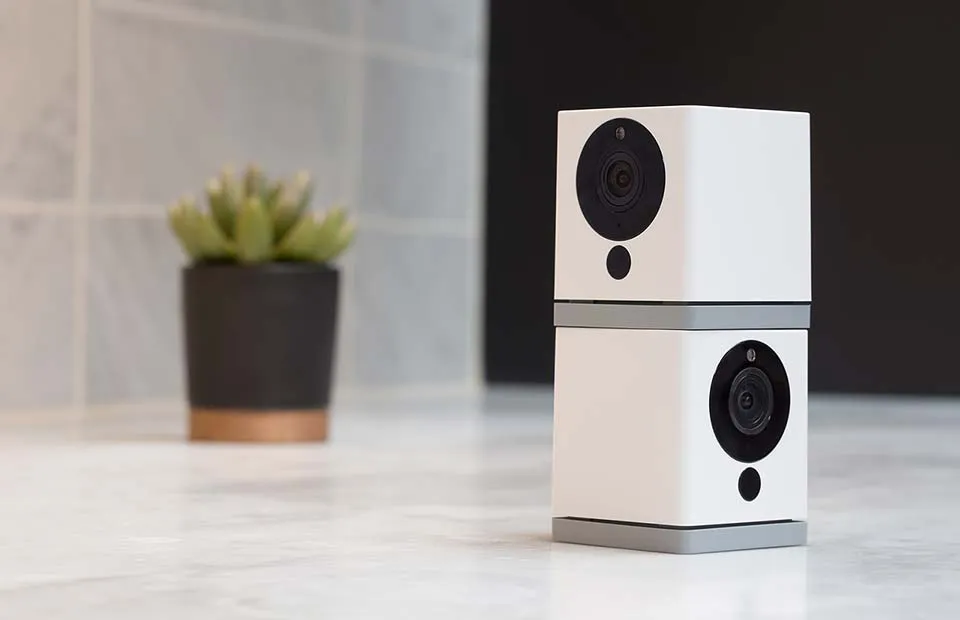
Big features, small price.
The Wyze Cam v2 is a fantastic smart home camera that is easy on the wallet. This camera supports 1080p HD video, night vision, 2-way audio, and now, with a new firmware update, it can be used as a webcam for video conferencing.

