2015 is going to be a big year for Microsoft with the forthcoming release of Windows 10 — you can read all about Microsoft's big January event right on our sister site Windows Central. Windows 10 is available as a technical preview, and if you're interested in trying it out on your Mac, you can do so safely without jeopardizing any of your Mac stuff, using virtualization software. What's more, you don't need to spend a dime doing it. Because both the Windows 10 preview and the virtualization software is free.

Step 0: Virtualization or Boot Camp?
Before you get Windows on your Mac, you have to decide how you want to run it: virtually within OS X, or on a separate hard drive partition using Boot Camp. Using software provided by Apple, you can turn your Mac into a dual-booting computer capable of running Windows or OS X natively. When your Mac is running Windows using Boot Camp, your Mac is a Windows PC. In order to do this, however, Boot Camp requires you to repartition your Mac's hard drive.
Virtualization software works differently: You're not messing with your Mac hard drive's partition map, you're just creating files and running Mac software that creates a virtual instance of a PC. If something goes really wrong — and this is preview software, remember — it's a lot easier to clean up the pieces using virtualization software than it can be if parts of your Mac's hard drive gets hosed.
Boot Camp doesn't officially support Windows 10 yet, and as such, its drivers may not play 100 percent nicely with the technical preview if you choose that route. I plan to revisit Boot Camp support for Windows 10 after Microsoft officially releases the new version, and I'll post my results. In the interim, though, I don't recommend using Boot Camp for Windows 10 Technical Preview.
Step 1: Download virtualization software
Running virtualization software seems to be the smartest option on the table at present for Microsoft's Windows 10 preview, and both Parallels Desktop or VMware Fusion are good options if you have them around.
If you don't already have virtual machine software on your Mac, you can download Oracle's VirtualBox. It's a virtualization tool just like Fusion and Parallels, but it has the virtue of being free. There are trial versions of Parallels Desktop and VMware Fusion which won't make you pay a fee for a two weeks or one month, respectively, so you're welcome to try those out if you prefer. But if you never want to pay a fee, check out VirtualBox.

My experience is that compared to VMware Fusion and Parallels Desktop, VirtualBox doesn't offer the same sort of robust performance or have quite as polished Mac integration (though there's no charge for it). You get what you pay for, et cetera.
Here are some links to virtualization software you can download for your Mac:
Step 2: Download Windows 10
After you have virtualization software, you'll need to download an ISO image of the Windows 10 technical preview. The ISO image is, for all intents and purposes, an exact copy of a physical Windows installation disc. You get this image from Microsoft itself by downloading it directly.
To get the disc image, you will need to register as part of Microsoft's Windows Insider Program. If you haven't already created a Microsoft account for OneDrive or Xbox Live or the like, you can do this during registration. You can also link the account to an existing email address to make it easier to remember and find later (much like iCloud).
Once you're set up and registered, Microsoft links you to a web page to download links; that page includes the product key you need to activate your preview version of Windows 10.
Step 3: Create a new virtual machine
- Launch VirtualBox.
- Click on the New button.
- In the Name field, type "Windows 10" or whatever you'd like.
- Leave Type as Microsoft Windows
- Click on the Version menu and select Windows 8.1 (64 bit).

You should be able to use the default settings for the next several screens, assuming your base goal is to just poke around Windows 10 and see how it works. Create a virtual hard drive; set the file type to VDI; and make the drive dynamically allocated. This will create a virtual machine that will be listed in VirtualBox's Manager. Select it and click the Start button.

Step 4: Install Windows 10 Technical Preview
When you finish creating your virtual machine, you'll be prompted with the following: "Please select a virtual optical disk file or a physical optical disk to start your new virtual machine from." Click on the folder icon to bring up a file browser which you can use to locate the Windows Technical Preview ISO file you downloaded.

Click the Start button.
Follow the instructions given by the Windows 10 Technical Preview installer. It will ask you where you want to install Windows; the only option should be a drive with unallocated space corresponding to the virtual hard drive you've just created in VirtualBox. Select it and click Next.

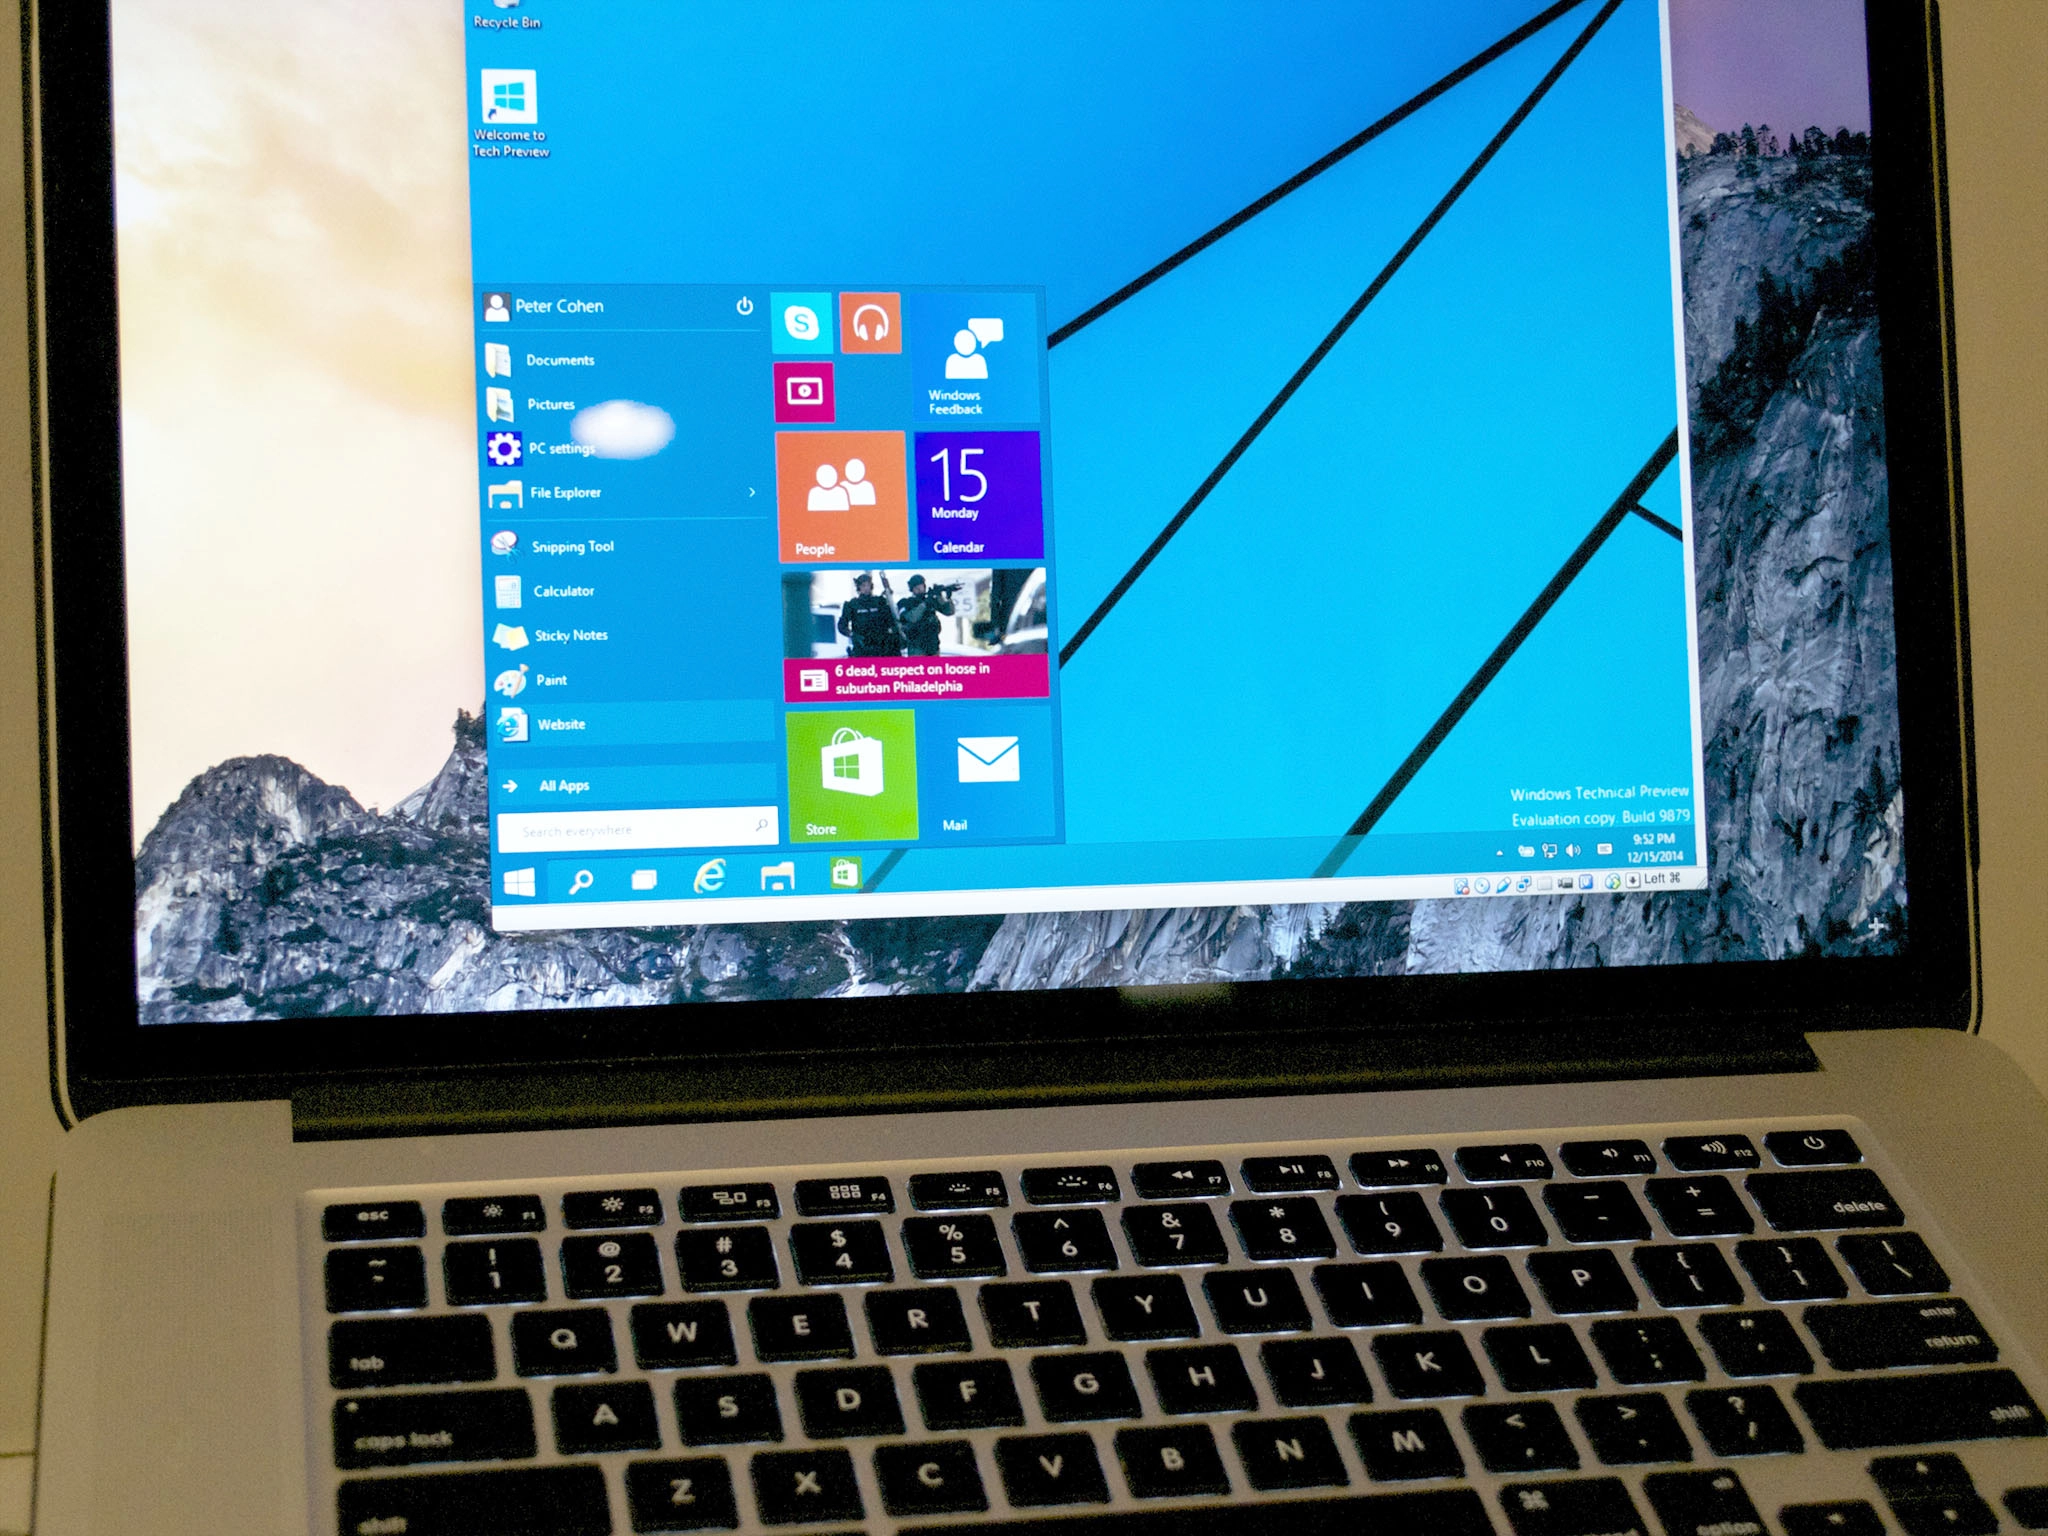
The rest of the process is just a step-by-step setup, and that's literally all there is to it. After a virtual machine restart, you should soon be staring at a virtualized desktop of Windows 10, running on your Mac.

Any questions?
As I mentioned above, VirtualBox's Mac integration isn't quite as tight as its commercial virtualization alternatives; it's a bit easier with those to switch display resolutions, use accessories, and integrate your Mac's own files. But if you're on a short budget or just want to mess around with Windows 10 prior to its release, VirtualBox and the Windows technical preview can give you what you need without setting you back any cash. That counts for something.
And if you run into any problems or have any questions, let me know in the comments.

