How to install a Logitech Circle 2 Camera outdoors

iMore offers spot-on advice and guidance from our team of experts, with decades of Apple device experience to lean on. Learn more with iMore!
You are now subscribed
Your newsletter sign-up was successful
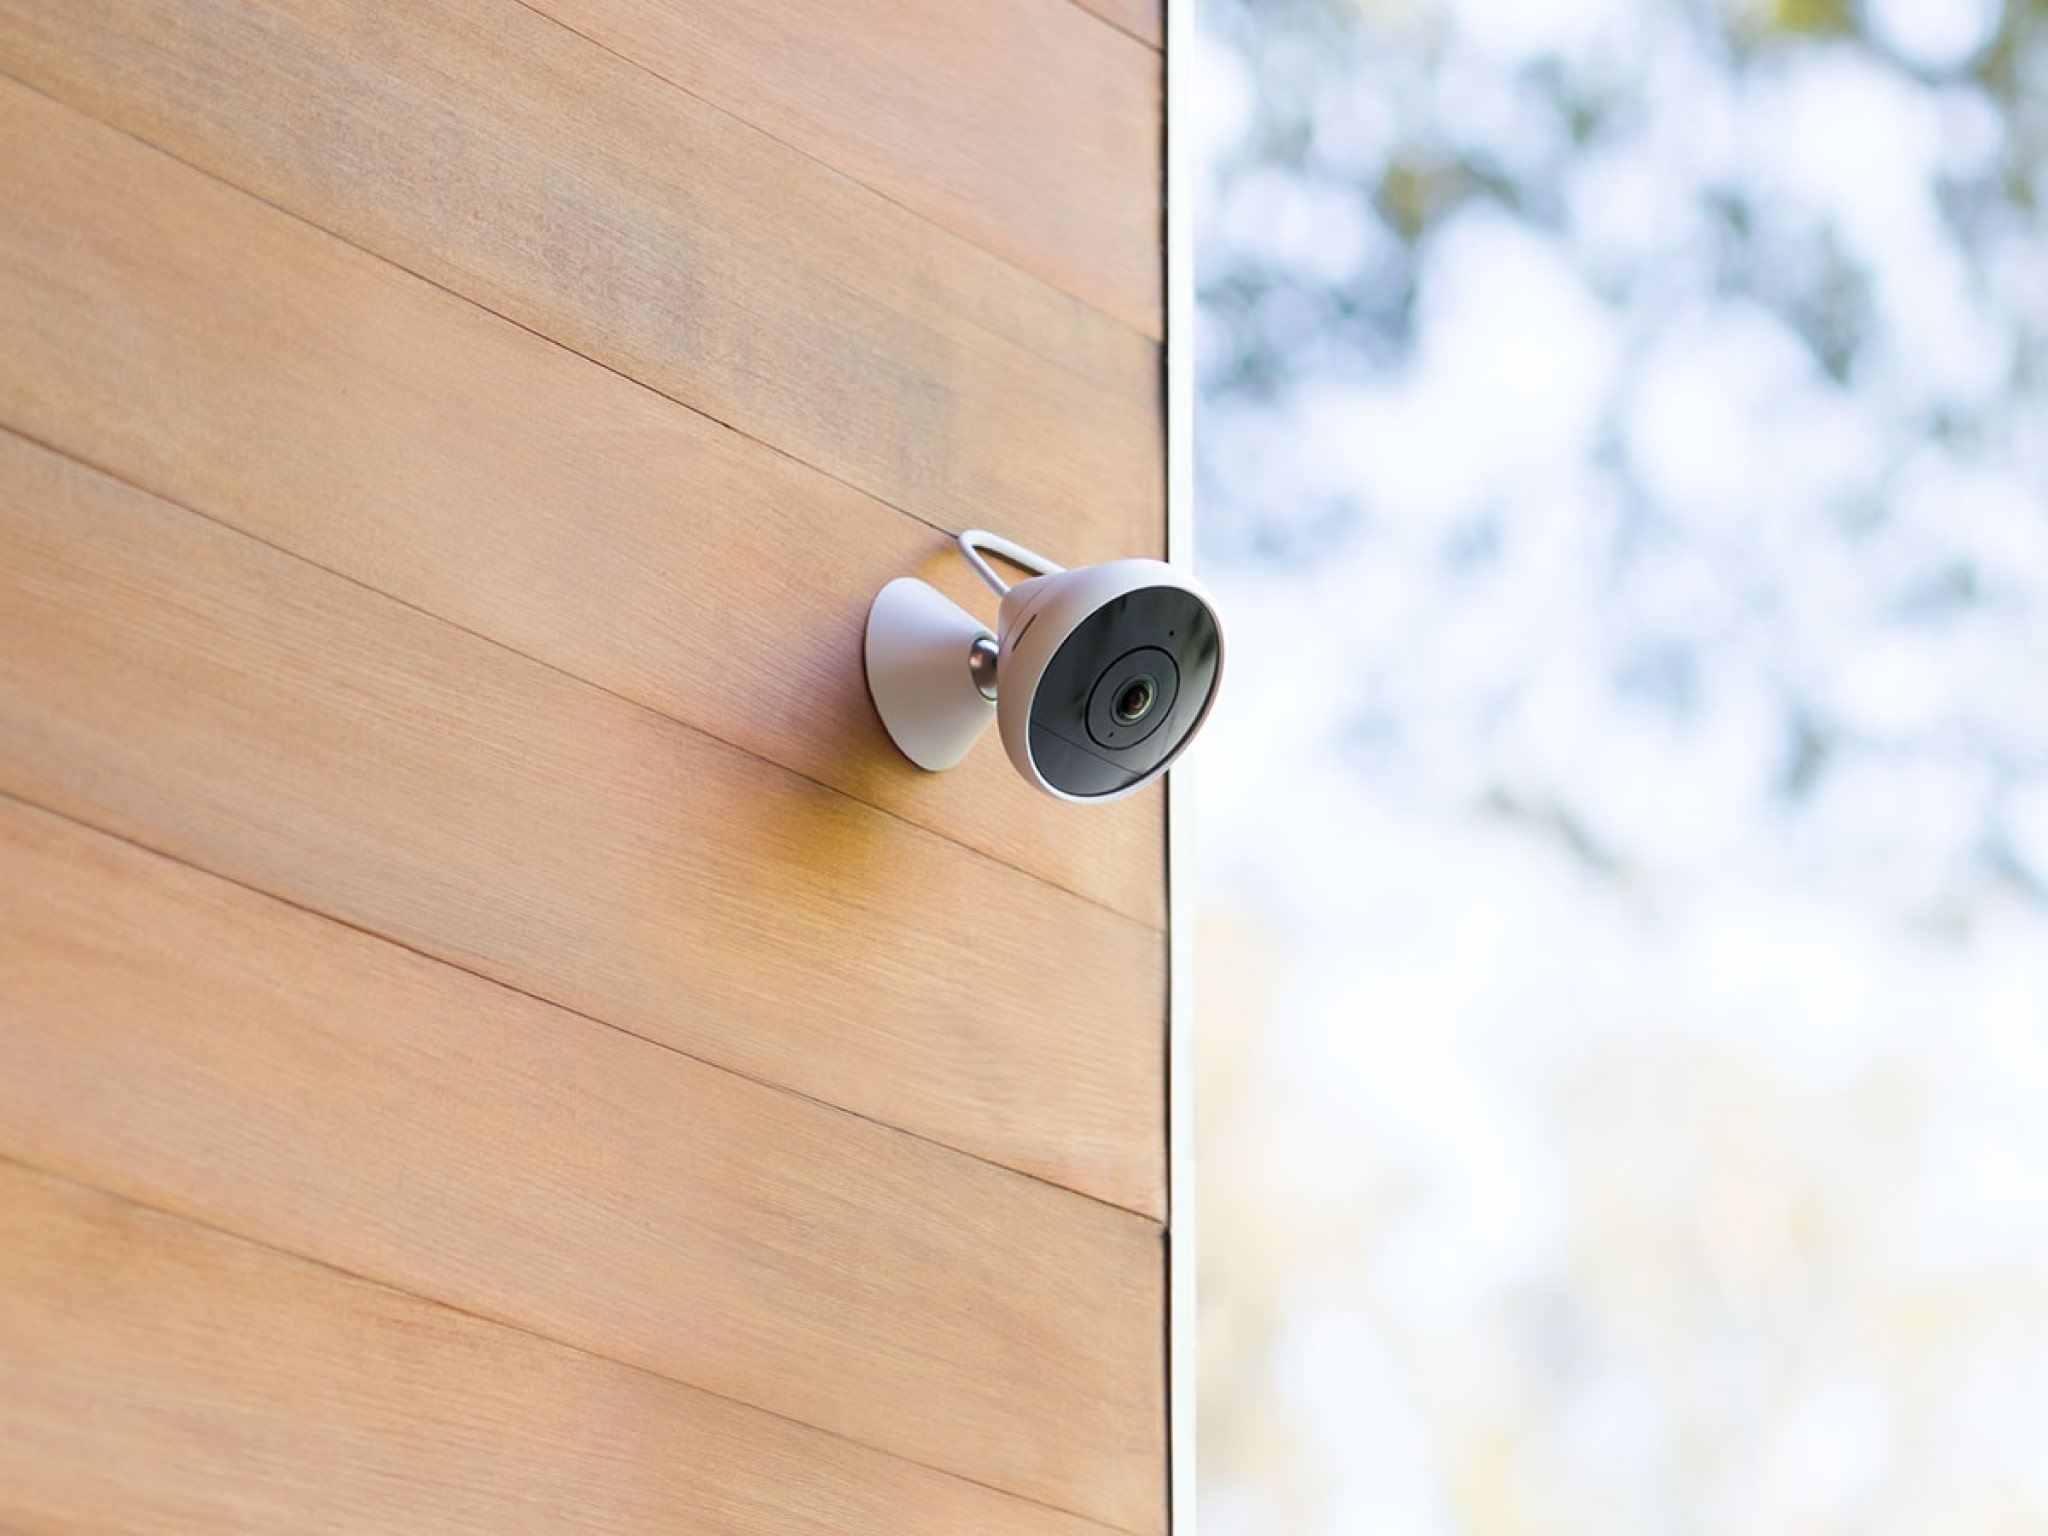
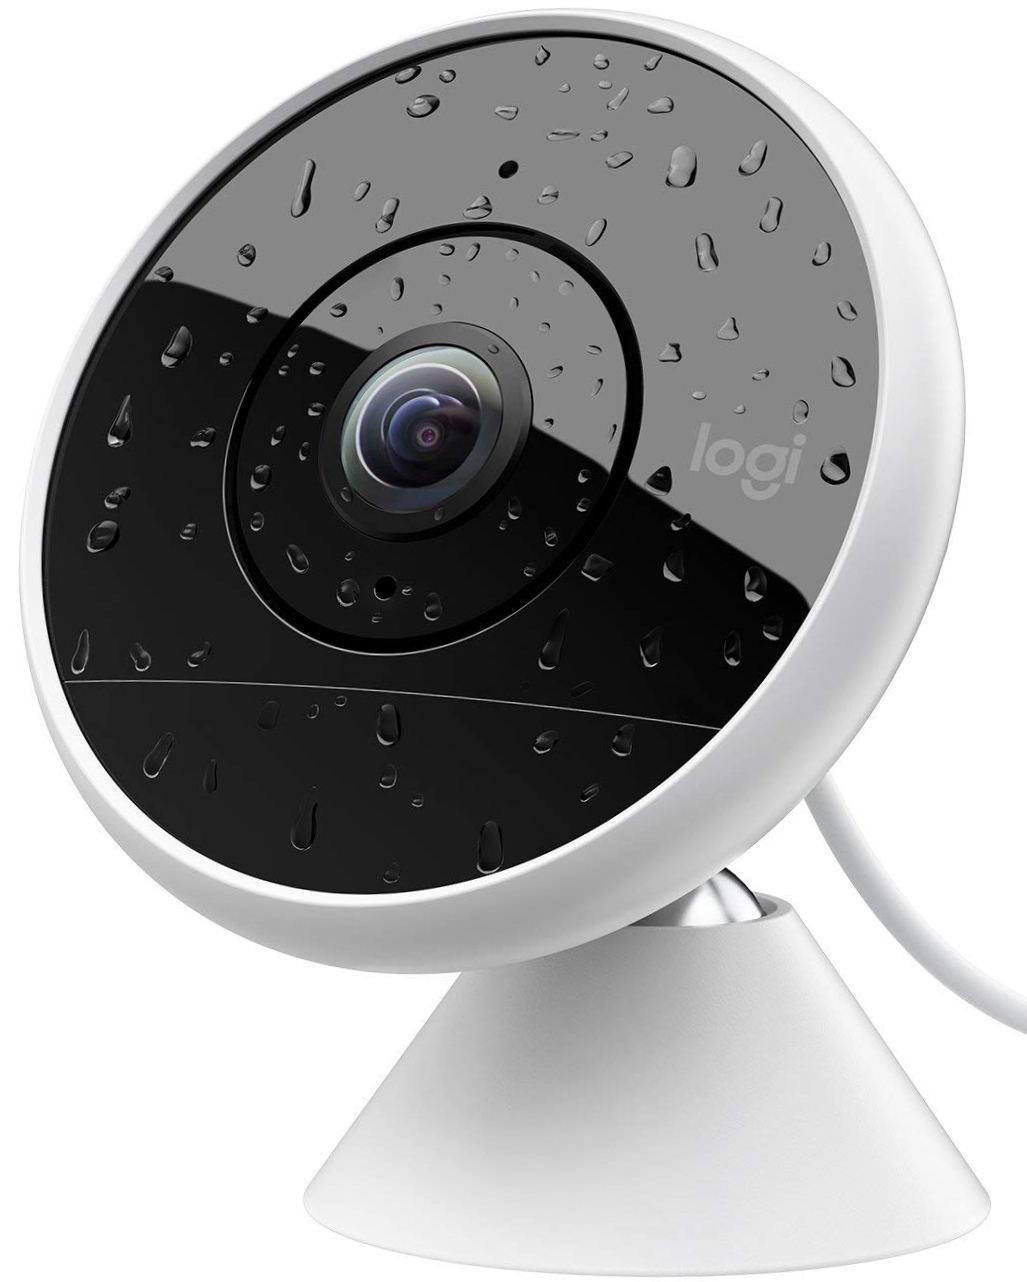
The Logitech Circle 2 camera is a very well designed home security camera and is one of our favorites. One of the best things about it is that it can be mounted indoors or outdoors. You don't have to buy several different cameras to complete your setup. The only thing you have to decide is if you want a wireless camera or a good ol' fashioned plug-in camera. Installing it outdoors takes a little more effort than setting it up inside but not to worry, we put this handy little guide together to help you out.
Products used in this guide
- Amazon: Logitech Circle 2 Camera ($180)
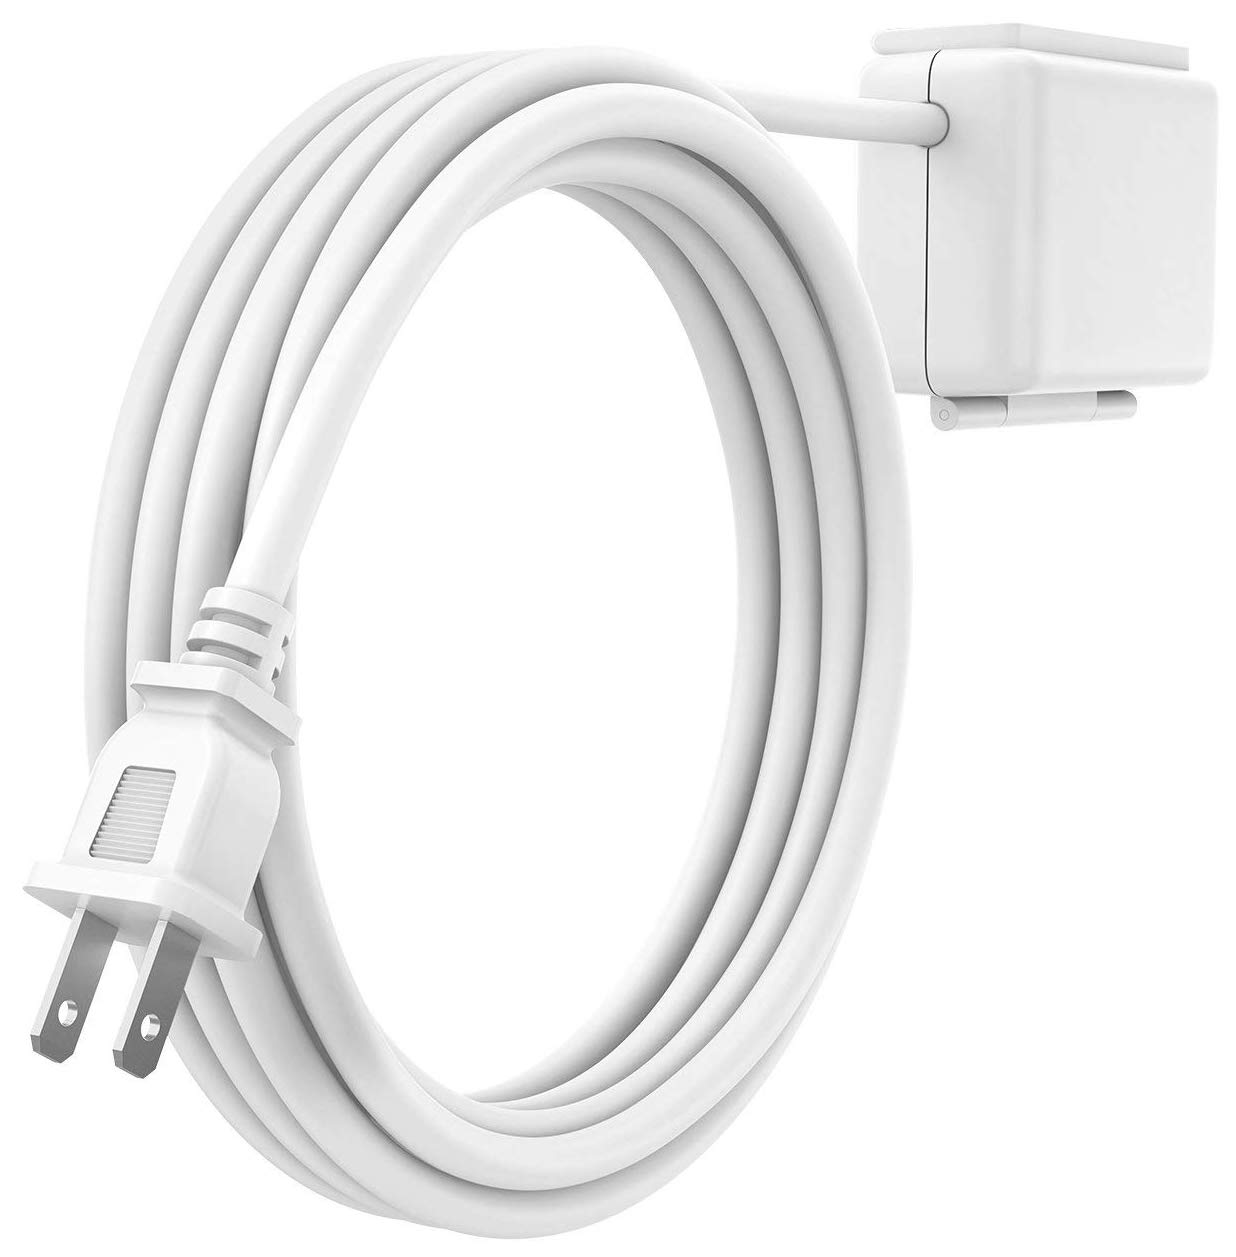
- Amazon: Logitech Circle 2 Weatherproof Extension ($30)
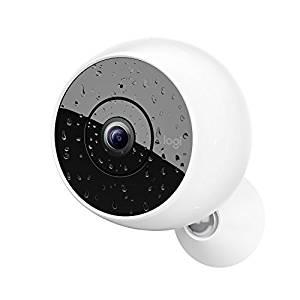
- Amazon: Logitech Circle 2 Wireless Camera ($200)
For the wired camera
- Locate the spot outside where you want to mount the camera.
- Measure how far the camera will be from the nearest plug. If it's more than 10 feet away, you'll need to get a Weatherproof Extension to give you another 15 feet. If you're still too far from the plug, maybe look for a new spot to mount the camera.
- Once you've found the best spot for the camera, using the included wall anchors and screws, mount the wall bracket to the wall.
- Attach the swivel mount to the wall bracket.
- Click the camera onto the swivel mount.
- Once the camera is on the wall, adjust the lens to where you think you want it to look.
- Run the cable along the wall as eloquently as you can and plug everything in.
- After being plugged in, the camera will blink a few different colors. Once you see a blue ring of light, sync the camera up to the Circle App on your device.
- Once you see the field of view for the camera, readjust if needed.
For the weatherproof extension
- First, you'll need to remove the adapter plug from the USB power adapter for the Circle 2.
- Once that's done, attach the Weatherproof Extension to the base of the USB adapter.
- Place the USB power adapter with the extension into the included Weatherproof Case.
- Mount the Weatherproof Case to the outside wall wherever it fits best.
- Now you're ready to plug the entire thing into the nearest outlet. Cable manage as best you can (Logitech includes 2 cable clips with every product so that helps a little).
For the wireless camera
- Locate the spot outside where you want to mount the camera. Before you mount the camera, it's a good idea to charge the battery up.
- Once you've found the best spot for the camera and the battery is fully charged, using the included wall anchors and screws, mount the wall bracket to the wall.
- Attach the swivel mount to the wall bracket.
- Click the camera onto the swivel mount.
- Once the camera is on the wall, adjust the lens to where you think you want it to look.
- After it turns on, the camera will blink a few different colors. Once you see a blue ring of light, sync the camera up to the Circle App.
- Once you see the field of view for the camera, readjust if needed.
Setting up a security camera outside is definitely a good option if you're looking to secure your home. Thankfully, the Circle 2 is perfectly weatherproof so no matter if you go wired or wireless, you don't have to worry about your camera getting damaged. We strongly recommend going the wired route for your outside cameras because the mount is a little more secure and you don't have to worry about recharging. Logitech claims that the Circle 2 will get about 60 days of battery life if mounted in a low traffic spot and 30 days if in a higher traffic spot. Going with the wired camera saves you having to remember to recharge your camera every month or so (and since I can barely remember what I had for breakfast this morning, I'll go with the wired option).
Our top equipment picks
Logitech has done a great job building a mostly hassle-free home security camera that gives competitors a run for their money. Best of all, Logitech built it all into one package so you only have to pick if you want the wired or wireless version. The wireless version will get the job done with less installation, but the mount has been known to be a little less stable, and you've got to remember to charge the darn thing. The wired camera gives you the exact same features with a lot less headache.
Additional Equipment
If you're mounting your camera more than 10ft away from the nearest outlet then you will definitely need to get the Weatherproof Extension. In addition to protecting everything from the elements, you get about an extra 15ft of room to work with.
Logitech also offers wireless options if you really want to cut all the cords. It's a little more hassle though cuz you gotta make sure you remember to keep it charged but if that works for you, go for it.
iMore offers spot-on advice and guidance from our team of experts, with decades of Apple device experience to lean on. Learn more with iMore!


