How to restore from a Time Machine Backup
iMore offers spot-on advice and guidance from our team of experts, with decades of Apple device experience to lean on. Learn more with iMore!
You are now subscribed
Your newsletter sign-up was successful
Apple's built-in Time Machine app makes it simple to back up Mac data. When the time comes to restore some of those files (or your entire Mac), Apple also makes that easy. Here's how to restore from backup using the Time Machine app in macOS Mojave.
Great backup drives
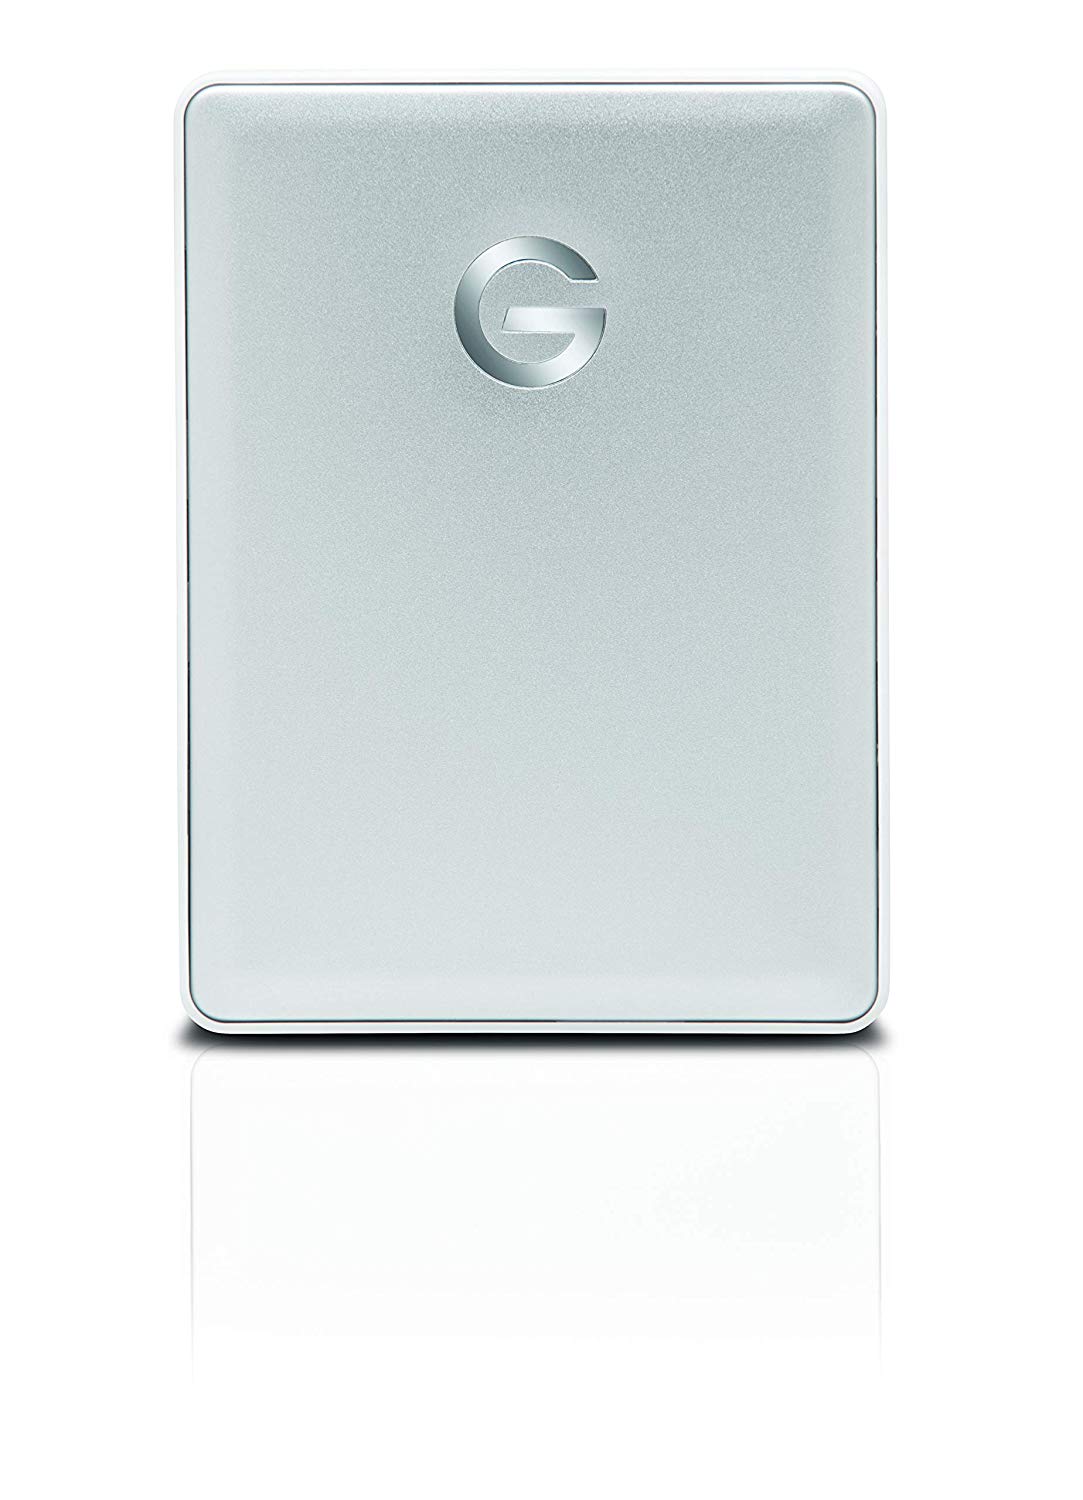
- Our 2019 favorite: G-Technology G-Drive 1TB ($70 at Amazon)
- Compact: SanDisk Extreme Portable External 250B, 500GB, 1TB, 2GB (From $73 at Amazon)
- Sleak choice: LaCie Porsche Design 1TB, 2TB, 4TB (From $90 at Amazon)
Restoring files from a Time Machine backup
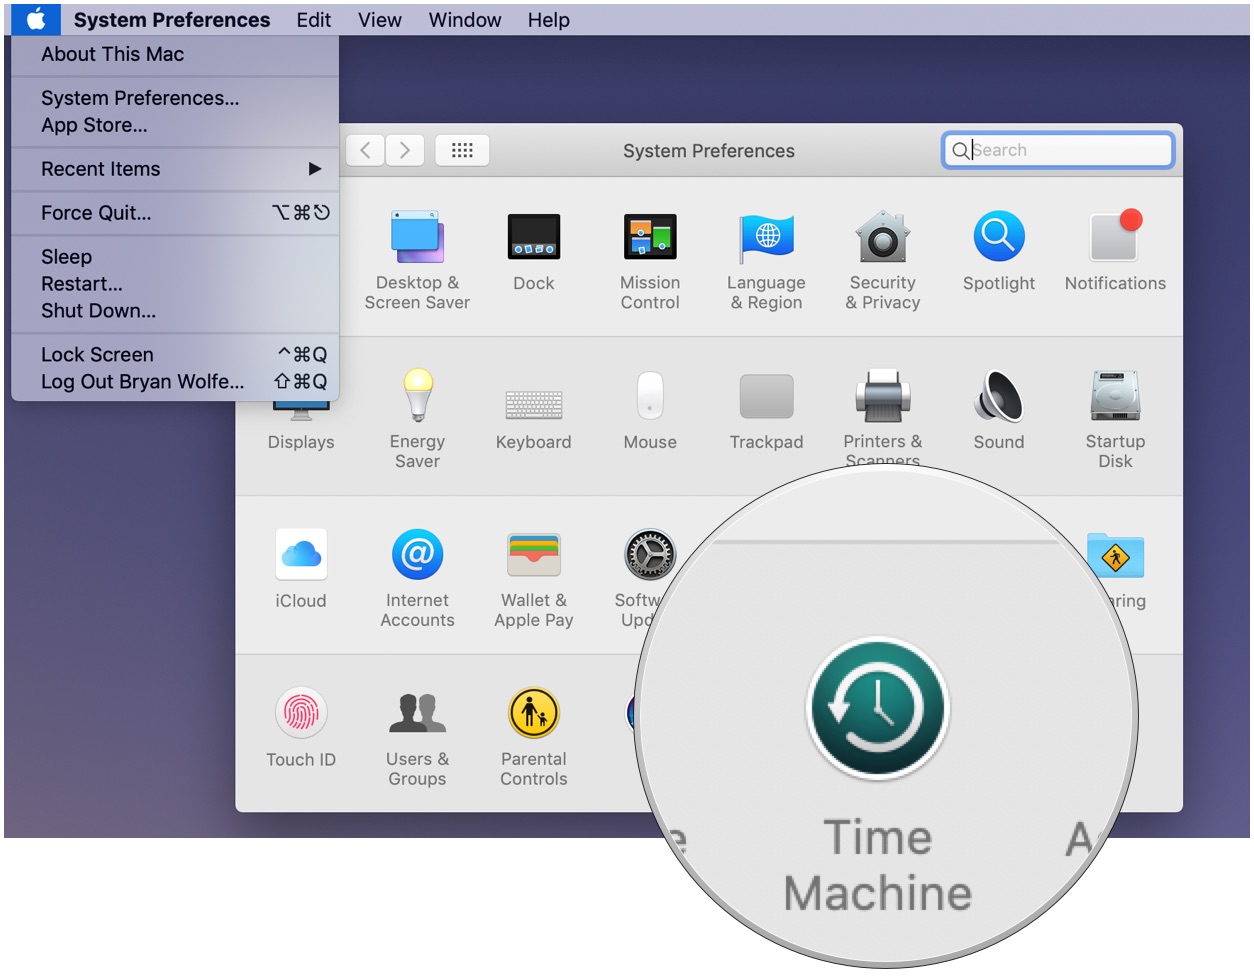
- Select System Preferences from the Apple menu.
- Choose the Time Machine icon.
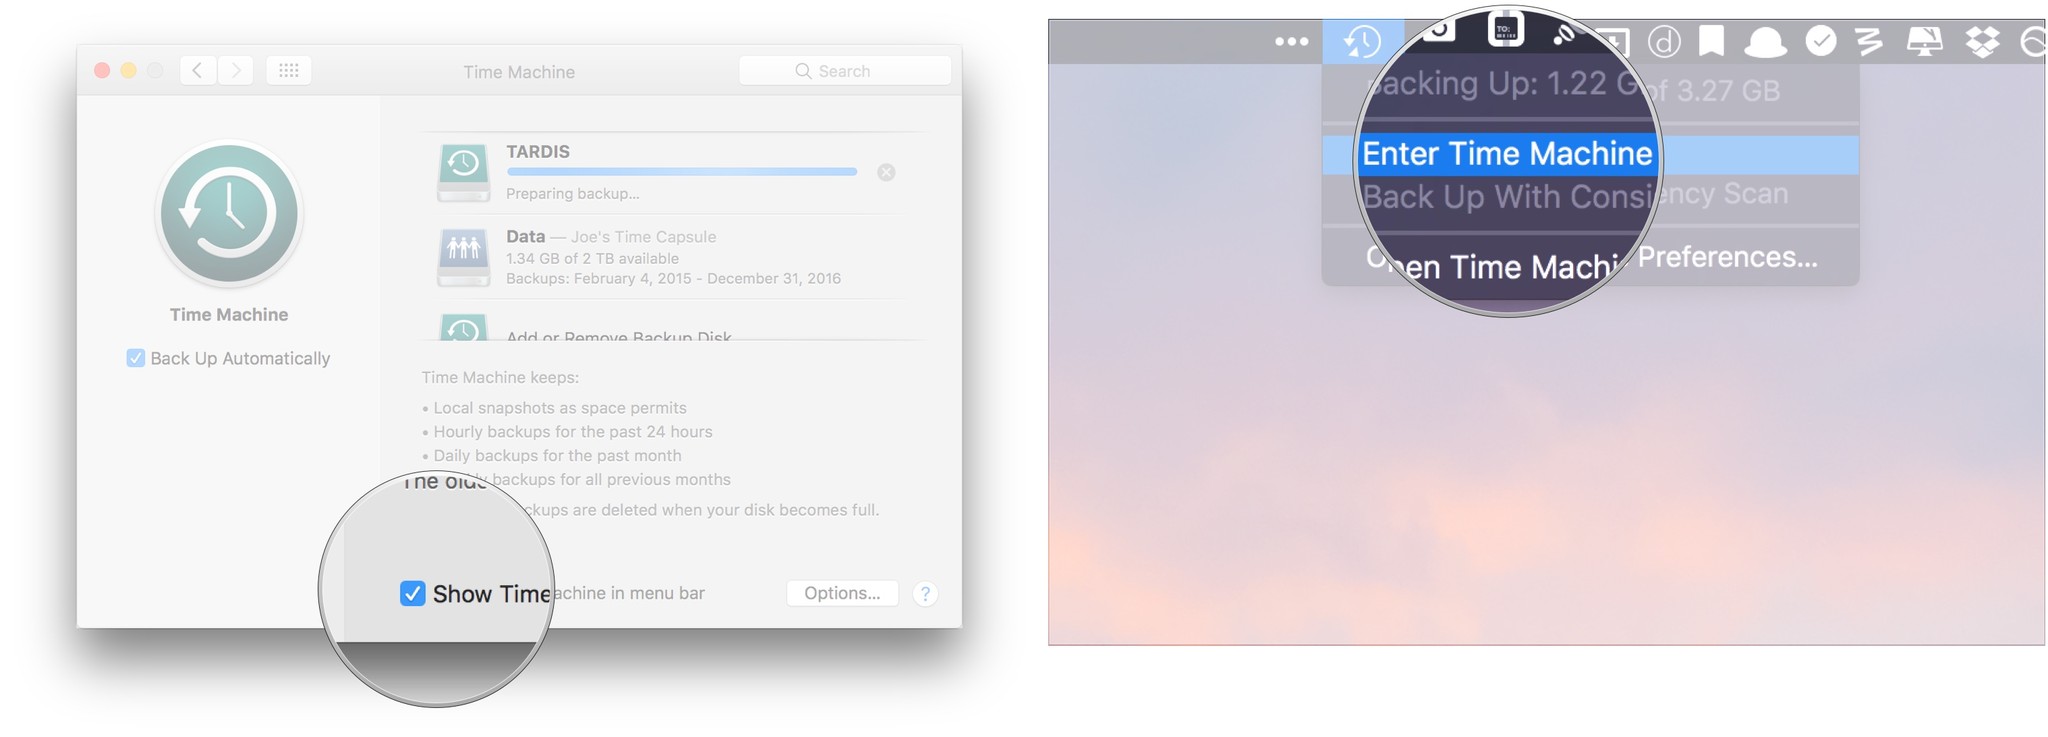
- Check the box next to Show Time Machine in menu bar.
- Click Enter Time Machine after clicking the Time Machine icon in the Menu bar.
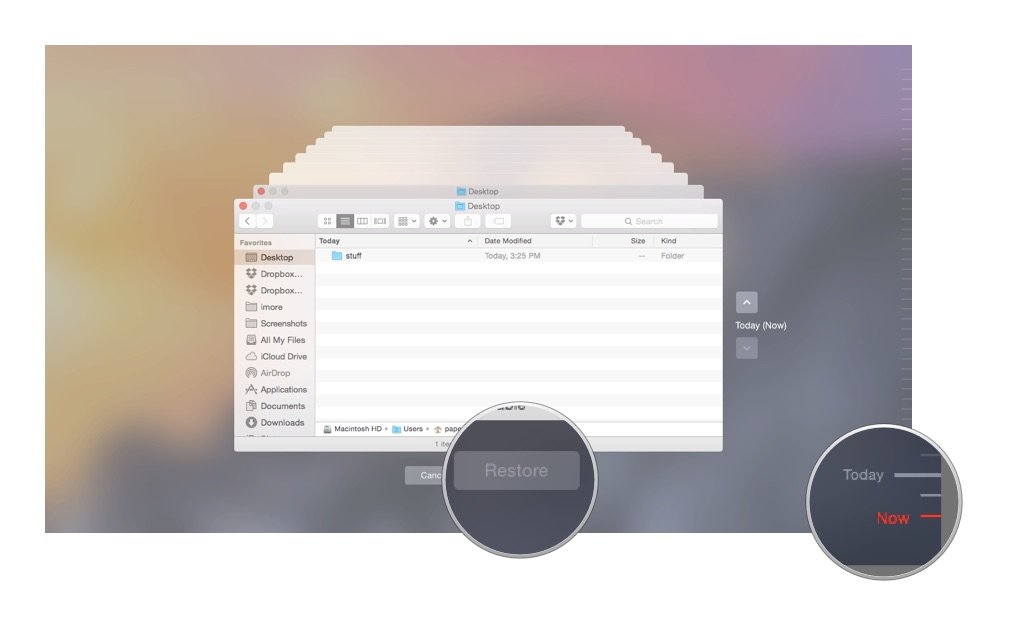
- Find the file or folder in question and click Restore.
You're all set! Time Machine will copy that file back to its original location on your hard drive.
Restoring your hard drive from a Time Machine backup
Whether you're having major problems with your current hard drive or upgrading to a new Mac, Time Machine can help you get back on track.
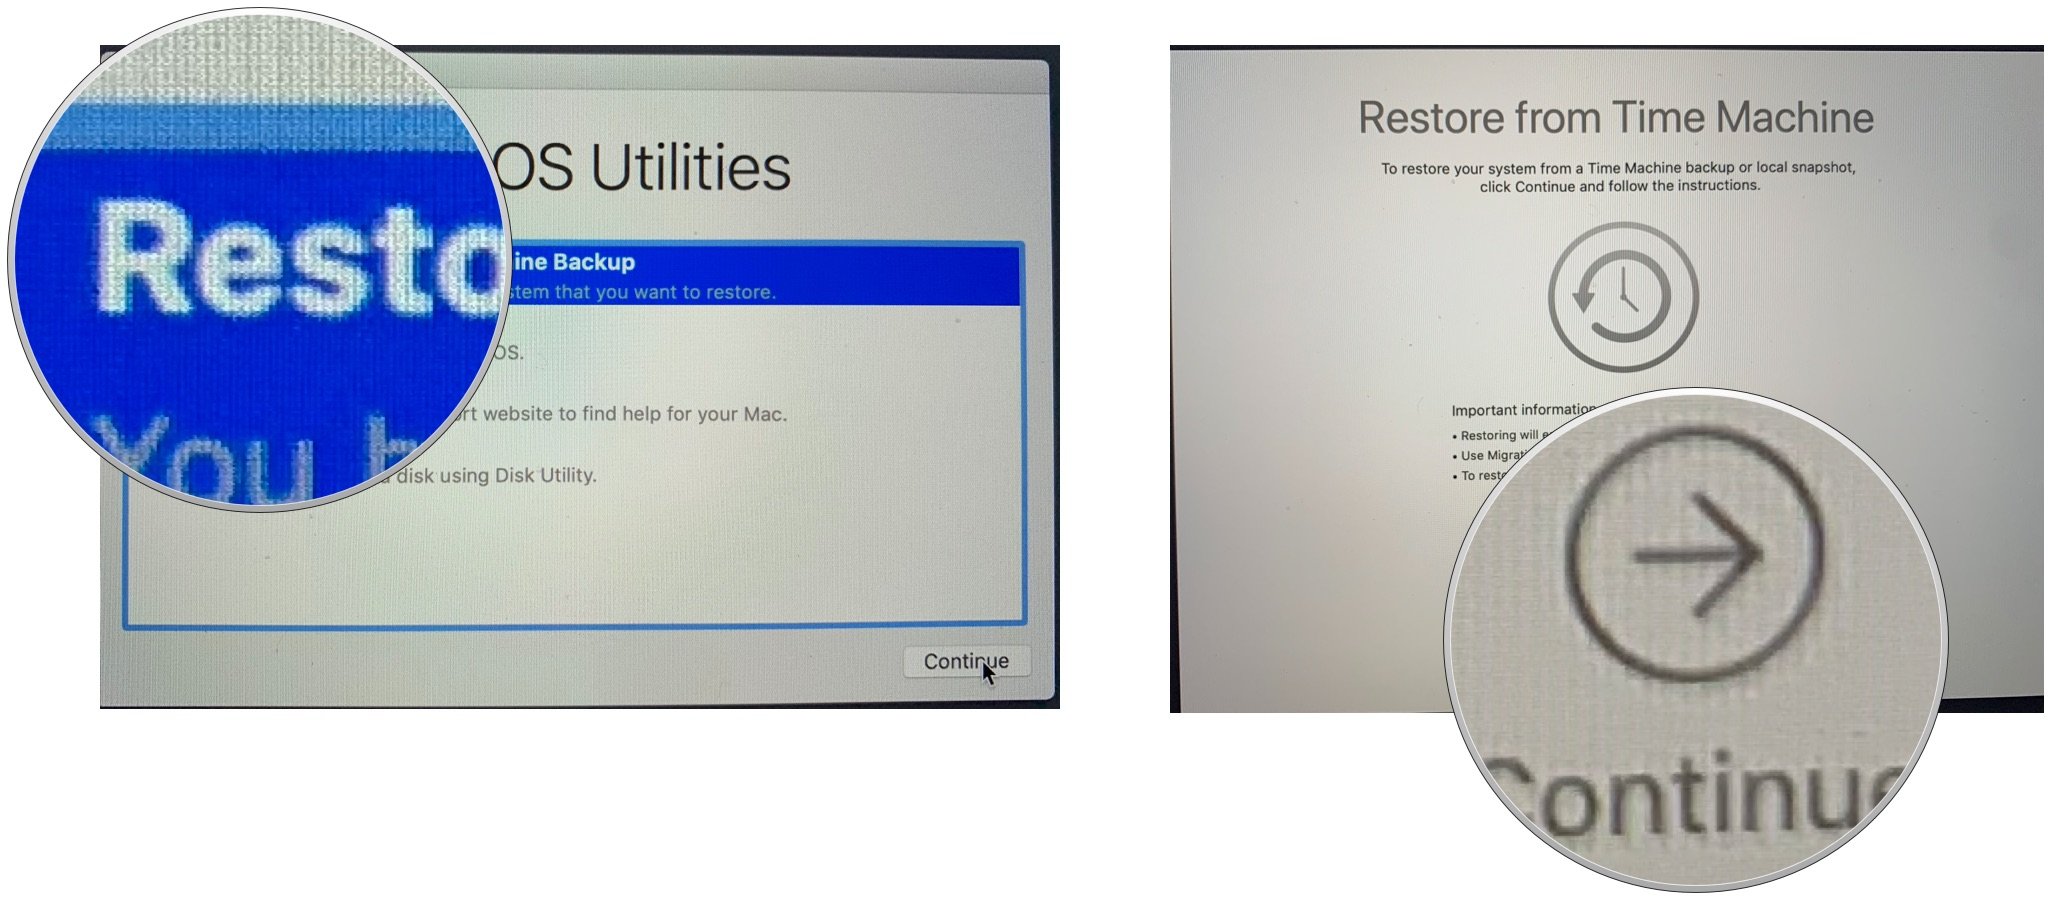
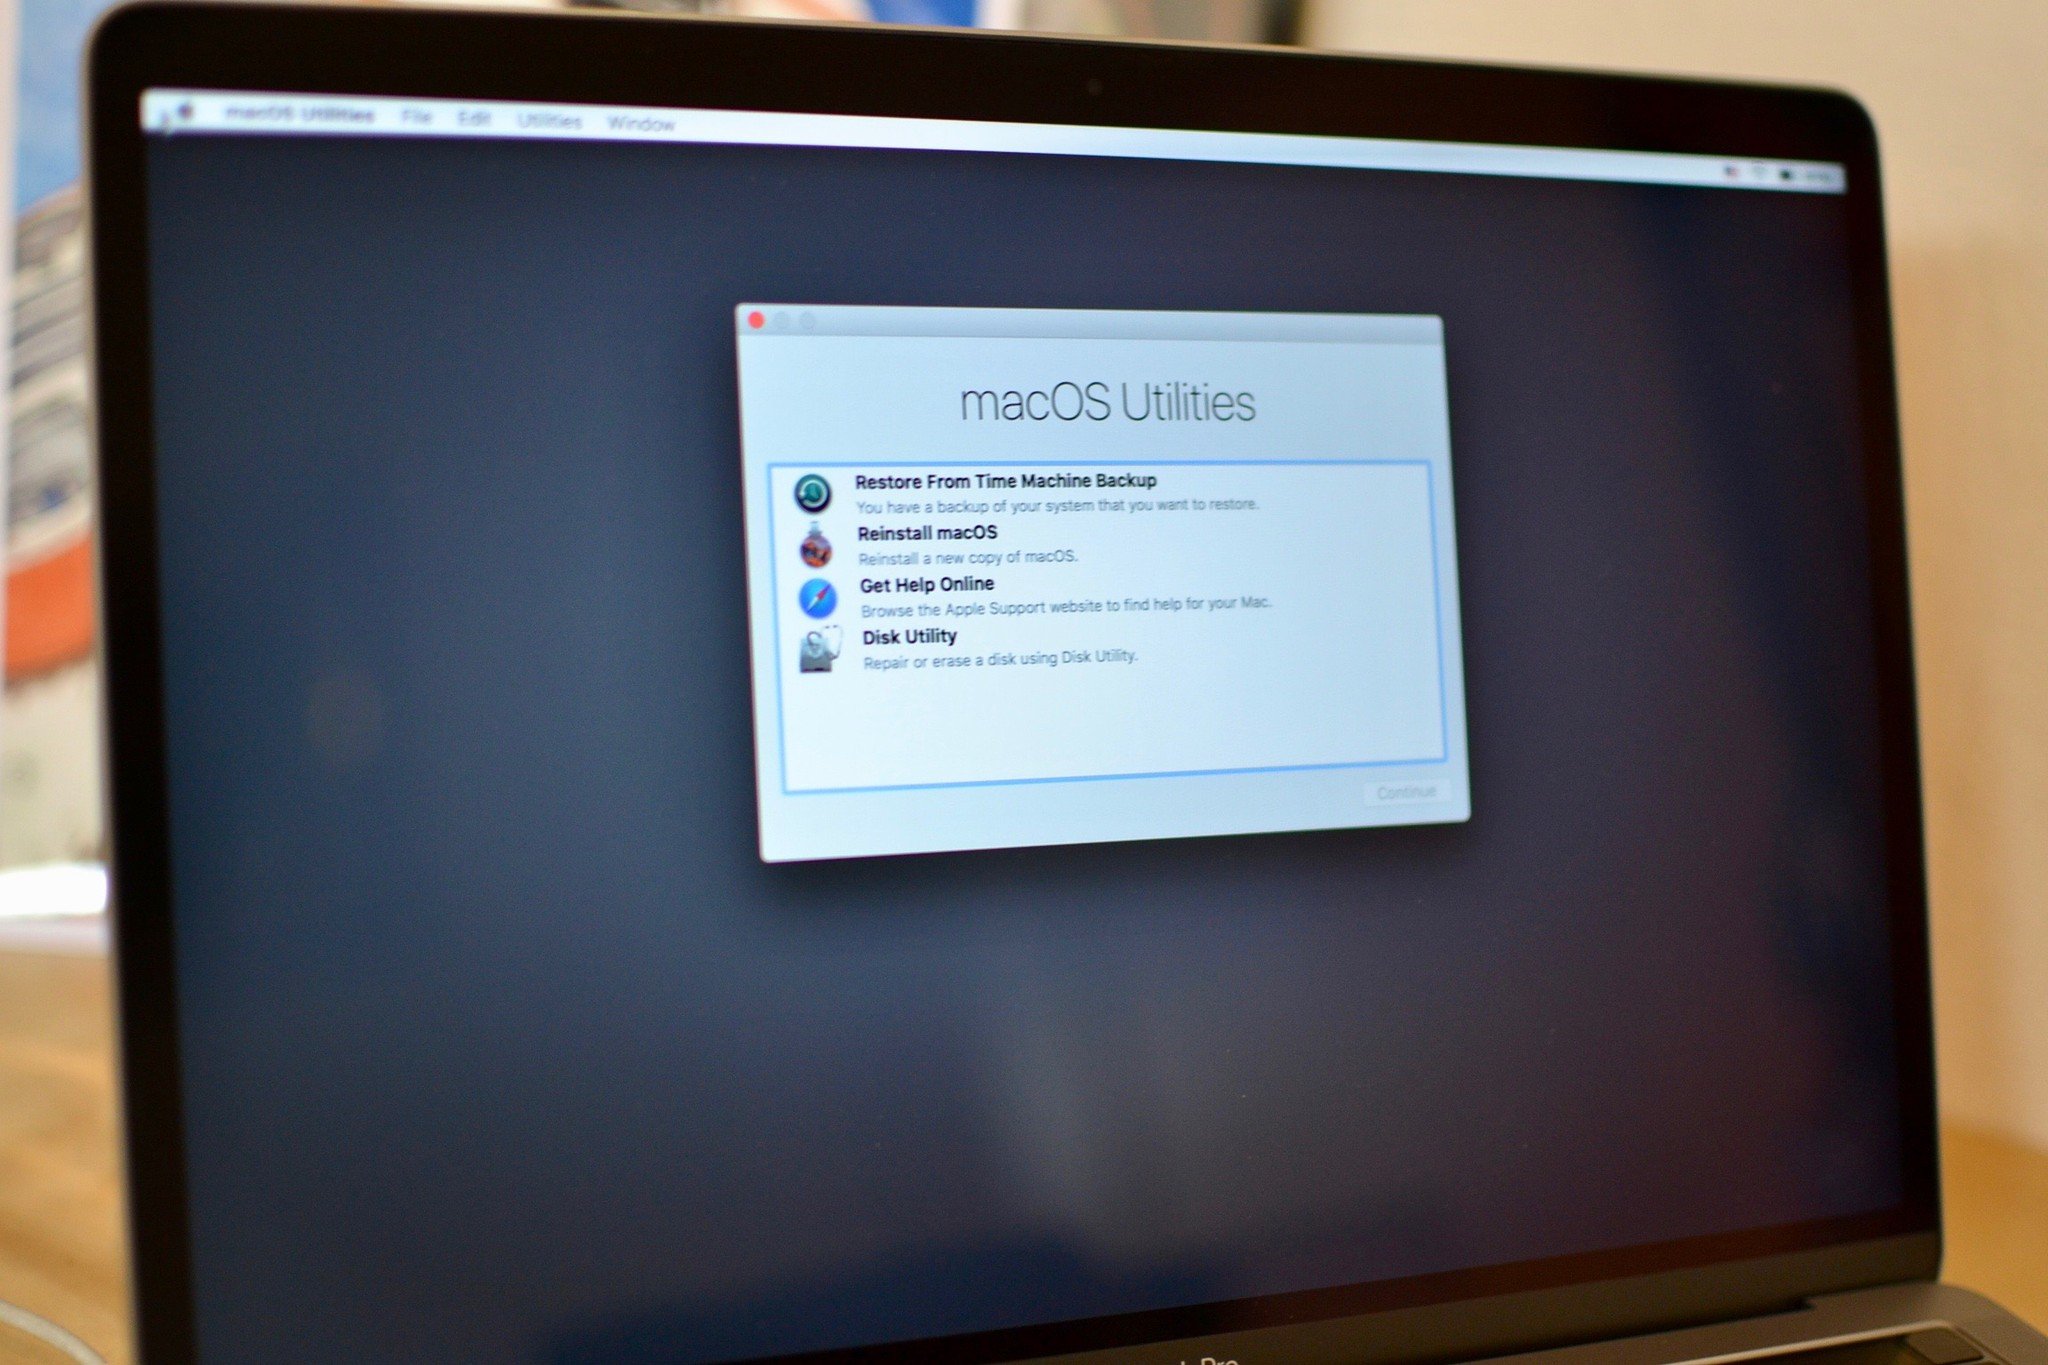
- Power up your Mac and hold down the Command and R keys to enter the macOS Recovery Partition. Your Mac should boot to a screen that says macOS Utilities.
- Select Restore from Time Machine Backup and click Continue.
- Read the info on the Restore Your System page and click Continue.
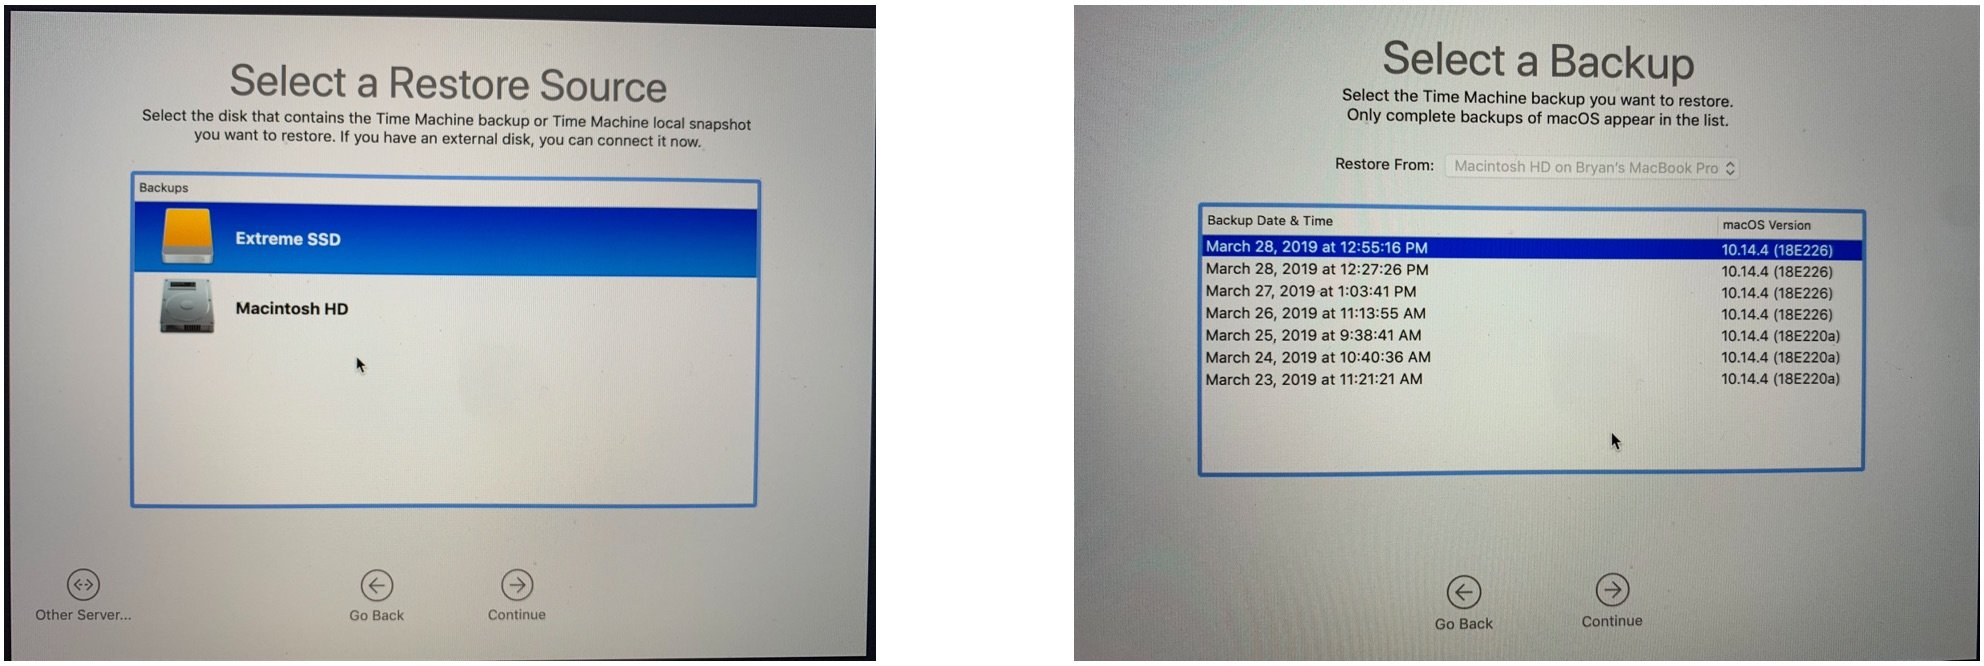
- Select your Time Machine backup and click Continue.
- Select the most recent backup of your hard disk and click Continue. Your Mac will then restore the Time Machine backup; once it's done it will restart.
If you've had to replace it with a stock drive that has nothing on it—not even macOS—you won't be able to boot from the macOS Recovery Partition. But fear not, you can get the recovery rolling from the Time Machine backup disk itself: Just hold down the Option key when you start your Mac; you'll be able to select the Time Machine backup disk as your startup drive and go from there.
Our top equipment pick
There are countless hard drives available that support Apple's Time Machine app for backup purposes. These three are among the best on the market.
Also available with 2TB and 4TB, G-Technology's G-Drive is one of the easiest drives to use for backup. Just plug it in and you're halfway there! It's available in silver, space gray, and rose gold.
Other options
The following hard drives are also among our favorites for 2019.
iMore offers spot-on advice and guidance from our team of experts, with decades of Apple device experience to lean on. Learn more with iMore!
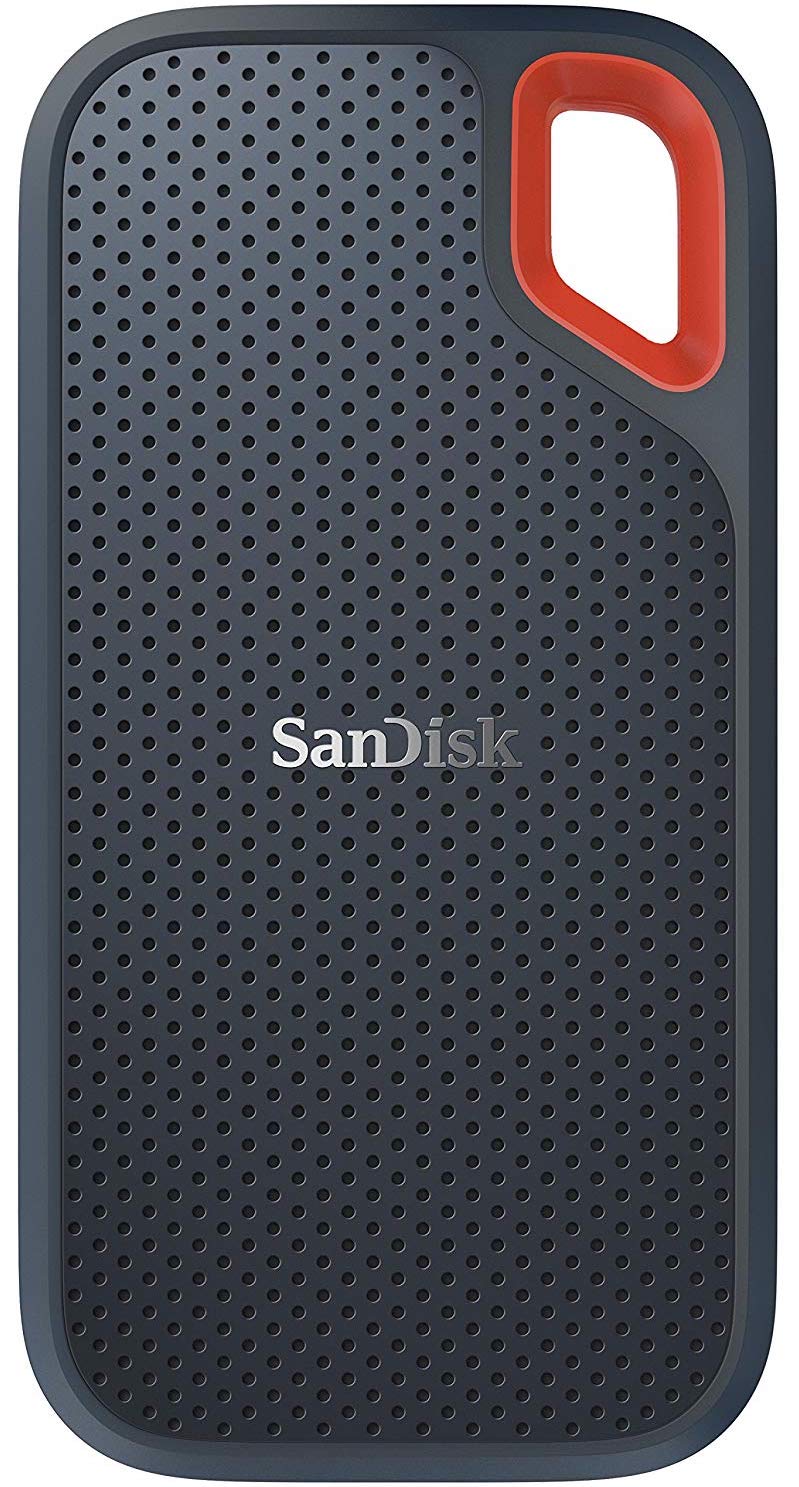
SanDisk Extreme Portable External 250B, 500GB, 1TB, 2GB (From $73 at Amazon)
This product proves that even hard drives can be beautiful.
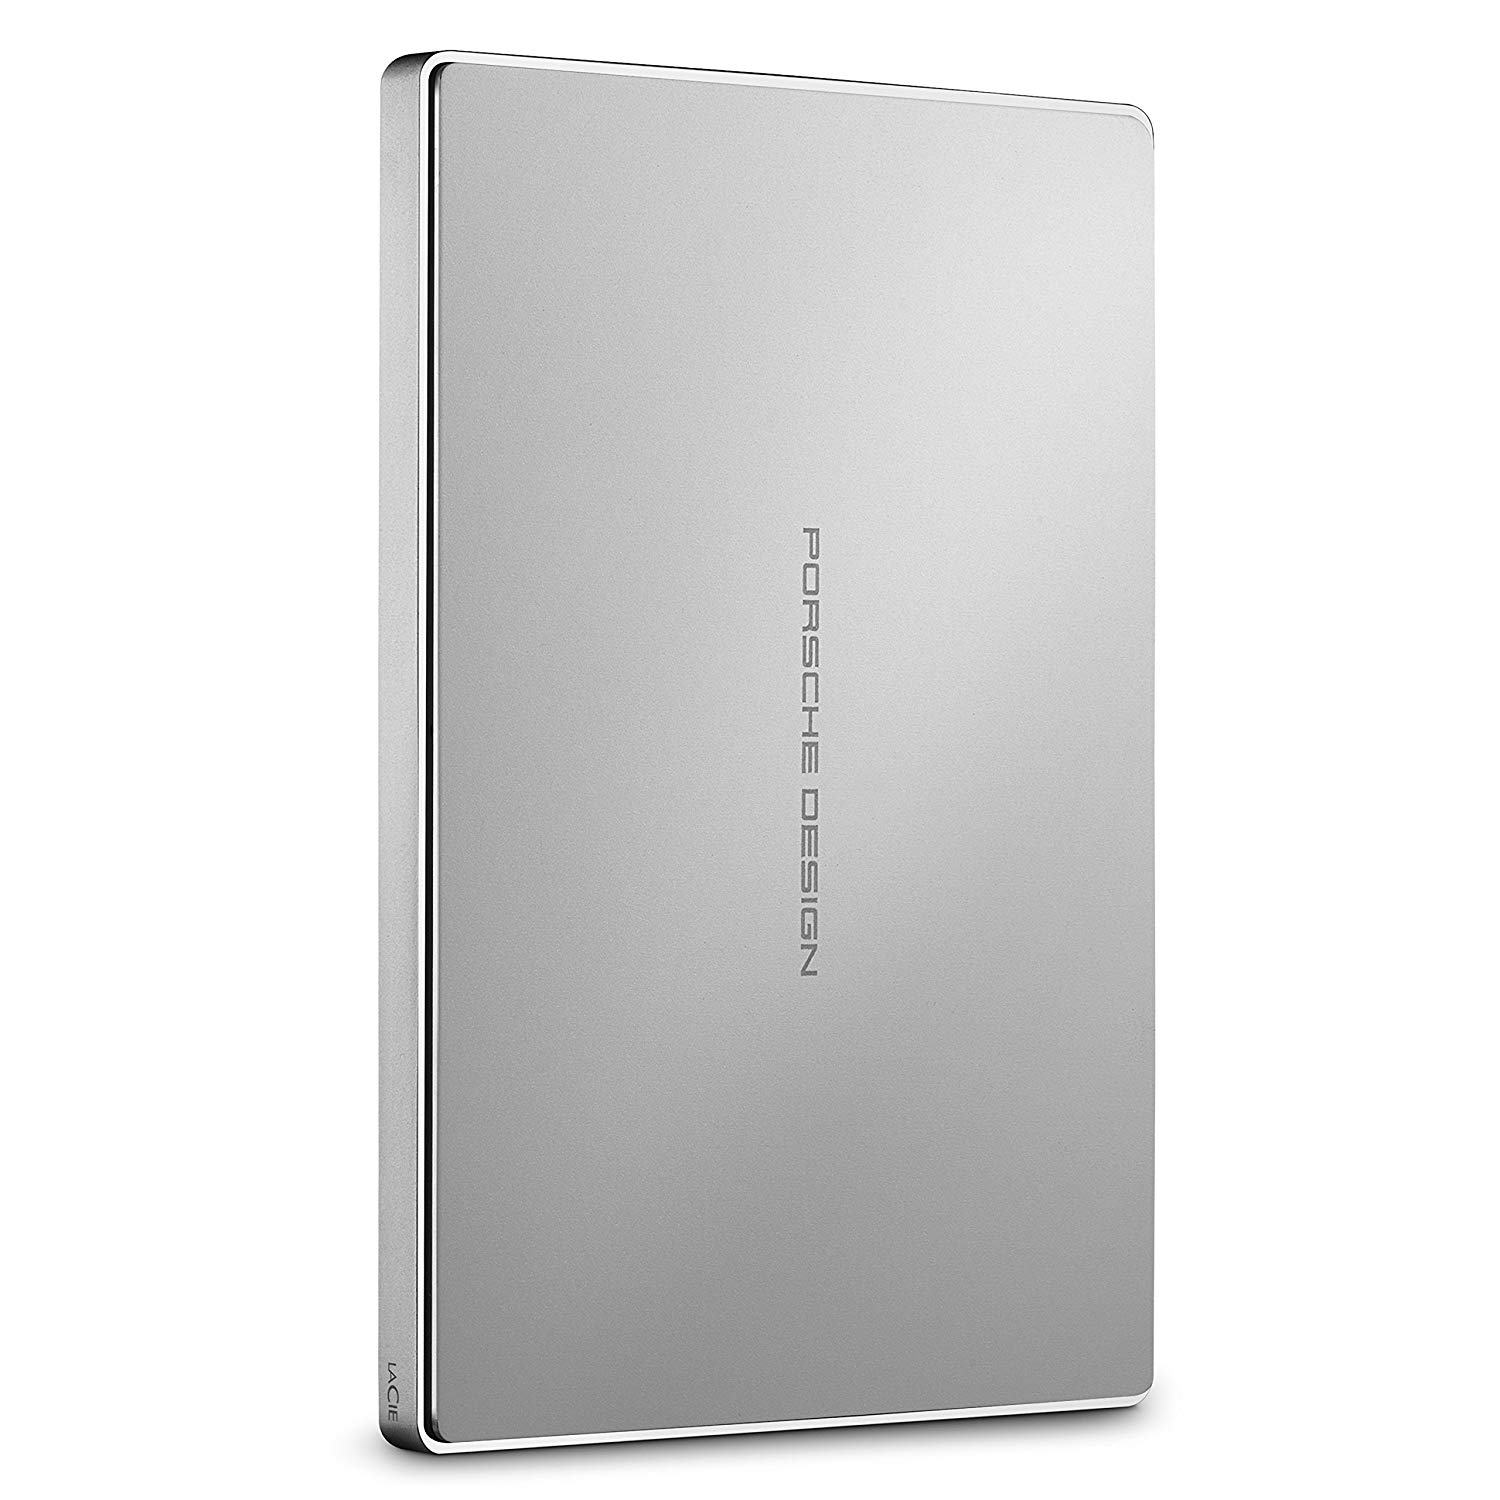
LaCie Porsche Design 1TB, 2TB, 4TB (From $90 at Amazon)
LaCie is well known for its backup devices; this is one of the most popular on the market.

Bryan M. Wolfe has written about technology for over a decade on various websites, including TechRadar, AppAdvice, and many more. Before this, he worked in the technology field across different industries, including healthcare and education. He’s currently iMore’s lead on all things Mac and macOS, although he also loves covering iPhone, iPad, and Apple Watch. Bryan enjoys watching his favorite sports teams, traveling, and driving around his teenage daughter to her latest stage show, audition, or school event in his spare time. He also keeps busy walking his black and white cocker spaniel, Izzy, and trying new coffees and liquid grapes.
