How to save and view replays in Super Smash Bros. Ultimate

iMore offers spot-on advice and guidance from our team of experts, with decades of Apple device experience to lean on. Learn more with iMore!
You are now subscribed
Your newsletter sign-up was successful
Super Smash Bros. Ultimate has a convenient replay feature which lets you save replies from any match you play. This is great for those who want to share clips or who just want to study their game to improve. But how do you do it? Take a virtual seat and let us tell you.
- How to save a replay
- How to make a video from a rreplay
- Where to find your clips you've converted
- Can you share video clips?
How to save a replay
Saving a replay in Super Smash Bros. Ultimate is incredibly easy. At the end of each match when you reach the summary screen, you'll be able to press the Y button to save a replay. This function will save the entirety of your match.
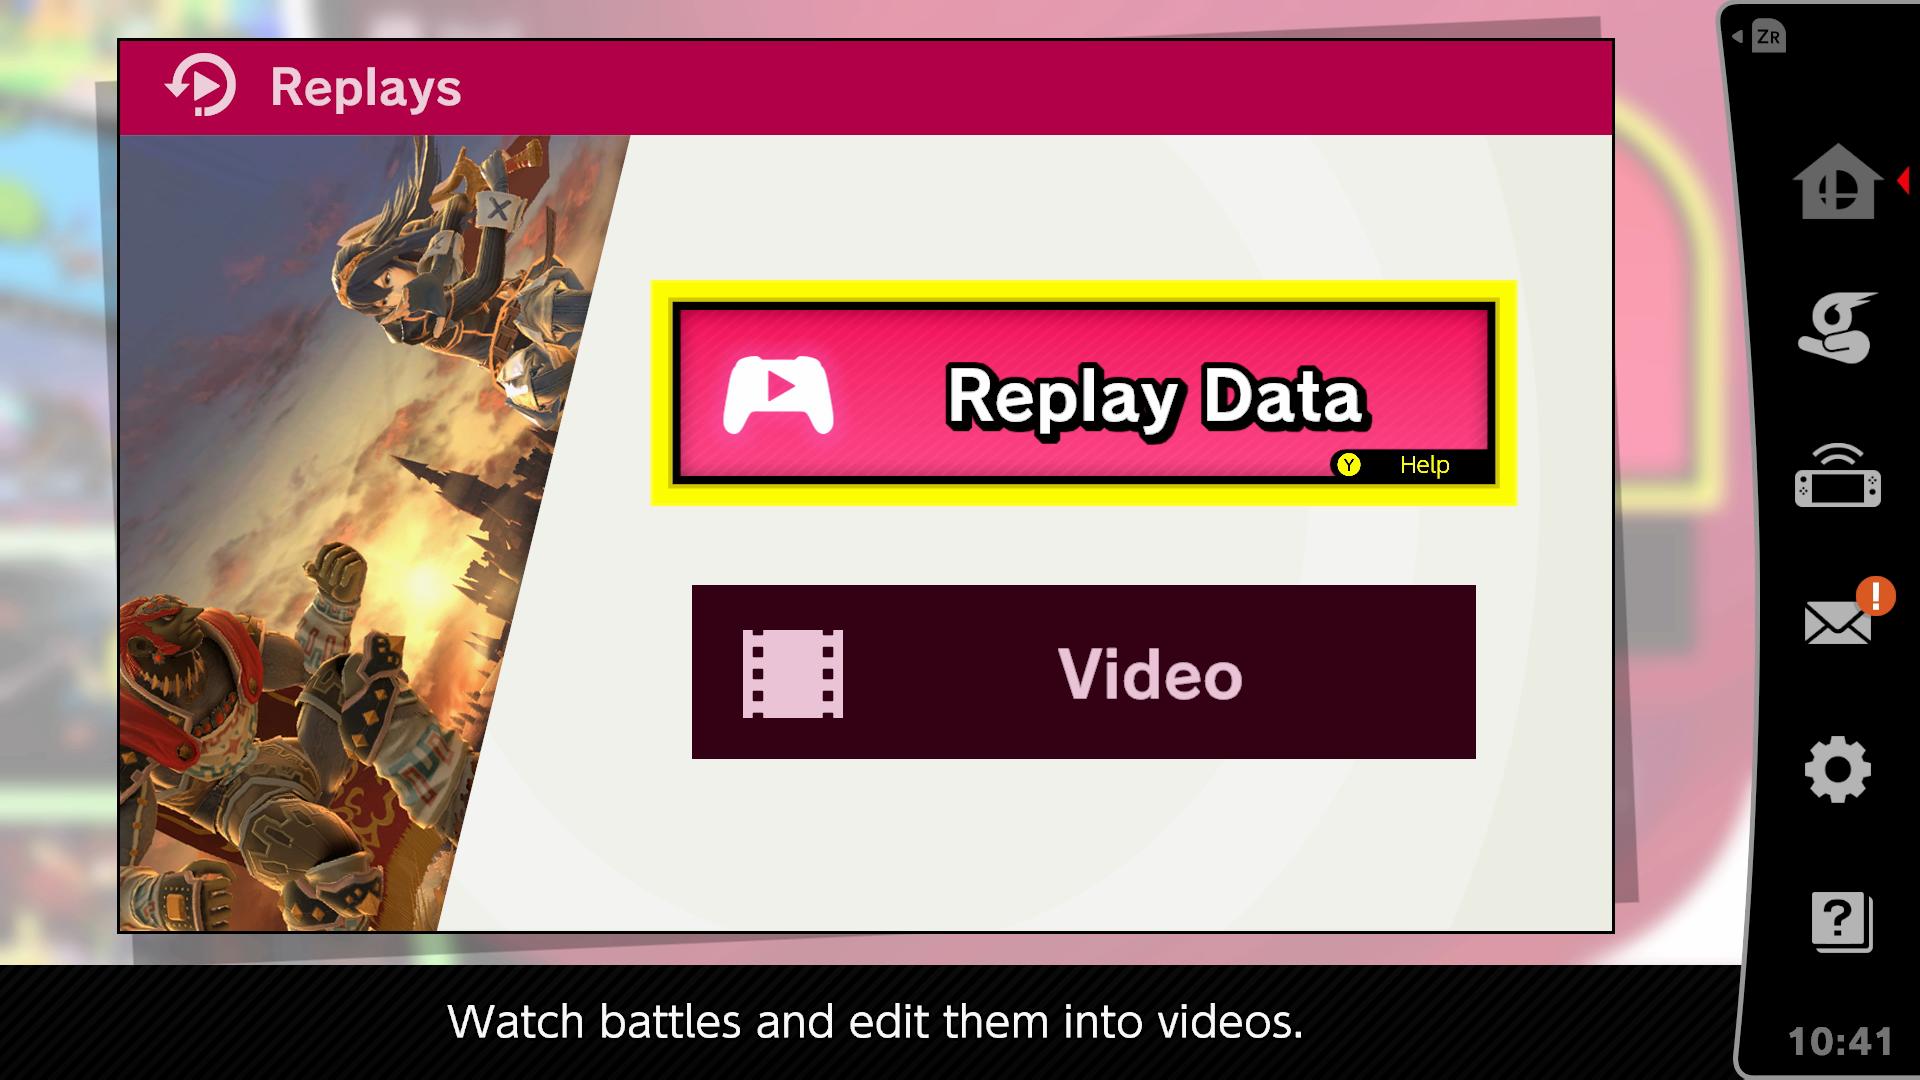
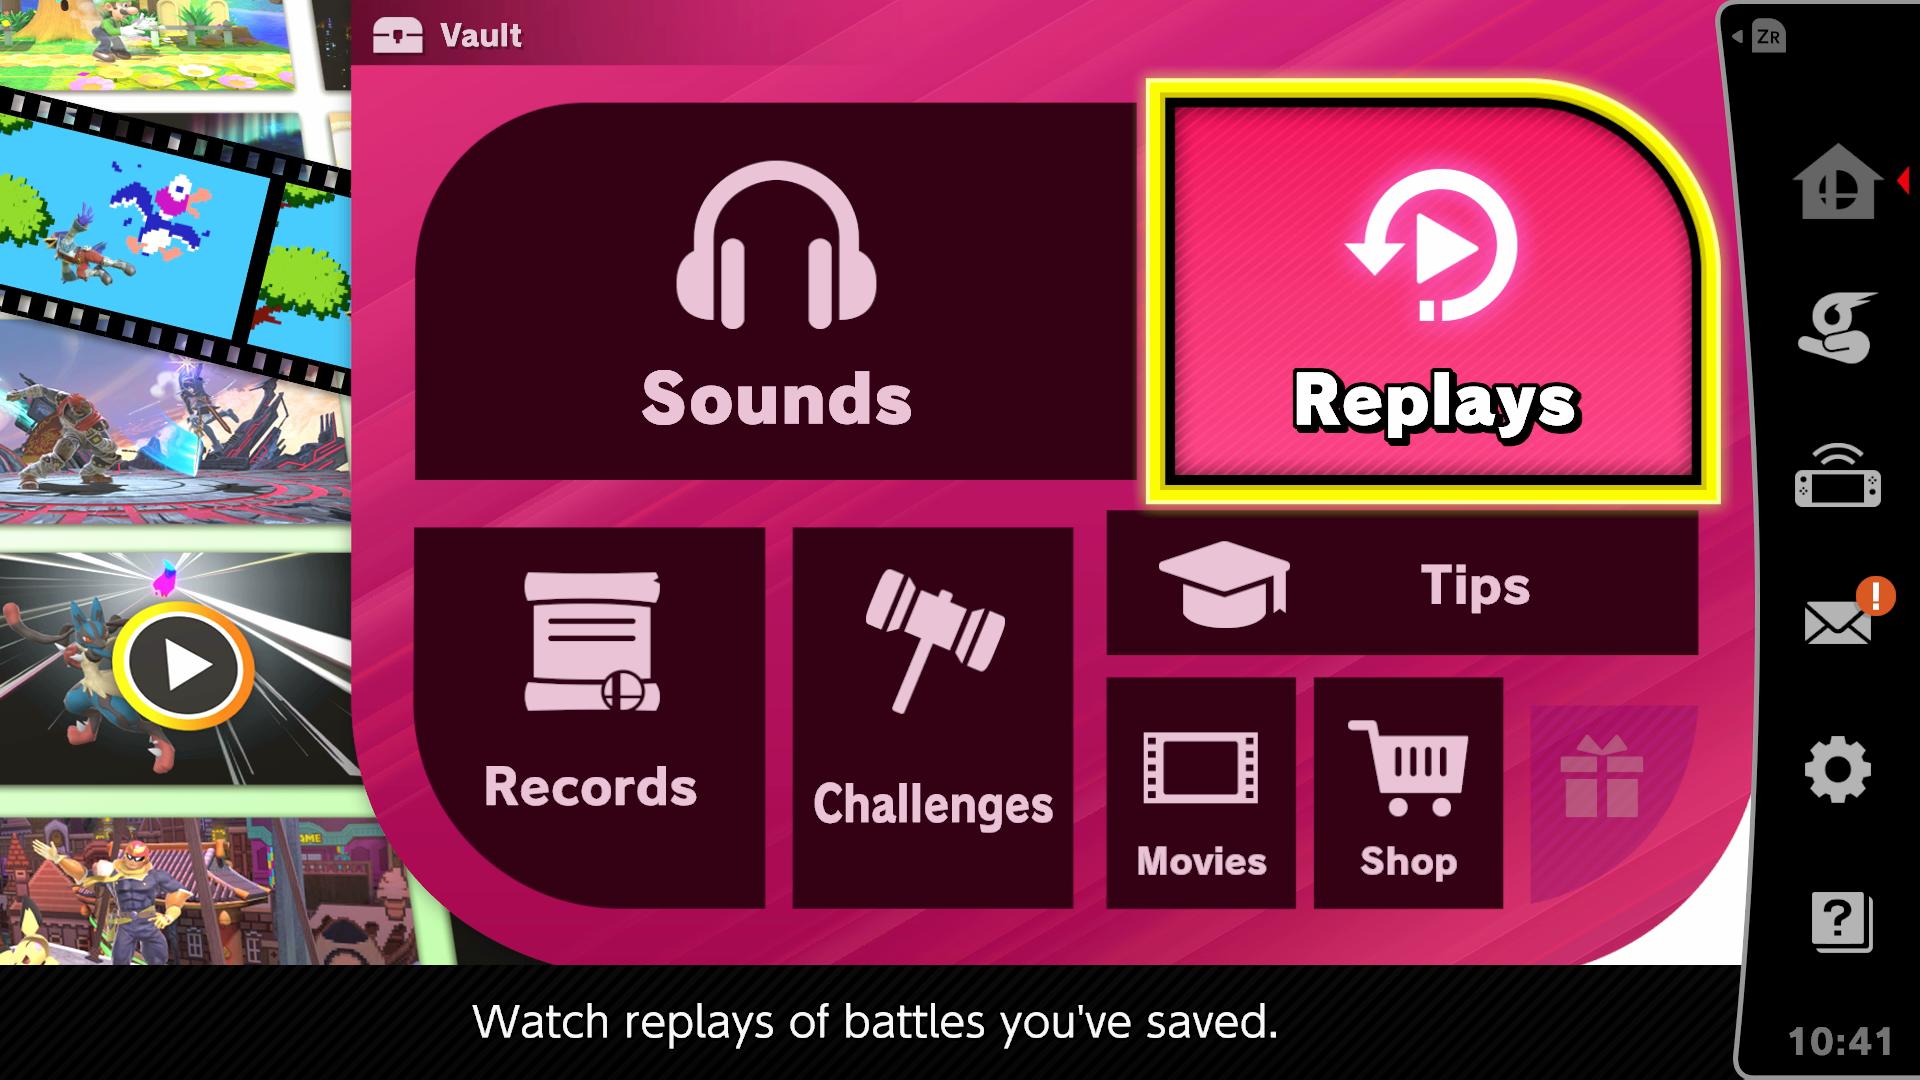
- Enter the Vault on the main menu.
- Go to Replays.
- Select Replay Data.
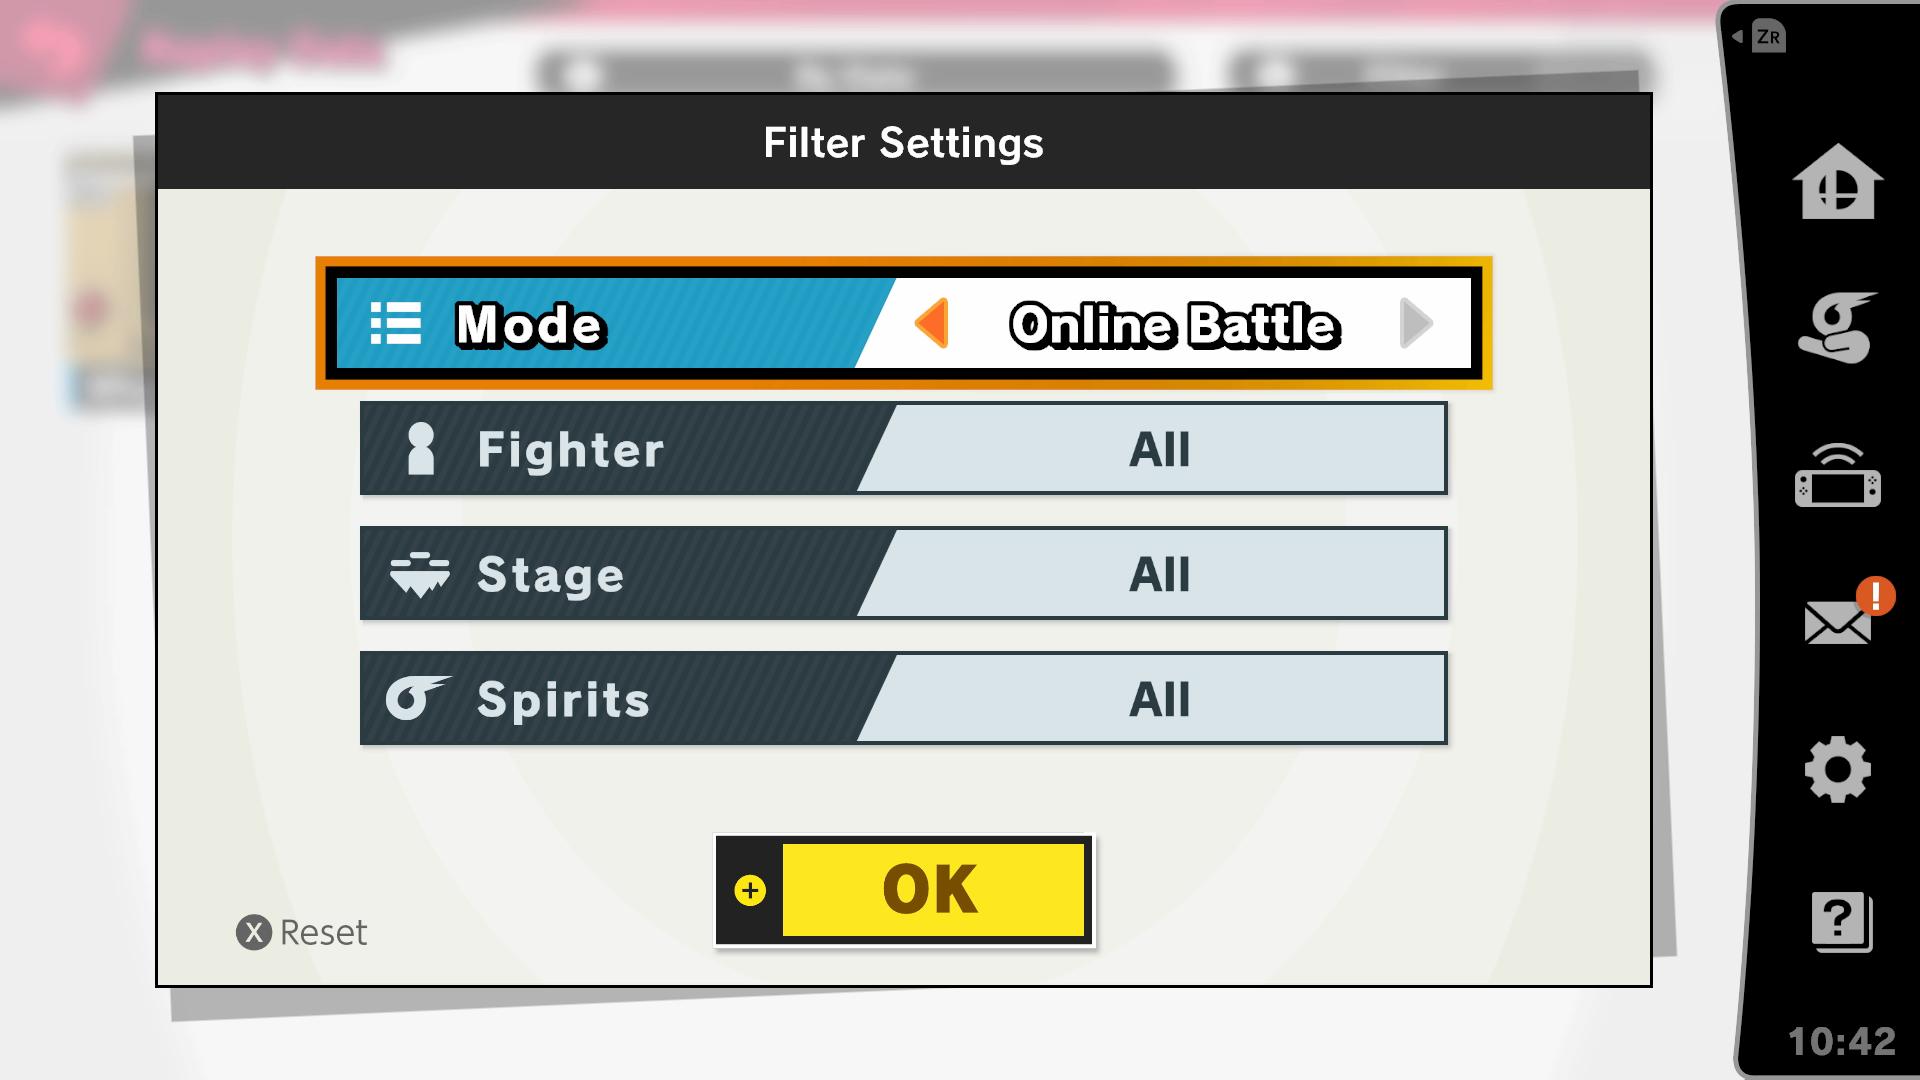
Here, you'll see a grid of your clips. You can sort by date, mode, or stage, and you can filter it down even further by fighters and by clips of matches where Spirits were equipped. Press A on the video to bring up its control window, and press A again to view it.
The cool thing about this replay system is that you can manipulate the camera to view the action from whichever angle you want. You can pan and tilt, zoom in and out, and even use motion controls to see things just the way you like. At any time, you can take a snapshot of what happened, and if you want to fine-tune things you can choose to view the fight frame by frame.
For fun stuff, there are loads of filters and frames you can apply. About half of the frames available are just different variations and positioning of the Smash logo, but there's also a film reel effect, wood grain, grunge, canvas, stars, flowers and more. In terms of filters, you can go black and white, make the colors more vivid, or even make your game look like a manga in motion.
Unfortunately, these effects are only available while the replay is paused or you're scrubbing through frame-by-frame.
iMore offers spot-on advice and guidance from our team of experts, with decades of Apple device experience to lean on. Learn more with iMore!
How to make a video from a replay
The replay alone might be enough for some people, but those who want to get creative can turn those clips into videos. There's also one very good reason to save your best replays as videos: replays from older versions of the game are not available once a new update arrives, so it's important to save the clips you really want to keep.
- Enter the Vault on the main menu.
- Go to Replays.
- Select Replay Data.

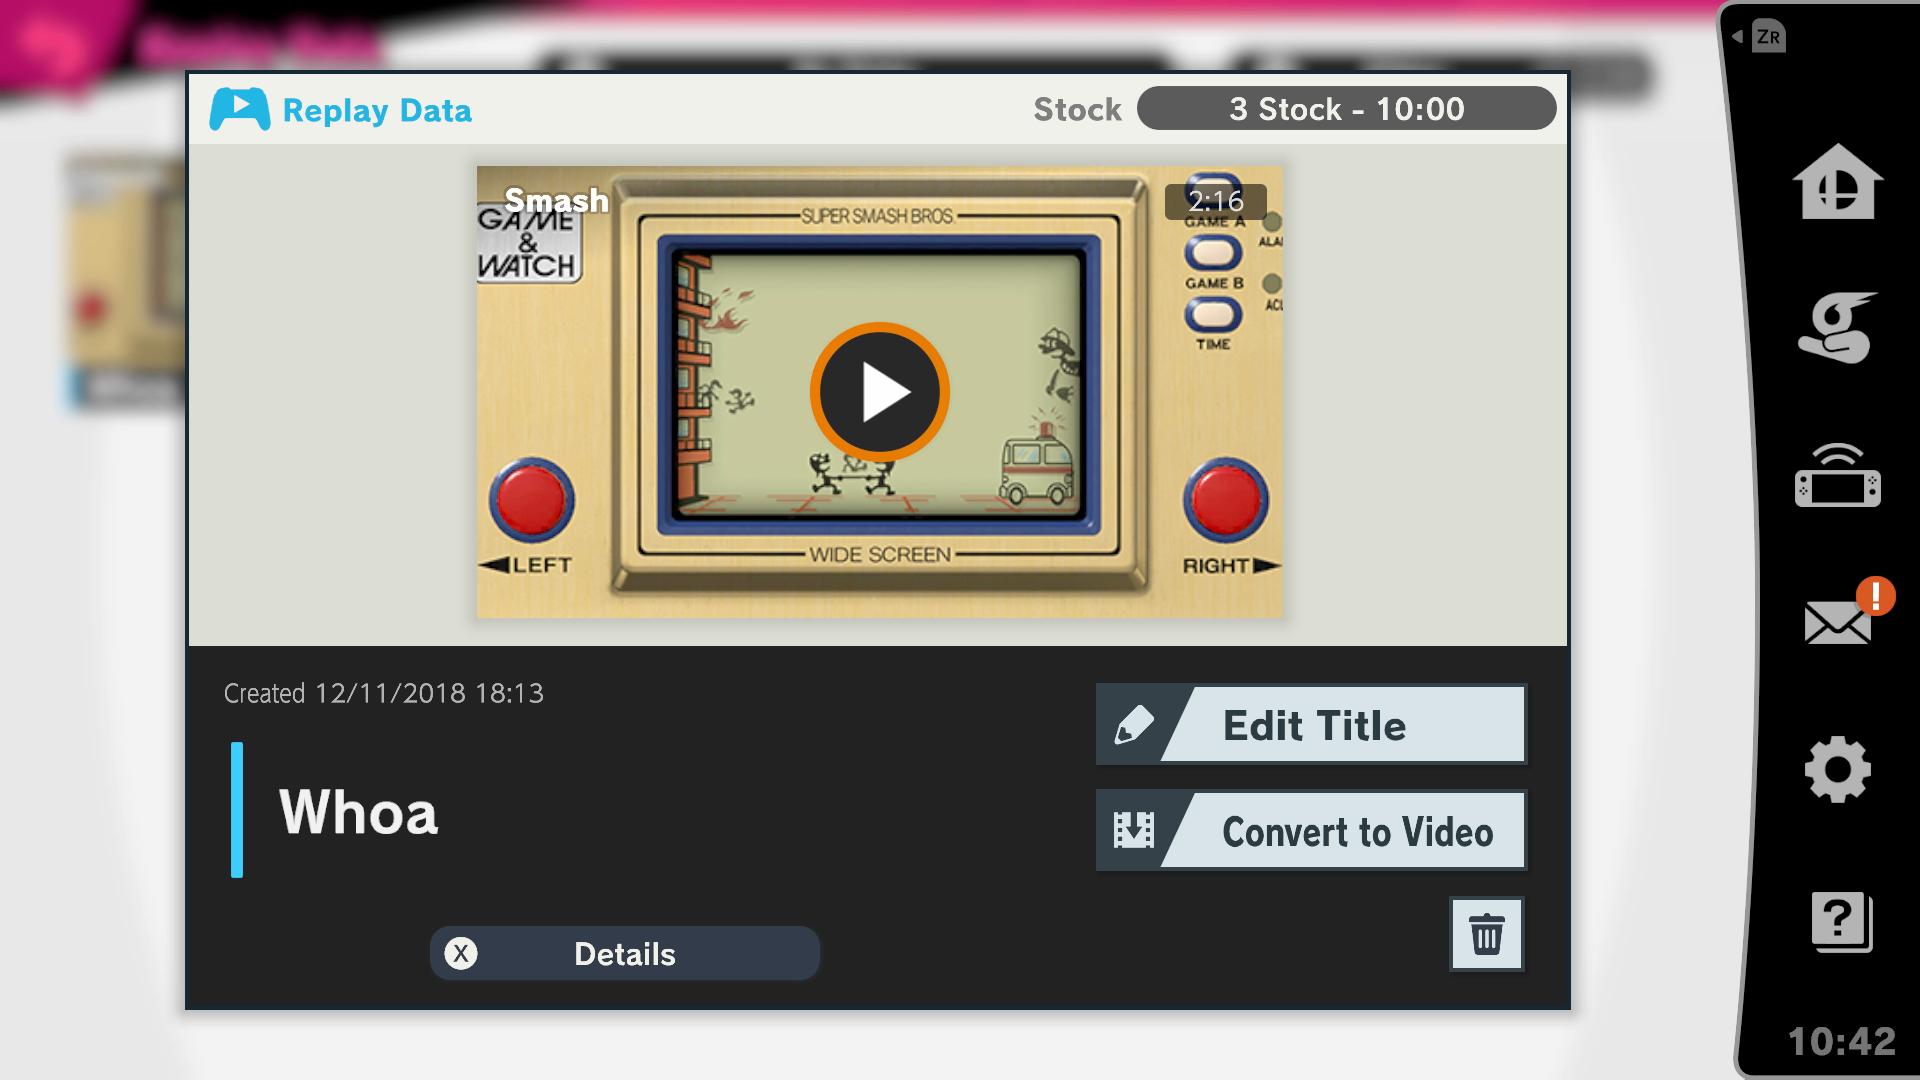
- Select a clip to bring up its control window. Feel free to edit the title of your video. It's here where you can also check details, such as the stage and fighters involved, as well as delete the video.
- Once you have the title, press Convert to Video.
- Select the conversion settings you want. You can toggle the info display, music playback, sound effects, and change the quality of the video. Higher quality videos look better, but the duration is shorter.
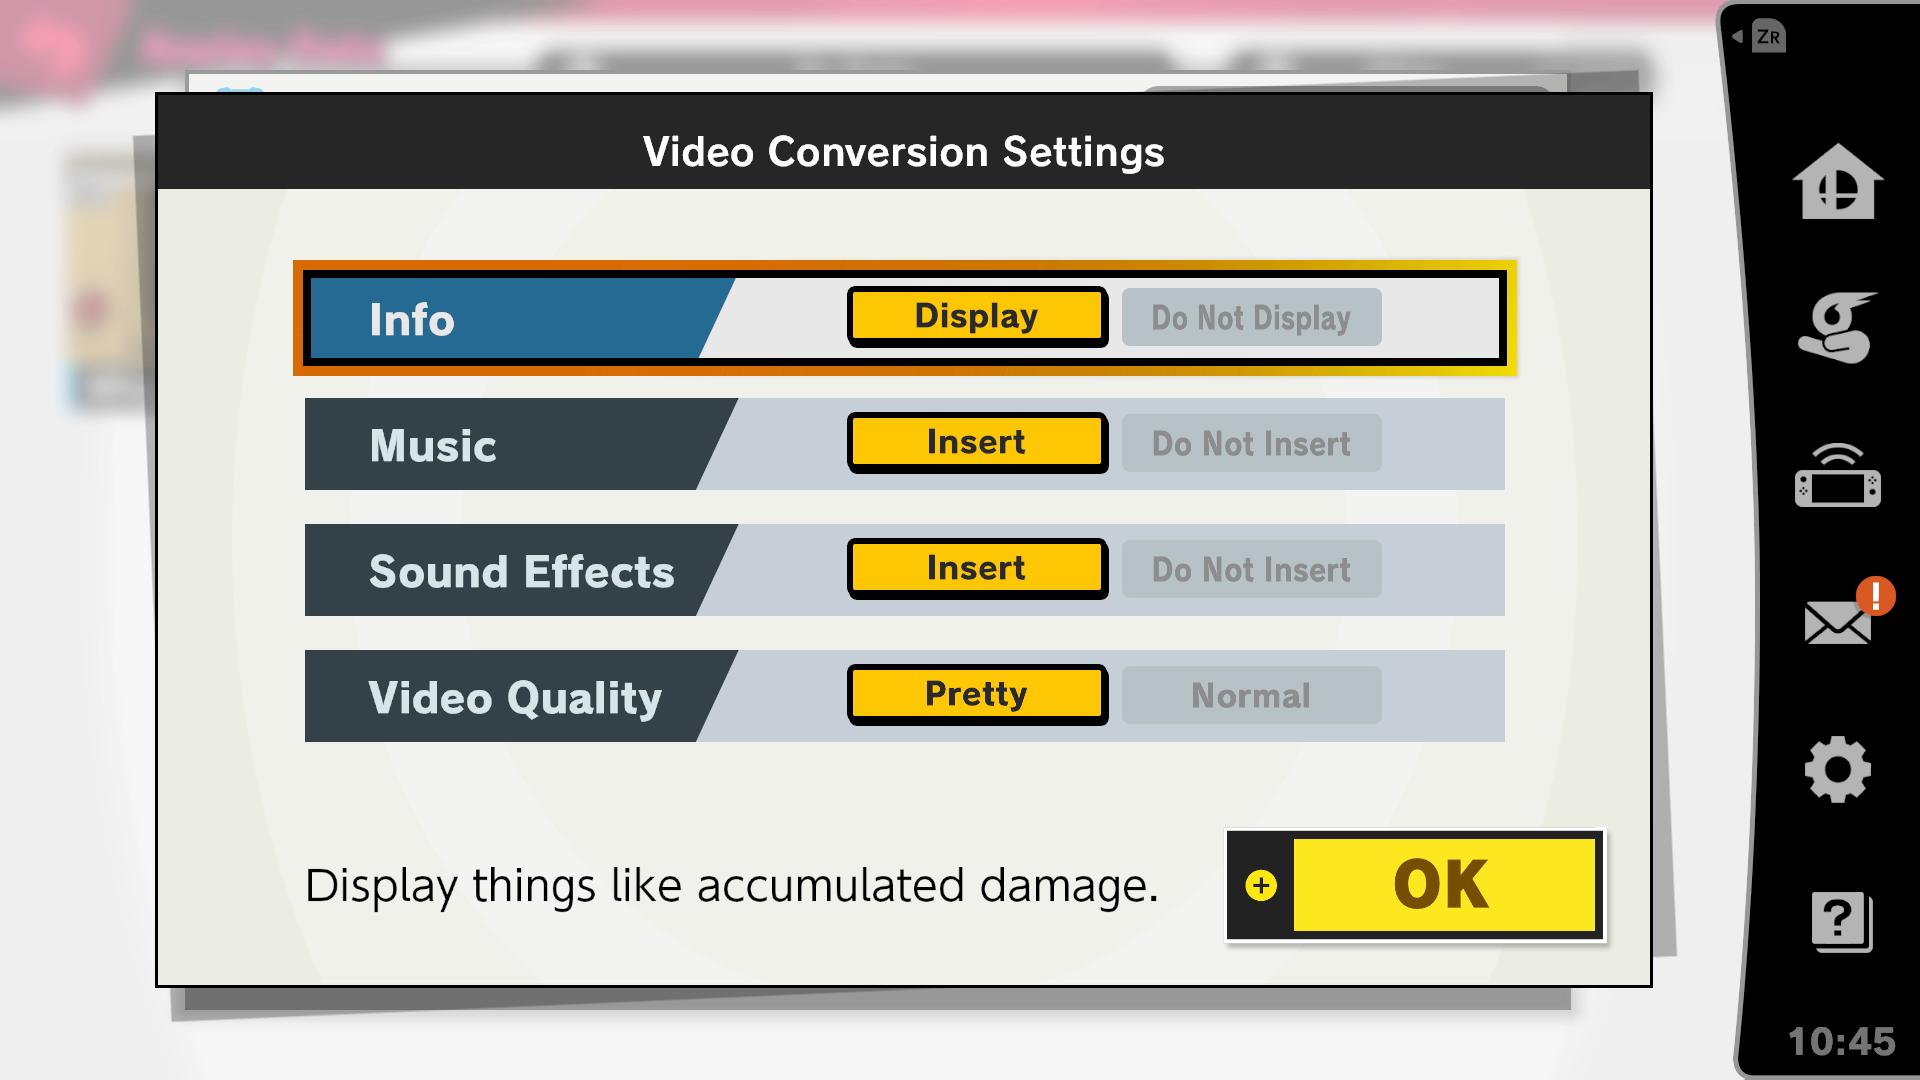
- Press OK.
Now you'll be taken to a playback screen showing your fight. Before the action begins, the replay will remain paused. This gives you the opportunity to set the scene up how you like before recording with the same options we discussed in the previous section. View the upper and right portions of the screen if you need help on the controls for each function.
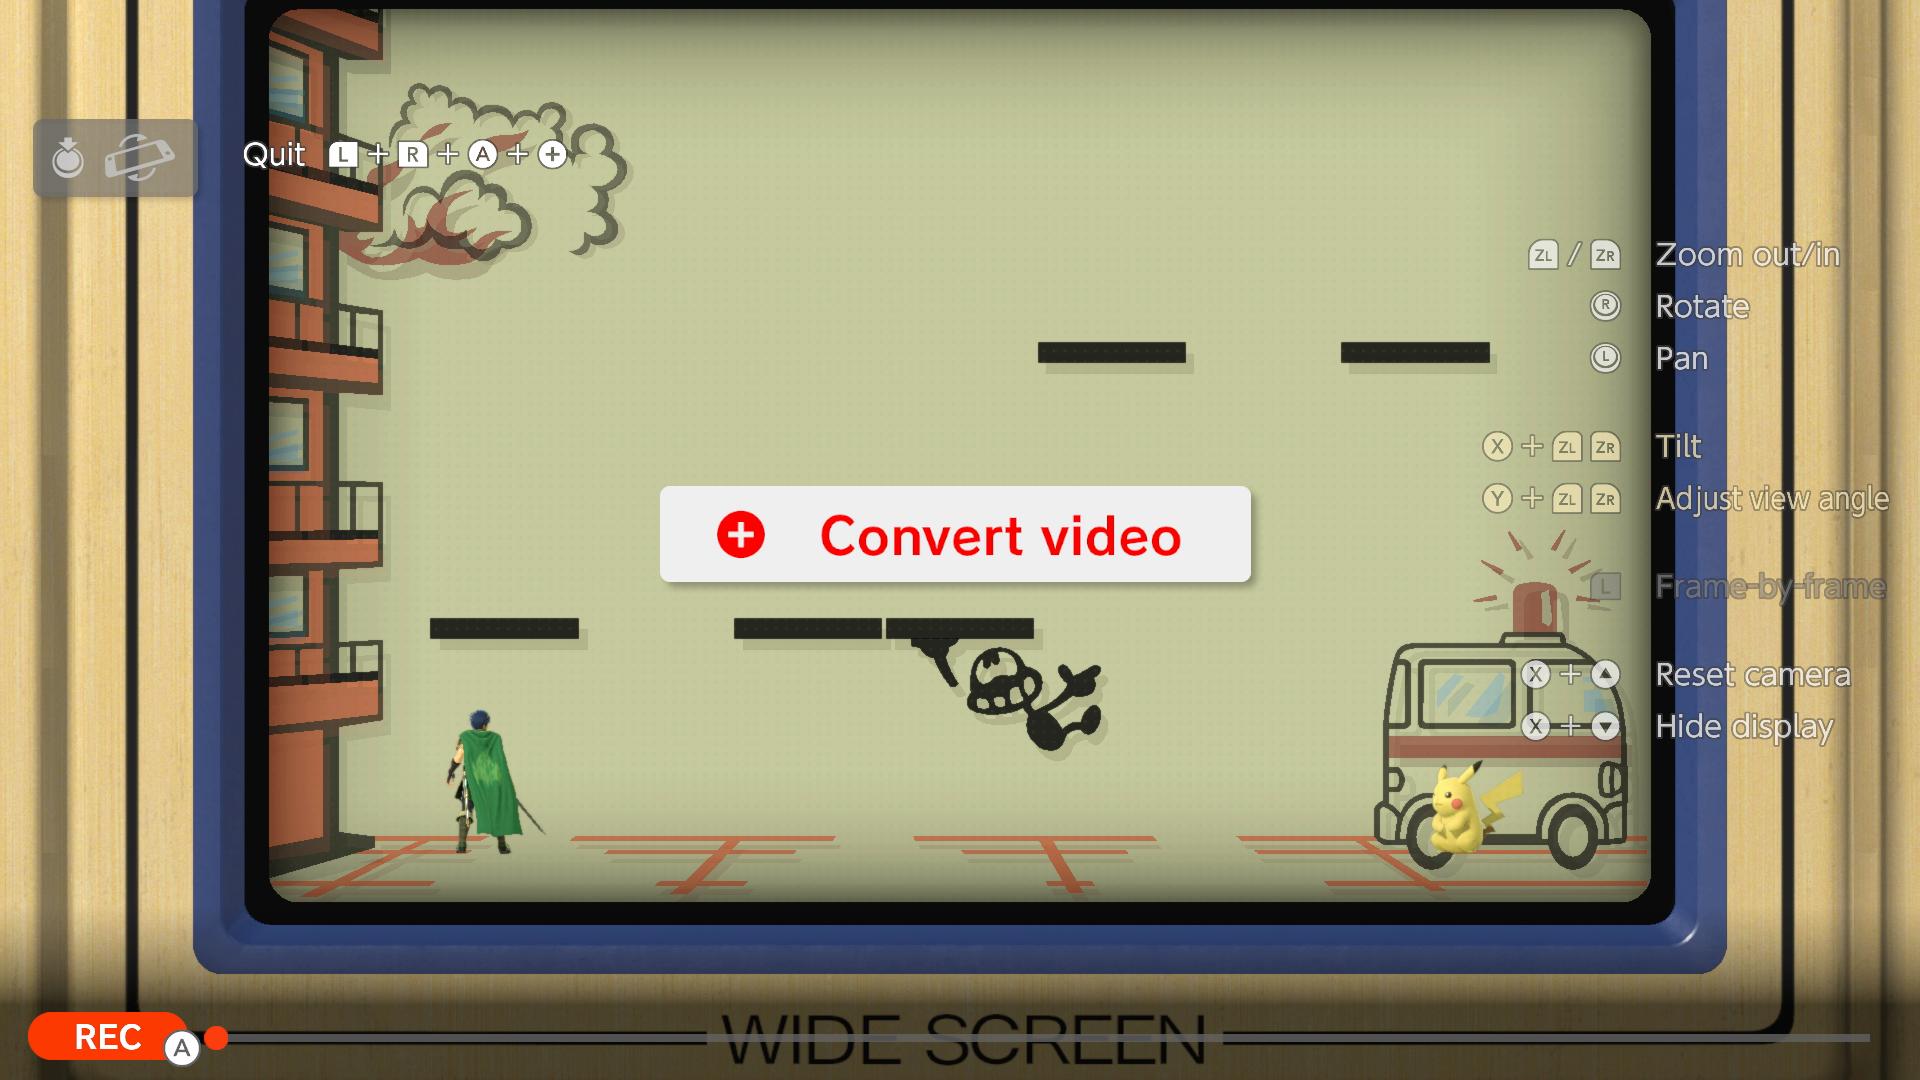
Once you have your scene setup, you can press the + Button to begin recording. You'll know it's recording by seeing a red progress bar at the bottom. At any time, you can press the A Button to pause the recording. This won't pause playback, mind you. This is how you can pick and choose which exact moments out of the fight you want to save, unless, of course, you just want to save the whole thing.
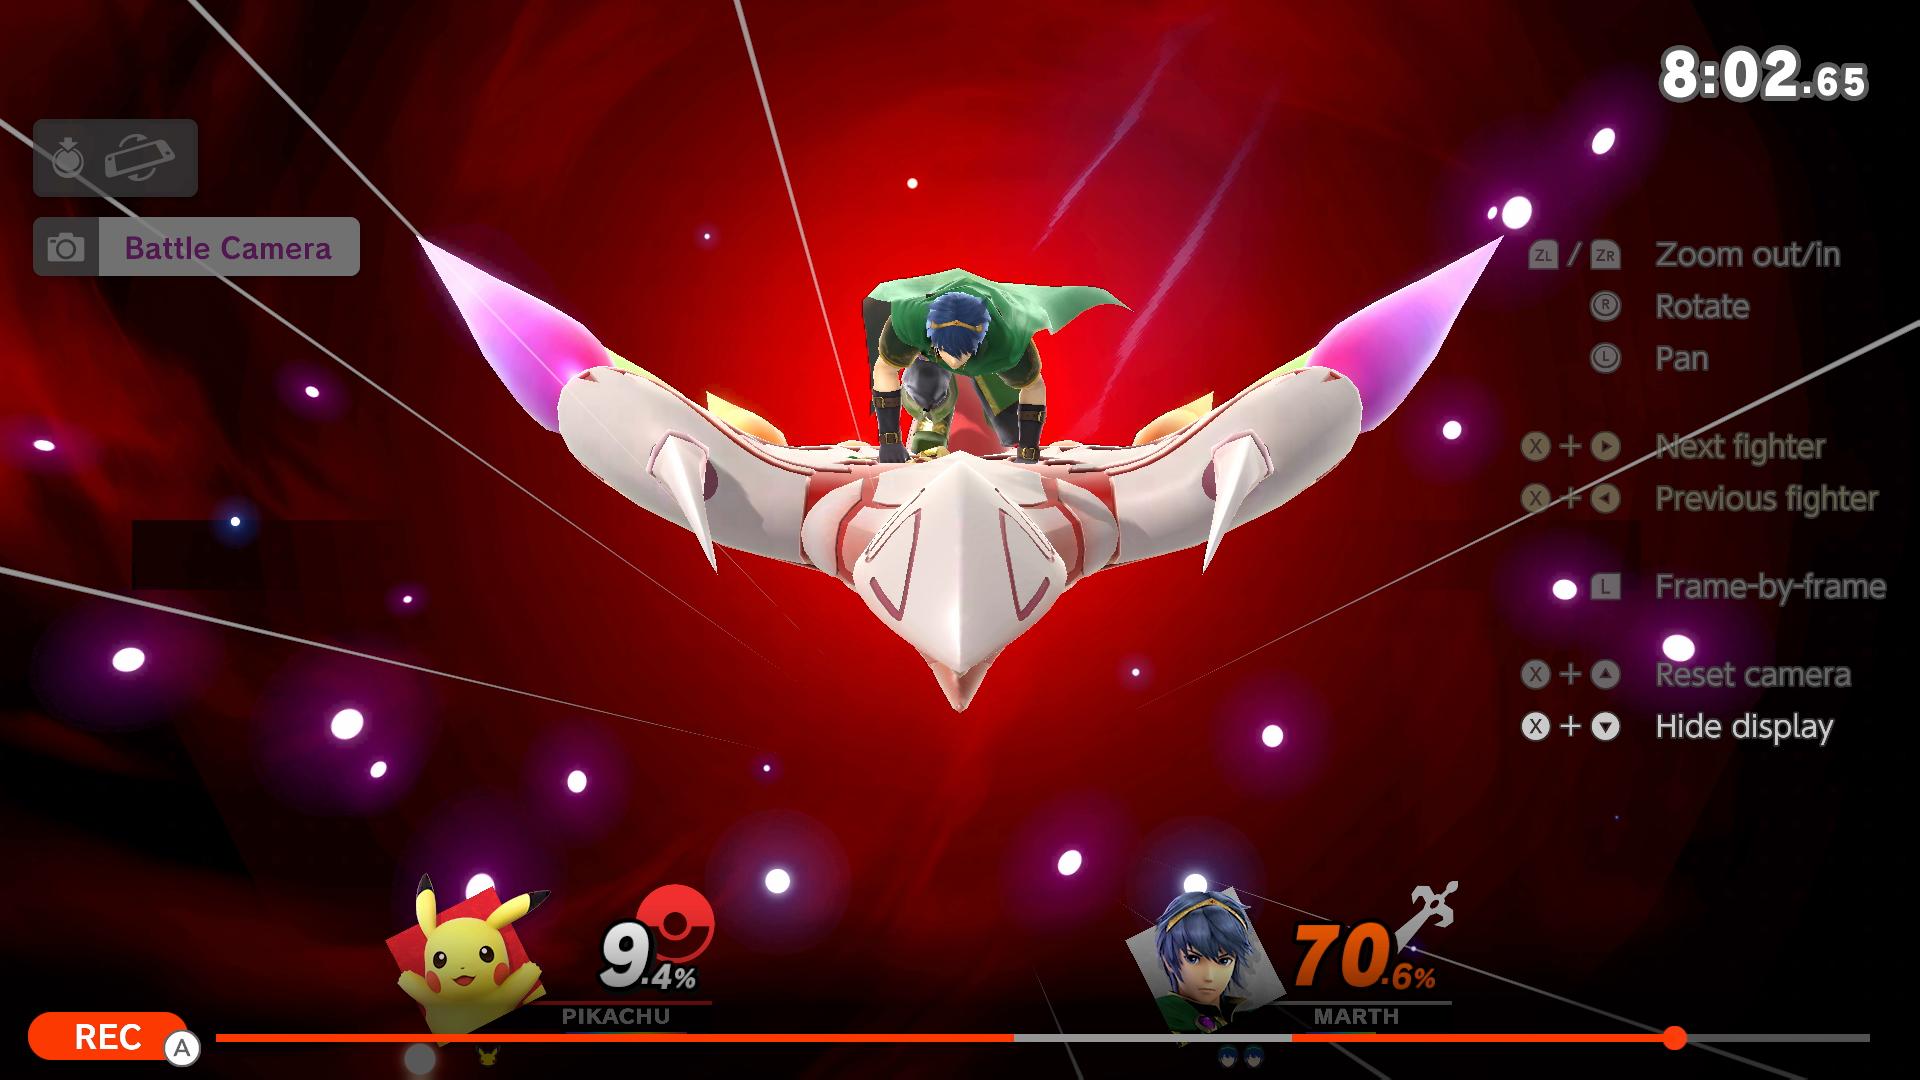
You can pause playback using the + Button in case you want to change the camera angle or special effects. You can also choose to quit early, which involves a bone-crunching combination press of the L, R, A, and + buttons. (Really, Nintendo?)
Where to find your clips you've converted
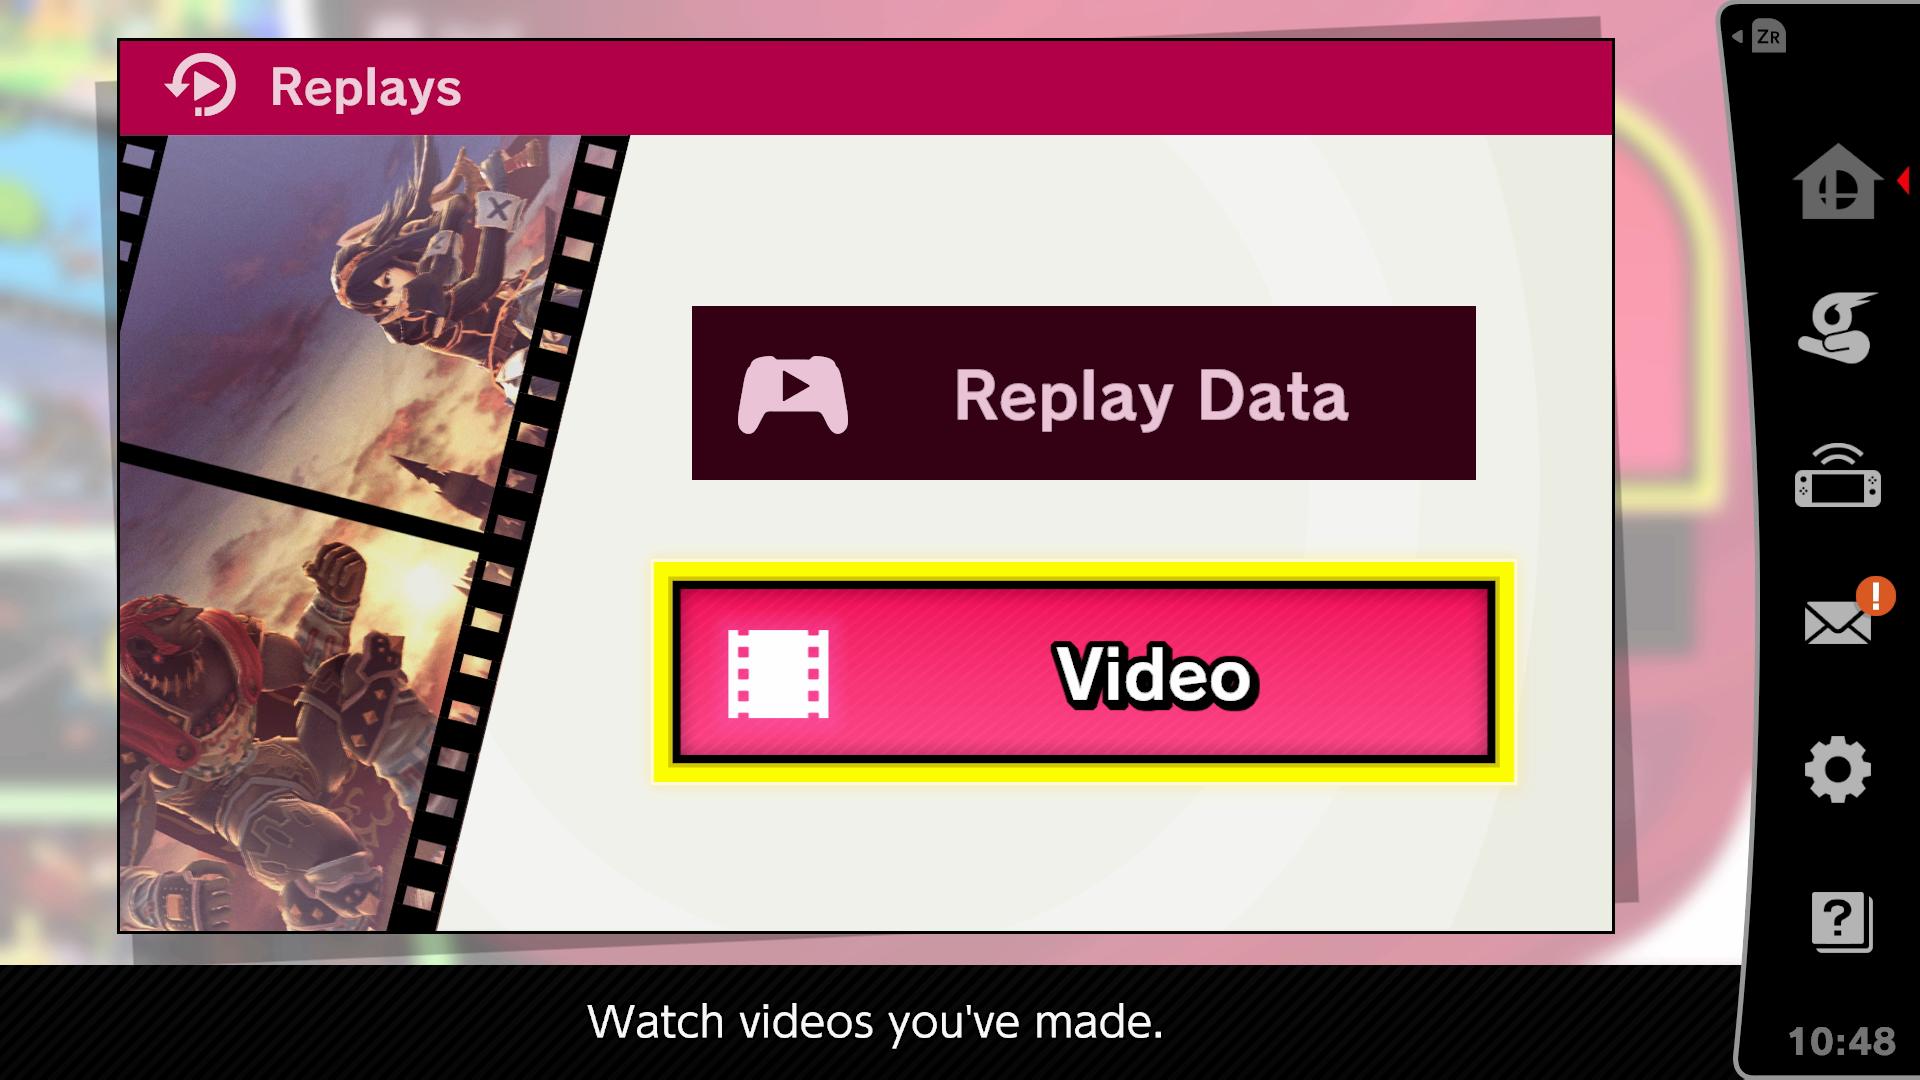
- Enter the Vault on the main menu.
- Go to Replays.
- Select Video.
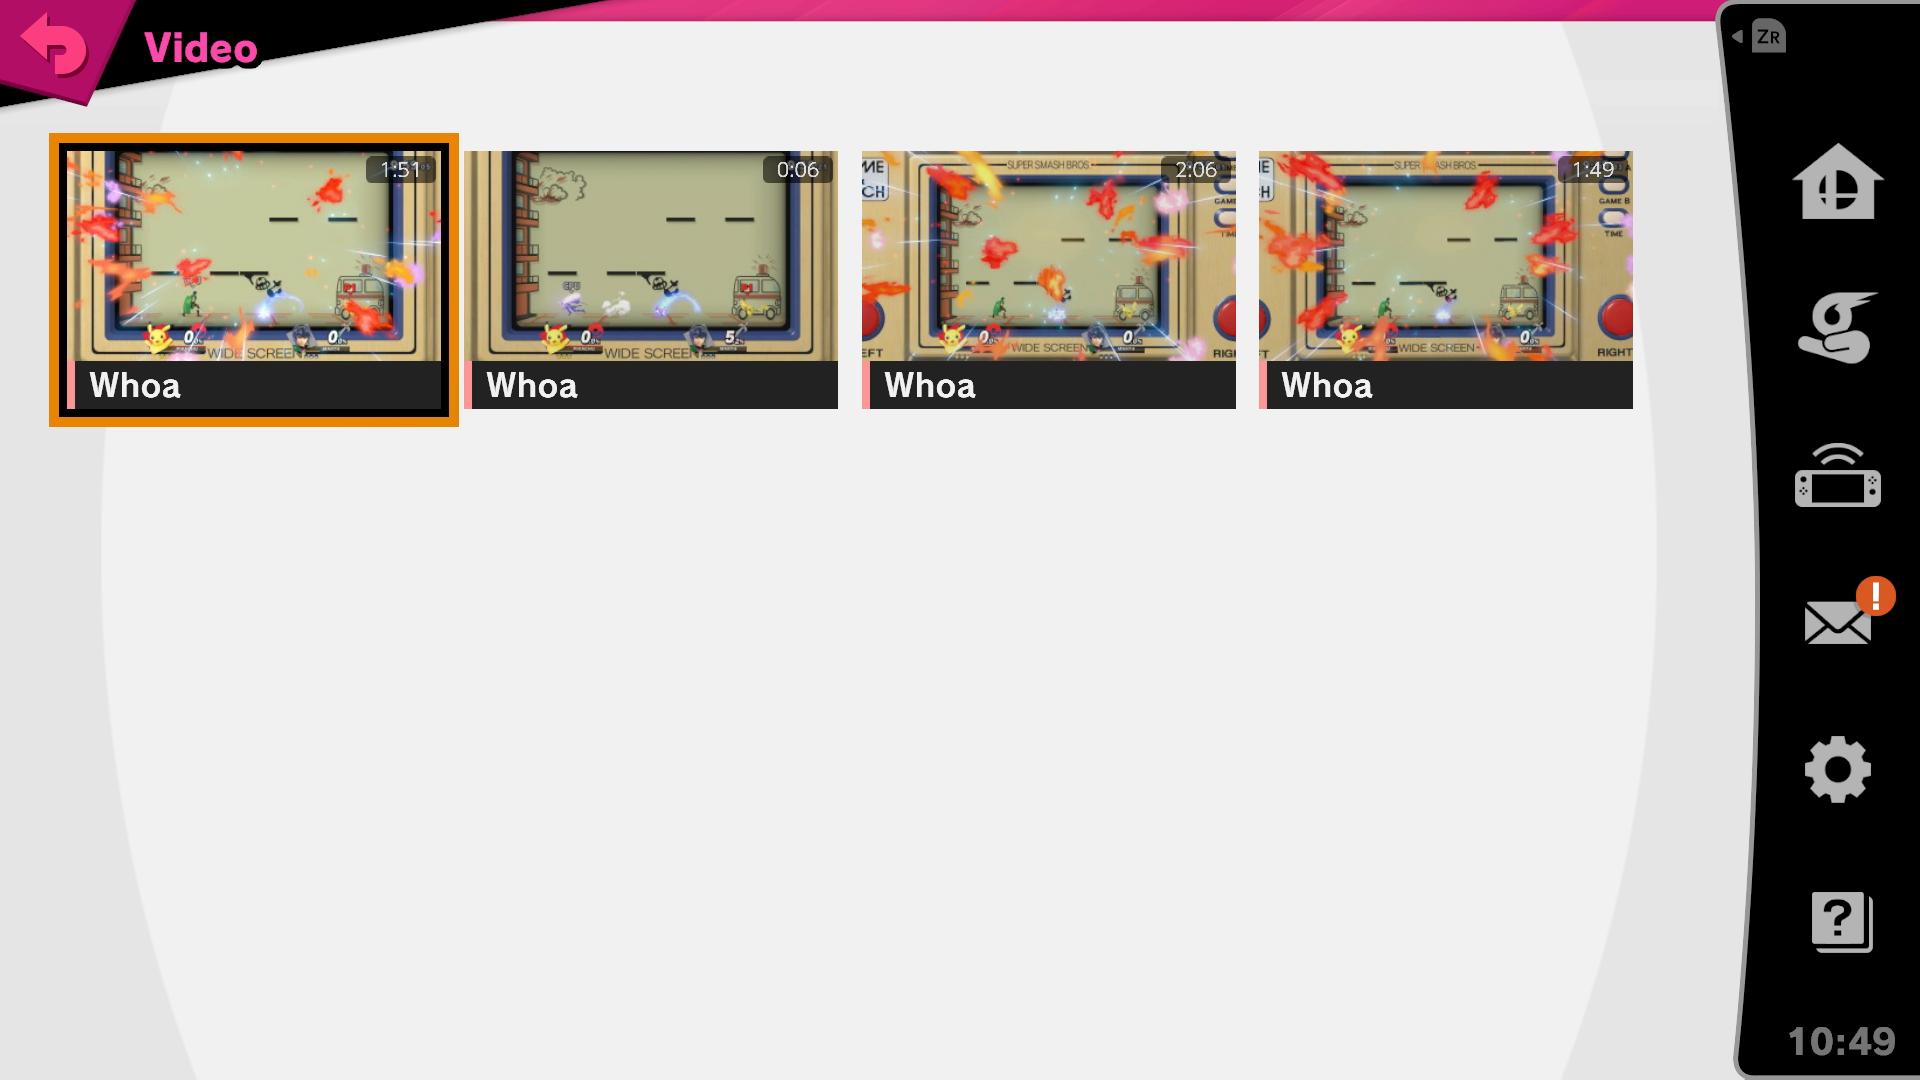
Press A on the video you want to view and A again to play it.
Can you share the clips?
Unfortunately, there's no built-in way to share video clips or replays. The only way to do so on the Nintendo Switch directly is to record up to 30 seconds of your video using the console's Share button found on the bottom of the left Joy-Con. Hold the button down for the section you want to share. Once saved, you'll be able to share the clip directly to Facebook or Twitter.
The only other way to share the clip would be to use external capture equipment, such as an Elgato or an equivalent alternative.
Save your best moments!
Again, we stress that you should convert your best replays into videos as soon as you can because replays are not compatible with versions of the software other than that which it was saved from. Videos should last as long as you want them to, though, so make sure your memories are archived the right way.
Super Smash Bros. Ultimate: Tips and Tricks
