How to setup Compressor for distributed rendering

Apple just announced a New Mac mini that has higher end capable specifications for creative professionals and productions studios. If your use-case is in need of a lot of processing power, you can take advantage of CPU and GPU cycles from multiple Macs (mini or otherwise) by using Apple's Compressor.
What is compressor?
Compressor, $49 in the App Store, allows for the easy creation of batch render jobs on your Mac. You can setup a video to export in multiple formats and various settings. Compressor also allows for you to configure other networked Macs to provide processing power to your renders to have them complete more quickly than with a single computer. It can also integrate with Final Cut Pro X so that you can render various parts of your clips to your distributed render farm.
What you need
Besides multiple Macs, you'll need to purchase Compressor from the App Store and you'll need to install Compressor on each Mac you intend to use for your rendering farm. Secondly, you'll only see benefit of distributed rendering if you are using a high speed (at least gigabit ethernet) network interconnected between all of the Macs. You'll want to avoid Wi-Fi as the latency becomes too great and the render times may actually be worse rather than improve. Once you've got these things in place, you're ready to go.
Installing Compressor
These steps are to be performed on each Mac you want as part of the render farm.
- Head on over to the App Store and purchase Compressor
- Once installed, start Compressor.
- Navigate the menu bar to Compressor > Preferences.
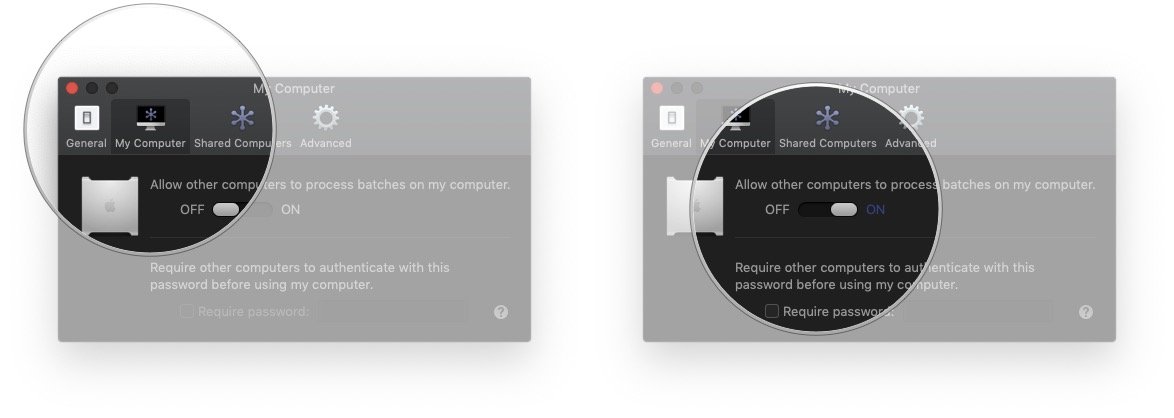
- Click the My Computer tab.
- Toggle Allow other computers to process batches on my computer to ON.
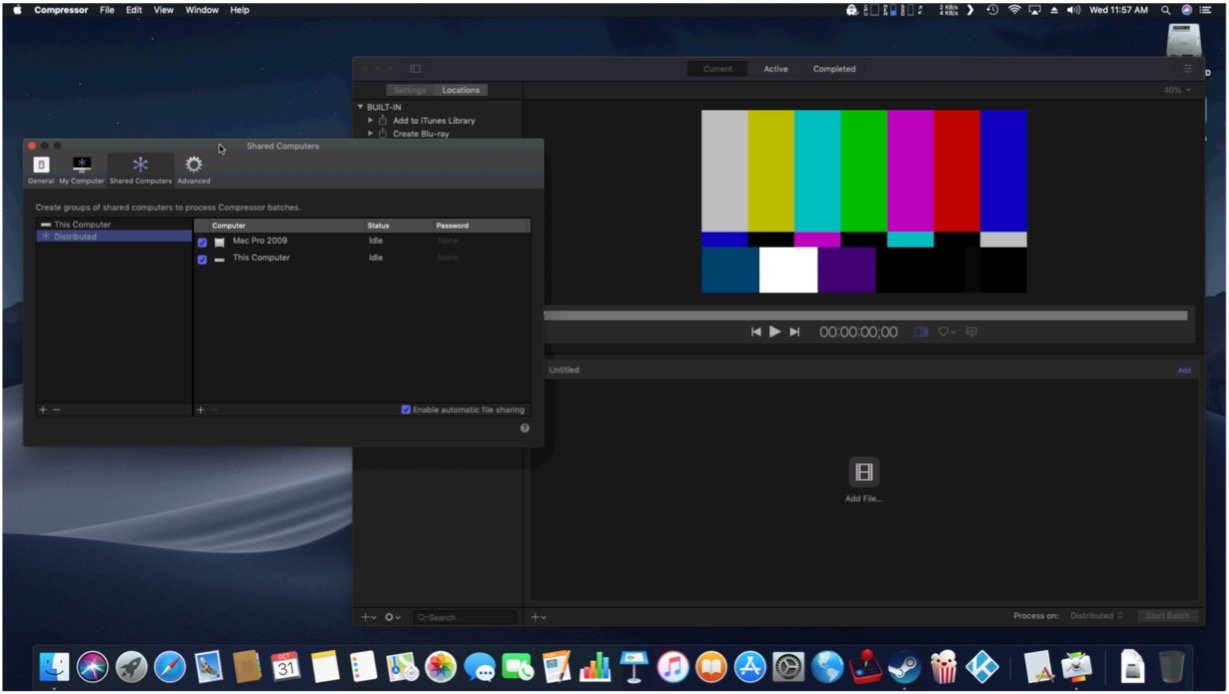
- Click the Shared Computers tab.
- Click the + to setup a new shared computer group.
- Change the name "untitled" to Distributed.
- In the list of available computers, Check all of the Macs you want to included into the "Distributed" group.
- Close preferences.
You might want to perform steps one through five on all of the Macs before you continue with steps six through ten to avoid going back to each Mac and adding a newly configured Mac to the render group.
Using Compressor
Once you've completed your installation of all of your nodes, you can quickly setup a new batch job. For example, let's say you want to create multiple renders of a single video so that it can play at 4k and at regular standard definition. You can add a video file to Compressor, then create multiple export settings to that file. Each project will then be sent out one of the Compressor nodes you have set up.
- Start Compressor.
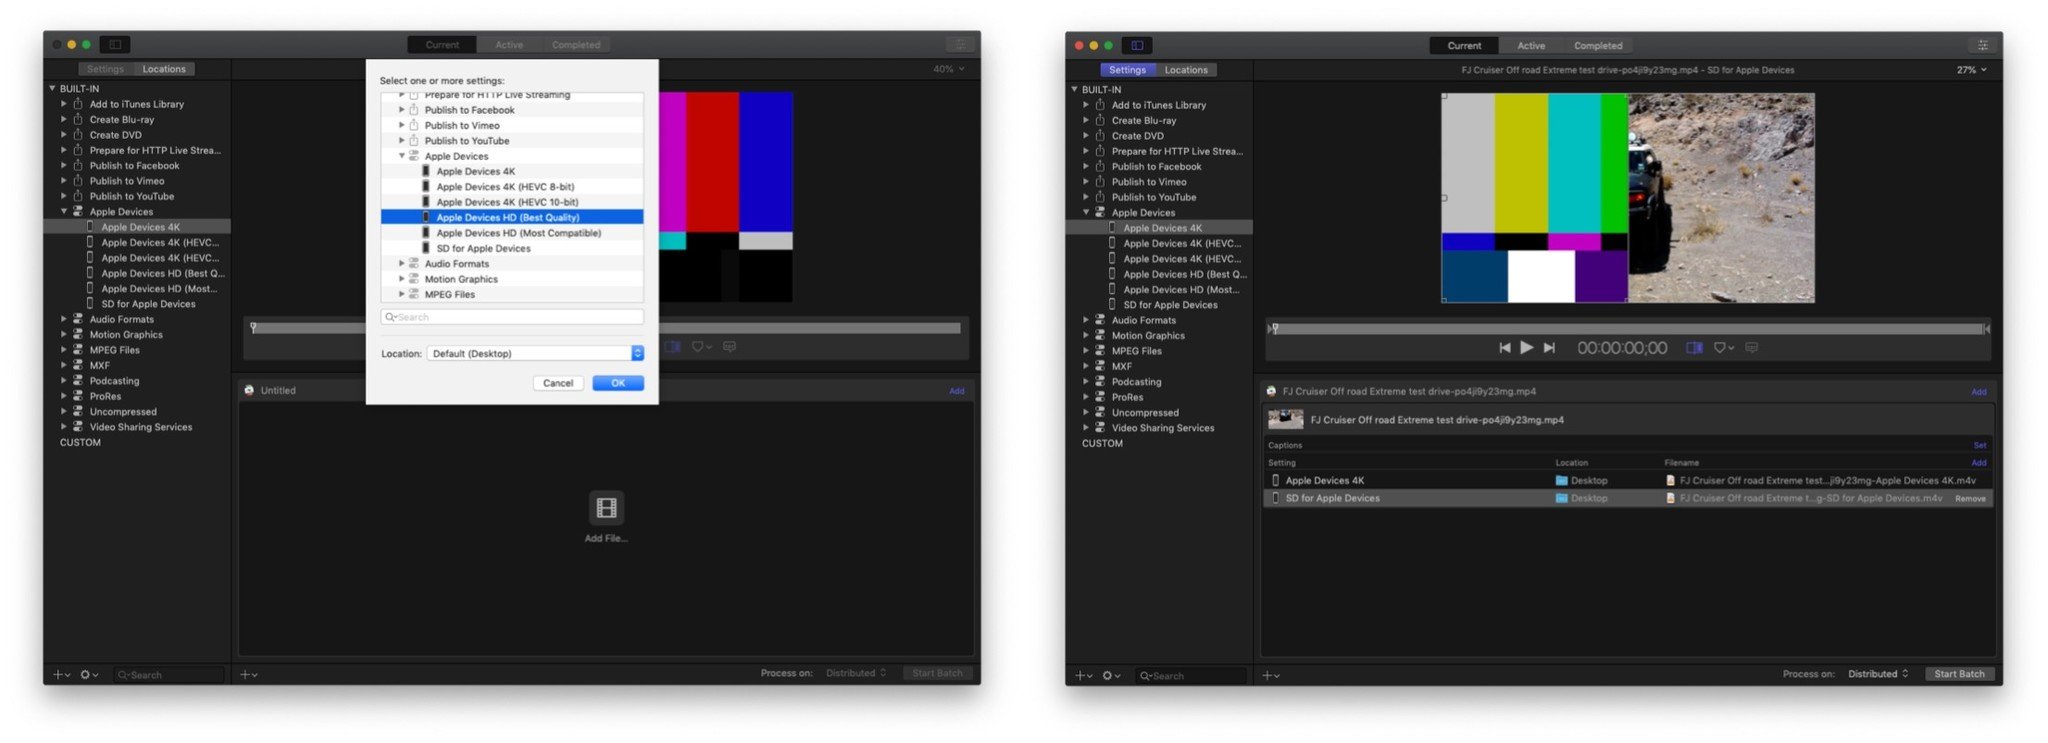
- Select Add File.
- Navigate to a video file you'd like to convert.
- When prompted to Select one or more settings, chose the 4k and SD for "Apple Devices". You can choose everything if you think you need to convert your file to every format but I hope you have large render farm!
- Select the location you'd like to save the converted files. By default, files are saved into the source file directory.
- Click OK.
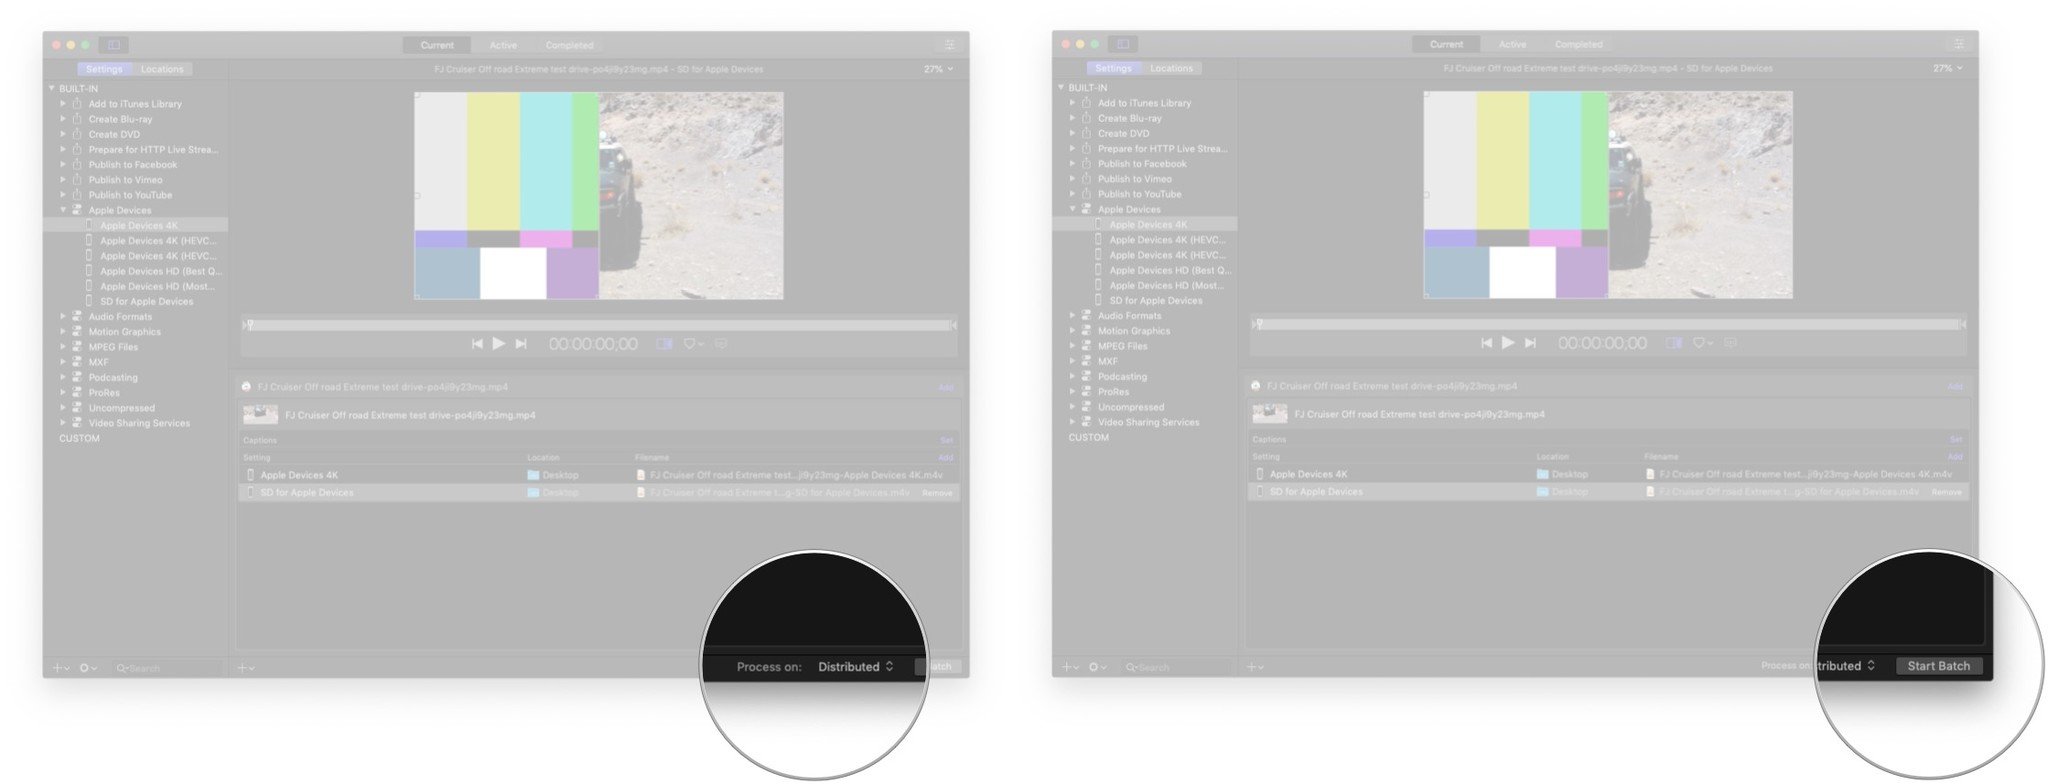
- Once you're ready with all of the video formats you want, you need to tell Compressor to Process on our distributed render farm by selecting "Distributed" from the dropdown list.
- Then click Start Batch to start rendering.
Compress will take a few moments to allocate each node with a job but you can watch each task under the Active tab if you're curious as to what's happening beneath the covers.
iMore offers spot-on advice and guidance from our team of experts, with decades of Apple device experience to lean on. Learn more with iMore!
Final comments
You'll be able to mass render all of your media on multiple Macs. Don't forget that you'll be limited by connectivity between Macs so you'll have to find the right balance between number of nodes and network bandwidth. Are you planning and creating a render farm? How many nodes? What hardware will you be using? Let us know in the comments!


