How to ungroup HomeKit accessories in the Home app
iMore offers spot-on advice and guidance from our team of experts, with decades of Apple device experience to lean on. Learn more with iMore!
You are now subscribed
Your newsletter sign-up was successful
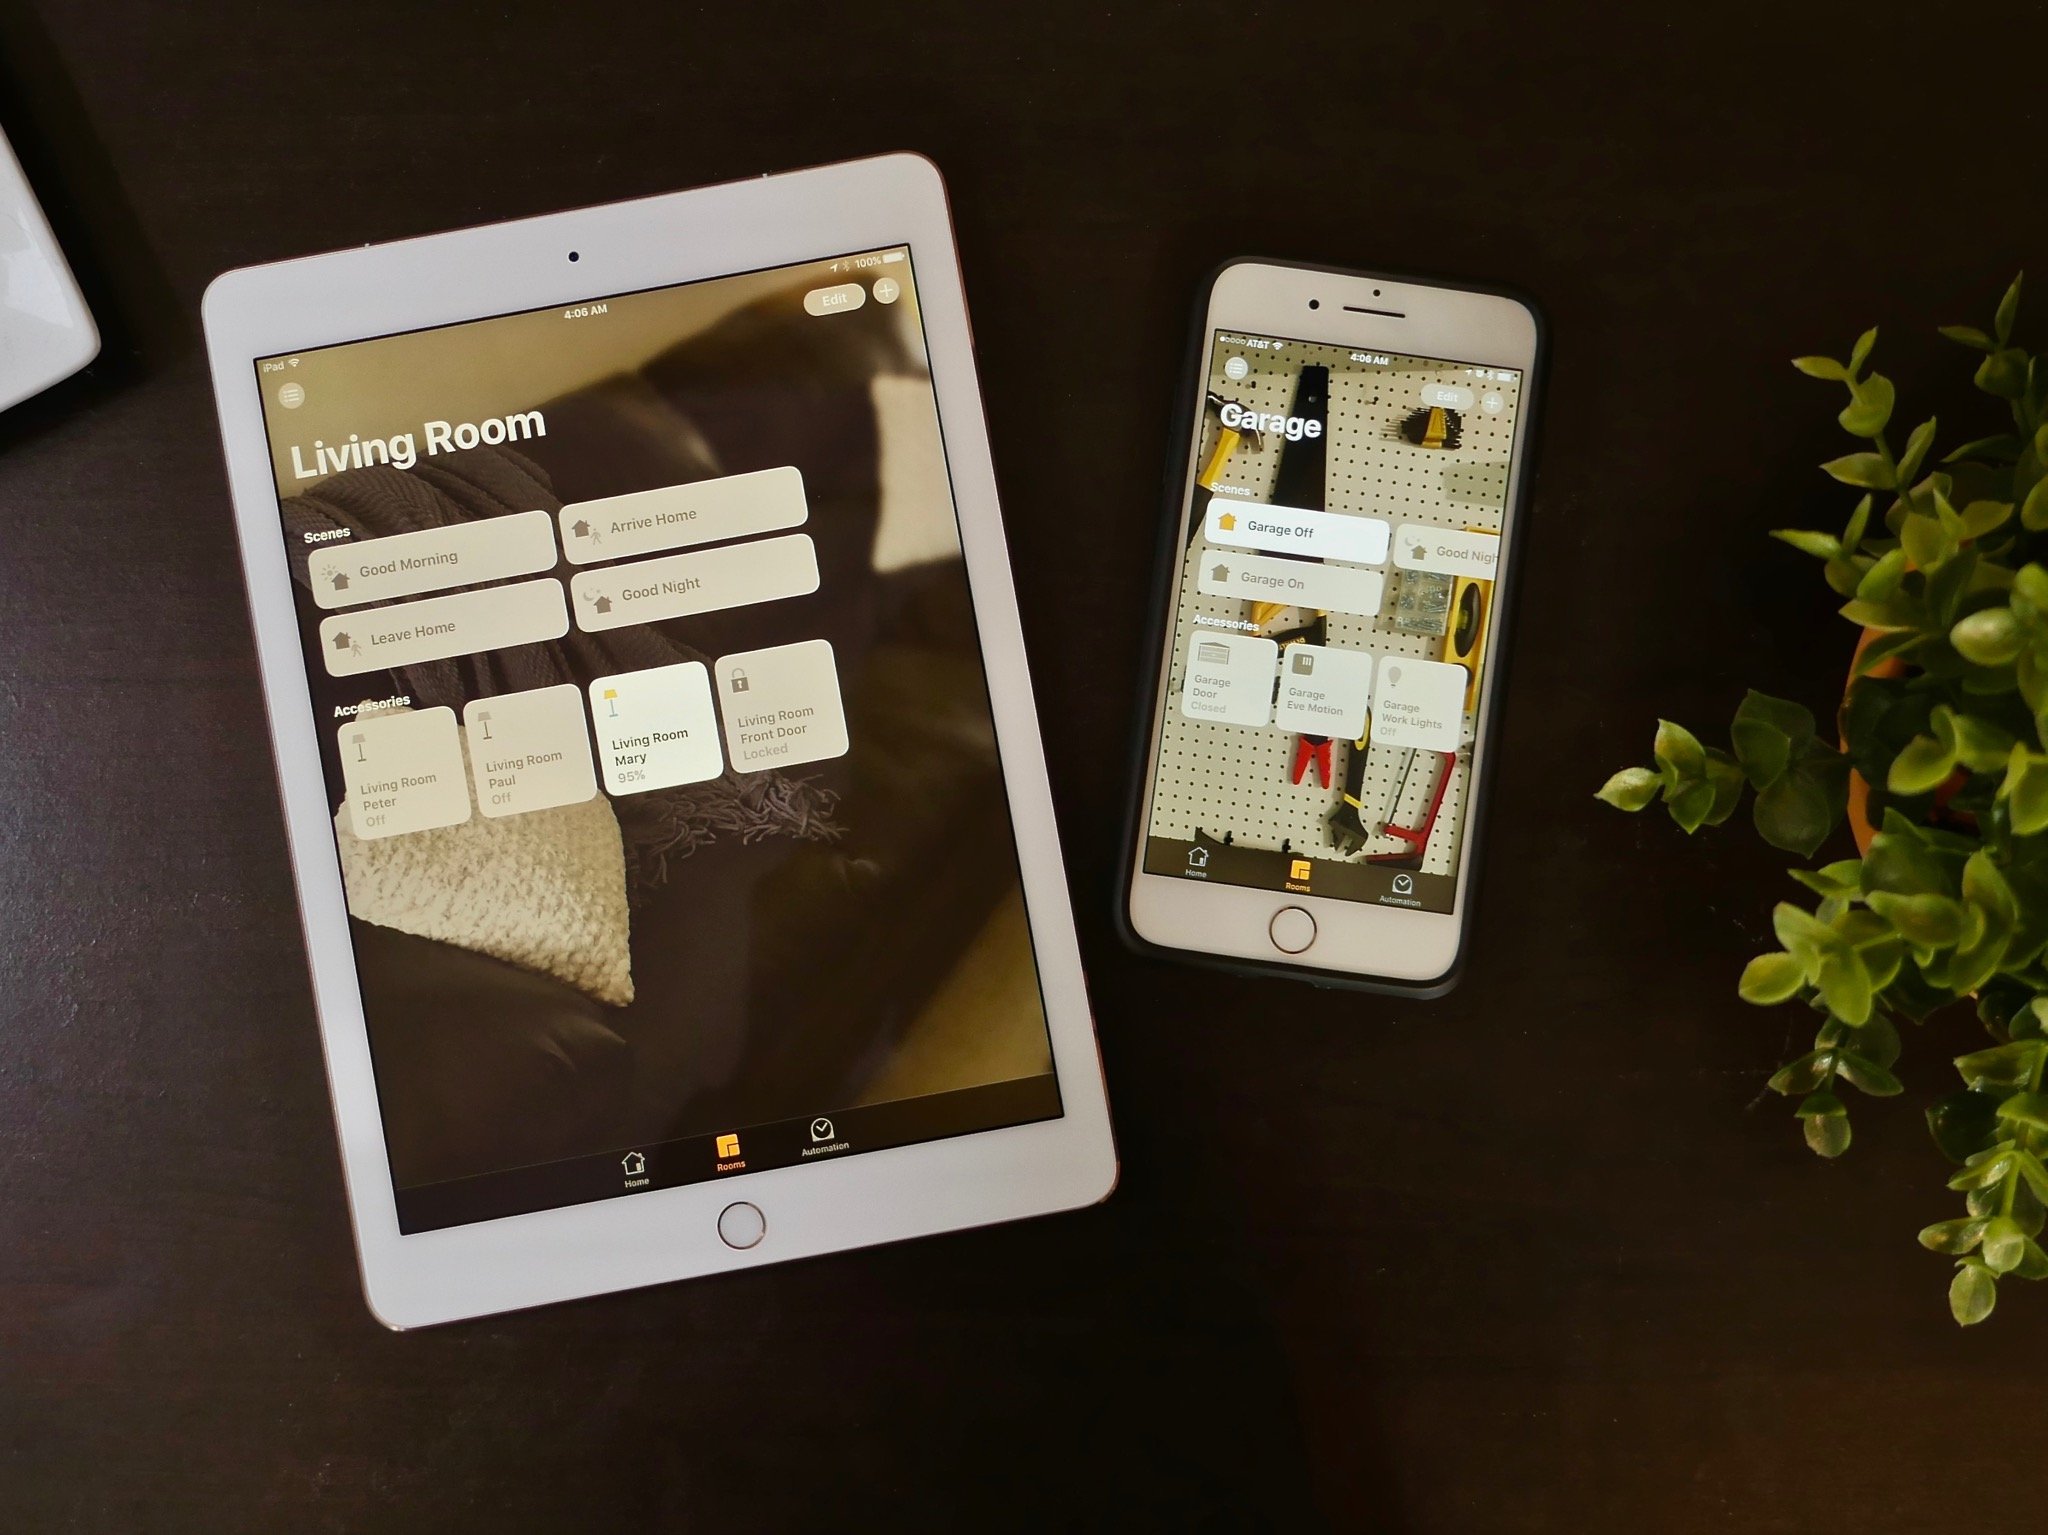
iOS 13 brought some pretty big changes to the Home app, including new automation features, accessory icons, and of course, grouping of devices that serve more than one purpose. Although this change makes things appear a little more organized, it removes the ability to see information quickly and to toggle devices on an off. Thankfully, there is an easy way to separate those devices and bring things back to the way that they were in iOS 12, here's how.
How to ungroup accessories in the Home app
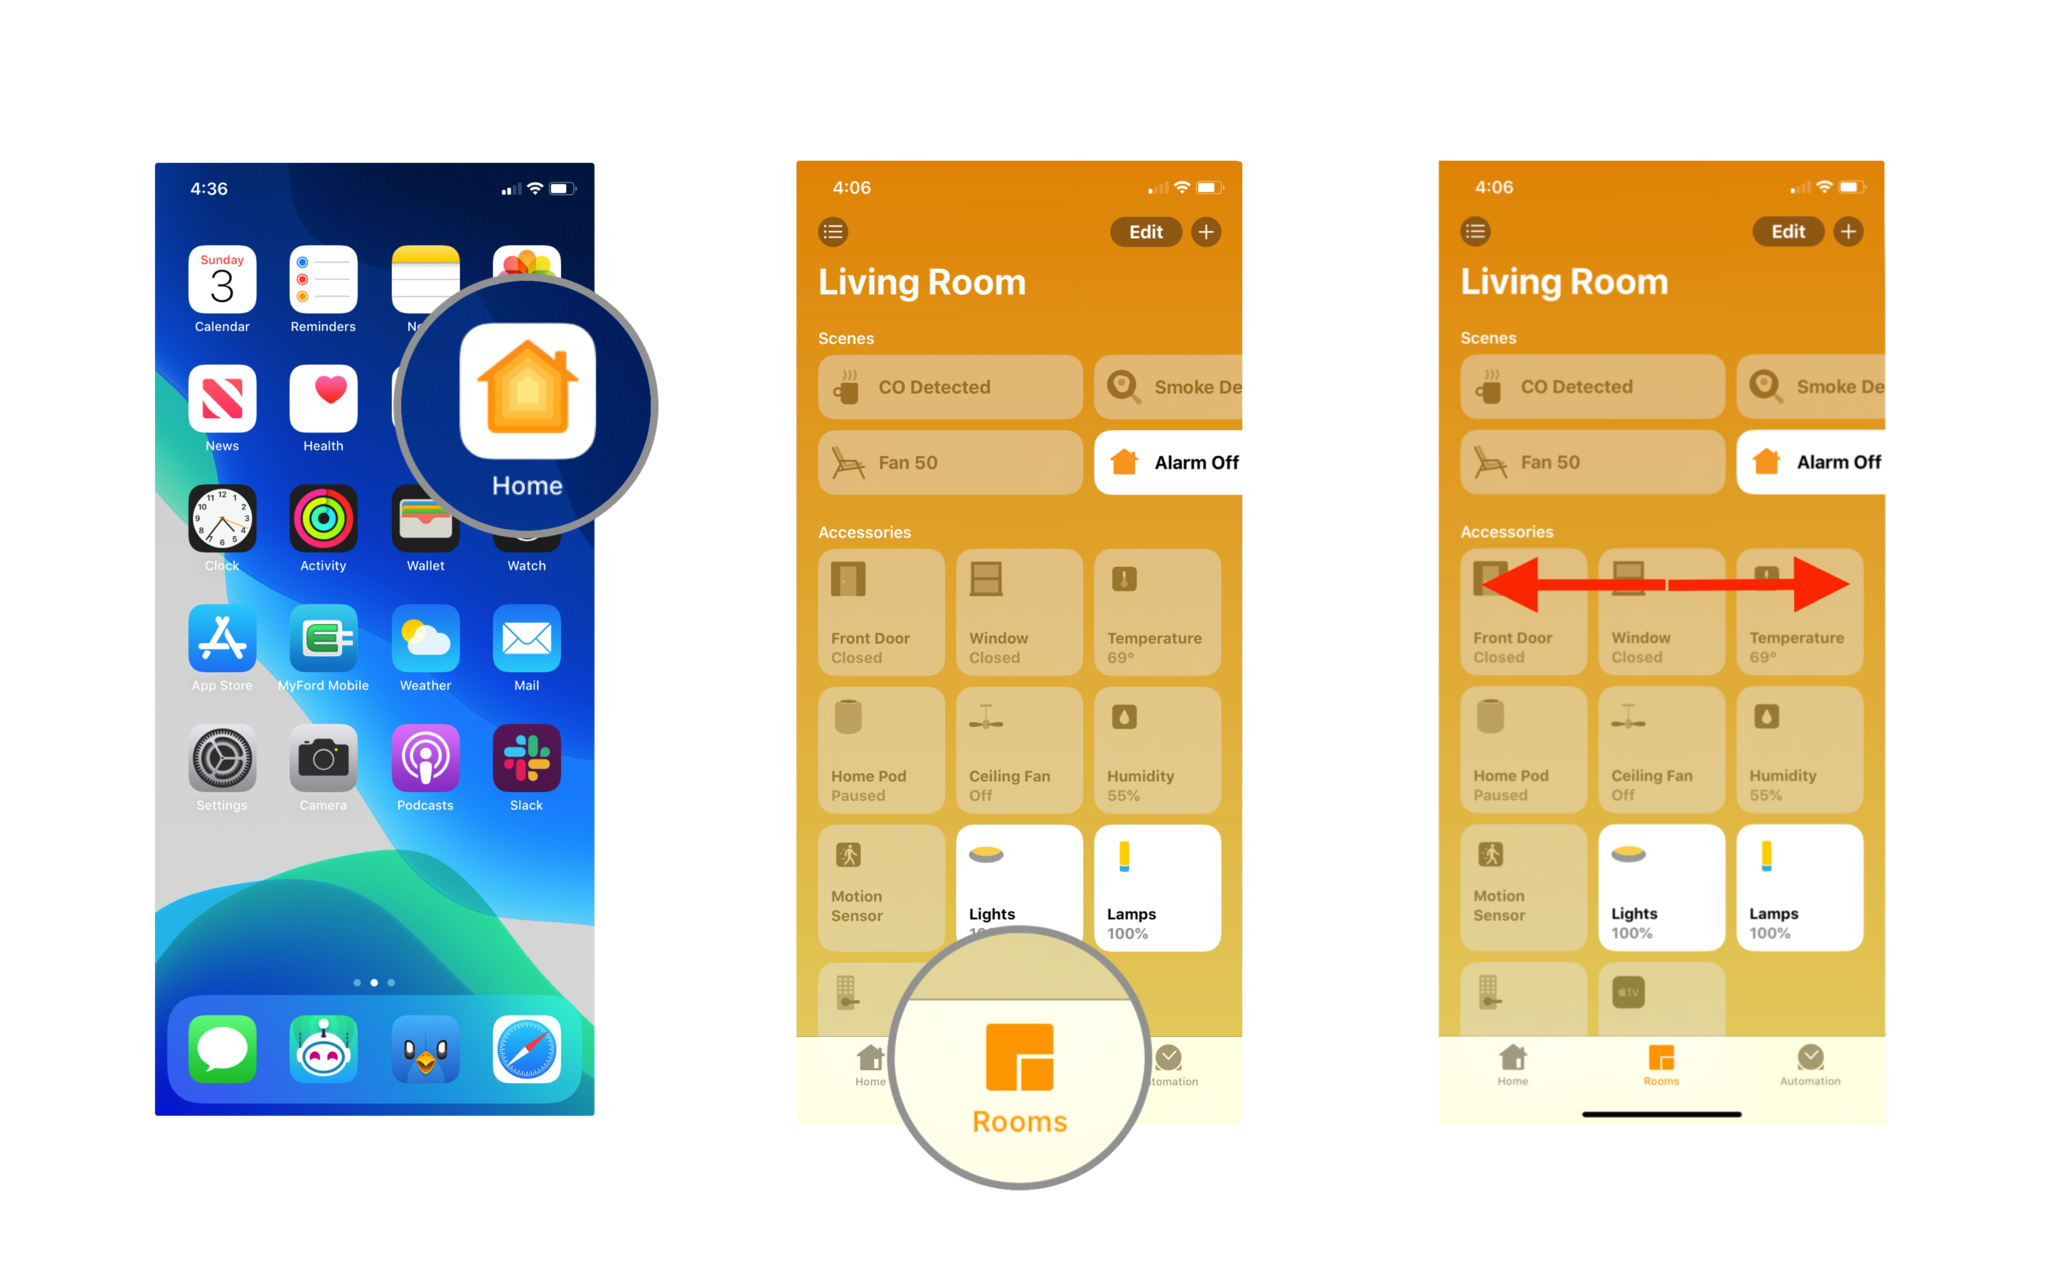
- Launch the Home app.
- Tap on Rooms on the bottom menu bar.
- Swipe to the left or right to navigate to the room that the accessory is in.
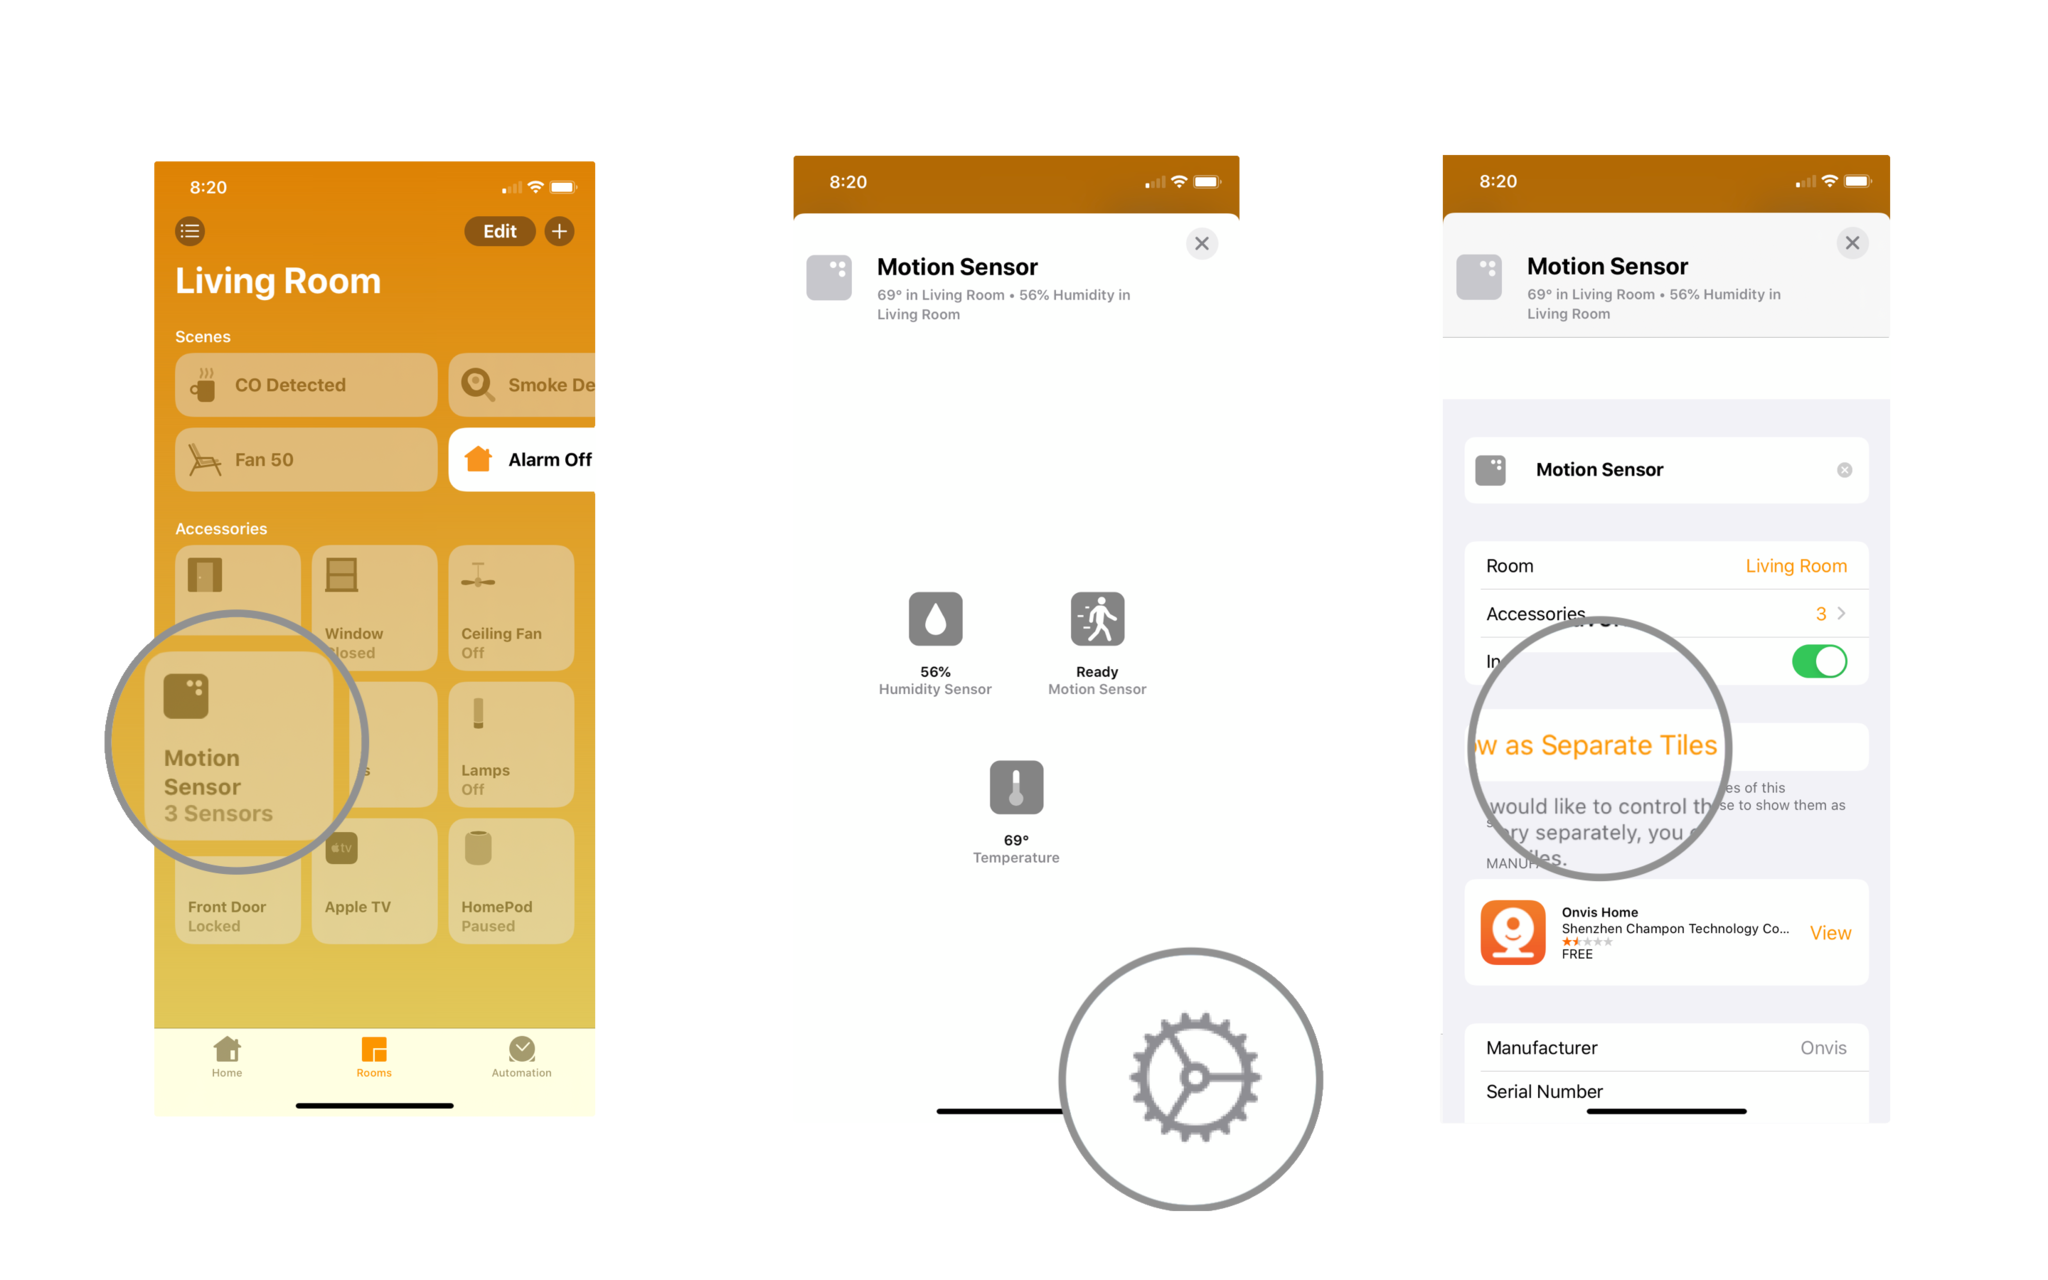
- Tap and hold or 3D Touch an Accessory you'd like to separate.
- Tap on the Settings Icon.
- Tap on **Show as Separate Tiles".
How to group accessories in the Home app
- Launch the Home app.
- Tap on Rooms on the bottom menu bar.
- Swipe to the left or right to navigate to the room that the accessory is in.

- Tap and hold or 3D Touch an Accessory you'd like to group.
- Tap on the Settings Icon.
- Tap on **Show as Single Tile".
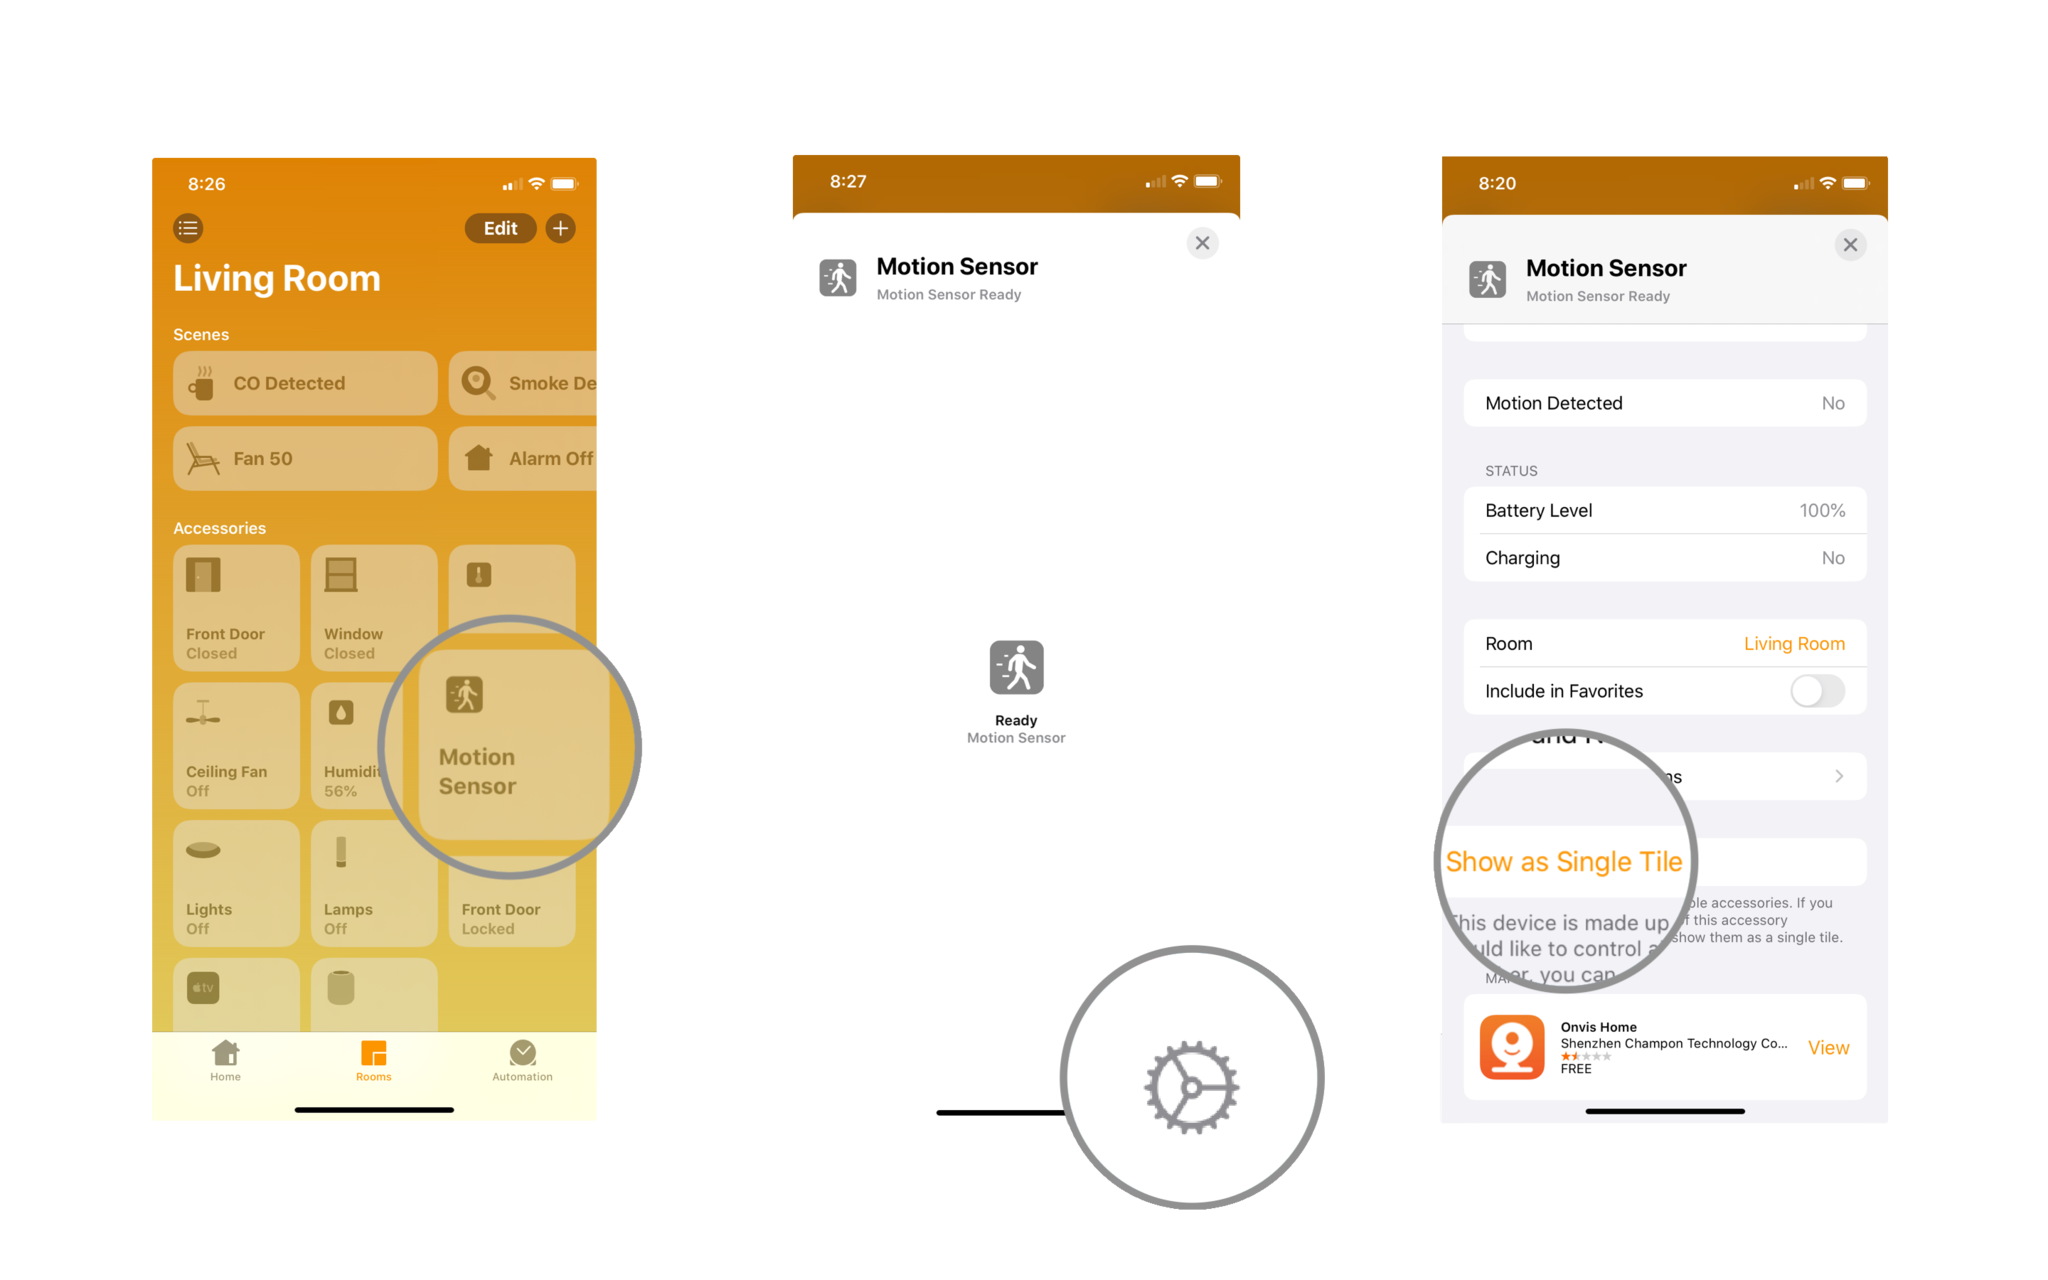
Once your settings are applied, you should now see a separate tile for each metric or function that your HomeKit accessory provides, just like it was in iOS 12. Once your accessories are ungrouped, you can then set them as favorites to bring them front and center on the Home app's main screen. Need some help setting up favorite accessories in the Home app? Check out our handy guide, and you will be organizing your Home app in no time.
Suggested Accessories
Now that you know how to ungroup your HomeKit accessories, you don't need to be afraid of devices that sport multiple functions. Having each sensor or function shown separately gives you quick and easy access to the information that matters the most to you, such as keeping an eye on the temperatures in the rooms across your home. Here are some of our favorite picks that can give you the most bang for your buck.
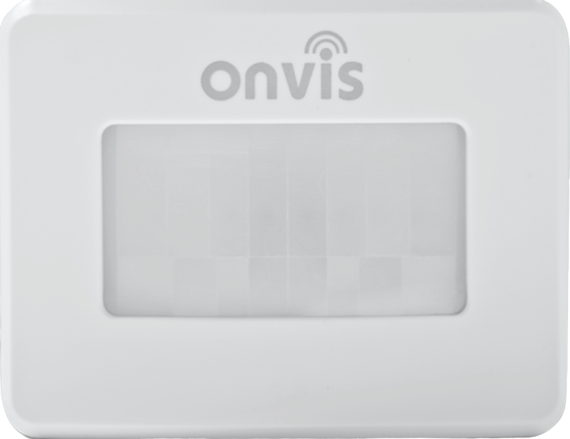
Onvis SMS1 Smart Motion Sensor ($16 at Amazon)
Despite its name suggesting that it is just a motion sensor, the Onvis SMS1 also includes temperature and humidity sensors inside of its compact frame. This accessory uses Bluetooth connectivity to communicate directly to HomeKit, making setup quick and easy.
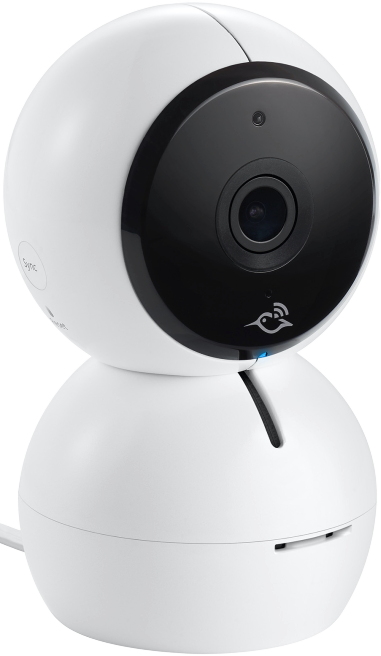
Arlo Baby ($180 at Amazon)
Arlo Baby is one of the most capable accessories around as it includes sensors for motion, temperature, humidity, and air quality in addition to a colorful night light and of course, a camera. The Arlo Baby is also completely portable, thanks to a built-in rechargeable battery.
iMore offers spot-on advice and guidance from our team of experts, with decades of Apple device experience to lean on. Learn more with iMore!
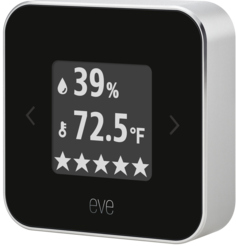
Eve Room 2 ($100 at Amazon)
The Eve Room 2 is a sleek sensor with an on-device display, allowing you to see the status of your home with just a glance. This sensor measures air quality, temperature, and humidity, and it includes a built-in rechargeable battery capable of lasting up to 6 weeks on a charge.
Christopher spends most of his time writing and dreaming about all things HomeKit and the Home app. Whether it is installing smart light switches, testing the latest door locks, or automating his households daily routines, Christopher has done it all.

