
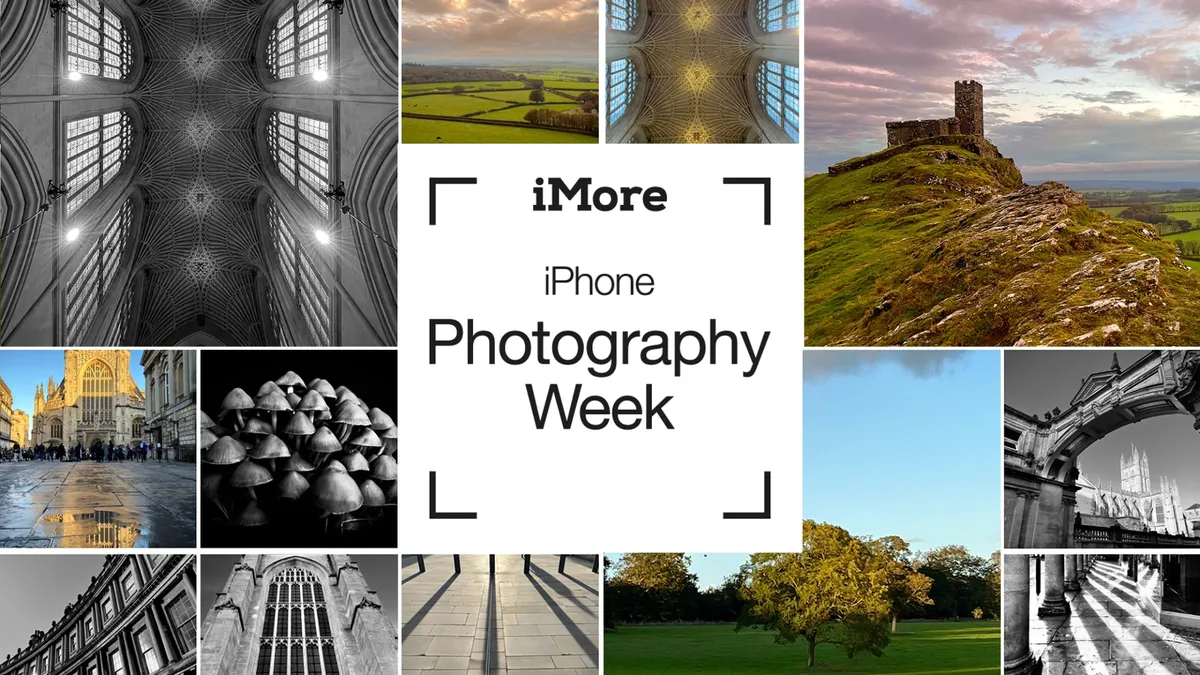
Take better photos with the camera in your pocket. iMore's iPhone Photography Week 2024 is filled with great content that will take your iPhone camera-snapping ability to the next level.
- Improve your photos instantly
- Check out more iPhone Photography Week 2024
#iMorePhotographyWeek
There are so many photo editing apps available for Mac that it can sometimes be a daunting prospect trying to pick one. Of course, there’s Photoshop, which is literally now synonymous with editing images the world over. Then there’s also Adobe Lightroom, GIMP, Luminar Neo, and more. Apple even has its own editing suite built into Apple Photos, and there are plenty of online tools available, too, such as Canva. But for me, one app has proven ever-present in my workflow, and ultra-reliable when it comes to results. As a certified novice when it comes to both photography and editing, I need an app that does everything for me. Enter Pixelmator Pro.

I was first introduced to Pixelmator Pro a couple of years ago, and it is now, by far, the most-used app on my Mac. Pixelmator Pro is one of the best photo editing apps for Mac, and I use it to edit all the photos I take on my DSLR, but thanks to intense integration with Apple’s ecosystem, it’s also perfect for editing photos taken on my iPhone.
The thing I love the most about Pixelmator Pro is that it’s photo-editing on autopilot. You don’t need to know the first thing about white balance, hue (whoever he is), saturation, sharpness, or anything else for that matter. While all these options and tweaks are available to those who need them, I’ve found the value of Pixelmator Pro to be held in its incredible “ML Enhance” feature and its array of excellent films, which are refined Instagram filters. Let me show you how I use it to transform an image in seconds.
Pixelmator Pro has an option to open iPhone shots directly from your Photos app on the Mac. As long as your iCloud sync is up and running, images you take on iPhone are automatically synced to your Mac and then can be opened directly in Pixelmator Pro. Pixelmator Pro recently added support HDR, which is great for some of the HDR photos I take on iPhone and it also supports Apple’s ProRAW format, so I can edit images in RAW for more control.
Cropping and positioning

Sometimes you can make a photo much better just by cropping it. Literally hitting the C key brings up a comprehensive cropping screen. There are controls for aspect ratio, rotation and tilt, and a series of grid overlays such as Rule of Thirds and Grid, which can be used to get the image positioning just right. However, as I’ve said, for me Pixelmator Pro is all about convenience, so I’ll often hit the ML Crop button to see what the software thinks of my photo. Sometimes it gets it right, other times not, but it's so easy to toggle the machine learning adjustments that cropping your image is a breeze.
Color adjustments

The fun part comes in the Color Adjustments tab, again reached with a simple key press (A). While pros could spend hours in every single setting tweaking and re-tweaking, I often edit photos on the fly, and speed and expedience are usually the main goal. To that end, the first thing I do is hit the ML Enhance button. Just like ML Crop, ML Enhance uses machine learning and AI to transform your image instantly. The changes are often subtle, but I’ve never seen it make an image worse. It tweaks color, exposure, contrast, brightness, shadows, and more. If you’re feeling ambitious, you can tweak each section individually. For example, you can toggle White Balance settings, including whether you want ML editing in that particular area. This means you can set AI to edit the whole piece or just individual aspects like Color Balance.
More often than not, however, I simply roll with whatever ML Enhance throws out in the first instance, if I don’t like it, I can simply click the same button again to remove/undo the changes.
Films

The third and usually final act in editing these photos comes from Films. As I’ve mentioned, these are really like Instagram filters on steroids for your iPhone pictures. There are eight categories, including Vintage, Black & White, and Modern, each with several individual films. Just like the AI adjustments, you can simply click on a filter to see its effects, clicking on it again to remove it if you don’t like it.
Sometimes, I’ll be content enough with an image that it doesn’t need a film, but if it does, adding one replaces the aforementioned Color adjustments. If I like the film better than the Color Adjustments, I’ll stick with it, but if there’s still something missing, you can hit the ML Enhance button again while a filter is active to get the best of both worlds, a carefully curated film with AI adjustments made over the top
This might sound a bit hectic, but it’s very simple once you get the hang of it. Pixelmator lets me crop and color adjust images usually in around 10 seconds. Of course, I’m not plumbing the depths of pro photography here or freelancing as a wedding photographer, but for my daily needs, this workflow is absolutely perfect. Here’s a quick look at a trio of edited images that Pixelmator Pro gave me.
As you can see, I’ve cropped this shot to 16:9 and really quite like it, I love the colors from the floral arrangement, but, being Scotland, it all feels a bit washed out and grey.

I threw a film on it (Cinematic 1 if you were wondering) and immediately preferred the colors here.

For the final touch, I then added the ML Enhance on top of the film, which restores the festive red to much of the decor (and the parked car).

Truthfully, I actually prefer the second of these three images, but this is the beauty of Pixelmator Pro. Its one-touch AI enhancements let me make hefty changes at the touch of a button, and undo them just as quickly. While it’s not going to win me any photography awards, it’s certainly an improvement.
While Pixelmator Pro is not free, its $49.99 price tag is much more generous than the cost of some photo editing suites, and there’s even a free trial for Mac. If you’re a budding iPhoneographer and want a quick and easy way to take your images to the next level, I can’t recommend it highly enough.
Do you use Pixelmator Pro? Share your photos with iMore on X (Twitter) using #iMorePhotographyWeek

