
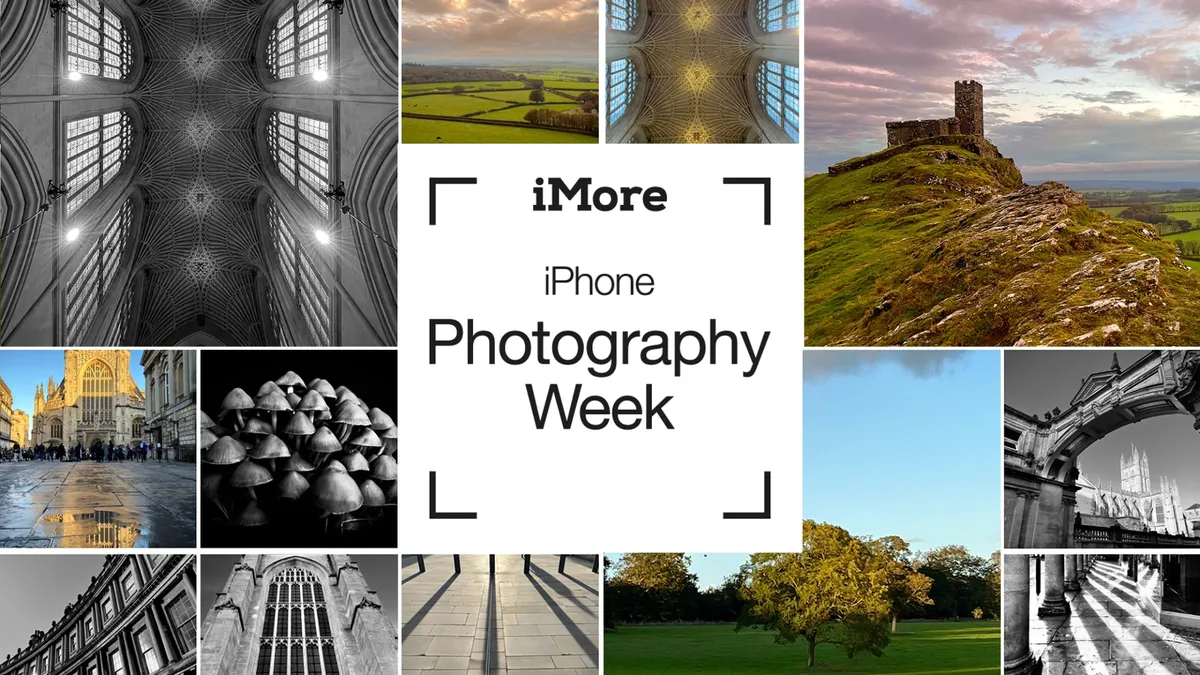
Take better photos with the camera in your pocket. iMore's iPhone Photography Week 2024 is filled with great content that will take your iPhone camera-snapping ability to the next level.
- Check out more iPhone Photography Week 2024
#iMorePhotographyWeek
It wasn't until the launch of the iPhone 7 that I became interested in the world of photography — up until that point I didn't think too much about how I captured pictures.
The iPhone 7 was a turning point as it allowed me to experiment with framing and manipulating images to find the moods and tones I wished to convey. This helped me establish my aesthetic and define what kind of creative I wanted to be.
A common misconception within creative industries is that you need the most expensive, top-notch tools to be taken seriously. But, thanks to advancements in handheld camera technology, you may find that the smartphone in your pocket provides more than enough power to help you develop your visual style and meaningfully engage with photography.

In this guide, which is part of iMore's iPhone Photography Week, will offer some beginner tips to help you make the most of your iPhone’s camera and the first-party app found on iOS 17.
The Camera App and Shooting
Let’s start with the basics. Apple's Camera app boasts a treasure trove of features, with the best place to explore them being its dedicated Settings menu. Head to Settings > Camera, and you’ll be presented with a series of options, all of which are worth checking out as you strive to find your style. Two sections to focus on early are Composition and Photo Capture. Here you’ll see a load of toggleable options to experiment with.
The most valuable tool you can toggle on as a budding iPhone photographer, in my experience, is the Camera Grid. This will apply an overlay of grid lines to the Camera app, so when you’re taking photos, you can line up your shot and have consistent composition across various subjects and locations. This will also give you the room to play with editing settings like Saturation and Sharpness, as once you’ve got the composition down, it’s easier to experiment while maintaining the uniformity of your photos.
The Camera Grid is also an ideal visual tool for when you want to pull focus and place importance on specific objects in a given scene. For example, if you want to make a lamppost stand out and be the focal point of a shot, having these digital markers will allow you to draw attention and add drama to a shot with minimal effort.
Next up, tap the Photographic Styles option in the Camera settings menu. Here you can find a few stock images with some slight tonal changes, and you should consider which one appeals to the kind of shots you want to take. You can choose to use a Photographic Style (Rich Contrast, Vibrant, Warm, or Cool) in order to personalize your photos depending on the environment that you’re shooting in, your subject, orientation, and the level of tone or warmth that you may be seeking.
In the app itself, swipe up to access the quick settings, which cover flash preference, Night Mode (handy for outdoor photos in the evening), Aspect Ratio, and Exposure.
If you find that your scene is too bright, too dim, or out of focus, tapping on a part of the screen will establish focus on your specified target, and long-pressing on your focal point will allow you to engage the AE/AF Lock, locking the focus in place. Within the focus systems, you can also drag up and down with your finger to change the exposure on your focal point.
Different photo styles are also available to play with at the bottom of the screen, such as Panorama and Portrait Mode. Portrait Mode blurs the background area around your subject while accentuating the foreground, and you can tinker with different light profiles to switch up how your subject looks. It’s a lot to consider, but just focus on what appeals to you as a photographer, and you’ll quickly find your creative rhythm.
The Photos app and editing with it

Once you’ve got to grips with taking photos on your iPhone, it’s time to dig into the native editing suite. While third-party apps offer tons of depth, the iPhone’s built-in editing tools boast plenty of power and should not be overlooked.
Once you’ve found a photo that you’d like to experiment with in the Photos app, tap that edit button in the top right corner to open Pandora's box of fun. At the very bottom of the screen, you’ll see a sliding bar of options to play with. The leftmost option allows you to edit the specific frame of a Live Photo, just in case you missed a certain expression or moment in a shot. You’ve also got easy access to filters and a cropping tool to change the framing if necessary.
I recommend starting with the adjust settings tool, signified by a dial icon. As you work across the sliding bar of options, you can toggle each of them into the positive and negative, subtly adding Definition, Saturation, Tint, and Vignette to your photos. You can also tweak Highlights and Shadows to create dramatic lighting effects.
Finding your style is all about playing with what you’ve got, and these settings are a great basis for this process. Not to beat the drum of experimentation again, but there truly is no wrong way to approach photography, and as you get to grips with what each of the individual settings can do, you can really start to find your vision and clearly communicate what you want to achieve with your finished shots.
For me, this process was almost like learning a language. The more I practiced with photo editing, the more it all started to make sense in my head, and I eventually found complementary settings that suited my style. Playing around with the editing functionality on your iPhone is a great way to learn basic editing techniques before you graduate to the more professional third-party apps.
Free Courses and Lessons
However, if you’ve done as much personal experimenting as you can and want some more tailored support, there is no better educator than YouTube, especially in the form of Apple’s Today at Apple series. Today at Apple, take professional photographers and Apple Creatives and turns them into your personal teachers. These mini-courses offer plenty of pro tips and often hone in on specific tools like Night Mode to help give you an edge.
A lot of these free online tutorials are also available in-store, so if you live near an Apple Store, you can book teacher-led Today at Apple sessions at no cost. There are a variety of free classes to take, from photography basics to architecture walks. These sessions are also repeatable at no extra cost, so you can return again and again to reap the educational benefits.
Outside of Apple’s official channels, YouTube itself is full of photography content from talented creators, with channels covering important advanced topics like color grading, which you can get into as your skills start to grow. While there’s no denying the value of formal education, the internet has made a lot of the lessons typically covered in classrooms readily accessible, and taking advantage of what’s available online can help grow your confidence and photography vocabulary.
In a world plagued with paywalls and expensive hardware, it can feel like what is built into your iPhone often isn’t good enough to get the job done, but with some settings tweaks, experimentation, and practice, anyone can find their own unique photographic style. In my experience, whether you are a professional, a hobbyist, or just someone looking to spice up your socials, it’s more about how you convey who you are in the shot than matching up with what you see around you. The main thing to remember is that when you’re finding your own style, there’s no rule book you need to follow - you’re better off carving out a new niche just for you.
This feature is part of iPhone Photography Week 2024. Expect new posts to appear daily, focused on making your photos shot with iPhone better than ever before.
Share your photos with iMore on X (Twitter) using #iMorePhotographyWeek

