
Just because Independence Day is celebrated primarily outdoors, it doesn't mean that the party has to stop once you retire for the day. HomeKit lighting can simulate the pops and flashes of those banging fireworks displays inside of your home through automations and scenes, each of which are incredibly easy to set up.
All it takes is the right accessories, a few minutes of your time, and a few taps, and you will be celebrating in style. So let's put use the power of apps, automations, and scenes to make your Independence Day smarter.

Convenient celebrations

Before we dive into building our own, you may already have access to some of the best Independence Day theme scenes around. Nowadays, most color lighting accessories and apps include pre-configured scenes that can launch your celebration with just a tap or two. Nanoleaf in particular, offers some truly awesome scenes, so if you have the gear, here's how to put them to use.
How to set the Nanoleaf Fireworks and Firecrackers scene
- Launch the Nanoleaf app.
- Tap on Discover located at the bottom of the app.
- Tap on the Paint palette icon.

- Scroll down until you see the Fireworks and Firecrackers scene.
- Tap the Download button.
- Tap the checkbox next to the Name of your light panel.

- Tap Download.
- Type in a custom Scene name if desired.
- Tap OK to save the scene.

The Fireworks and Firecrackers scene should now be lighting up your panels with bright pops of colors. You can make adjustments to the speed and delay for the scene by editing the scene from the Dashboard tab within the app. With faster speeds, you can really make your home come alive.
Have Philips Hue lighting in your home? There are some great third-party apps that can make your lighting look just as good without creating an automation. One of our favorites is OnSwitch for Philips Hue, which has quite a few different fireworks specific variants to choose from.
The Philips Hue team also offers up a more subtle solution for putting red, white, and blue, on your lighting through the Living Scenes Hue Labs Formula if you are willing to put in a little work. The Philips Hue line also includes outdoor lighting as well, so you can put the colors of the stars and stripes on display all night long.

Fireworks and Firecrackers
The Nanoleaf Canvas brings your walls to life with rich colors, which you can arrange in almost any pattern. The Nanoleaf app adds convenient access to pre-configured scenes, like Fireworks and Firecrackers, which brings Independence Day to the indoors.

Living scenes
The Philips Hue lighting line can put a little color everywhere, indoors and out, with light bulbs, lamps, and fixtures. Custom scenes and Hue Labs formulas like Living Scenes makes transitioning between red, white, and blue, easy.
Make it your own
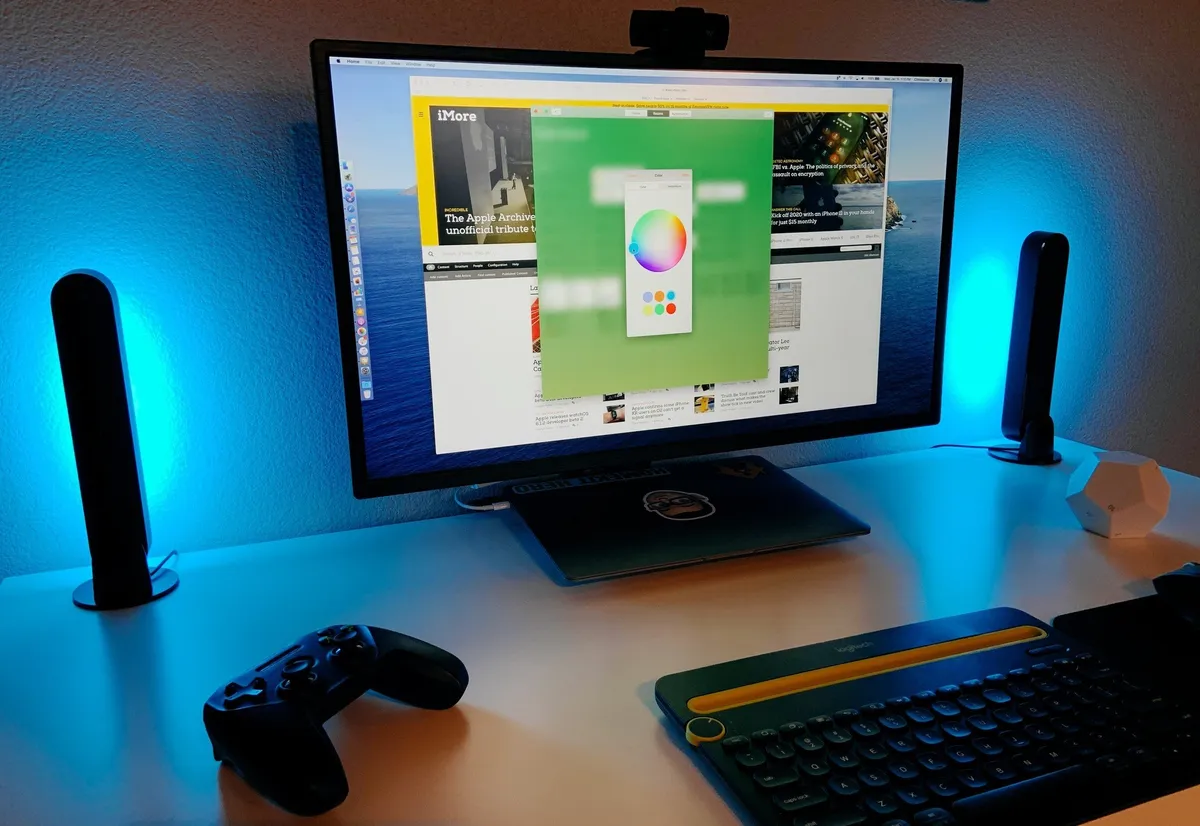
If your HomeKit lighting's app doesn't include scenes for Independence Day or if you can't find one that speaks to you, don't worry, you can still make your own magic with automations. By creating your own automation, you can set your favorite shades of red, white, and blue, as well as just how bright your stars will shine.
Creating a custom automation in the Home app also enables you to tie it in with other HomeKit accessories, such as door sensors or locks. With the right mix, you can set your festive lighting inside to spring to life as soon as you return from the outdoor celebration. Let's create an automation that will do just that!
- Launch the Home App.
- Tap the Automation tab.
- Tap the Add Button in the top right corner of the screen (looks like a plus sign).

- Choose An Accessory is Controlled.
- Choose the Accessory that will turn on your lights. I will choose the Schlage Sense door lock.
- Tap Next.

- Tap on the desired Accessory state used for the automation. I will choose Unlocks for my automation.
- Tap Next.
- Choose which Accessories or Scenes you'd like to control with this automation. I will choose my Nanoleaf Aurora, Canvas, and Hexagons.

- Tap Next.
- Long press on the Accessories in your automation to change their color. I will choose a combination of red, white, and blue.
- Tap Done.

Now that your automation is created, the next time that the door is unlocked, it will set all of the assigned lighting to the exact colors and brightness automatically. Just remember to turn the automation off, or set your lighting back to normal shades once you are done celebrating the Fourth!

Unlock to begin
Schlage's sleek Sense Smart Deadbolt can bring your lighting to life when it unlocks through the power of HomeKit automations. Come home to an indoor fireworks show that starts as soon as you open the door.
Keep your cool
Once the festivities are over, you may need to cool down from the summer's heat. Instead of running to the thermostat or the switch on the wall for the fan, let Siri take care of things for you. All you need is a HomeKit compatible thermostat, and either an iPhone, iPad, Apple Watch, or HomePod, to make it all happen.
Let's create a scene that fires up the air conditioner in the home with just a shout. Don't worry its not that hard to do!
- Launch the Home app for on your iPhone or iPad.
- Tap the Add Button in the top right corner of the screen (looks like a plus sign).
- Tap Add Scene.

- Give your scene a Name. I will name mine "Cool Down".
- Tap Add Accessories.
- Choose the Accessories you want to add to your scene by tapping on them. I will choose my ecobee SmartThermostat.

- Tap Done when you've selected your accessories.
- Long press the Accessories in your scene to change their settings. I will set my thermostat to cool the home down to 72 degrees.
- Tap Done when you've adjusted your accessories' settings to your satisfaction.

Now that your scene is built, you can start cooling down your home on demand with your custom voice command. So for this example, all I need to do is say "Hey Siri, Cool Down". Whether you shout to Siri on your HomePod when you enter, or if you summon the virtual assistant on your iPhone to start cooling a few minutes before heading inside, you won't be sweating for too long.
This scene doesn't just have to be a once a year thing, as you can tie it to time-based automations which will automatically cool your home at a set time. You can even use your iPhone's GPS location to turn it on when you arrive after a long day at the office.

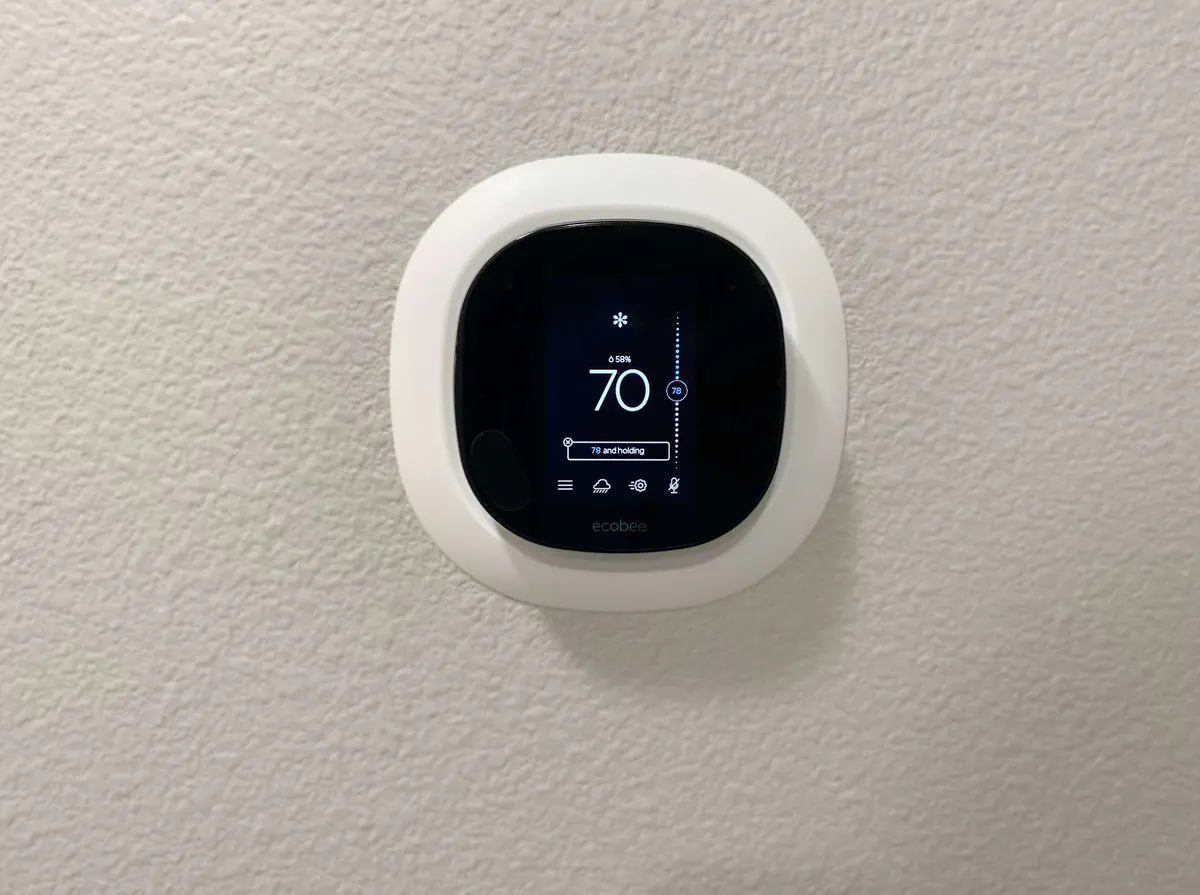
Keep your cool
The ecobee SmartThermostat is the ultimate HomeKit thermostat with a unique room sensor, scheduling, and remote controls. When combined with Siri, you can cool your home down with just a shout.

Cool down!
Apple's HomePod is the key to hands-free convenience with powerful microphones that can pick up commands from great lengths. Set all of your scenes in motion with custom phrases like Cool Down!
Watch it all

If you just can't get enough of the outdoor visuals and your indoor lighting just won't cut it, then put your outdoor HomeKit camera to use. The quickest and easiest way is to fire up your camera's feed through the Home app, but you can take things further by bringing it to the big screen if you have an Apple TV. AirPlay is a great way to beam your view to the TV, here's how.
- Swipe down from the top right corner of the screen to open Control Center.
- Tap Screen Mirroring.
- Tap on the name of your Apple TV.

- Launch the Home app.
- Tap on Rooms.
- Swipe to the left or right to locate your Camera then tap on the Thumbnail image to begin viewing.

For those times where you still want to browse around on your phone, you can use a third-party HomeKit app on the Apple TV to view your cameras. Our favorite is HomeCam, which can show all of your feeds in a grid or full-screen view, and you can even set it to transition automatically between cameras.

Keep an eye on it
The Logitech Circle View keeps an eye on your home both inside and out, making it ideal for watching the night sky light up with fireworks on the Fourth. HomeKit support allows you to AirPlay or view your feeds on the Apple TV.

AirPlay and HomeKit
The Apple TV 4K puts your HomeKit cameras up on the big screen through third-party apps and AirPlay. Stream all of the festivities going on around your neighborhood even after you are done for the day.
How are you celebrating with HomeKit?
Have some big HomeKit plans for this year's festivities? What accessories and automations are you using to celebrate Independence Day? Let us know in the comments below!

