How to automatically create captions for your videos using free tools
iMore offers spot-on advice and guidance from our team of experts, with decades of Apple device experience to lean on. Learn more with iMore!
You are now subscribed
Your newsletter sign-up was successful
If you've ever had to manually add captions and timestamps for an extended length video, you'll understand how painstaking of a process it can be. There are various free and professional products that can recognize speech and transcribe the audio for you to manipulate with captioning software. We'll be outlining one such method using Youtube's automatic and powerful captioning AI and the free and open source software youtube-dl.
- Setting expectations
- Once you've created your content
- Extracting the automatically added captions
- Final comments
Setting expectations
I'd like to limit expectations when using any text-to-speech solution. None of them work 100% of the time. There will be transcribing mistakes that will need to be reviewed and edited. However, the bulk of the work will be transcribed just fine saving you a bunch of time and headache. Secondly, I'm assuming that you need captions for a video that isn't necessarily going to be viewed on a video sharing site like YouTube. Sometimes, you need the captions for other purposes which is our focus here.
Once you've created your content
The first thing you will do is upload your video file to YouTube. I like using the YouTube transcriber since it will also automatically add timestamps to your captions that you can in turn download using the youtube-dl program described later. As an aside, you can optionally use Watson (Yes the jeopardy contest AI) to do the transcribing for you as well but you'll then have to create timestamps yourself.
We'll be uploading video files in private mode. This allows us to keep video files under our control and not share them to the world. Remember, I'm only having YouTube do the quick and dirty transcribing for a video file I want to have mastered locally on my computer. Once transcribed, we can remove it from YouTube entirely if you desire. Once you've created your video file on your computer, do the following.
- Navigate to YouTube and log in.
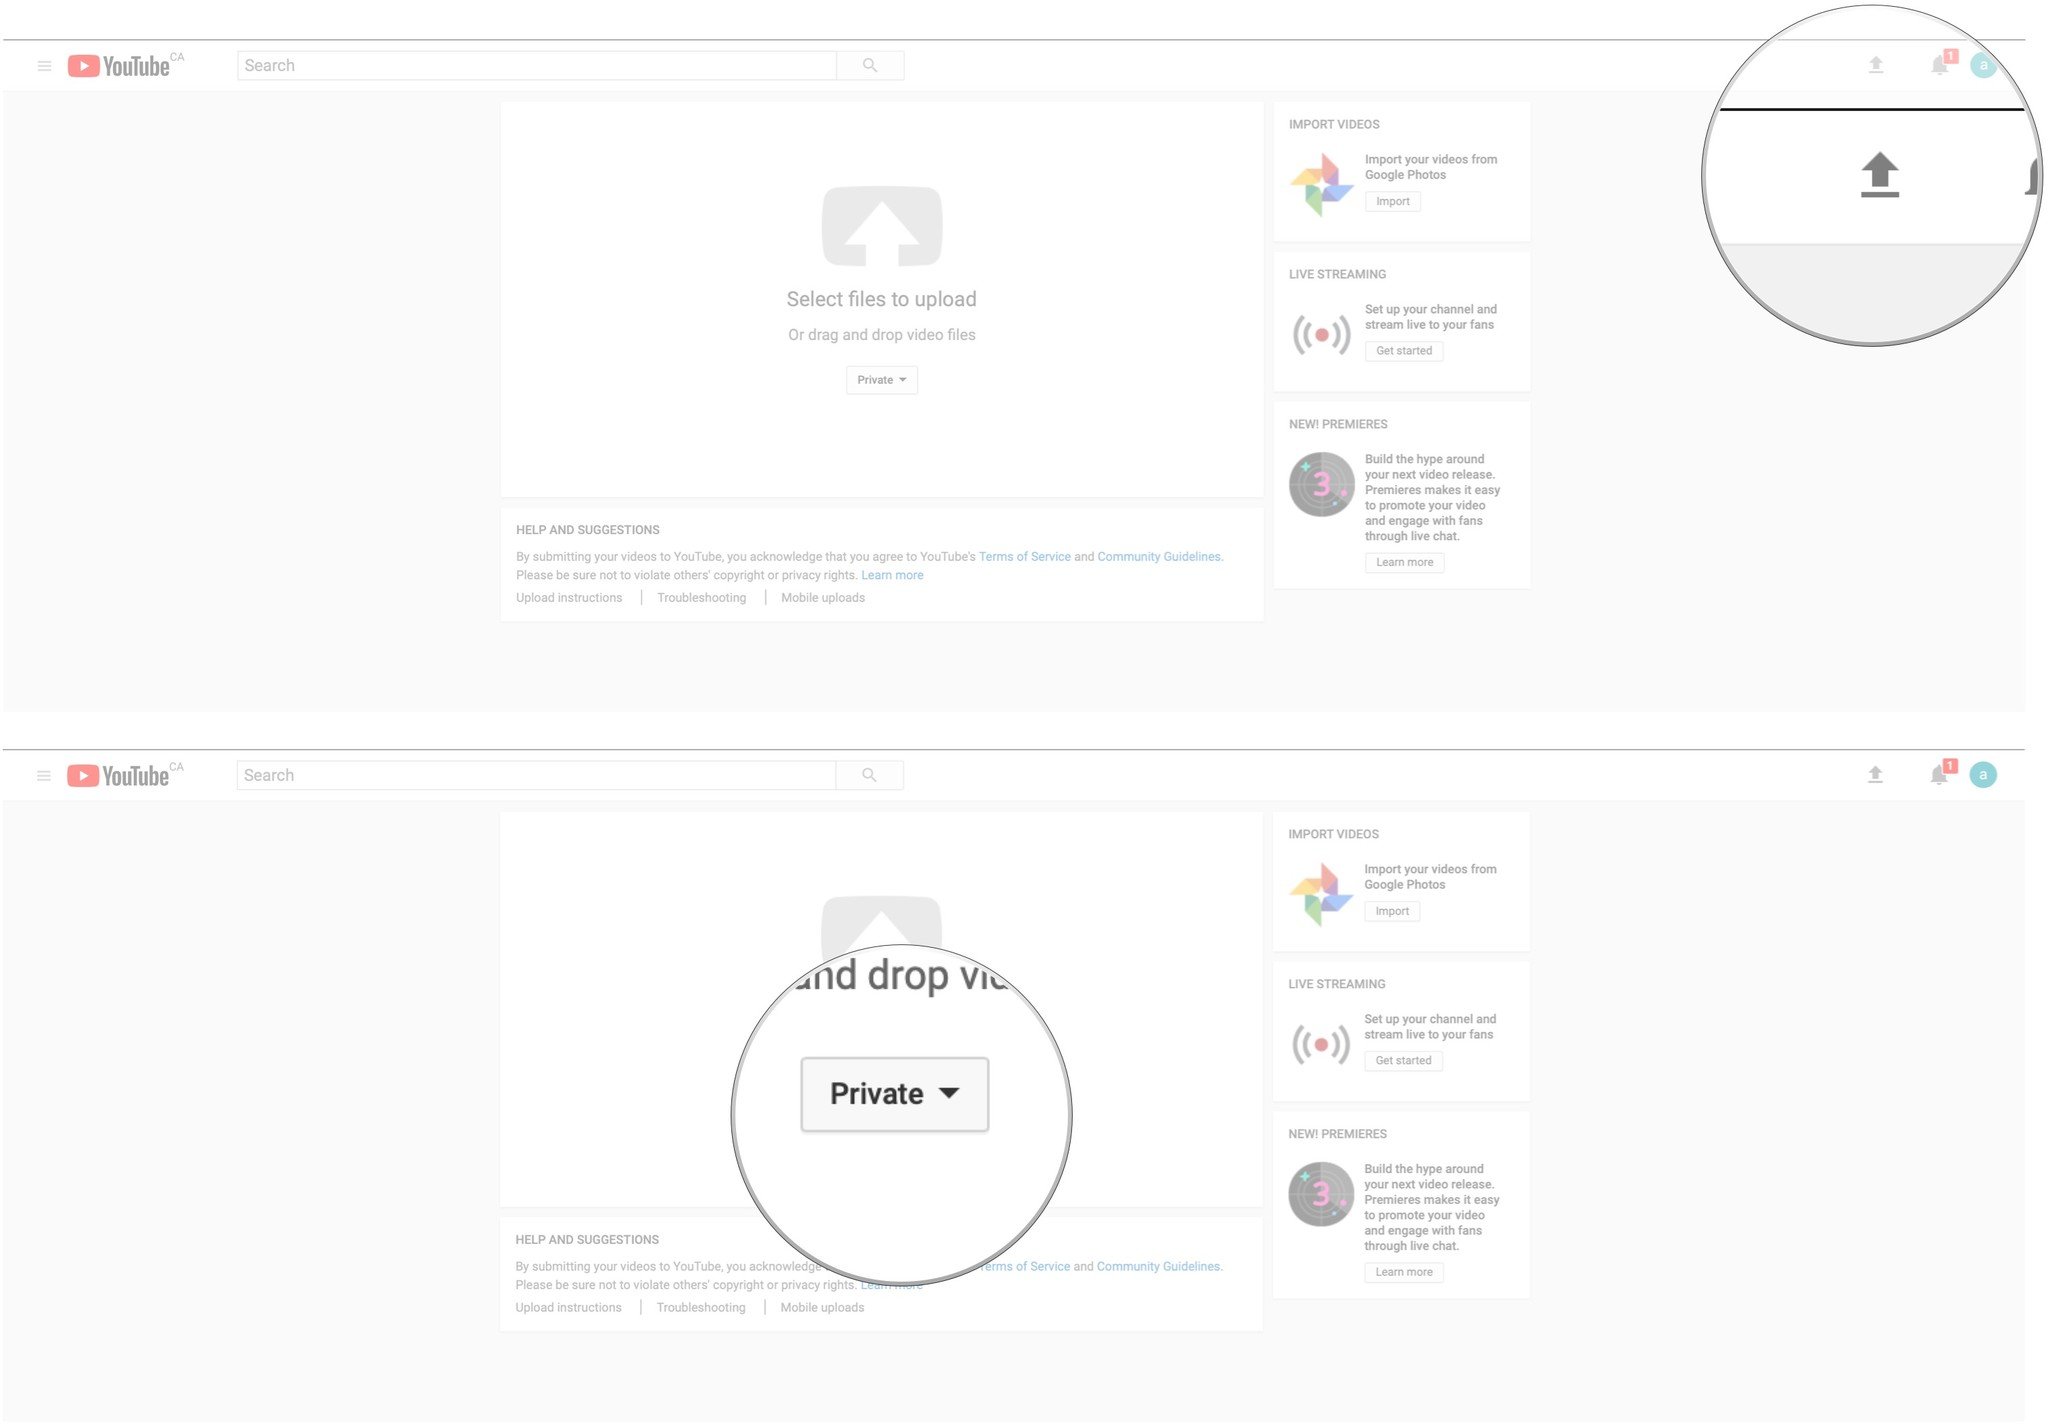
- Click the Upload Arrow in the top right.
- Set the dropdown to Private.
- Drag and drop your video file onto your browser window.
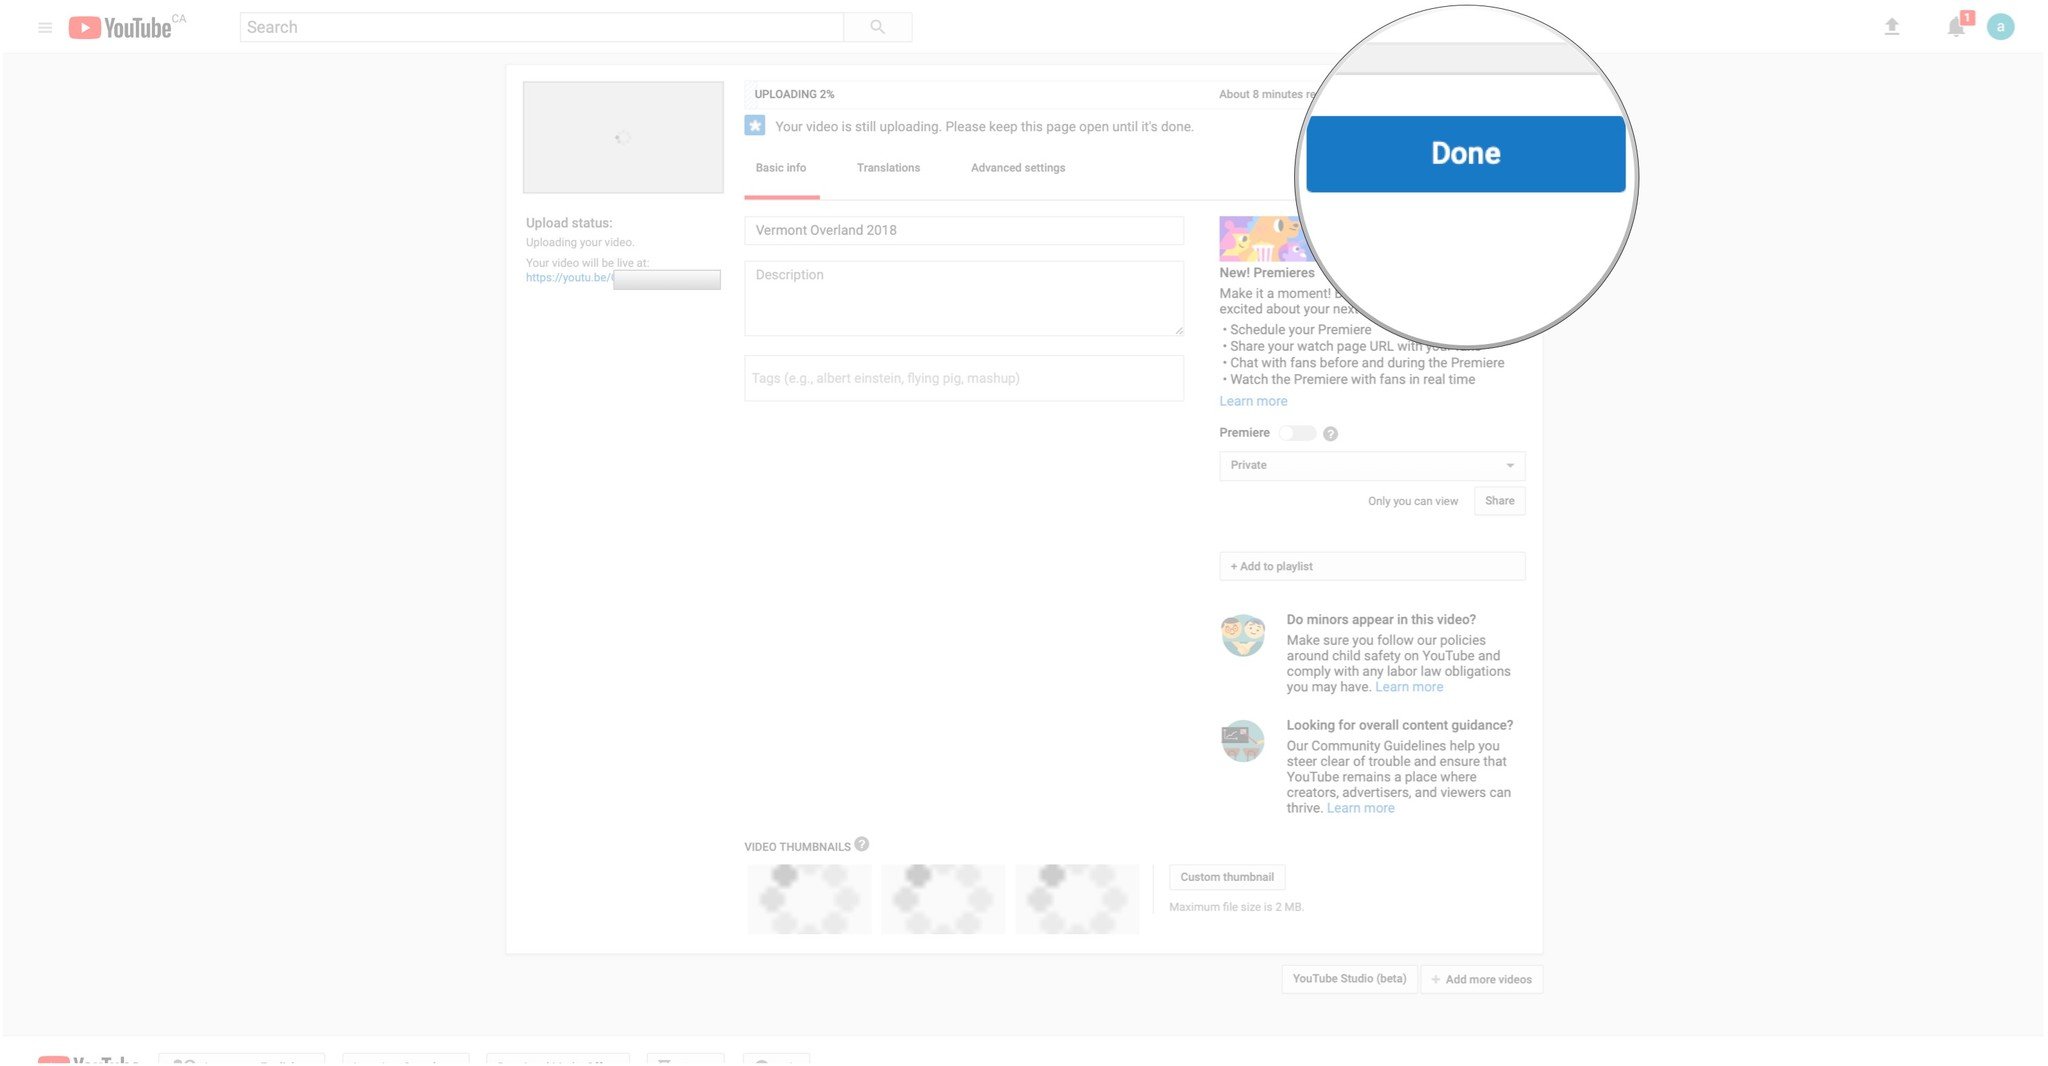
- Wait for your video to upload and process.
- Once completed, click Done.
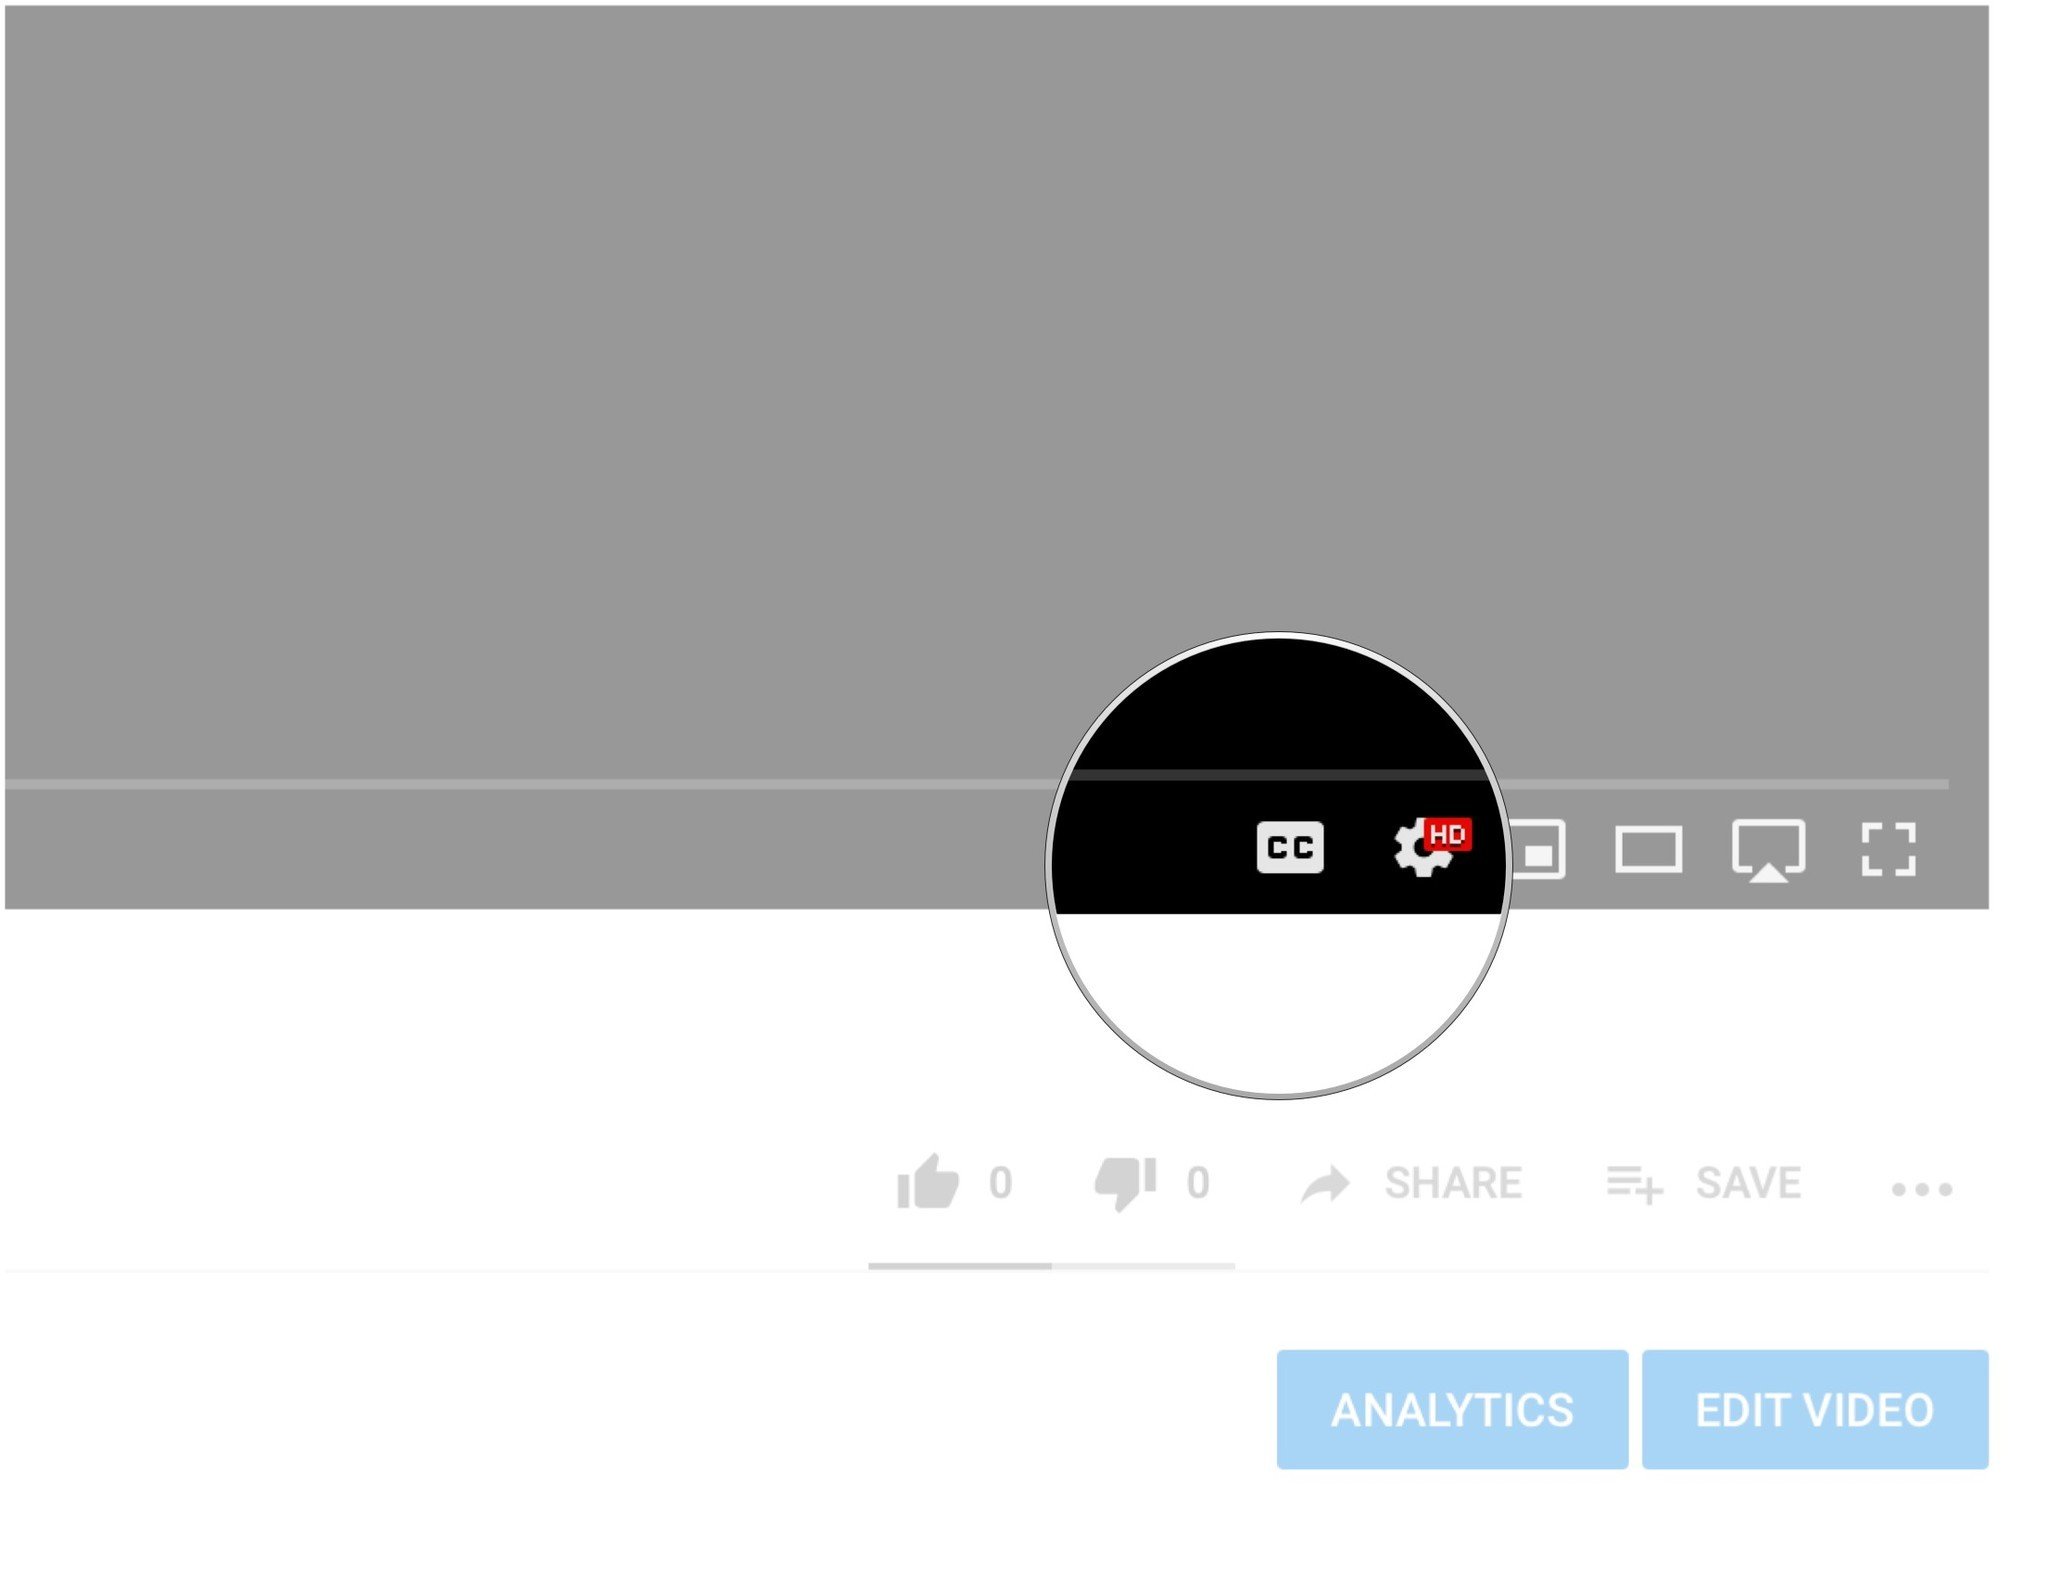
Now you wait for YouTube to do its thing transcribing the video's audio file into captions using their AI. The time it can take depends on how busy YouTube's servers are. I've had hour-long videos transcribed in 10 minutes. I've also had ten minute long videos transcribed in a few hours. Patience is key here. You'll know that captions were automatically added when you are able to select the CC option at the bottom of the video.
Extracting the automatically added captions
To get access to the automatically created captions we need to use youtube-dl. Youtube-dl is free and open source software that you can download directly from the maintainers or you can use a package manager such as Brew to download the binaries. For a complete guide on how to install the Brew package manager so you can get access to hundreds of amazing free and open source software right from your terminal, check out our Brew install guide. Assuming you already have Brew installed, do the following.
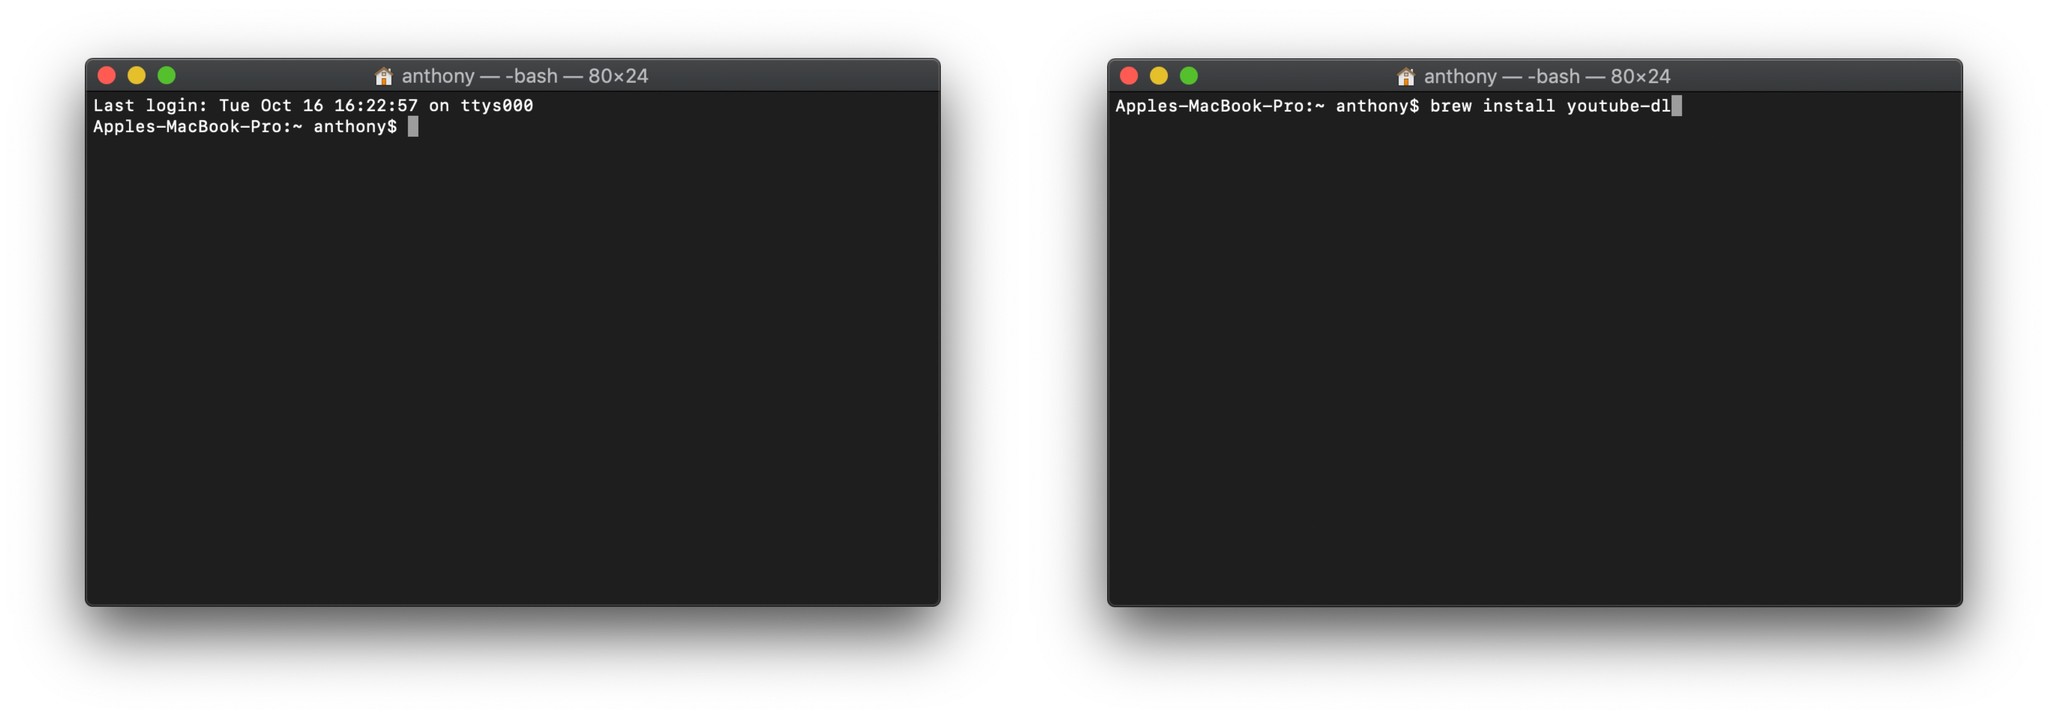
- Open terminal.
- Type in brew install youtube-dl.
- Hit enter.
Once installed, we can now use youtube-dl to download our captions. Since we've uploaded our video file and set it to private, we'll have to use our YouTube credentials in order to access the video file and extract the captions and timestamps. We'll also avoid re-downloading the video file since we already have it on our computer. This is how we do that.
iMore offers spot-on advice and guidance from our team of experts, with decades of Apple device experience to lean on. Learn more with iMore!
- Open terminal.
- Type your info in the following form youtube-dl --write-auto-sub --skip-download -u YourYouTubeUserName -p YourYouTubePassword http://theyoutubeURL
- Hit enter.
The command broken down is:
- The program name youtube-dl.
- The option to get the automatic captions --write-auto-sub.
- The option to not re-download the video --skip-download.
- Adding your username to get access to the private video file -u YourYouTubeUserName.
- The password for your username -p YourYouTubePassword.
- And finally, the YouTube URL where the video lives on YouTube servers http://theyoutubeURL.
Adjust your information as needed.
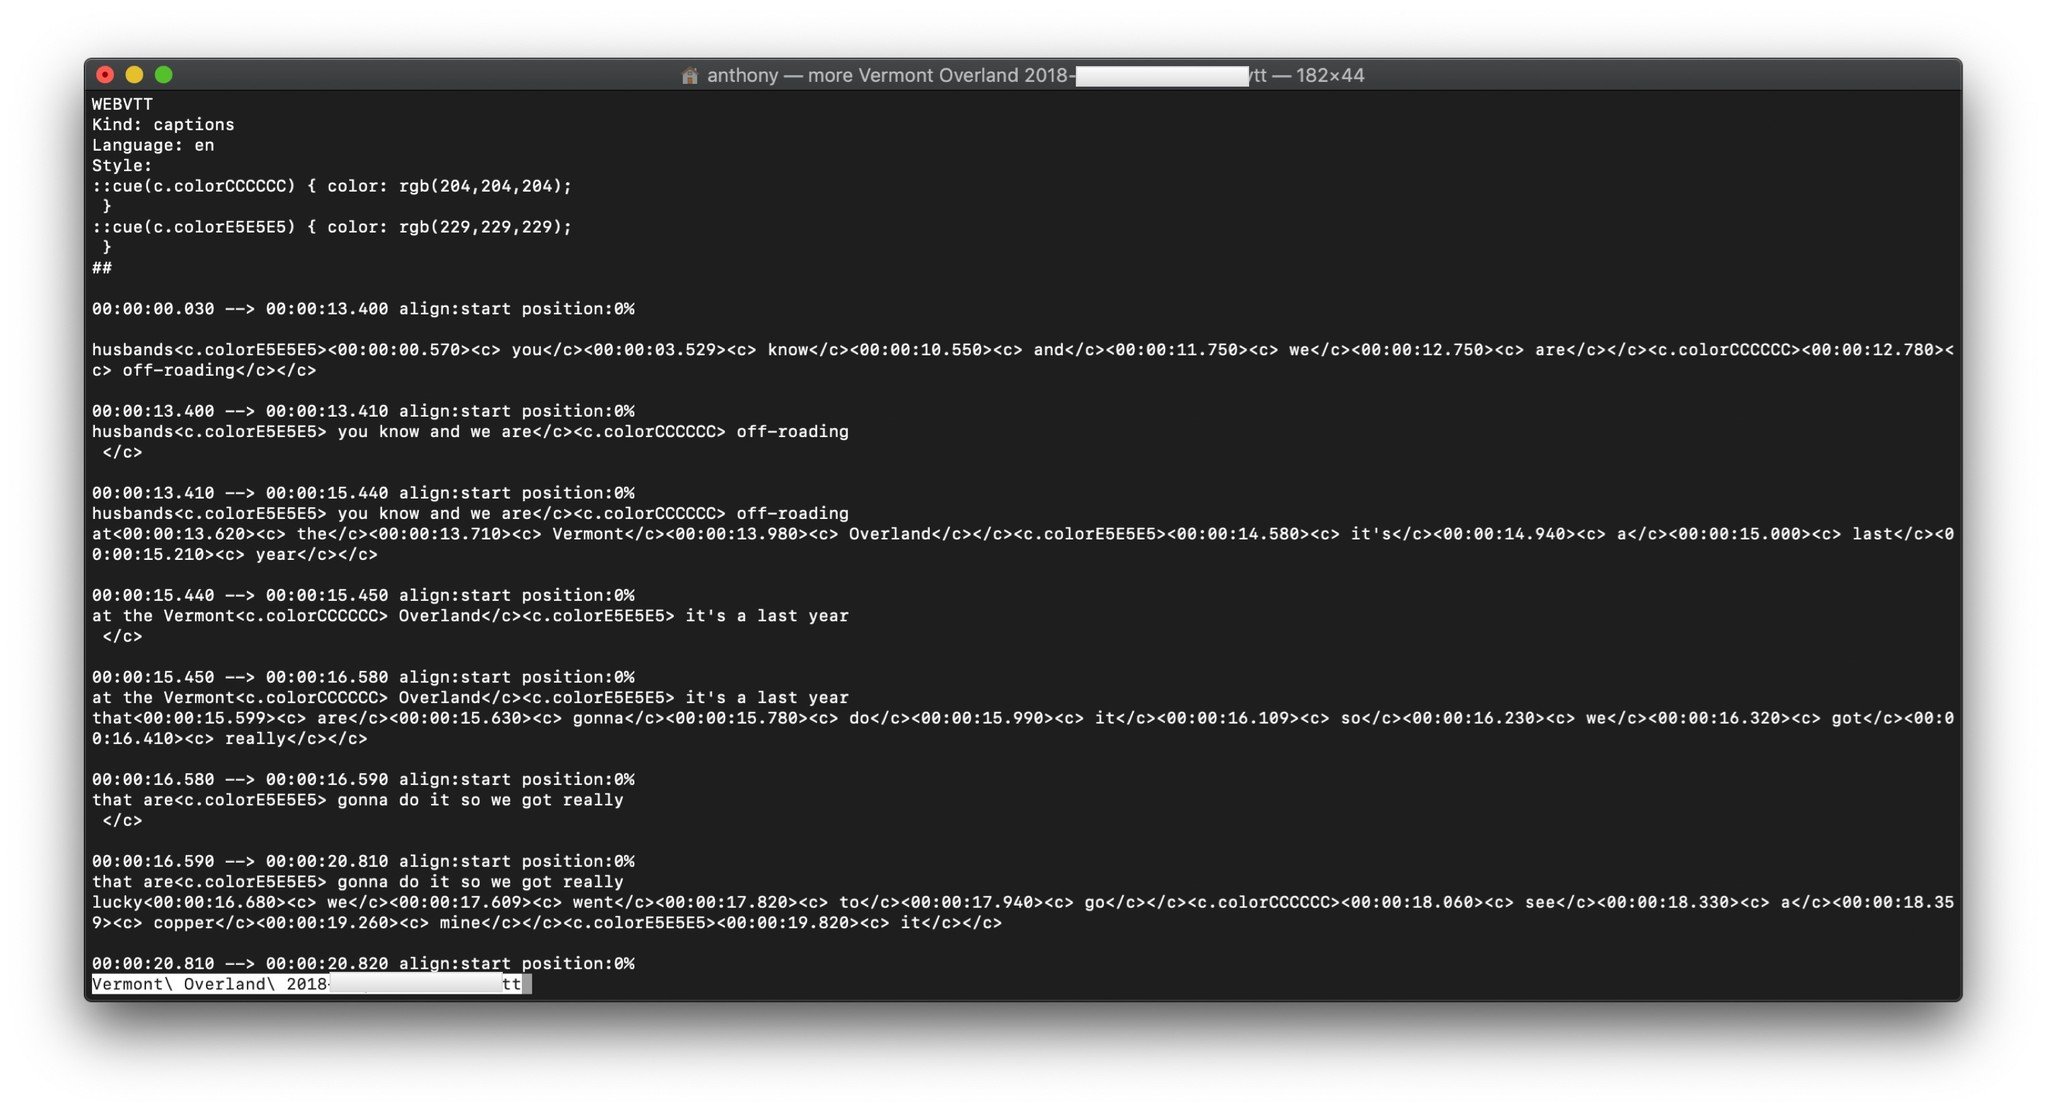
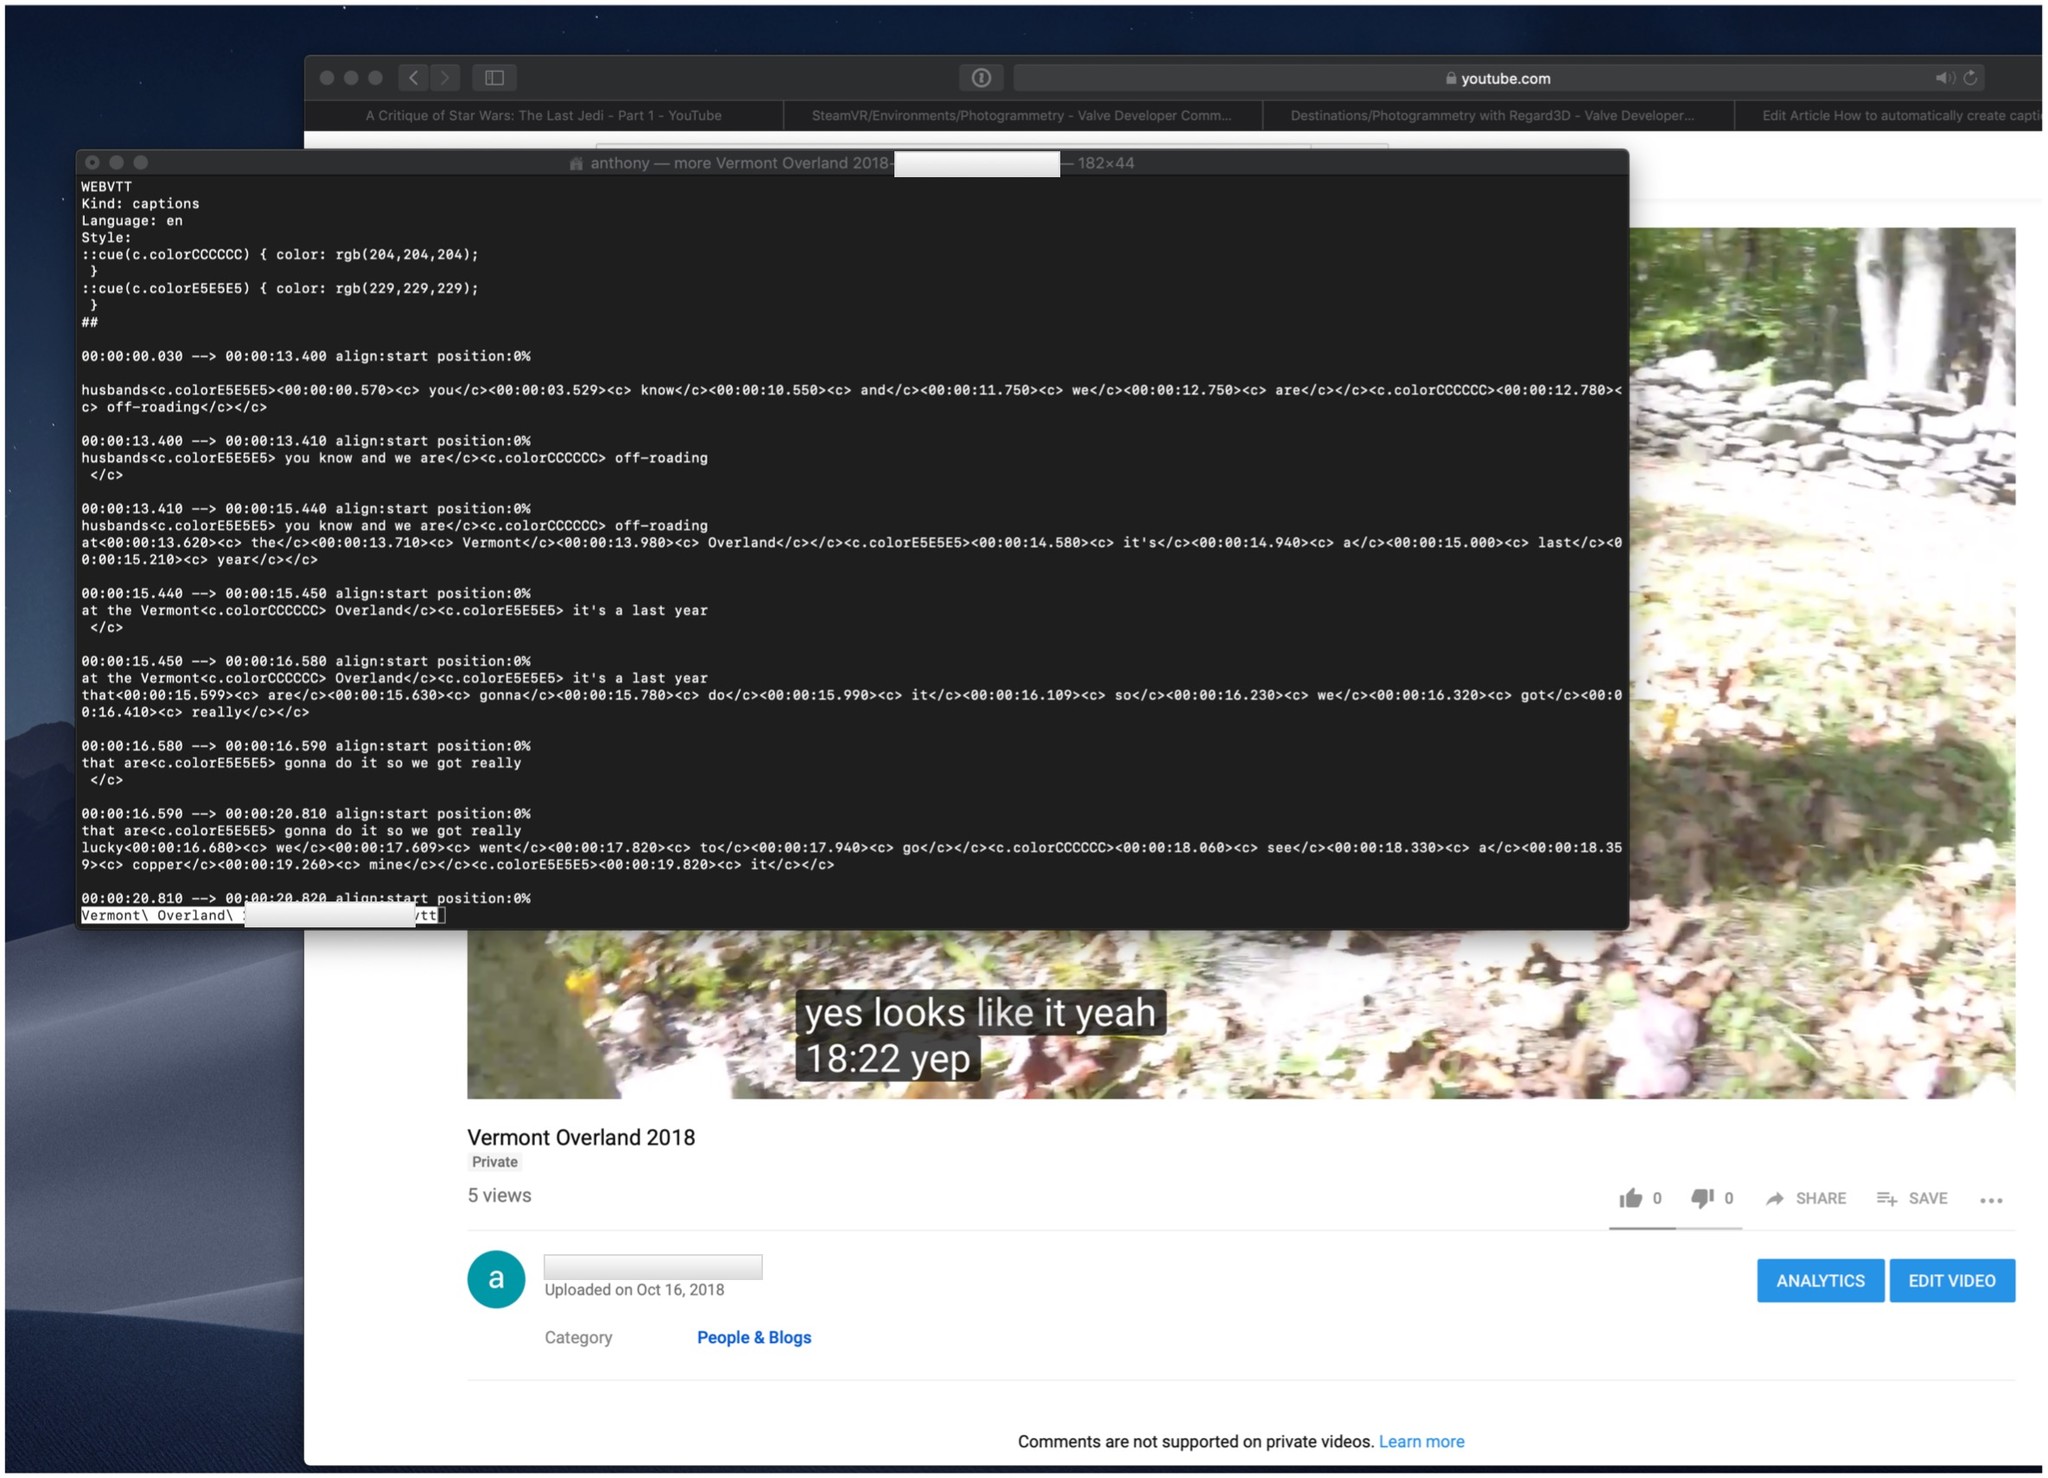
Once you hit enter, your captions will be saved in WEBVTT format with timestamps in the current working terminal directory.
Final comments
So that's it! You can now take those captions and manipulate them as needed. Fix errors, add them to your own publishable videos, etc. There are a lot of other ways to use freely available AI to transcribe your video and audio into text such as SirI and Google Docs. You can see which works best for you and let us know in the comments how you fared!
