If you want to get someone's attention without grabbing your iPhone, then you need to know how to use Intercom. With Intercom, you can send messages directly to all iPhones, Apple Watches, HomePods, and Siri-enabled devices in your home using your voice. Unlike a standard audio message, Intercom messages play automatically on your family's devices— perfect for letting everyone know when dinner is ready. Here's how to use Intercom and manage your home's settings in the Home app.

Requirements
To use Intercom, you must be running iOS 14.2 or later on your iOS devices and HomePods and have a home set up in the Home app. The Intercom feature is also available on Apple Watches running watchOS 7.1 or later and with AirPods and CarPlay. Unfortunately, the Intercom feature is unavailable on macOS and tvOS.
How to setup Intercom in the Home app
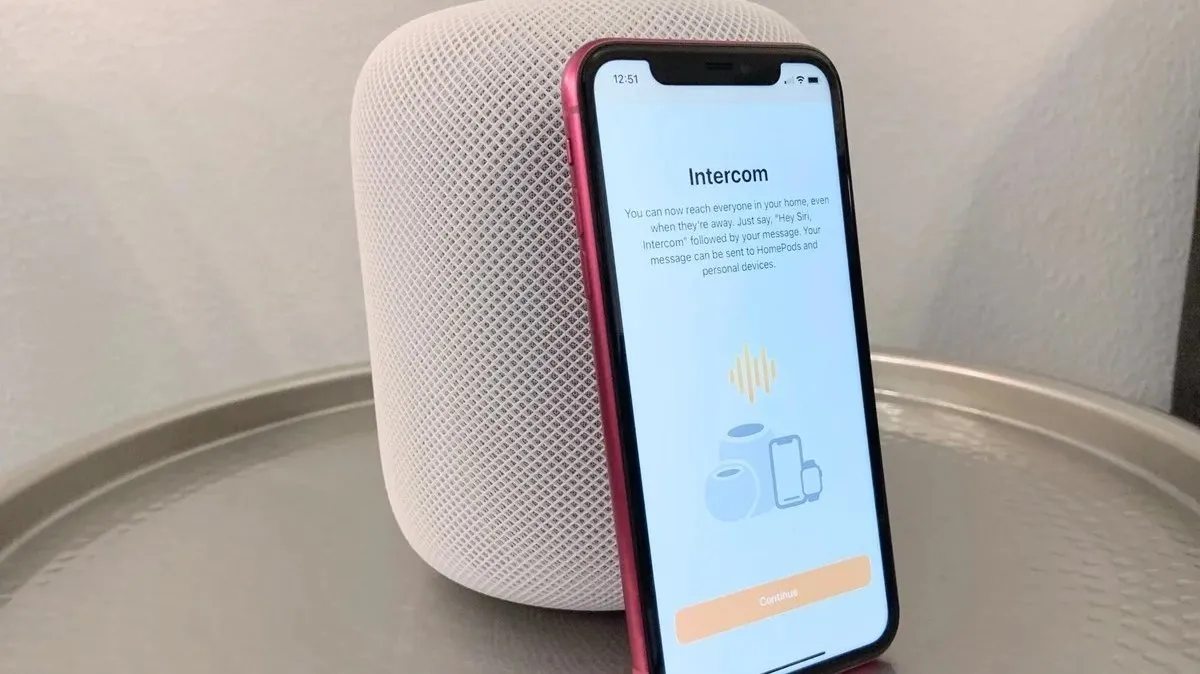
Setting up and managing the Intercom feature takes place in the Home app. Intercom will appear the first time you launch the Home app, guiding you through the setup process. During setup, you will choose notification settings and user permissions.
- Launch the Home app.
- Tap Continue when the Intercom prompt appears.
- Tap Never, When I'm Home, or Anywhere.

- Tap Continue.
- Tap the switch next to a person's Name to enable or disable Intercom access.
- Tap Continue to finish.

How to use your iPhone, iPad, Apple Watch, or HomePod as an Intercom with Siri
The simplest way to send an Intercom message is with your voice via Siri. This option is available through Siri on all your devices, and with Hey, Siri enabled, you can send messages hands-free anytime.
Note: We are using iPhone screenshots to illustrate the Siri interactions of the commands, but you can use Siri directly on your HomePod, Apple Watch, or iPad to achieve these results.
- Activate Siri and then give a voice command like "Intercom" or Send an Intercom" followed by your message. When you finish speaking, Siri will automatically send the message to everyone in the Home. If you want to send an intercom message to a specific HomePod or room in your home, give a command like "Intercom to the Living Room" followed by your message.

How to use your iPhone or iPad as an Intercom with the Home app
You can also use the Home app available on your iPhone or iPad to send Intercom messages. Intercom messages will still include your actual voice through the Home app, and your messages require confirmation before sending them.
- Launch the Home app.
- Tap the Intercom icon.
- Speak the Message that you would like to send to your home, then tap Done to send.
- To cancel a message, tap the X icon or anywhere outside the intercom screen.

How to use your Apple Watch as an Intercom with the Home app
Like iOS and iPadOS, you can use the Home app on watchOS 7.1 or later to send Intercom messages. You can also cancel a message using the Home app before it goes out, which will undoubtedly come in handy.
- Launch the Home app.
- Tap Intercom.
- Speak the Message that you would like to send to your home, then tap Done to send.
- To cancel a message, tap the Back icon.

How to manage Intercom notifications on iPhone or iPad
You can manage when Intercom notifications are active on your iPhone or iPad through the Home app. You can disable Intercom notifications altogether if desired and limit the delivery of Intercom notifications to only when you are home or at all times.
- Launch the Home app.
- Tap the Ellipses icon.
- Tap Home Settings.

- Tap Intercom.
- Tap Never, When I'm Home, or Anywhere.
- These options utilize the location data from your iPhone or iPad to determine when to send Intercom notifications and are only available if you have Location Access set for the Home app.

How to manage Intercom devices
If you have multiple HomePods or Siri-enabled accessories like an ecobee SmartThermostat around your home, you can use the Home app to manage which devices can use Intercom. By disabling specific HomePods or accessories, you won't have to worry about nuisance notifications in particular locations.
- Launch the Home app.
- Tap the Ellipses icon.
- Tap Home Settings.

- Tap Intercom.
- Tap the toggles for the HomePods or devices that you wish to use with Intercom.

How to manage Intercom permissions
If you share HomeKit accessories with friends and family through the Home app, you can manage who has access to the Intercom for your home. By default, everyone you share your home with will have access to the Intercom, which may not be ideal for people you don't live with, so you can disable access in these cases.
- Launch the Home app.
- Tap the Ellipses icon.
- Tap Home Settings.

- Tap Intercom.
- Tap the toggles next to a person's Name to enable or disable Intercom access.
- This feature works with the Remote Access option, so anyone with permission can send and receive messages even while they are outside the home.

Get everyone's attention with Intercom
Now that you know how to use Intercom, you can grab the attention of everyone in your home with just a shout. With Intercom, you can summon your family when dinner is ready without having to lift a finger, ask a quick question without walking across the house, or even use it to brighten someone's day with a personalized voice message.

