How to upgrade your MacBook Air with more storage

iMore offers spot-on advice and guidance from our team of experts, with decades of Apple device experience to lean on. Learn more with iMore!
You are now subscribed
Your newsletter sign-up was successful
I carried a MacBook Air for two years but gave up on it in favor of a Retina MacBook Pro with beefier SSD storage, and haven't regretted it. The MacBook Air is still with us, in the hands of my college-aged son. It's time for a storage upgrade to get him a couple more years with it. Here's how.
Apple changed the architecture of the MacBook Air's flash storage interface with the mid-2013 models. If you have a MacBook Air older than that, like mine, you'll find storage upgrade kits readily available from both Other World Computing and Transcend. The capacity and performance of your flash storage upgrade will vary depending on your MacBook Air and which upgrade you choose.
For my son's MacBook Air, doubling the available storage capacity is going to give him plenty more space to help get through the next couple of years. We're replacing the 120 GB of available storage with a 240 GB drive instead. Transcend lent us a JetDrive 500 kit to show you how it's done.
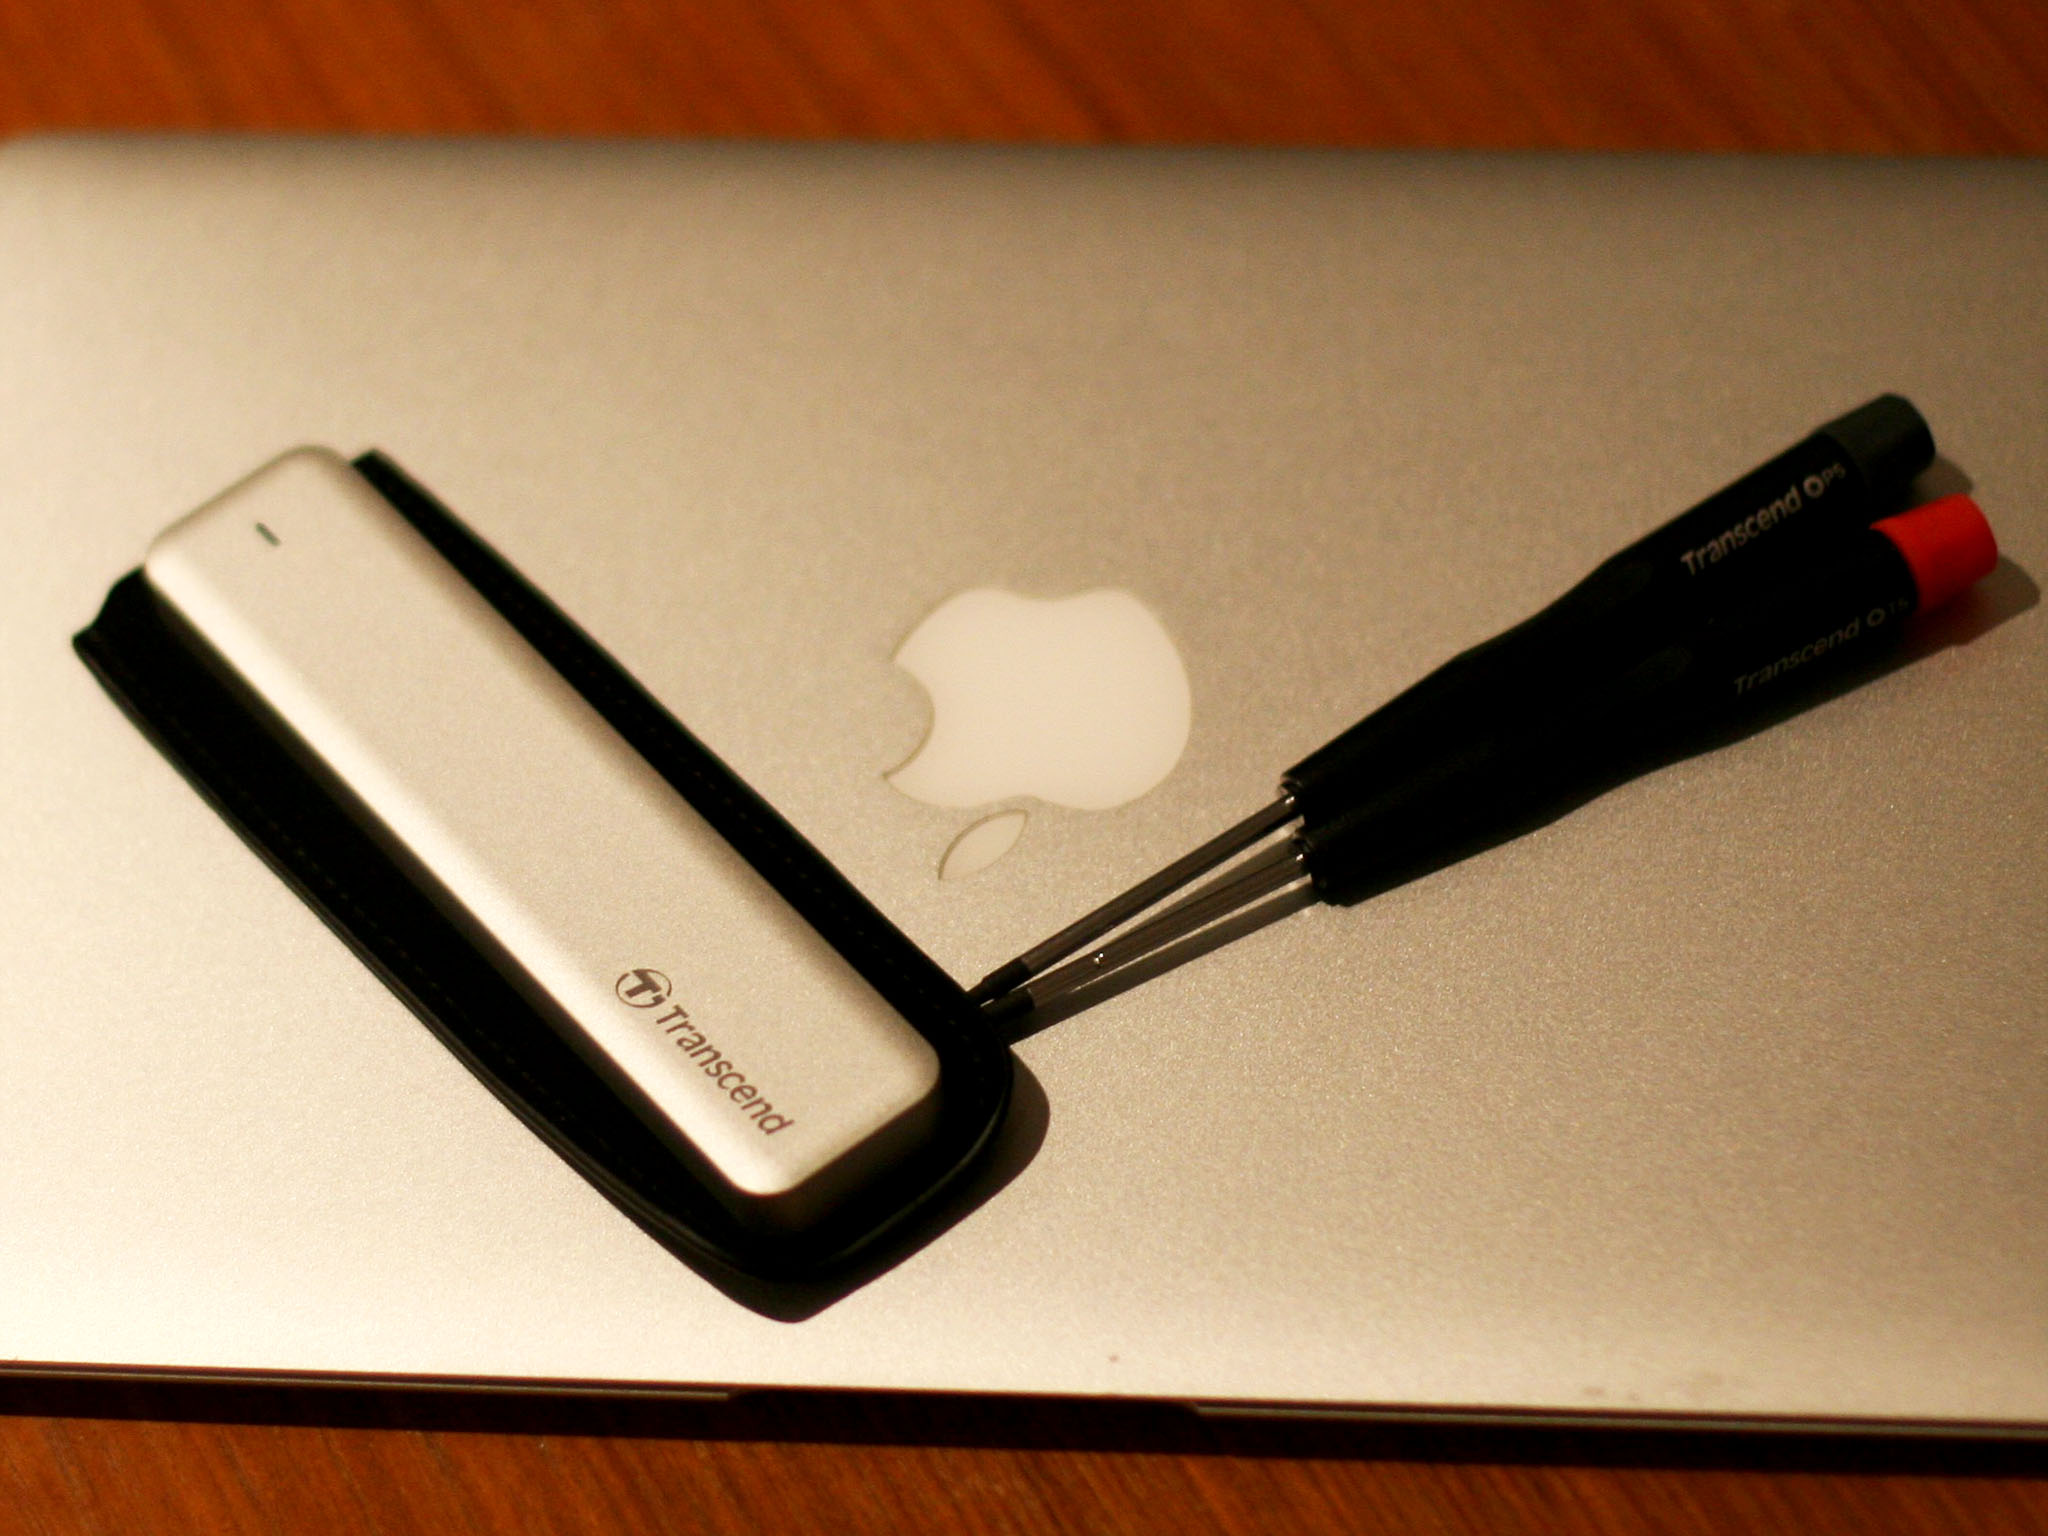
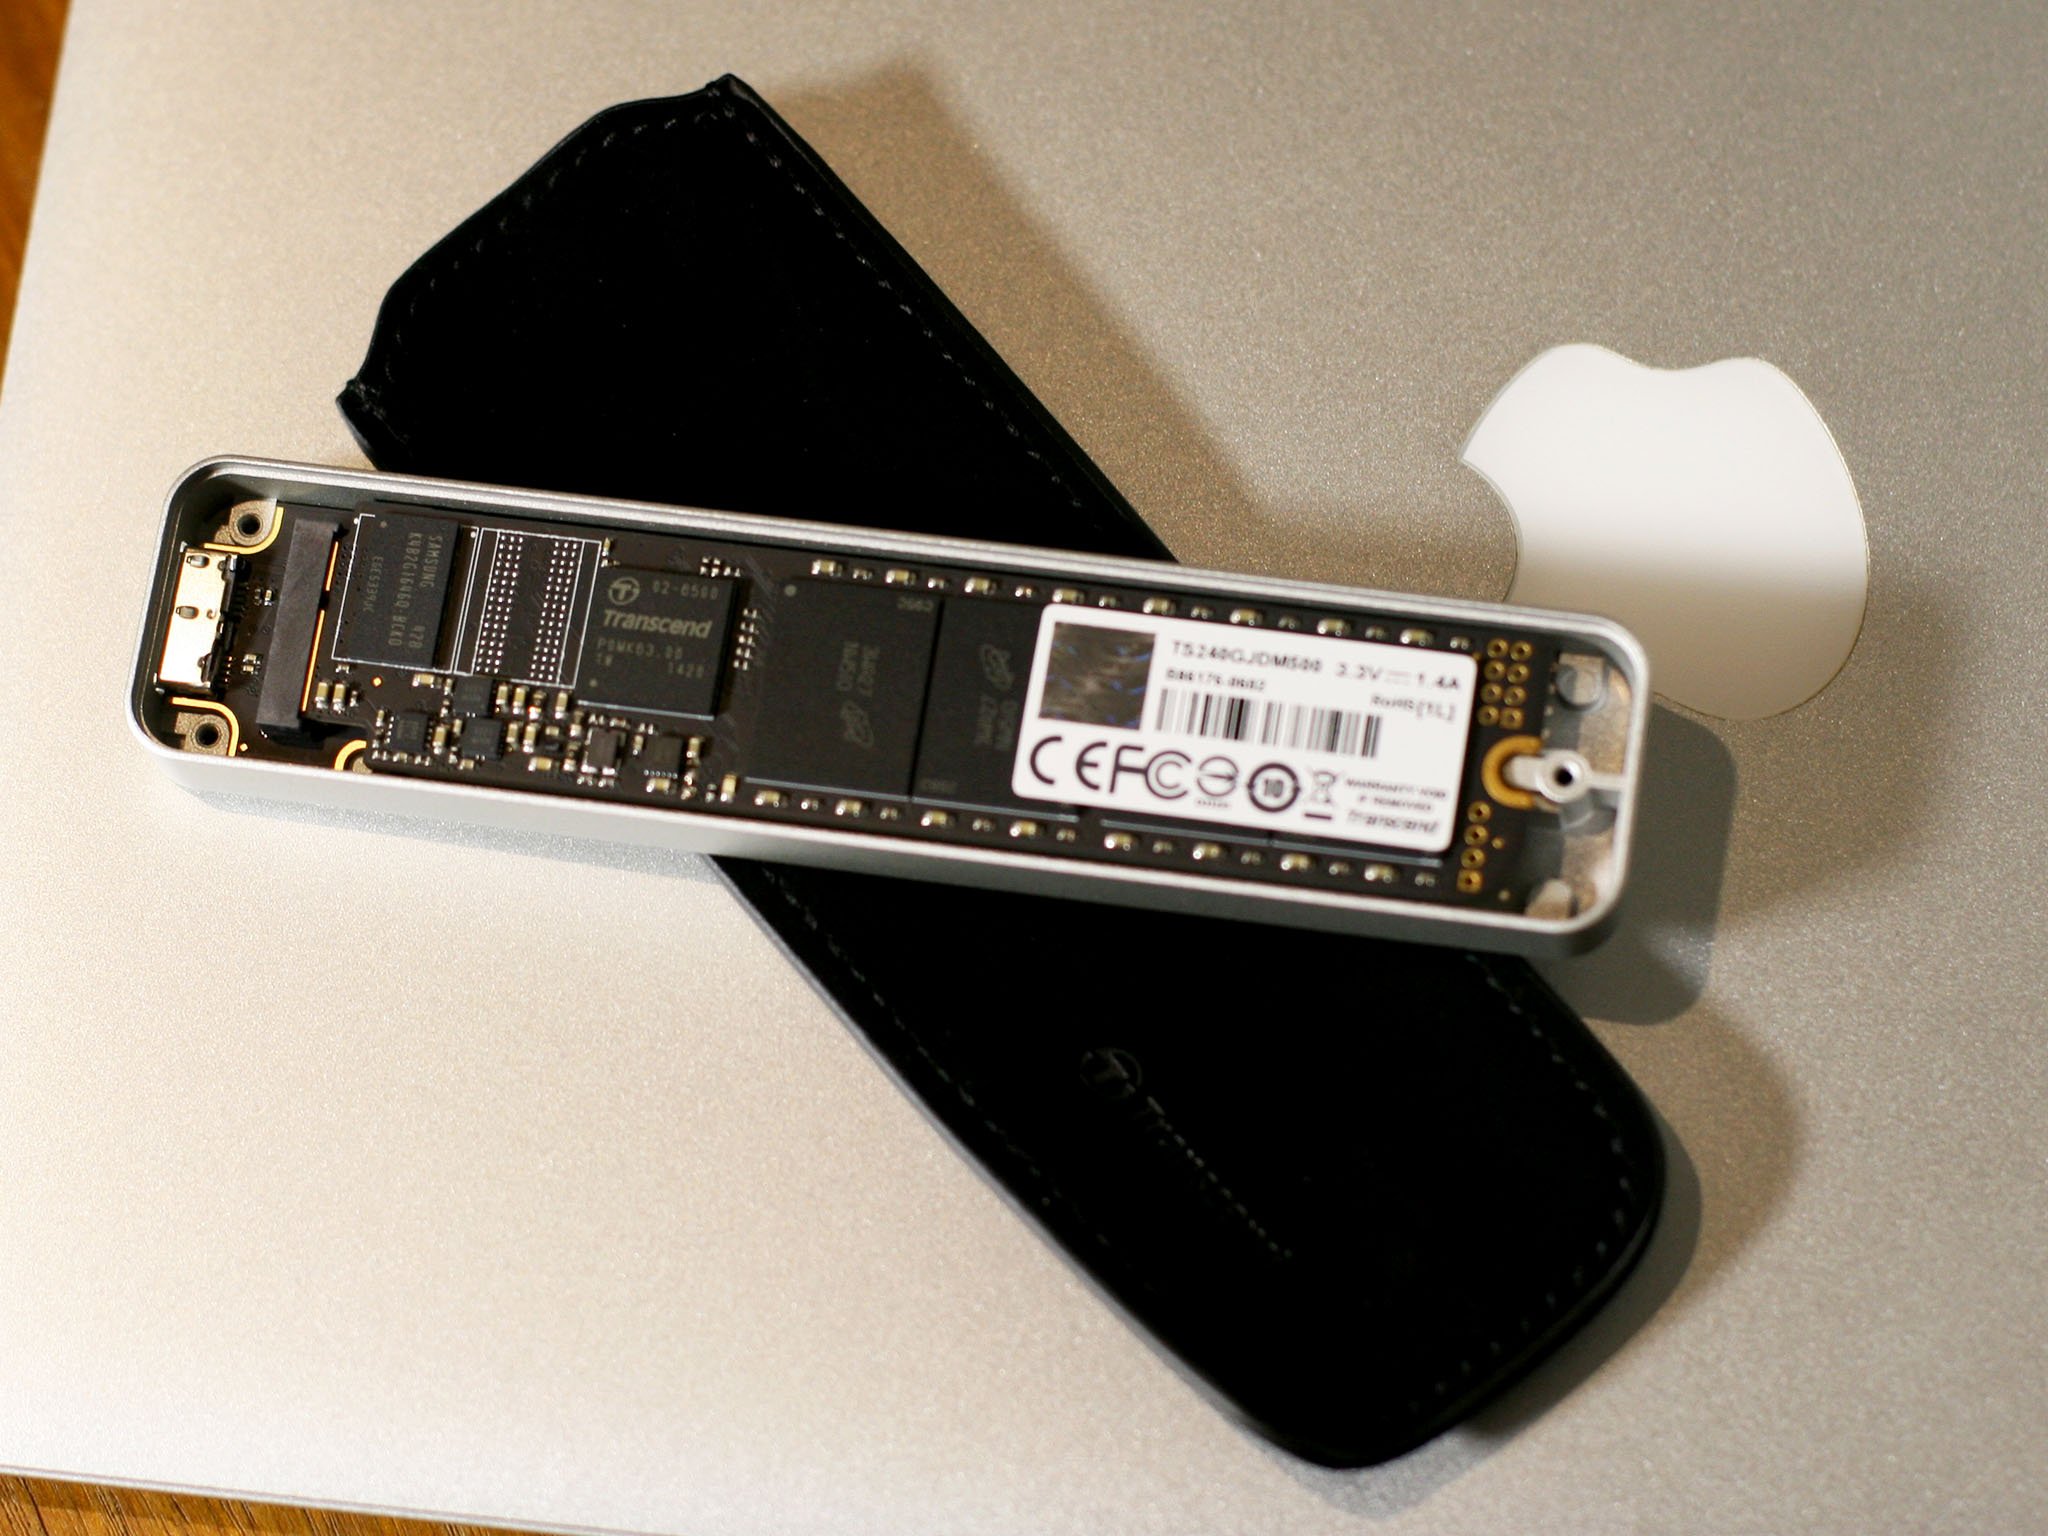
The kit includes a 240 GB replacement SSD for the MacBook Air, two screwdrivers with different tips to disassemble the MacBook Air and remove the existing SSD, and an external USB 3.0 enclosure which fits the original SSD I'm removing from the MacBook Air.
The only thing the kit doesn't include that I'd consider mandatory is an anti static strap, which will cost you $6.99 from Amazon.com. An anti-static strap reduces the likelihood you'd damage the sensitive electronics you'll be handling. What's more, you can save it and reuse it the next time you need to take your Mac or other device apart.
Back up!
Before you do anything else, back up your Mac. Use Time Machine or another backup method to make sure that your Mac is completely backed up. You don't want to screw something up only to find that your data is gone for good.
This MacBook Air is no longer eligible for AppleCare coverage. If it were, I'd think twice about doing this upgrade. Apple's warranty covers original parts only; a third-party SSD upgrade isn't something that would be covered if something goes wrong.
iMore offers spot-on advice and guidance from our team of experts, with decades of Apple device experience to lean on. Learn more with iMore!
Build a USB drive

- Install the replacement SSD in the external enclosure using the supplied screwdrivers.
- Connect that drive to an open USB port on your Mac.
Clone your Mac
The Transcend kit included all the physical tools I needed to install a new SSD in the MacBook Air and a handy USB 3.0 enclosure to stick my old drive in, so I can recycle it as a 120 GB external drive. A carrying pouch for the drive is also included.
Before that, though, put the bigger SSD into the enclosure included with the kit and use the Mac's Recovery System (command-R on boot) to run Disk Utility to format the new drive and copy the contents of the Mac's internal drive to it. Instructions to do so are included with the kit.
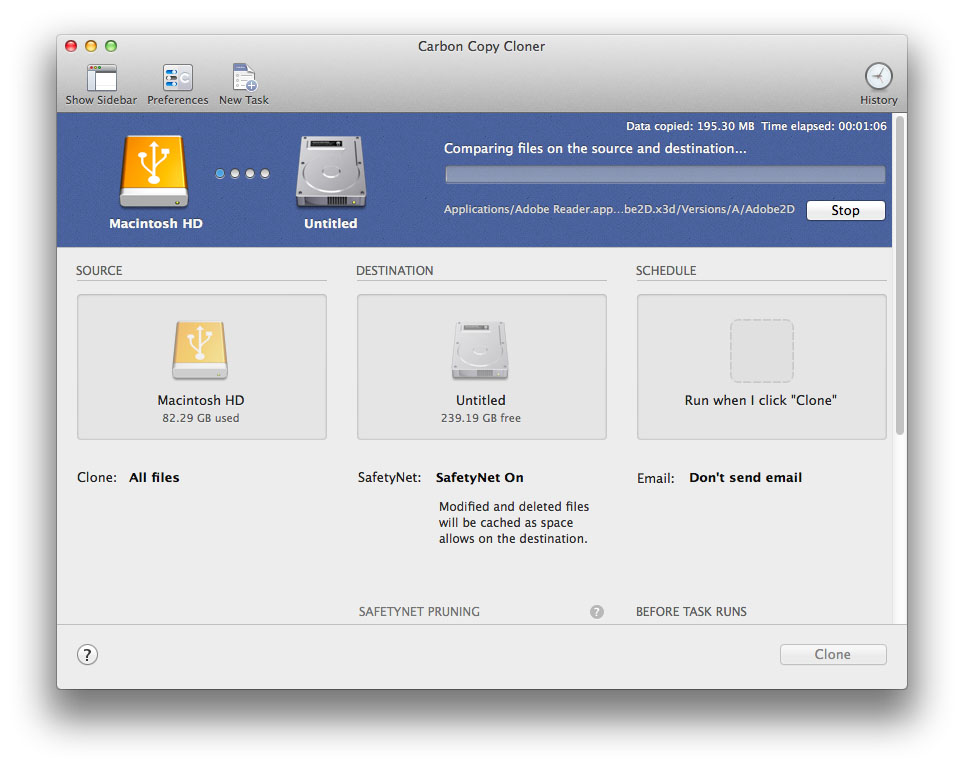
I prefer to use cloning software whenever possible. I find cloning the Mac's SSD is the fastest and most direct way of duplicating its contents onto the bigger new one I'm installing. It's also a good habit to get into to create a bootable backup drive.

I used Bombich Software's Carbon Copy Cloner ($40, free 30-day trial download available). Shirt Pocket's SuperDuper is another excellent disk cloning option (free, $27.95 unlocks additional features).
Install the drive
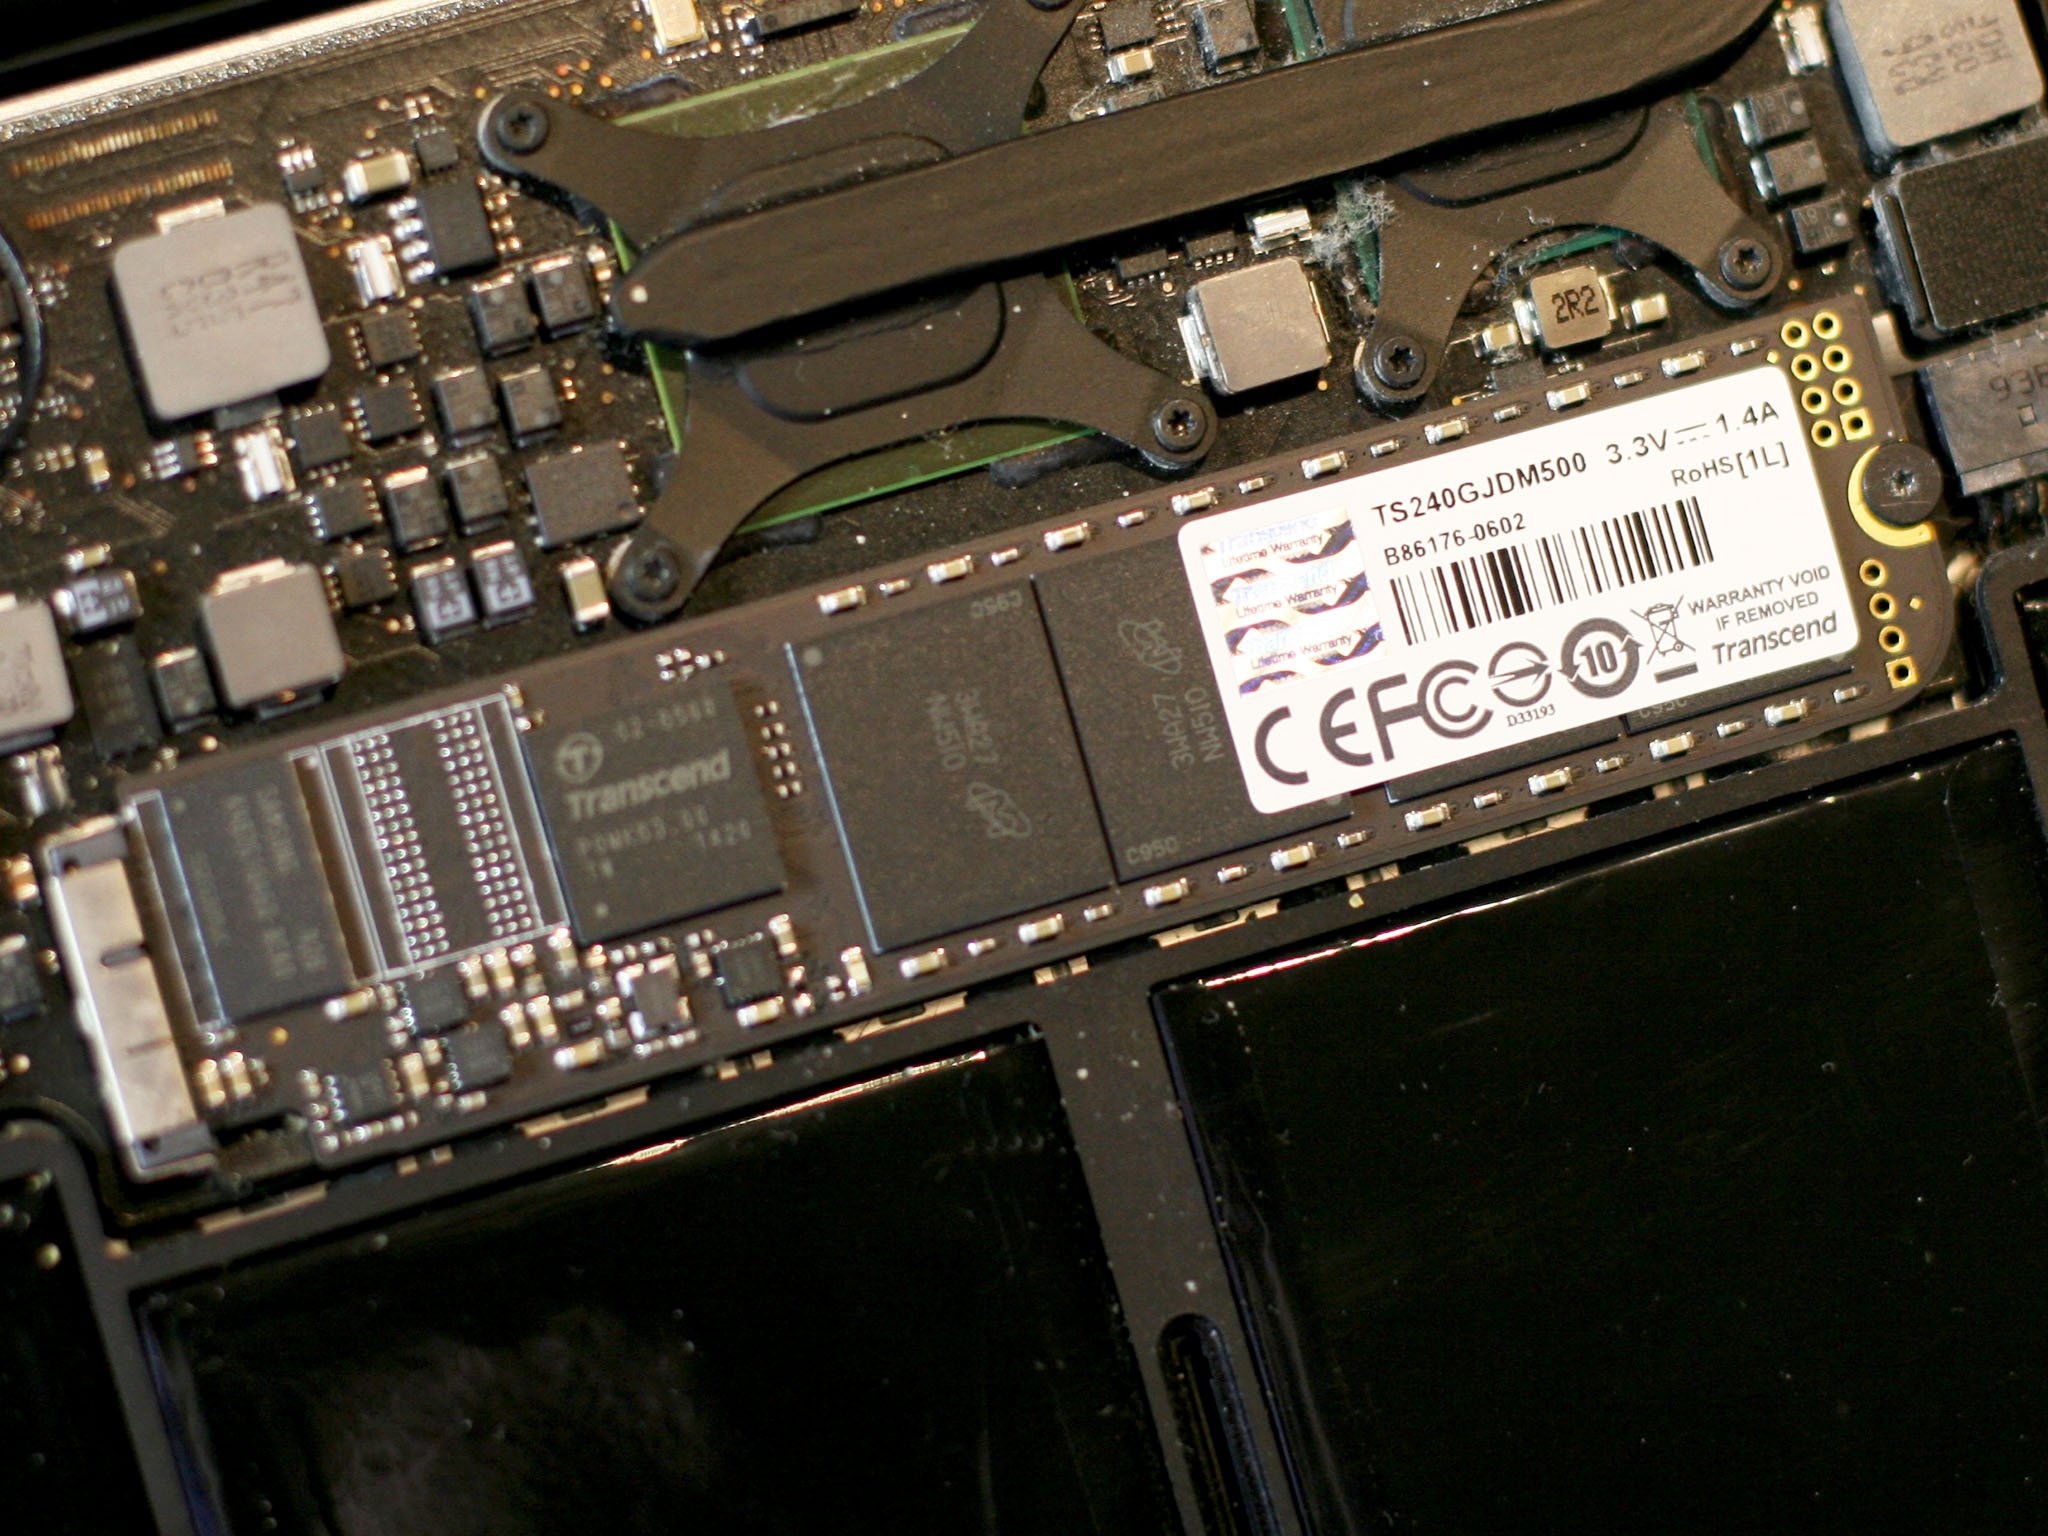
Installing the new drive is actually quite simple: Just remove the screws from the bottom of the MacBook Air's case, then remove the screw holding the SSD in place. Slide the new one into place, then reverse the procedure. I'd recommend storing the screws from the bottom of the MacBook Air in a small cup or plastic storage container so they don't roll away.

From start to finish, it should take you about half an hour to physically install the drive. The amount of time it'll take you to cloning or copying the hard drive depends on the amount of data you're moving.
Transcend makes JetDrive kits for older MacBook Airs and older MacBook, MacBook Pro and Retina MacBook Pro models, MacBook and Mac mini models too. Instructions vary depending on model, so visit their web site for more details.
- $169.99 - Buy now from Amazon.com

