How to use Cinematic Mode on iPhone 13

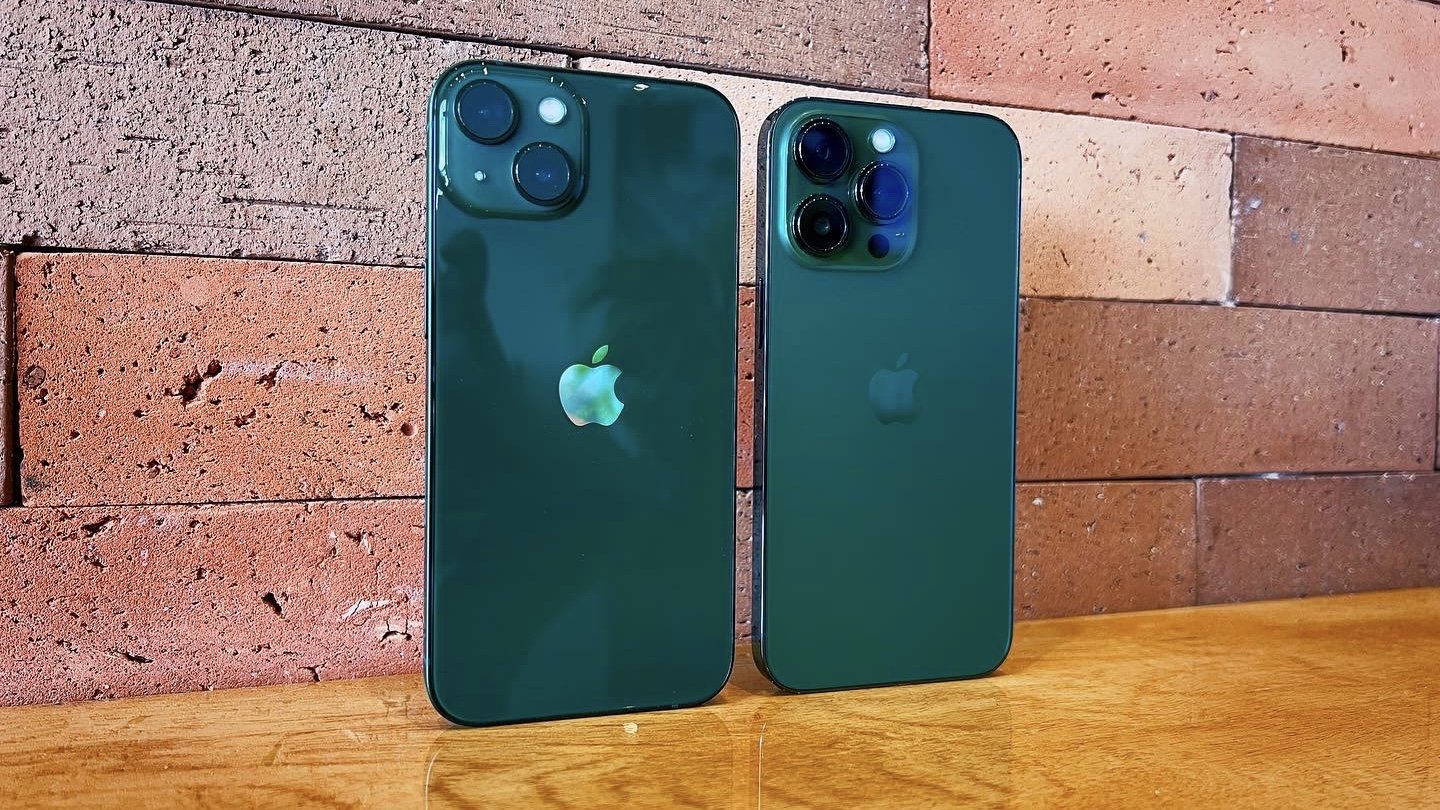
Apple has always aimed to make the cameras on iPhones the best they can be, whether for photography or videos. Some people prefer to stick with still pictures, but others are into creating many videos. And for those people, Apple added Cinematic Mode on the iPhone 13 lineup, which takes your videos to a new level.
Cinematic Mode, in short, lets you shift focus from one subject to another. This can happen during the video shooting process or even after the fact. It's truly remarkable, and turns your iPhone 13 or iPhone 13 Pro into a fantastic digital camera.
Here's how to use Cinematic Mode on your favorite iPhone.
What is Cinematic Mode?
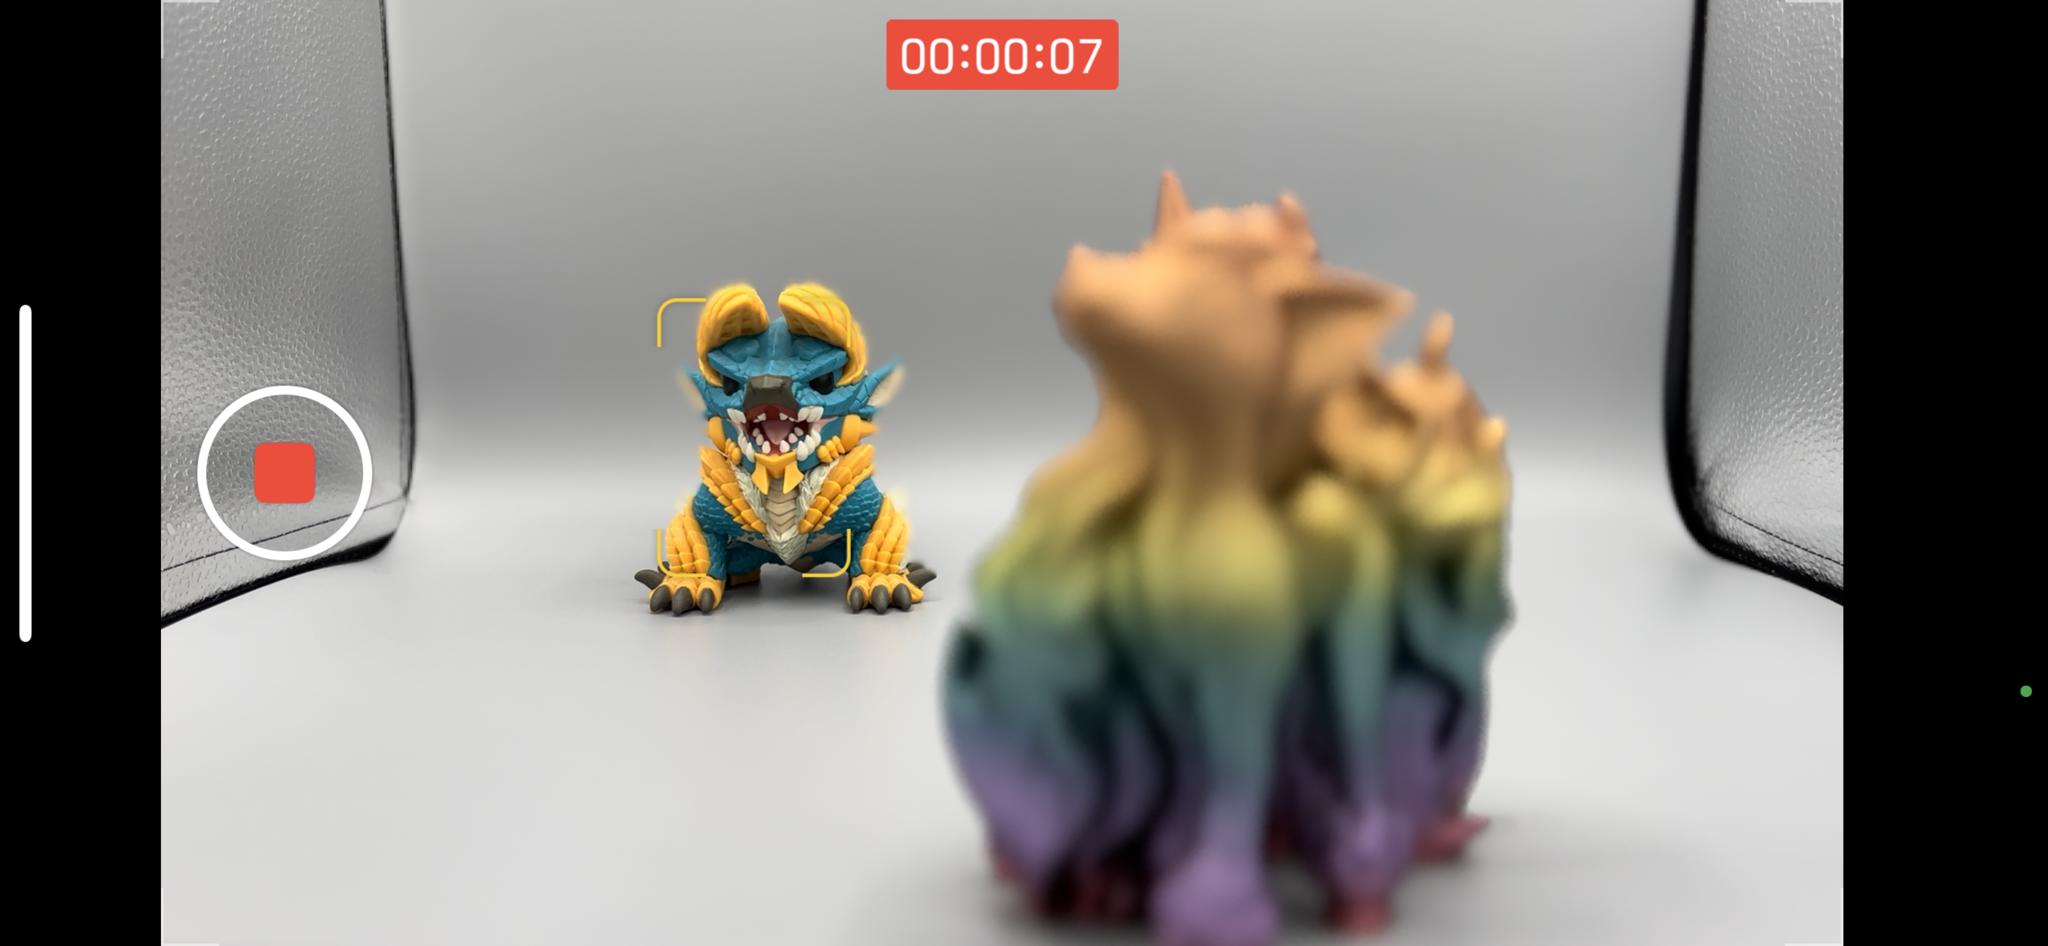
Apple's Cinematic Mode combines the Dolby Vision HDR format with the technique known as "rack focus." With rack focus, the lens can seamlessly shift from one subject to another because it locks focus on the subject and blurs the background to get a depth-of-field effect. If another subject enters the scene, or you center the camera on that new subject, Cinematic Mode switches the focus point and simultaneously blurs out the background automatically.
An excellent example of how Cinematic Mode works on the iPhone 13 is when you're shooting a video with someone, and another person enters the frame. At this point, the iPhone will use intelligence and automatically adjust the focus point to the new person in the scene and blur everything else. The focus point returns to the original subject if the second focus point turns away from the camera. It's pretty much like a sophisticated and professional filmmaking effect that happens automatically, and you don't need any additional equipment or work to achieve it.
Of course, this is the first iteration of Cinematic Mode, so it's not going to be perfect (but it's pretty good). But another great thing about Cinematic Mode is the fact that you can adjust the Cinematic Mode focus even after you shoot the video.
How to use Cinematic Mode when using the Camera app
Cinematic Mode is accessible in the Camera app on your iPhone 13 mini, iPhone 13, iPhone 13 Pro, and iPhone 13 Pro Max as another video mode. Here's how to get to it.
iMore offers spot-on advice and guidance from our team of experts, with decades of Apple device experience to lean on. Learn more with iMore!
- Launch the Camera app on your iPhone 13.
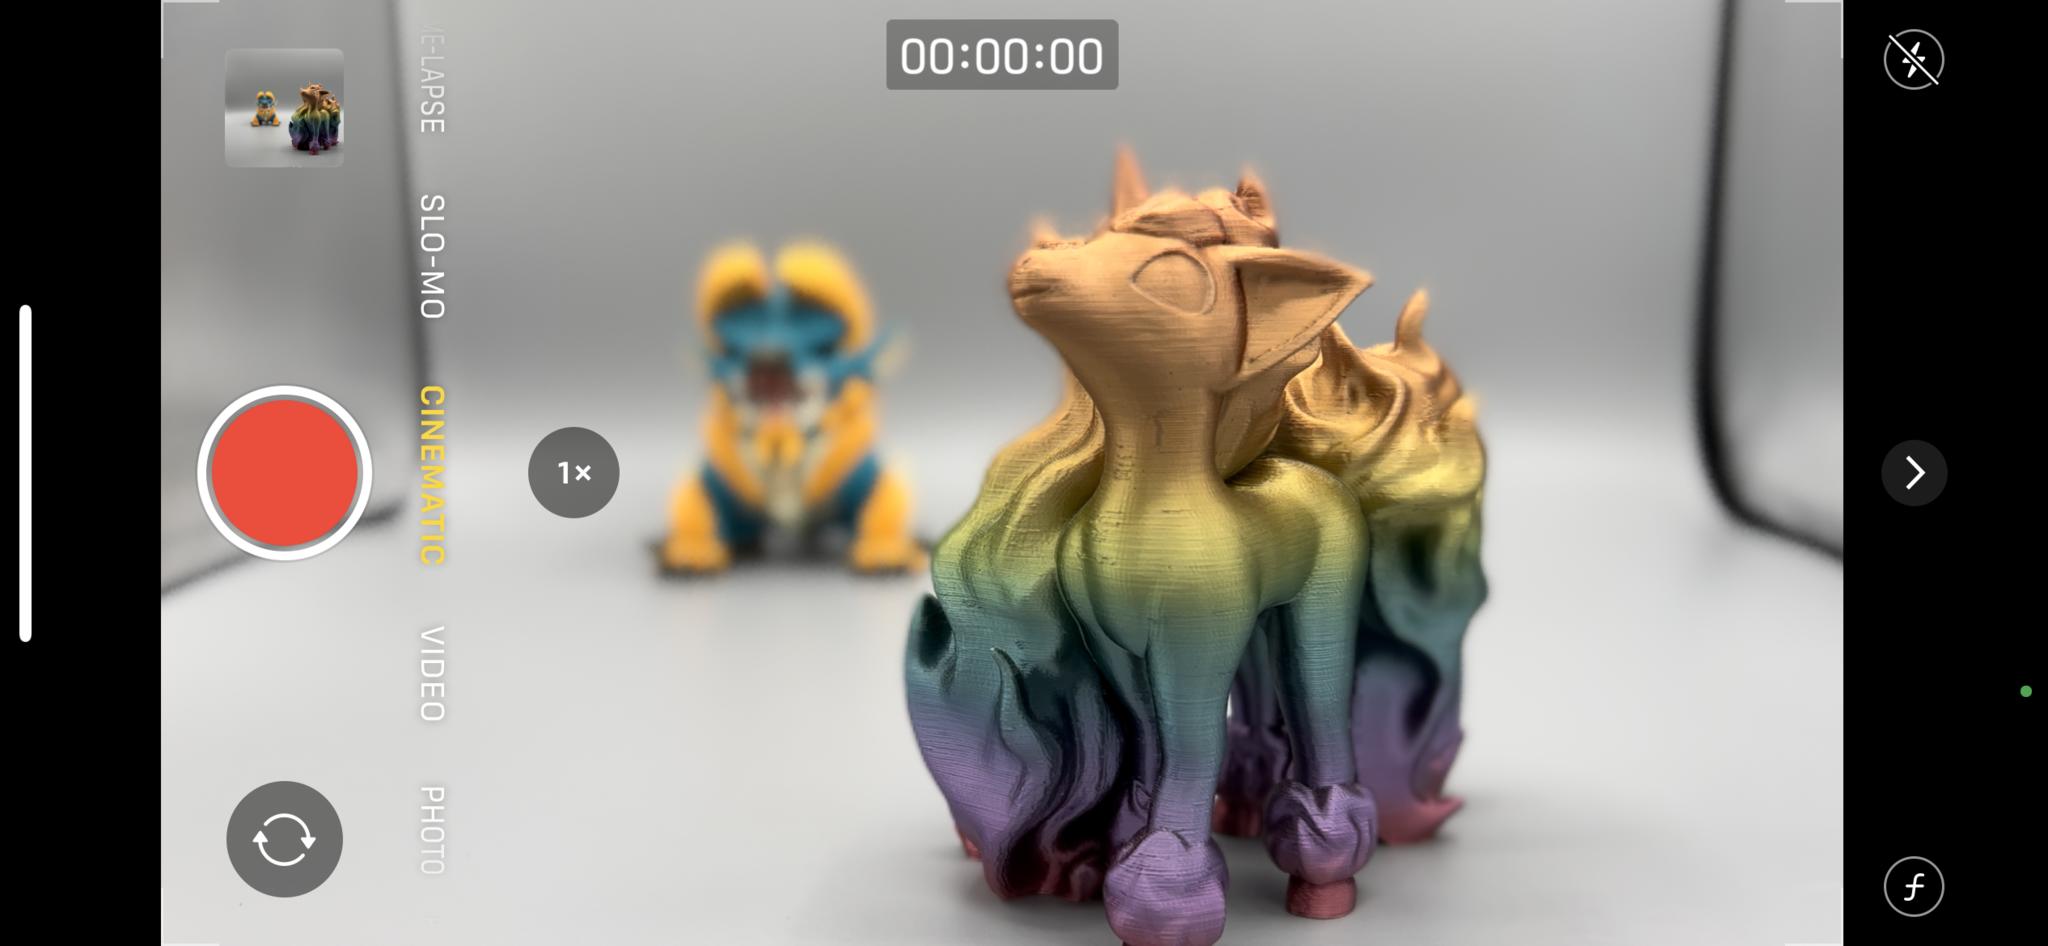
- Swipe to change modes until Cinematic Mode is selected.
- Ensure that the viewfinder is lined up so that your initial subject is in the frame and is also the focal target, then tap the Record button to start shooting.
- Have another person or object at a different distance enter the scene — at this point, the iPhone 13 should automatically refocus and lock onto the new subject. You can also manually tap on a new focal point.
- Tap the Record button again to stop the recording once you're done.
As you can see, getting professional-looking videos with Cinematic Mode is super easy. Again, it's not 100% perfect, but at least you can manually adjust the focus point post-shoot.
How to adjust Cinematic Mode video post-shoot
The most remarkable thing about Cinematic Mode is that you can edit the video and manually adjust the focus point. Here's how.
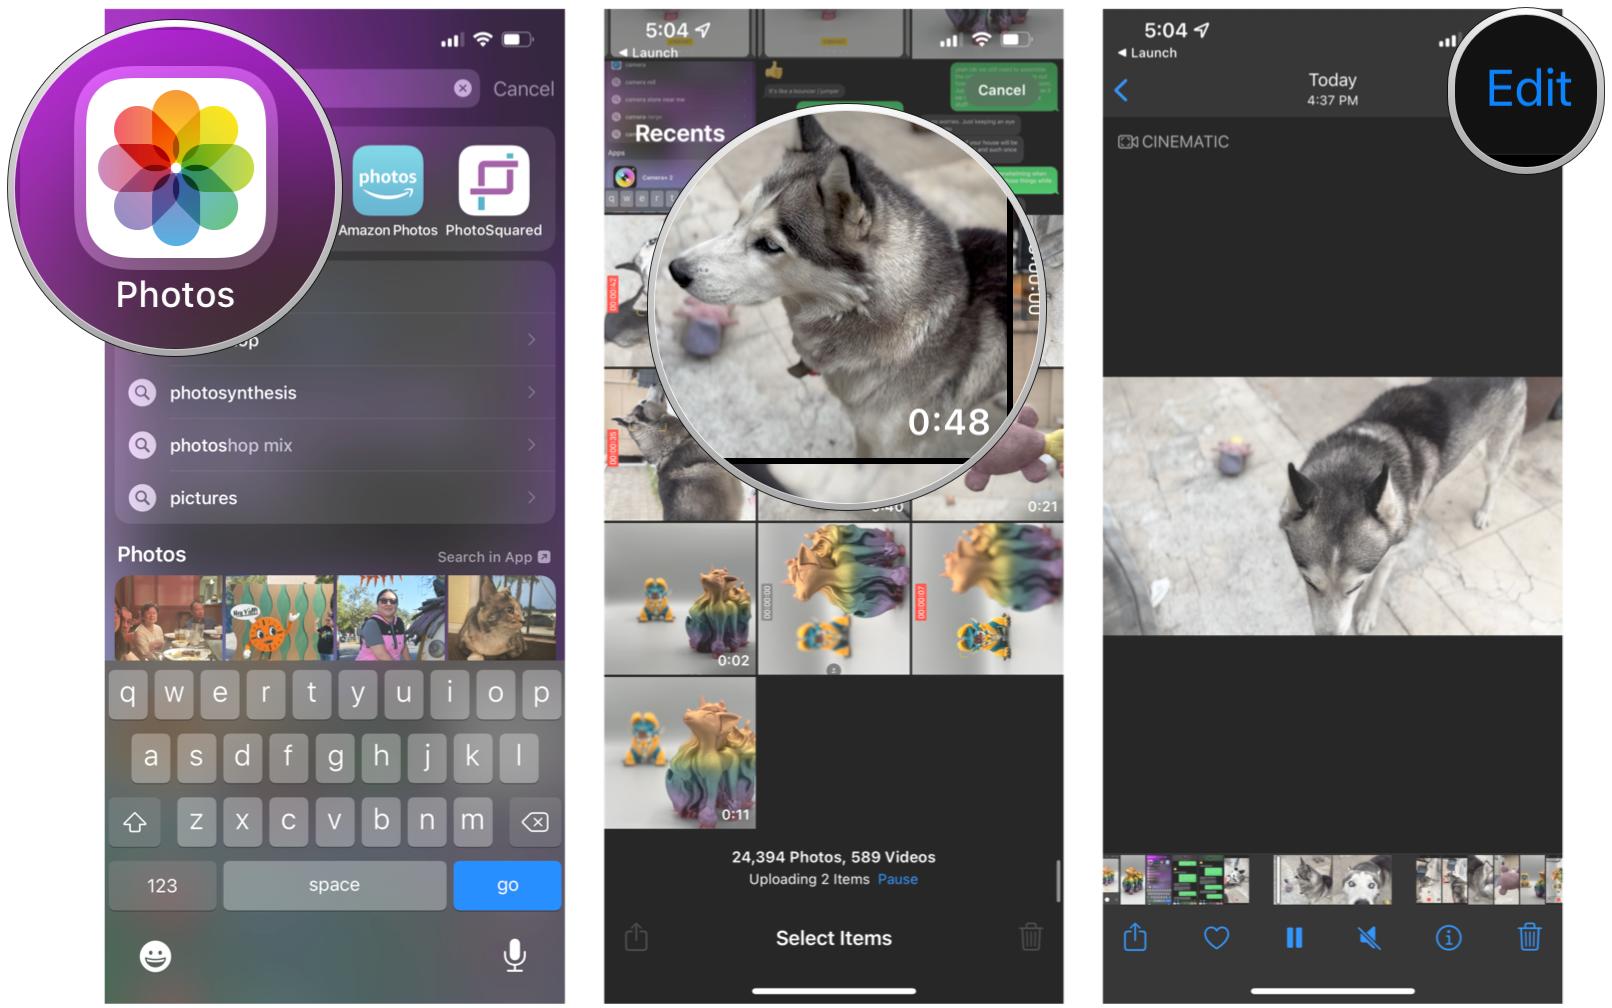
- Launch the Photos app on your iPhone 13.
- Find and select your Cinematic Mode video.
- Tap Edit in the upper right corner.
- Slide your finger across the clip reel until you get to the part you want to edit.
- Tap another part of the clip to change the focal pointmanually. There will now be an icon in the upper left corner to indicate Manual Tracking.
- Underneath the clip reel, a dotted yellow line appears, which indicates how long the manually adjusted focal point will be tracked.
- Tap on the dotted yellow line to bring up a trash can. This allows you to remove the manually tracked focal point.
- Tap Done when you're satisfied with the edits.
Time to get creative with Cinematic Mode
As you can see, Cinematic Mode brings an entirely new level of videography to the iPhone. While this doesn't mean everyone will become a professional filmmaker with just an iPhone 13, it adds a new layer of fun to making your home movies.
Updated July 2022: Updated for the latest versions of iOS.

Christine Romero-Chan was formerly a Senior Editor for iMore. She has been writing about technology, specifically Apple, for over a decade at a variety of websites. She is currently part of the Digital Trends team, and has been using Apple’s smartphone since the original iPhone back in 2007. While her main speciality is the iPhone, she also covers Apple Watch, iPad, and Mac when needed.
When she isn’t writing about Apple, Christine can often be found at Disneyland in Anaheim, California, as she is a passholder and obsessed with all things Disney, especially Star Wars. Christine also enjoys coffee, food, photography, mechanical keyboards, and spending as much time with her new daughter as possible.


