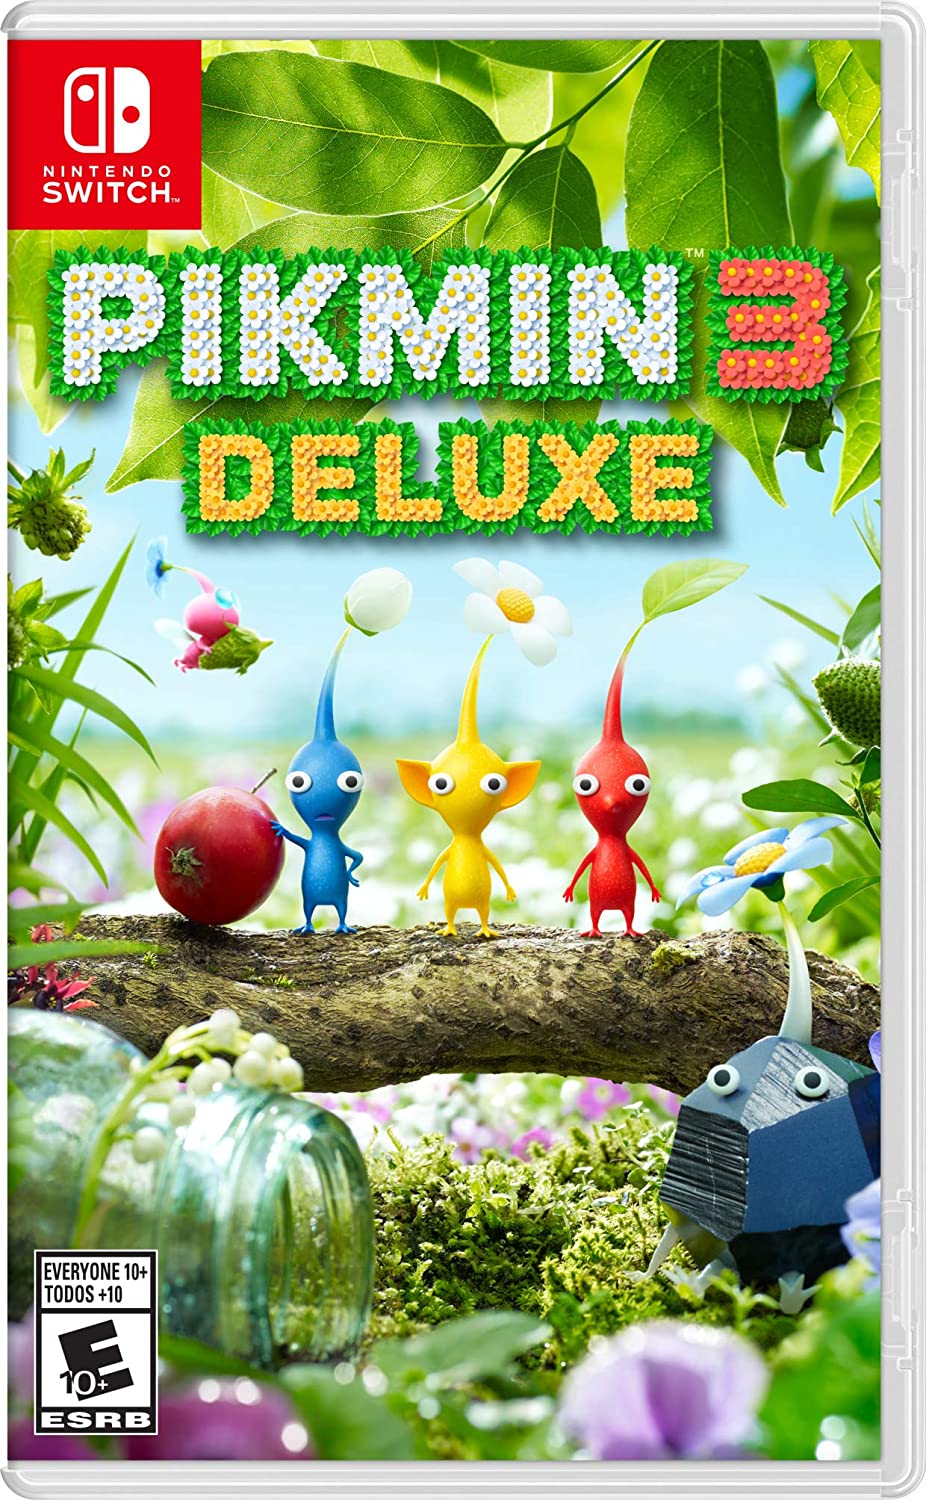
Pikmin 3 Deluxe fruit: All fruit types and their locations
iMore offers spot-on advice and guidance from our team of experts, with decades of Apple device experience to lean on. Learn more with iMore!
You are now subscribed
Your newsletter sign-up was successful
Fruit is the key to a healthy body and, in Pikmin 3 Deluxe, the key to solving world hunger. In Pikmin 3 Deluxe, the tiny crew of astronauts are on a mission to find resources that can solve their planet's hunger crisis. When they arrive, they find huge pieces of fruit and an army of friendly Pikmin willing to help them out. There are thirty kinds of fruit in Pikmin 3 Deluxe and a total of sixty-six fruits to collect. We'll help you find each one.
As you progress through the game and find different kinds of Pikmin, more fruit will become available to you. The final stage has no fruit. You're unable to collect fruit on Day 1, 23, 24, or 25.
Pikmin 3 Deluxe fruit: Garden of Hope
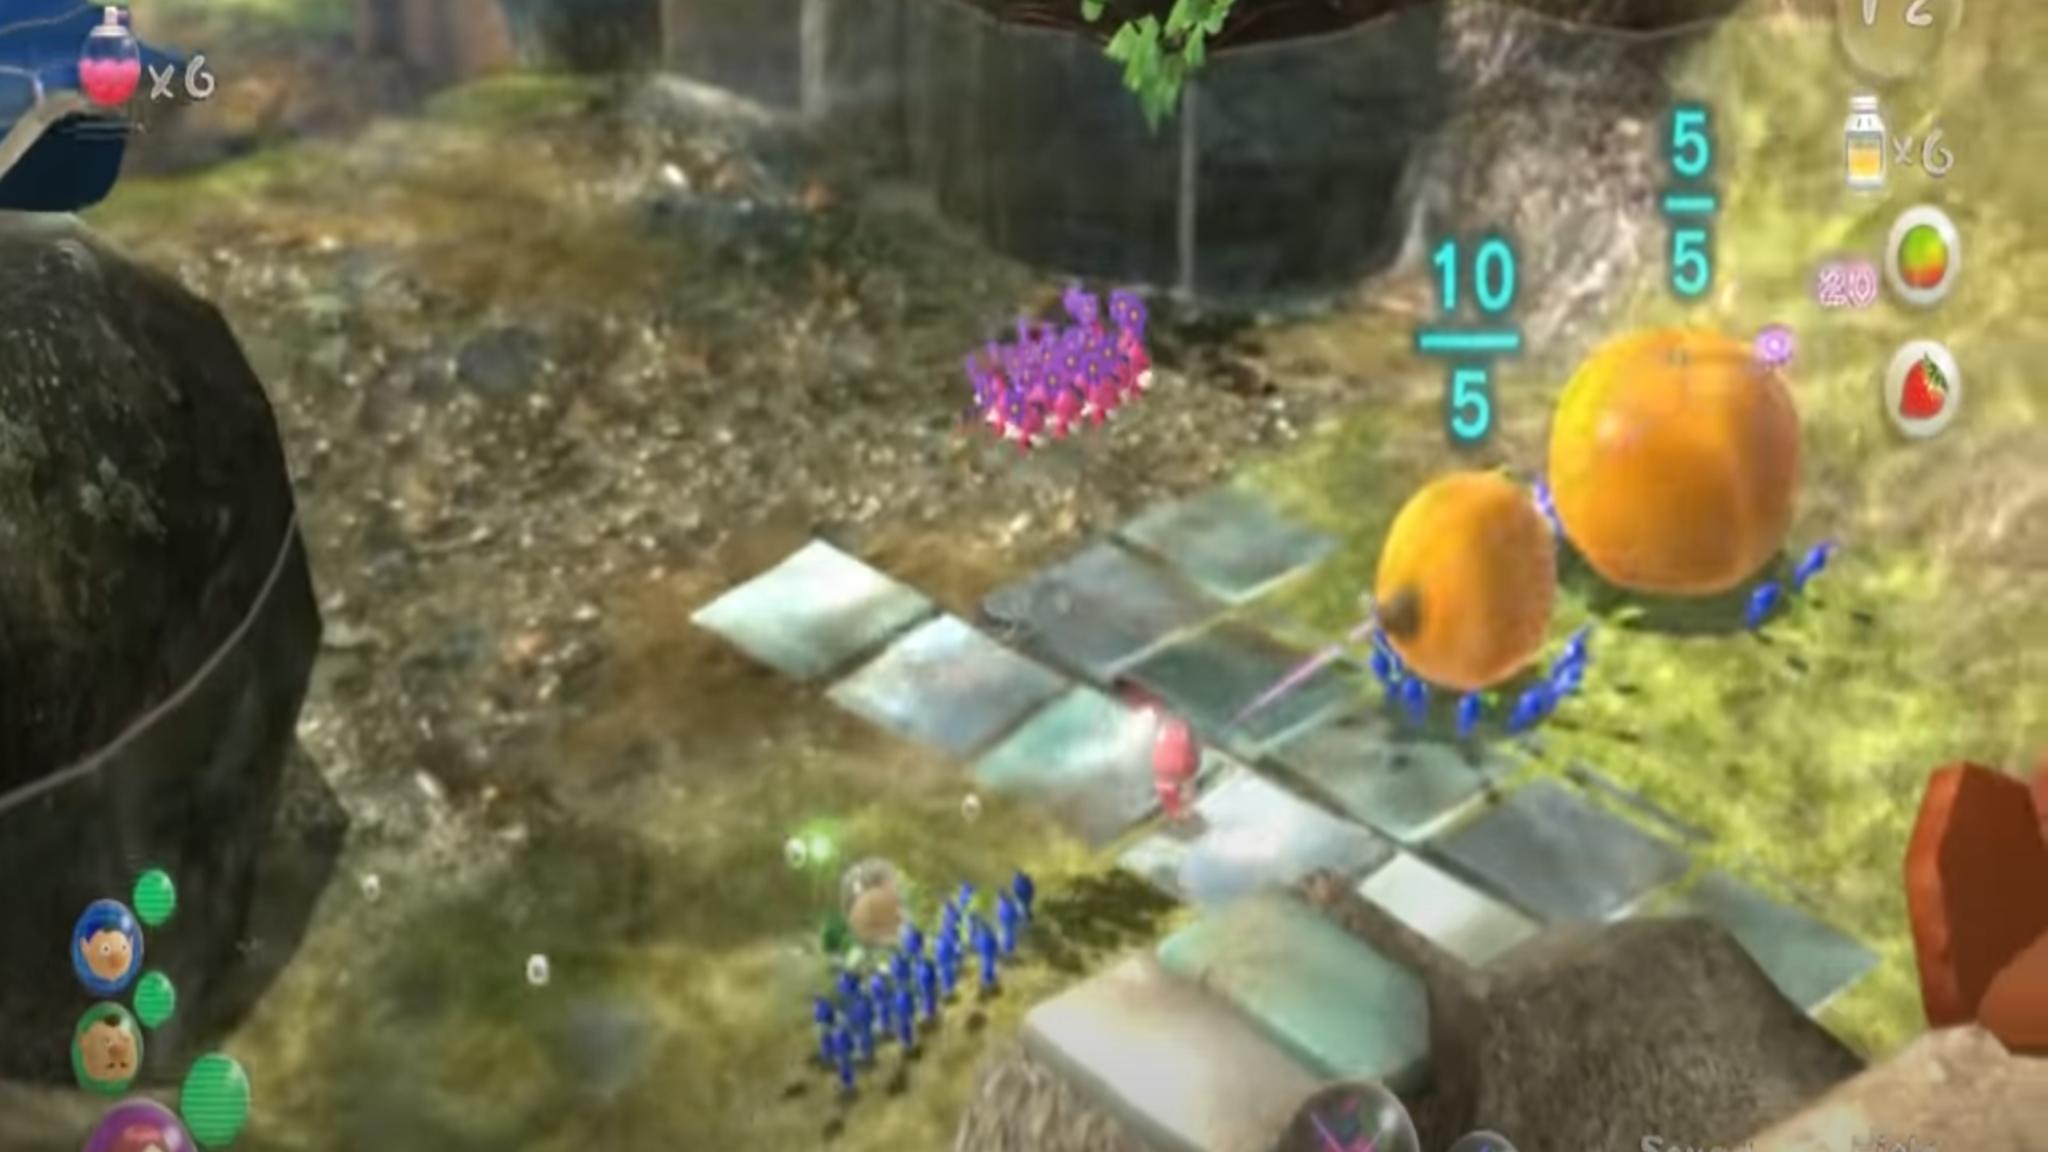
The Garden of Hope is the first area you visit in the game.
Article continues below| Name | Description |
|---|---|
| Sunseed Berry | You'll find this massive strawberry on a short ledge east of the Garden of Memory, just in front of the glass wall. It takes three Pikmin to carry. |
| Face Wrinkler | After you free Brittany, she will teach you how to collect the Face Wrinkler sitting nearby. It takes five Pikmin to carry. |
| Firebreathing Feast | After you kill the Armored Mawdad, it'll puke up a dragonfruit. It'll take 15 Pikmin to collect this. Be sure to recover its body and the cellphone as well! |
| Zest Bomb | Destroying a nearby dirt wall will reveal an area with two tin cans on a pulley system. Toss a crew member and about five Pikmin on one end and about seven Pikmin onto the other side. One the crew member is at the top, lead the Pikmin to the Zest Bomb. It takes 5 Pikmin to carry. |
| Sunseed Berry # 2 | After rebuilding the bridge, cross it and head up the slope. You'll find a Sunseed Berry on a ledge across from a dandelion. It'll take three Pikmin to carry back to base. |
| Searing Acidshock | In the tiled area, near the giant tin can, you'll find a Waddlepus and a fruit encased in crystal nearby. Defeat the Waddlepus first, and then shatter the crystal using Rock Pikmin. It only takes three Pikmin to carry. |
| Citrus Lump | In that same area that you found the Searing Acidshock, use twenty Pikmin to push the tin box into the water. Turn, and face out towards the bamboo gate in the water. Use ten Winged Pikmin to raise the gate, and send another captain into the water with at least five Blue Pikmin. Head to the opposite side of the wall, where the tin box fell, and you'll find a Citrus Lump in the water. |
| Velvety Dreamdrop | After securing the previously mentioned Citrus Lump, call over the Winged Pikmin holding up the bamboo gate and lead them up a slope and out of the water to a small container with a handle. Once they pull open the case, toss five Winged Pikmin into the box and pull out the Velvety Dreamdrop. |
| Sunseed Berry # 3 | Southwest of the landing site, near the dirt wall in the water. You'll need three Blue Pikmin to carry it back. |
| Searing Acidshock # 2 | You'll find this massive strawberry on a short ledge east of the Garden of Memory, just in front of the glass wall. It takes three Pikmin to carry |
| Scaly Custard | Also southwest of the landing site, find the Peckish Aristocrab that's hiding among the flower pots. He's tough, but Rock Pikmin seem to be the most effective against this guy. It'll take eight Pikmin to carry to avocado home. |
| Lesser Mock Bottom | Near the area where you found Searing Acidshock #2, you'll find a mountain of shards from a broken pot. Send some Blue Pikmin over to start rebuilding the flowerpot in the water. It'll act as a bridge between the two flowerpots. Send two captains over to the rebuilt pot, along with some Winged Pikmin. Then toss a captain over to the platform with the root sticking out from the ground. Chuck some Winged Pikmin at it to pull it from the ground. Use at least three Pikmin to bring it back to base. |
| Wayward Moon | You'll find the Wayward Moon inside of the Quaggled Mireclops. Since it's a story mission, you can't miss this one. Launch your Pikmin at the Quaggled Mireclops exposed top, but watch out for its sweeping tongue move. |
| Pocked Airhead | Head to the first electric gate and use Yellow Pikmin to break down the gate. Once it's open, defeat the Fiery Blowhog and dig up the half-buried fruit. |
| Stellar Extrusion | Break down the electric gate blocking the cave entrance and head inside to find a Bug-Eyed Crawmad. Defeat it as you did before, by attacking its eyes and then its soft underbelly. When the Bug-Eyed Crawmad is defeated, it'll spit out two parts of a Stellar Extrusion. Each piece takes five Pikmin to carry. |
| Astringent Clump | Head back to the area with the tins on the pulley system and destroy the electric gate at the end. Using the pulley system, toss a captain up to the same level as the electrical gate, where they'll face two even higher pulleys. Toss one captain on the furthest tin along with at least 10 Pikmin, and make sure that the captain waiting on the ledge has about 15 Pikmin with them. Toss the Pikmin onto the pulley with no captain, and switch to the captain on the opposite end once they've reached the top. Toss ten Pikmin over to bring the Astringent Clump down. Use Yellow Pikmin, as they can be tossed higher and further than other Pikmin. |
| Dusk Pustules | Head up the path passed the flowerpot and break down the electric gate. Head up through the grating and enter the cave. Head over to the tin and weigh one side down with a couple of Pikmin. Next, send a couple of Pikmin over to the other side and have them carry the giant grapes back one by one. |
Pikmin 3 Deluxe fruit: Tropical Wilds
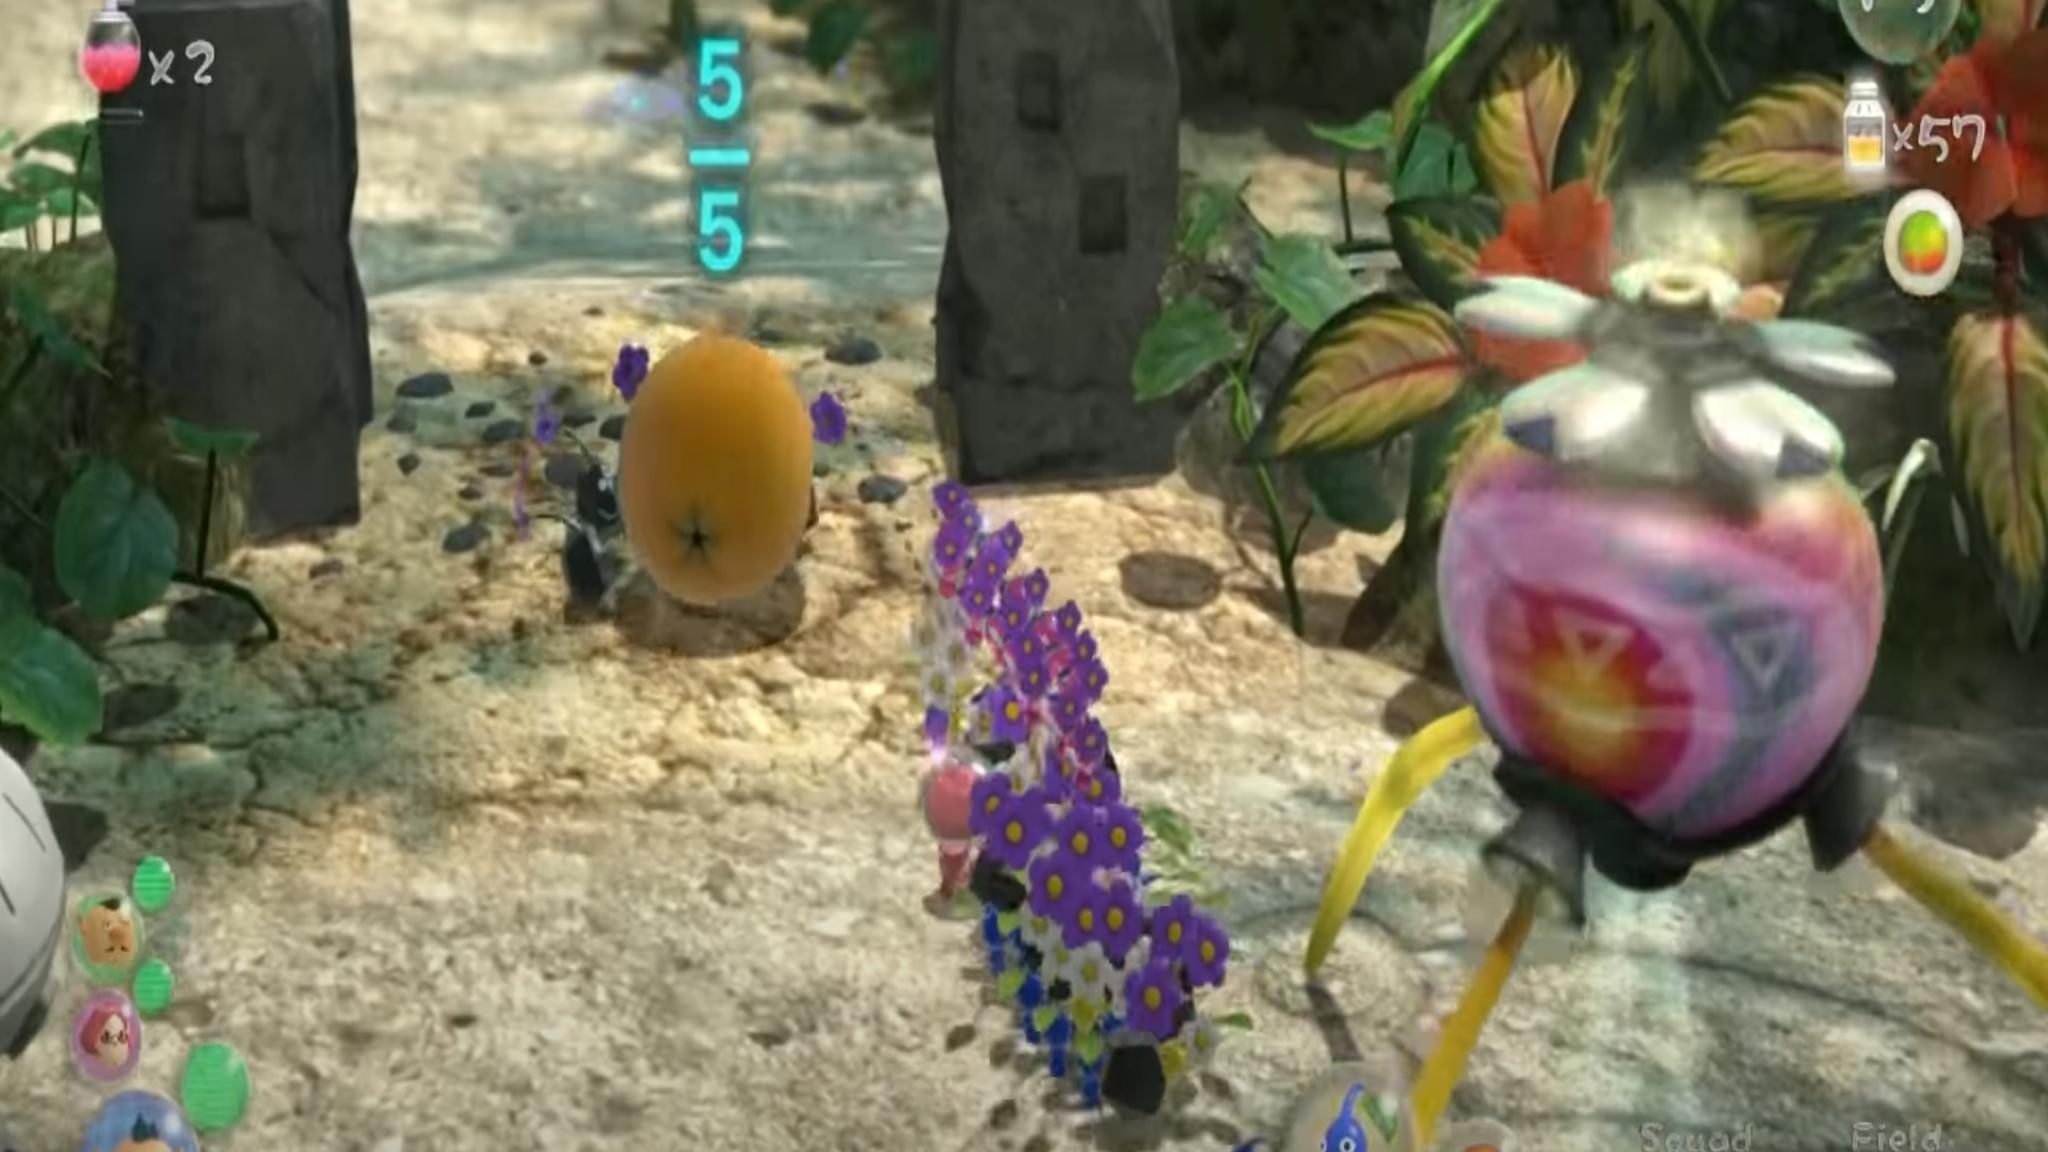
Tropical Wilds sunny locale might be pleasing, but the stage is host to many dangerous enemies and lots of delicious fruit.
| Name | Description |
|---|---|
| Dapper Blob | Atop a hilltop, defeat the Swooping Snitchbug hanging out nearby, and dig up the Dapper Blob that is buried nearby. |
| Pocked Airhead # 2 | Head to the first electric gate and use Yellow Pikmin to break down the gate. Once it's open, defeat the Fiery Blowhog and dig up the half-buried fruit. |
| Velvety Dreamdrop # 2 | Find the low slope with rocks tumbling down. Send two captains up the ledge, along with a small army of Rock Pikmin. You'll find an Armored Cannon Larva at the top. Toss the Pikmin at it and kill it, and it will give up the fruit. |
| Lesser Mock Bottom # 2 | In the area with several Pyroclasmic Slooches, you'll find a Lesser Mock Bottom tucked away near some mushrooms. It's a good idea to use Red Pikmin or clear the area first to ensure your Pikmin make it back in one piece |
| Delectable Bouquet | In the area with multiple Bulborbs, you'll find a low hanging Delectable Bouquet. Take out all the Bulorbs and then chuck some Pikmin at the low hanging fruit to dislodge it. It'll take eight Pikmin to carry it back. |
| Face Wrinkler # 2 | You'll find it completely buried on the north side of the map, near the water. A Yellow Wollywog is hopping around nearby, so you might want to defeat that first before attempting to bring the fruit back to the ship. |
| Dawn Pustules | Across a bridge, you'll find a reinforced wall at the end. Drop a few rock bombs on it and destroy it and send some Pikmin over to harvest the giant grapes. |
| Stellar Extrusion # 2 | Find the Seesaw Block and drop a captain on it, then send another captain with some Yellow Pikmin north, up the path to a little opening and a Bouncy Mushroom within throwing range. Throw a bunch of Yellow Pikmin at the mushroom and watch as they bounce off and onto the matching Seesaw Block. That'll lift the captain up to the top of the ledge. Take control of them and walk them through the tree trunk over to the waiting Pikmin. Switch back to the captain waiting at the Seesaw Block and weigh it down again, lifting the Seesaw Block again and allowing the waiting captain to walk along the tree and to the hanging Stellar Extrusion. Use the Yellow Pikmin to knock it down. |
| Scaly Custard # 2 | Follow the same steps as Stellar Extrusion #2, but this time, ignore the second Seesaw Block and grab the fruit next to it. You'll need eight Pikmin to carry it back. |
| Juicy Gaggle | In the same area where you found Scaly Custard #2, send a captain a good amount of picking north, through the path of mushrooms. Drop into the hole in the tree stump, and you'll find a Medusal Slurker. Defeat it and claim the Juicy Gaggle. Yellow Pikmin work well against this enemy. |
| Crimson Banquet | Defeat the Sandbelching Meerslug by waiting for it to expose its head and charge at it with your Pikmin. Once it's down for the count, it'll spit up the Crimson Banquet in parts. You'll need at least forty-two Pikmin to carry it all back to the ship. |
| Cupid's Grenade | You'll find this cherry all alone on an island surrounded by water, just north of the landing area. Use Blue Pikmin to scoop it up with ease. |
| Searing Acidshock # 3 | Take at least twenty Blue Pikmin under a bridge that leads to a Dirt Wall. Take down the dirt wall, and head to the surface where you'll find Candypop Buds that'll transform your Blue Pikmin into Rock Pikmin. Once you've for your rock army, head over to the Island with the Calcified Crushblat and crack it open with your Rock Pikmin. Break open its shell and attack its fleshy insides. Once defeated, it'll give up the prize. Before you recover it, though, head over to the blue Candypop Buds and turn your Rock Pikmin back into Blue Pikmin. |
| Velvety Dreamdrop # 3 | Head into the cave next to the makeshift bridge. Make sure to bring plenty of Blue Pikmin and Winged Pikmin with you. Inside this cave, you'll find two Flighty Joustmites. Defeat them and use the Winged Pikmin to pull the second Flukeweed, left of the entrance, to reveal the fruit. |
| Zest Bomb # 2 | You'll find a Peckish Aristocrab in the water near the Seesaw Block. Use Winged Pikmin or Blue Pikmin to fish the fruit out of the water. |
| Slapstick Crescent | Buried just across the water, behind the Peckish Aristocrab that was holding Zest Bomb #2. |
| Disguised Delicacy | Find the two large areas that are side by side and closed off by an electric gate. One entrance has a data file and will trigger a boss fight with Shaggy Long Legs. Before you start the fight, however, drop a captain in the other large area with a good amount of Pikmin. Trigger the fight and attack the creature's legs to shed its hair. Once it's bald, launch Pikmin at its head for max damage. When the creature starts to run, it'll step over into the arena where you have a captain lying in wait. It's a difficult battle, but once you defeat it, you'll score two halves of a massive Kiwi. Each piece takes five Pikmin to carry. |
| Mock Bottom | Across the bridge south of the landing area, you'll come across a waterfall with a Mock Bottom at the top. Send some Blue Pikmin over to the climbing stick and have them retrieve the giant fruit. It'll take eight Blue Pikmin or Winged Pikmin to get it off of the ledge. |
Pikmin 3 Deluxe fruit: Distant Tundra
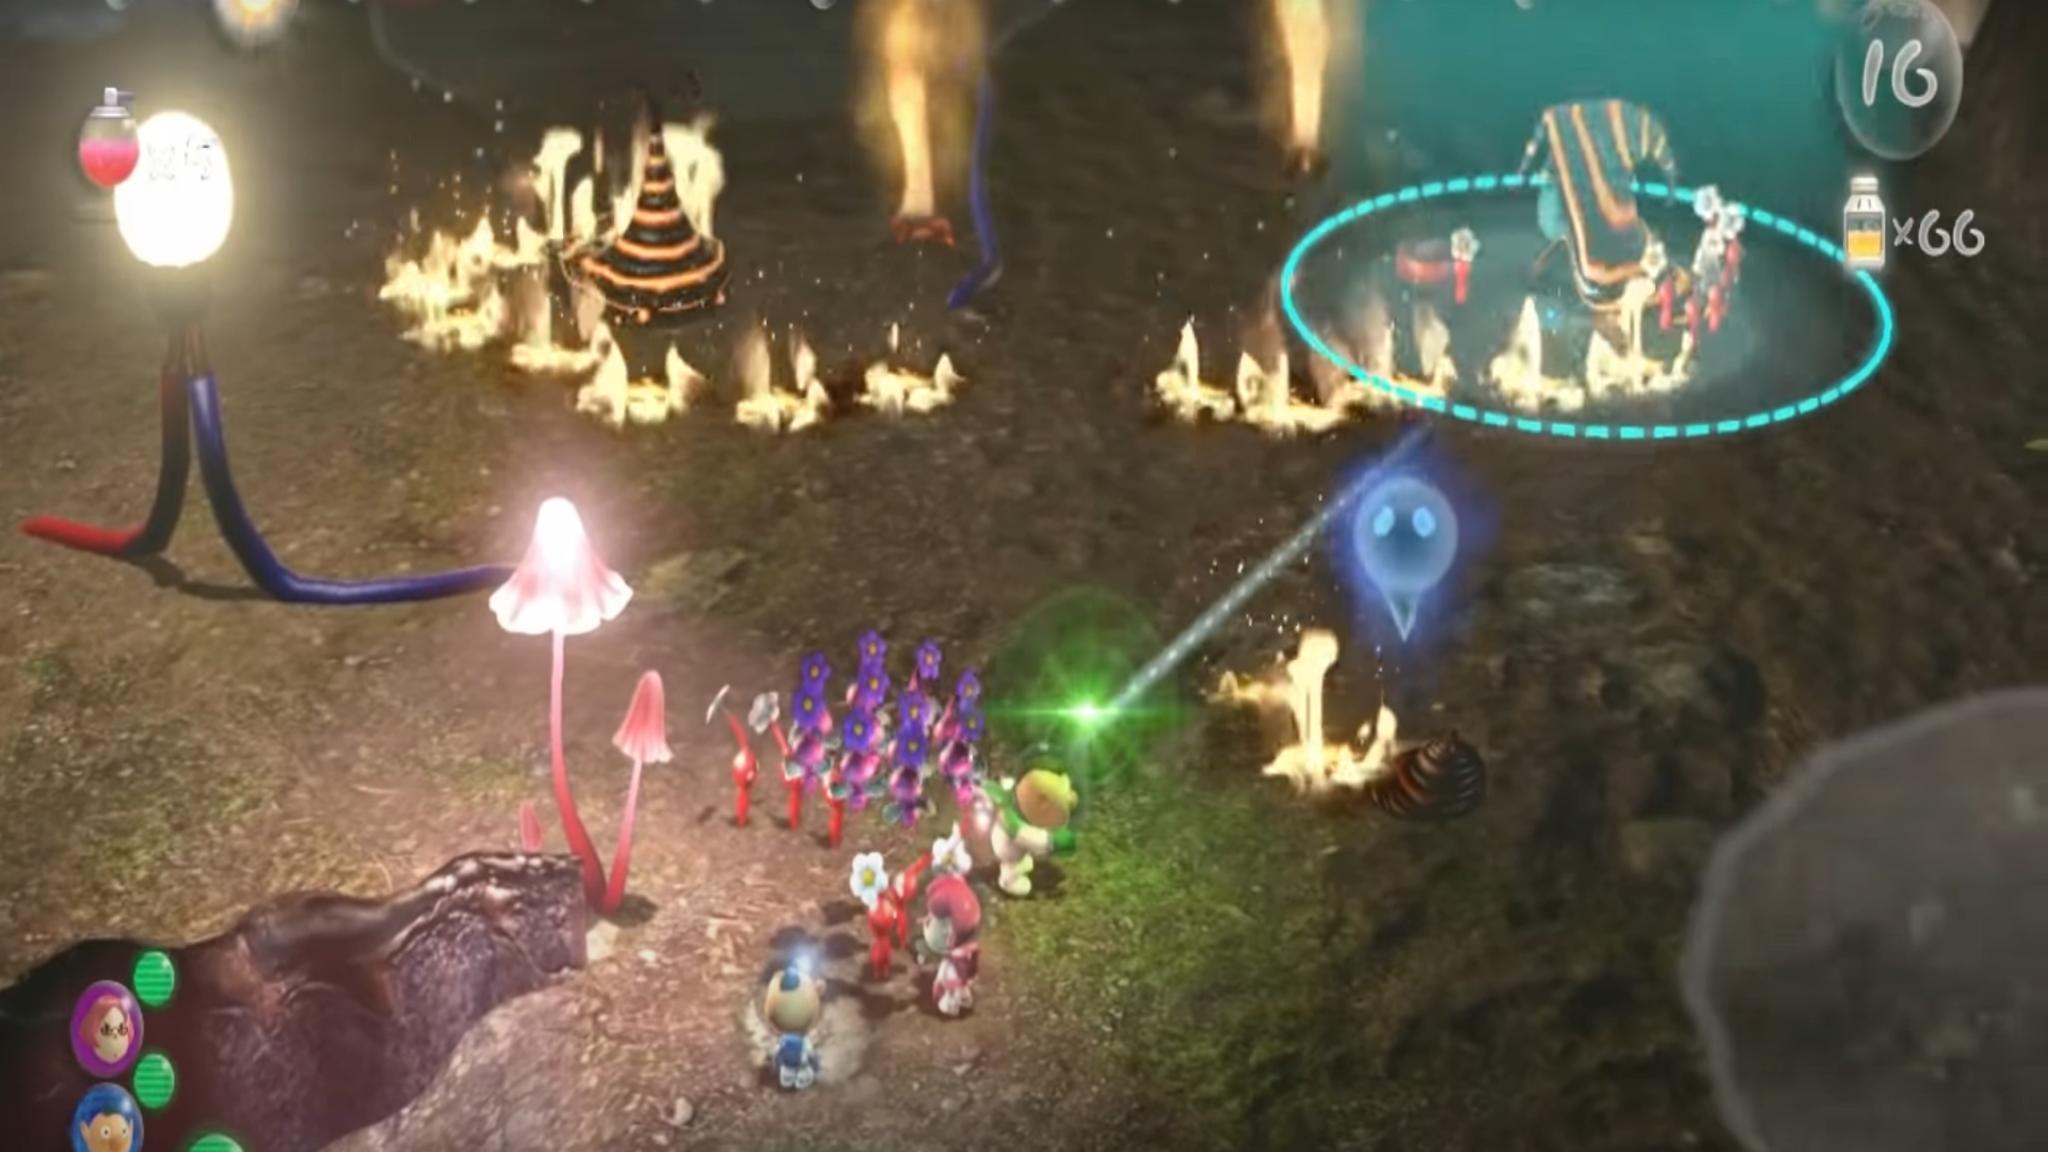
The icy planet is cold and unforgiving. Makes the fruit that much sweeter!
| Name | Description |
|---|---|
| Velvety Dreamdrop # 4 | Find the Whiptongue Bulorb near a pile of bridge materials. Near where it is resting, you'll spot a Velvety Dreamdrop hanging on a nearby branch. Toss some Pikmin at it to knock it down and carry it back to the ship. |
| Disguised Delicacy | In a cave, next to where you discover the Yellow Pikmin, you'll find a large crystal. Break it open with Rock Pikmin to reveal two halves of a Disguised Delicacy. |
| Sunseed Berry # 4 | Beyond the crystal wall, you'll find two Pyroclasmic Slooch just hanging around. Take them out with Red Pikmin — one will drop a Sunseed Berry. If you don't have any Red Pikmin, use the Candypop Buds to change any other color Pikmin to Red. |
| Cupid's Grenade # 2 | Right next to the landing site, there is a snowman hanging out on a ledge. Toss a few Yellow Pikmin up there and reveal a cherry. |
| Dapper Blob # 2 | Next to the broken flowerpot with berries, there's a spiral ledge nearby. Toss a captain up, along with some Pikmin, and collect the Dapper Blob. |
| Cupid's Grenade # 3 | Northeast of the landing site, you'll see some sticks that form an arrow pointing down a short path. Toss some Pikmin over to reveal the buried cherry. |
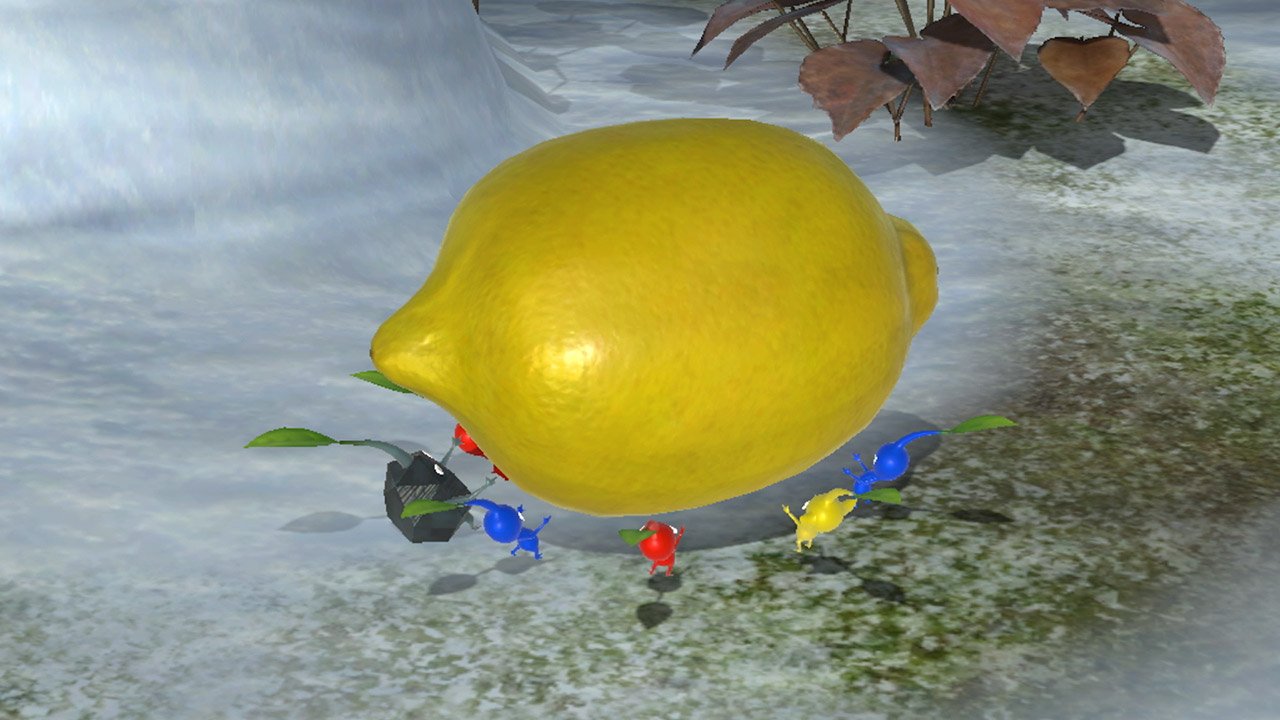
| Citrus Lump # 2 | In the cave with the Bloominous Stemples (the dandelion platforms), there's a Citrus Lump high on the ledge. Use Yellow Pikmin to reach the fruit. It takes five Pikmin to walk it down. |
| Heroine's Tear | You will get the Heroine's Tear after defeating Vehemoth Phosbat. In the large cave with bioluminescent mushrooms, trigger the boss fight by repairing the electrical current to light the cave. Vehemoth Phosbat flies around the map, out of reach of all except Yellow Pikmin. Use them to bring the monster down to earth, and then charge with the rest of your reserve. Once it's defeated, it will run into the lightbulb, dislodging the massive fruit. |
| Dusk Pustules # 2 | On the west side of the room that you defeated Vehemoth Phosbat in, there's a climbing stick that leads to some grapes. Send your Pikmin up the stick to collect. |
| Dawn Pustules # 2 | Follow the Paper Bag ramp that extends to Vegemoth Phosbat's cave, and at the very end of the ledge, you'll find a bunch of Dawn Pustules. |
| Stellar Extrusion # 3 | First, go into the cave and find the ledge behind a pellet plant. Toss about 50 Rock Pikmin up there, and swap to another captain. Head into the water with a group of Blue Pikmin and Winged Pikmin and use the Winged Pikmin to lift the bamboo gate. Head into the next area and up onto the surface, where you'll see a tunnel entrance. That entrance will lead you into the cave where you can collect the army of Rock Pikmin that the other captain left for you. Once you have the Rock Pikmin, return to the outside and approach the eggs. This will trigger a Shaggy Long Legs to appear. Use the Rock Pikmin to fight it while it's on land, and then the Blue Pikmin when it wanders into the water. After defeating it, you'll get the Stellar Extrusion, split into two parts. |
| Face Wrinkler # 3 | Head back through the water and the bamboo gate you took to the Stellar Extrusion #3. Toss some Winged Pikmin over and carry the massive lemon back to the ship. |
| Portable Sunset | At the body of water just passed the dirt wall, you'll find a Portable Sunset hanging from a branch over the water. Take out the nearby enemies, and then walk a team of Blue Pikmin over to knock it loose and carry it back. |
| Citrus Lump # 3 | Head south of the landing site, back to the spot where you found the Dawn Pustules. Send a captain and a horde of Yellow Pikmin over to the other side to find the Citrus Lump buried in the snow. Before you dig it up, though, take out the Bearded Amprats nearby. |
| Zest Bomb # 3 | Next to Citrus Lump #3, move the stack of straw to build a ramp down to the lower level. Gather more Pikmin, and continue to follow the path to the right, dodging the boulders rolling towards you. Defeat the Arctic Cannon Larva and break the crystal behind it to reveal a Zest Bomb. It just takes three Pikmin to bring it back to base. |
| Astringent Clump # 2 | Inside the cave that leads to the outside where Charlie first crash lands, head to the bamboo gate, and use Winged Pikmin to lift it. There are many fire hazards this way, so Rock, Red, and Winged Pikmin work best here. Defeat the Fiery Blowhogs, Spotty Bulbear, and Dwarf Bulbears to clear the way, and you'll find the Astringent Clump buried on a ledge next to the crystal wall. Dig it up, or use one of the nearby Rock Bombs to unbury it. It'll take ten Pikmin to get it back to base. |
Pikmin 3 Deluxe fruit: Twilight River
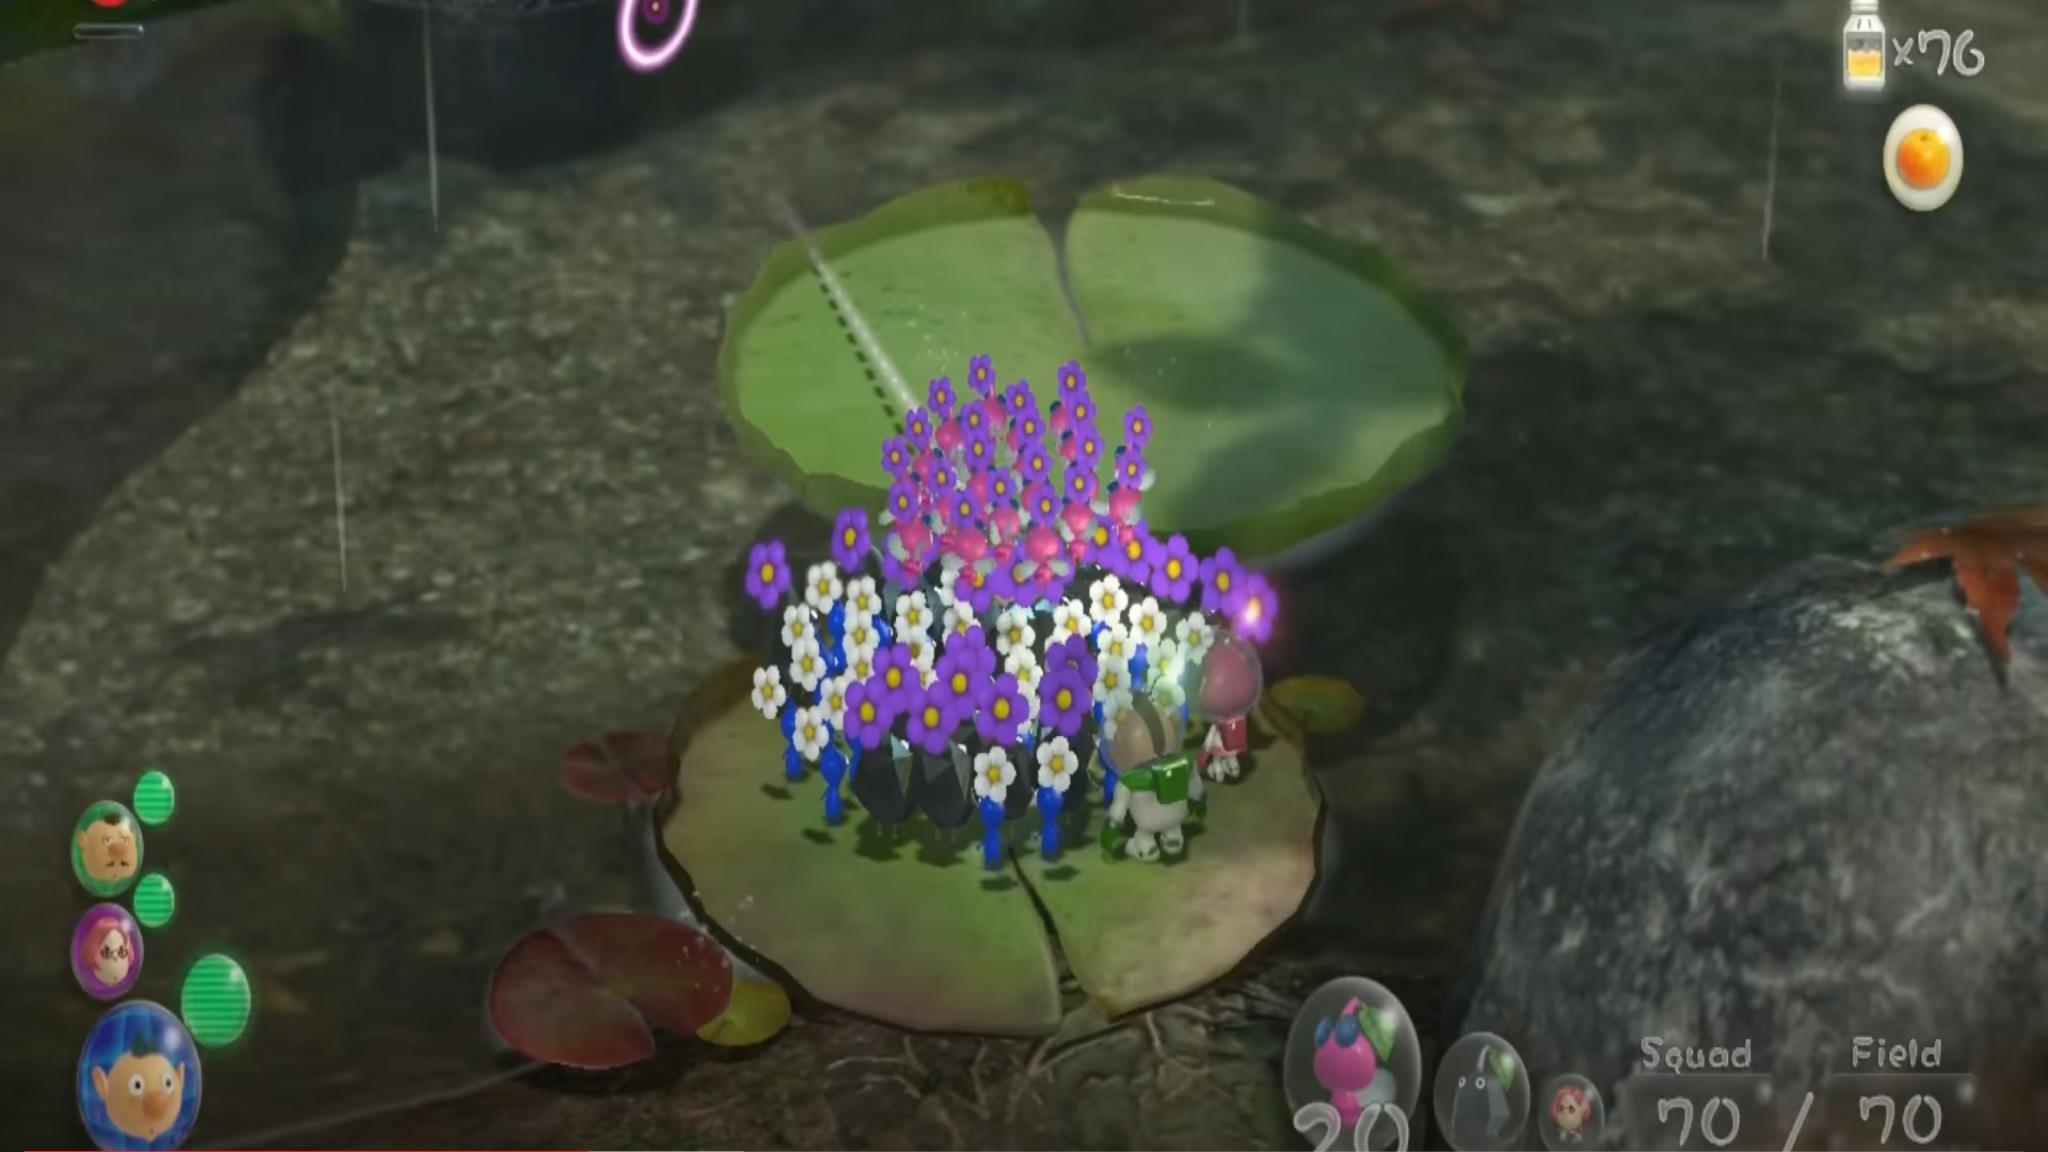
Twilight River mostly consists of a large river basin that flows through the entirety of the stage. You'll have to make use of the Lily pads to cross over.
| Name | Description |
|---|---|
| Dapper Blob # 3 | Northeast of the landing site, across a small body of water, you'll find a crystal with a Dapper Blob trapped inside. |
| Lesser Mock Bottom # 3 | Next to where you first discover the Winged Pikmin's Onion, you'll see two Flukeweeds flanking each side. The Flukeweed to the left of the path to reveal a Lesser Mock Bottom. |
| Searing Acidshock # 4 | Northwest of the landing site, near the end of the bridge, you'll find a Flukeweed. Pull it out to reveal a Searing Acidshock. |
| Dusk Pustules # 3 | South of the landing site and in the water, there's a short path on the water's edge that leads to a small enclosure where |
| Portable Sunset # 2 | You'll find this Portable Sunset behind a bamboo gate surrounded by Spotty Bulbears. Avoid the fight by quickly sneaking the fruit away from the enemies, dropping the bamboo gate to stop the angry predators. |
| Delectable Bouquet # 2 | Destroy near the landing site and walk up the paper bag ramp. Turn the corner to find a Delectable Bouquet high on the ledge. |
| Blonde Imposter | Ride a lily pad down the river until you see a Bouncing Mushroom. Quickly toss a captain and a good amount of Rock Pikmin over. Break the crystal and free two halves of a giant gold kiwi. |
| Crunchy Deluge | In the water next to the Bouncing Mushroom that sends you to the Blonde Imposter. Take some Blue Pikmin and defeat the nearby Toady Bloyster to claim your prize. It takes ten Pikmin to carry. |
| Insect Condo | South of the landing area, behind an electric fence, you'll find a Burrowing Snagret. The Burrowing Snagret is not to be messed with and will quickly gobble up your Pikmin if you're not careful. Use the Winged Pikmin and attack its face while the rest of your foot soldiers attack its base. Once it's defeated, it'll spit up an Insect Condo. It takes ten Pikmin to carry it back. |
| Seed Hive | From the landing area, head down the red bridge towards the Scornet Maestro. It attacks with a swarm of Scornets. Dodge its attacks, using Yellow and Winged Pikmin to attack it, and Red and Rock Pikmin when it's on the ground. Once you defeat it, you'll earn yourself one Seed Hive. |
| Tremendous Sniffer | Ride the Lilypad down the river until you can see Bomb Rocks sitting on a tomato can. Use Yellow Pikmin to pick them up. Head to the reinforced wall in the south of the map. Bomb it and reveal the Tremendous Sniffer. |
| Juicy Gaggles # 2,3,4 | Northeast of the landing site, make your way into a cave and avoid the Water Dumples in the area. Head through the water, passed the giant blue pellet, and around the bend to find three Juicy Gaggles. |
| Citrus Lump # 4 | Near the waterfall, where the Lilypads spawn, you'll find a Citrus Lump under the water. |
Stuffed
That's how to find every fruit available in Pikmin 3 Deluxe. Pikmin 3 was one of the Wii U's best titles and is sure to join the ranks of the best Nintendo Switch games when lands on the Switch. If you're eager to reunite with the Pikmin again, Nintendo has released a free demo of Pikmin 3 Deluxe to try out. Playing through the demo will unlock bonuses for the final game. Whether you're a die-hard Pikmin fan or this is your first time playing, you're sure to be charmed by the adorable Pikmin.
iMore offers spot-on advice and guidance from our team of experts, with decades of Apple device experience to lean on. Learn more with iMore!
Zackery Cuevas is a writer for Windows Central, Android Central, and iMore. He likes playing video games, talking about video games, writing about video games, and most importantly, complaining about video games. If you're cool, you can follow me on Twitter @Zackzackzackery.
