If your iPhone 3G or iPhone 3GS is no longer holding a charge, and always running out of power, replacing the battery is a moderate level DIY repair. If you've got the right tools and parts, it shouldn't be too difficult to swap out that old battery for a brand new one on your own. It'll take a little bit of patience and about 30 minutes of your time.
Disclaimer: As with any repair, iMore can not be held responsible for any damage you may do to your device. It's also worth considering that opening up your device to perform any repair or modification can and will void your Apple warranty. If you don't feel comfortable opening your device, don't. Use extreme care and caution when performing a repair on any device.

What you need for a DIY iPhone 3G/3GS battery swap
iMore recommends using only quality and genuine parts from a reputable supplier like iFixYouri. They have quality parts, tools, and much more for all your repair needs.
- Replacement battery
- SIM removal tool or paper clip
- Suction cup
- Standard #000 Phillips screwdriver
- Spudger tool
- Razor blade
- iSesamo Opening tool (not necessary but awesome for prying up cables and getting under adhesive)
Power off your iPhone

Before performing any repair, always power off your device before removing any screws or parts.
Remove the dock connector screws

Using your #00 Phillips screwdriver, remove the 2 screws located on each side of the dock connector.
Remove the digitizer & LCD assembly
This part can be a bit tricky so please do this with extreme care so you don't tear any cables during the process. I highly recommend using the suction cup method unless your screen is cracked above the home button for some reason and you can't get a proper seal with the suction cup.
Suction cup method (recommended):

The easiest way to remove the digitizer assembly is by using a suction cup.
- Position the suction cup on the screen directly above the home button.
- Using your other hand, hold down the frame while gently pulling up on the suction cup.
- The goal is to get the bottom of the digitizer loose. Do not pull directly up. There are 3 cables attached in the top right of your iPhone. You do not want to tear these. Just pull up until the bottom of the assembly pops out.
- After you have the bottom up you can remove the suction cup.
Spudger/razor blade method (only use this method as a secondary method):

ONLY use this method if your screen is cracked above the home button. If this is the case, you'll need to use a razor blade or spudger in order to remove it. And while you're at it, replace that broken screen!
- Starting in the bottom left hand corner, insert a plastic spudger and gently pry up. Once the first side is starting to pop up, do the same on the bottom right side.
- Run your pry tool along the bottom of the device in order to pop up the bottom of the assembly. Take special care around the home button area.
Remove the cables that attach the digitizer assembly to the logic board:

Once you have the bottom of your digitizer assembly popped up we can remove the cables attaching it to the logic board.
- Gently lift up your digitizer enough to have a clear view of the 3 cables in the top right of your iPhone.

- With your plastic spudger or pry tool, you'll need to pry up the first two cables that attach the digitizer and LCD. They should be labeled with orange stickers numbered 1 and 2. Simply pop them off the logic board gently.

- Underneath these cables you'll see one other labeled as cable 3. This one is a bit trickier as it is clipped down. You'll need to gently pop up the clasp holding it into the fastener. It is a tiny white clip. Simply pop it upwards and the number 3 cable should then slide right out.

- Remove the digitizer & LCD assembly and set it aside.
Remove your SIM card
Using your SIM tool or a paperclip, either works, remove your SIM card and tray from your device.
Unclip cables from the logic board
<
ol>
- Towards the top left of the logic board, use your pry tool to pop up the two cables labeled 5 and 6.
- Towards the bottom of the logic board, 3G owners will only see one cable to the left labeled 4. 3GS users will see two cables (one on each side of the dock connector) labeled 4 and 7. 3G users will just pop up the number 4 cable while 3GS owners will need to pop up both the number 4 and 7 cables.
Remove your logic board
- Remove the 8 screws outlined in the video that hold the logic board in place. One of the screws is under a Do not remove sticker at the bottom right by the dock connector. Obviously you'll have to remove the sticker to get to it.
- Make sure you place the screws in an order you will remember. They are different sizes in some instances so you'll need to make sure you put them back in the correct order.
- Notice the screw holding the camera in place has a metal bracket underneath it. Just take care not to lose this as you'll need to put it back during reassembly.
- Gently pop your camera up with your spudger or pry tool.
- Insert your pry tool in the space between the dock connector and logic board and gently pry upward to loosen the logic board.
- Gently grab the bottom of the logic board and slide it out downwards to remove it.
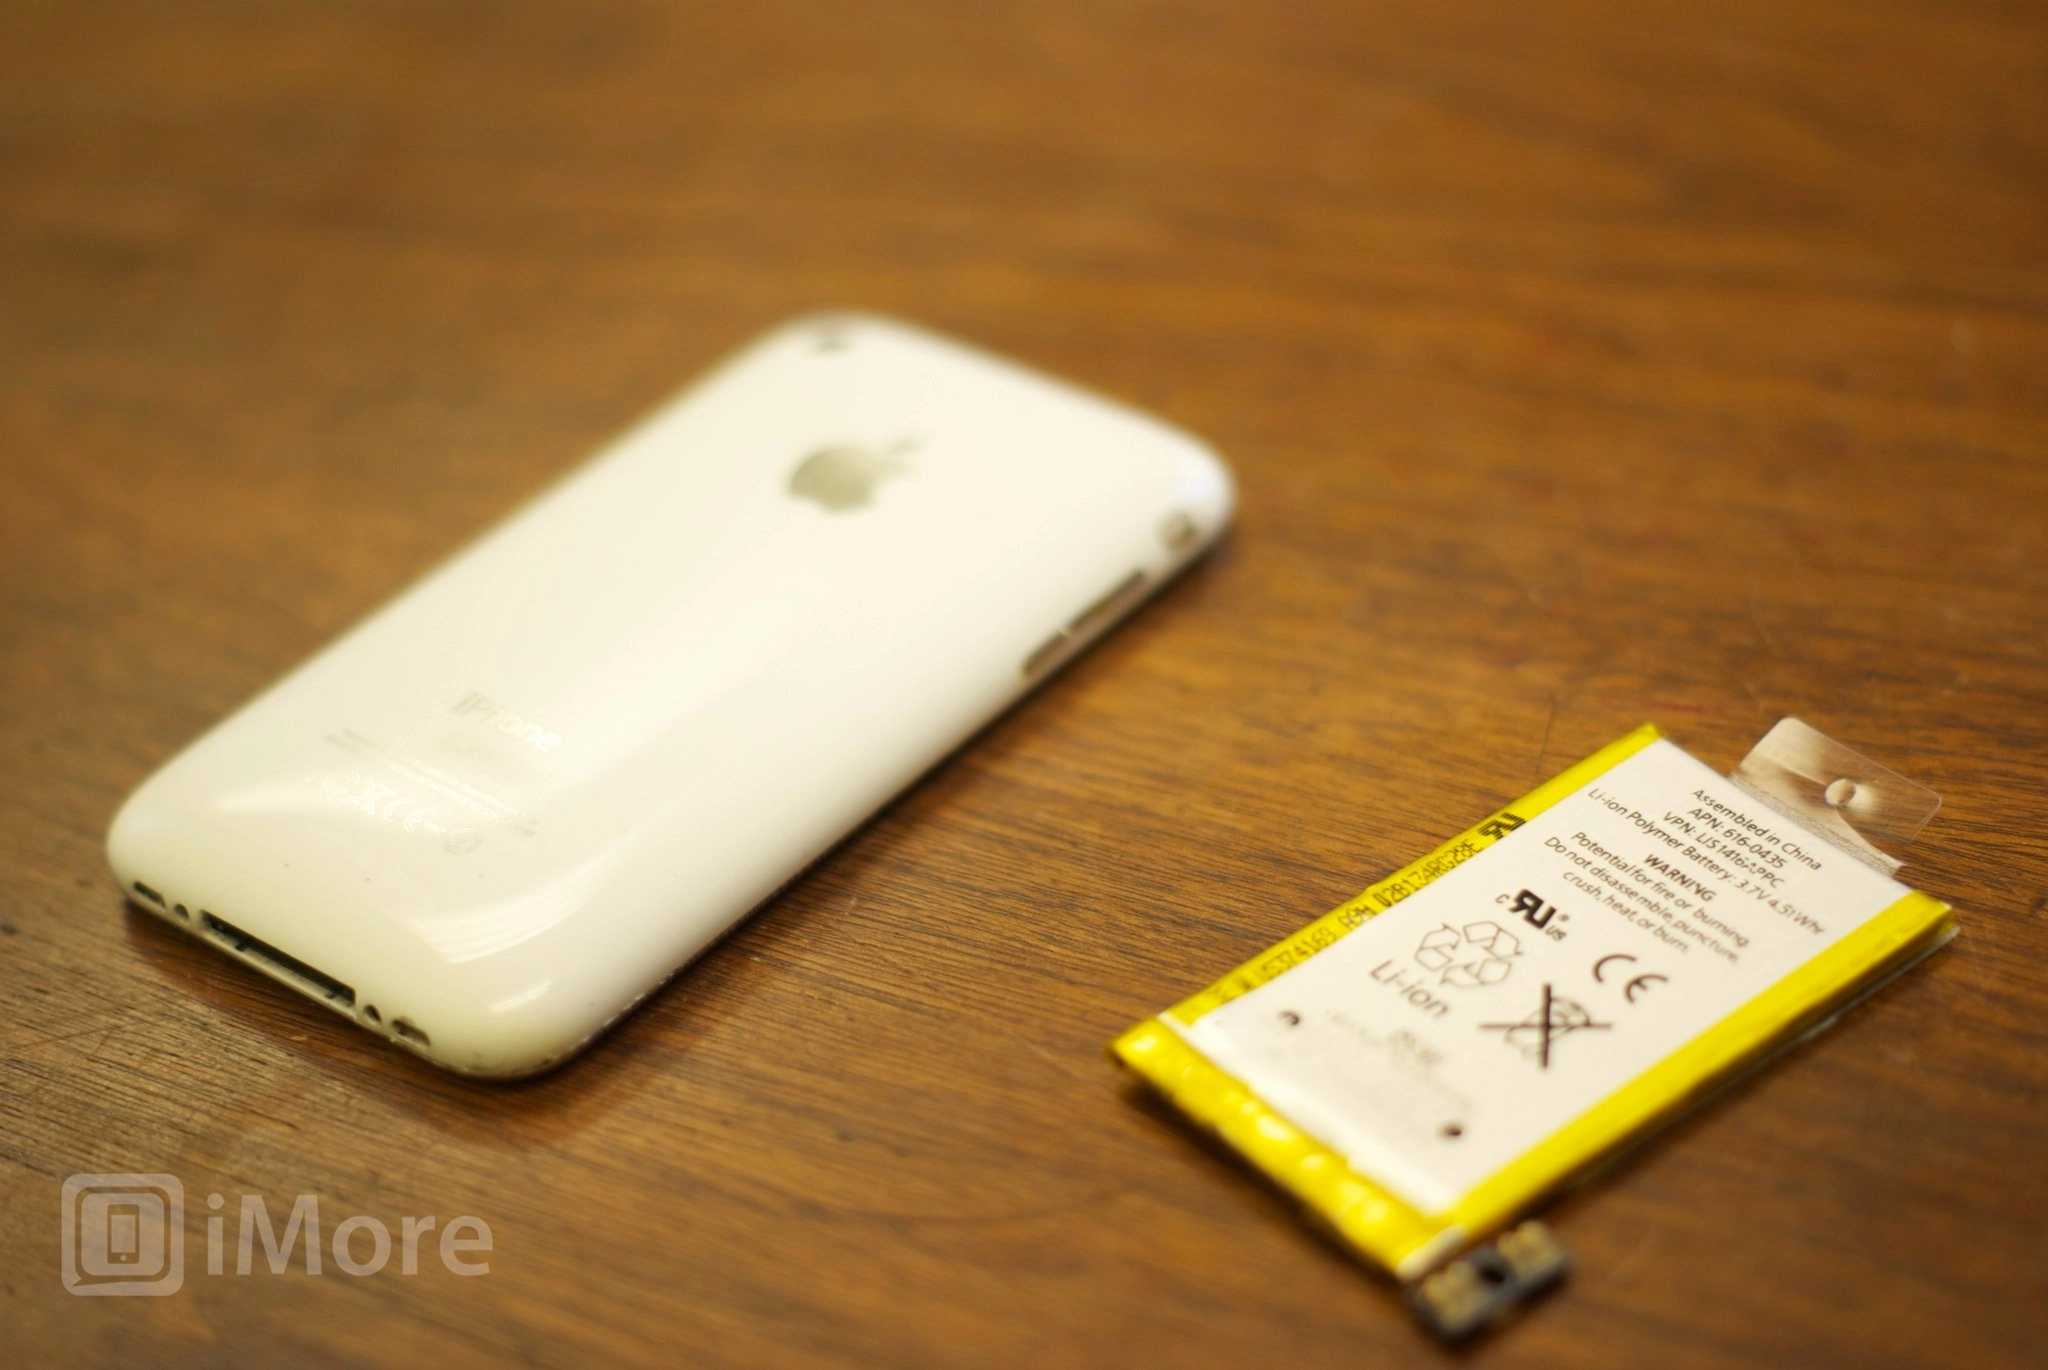
Remove the old battery
There is nothing holding the battery down but adhesive. Gently use your pry tool to loosen the battery from the back of the device. Run it along the sides and gently pry up taking care not to bend or damage the battery. They are secured with quite a bit of adhesive so you may have to use a little bit of force to remove it. Just take care not to bend the casing either.Insert the new battery
Most replacement batteries will come with adhesive already on them. Simply remove the backing from the adhesive and place the battery in the device taking care not to trap any loose cables underneath it. Push down firmly to make sure the adhesive stays in place.Replace the logic board
- Make sure there are no cables in the way. I typically tuck the number 4 cable into the frame (refer to video) so it does not get stuck underneath the logic board.
- Start by positioning the top of the logic board below where the SIM tray sits and start sliding it upwards into place.
- Once the top is in place, you can place the bottom of the logic board into its place. Just make sure no cables are stuck underneath the logic board where they should be on top.
Insert your SIM card and tray
The easiest way to make sure the logic board is in place is to replace your SIM card tray at this point. If it slides in easily, you're right on track. Don't force it if it doesn't want to go in. That means you don't have the logic board lined up correctly. Remove it and try again. The SIM tray will also help keep the logic board in place as you replace screws in the logic board.Reposition and snap down your camera
Once the logic board is positioned right, you can reposition and snap down your camera again.Replace the logic board screws
Replace the eight screws your removed earlier that secure the logic board. Just make sure you replace the metal clip over the camera before replacing the screw that holds it in place.Reconnect cables to the logic board
<ol>
- Towards the bottom of the logic board, 3G owners will only see one cable to the left labeled 4. 3GS users will see two cables (one on each side of the dock connector) labeled 4 and 7. 3G users will reconnect the number 4 cable while 3GS owners will need to reconnect both the number 4 and 7 cables.
Reassemble the digitizer

- Begin with the number 3 cable that clips down. Getting it seated can be a bit tricky. Use a plastic spudger to guide it in the opening if needed. Then push back down the clip that holds it in place.
- Next push down the number 1 and 2 cables onto the logic board.
- To snap the digitizer assembly back in place, start at the top and make sure it is lined up. Once the top is pushed down and flush, snap the bottom into place on each side of the home button.
- Replace the two dock connector screws.
And... done!
If you followed all the steps above correctly you should be able to power on your phone and be on your way! I recommend you drain the battery completely and do one full charge. You also may notice you'll need to reset the time and date on your device. Battery pulls tend to reset the clock.
Have you done this repair yourself? Let us know how it went!
○ Fix a broken iPhone 7 or 7 Plus
○ Fix a broken iPhone 6s or 6s Plus
○ Fix a broken iPhone SE
○ Fix a broken iPhone 6 or 6 Plus
○ Fix a broken iPhone 5c
○ Fix a broken iPhone 5s
○ Fix a broken iPhone 5
○ Fix a broken iPhone 4s
○ Fix a broken iPhone 4 (GSM)
○ Fix a broken iPhone 4 (CDMA)
○ Fix a broken iPhone 3GS or 3G

