If getting a replacement from Apple is out of your price range and you'd prefer to just fix it yourself, follow along and we'll show you how.
Disclaimer: As with any repair, iMore cannot be held responsible for any damage you may do to your device. It's also worth considering that opening up your device to perform any repair or modification can and will void your Apple warranty. If you don't feel comfortable opening your device, don't. Use extreme care and caution when performing a repair on any device.
What you need to replace a 4th gen iPod touch digitizer and LCD
iMore recommends using only quality and genuine parts from a reputable supplier like iFixYouri. They have quality parts, tools, and much more for all your repair needs.
- 4th generation iPod touch (black or white)
- Replacement display
- Hair dryer or heat gun
- Extra strength double-sided replacement adhesive — there are several types of adhesive kits you can buy or you can cut your own but we recommend using a pre-cut kit as it will make the process much simpler
- Standard #000 Phillips screwdriver
- Spudger tool
- Razor blade
- iSesamo Opening tool (not necessary but awesome for prying up cables and getting under adhesive)
Power off your iPod touch

Before attempting to open your iPod touch or perform and kind of repair, always power it off first. Just hold down the power button until the Slide to power off message appears on the screen. Slide with your finger and wait for the device to completely power down before continuing.
Areas to look out for when removing the touch screen and LCD assembly
While other devices such as the iPhone and older iPod touches are held together with either screws or clips, the iPod touch and it's larger iPad sibling hold the display in with a strong adhesive. We'll need to soften it by heating it up before we can remove it.
There are a few areas you'll need to be careful of when attempting to pry off the iPod touch front assembly. Notice in the picture below where these areas are and use your pry tool and metal spatula with caution when moving around these areas so you don't tear any cables.

Once you've taken a mental note of the areas above and where they're located under the screen, proceed to the next step.
Remove the broken screen and LCD assembly
- First, turn your heat gun on the lowest setting possible and heat up the bottom left edges of the iPod. Be careful when lifting it up or handling it as the edges can get quite hot. This works best if you heat and pry small sections at a time so you can hold the other side in your hand.

- Once you've gotten a section heated, use your metal spatula and/or pry tool in order to slowly work up the LCD and digitizer assembly by gently lifting up between the gasket and screen edge.
- After you've managed to free a small section, heat up the next section and slowly work your way around until you've broken the adhesive all the way around being extra careful around the areas from the previous section. If the glass spiders or cracks further, that's okay as you'll be replacing the entire front assembly.
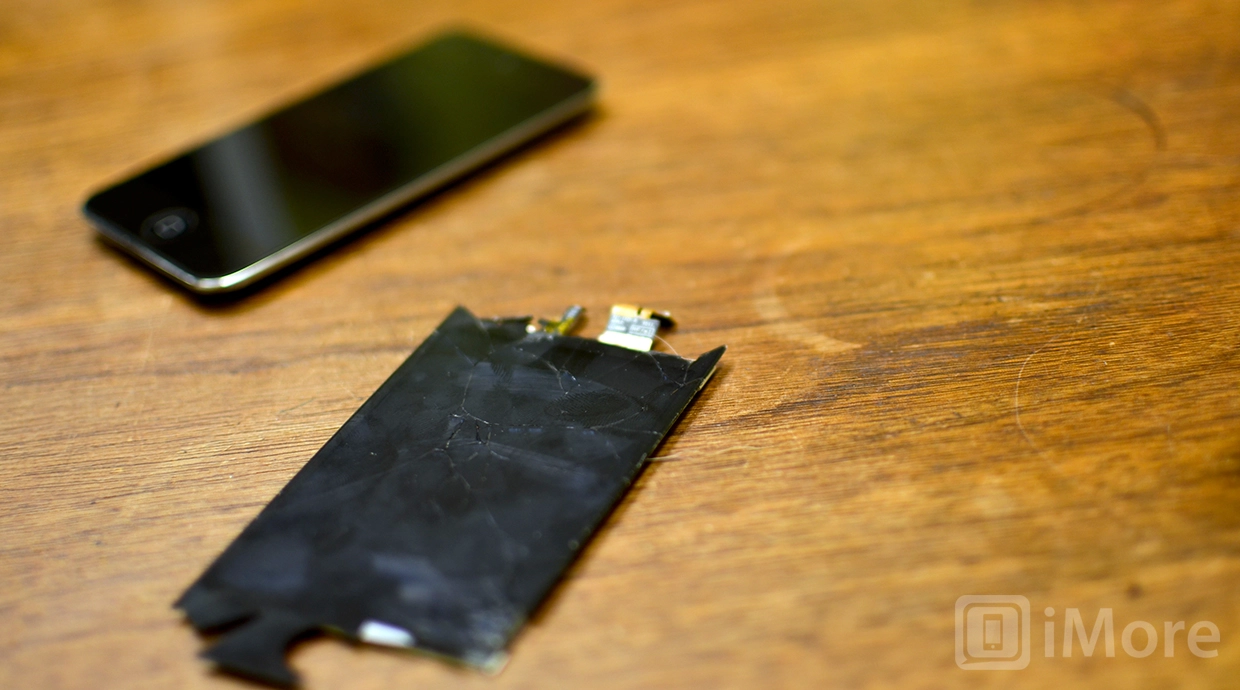
- Once you've gotten a majority of the adhesive separated you'll be able to lift up the entire front assembly. Use your pry tool to remove the LCD cable with one hand. The digitizer cable that connects underneath the logic board you can clip with a pair of scissors as you'll be replacing it.
- Set the old assembly aside but don't throw it away as you'll need a few parts off of it before reassembly.
Remove the old ashesive and clean off the frame

Before replacing the assembly or disassembling your iPod touch any further, now is a good time to clear out the frame from all the old ashesive and any broken glass pieces that may be stuck on the interior of the frame.
If you don't make sure all dust, debris, and glass is removed before placing in the new screen, it will not fit in correctly and you'll have to go back and re-clean it. In other words, make absolutely sure that you are removing all of the debris and glass before continuing. Feel free to use air duster to blow out any excess debris if needed.
Remove the camera retainer clip

Towards the top of the iPod touch is a retainer clip that holds the rear camera in place. Use your pry tool or metal spatula in order to pop it up and remove it. Set it aside for reassembly.
Remove the copper tape holding the logic board shield down

Underneath the camera retainer clip is a tiny piece of copper tape that's connected to the underside of the logic board shield. Use your metal spatula and your fingers to gently peel the tape back.
Do not completely remove it but just pry the part that is covering the rear facing camera off.
Remove the logic board shield
The logic board shield is also held down with a bit of adhesive that we will have to break but first we need to remove some screws.
- Remove the screws outlined in the picture below with your #00 Phillips screwdriver making sure to order them in a way that you'll remember when it comes time for reassembly.

- Use your heat gun to heat up the top and the bottom of the logic board shield. This will make it easier to remove the logic board shield.
- Start at the bottom by slipping the metal spatula between the shield and speaker assembly. Be careful not to pry the speaker assembly up with the shield as the wires are delicate and can tear easily. Once you have loosened both sides of the bottom of the shield we can move on.


- Now move your metal spatula to the position indicated in the picture below taking care to slip it between the cable connected on the logic board. While you can pry up on either side, I find it easier to push up gently to break the adhesive in this position as your tool will hold the cable down and prevent it from breaking off the logic board. Prying directly up on either side can cause this to happen so go slowly on this step and position your tool in a way that will not damage the small cable running underneath.

- Once you've broken the adhesive in the top portion, the shield should lift right off of the logic board. Set it aside for reassembly later.
Pry up the rear facing camera

We don't need to completely remove the rear facing camera but prying it up will allow us to lift up the logic board a bit more and make attaching the digitizer cable a bit easier.
Use your pry tool to gently lift the rear facing camera out of its opening and move on to the next step.
Remove the top 3 screws holding the logic board down
Even though we won't be removing the logic board, we will need to get underneath it in order to attach the digitizer cable for the new digitizer and LCD assembly.
Use your #00 Phillips screwdriver to remove the screw screws labeled below making sure to place them in and order you'll remember for reassembly.

Now that you've removed the 3 screws along the top of the logic board we can continue on to prying up part of the logic board.
Pry up the top of the logic board
You do not want to remove the entire logic board but only pry up the top portion. Be extremely careful with this step as the logic board is fragile and can break easily.
- Use your pry tool or metal spatula to lift up the portion of the logic board highlighted in the picture below. The logic board is slightly pliable and will bend easily. This is normal. Only pry up enough to edge your finger along it.

- Now run your finger towards the top of the logic board so the part of the logic board that houses the front facing camera and the digitizer cable can be lifted enough for you to pull out the digitizer cable.

Peel up the copper tape around the digitizer cable

There is a piece of copper tape wrapped around the digitizer cable that you'll need to remove in order to pry off the digitizer cable. Use your pry tool and/or metal spatula to pry up and edge of the tape. Then move along the other side and find the edge of the copper tape and peel it back.
Once you've gotten the tape removed from the front of the cable area, you can move on to removing the cable as the tape will come off with it.
Remove the remaining digitizer cable end and copper tape

While holding the logic board up with one hand, use the pry tool in your other hand to gently push down on the top of the cable until it pops off the bottom of the logic board.
Once the cable has popped off the underside of the logic board you can gently slide it out.
Peel off the copper tape that remains on the old digitizer cable piece. We will place it on the new one in a later step.
Ready the new digitizer and LCD assembly

You will only need to perform this step if the replacement LCD and digitizer assembly you have does not have a Home button and camera shield pre-assembled. If it does not, use this step to transfer the Home button and camera shield to the new assembly.
- Use your pry tool to gently remove the Home button off the old digitizer. There is a gasket with adhesive that runs around it. Be careful not to tear it.
- Now flip the new assembly over so you can see the front of it and line up the home button accordingly. Once it is straight, flip the assembly over and make sure you run your fingers around the gasket to secure it to the frame.

- Now use your pry tool to peel the camera shield off the old assembly.
- Place the camera shield on the new assembly. You may need to hold it up to the light to make sure you're lining up the sensor hole to the left correctly. Apply more adhesive to the back of the camera shield if you need to.
- Set the assembly aside and proceed on to the next step.
Attach the digitizer cable on the underside of the logic board
This is the trickiest part of performing a DIY iPod touch screen replacement on newer iPods as the cable has to be fastened on the underside of the logic board. It may take a few tries so be patient and work slowly and you'll get it.
- Gently pry up the logic board enough to slide the new cable underneath the logic board.
- While holding up the logic board slightly, use your metal spatula or pry tool to guide the cable in place.

- Once you feel the cable is lined up properly (it helps to move your eyes to table level so you can see where the cable clips in), push down on the top part of the logic board and push up with your pry tool. If it was lined up correctly you should hear it snap into place.

- Check the underside to make sure the cable is completely secure.
This step is the hardest part and don't get frustrated if you don't get it on the first try. Just feel around for the connector and gently keep trying to push upwards until the cable snaps into place. Once you've got it, move on to the next step.
Replace the copper tape on the digitizer cable

Slide the copper tape you previously removed off the old digitizer cable underneath the new cable that is now securely in place. Double check to make sure you don't have it upside down. Now secure it around the cable with your fingers.
Push the logic board and rear facing camera back down into place

Once you've got the digitizer cable securely in place you can go ahead and gently push the logic board down and back into place and re-secure the rear facing camera.
Check around the frame to make sure all the screw holes are lined up correctly. It also doesn't hurt to push down on top of the digitizer cable firmly to make sure it's snapped completely into place.
Replace the 3 screws at the top of the logic board
Replace the 3 screws you removed earlier that run along the top of the logic board.
Replace the logic board shield
Once you've gotten the top 3 screws in place you can replace the logic board shield as well. Lay it into place and screw it back down with the 8 screws you removed previously. Once you've gotten it screwed back into place you can go ahead and push back down the copper tab at the top right as well.
Replace the camera retainer clip
Put the camera retainer clip back into place over the copper tape you just pushed back down and snap it into place.
Test the digitizer

Now is a good time to test the digitizer before applying any adhesive. Simply snap down the LCD cable on the top of the logic board that runs off the new assembly and then gently folder over the assembly.
Now hit the power button to make sure it powers up. Once the slide to unlock screen comes up, slide your finger and make sure the touch screen is responsive.
Once you've finished testing it just turn the iPod back off by holding down the power button and sliding to power off again. Flip the assembly back over and use your pry tool to remove the LCD cable.
If the touch screen is not responsive, remove the 3 screws at the top of the logic board again and make sure the cable underneath the logic board is completely secure.
If the LCD does not come on and you know the cable is secure, you may have a faulty assembly. Disconnect it and request a replacement one from who you ordered it from.
Line the frame of your iPod with new adhesive

Before placing adhesive onto the assembly double check to make sure you have removed any leftover adhesive from before and that there is no glass or debris left in the frame.
If you have purchased a pre-cut adhesive kit, position the adhesive onto the assembly taking care to not get adheasive on the digitizer or LCD cables.
If you're cutting your own adhesive just make sure that you completely line the frame and have removed all the old adhesive. Use the picture below as a guide for where to place adhesive.

Attached the LCD cable and fold over the digitizer cable
- If there is a protective backing on the back of your new LCD assembly go ahead and remove it now.

- Re-attach the LCD cable taking care to not get the cables stuck on the assembly frame.

- Once the LCD cable is securely in place, make sure that the digitizer cable is folded over. It should crease 3 times. Most assemblies will already be crimped for you. Just make sure that it folds into place neatly and that it doesn't stick out above the frame.
- Gently flip over the screen and starting at the top gently push the assembly up and into place. The camera shield should lock into place at the top of the assembly to make it flush.
- Push down gently around the edges of the iPod touch to secure the adhesive.
Heat the adhesive to secure it

It's always a good idea to run a heat gun over the iPod touch one last time and push down the edges to make sure they are secure. I typically heat it up and hold down each edge for 30 seconds and repeat until all four edges and the top and the bottom have been held in for 30 seconds each. This will ensure a tight bond with the adhesive and prevent light leak or the frame coming up over time.
And... done!
Now that you've got your new digitizer and LCD assembly in place you can power up your iPod touch and enjoy it again. Then, give yourself a pat on the back for completing a ninja level DIY repair.
○ Fix a broken iPhone 7 or 7 Plus
○ Fix a broken iPhone 6s or 6s Plus
○ Fix a broken iPhone SE
○ Fix a broken iPhone 6 or 6 Plus
○ Fix a broken iPhone 5c
○ Fix a broken iPhone 5s
○ Fix a broken iPhone 5
○ Fix a broken iPhone 4s
○ Fix a broken iPhone 4 (GSM)
○ Fix a broken iPhone 4 (CDMA)
○ Fix a broken iPhone 3GS or 3G

