How to install Windows 11 on a Mac
Turn your Mac into an unholy hybrid bristling with potential.
iMore offers spot-on advice and guidance from our team of experts, with decades of Apple device experience to lean on. Learn more with iMore!
You are now subscribed
Your newsletter sign-up was successful
In the old days of Macs, you could install Windows on an Apple computer quite easily. This is because they used Intel processors just like the ones you’d find in the average Windows laptop.
That all changed in 2020. This was the year Apple started making laptops and Macs with its in-house CPUs. They were, and are, absolutely brilliant. However, they complicate matters if you want to use software never designed to run on Apple hardware.
It can be done, though, with a piece of software called Parallels. This was around long before Apple’s M-series processors. It was first released in 1999. However, Parallels was always primarily designed for Mac users who wanted to be able to run Windows software on their MacBooks and iMacs.
The best bit is how easy it all is. Using Boot Camp, Apple’s own tool that lets you install Windows onto Macs with Intel CPUs, you had to create a separate partition on your hard drive in which the other OS could live. That isn’t required with Parallels.
You just install it like any other app, and, hey presto, you have a version of Windows running on your MacBook. We’ll explain how it works under the hood later and talk about some of the notable drawbacks involved. But for those not all that interested in the tech working under the surface, here’s how you get started with Parallels. For this guide, we used an M1 MacBook Air running macOS Ventura and Parallels 18.
How to install Windows 11 on a Mac with Parallels
As we are running Parallels to get Windows on a test MacBook, the process is almost comically easy.
- Head to the Parallels website
- Select Download Free Trial
- Wait for the small DMG installer file to download and run it
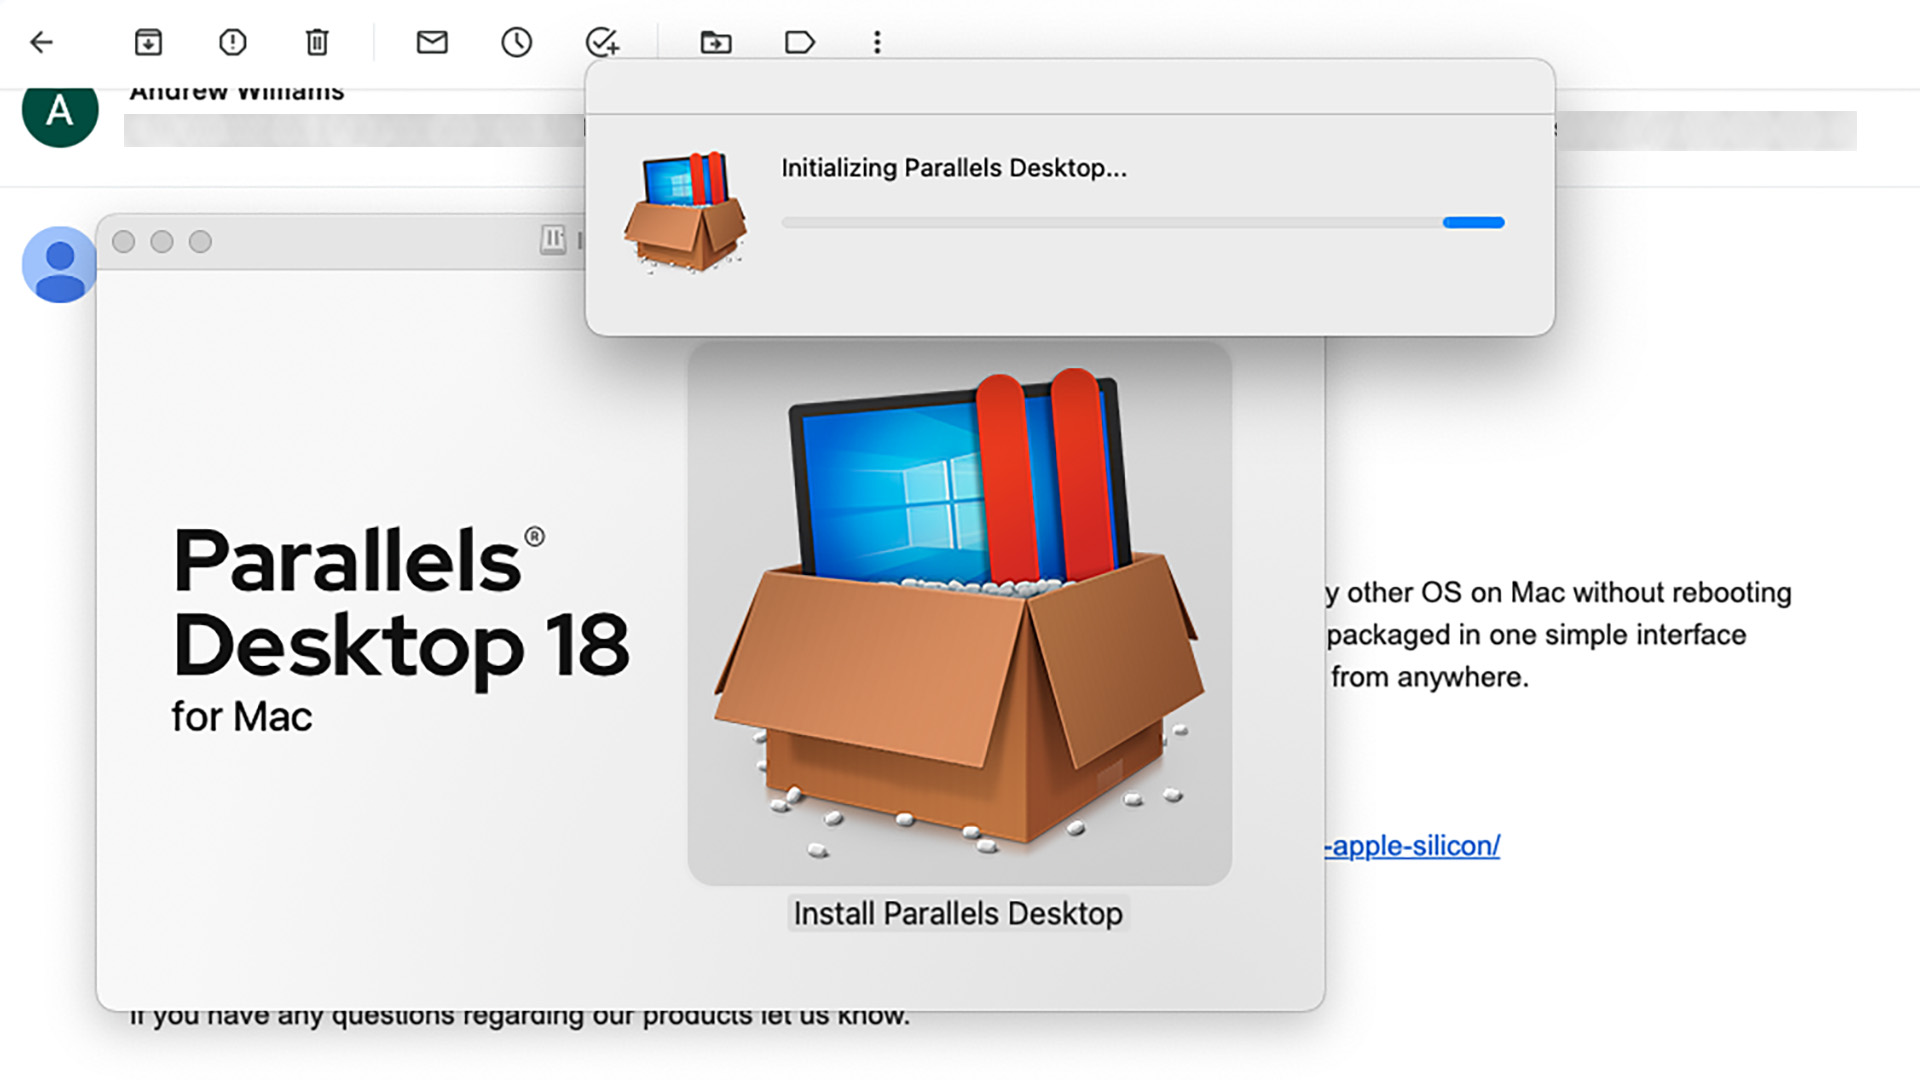
- During the early part of the installation process, you’ll be asked to green-light some app permissions for Parallels. Approve these
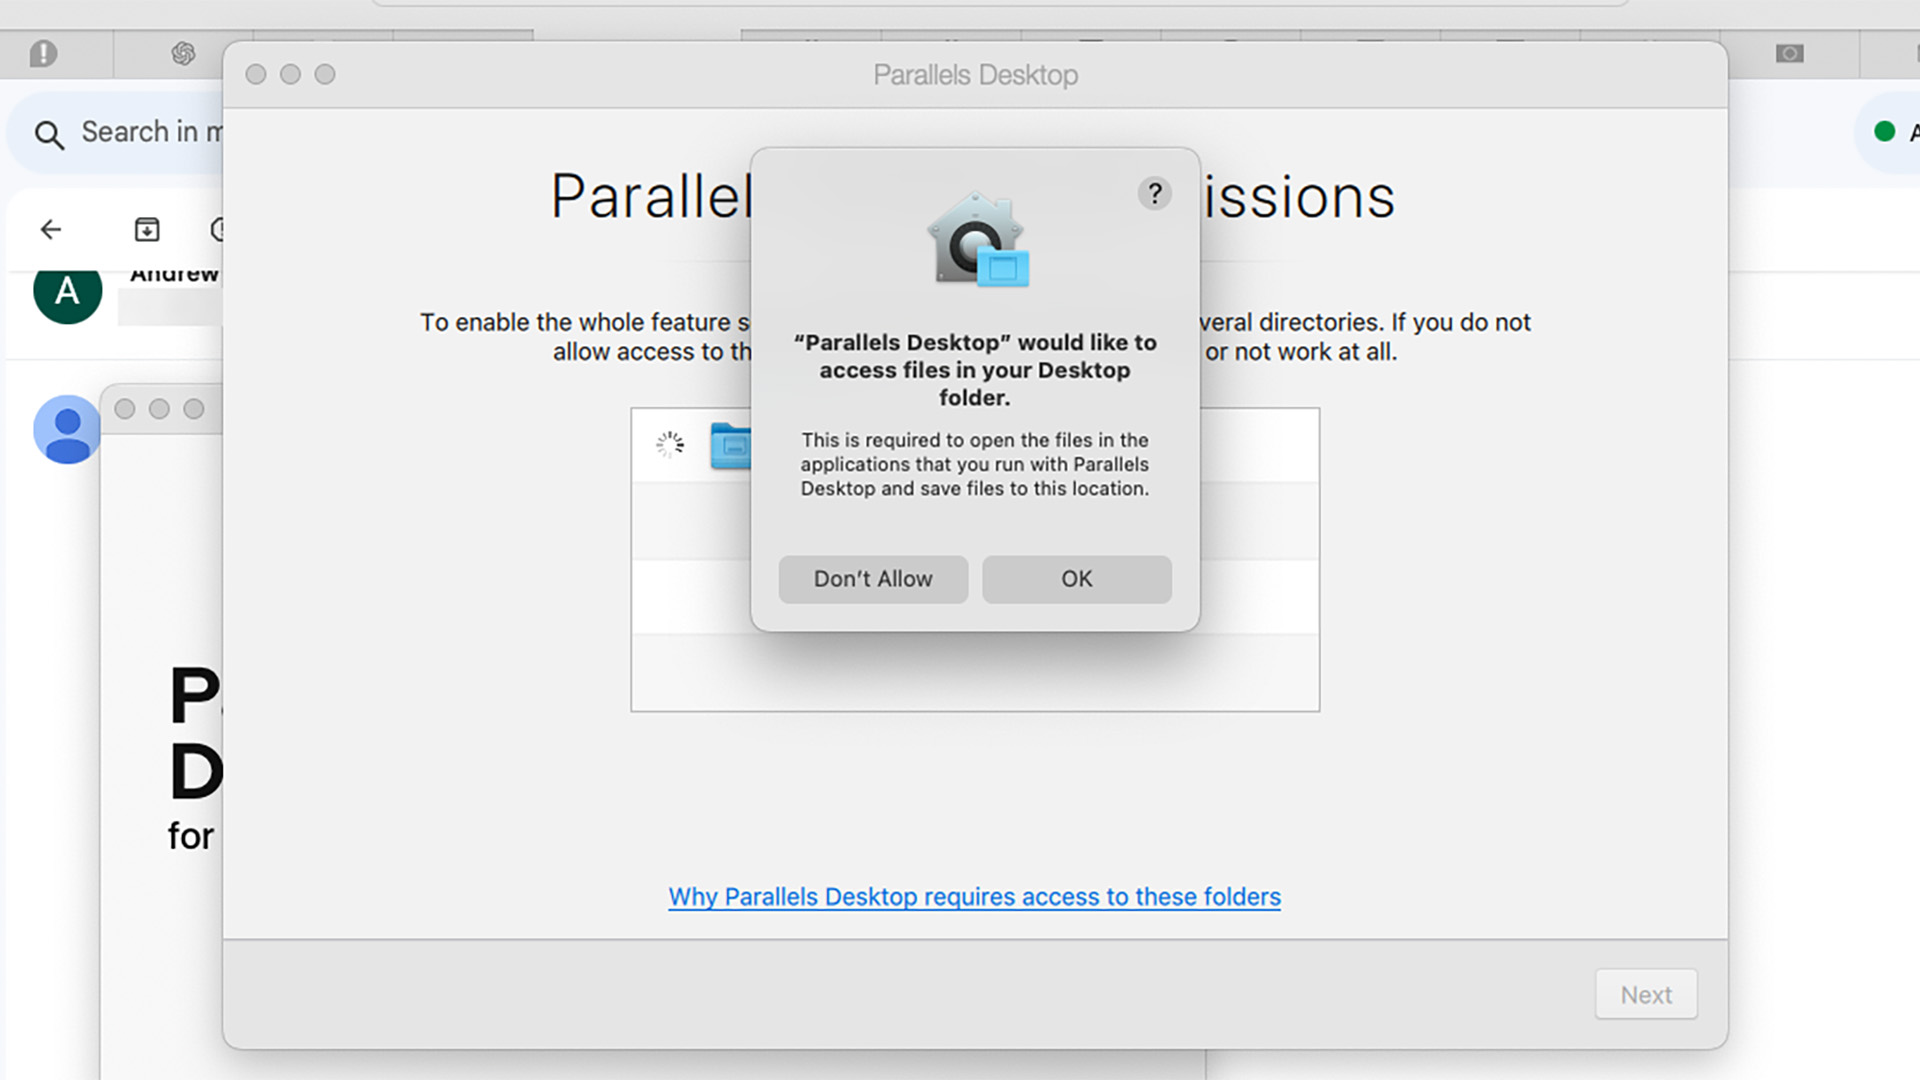
- Wait for the app to download and install Windows 11. It takes a little while
- As part of the actual Windows 11 installation, you’ll have to grant the app access to additional features, including, where available, the camera. Again, approve these requests
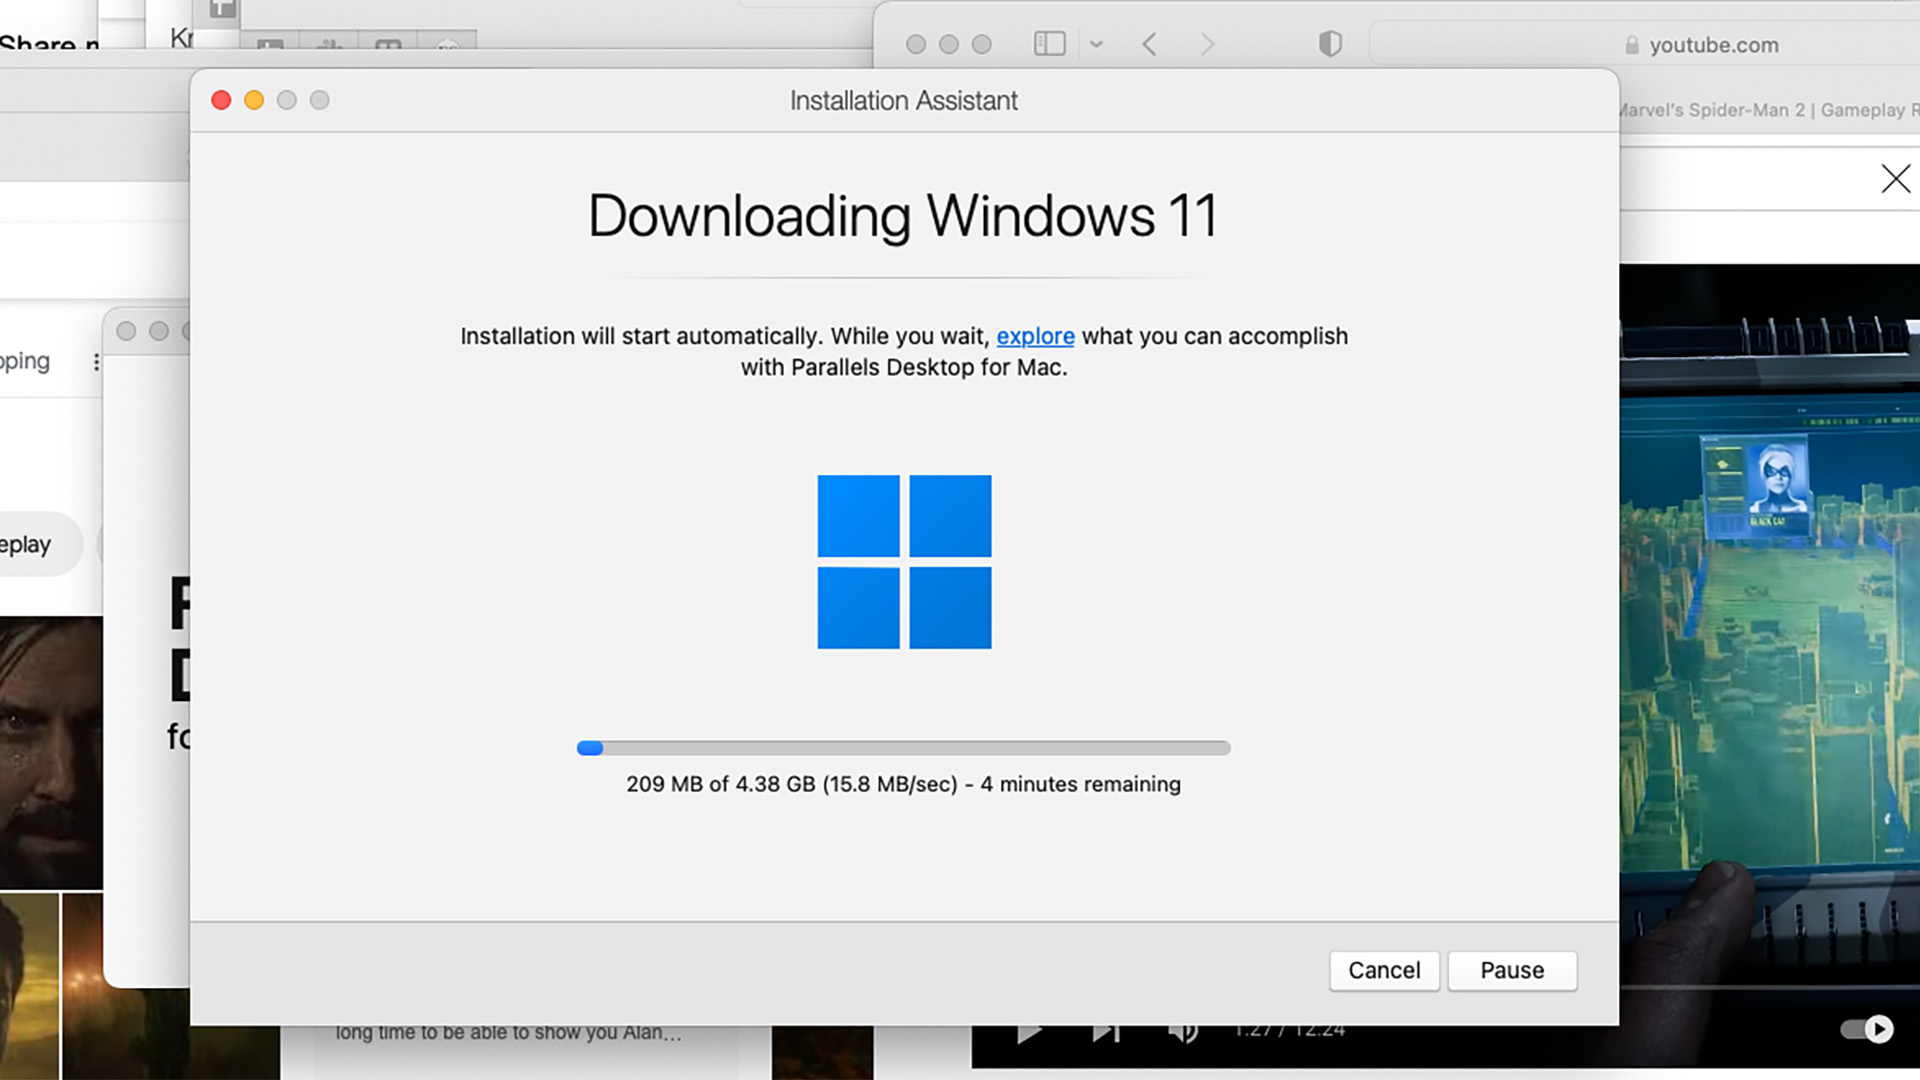
- Once the installation process has finished, Windows 11 will load
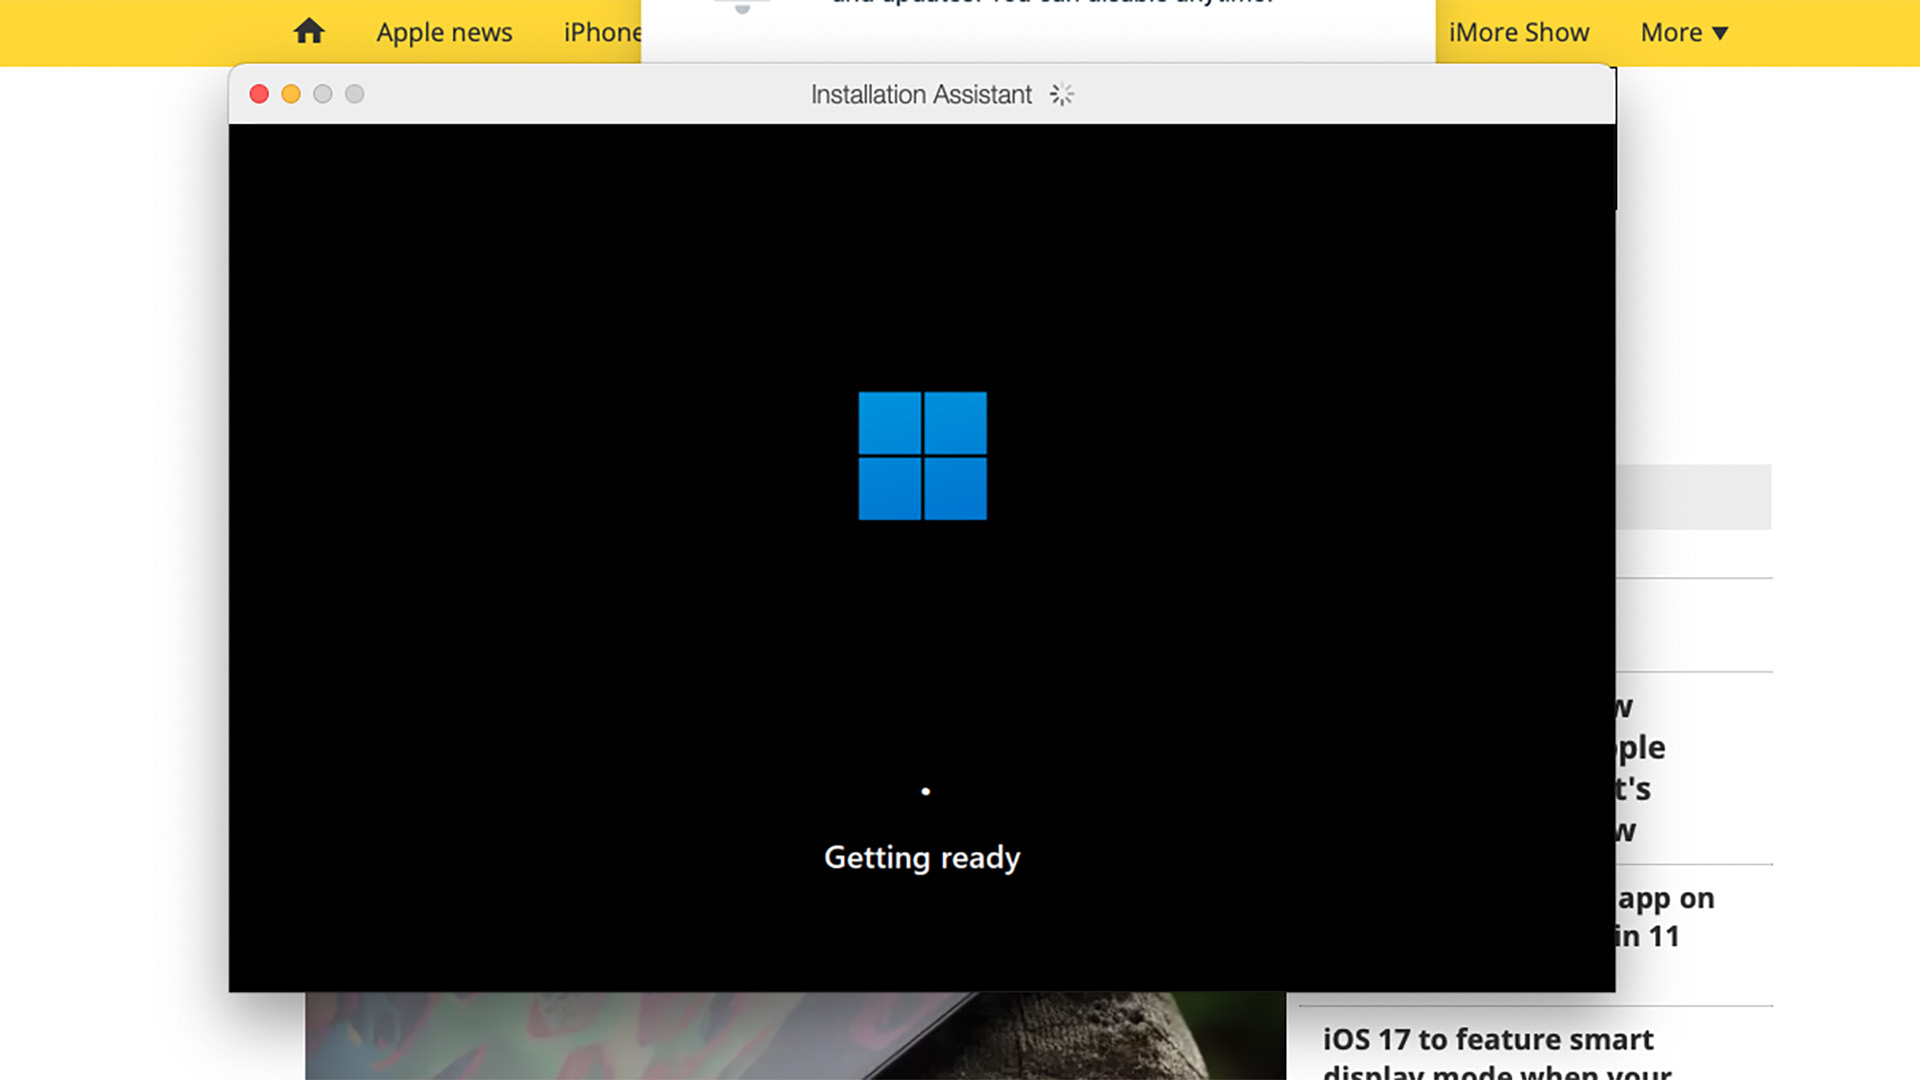
- Parallels will launch a web page to let you input your Windows 11 license. However, this is not actually mandatory. Some personalization features will be locked off with a non-activated version of Windows, though
- To use Parallels beyond the 14-day trial, you will have to buy a Parallels license, though, and redeem it at the My Account section of the website, accessible through the top-right area of the home page
Still, have a Mac with an Intel processor? You can use Apple’s Boot Camp software instead and get something even closer to the classic Windows experience.
iMore offers spot-on advice and guidance from our team of experts, with decades of Apple device experience to lean on. Learn more with iMore!
How much does Parallels cost?
Parallels comes in two flavors at present. You can get standard Parallels Desktop, available for $99.99/£89.99 a year or $129.99/£104.99 as an outright purchase. But you’ll have to pay again if you need a newer version of the software. The Pro edition starts at $119.99/£99.99 a year.
What’s the difference? The important bit is you can give Windows up to 128GB RAM and up to 32 virtual CPUs in the Pro version. Parallels’ standard one is limited to 8GB RAM and 4 CPUs. If you have a standard entry-level MacBook or Mac mini, the basic version will do the trick, but power users will want to go for the Pro subscription. No doubt.
How Parallels works: Drawbacks
Parallels uses a technique called virtualisation, meaning it emulates the environment of a more traditional Windows PC on multiple levels. This results in diminished performance in apps, compared to what you might expect from a Mac running the same software natively.
It can also bring up some compatibility issues rooted in the kind of Windows 11 version Parallels runs rather than Parallels itself. It uses the ARM CPU fork of Windows 11 rather than the x64 one you’d see in a laptop running an AMD Ryzen or Intel Core i-series laptop.
You get far better performance than you likely would if Parallels were to try to directly emulate the x64 version of Windows used by PCs with Intel and AMD processors. Apple’s M1 and M2 processors are actually ARM-based, meaning the Parallels doesn’t have to do as much as you might expect to get Windows running on a MacBook.
Performance and customisation
One of the first things you’ll notice when running Windows on a base spec MacBook is it doesn’t always feel ultra-smooth. We tried a couple of benchmarks that can be run on both macOS and Windows, Geekbench 5 and Browserbench Jetstream 2.0, to see the actual performance disparity.
In Geekbench 5, the MacBook Air with M1 CPU running Windows scores 4673 points, compared to 7131 in plain MacOS. You get 65% of the real performance of the laptop when emulating Windows. In the browser benchmark, the Windows test resulted in a score of 150, and the macOS one hit 227 points. This time the Windows version reached 66% of the macOS result — almost identical.
A less than super-responsive feel in basic navigation is not helped by a lack of RAM either. We were testing with one of the most common specs of 2020 MacBook Air, one with 8GB RAM. And Parallels gives the Windows instance up to just 4GB RAM, a recipe for a compromised experience even if you run Windows natively with 4GB RAM.
You can set this RAM figure manually, but it should only really go above 4GB if your Mac also has more than 8GB of RAM. macOS and Windows run concurrently when using Parallels, meaning they end up competing with each other for system resources. Here’s how to customize how much memory our virtual Windows PC has within Parallels:
- While Parallels is running, shut the virtual PC down as you would a regular Windows PC
- Not sure how? Select the Start menu icon at the bottom of the screen, then the Power icon, and hit Shut Down
- Tap the cog icon at the top-right of the Parallels window
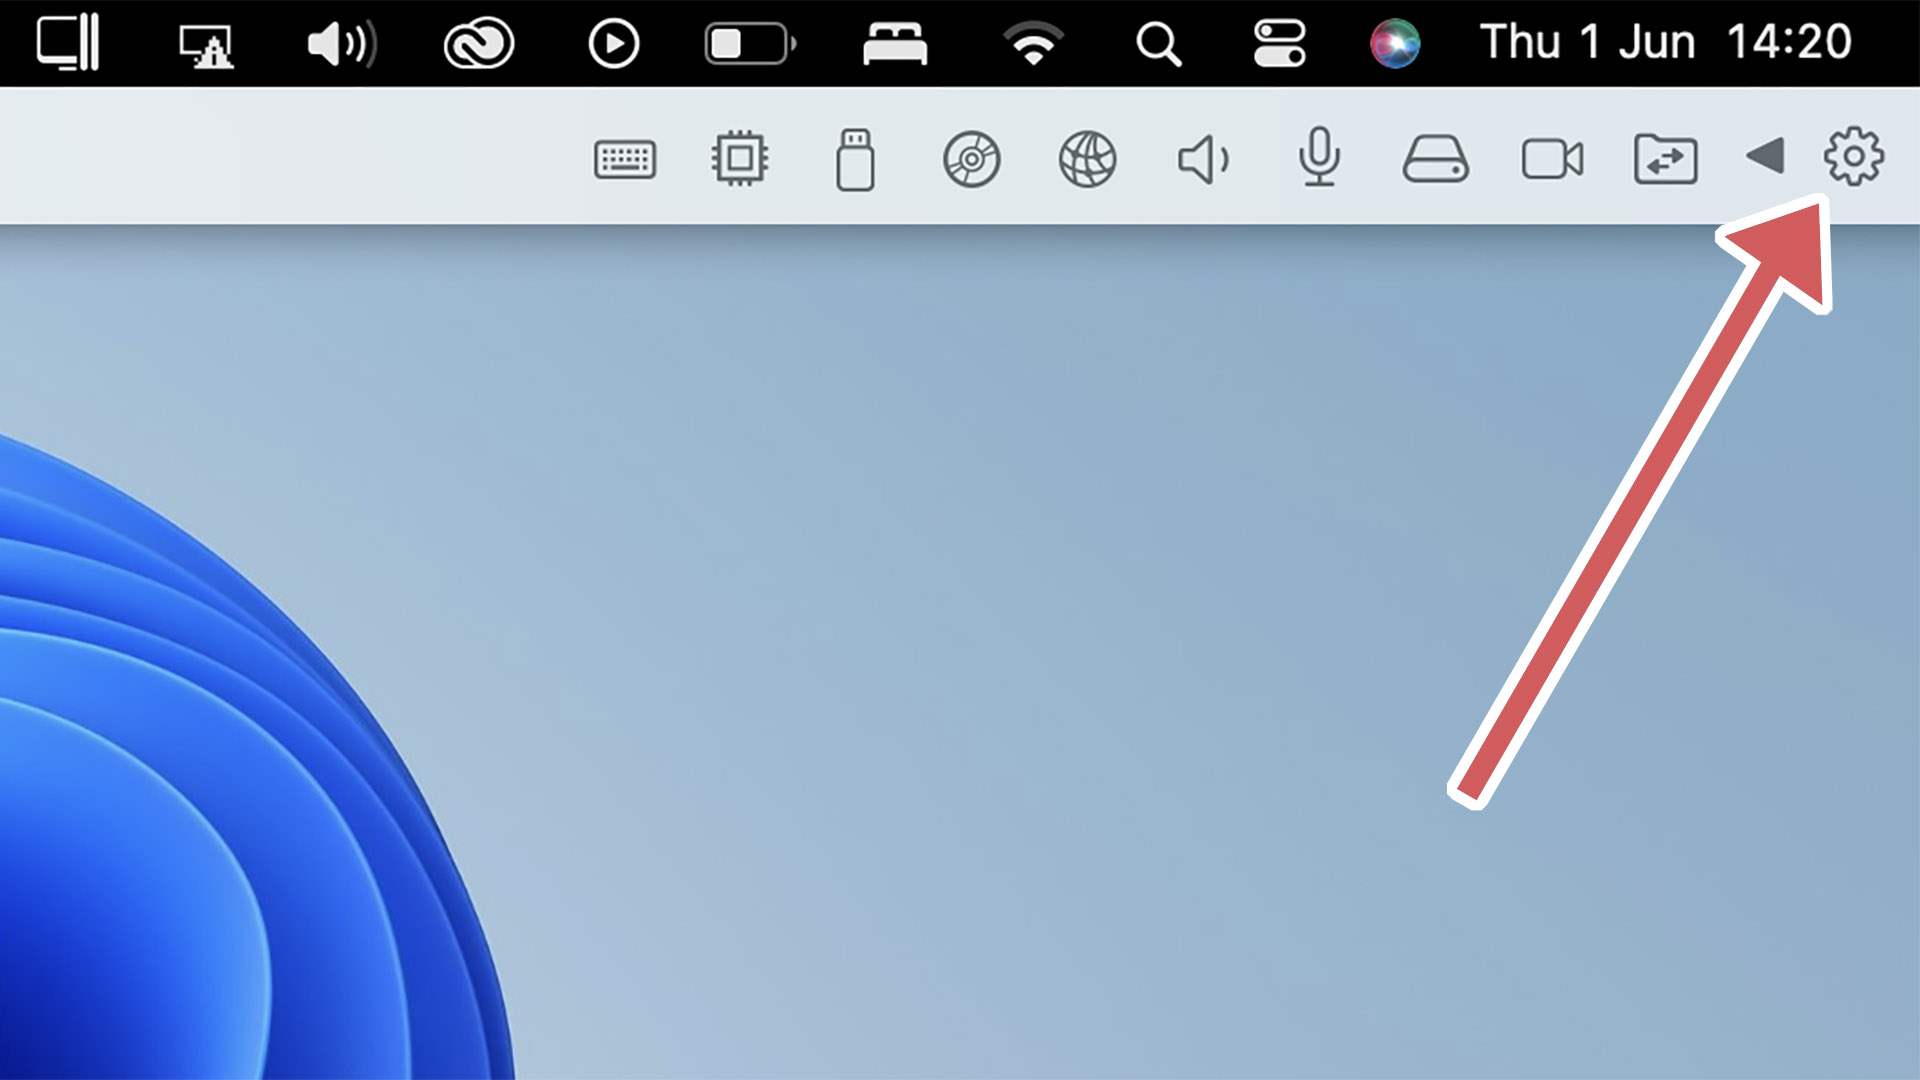
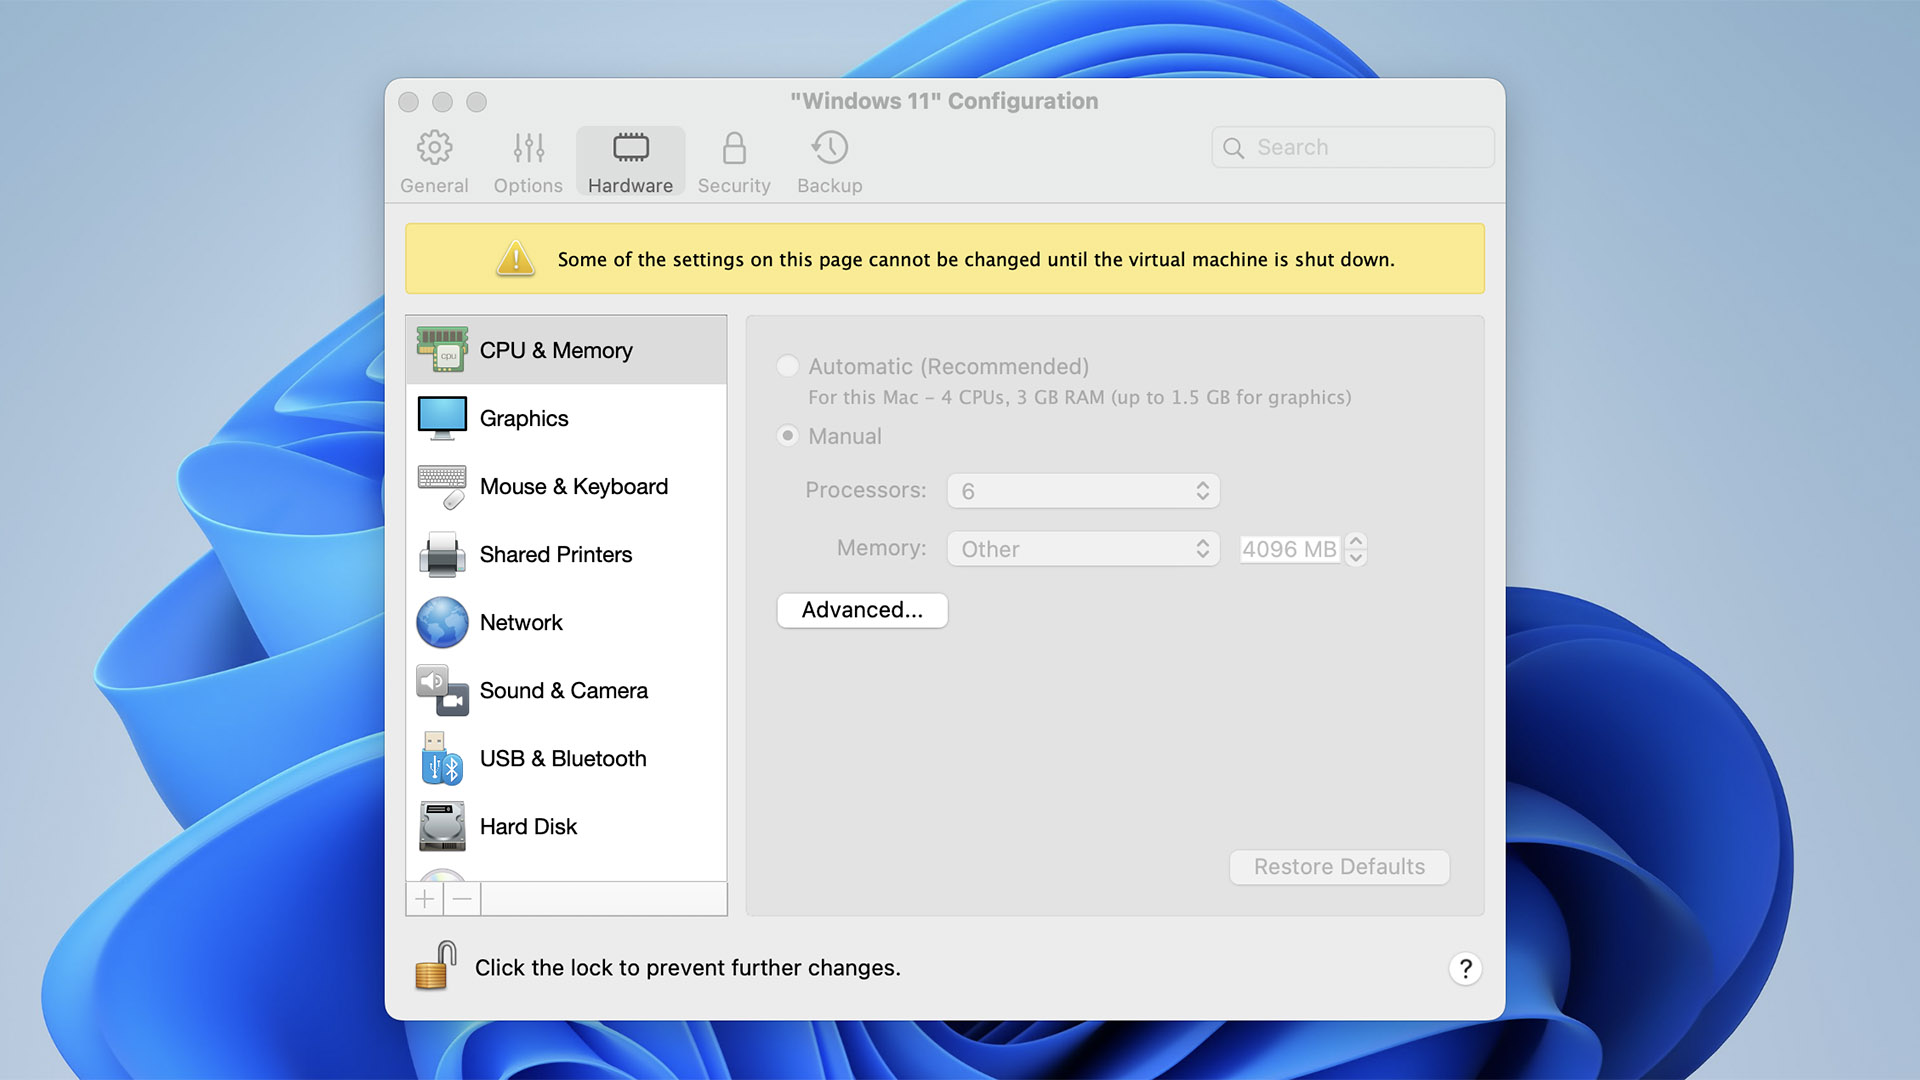
- Select the Hardware pane
- Select CPU and Memory
- In the main window, select the Manual radio button
- The two drop-downs below offer customization of the number of CPU cores and RAM the virtual PC is given access to. If you go overboard, you’ll see a warning
Can you play Steam games using Parallels on Mac?
A lot of folks use Parallels to get Windows-only productivity software running on their Macs. However, the part we were looking forwards to was trying gaming via Steam.
Macs may be powerful, but their game support is not great compared with that of Windows. Steam installs as normal on Parallels. And the handful of games we tried loaded just fine. These were Amid Evil, the original Tomb Raider, A Story About My Uncle, and Project Cars. A random selection from across the years.
All but Tomb Raider had at least minor performance issues. But the less picky among us could play through all apart from Project Cars without wanting to chuck the MacBook out of a Window. Project Cars did not perform well at all.
Intermittent stutter was the recurring issue, which is likely down to a lack of RAM and video RAM. Both of these are limited in our test MacBook because, again, it only has 8GB, and Windows gets access to just half of that.
You’re likely to be able to achieve significantly better results with a 16GB Mac (or higher). However, we can’t help but be impressed by how well the virtualization here otherwise works. The one outright glitch we noticed was mis-displayed text in Tomb Raider’s menus.
Is Parallels worth it?
Parallels is a software marvel, but it is not quite the same as running Windows natively with the same hardware. We’re impressed by the general level of compatibility, the ease of the installation, and how it doesn’t fundamentally impact your macOS install at all.
However, if, like us, you are left using a fairly humble MacBook or Mac mini, you can’t help but notice the performance compromise. This hinges on the amount of RAM the virtual PC has when your Mac only has 8GB of the stuff to start off with. Your virtual Windows installation only gets to play with half of that amount as standard, and — as ever — running Windows with just 4GB RAM is less than ideal.
Have more RAM on tap? You will have a better time, making Parallels suitable for more hardcore use cases. We can't wait to see what Parallels 19 brings to macOS Sonoma when the latest macOS releases later this year.

Andrew is a freelance contributor who has written about tech and entertainment since 2008, and covered the rise of the iPhone first-hand. Today he writes about audio, fitness tech, computing and TV/film, as well as mobile tech. Publications in his back catalogue include WIRED, Ars Technica, TechRadar, T3, Stuff, What HiFi and Forbes, among others.
