How to make cards with Cricut Joy
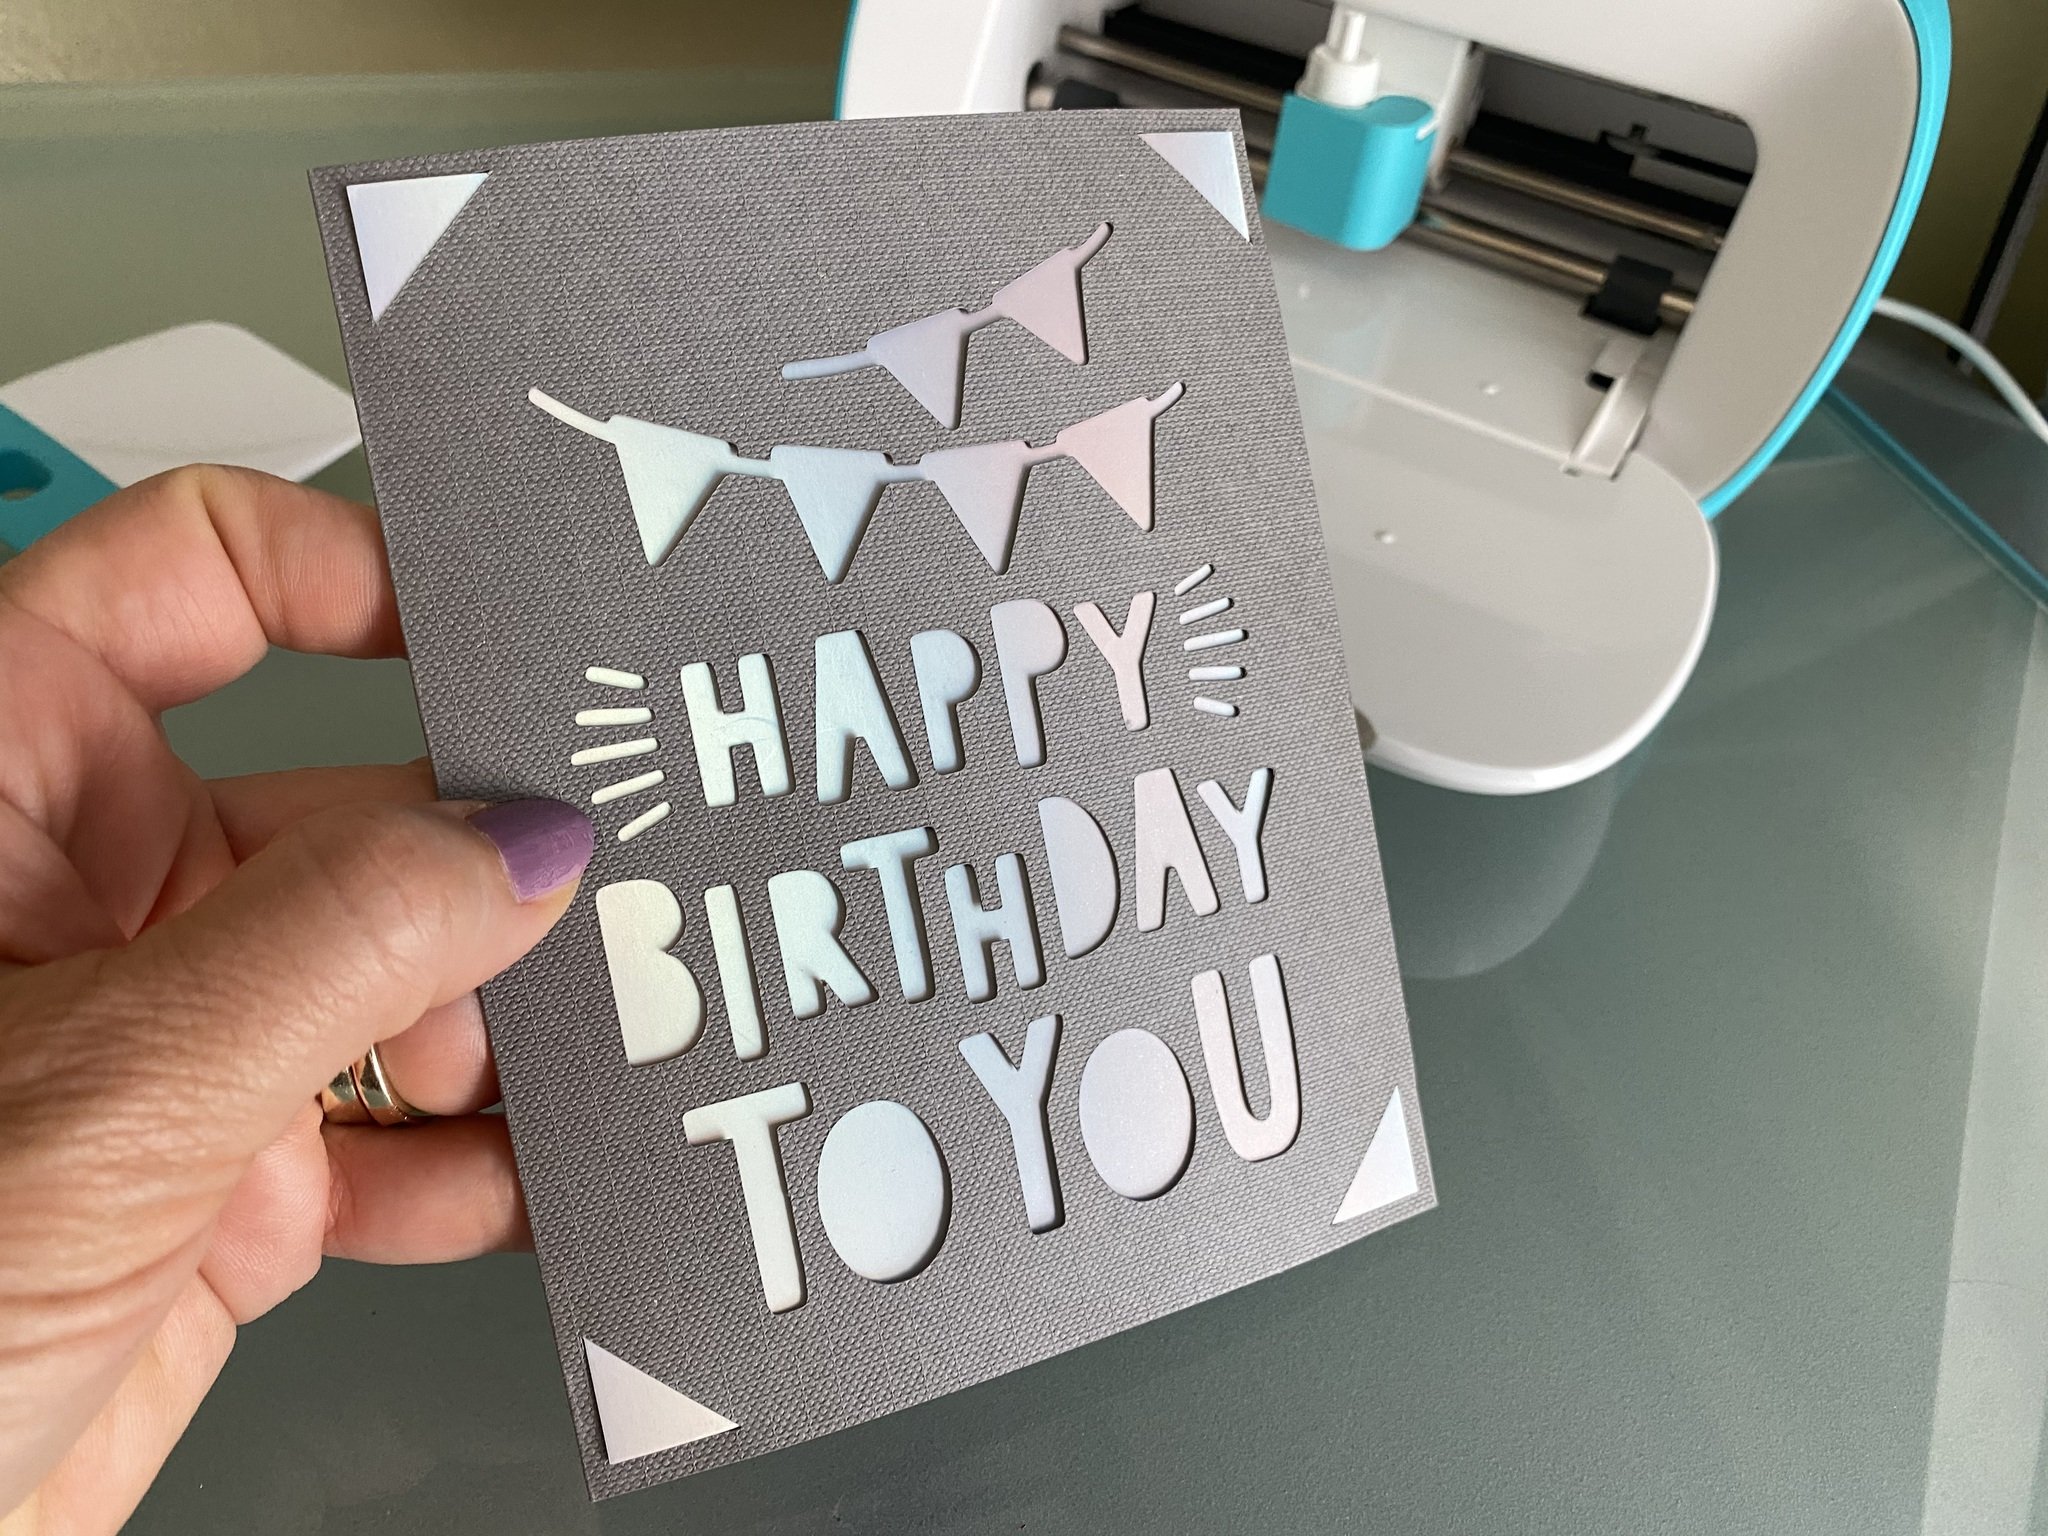
The Cricut Joy is a delightful little machine that makes creating greeting cards easy and fun. It's so much better than just picking one out at the store and handing it over. There's that little personal touch, and you can make them however you want! Plus, greeting cards from the card store are quite expensive. However, if you already own a Cricut Joy, you can make your own for a lot less. In this guide, you'll learn how to make your cards in just minutes with the Cricut Joy machine and a few supplies.
Products used in this guide
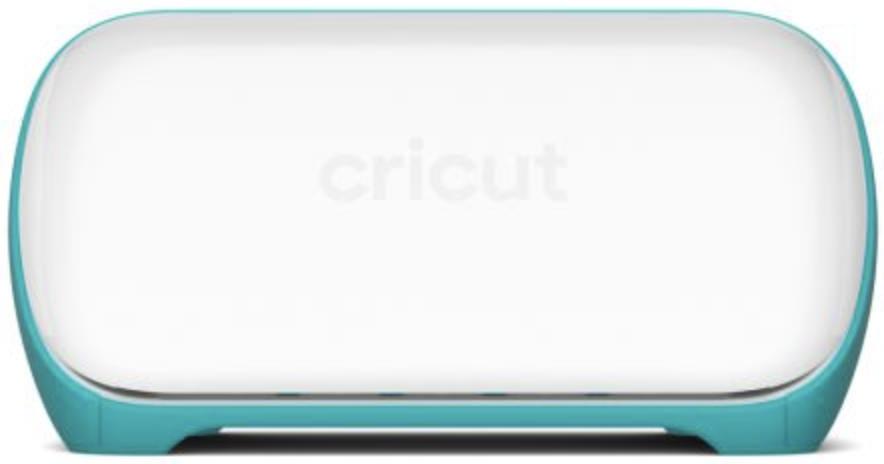
- The crafting machine: Cricut Joy ($178 at Amazon)
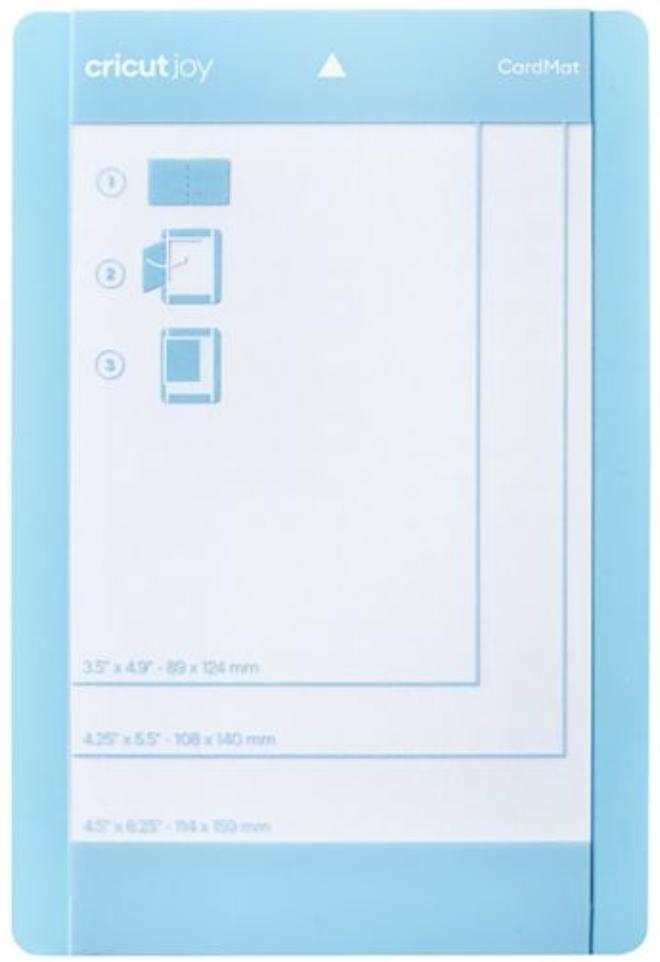
- Vital accessory: Cricut Joy Card Mat ($5 at Amazon)
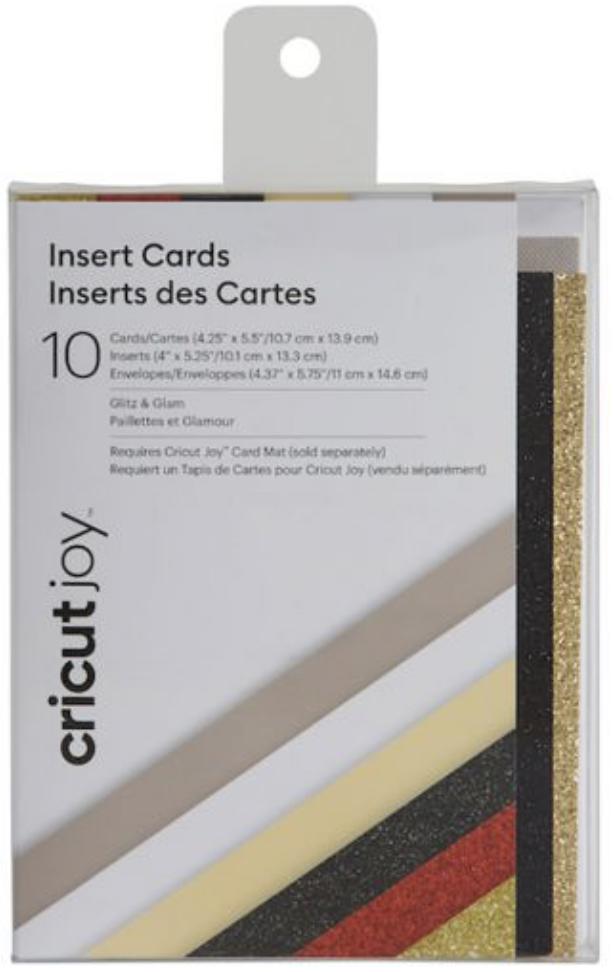
- Blank cards: Cricut Joy Insert Cards ($7 at Amazon)
- Extra pens (optional): Cricut Joy Pens ($9 at Amazon)
How to make a perfect greeting card every time
While there are many different card styles you can create with a Cricut machine, the Insert Card style is the simplest. You'll need a Cricut Joy Card Mat and a set of blank Cricut Joy Insert Cards, and you're good to go. Once you've used the blank Insert Cards, you could even cut your own from cardstock to save even more money.
- Download Cricut Design Space on your computer or smartphone.
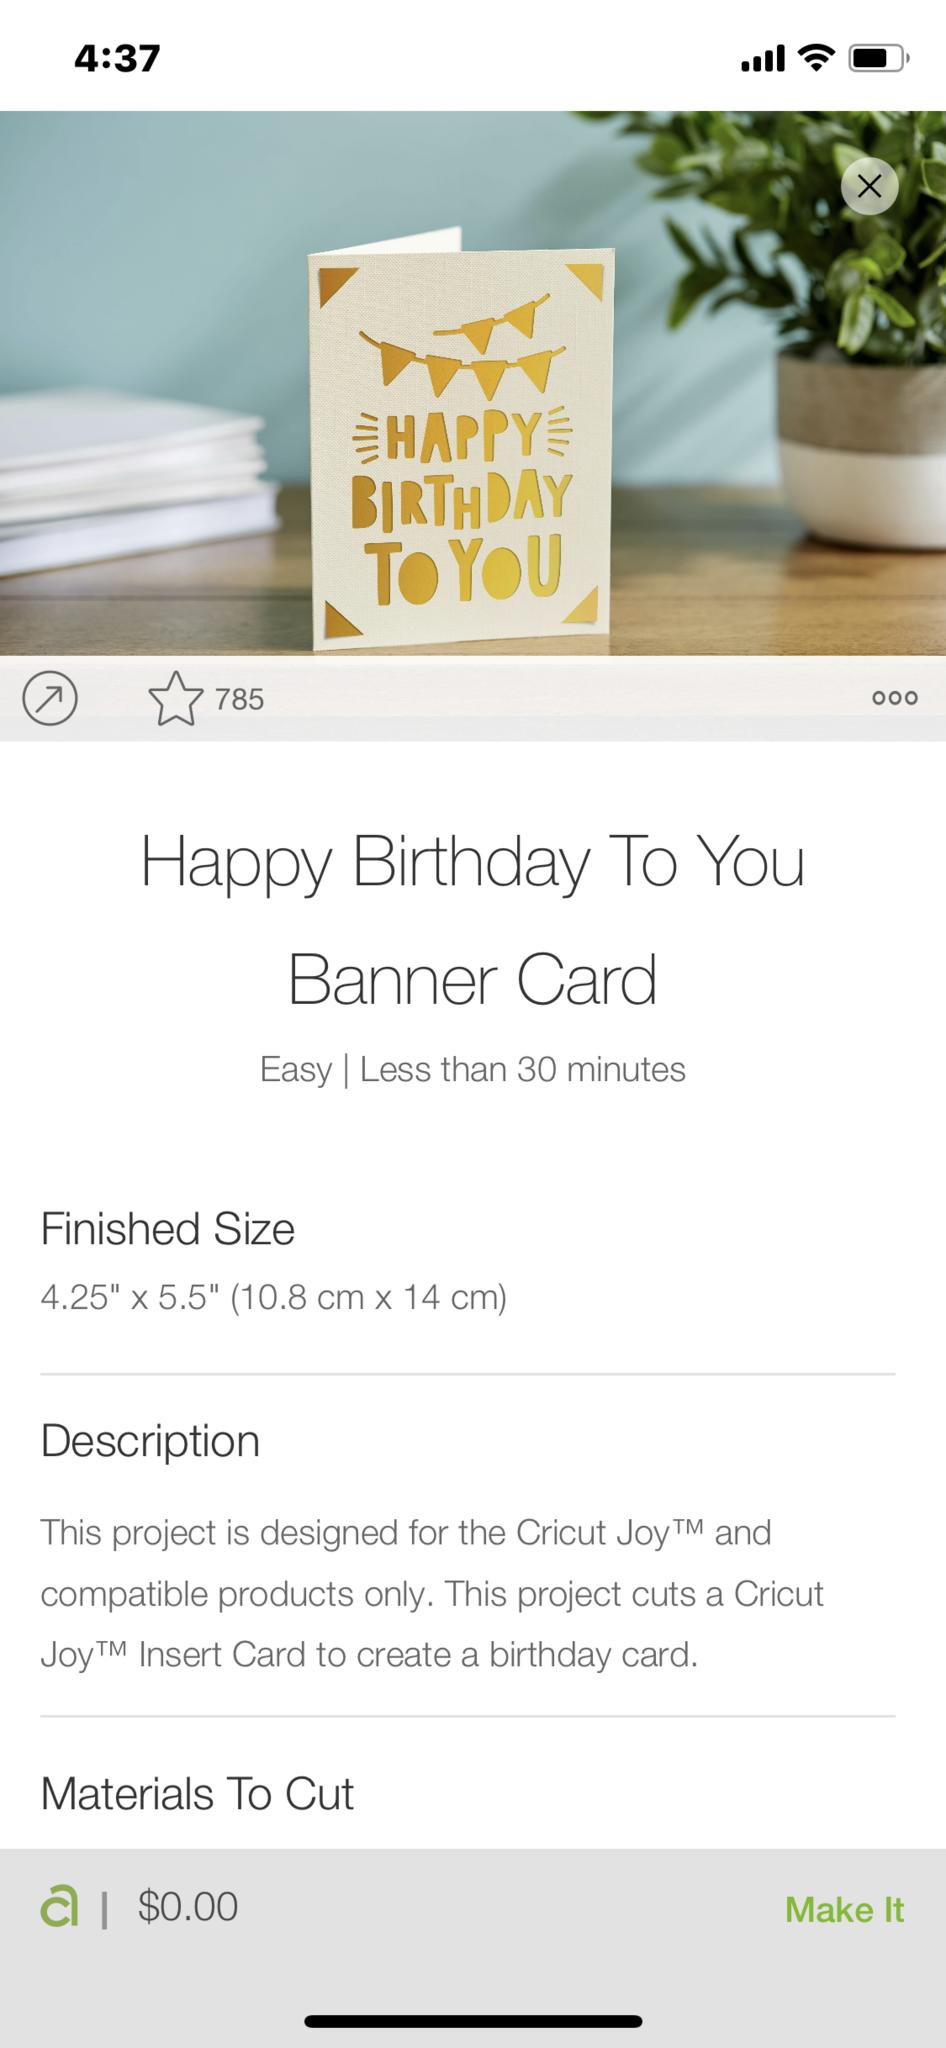
- Search "Insert Card" in Design Space.
- Choose the card design you wish to make.
- Select "Make it."Source: iMore
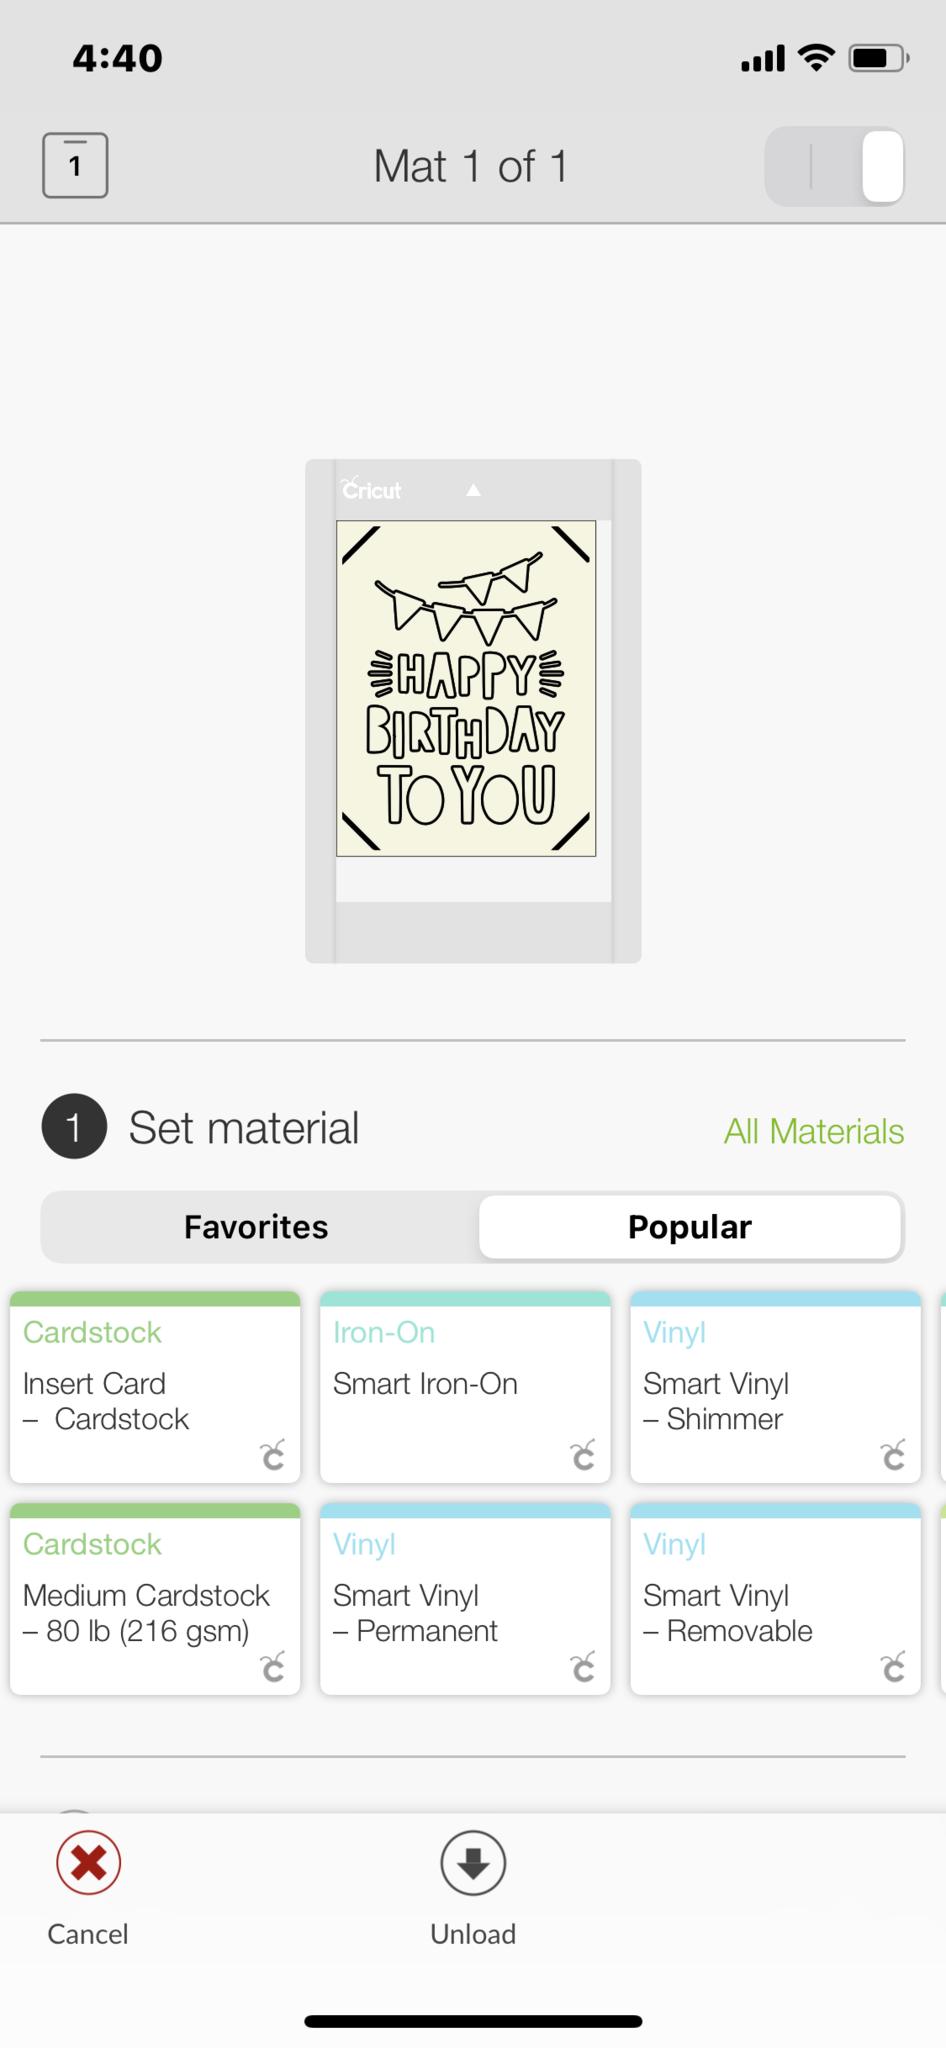
- Choose "On Card Mat" and then "Continue."
- Select "Browse All Materials" and then "Insert Card - Cardstock."
- Remove the protective cover from your Card Mat.
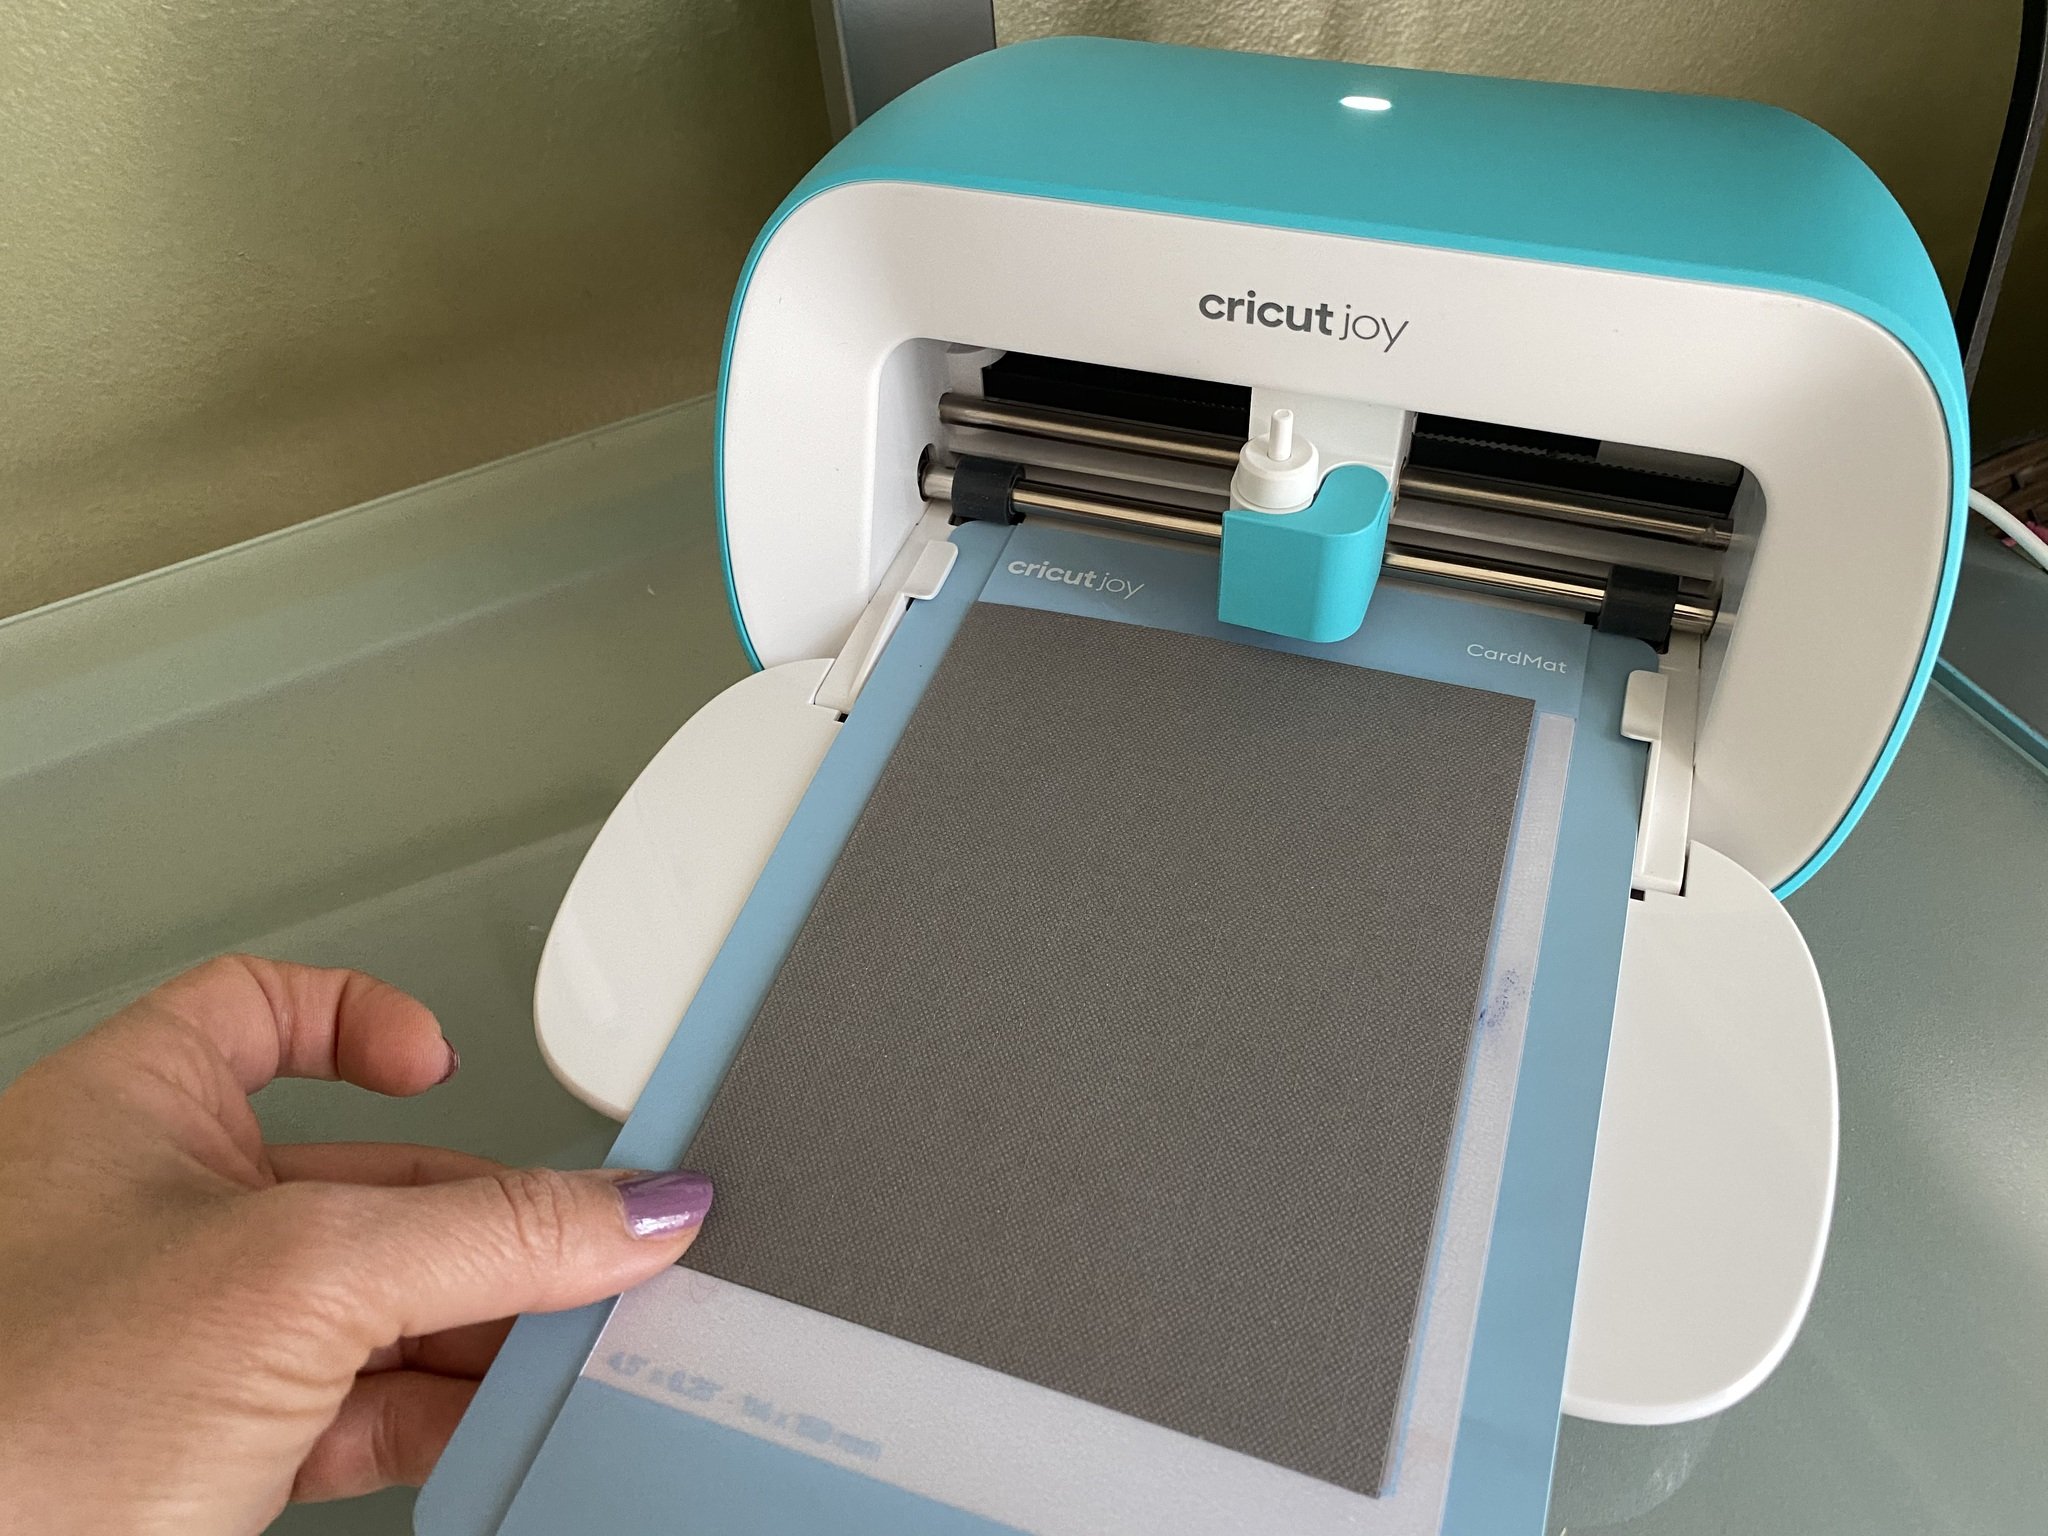
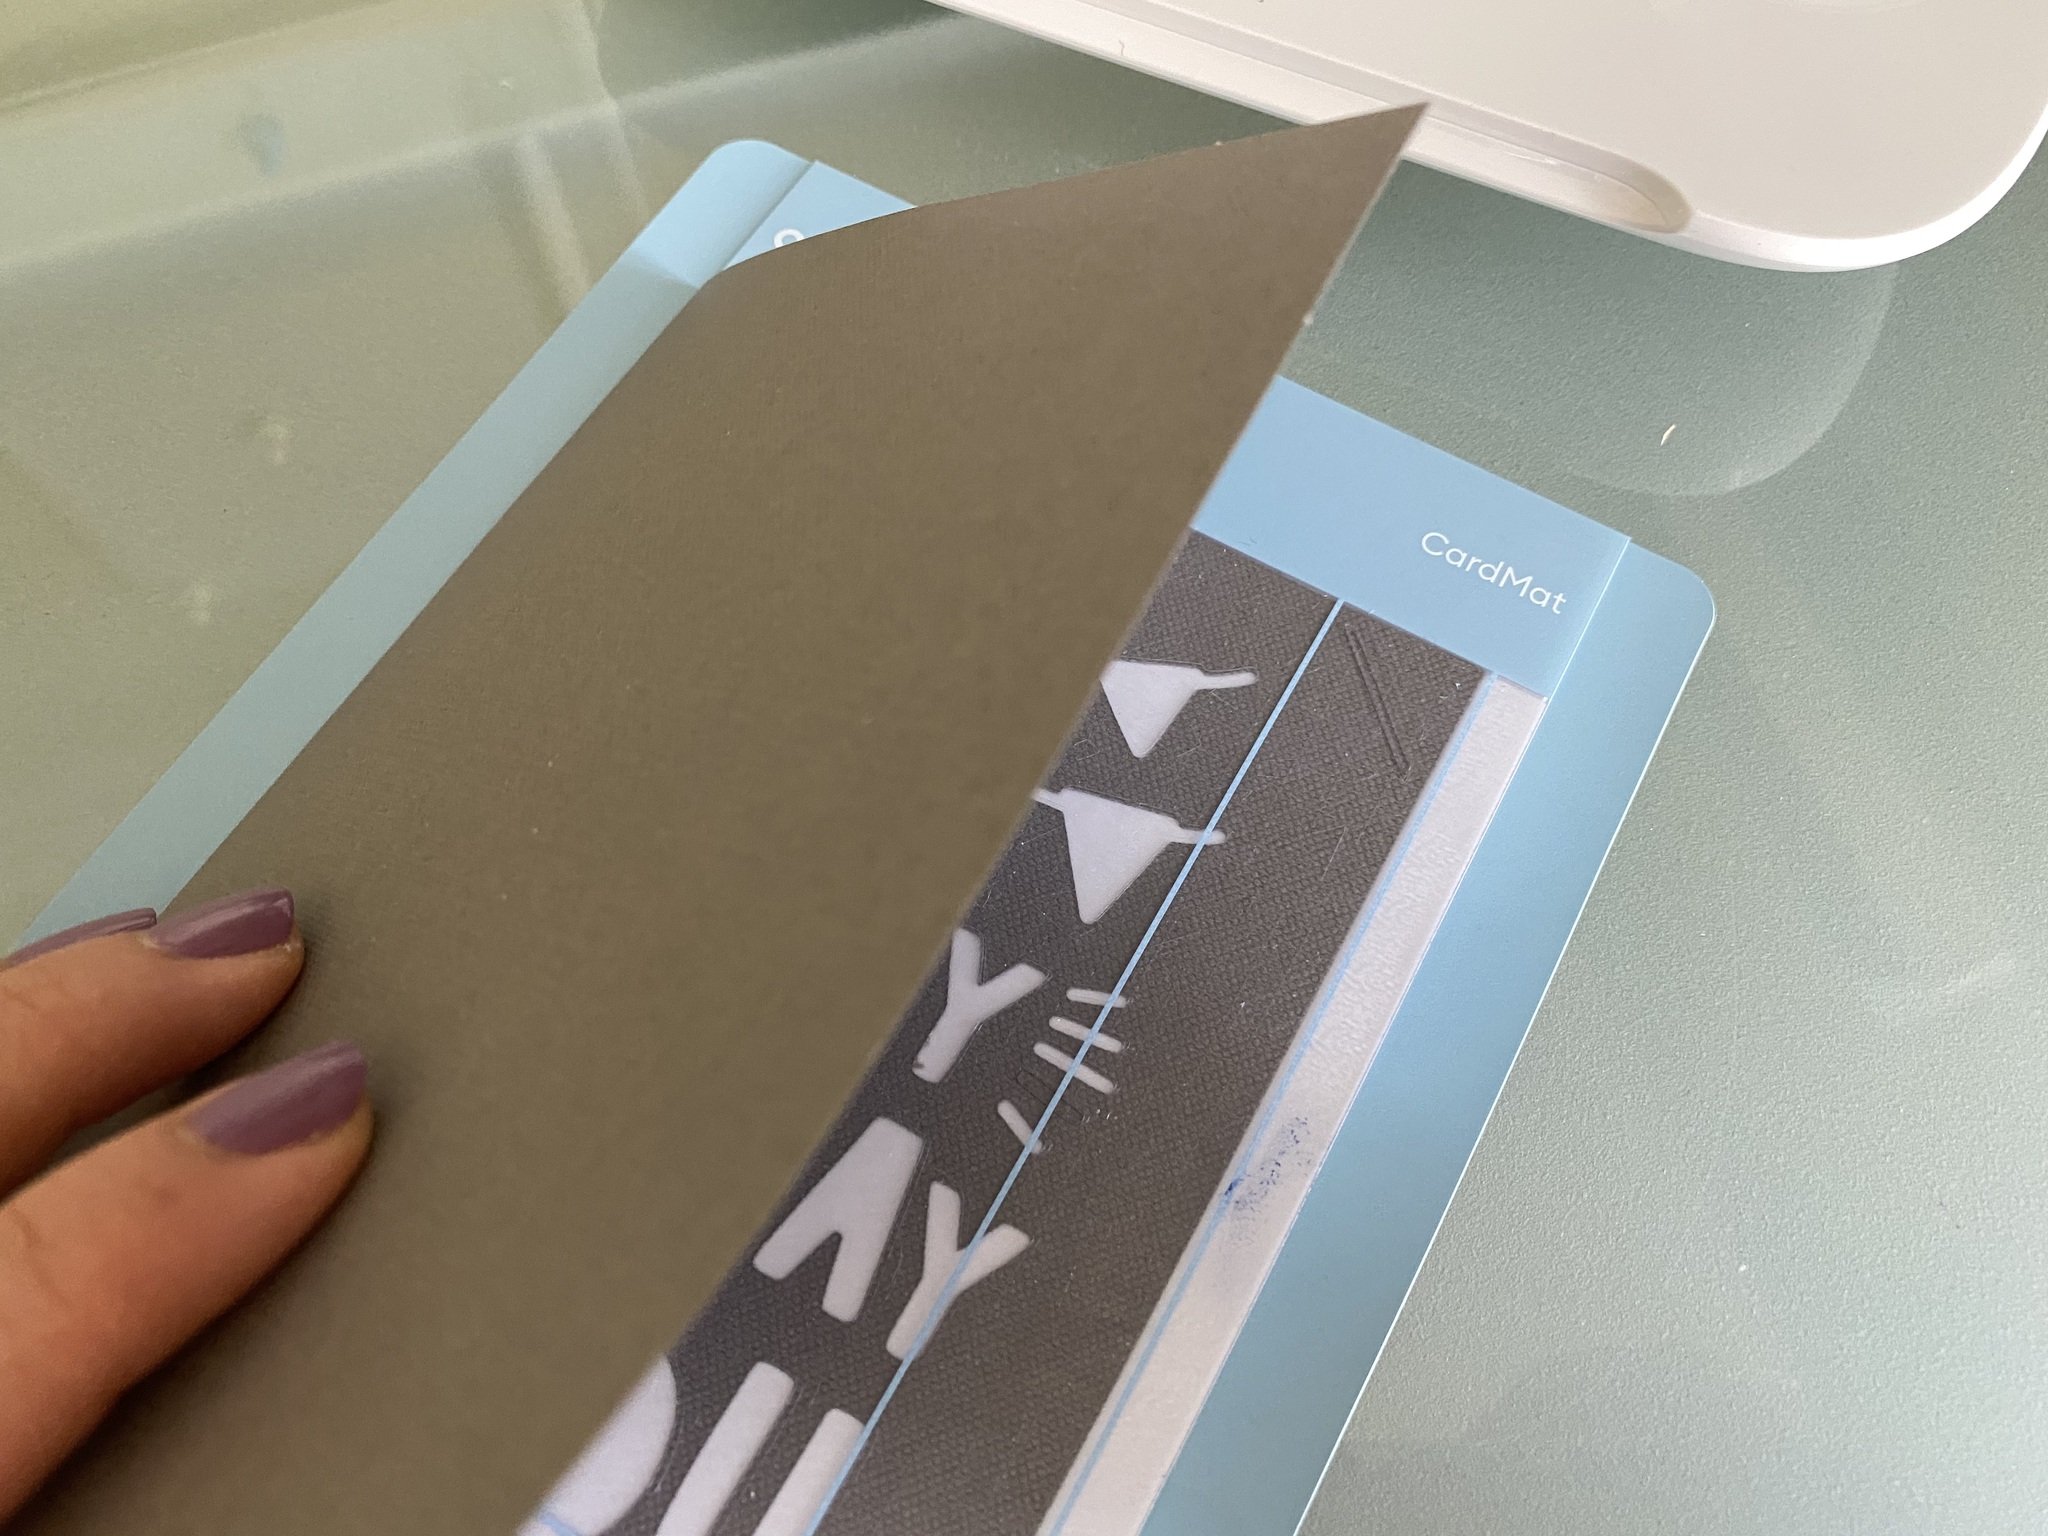
- Open a blank card and slide it into the Card Mat, under the plastic divider, from the left. Be sure it is in straight, as far in as it can go, and aligned with the top left corner of the mat.
- Press down on the front of the card to ensure that it's completely stuck to the mat.
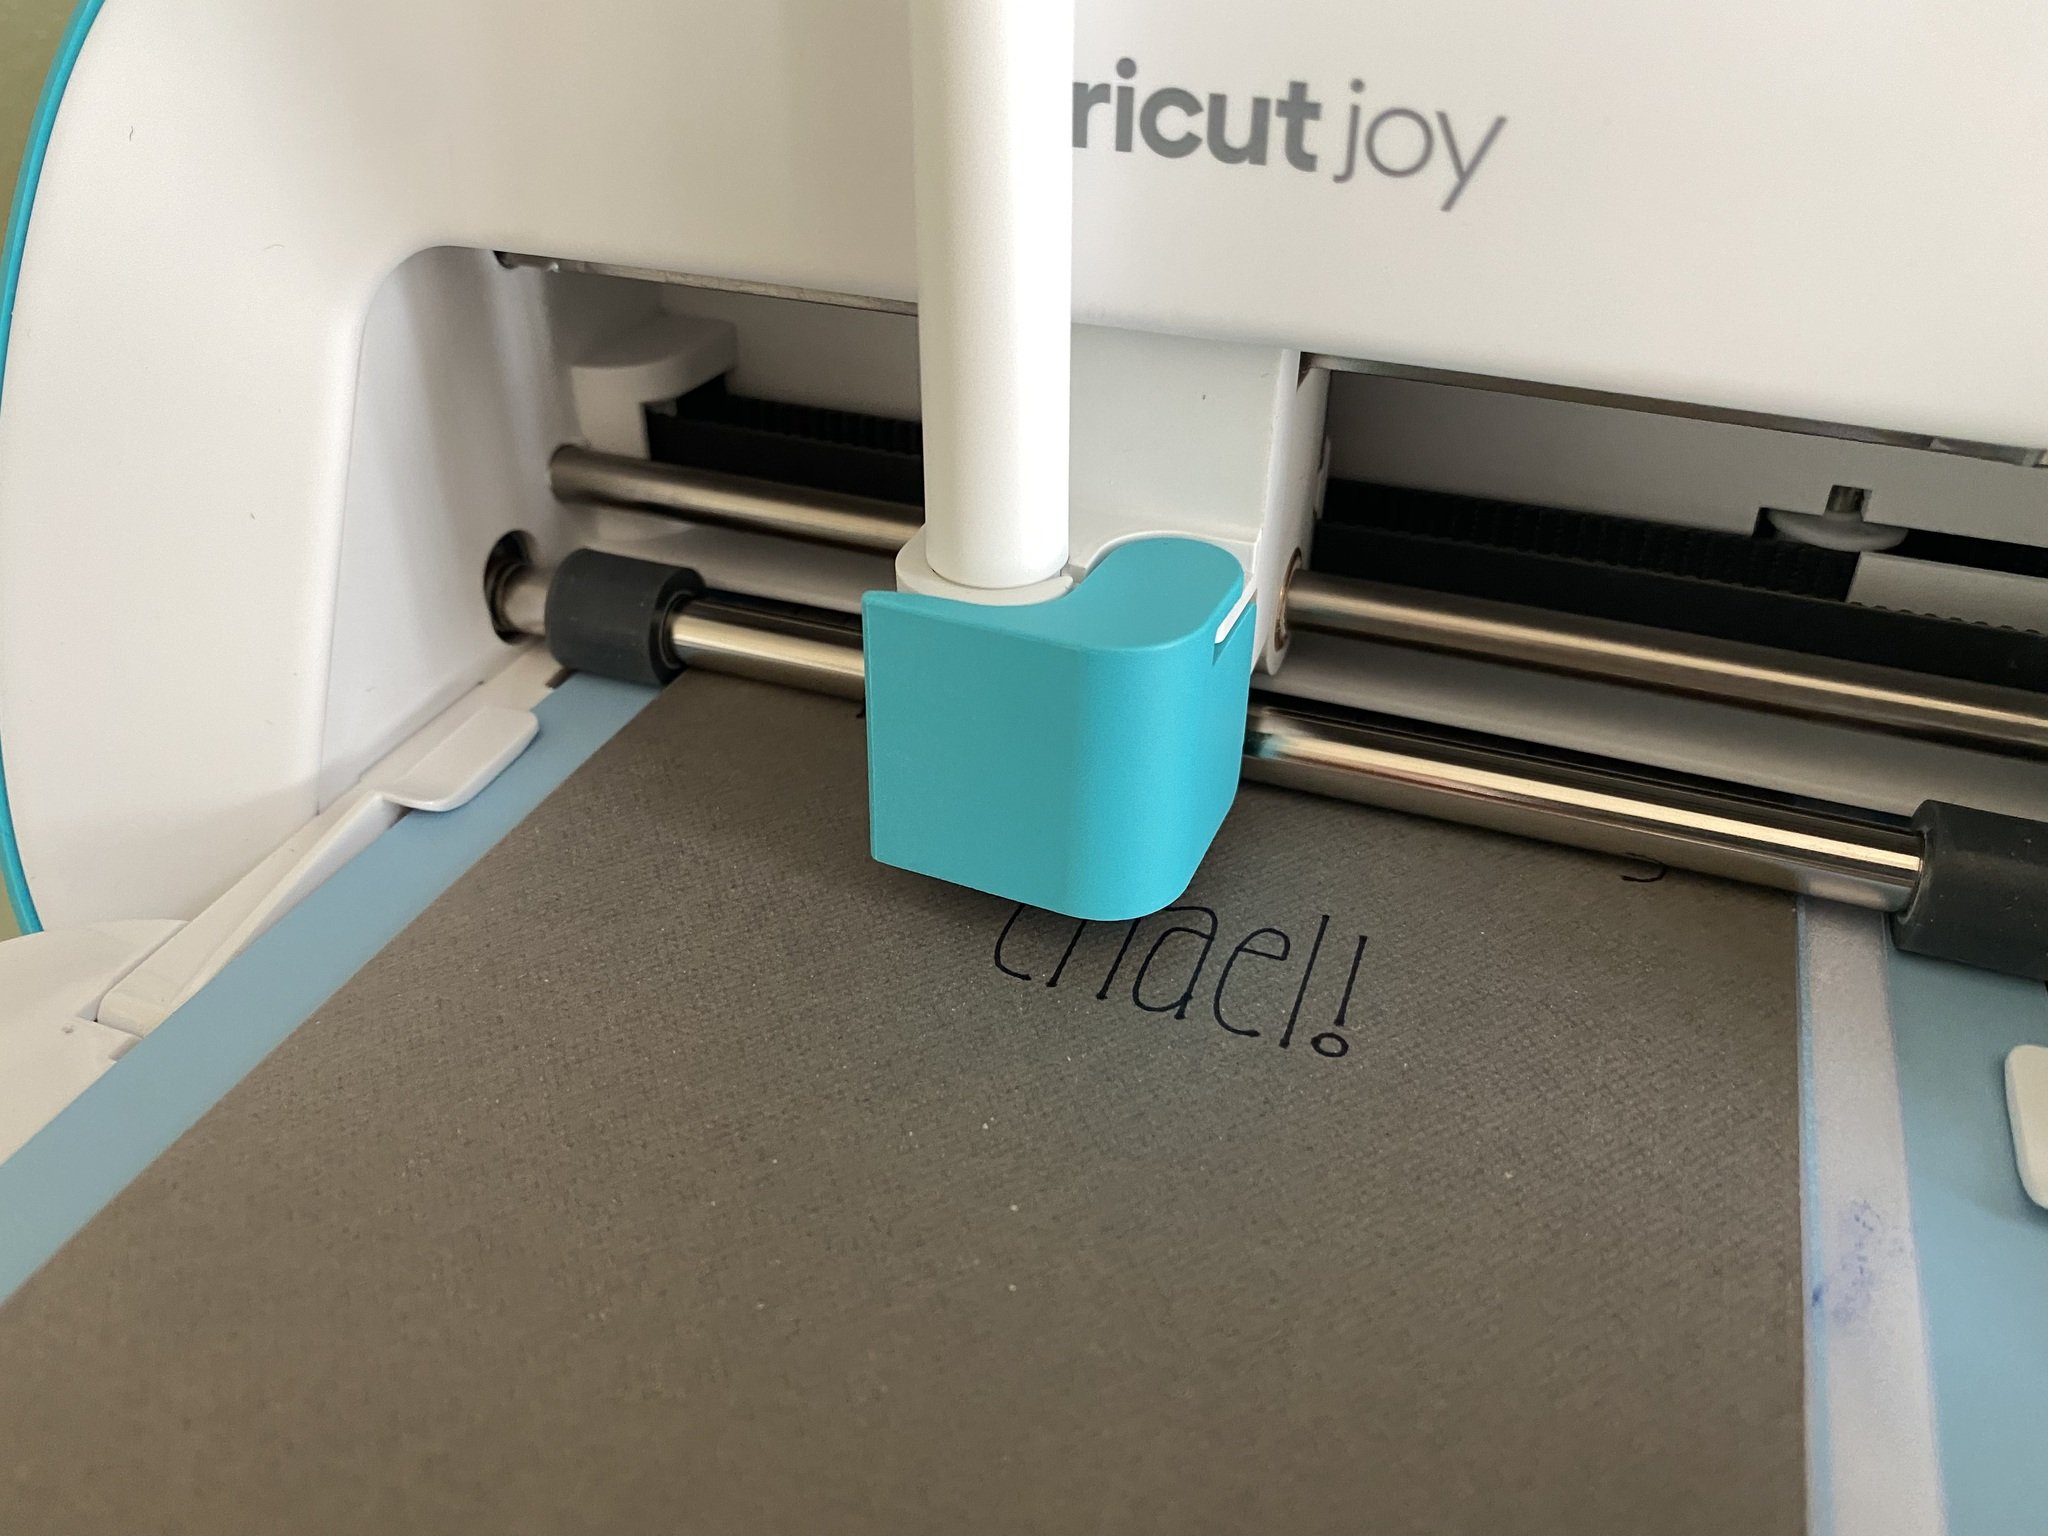
- Insert the top of the Card Mat into the Cricut Joy when directed by Design Space.
- When the cut is complete, carefully peel your card away from the mat.
- Tuck the card insert into the card, using the cut corners to hold it in place.
You can stop here; your card is complete as is, and you can handwrite your sentiment inside. If you want to add more, you can continue and have the machine write inside the card.
How to add a personal message
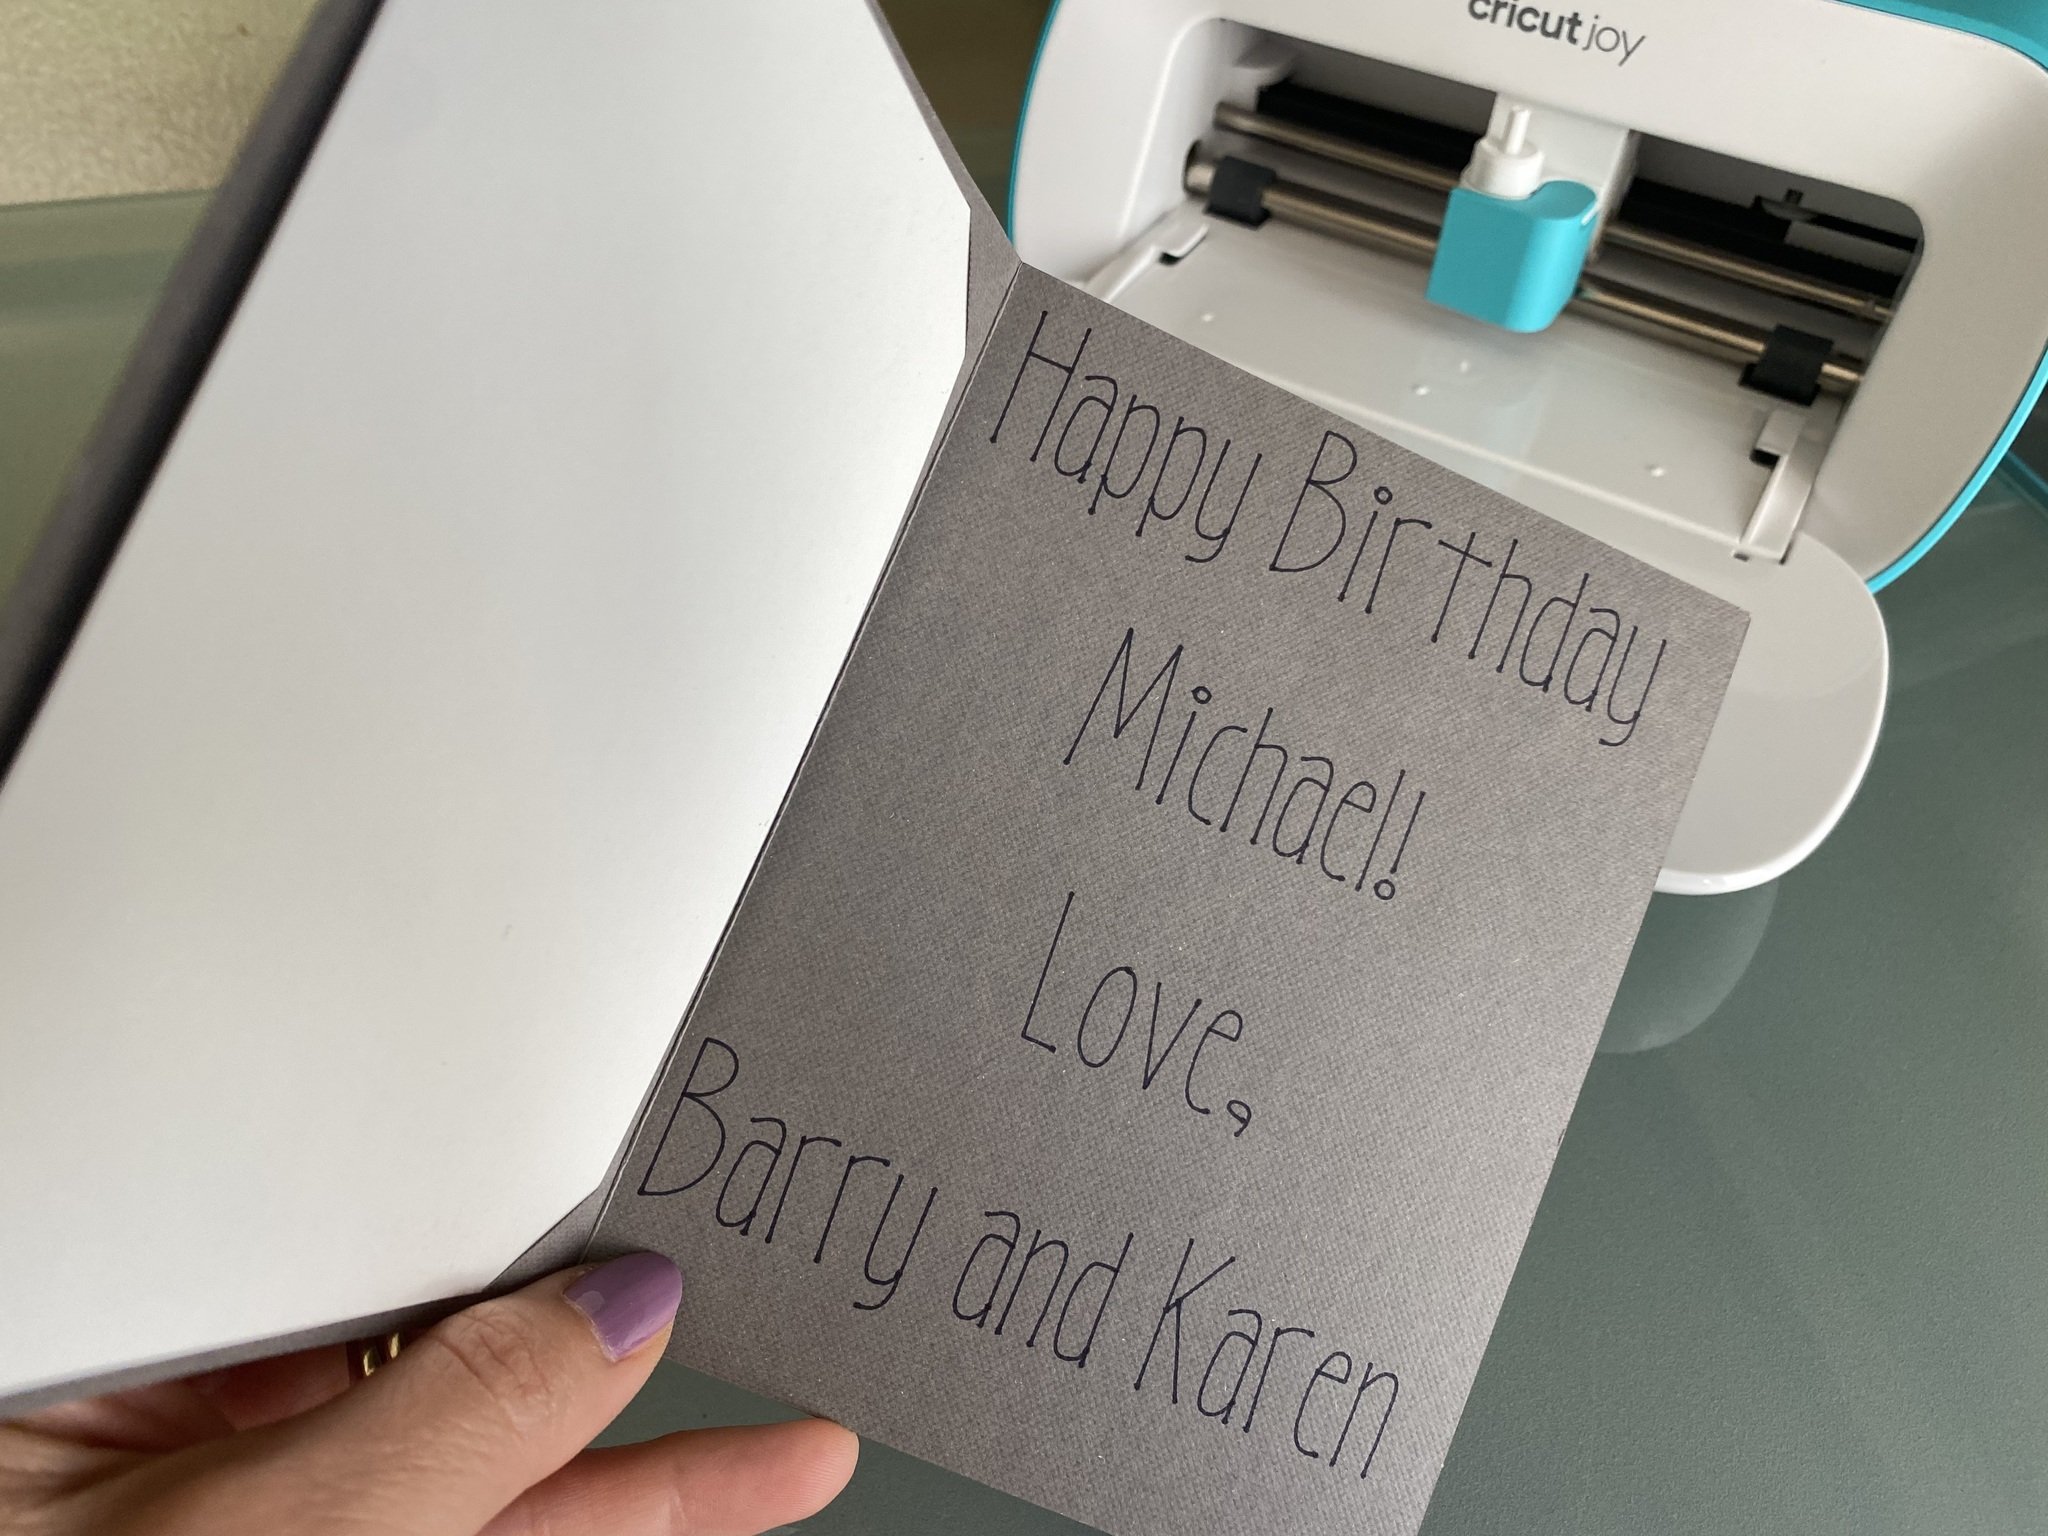
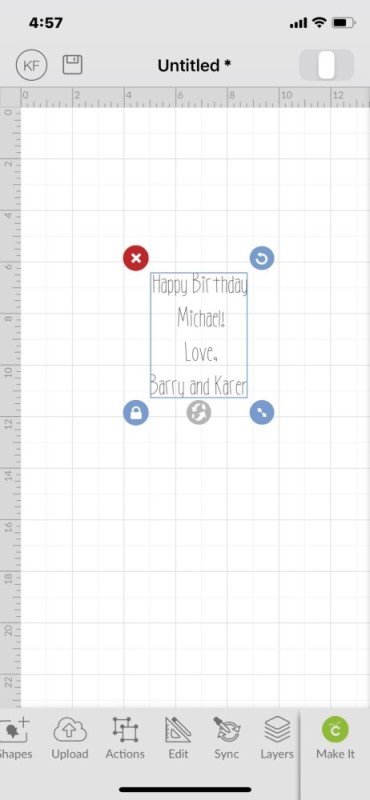
- To add a personal message, Select "New Project" in Design Space.
- Select "Text."
- Choose your font.
- Type your message, aligning it as you like.
- Size the box to make sure it's smaller than the card.
- Fold your card inside out, so the inside of the card is facing out.
- Remove the blade from the Cricut Joy and replace it with a Cricut Joy pen.
- Repeat steps 8-11 above.
Now you have a gorgeous, thoughtful, homemade card to give for any occasion. Once you get the hang of making cards, you'll find it faster and easier than going to a card store. You can use one of the many designs Cricut offers, or you can create your own designs.
Our top equipment picks
Here are the must-have items for making cards. Of course, you need the Cricut Joy. The Cricut Joy Card Mat is also essential for making this kind of card. Finally, you'll want to start with a set of pre-made black Cricut Joy Insert Cards, though once you get the idea, you might wish to create your own card blanks from cardstock.
Once you've invested in the Cricut Joy machine, the additional materials you need are relatively inexpensive. You'll be making cards for far less than what you'd pay in a card store.
Additional Pens
If your handwriting is less-than-ideal like mine, and you wish to write inside your card with the Cricut Joy, you'll need a Cricut Joy Pen. One black pen comes with your Cricut Joy. But, in case you want to buy more, there are other color options.
iMore offers spot-on advice and guidance from our team of experts, with decades of Apple device experience to lean on. Learn more with iMore!

Karen is a contributor to iMore.com as a writer and co-host of the iMore Show. She’s been writing about Apple since 2010 with a year-long break to work at an Apple Store as a product specialist. She's also a contributor at TechRadar and Tom's Guide. Before joining iMore in 2018, Karen wrote for Macworld, CNET, AppAdvice, and WatchAware. She’s an early adopter who used to wait in long lines on release days before pre-ordering made things much easier. Karen is also a part-time teacher and occasional movie extra. She loves to spend time with her family, travel the world, and is always looking for portable tech and accessories so she can work from anywhere.
