How to make Cricut Joy vinyl decals
iMore offers spot-on advice and guidance from our team of experts, with decades of Apple device experience to lean on. Learn more with iMore!
You are now subscribed
Your newsletter sign-up was successful
Learn how to make Cricut Joy vinyl decals from creating it in Cricut's software, Design Space, to the final application to your blank of choice. You can put decals on just about anything, from drinkware and kitchenware to office supplies and storage products.
Products used in this guide
- Easiest Cricut machine: Cricut Joy ($179 at Amazon)
- Cricut software: Cricut Design Space (Free at Cricut)
- Decal material: Cricut Joy Smart Vinyl - Removable (From $8 at Amazon)
- Tools for the job: Cricut Starter Tool Set ($14 at Amazon)
- Sticky assistant: Cricut Joy Transfer Tape (From $4 at Amazon)
How to make your decal
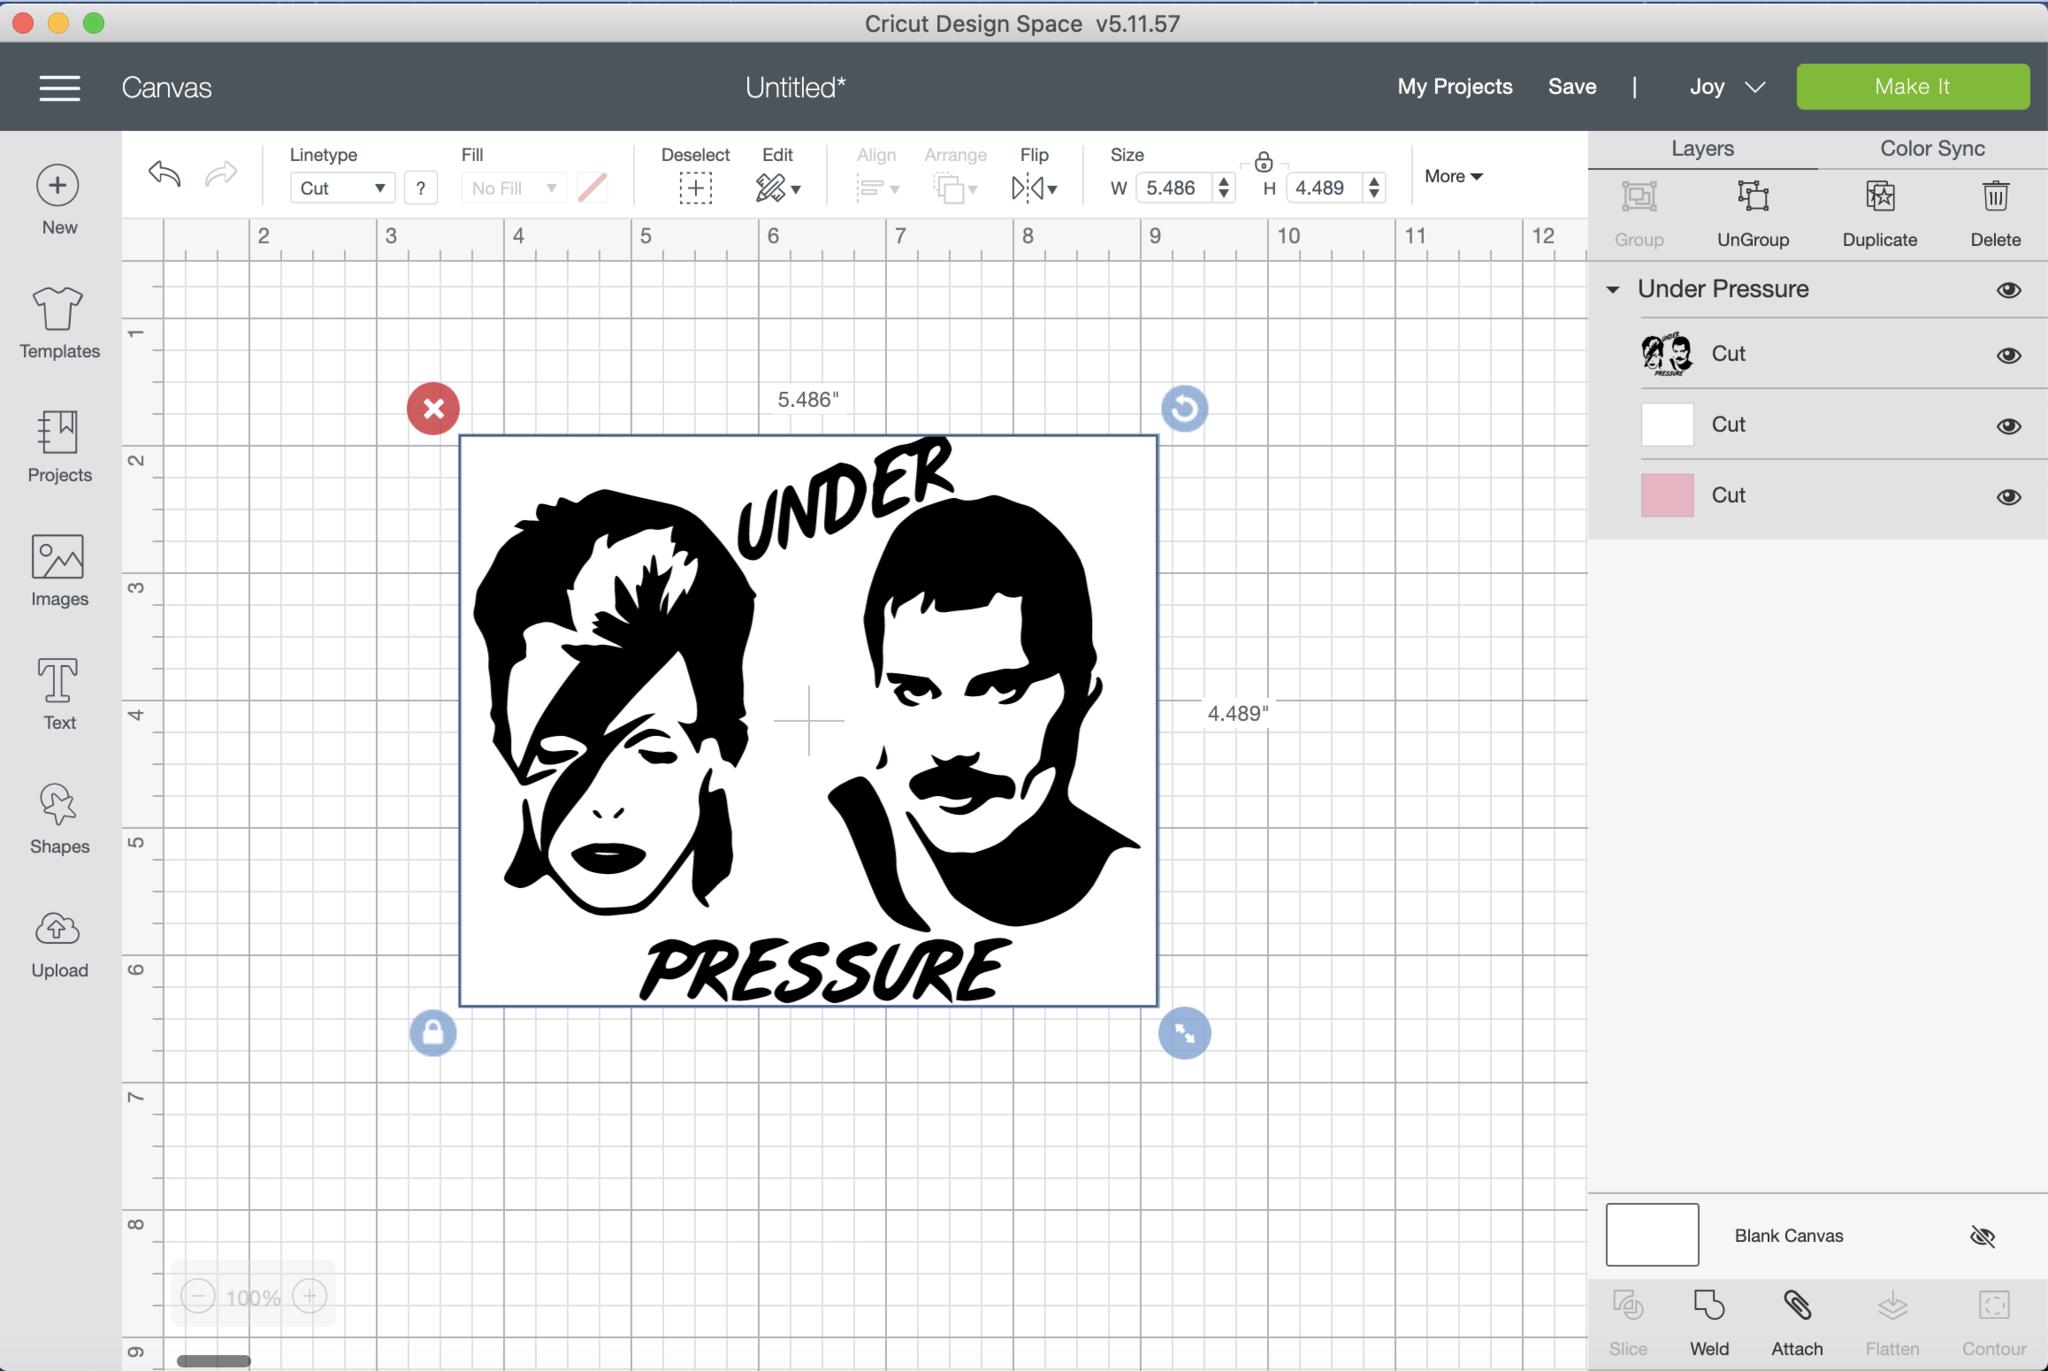
- Start a new project in Cricut Design Space; be sure Joy is selected from the drop-down menu at the top right.
- Select Image or Text to make your design
- Size your image/text using the arrows in the bottom right corner of your design. You'll be alerted if your design is too large for the Cricut Joy.
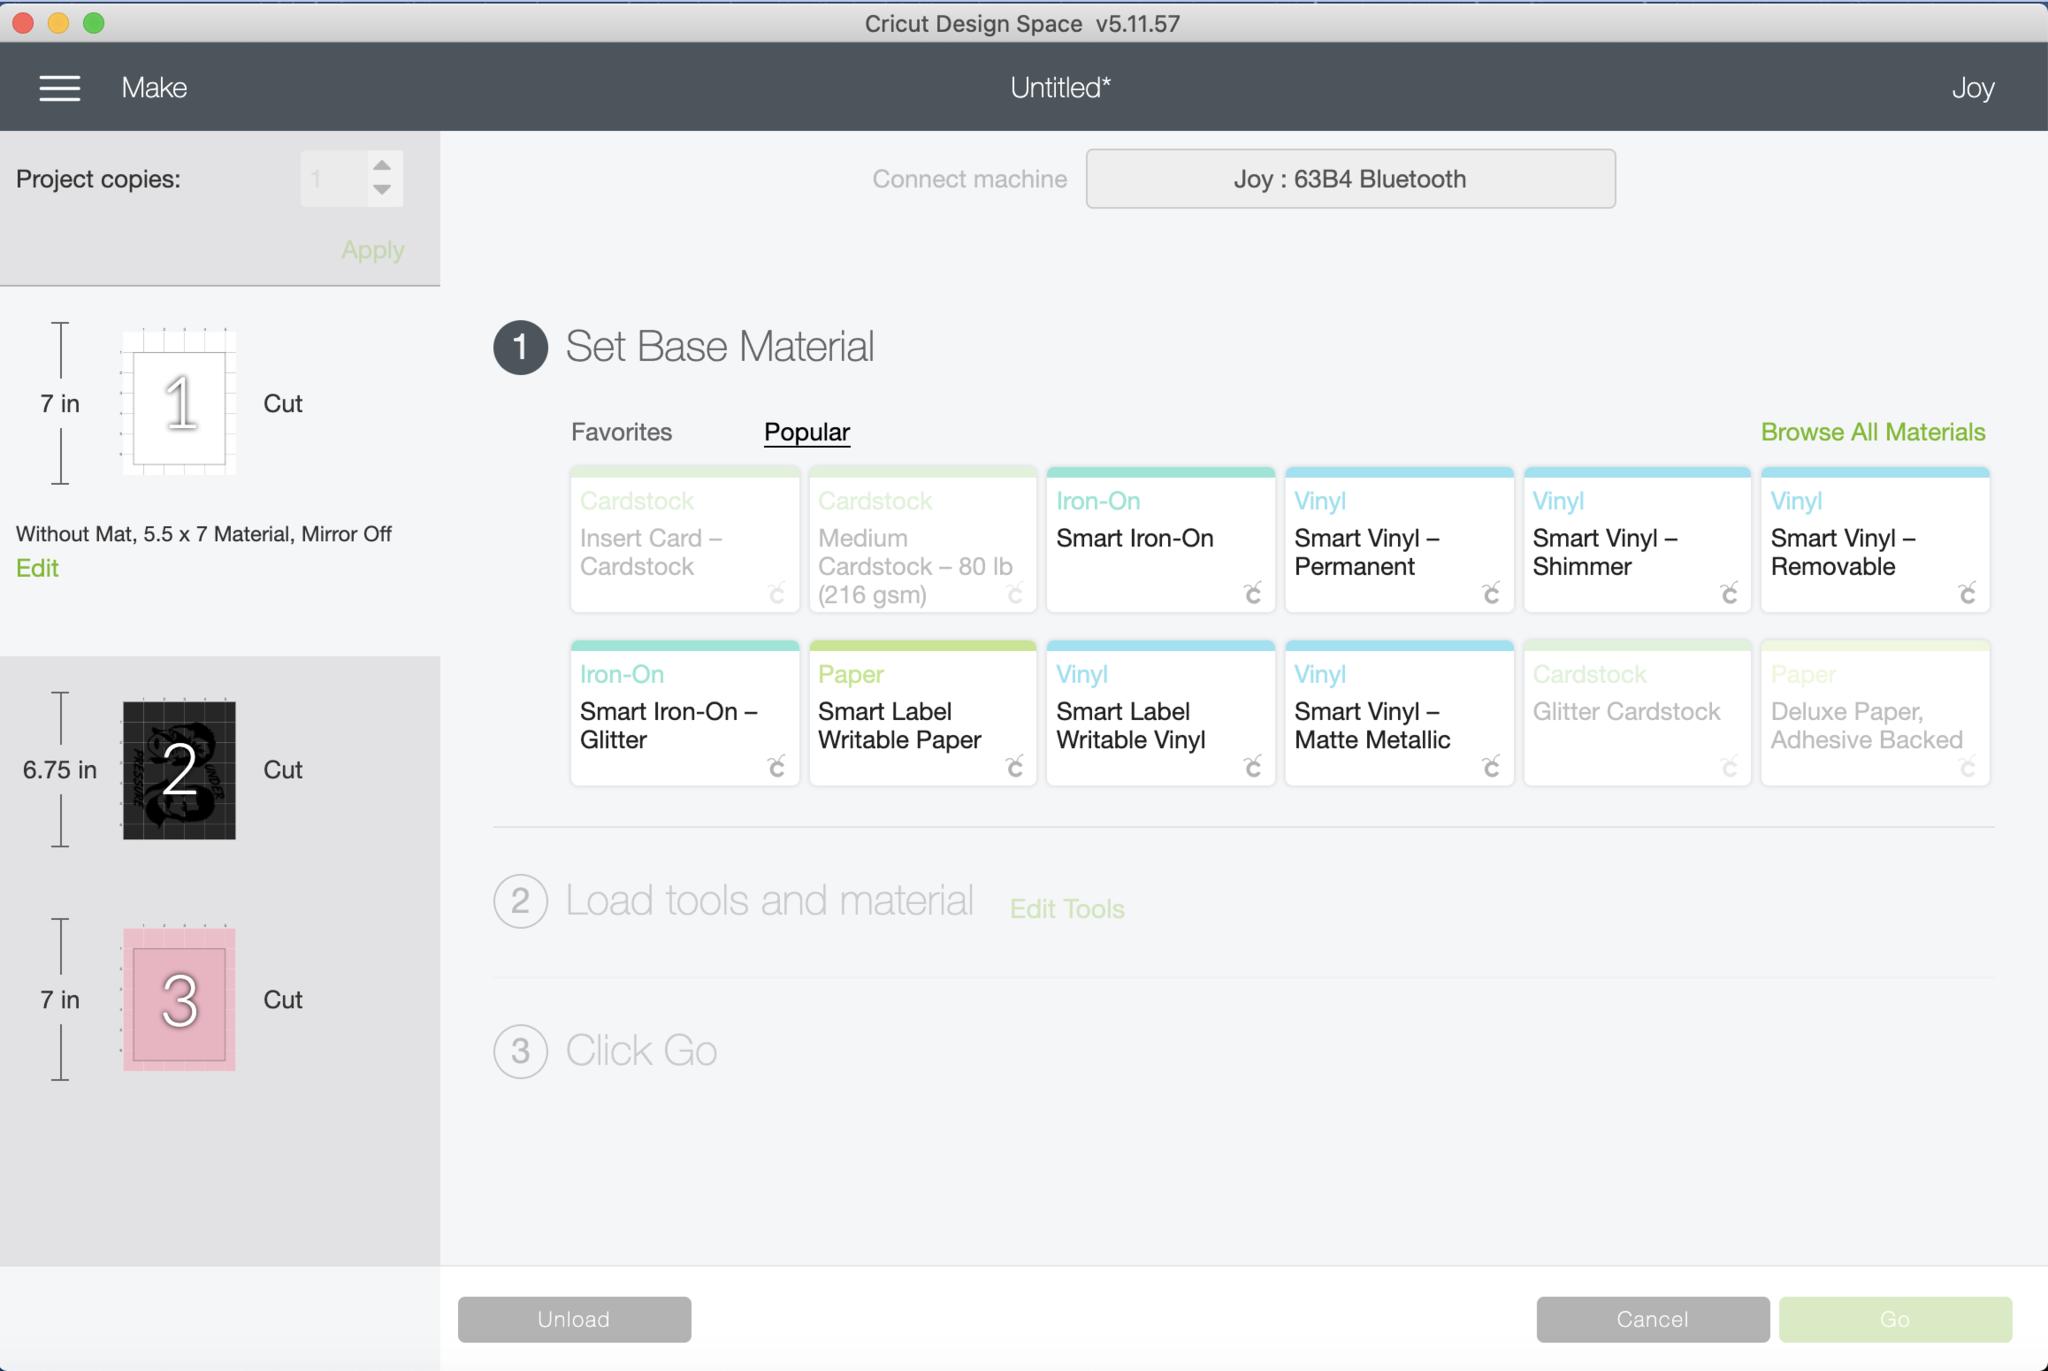
- Once you're ready to cut, click the Make It button at the top right of the screen.
- Select the correct Base Material. If you don't see yours as an option, choose Browse All Materials to see the rest.
- Click Go.
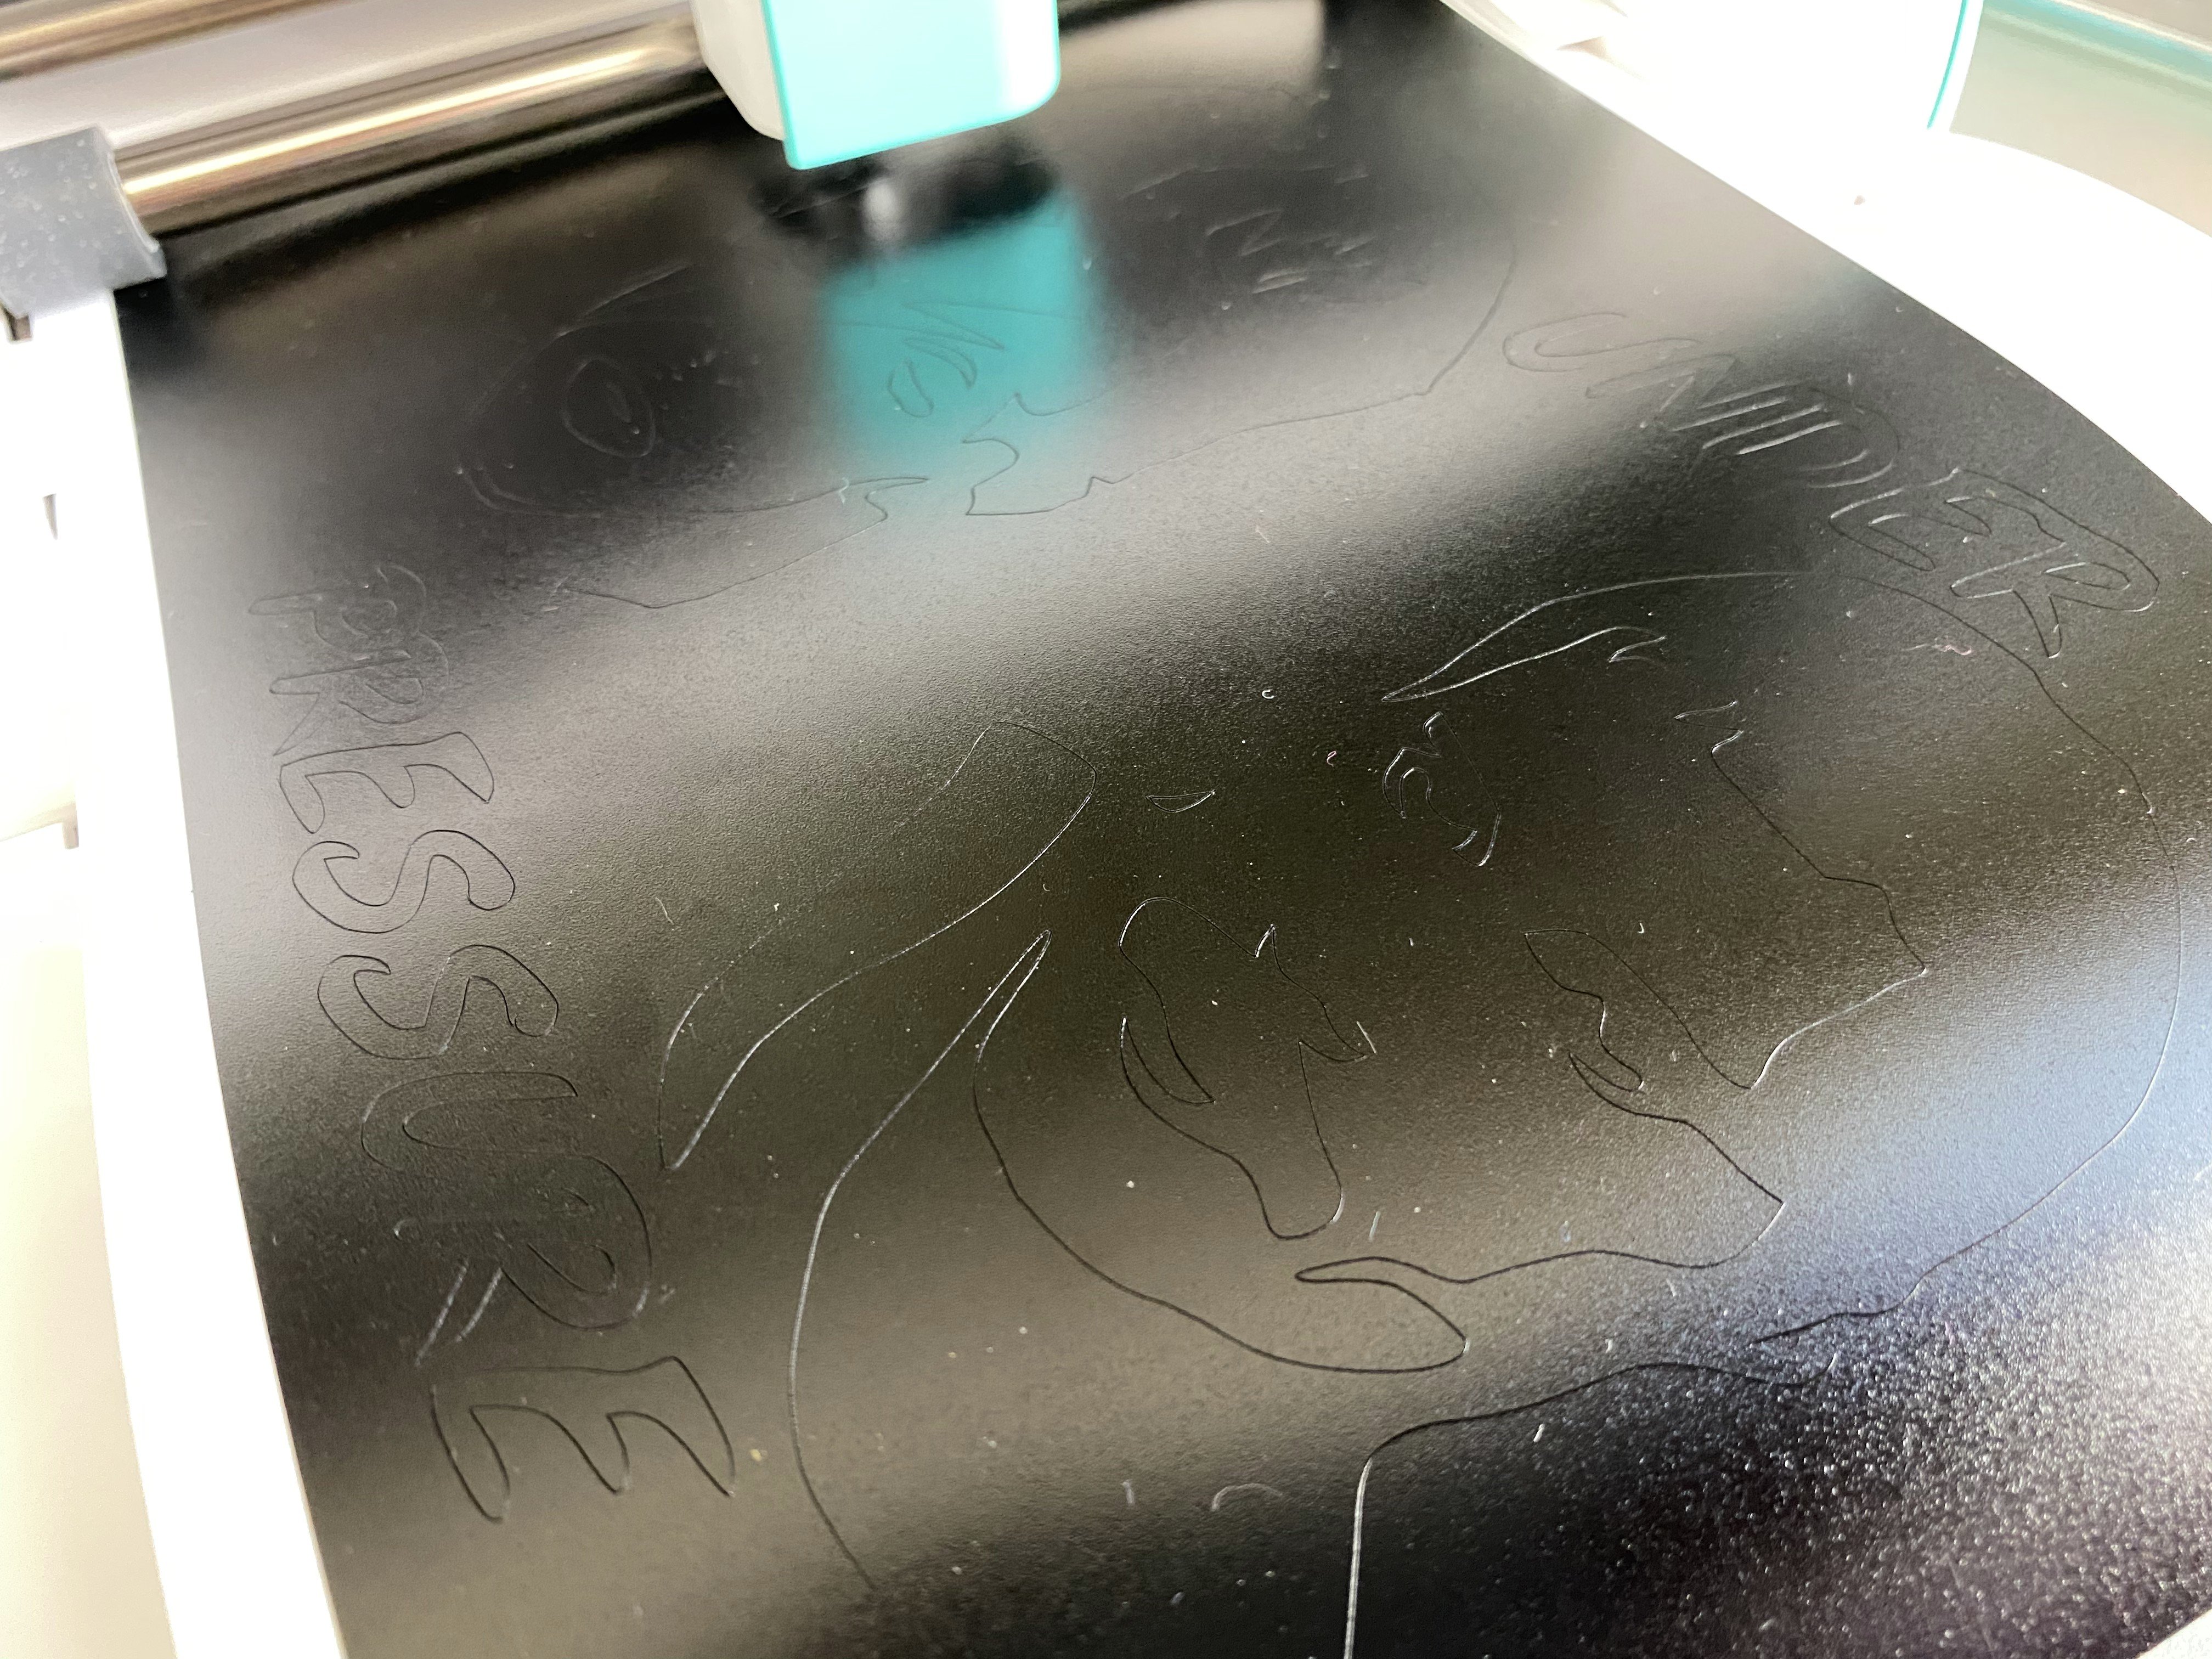
- Let the Cricut Joy do its magic!
- Once it's complete, click Unload.
- Clean your blank thoroughly; use rubbing alcohol if possible.
- Your decal is ready to apply. If it's a very simple design, you can peel it and stick it.
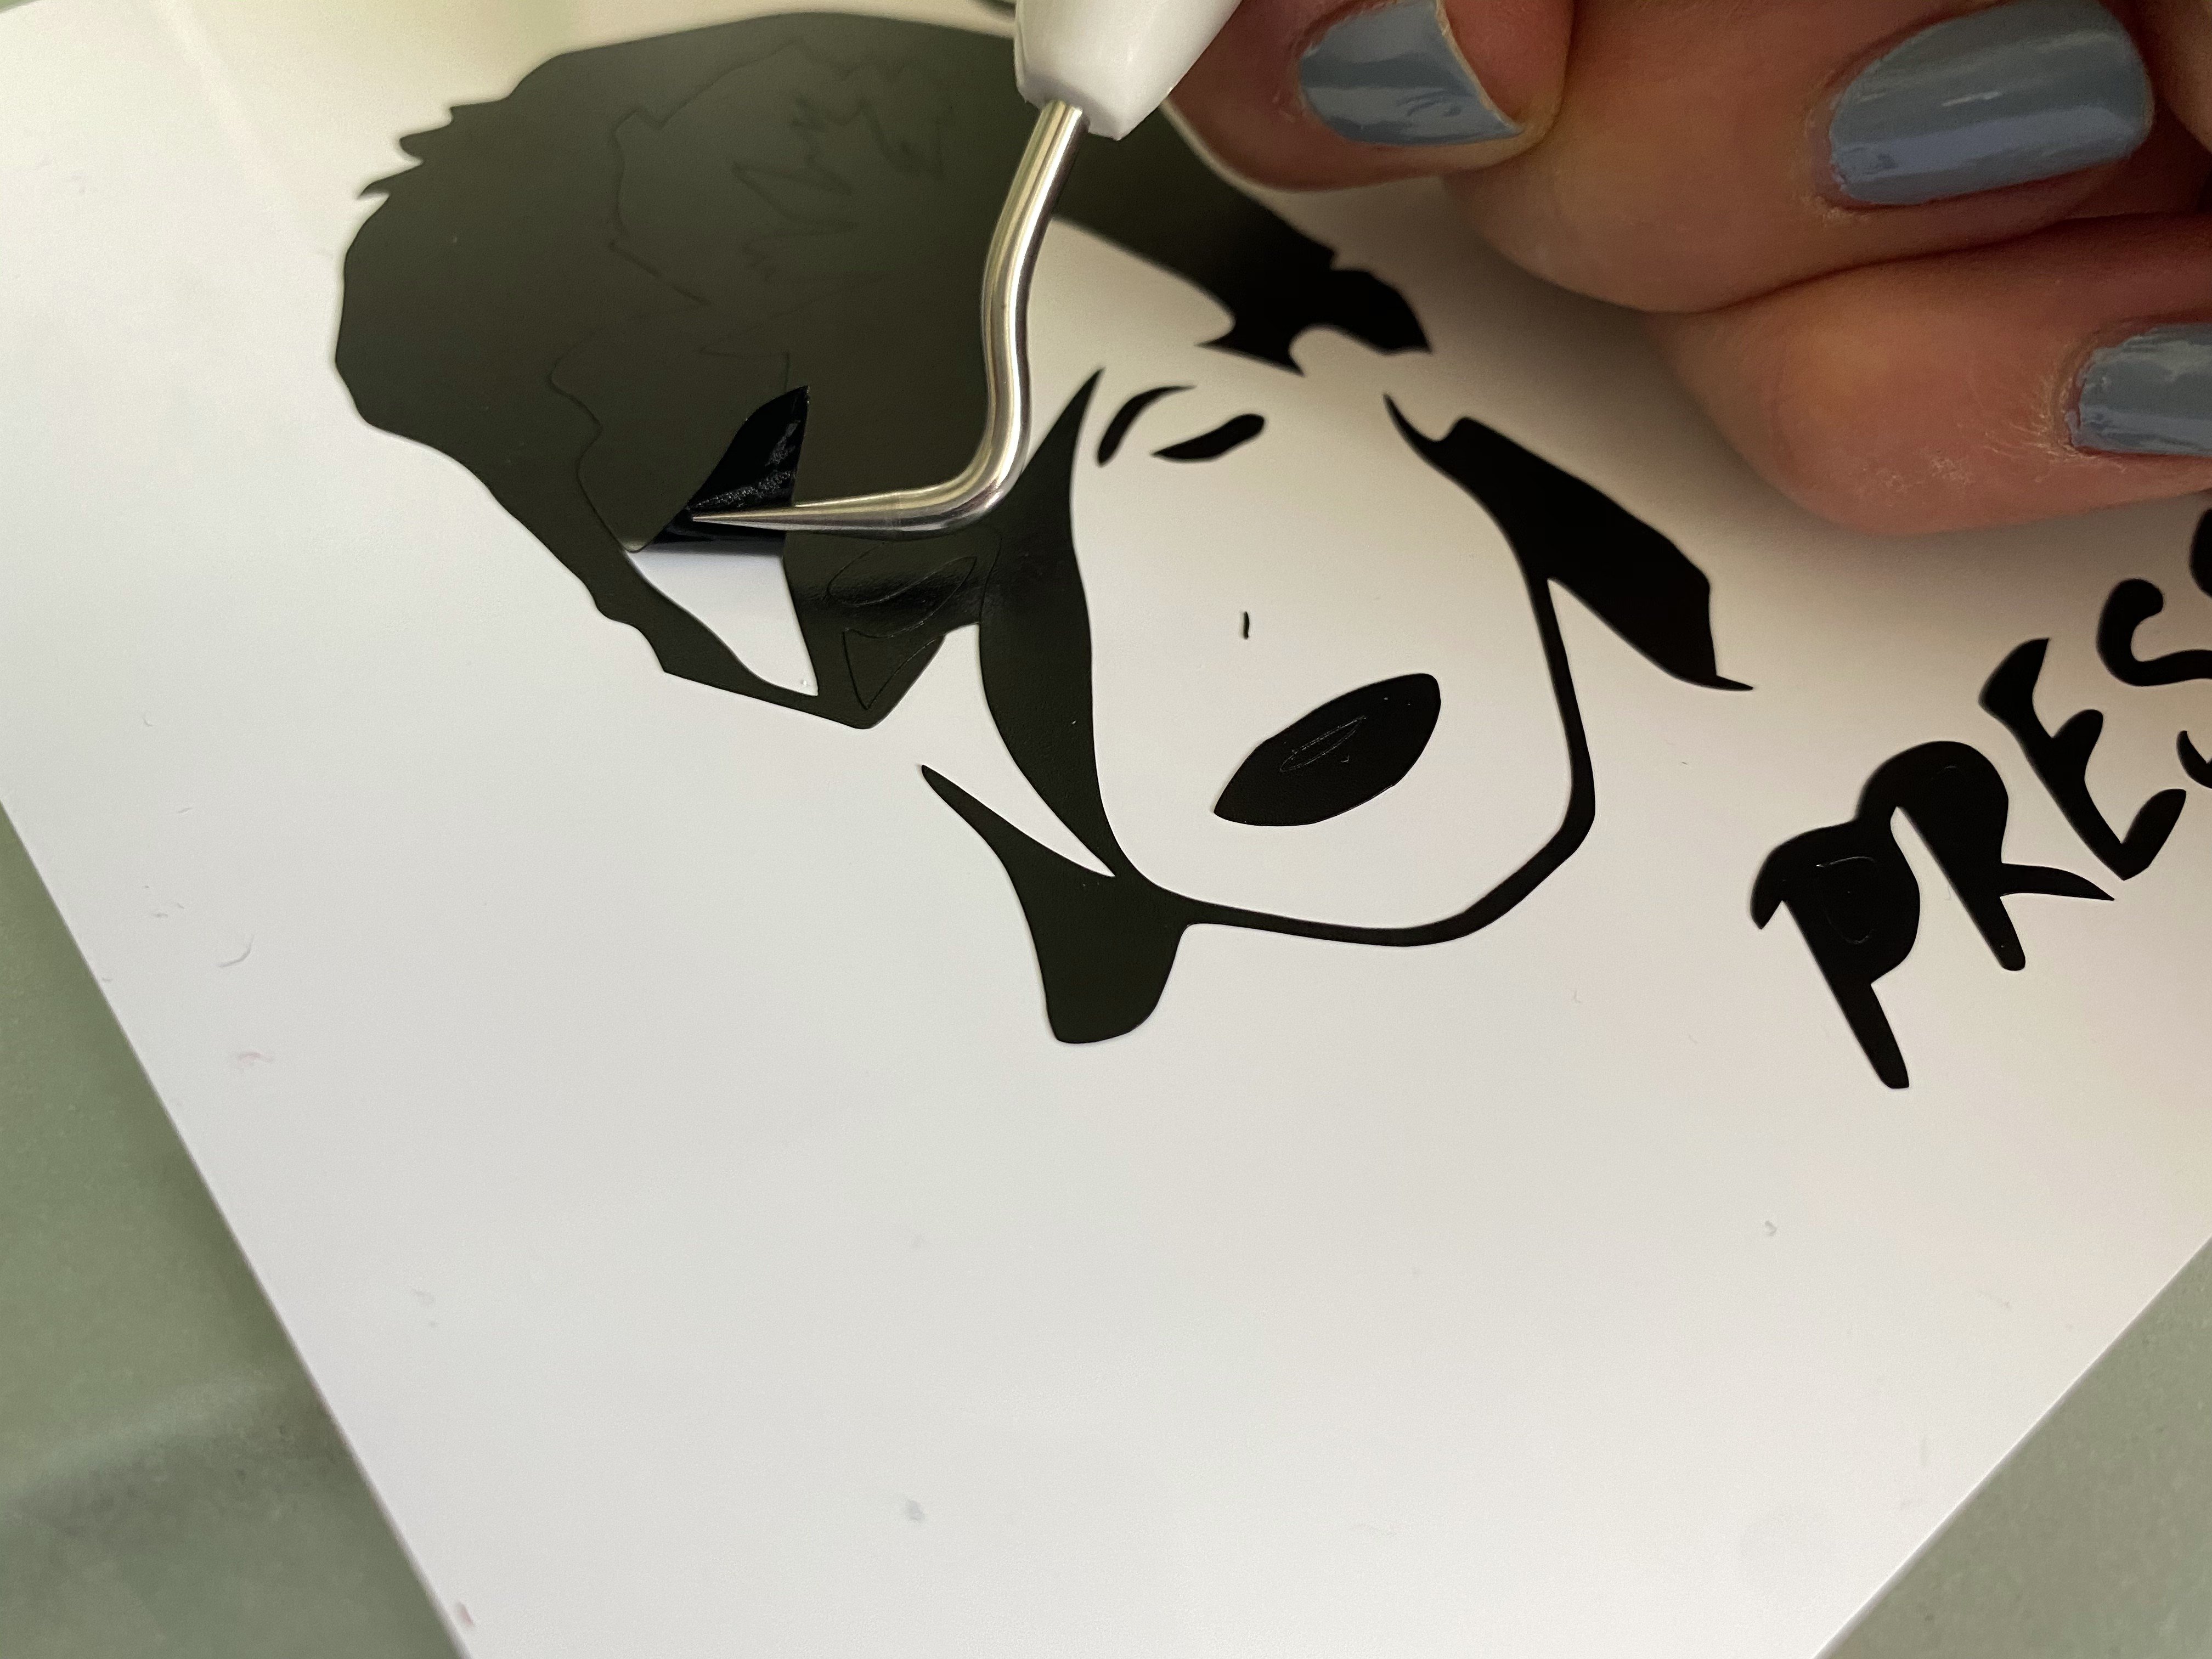
- If your decal is a bit more complicated, you'll need to weed it first. Weeding is removing the vinyl that you don't want as part of your design.
- Once your decal is weeded, cut a piece of transfer tape just slightly larger than your decal.
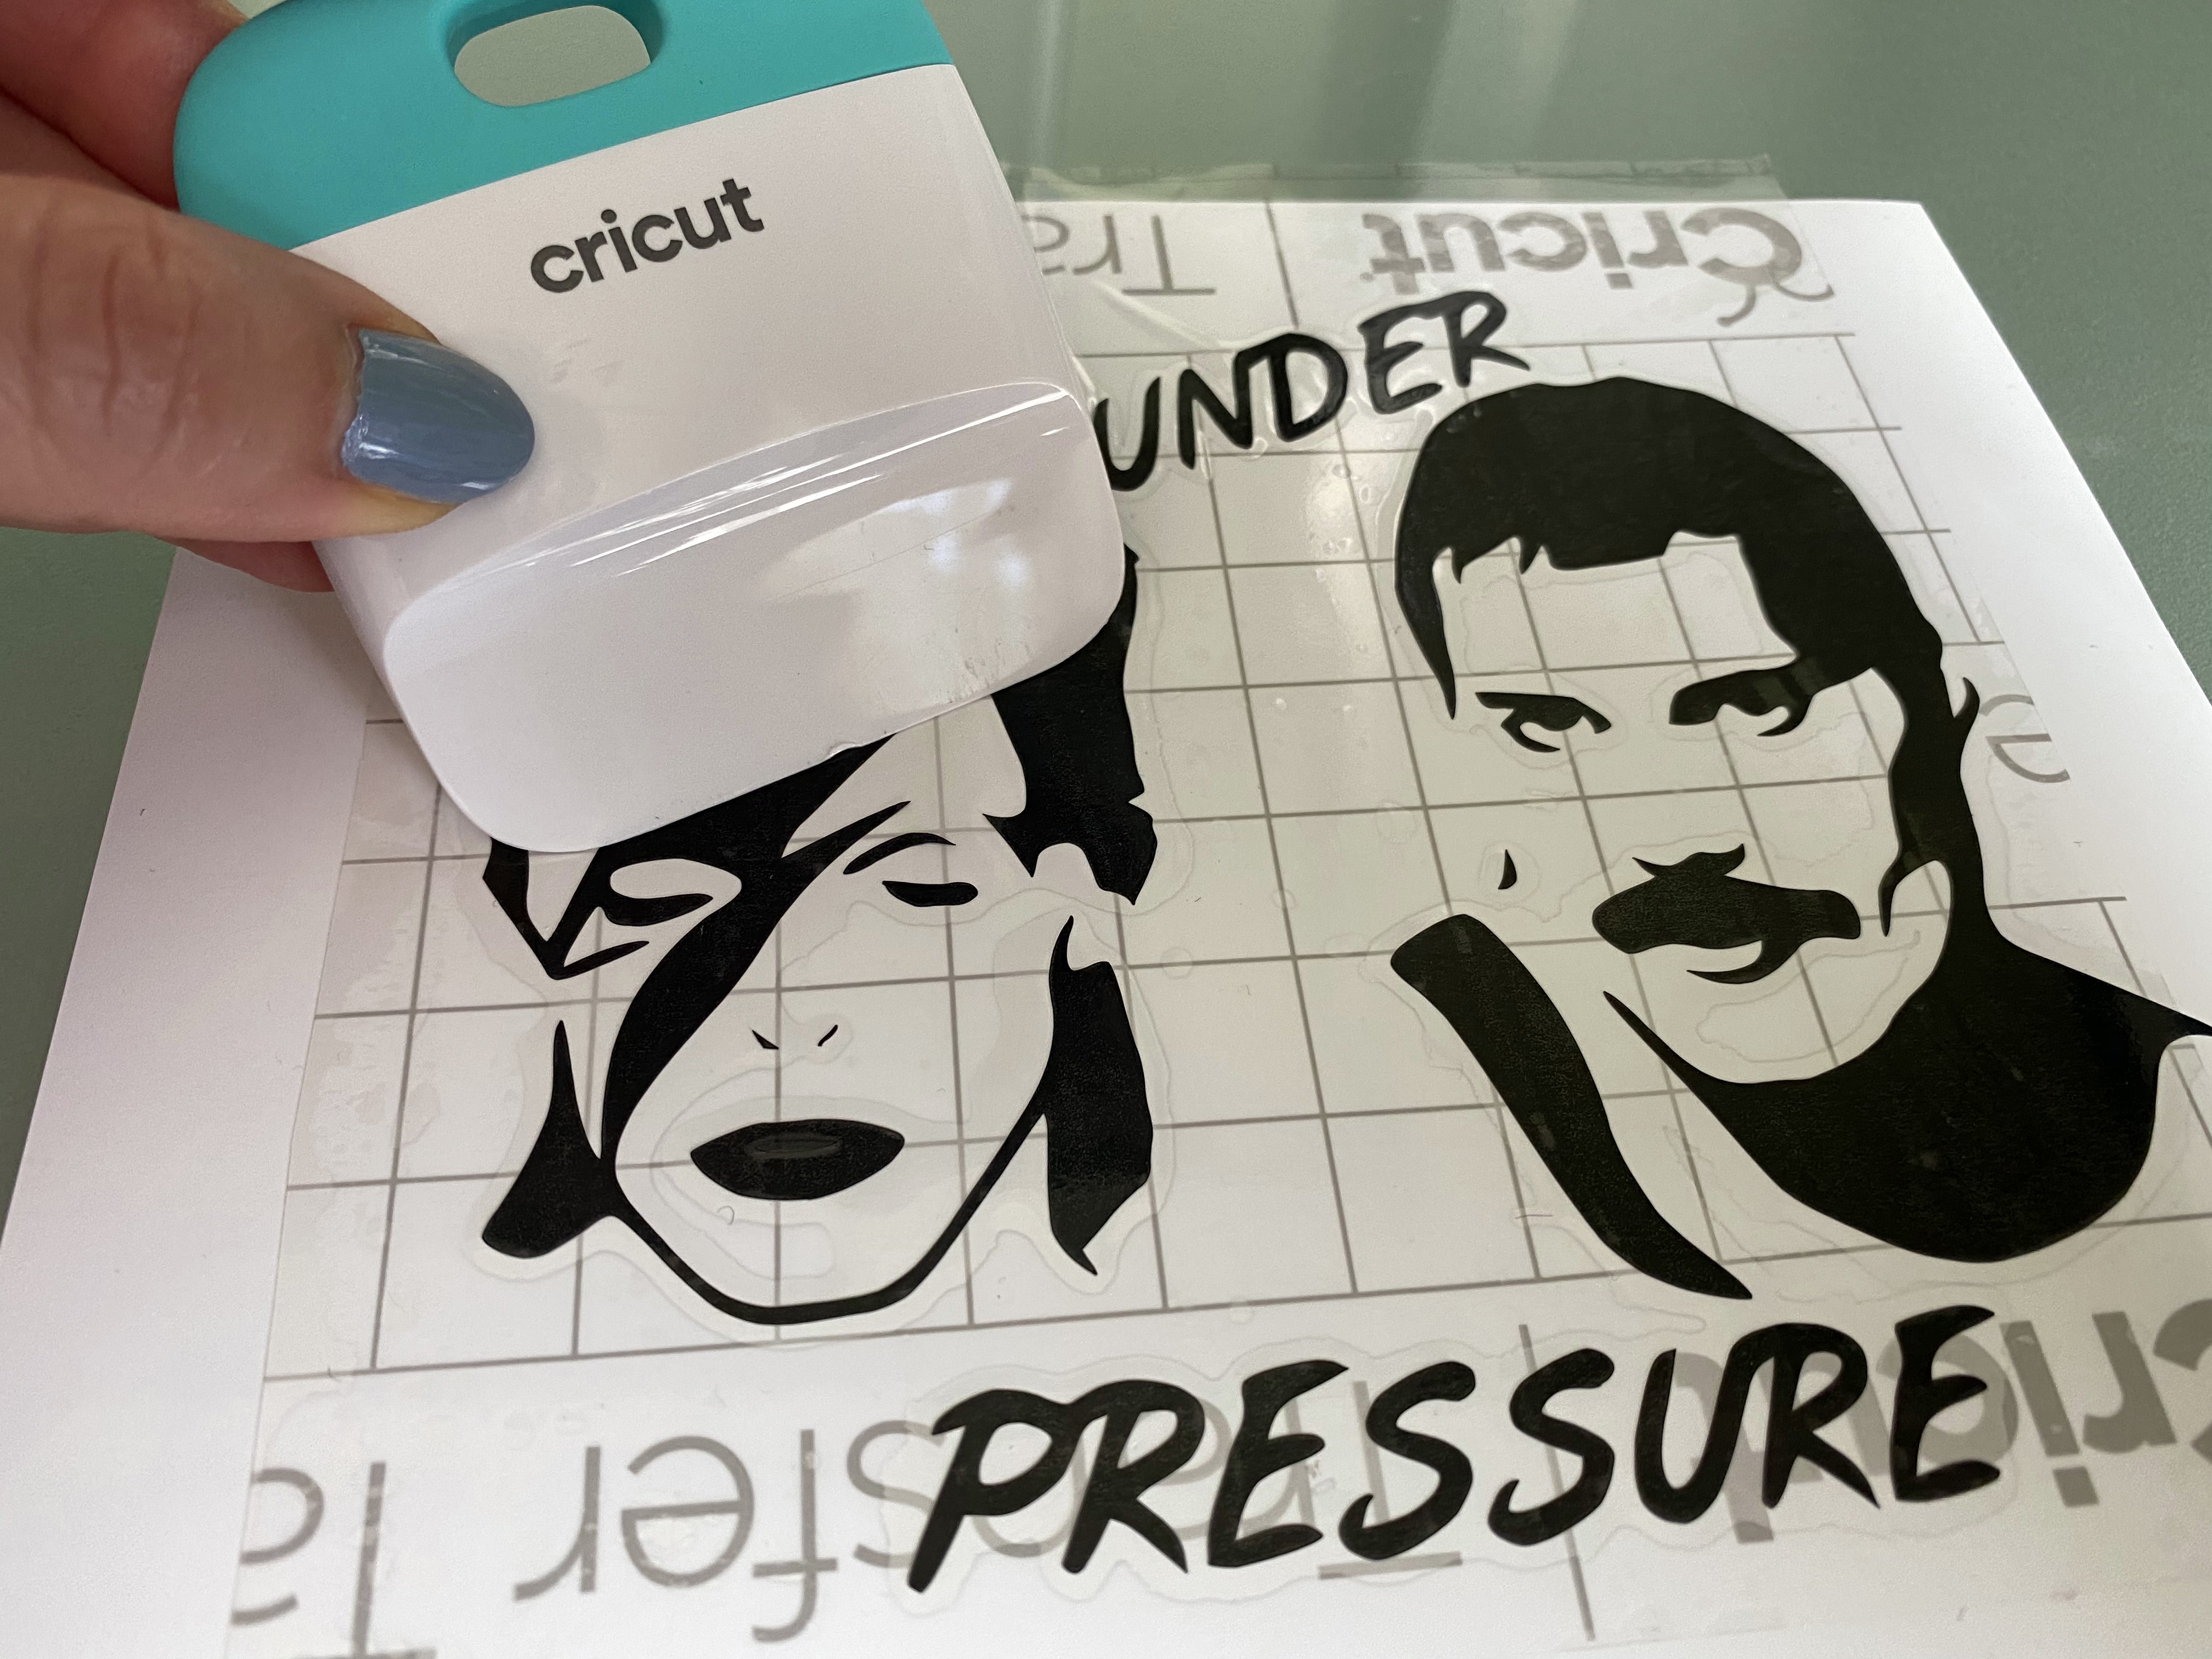
- Using the scraper, stick the transfer tape securely to the decal.
- Carefully lift up the transfer tape and place it onto your blank.
- Using the scraper again, press the decal securely to your blank.
- Being careful not to lift up any of the decal, remove the transfer tape from your blank.
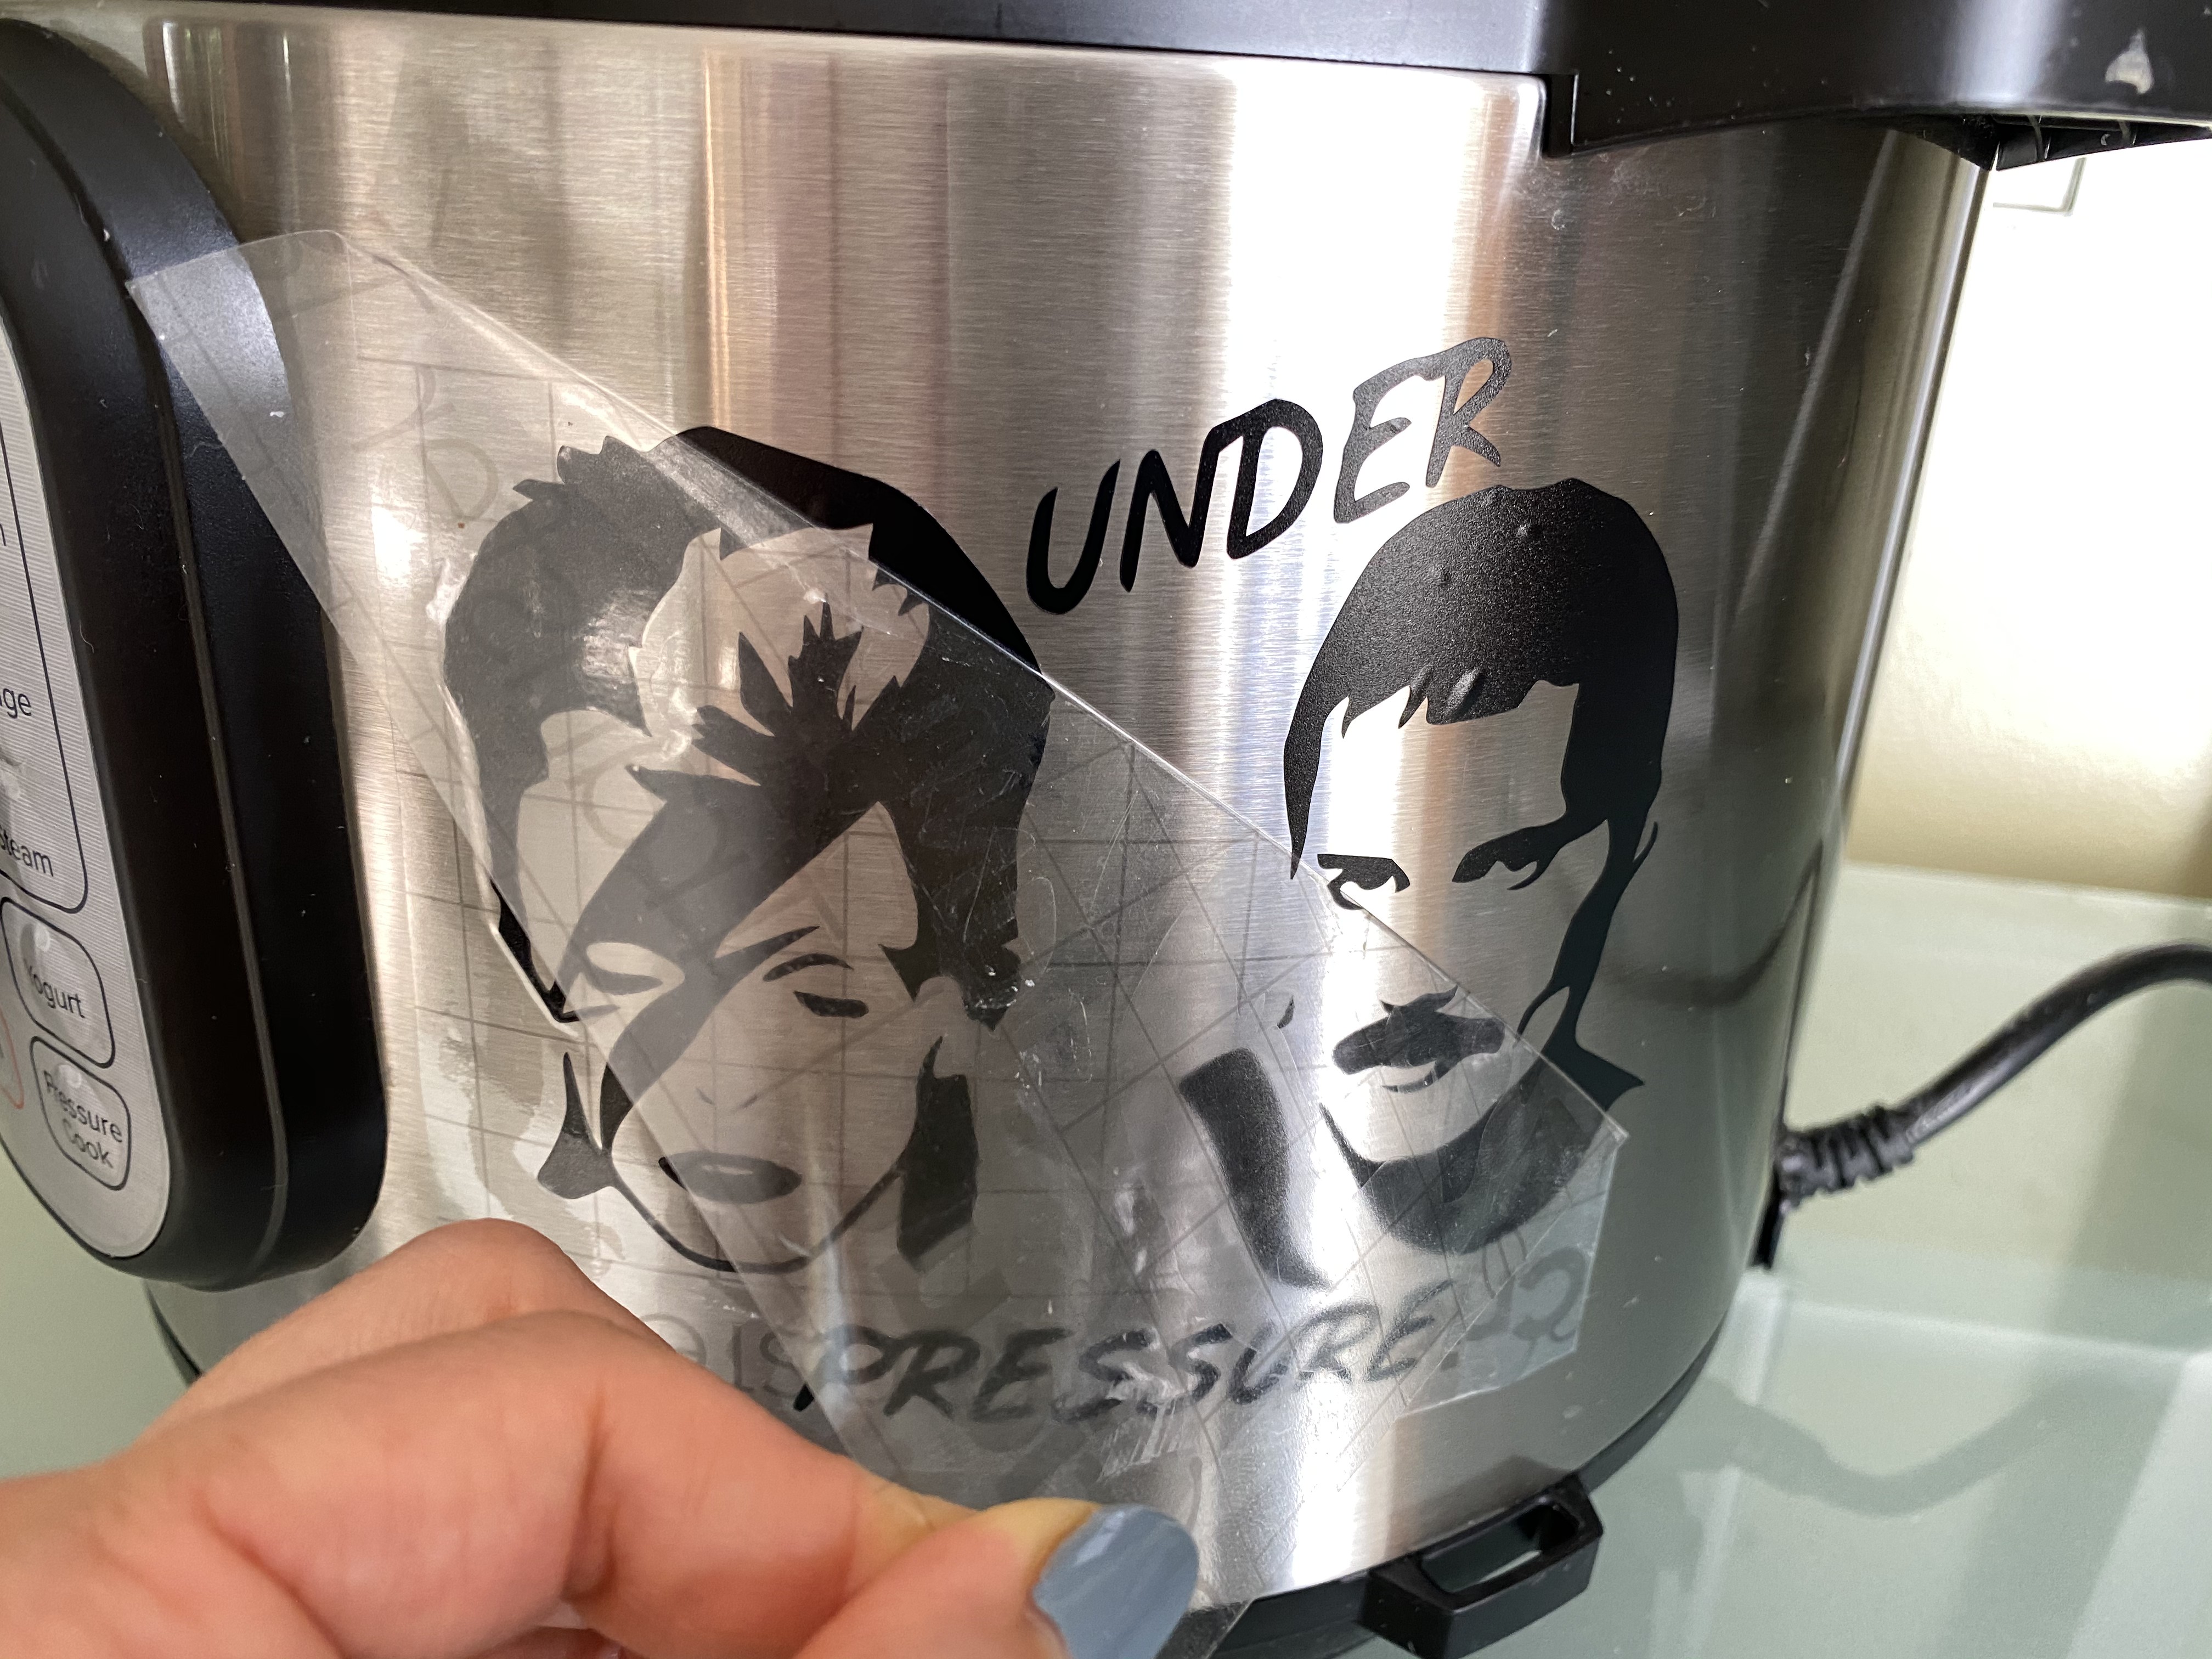
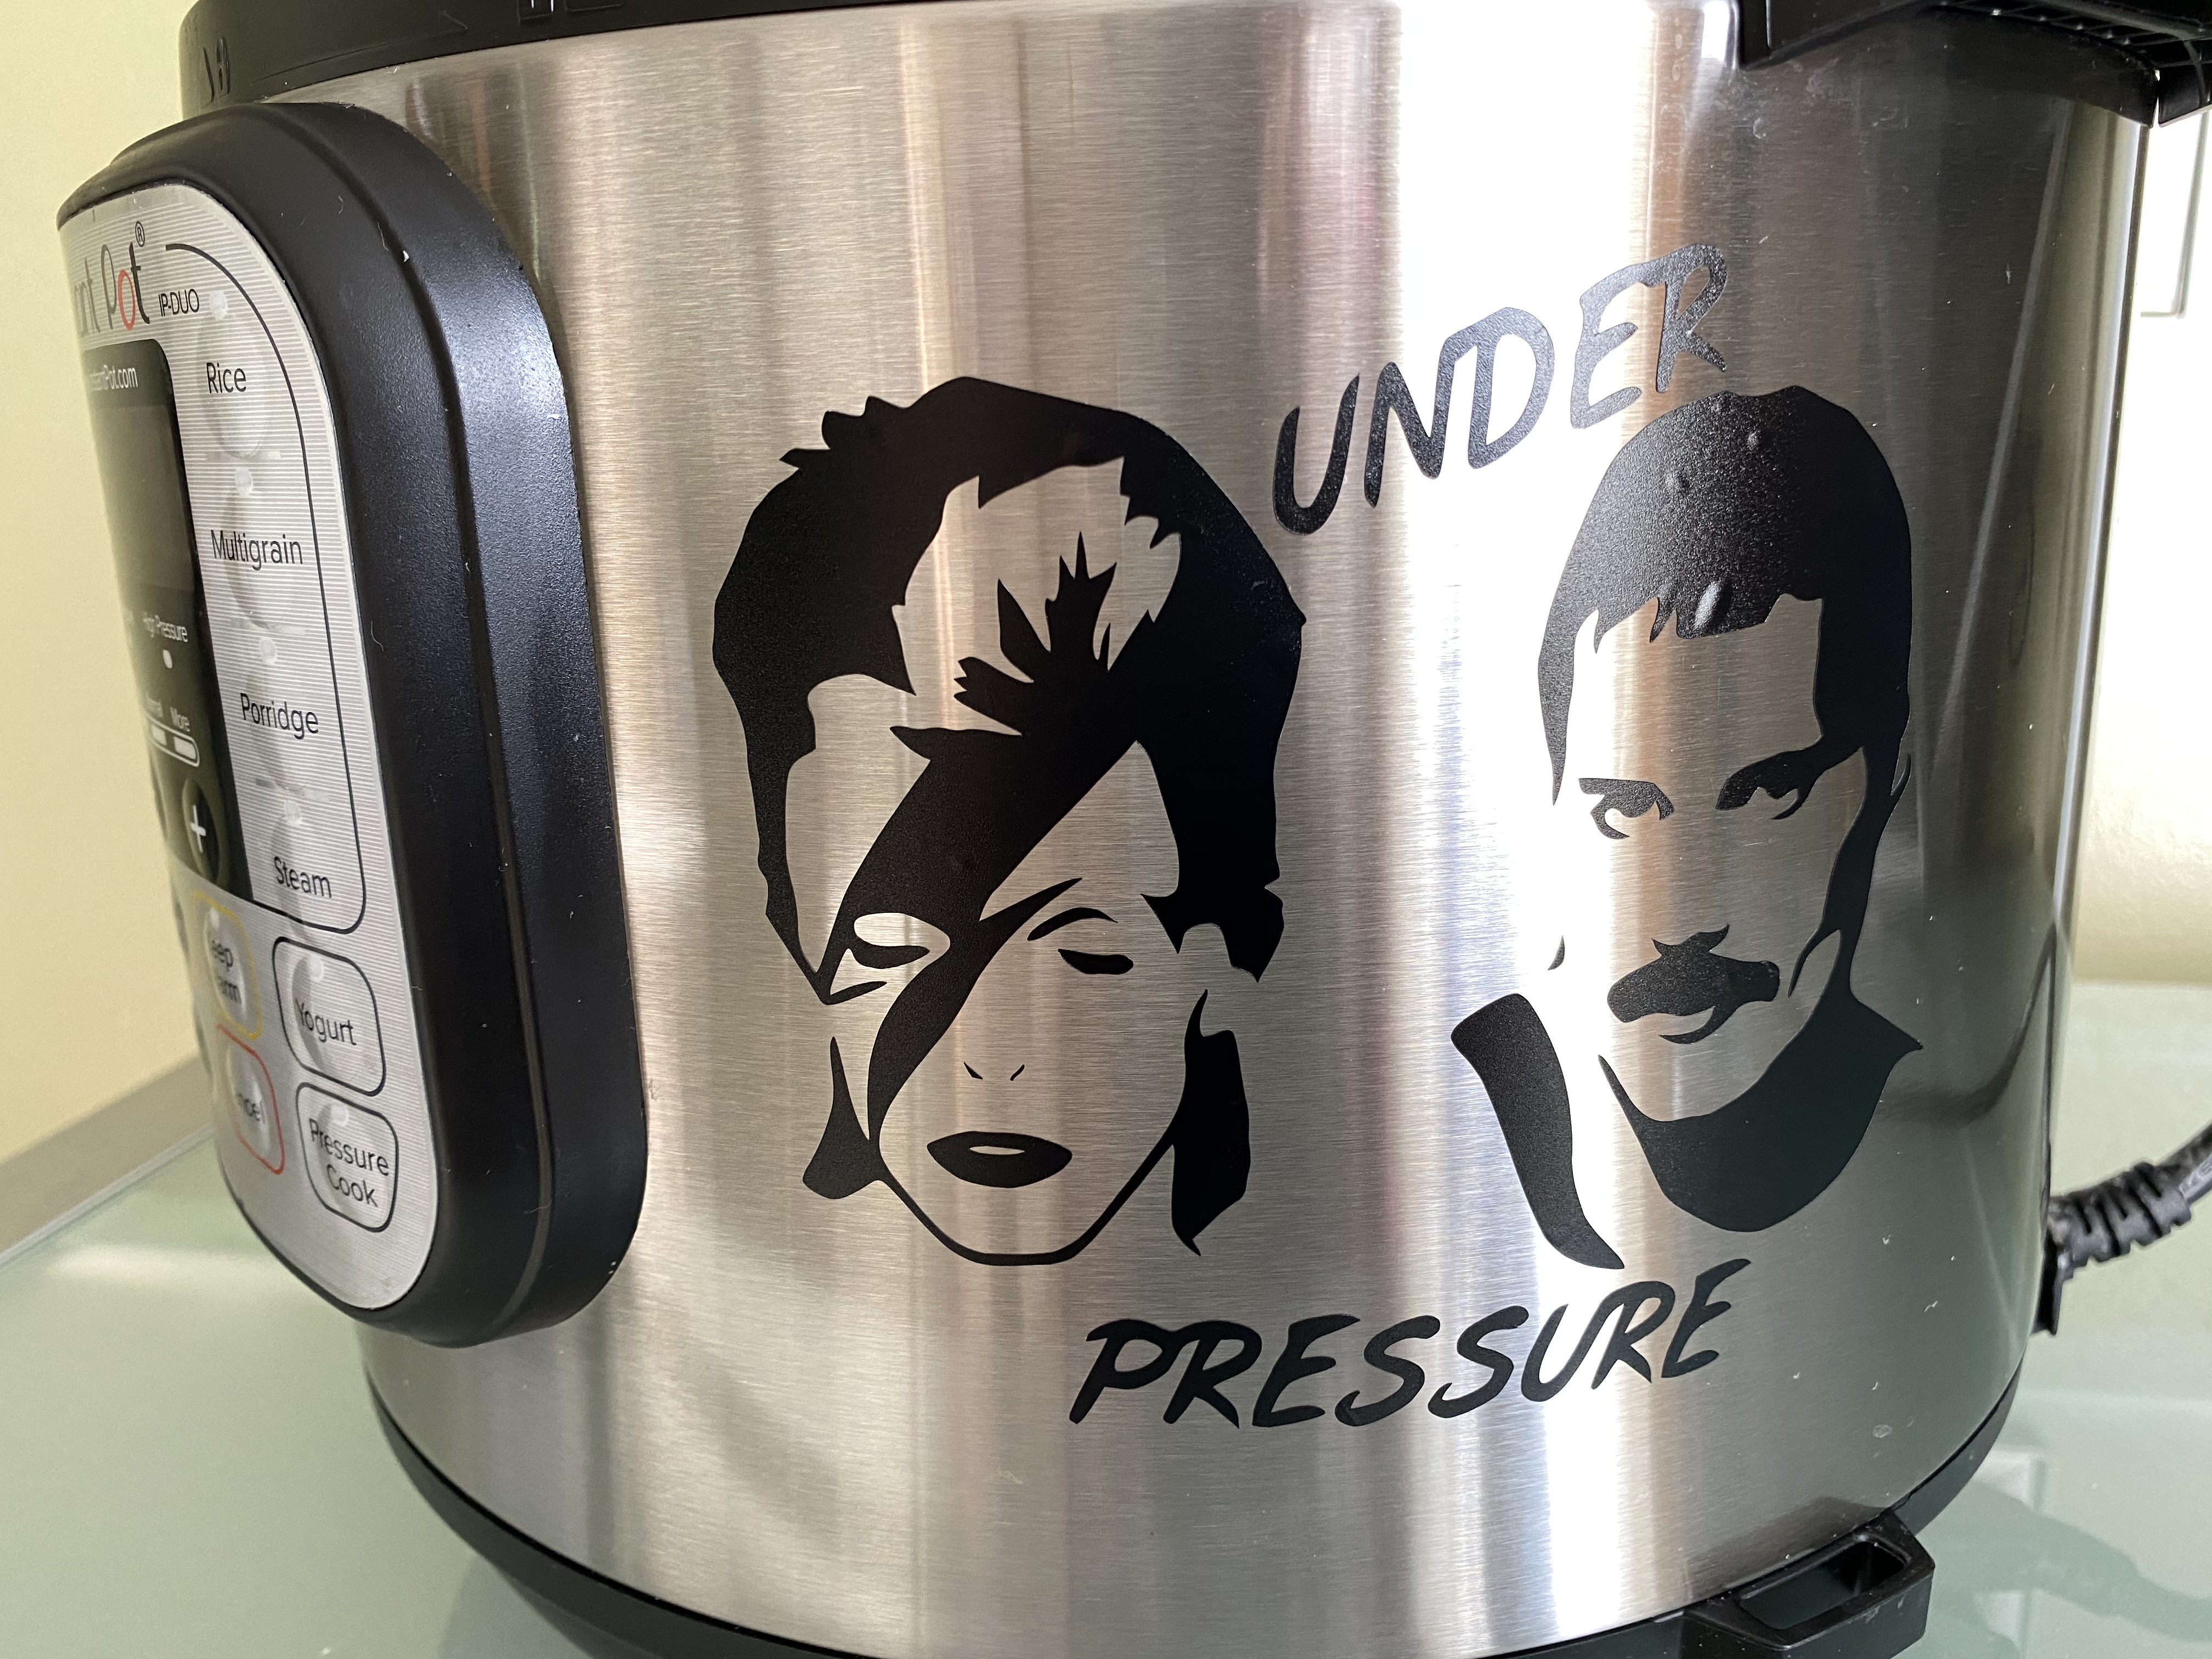
Sit back and admire your work! Your decal will securely adhere to the blank of your choice. Now you'll be looking around your house for things to put Cricut Joy vinyl decals on.
The equipment you'll need
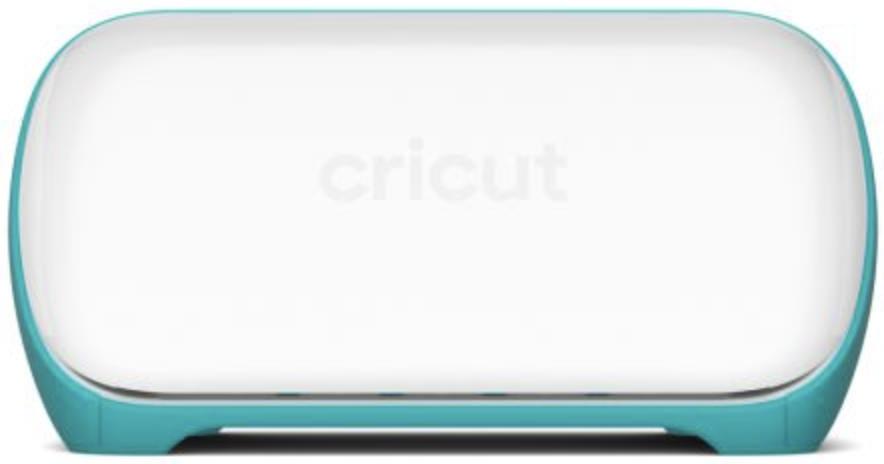
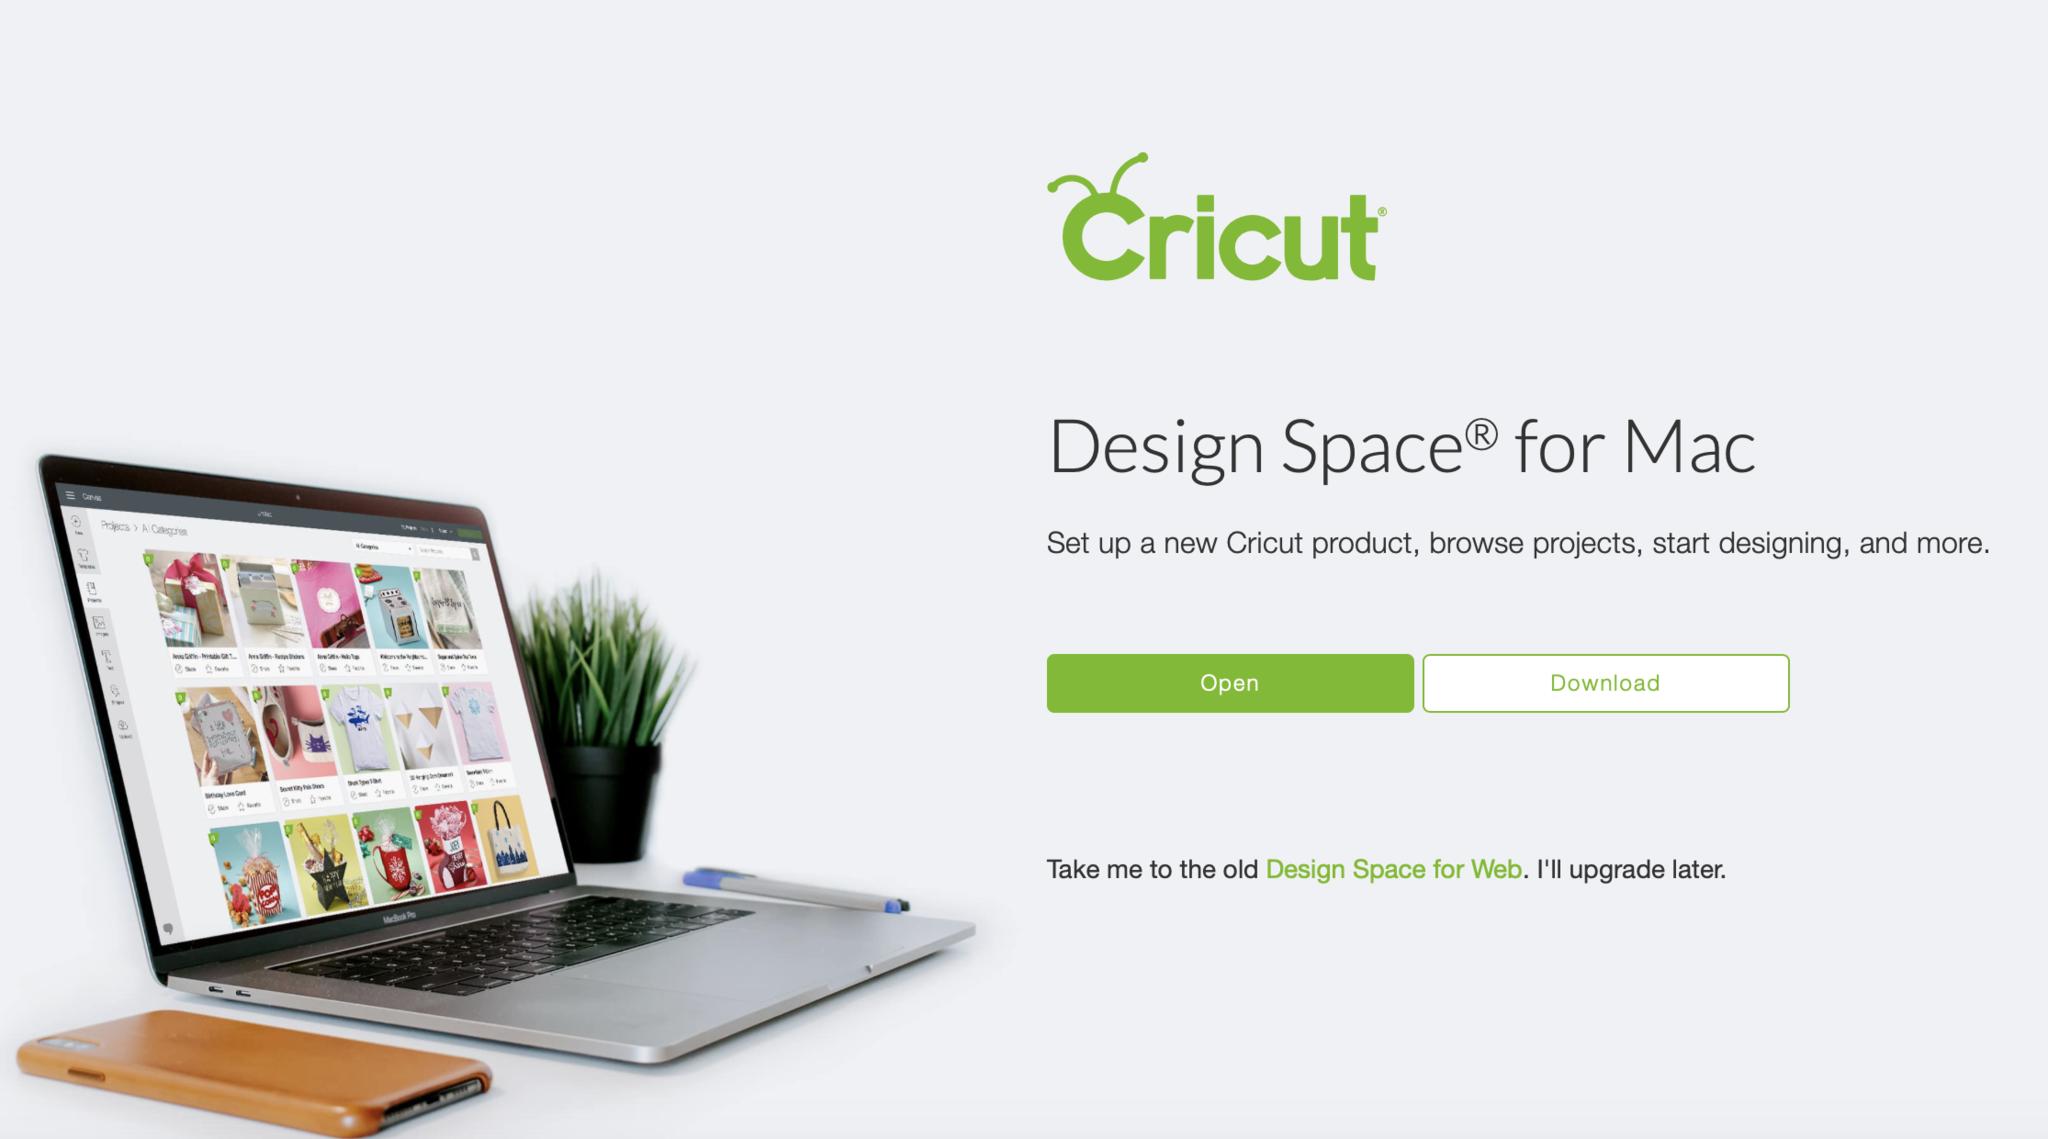
Cricut Joy is a fantastic machine for beginning crafters, as well as seasoned crafters who want a secondary or portable machine. It's designed for quick and easy projects like decals, greeting cards, labels, iron-on, and Infusible Ink projects. Cricut's software, Design Space, can be downloaded on your Mac directly from Cricut's website.
Movable
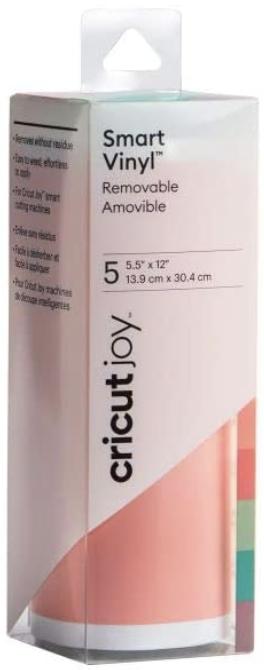
The removable smart vinyl lets you make decals that you can remove and re-stick elsewhere. You can choose from a huge variety of colors and sizes. Get a single four-foot-long roll or a sample pack with five one-foot-long pieces in different colors.
You don't have to stick with the Cricut Joy branded picks or even the Cricut brand at all to make Cricut Joy vinyl decals; you can cut other vinyls down to size. However, the appeal of the Joy is how easy everything is, and the pre-sized Cricut Joy materials are part of what keeps it simple.
Additional Equipment
If you're planning to make any remotely complicated decals with multiple parts and small details like mine, you'll need the tools and transfer tape. So, I recommend buying the Cricut Joy-specific ones unless you have something similar on hand already. I've also listed an alternative to the removable vinyl I used, and a mobile alternative to Design Space.
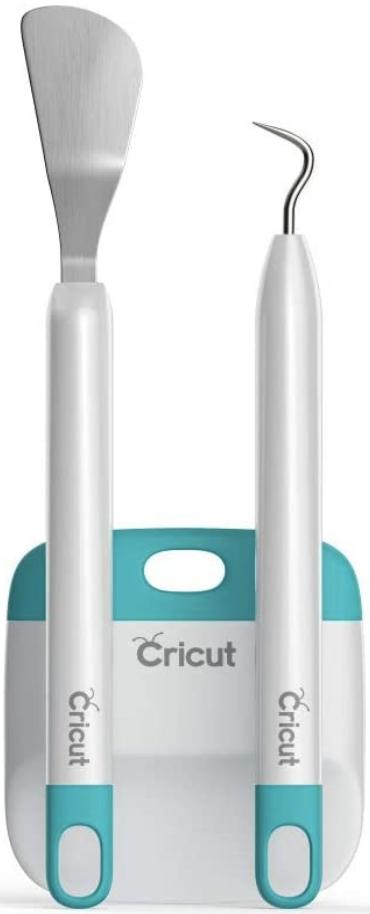
Cricut Joy Starter Tool Set ($14 at Amazon)
The set includes a weeding tool, scraper, and spatula. These are essential tools for this project and many more.
iMore offers spot-on advice and guidance from our team of experts, with decades of Apple device experience to lean on. Learn more with iMore!
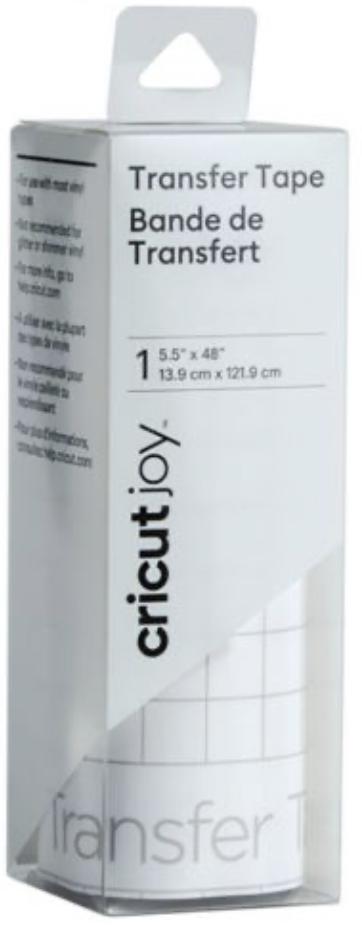
Cricut Joy Transfer Tape (From $4 at Amazon)
Transfer tape is the secret to good and complete transfer of complicated decals.
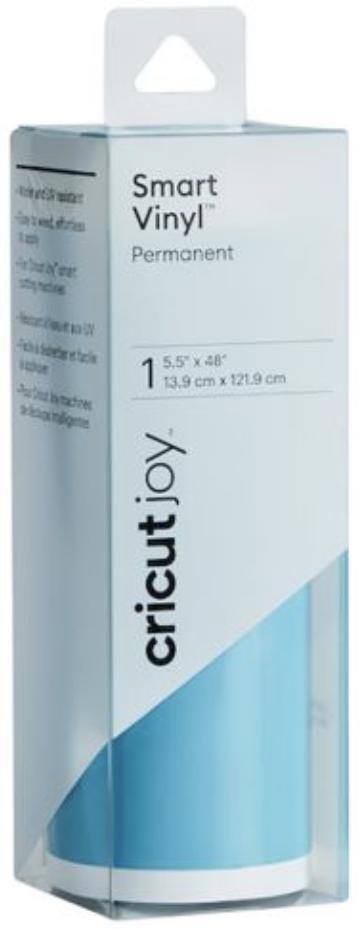
Cricut Joy Smart Vinyl - Permanent (From $6 at Amazon)
If you want your decals to be permanent, pick up the Permanent vinyl rather than the Removable.
Cricut Design Space (Free on the App Store)
The iOS app has most of the same functionality as the website, though the smaller screen can make it a bit more challenging to use.

Karen is a contributor to iMore.com as a writer and co-host of the iMore Show. She’s been writing about Apple since 2010 with a year-long break to work at an Apple Store as a product specialist. She's also a contributor at TechRadar and Tom's Guide. Before joining iMore in 2018, Karen wrote for Macworld, CNET, AppAdvice, and WatchAware. She’s an early adopter who used to wait in long lines on release days before pre-ordering made things much easier. Karen is also a part-time teacher and occasional movie extra. She loves to spend time with her family, travel the world, and is always looking for portable tech and accessories so she can work from anywhere.
