How to use Time Machine with multiple Macs
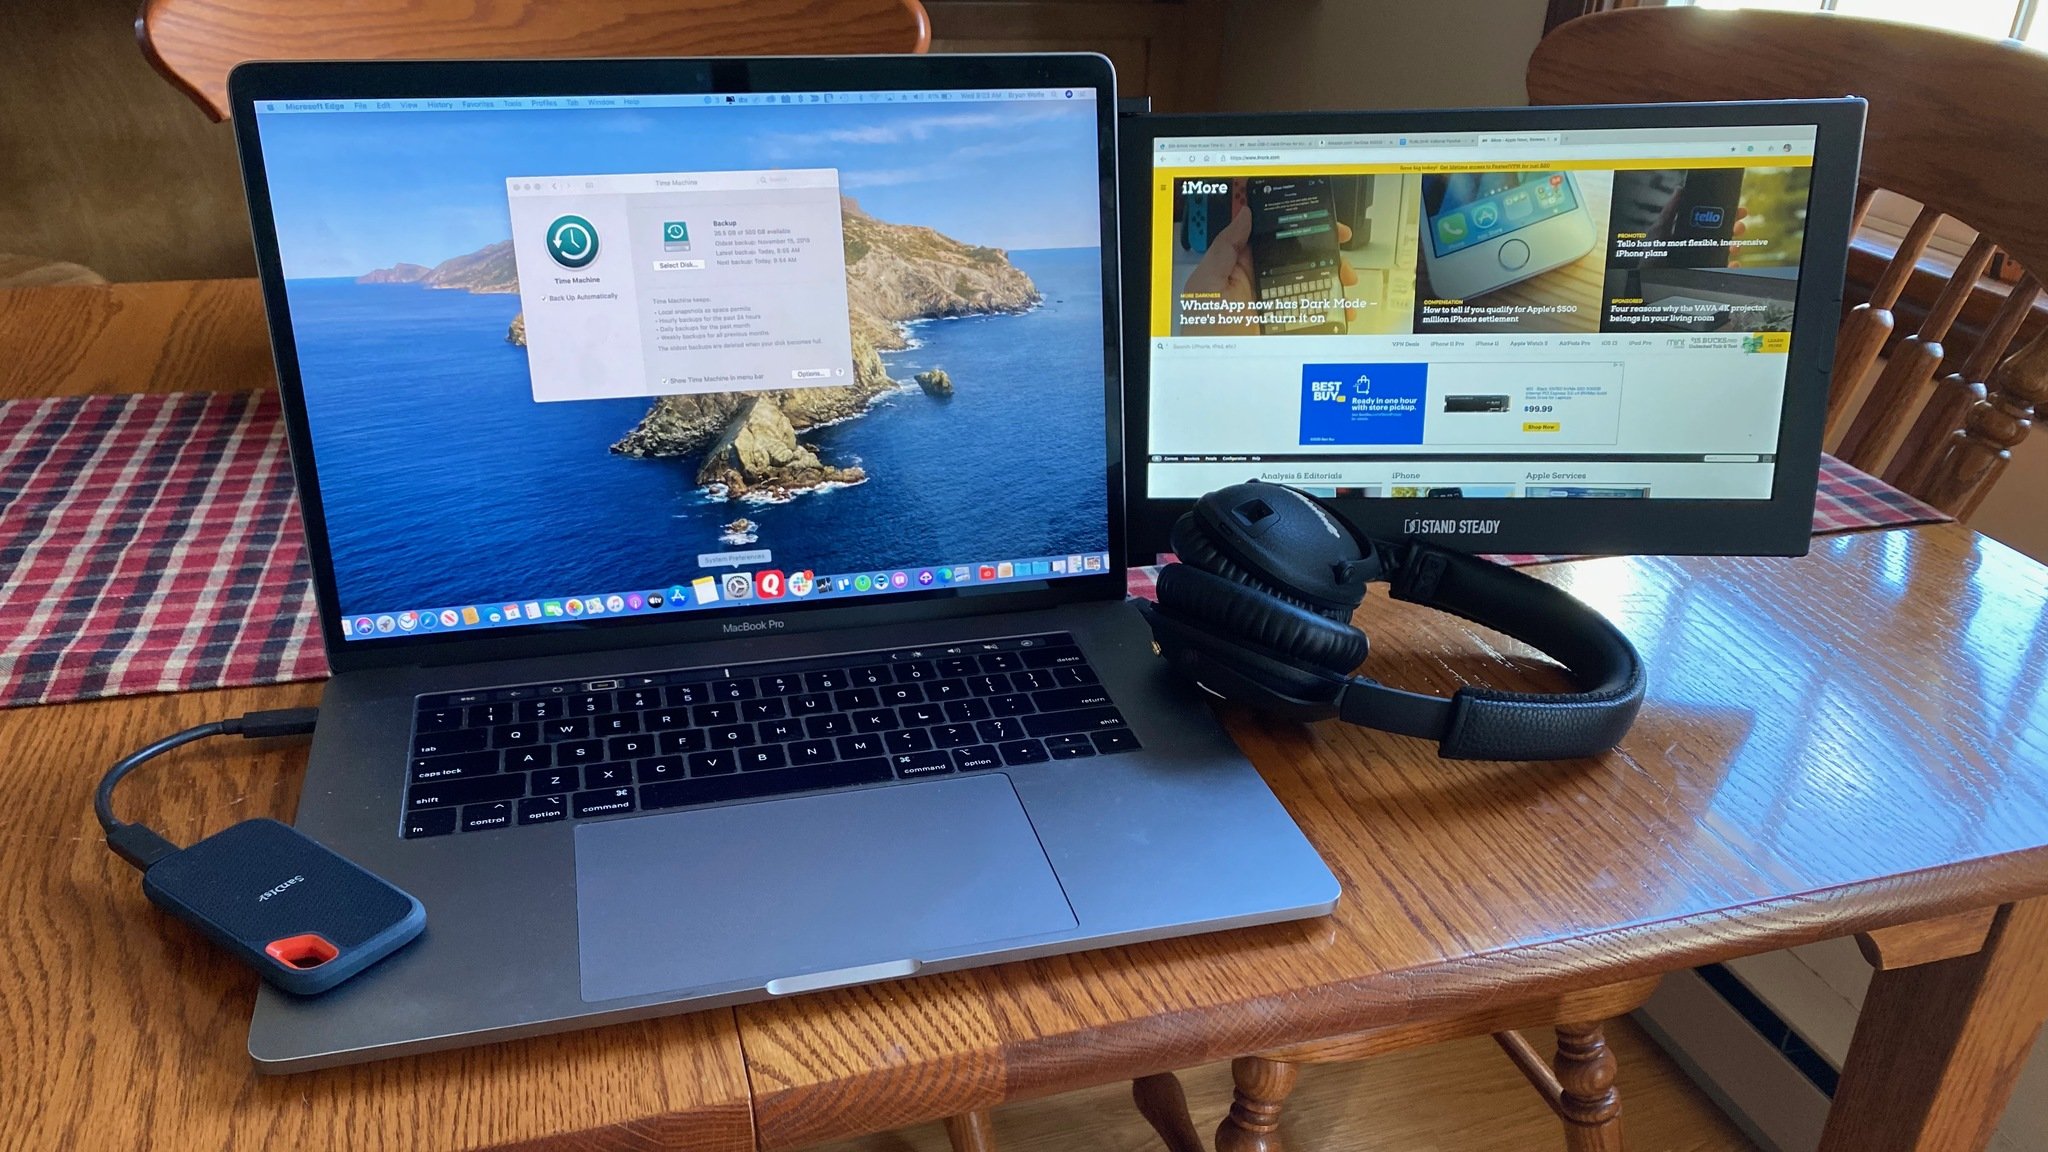
Apple's built-in Time Machine app makes it simple to back up data on your Mac. You can use the same external hard drive to back up multiple Macs if you wish. Here's how to use Time Machine with multiple Macs. Alternatively, check out how to set up and start using Time Machine if you're not sure where to begin.
How to use Time Machine with multiple Macs: Get it done
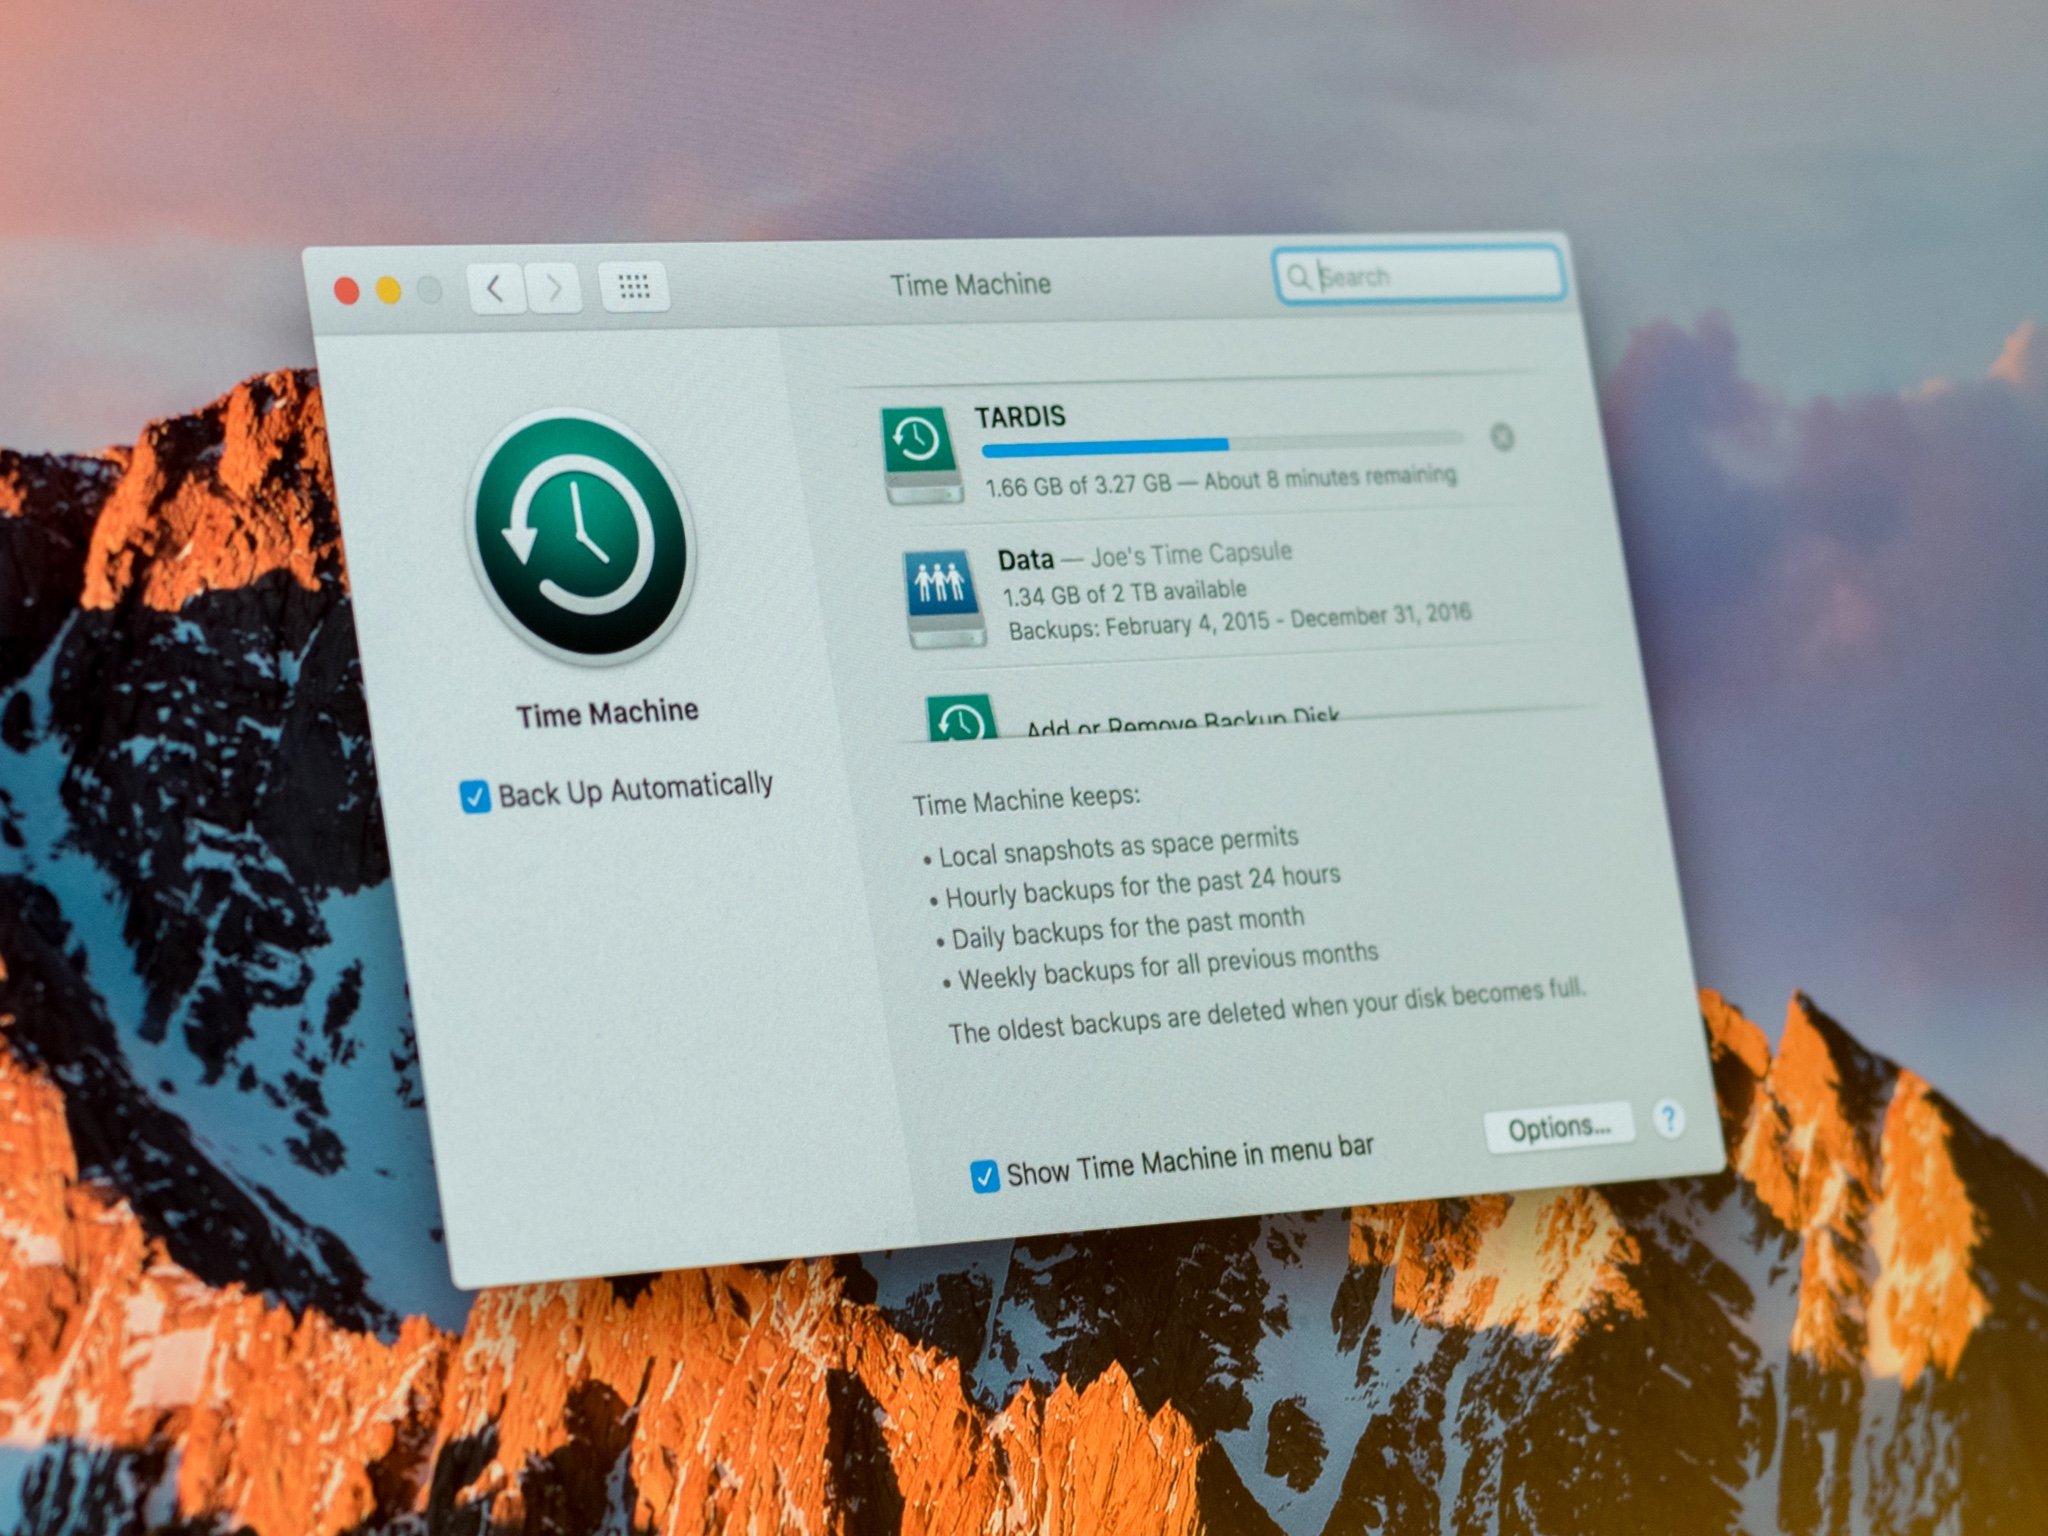
When you use an external hard drive to back up different Macs, Time Machine automatically creates separate folders, one for each computer. If you ever need to restore data from the hard drive on any of your Macs, Time Machine understands which files match the specific computer. Be sure to check out our list of the best external hard drives for Mac.
To back up different Macs using Time Machine, you can:
Do it manually
Perhaps the simplest way is to attach the drive to one Mac, let Time Machine run a backup, and then disconnect the drive and repeat the steps on another Mac. In each case, Time Machine works behind the scenes to get the job done.
The drawback to this approach is that you manually have to connect and disconnect the hard drive to each computer. Still, as long as you set up Time Machine on each Mac, you're good to go.
Use networking
A second solution is to share your backup drive using Personal File Sharing on macOS. In doing so, computers connected to the same network can use the same drive with Time Machine.
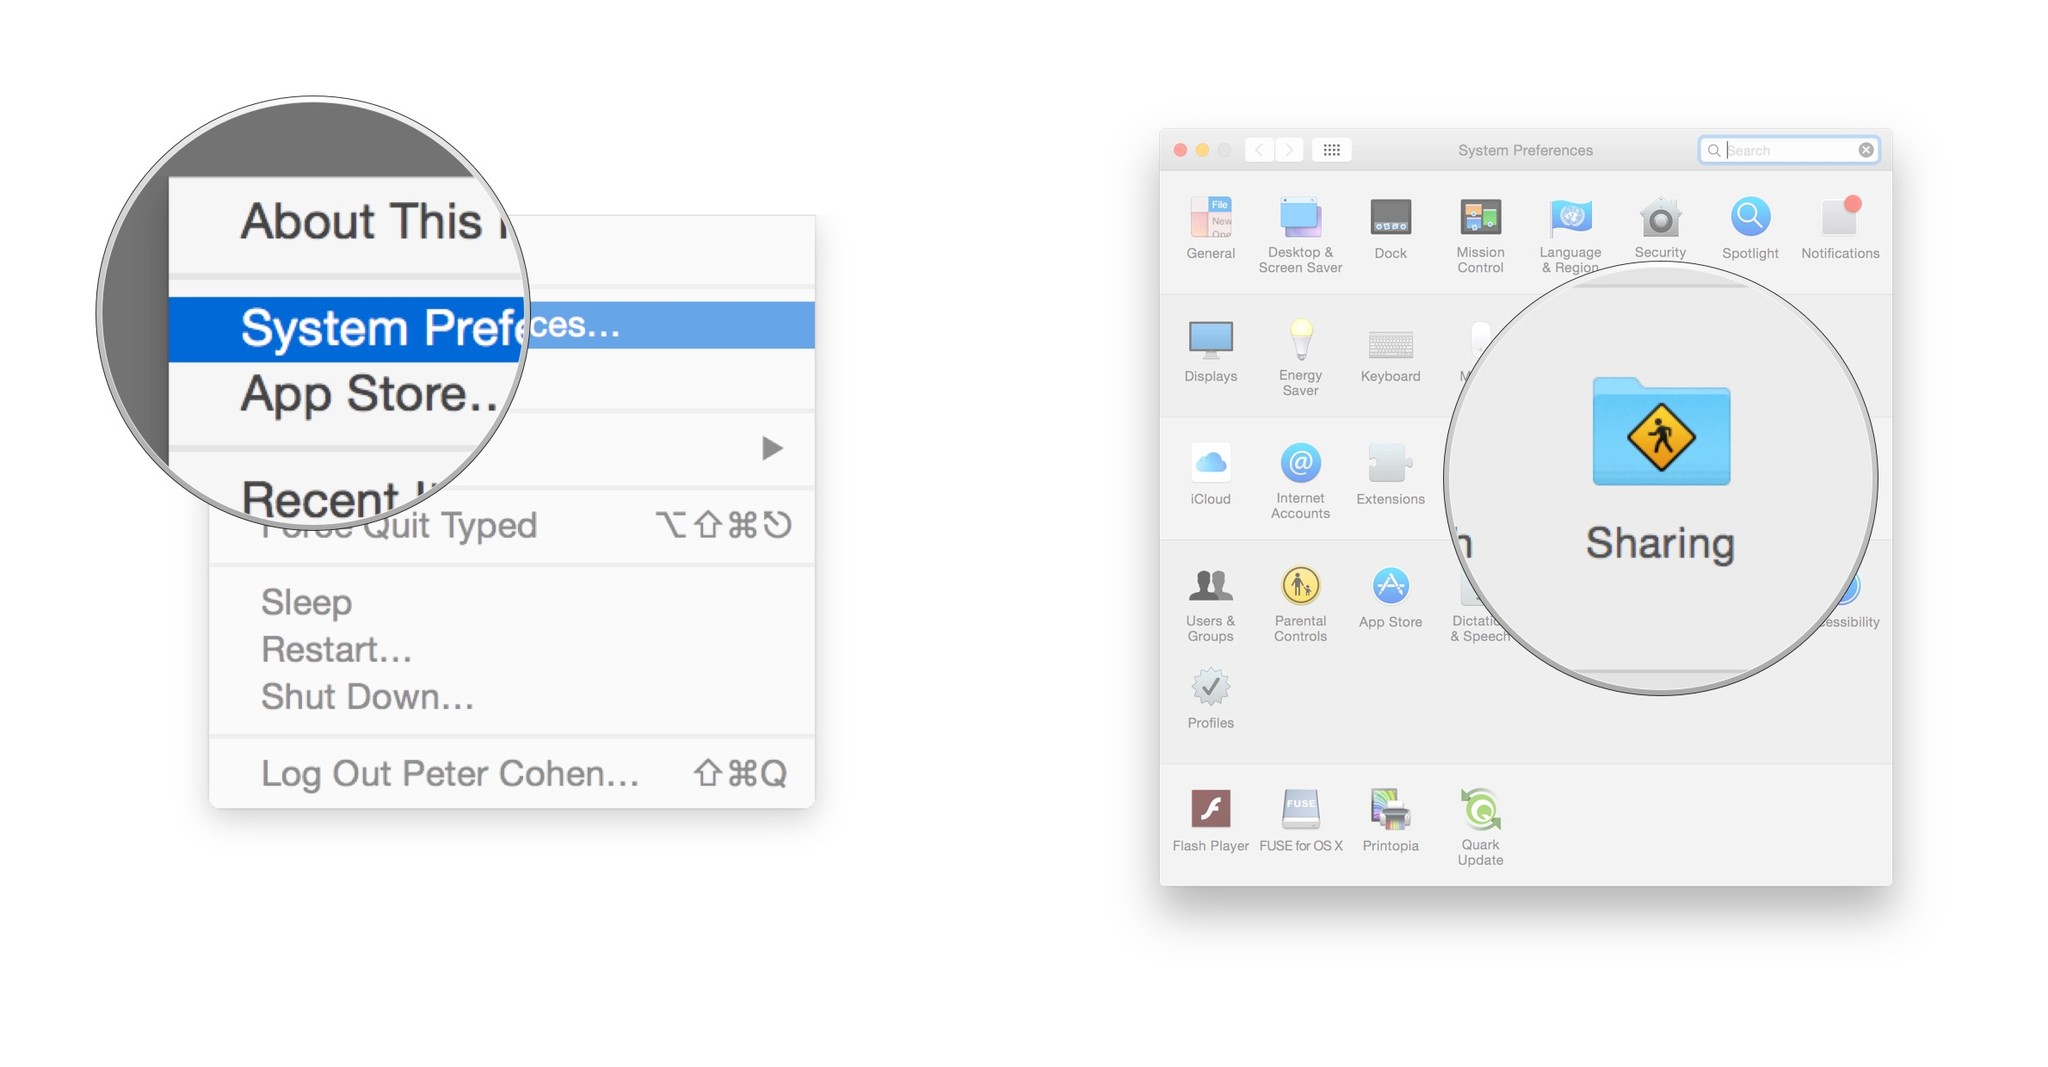
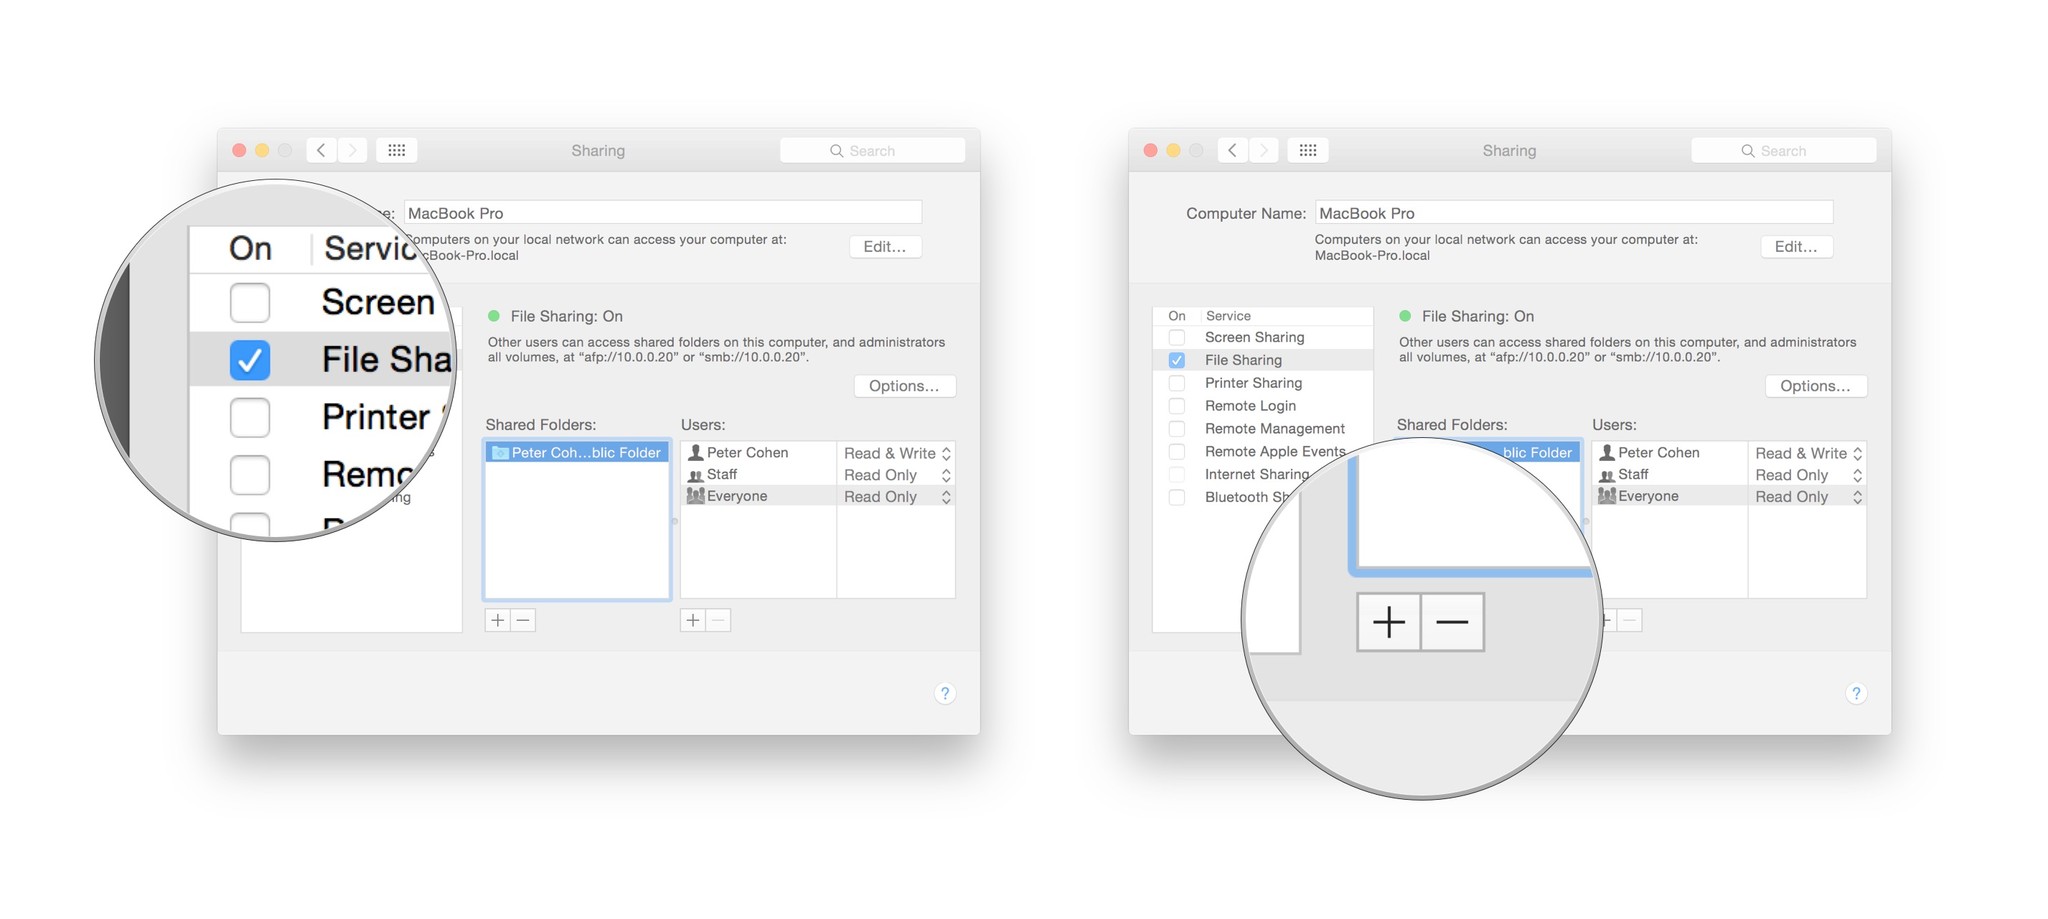
- Open System Preferences on the computer that's physically connected to the hard drive.
- Click on Sharing.
- Check the box next to File Sharing.
- Click on the + button under Shared Folders to share specific folders. In this case, share the external hard drive.
- Click on the Everyone user under Users.
- To the right of Everyone, change the permissions from Read-Only to Read & Write.
- On another computer on your network, open a window in the Finder.
- Scroll down the sidebar until you see Shared.
- Select the Mac you'd like to access. In this case, select the shared hard drive.
- If you are required to log in, you may see a button labeled Connect As....
Once the hard drive is shared successfully, you can set up Time Machine backup on your Mac. Repeat these steps on other Macs on your network.
iMore offers spot-on advice and guidance from our team of experts, with decades of Apple device experience to lean on. Learn more with iMore!
Our top equipment pick
There are countless hard drives available that support Apple's Time Machine app for backup purposes. These three are among the best on the market.
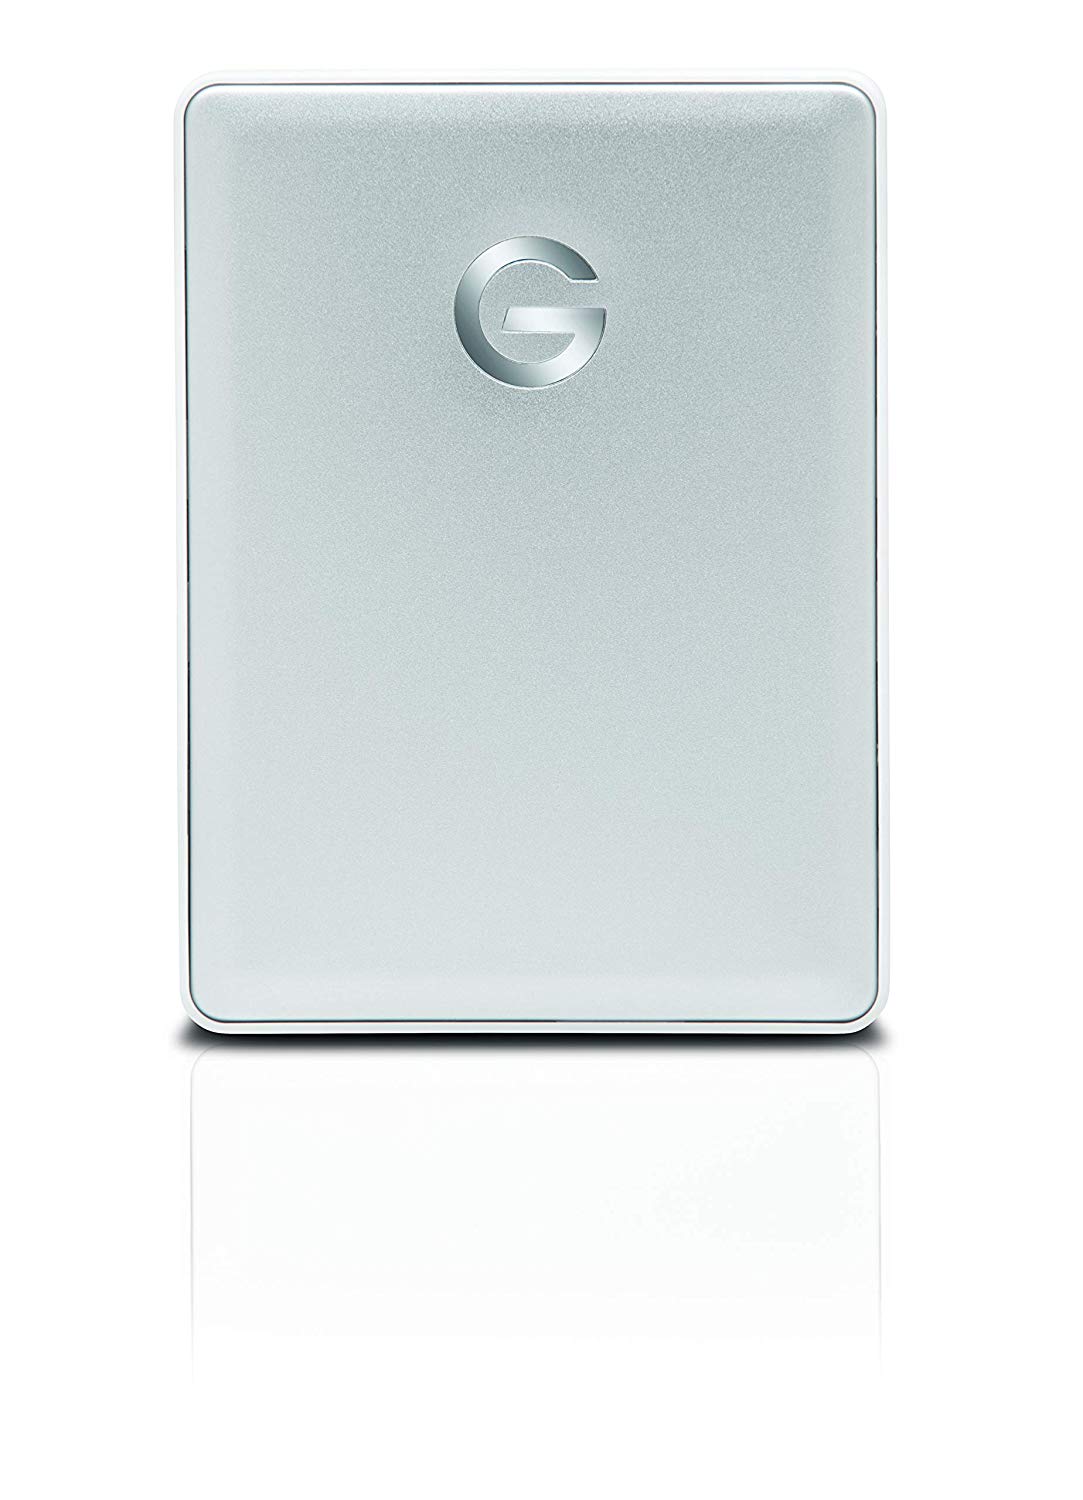
Also available with 2TB and 4TB, G-Technology's G-Drive is one of the easiest drives to use for backup. Just plug it in, and you're halfway there! It's available in silver, space gray, and rose gold.
Other options
The following hard drives are also among our favorites.
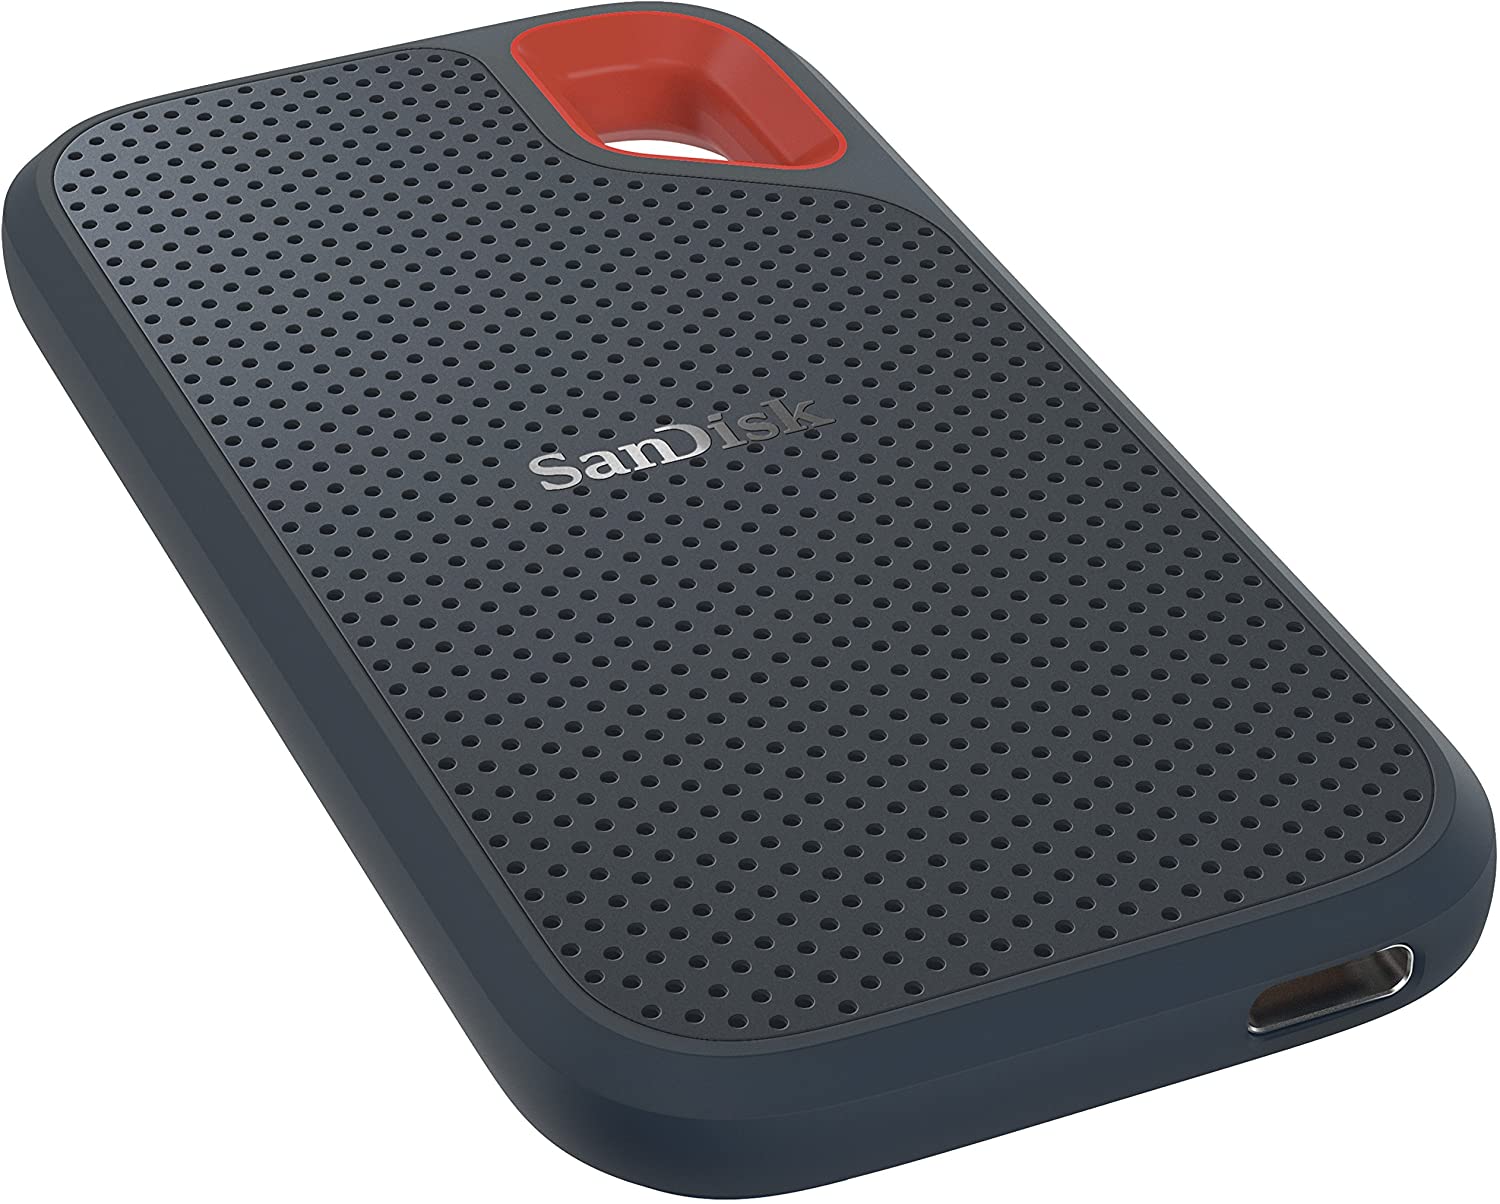
SanDisk Extreme Portable External 500GB, 1TB, 2GB (From $159 at Amazon)
This product proves that even hard drives can be beautiful. Get the one that matches your budget.
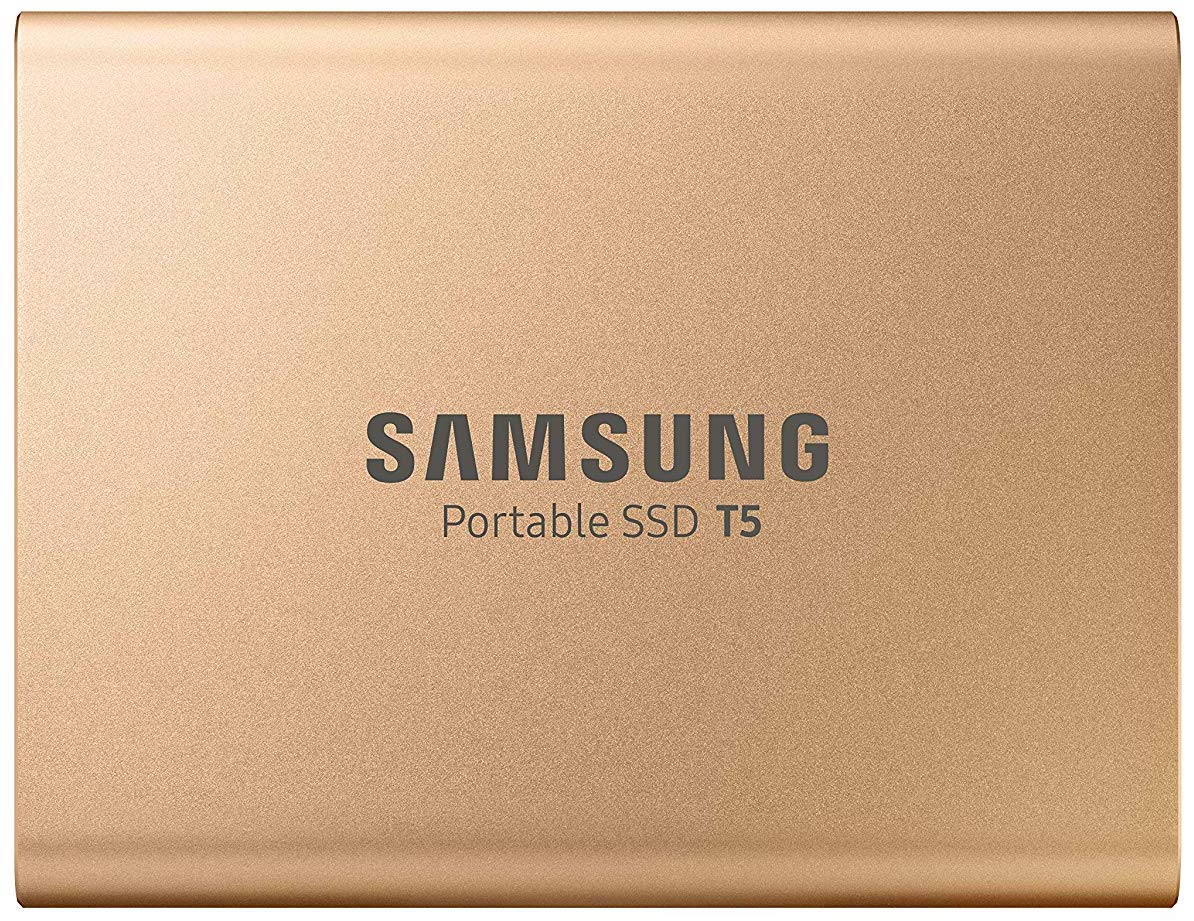
Samsung T7 Portable SSD, 500GB, 1TB, 2 TB (From $78 at Amazon)
Yes, Samsung makes some tremendous hard drives, including this one that's available in various colors.

Bryan M. Wolfe has written about technology for over a decade on various websites, including TechRadar, AppAdvice, and many more. Before this, he worked in the technology field across different industries, including healthcare and education. He’s currently iMore’s lead on all things Mac and macOS, although he also loves covering iPhone, iPad, and Apple Watch. Bryan enjoys watching his favorite sports teams, traveling, and driving around his teenage daughter to her latest stage show, audition, or school event in his spare time. He also keeps busy walking his black and white cocker spaniel, Izzy, and trying new coffees and liquid grapes.
