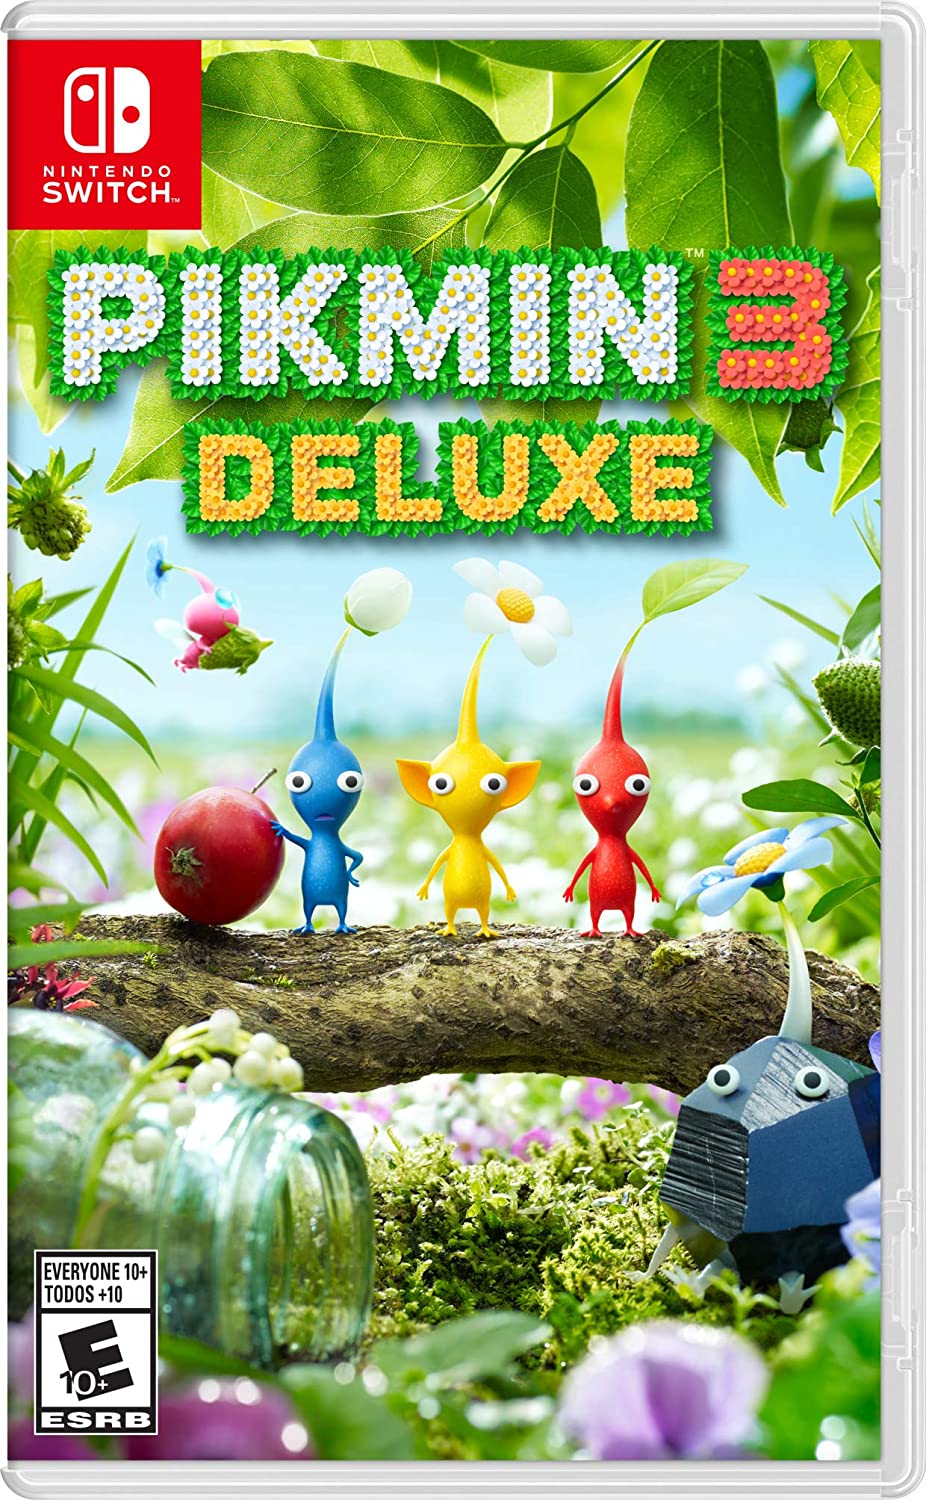
Pikmin 3 Deluxe bosses: How to defeat all bosses
iMore offers spot-on advice and guidance from our team of experts, with decades of Apple device experience to lean on. Learn more with iMore!
You are now subscribed
Your newsletter sign-up was successful
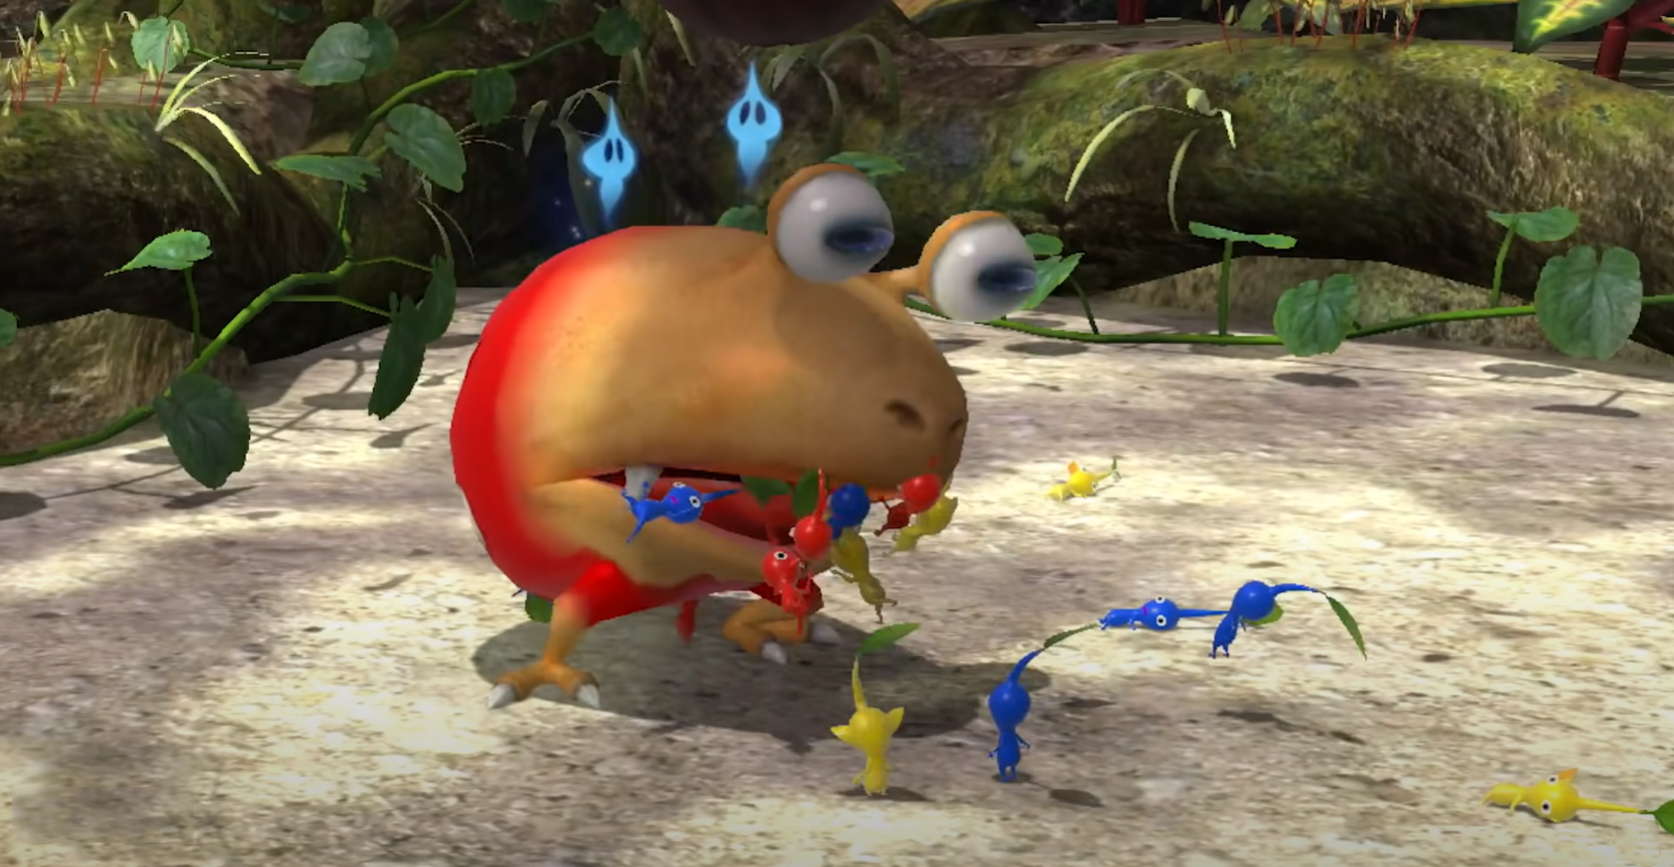
On its surface, Pikmin 3 Deluxe is colorful and adorable, but under the surface, the threat of death is lurking around every corner. As the tiny astronauts Alph, Brittany, and Charlie uncover the mysteries of the uninhabited planet they've crash-landed on, they'll have to contend with some truly threatening foes. Luckily, they've got the Pikmin by their side. While a lone Pikmin won't do much, with the right leader, the exotic monsters of PNF-404 will be no match for your rainbow army of plant soldiers.
Nine bosses appear throughout Pikmin 3 Deluxe, each with their unique quirks and attacks. If you're wondering how to defeat them all, we've got you covered. Here's how to defeat every boss in Pikmin 3 Deluxe.
Garden of Hope
Article continues belowPikmin 3 Deluxe Bosses Armored Mawdad
How to get to the boss:
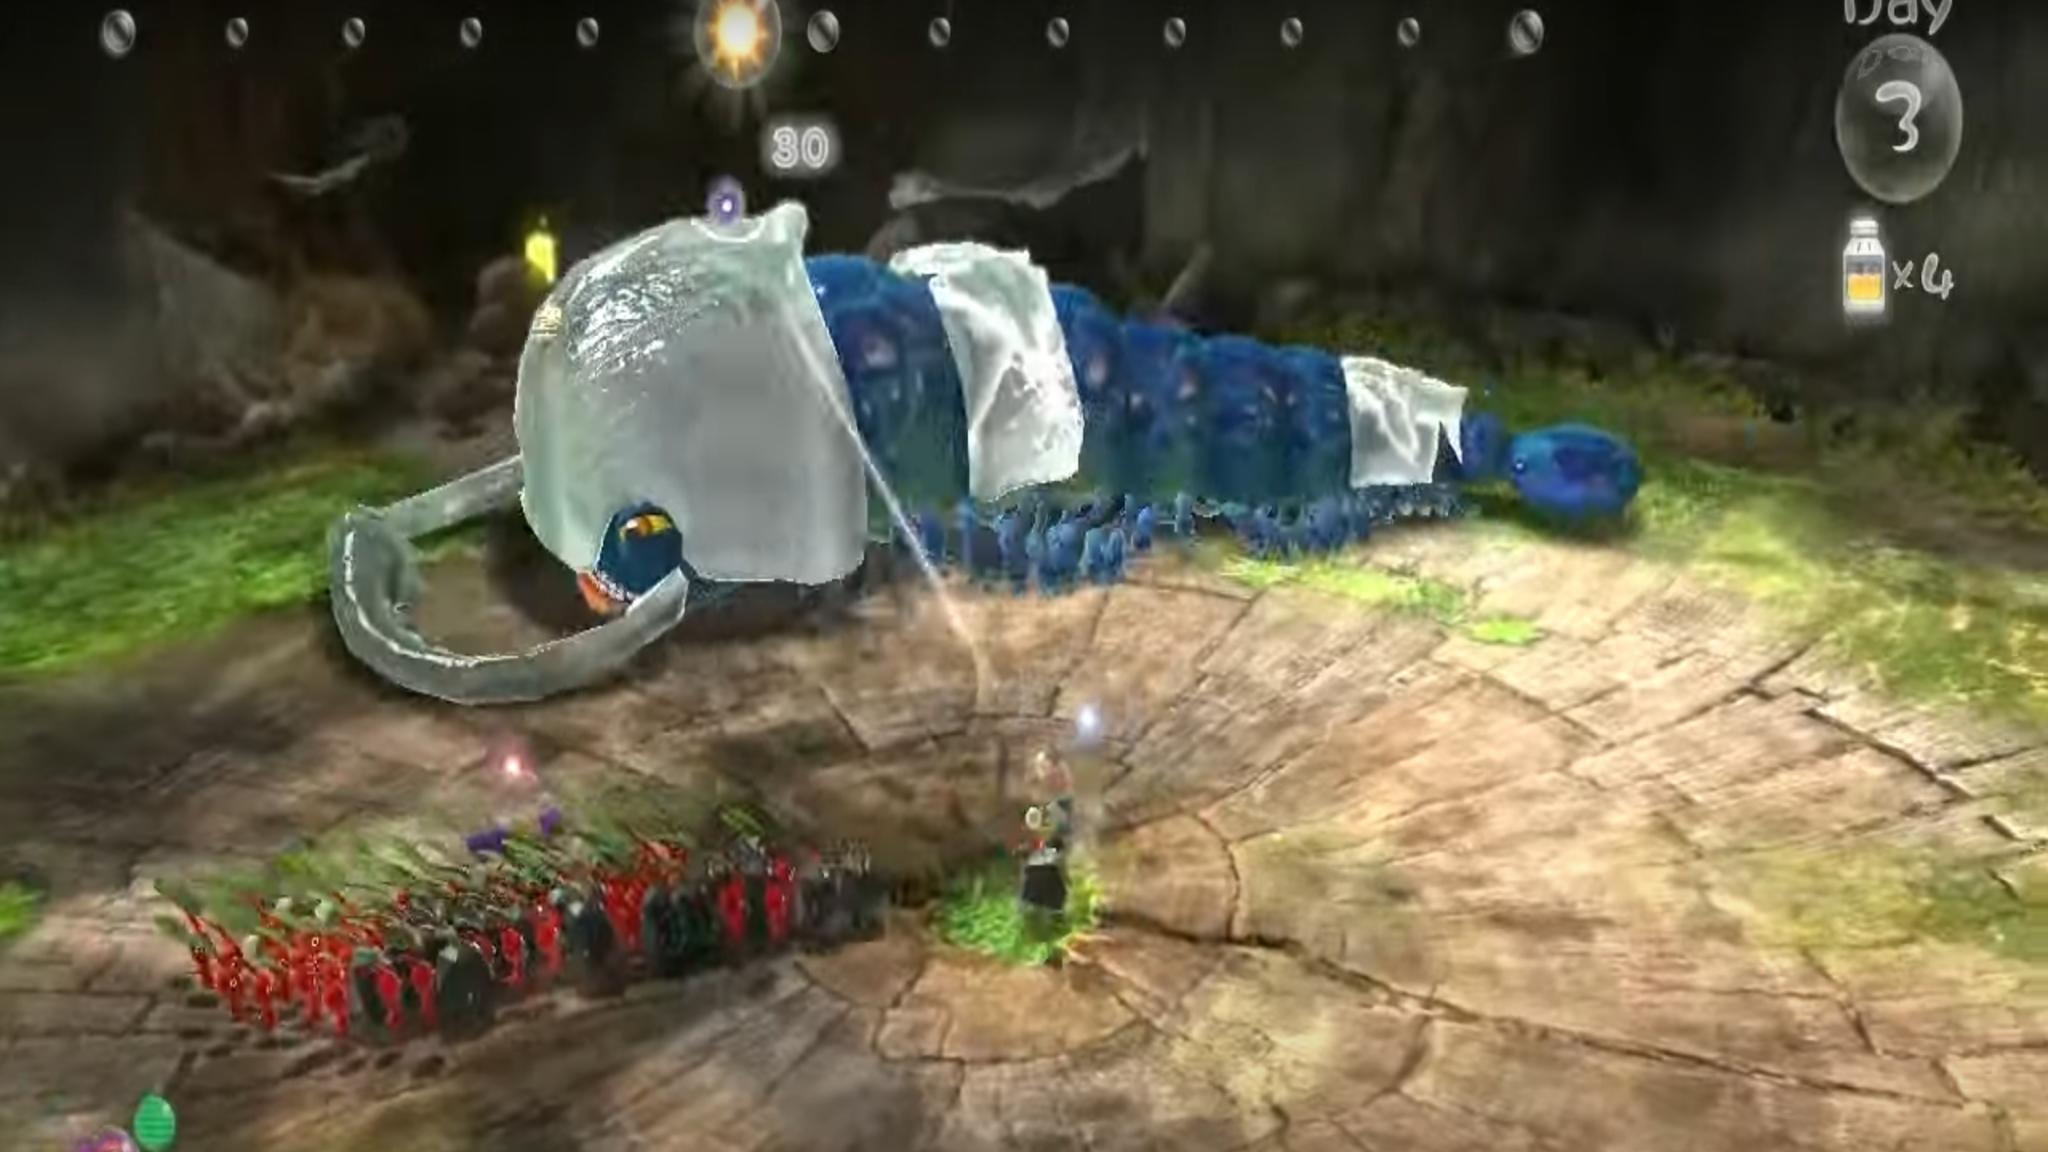
The Armored Mawdad is the first boss you'll encounter in Pikmin 3 Deluxe. Found inside a hollow tree on the Garden of Hope stage, it's a massive centipede covered in a crystal shell.
How to defeat the boss:
The Armored Mawdad is covered from head to toe in crystal armor, similar to the crystal you encountered throughout the stage. And like that crystal, you can break the Armored Mawdad's with a well-placed Rock Pikmin. You can crack open any part of its body, but if you want to inflict maximum damage, crack open the shell around the bug's massive head.
Once the fleshy insides are revealed, toss your Pikmin at the exposed parts to inflict damage on the giant pest. At some point, it'll begin to shake off the Pikmin and charge at Alph. Dodge the attack and continue your attack, calling the Pikmin back to your side once they've been shaken off. If some Pikmin gat caught in its charge, bonk it on the head to free them before the beast eats them. Once you've done enough damage, the creature will perish, and drop some goodies for your trouble.
Garden of Hope
iMore offers spot-on advice and guidance from our team of experts, with decades of Apple device experience to lean on. Learn more with iMore!
Pikmin 3 Deluxe Bosses Vehemoth Phosbat
How to get to the boss:
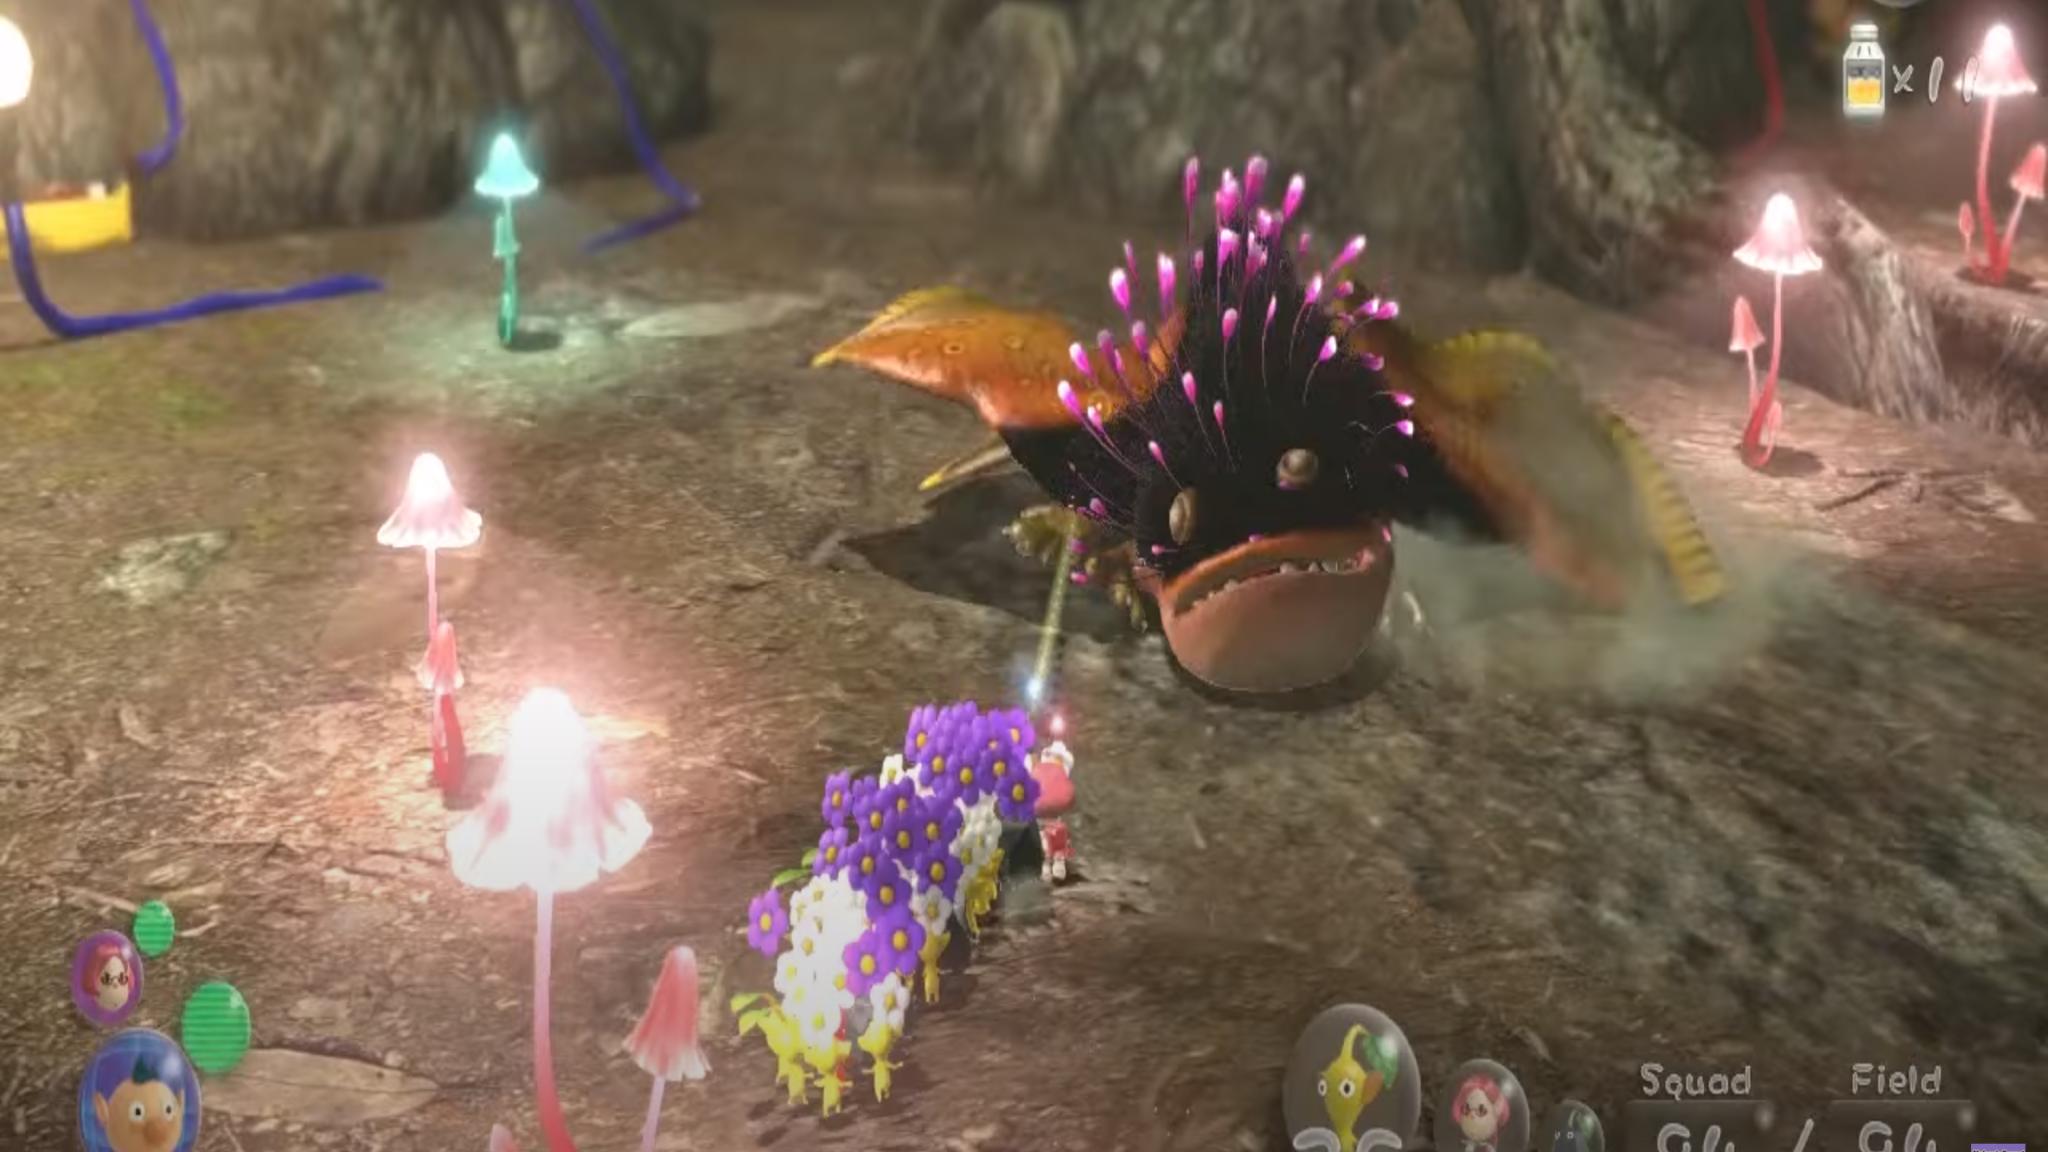
The Vehemoth Phosbat is the second boss you'll encounter in the game. It's found in the caves of the Distant Tundra. You'll need Yellow Pikmin to fight this boss, so be sure to amass a healthy army of them before you attempt this fight. You'll catch your first glimpse of the flying foe when turn on the first light inside the cave. As you venture further, you'll find another electric current. Use Yellow Pikmin to re-establish the connection and start the boss fight.
How to defeat the boss:
Vehemoth Phosbat hates the light, and every time you brighten the cave, you'll reveal the beast and stun it. Once you get a couple of good hits in, it'll shake off the Pikmin and begin flying again. Dodge its retaliation attack, and search the cave for climbing sticks. Use the Pikmin to rebuild the stick and then have them grab building material for the bridge. Once it's built, look for the red bioluminescent mushroom in the cave, and toss a good amount of Yellow Pikmin up on the ledge, as well as a captain of your choice. Have the captain lead the Yellow Pikmin over and reestablish connection, stunning Vehemoth Phobat again. Attack it with all you've got, and then hop down from the ledge and rejoin the group.
This time, the Vehemoth Phosbat will shout and stir pods that release tiny versions of the monster. Quickly take out the offspring and destroy the pods. Another broken electrical wire sits nearby. Use your Yello Pikmin to reconnect the current and take another opportunity to wail on the monster. After Vehemoth Phosbat is in the air again, dodge its attack and head to the crystal blocking the path to another pile of building material. Crack the crystal with some Rock Pikmin, and then send your Pikmin to the pile of material. Cross the bridge and reconnect the electric current one more time to light the whole cave this time, revealing the fiend.
Now that there's nowhere to hide, face the beast, chucking Yellow Pikmin at it to bring it down to the ground, and then using the rest of your Pikmin to charge at it for maximum damage. Do this a few more times, avoiding its vacuum attack, and you'll defeat the beast and free your captain, Charlie! If you run out of time while fighting the monster, you can always head back to the ship and continue the fight on the next day.
Garden of Hope
Pikmin 3 Deluxe Bosses Sandbelching Meerslug
How to get to the boss:
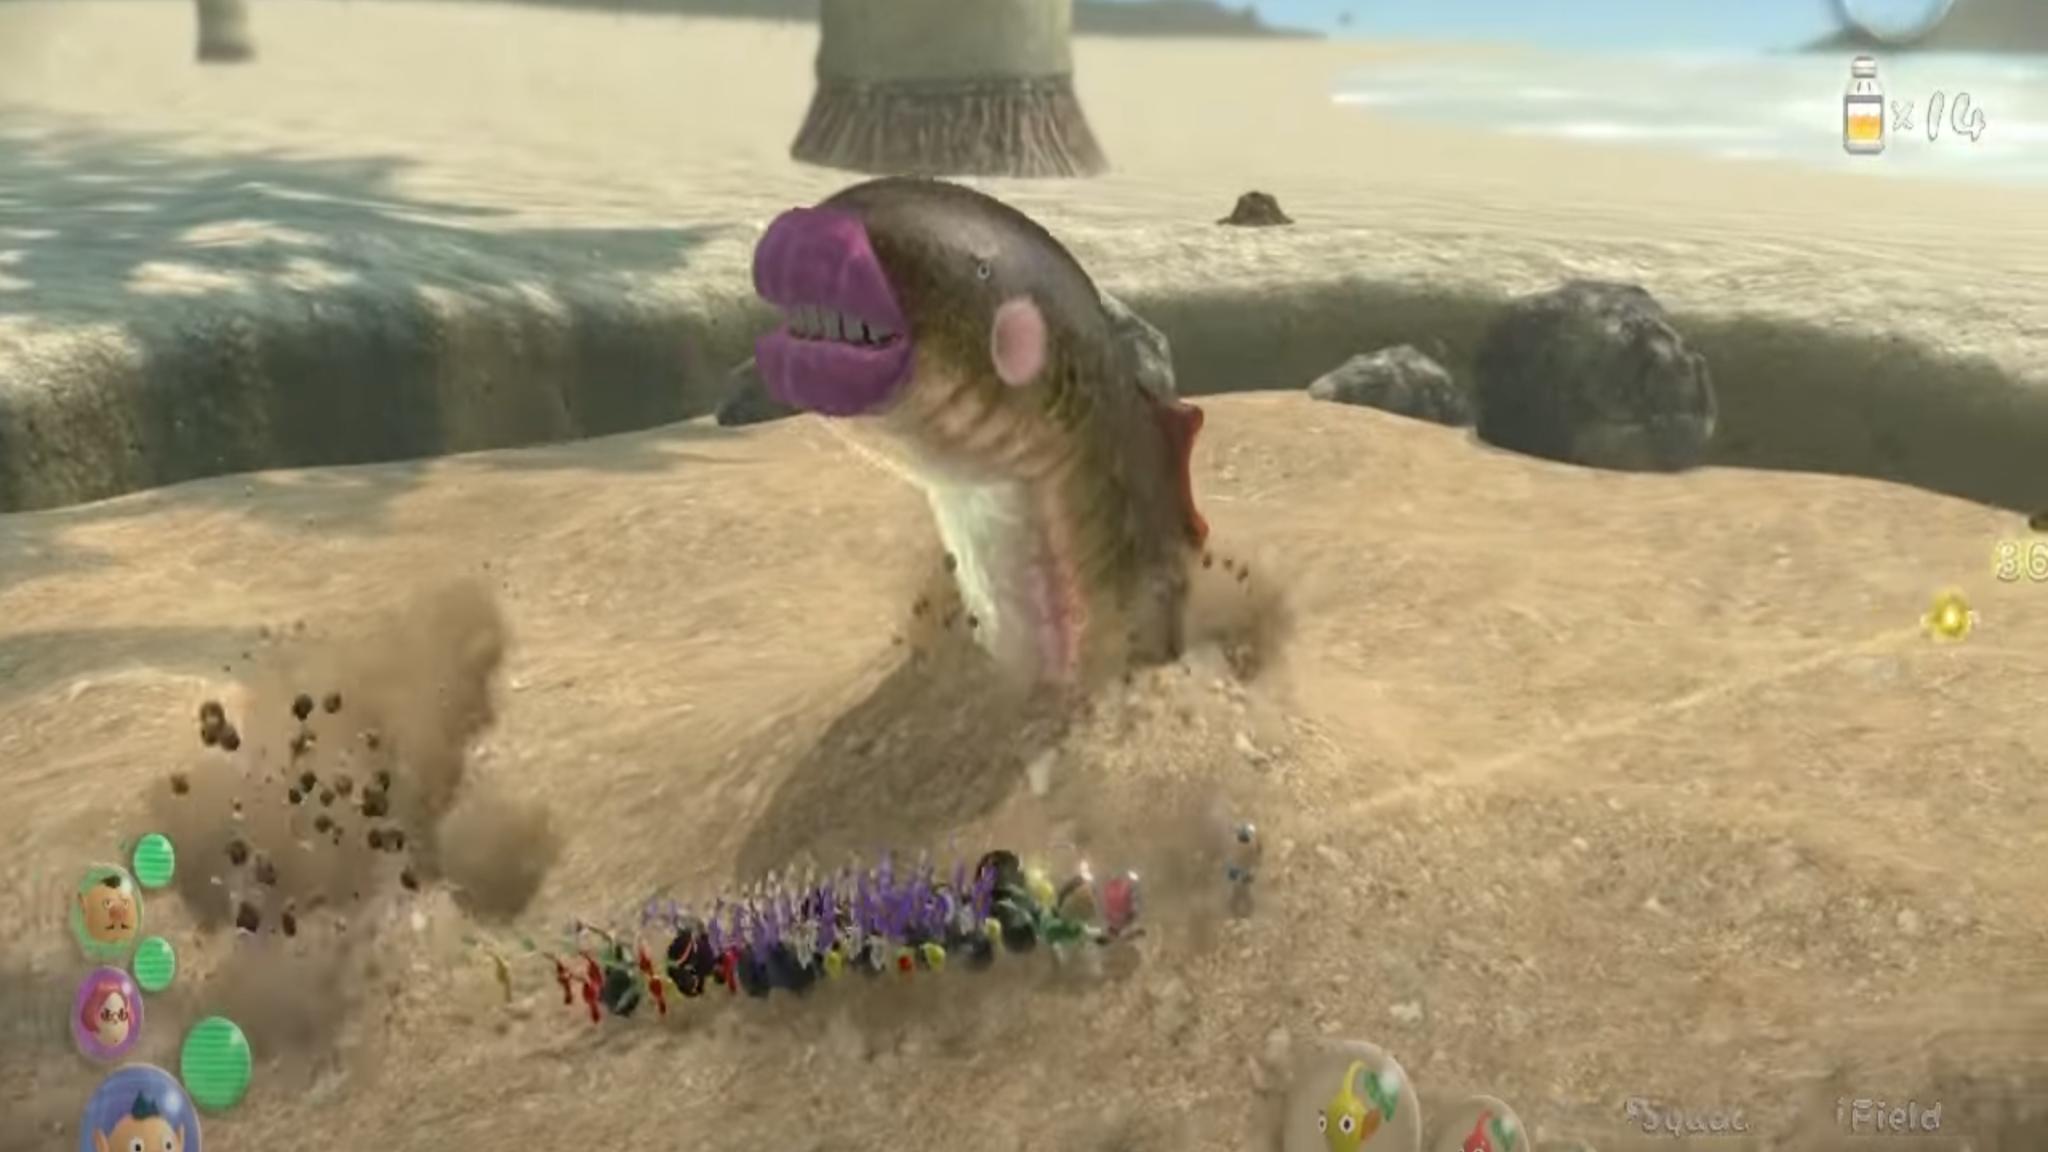
The Sandbelching Meerslug can be found in the large sandpit on the Tropical Wilds stage. As you might have guessed, the Sandbelching Meerslug is a giant sandworm.
How to defeat the boss:
You can use any Pikmin you'd like on this boss, but Red Pikmin work best. They might be second in power to Rock Pikmin, but they can hold onto their enemy and continue their attack, which Rock Pikmin can not.
The sandworm travels underground and tries to get beneath you and your Pikmin. It will create quicksand pits that will pull you and your Pikmin army in. Keep your distance and use the whistle to call any stragglers back to your side. When the Sandworm emerges, flank him and attack his neck with Pikmin. Watch out for the dirtballs it spits out, as they'll bury any Pikmin they hit. Do enough damage, and it will fall over, allowing you to inflict more damage.
Halfway through the fight, the giant worm will buy again and drag a pattern. You and your Pikmin must rush out of the way to avoid harm. The Sandbelching Meerslug will then try to suck you and your Pikmin into the pit by opening a huge sand pit. Stay near the edges to avoid. It will emerge again, this time out of a small hill of sand. He'll begin to shoot dirtballs at a faster rate than before. Dodge them and attack the monster directly to end the fight once and for all.
Garden of Hope
Pikmin 3 Deluxe Bosses Scornet Maestro
How to get to the boss:
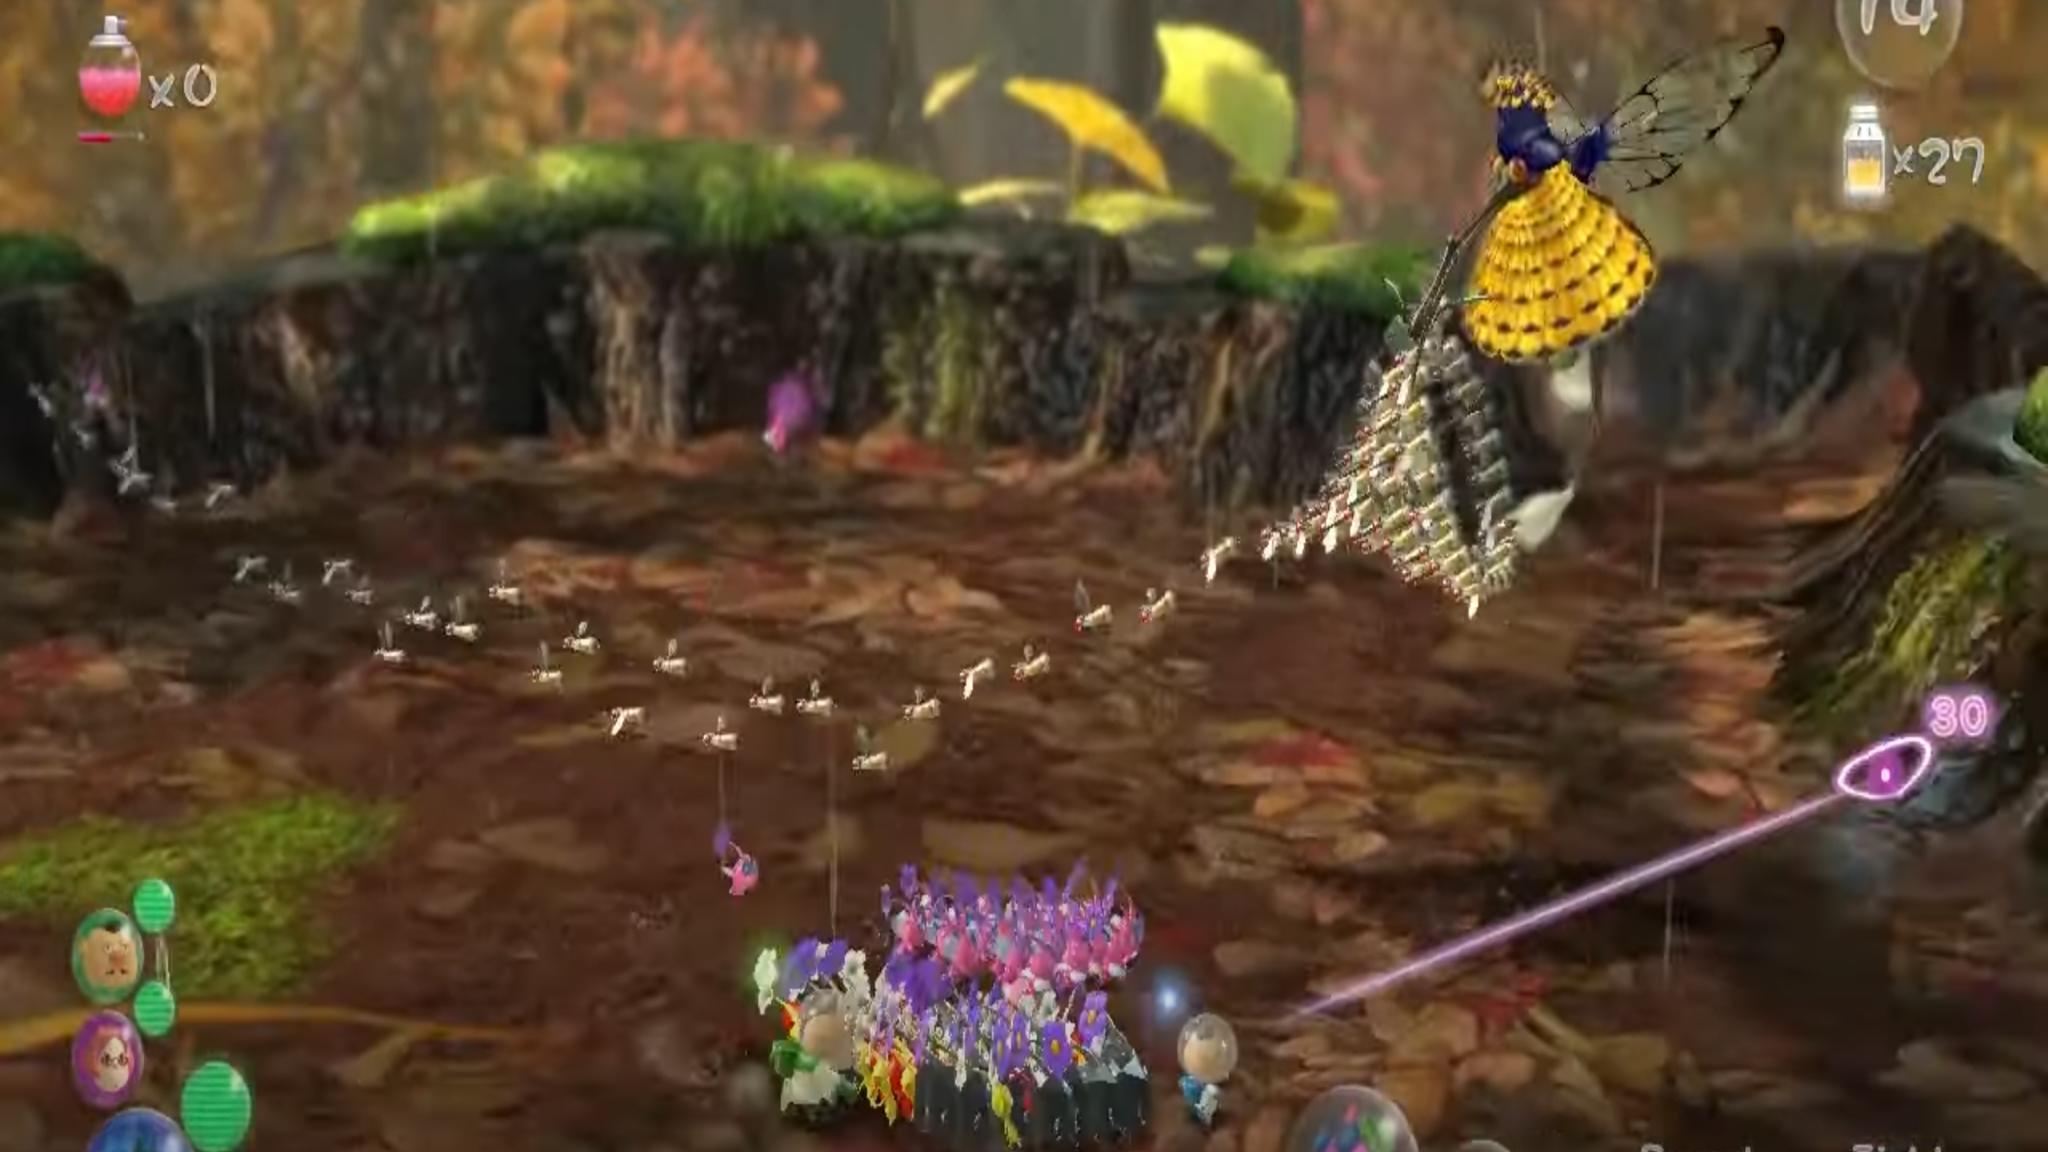
Scornet Maestro is the main boss of Twilight River. You'll find the Scornet Maestro's nest high in the trees. Make sure you have a good mix of Pikmin in your team, then head north from the landing site through the reinforced gate and up the paper bag ramp to the next area. Once there, cross the bridge and pass another reinforced gate, and follow the rebuilt bridge to the tree. Follow the ramp up the tree and a cutscene will begin, introducing the fatal foe.
How to defeat the boss:
The Scornet Maestro has his own army of tiny creatures to protect itself. Attacking it while it's cover in the swam is useless, so wait until he forms a drill, and dodge his attack. While it's attacking, target his exposed side and bring him down to your level. Then charge at it with your Pikmin. When the giant bee is back in the air, it'll send its minions out to kidnap your scatted Pikmin. Call them over with your whistle and use other Pikmin to free those that got caught.
The Scornet Maestro will try then line up its army of Scornets and send them at you. Quickly head to the edges of the map. You do not want to get hit by this attack. Once you're at the edge, flank it and attack the Scornet Maestro with everything you've got. The Scornet Maestro's final attack will encircle you in Scornets. Keep moving, and fight your way out, and score the final hits on the boss.
Garden of Hope
Pikmin 3 Deluxe Bosses Quaggled Mireclops
How to get to the boss:
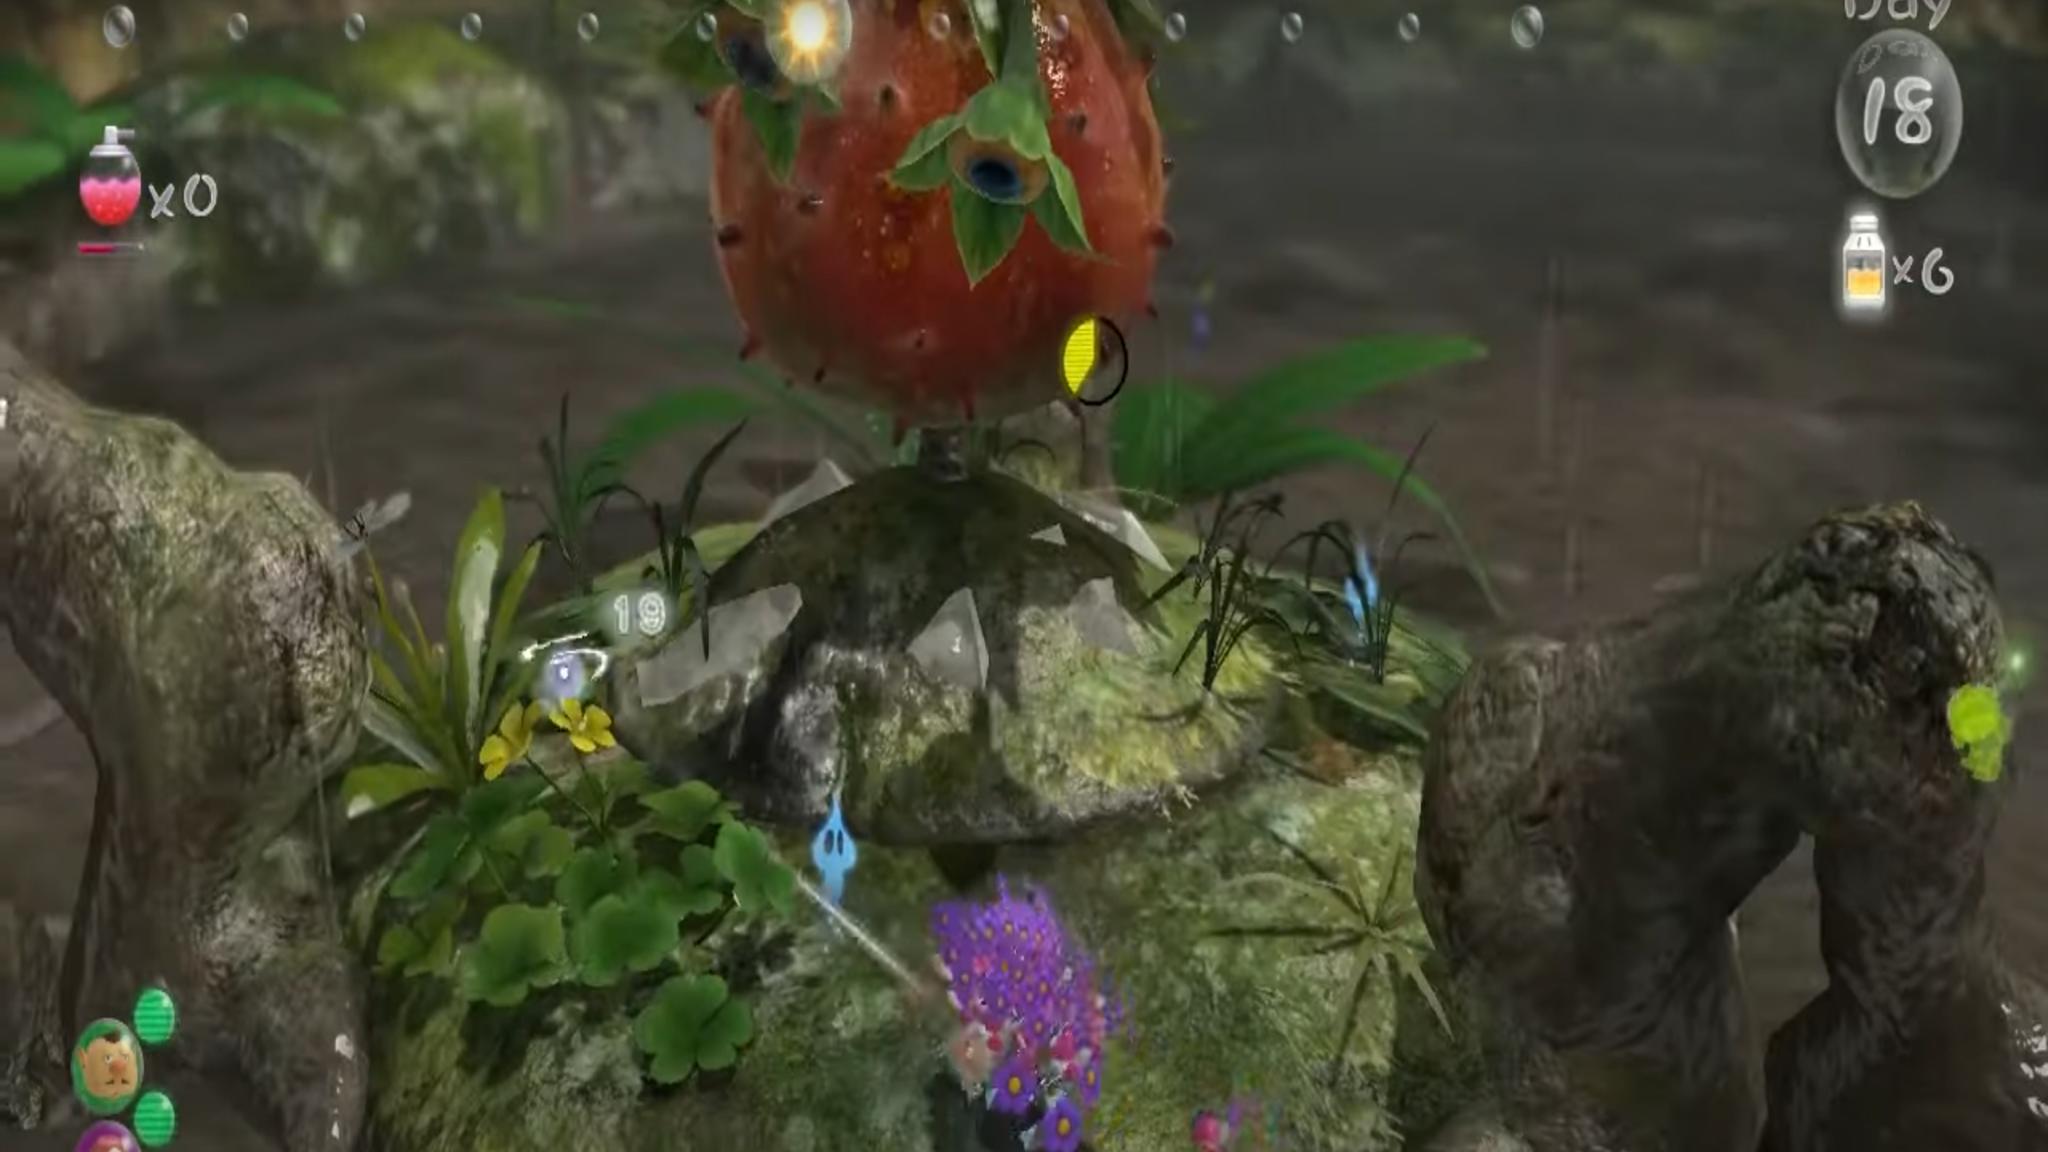
The Quaggled Mireclops is found in the Garden of Hope. You can only fight this boss once your return to the area later in the game, once you've found Blue Pikmin. Gather lots of Blue Pikmin in addition to Red and Rock Pikmin, and from the landing site, head through the dirt wall and make a right through the next dirt wall, where the blue bridge is. Cross the blue bridge and head up until you make it to the boss. It is the giant island in the middle of the area. Use some Rock Pikmin to crack the crystal in the middle to start the fight.
How to defeat the boss:
The boss is a giant island! Throw your Blue Pikmin at the Quaggled Mireclops foot. The puddles the monster leaves behind won't affect the Blue Pikmin. Keep you and the other Pikmin out of the way of its giant steps. Once you do enough damage, the Quaggled Mireclops will fall. Rush up to the middle with your Pikmin and smash the crystal with your Rock Pikmin. Do your best to avoid its tongue attack. That attack can wipe out your team of Pikmin fast. Stay as close to the top of the mound as possible and run clockwise as you throw Pikmin, always staying towered the high end of its leaning body.
After breaking the crystal, attack the exposed par with your Pikmin. The Quaggled Mireclops will sometimes throw you off of its body. If that happens, regroup with your Pikmin and topple the beast again. Try not to let any Pikmin fall underneath the monster – they won't make it back. Do this a few times, and the Quaggled Mireclops will call it quits.
Tropical Wilds & Distant Tundra
Pikmin 3 Deluxe Bosses Shaggy Long Legs
How to get to the boss:
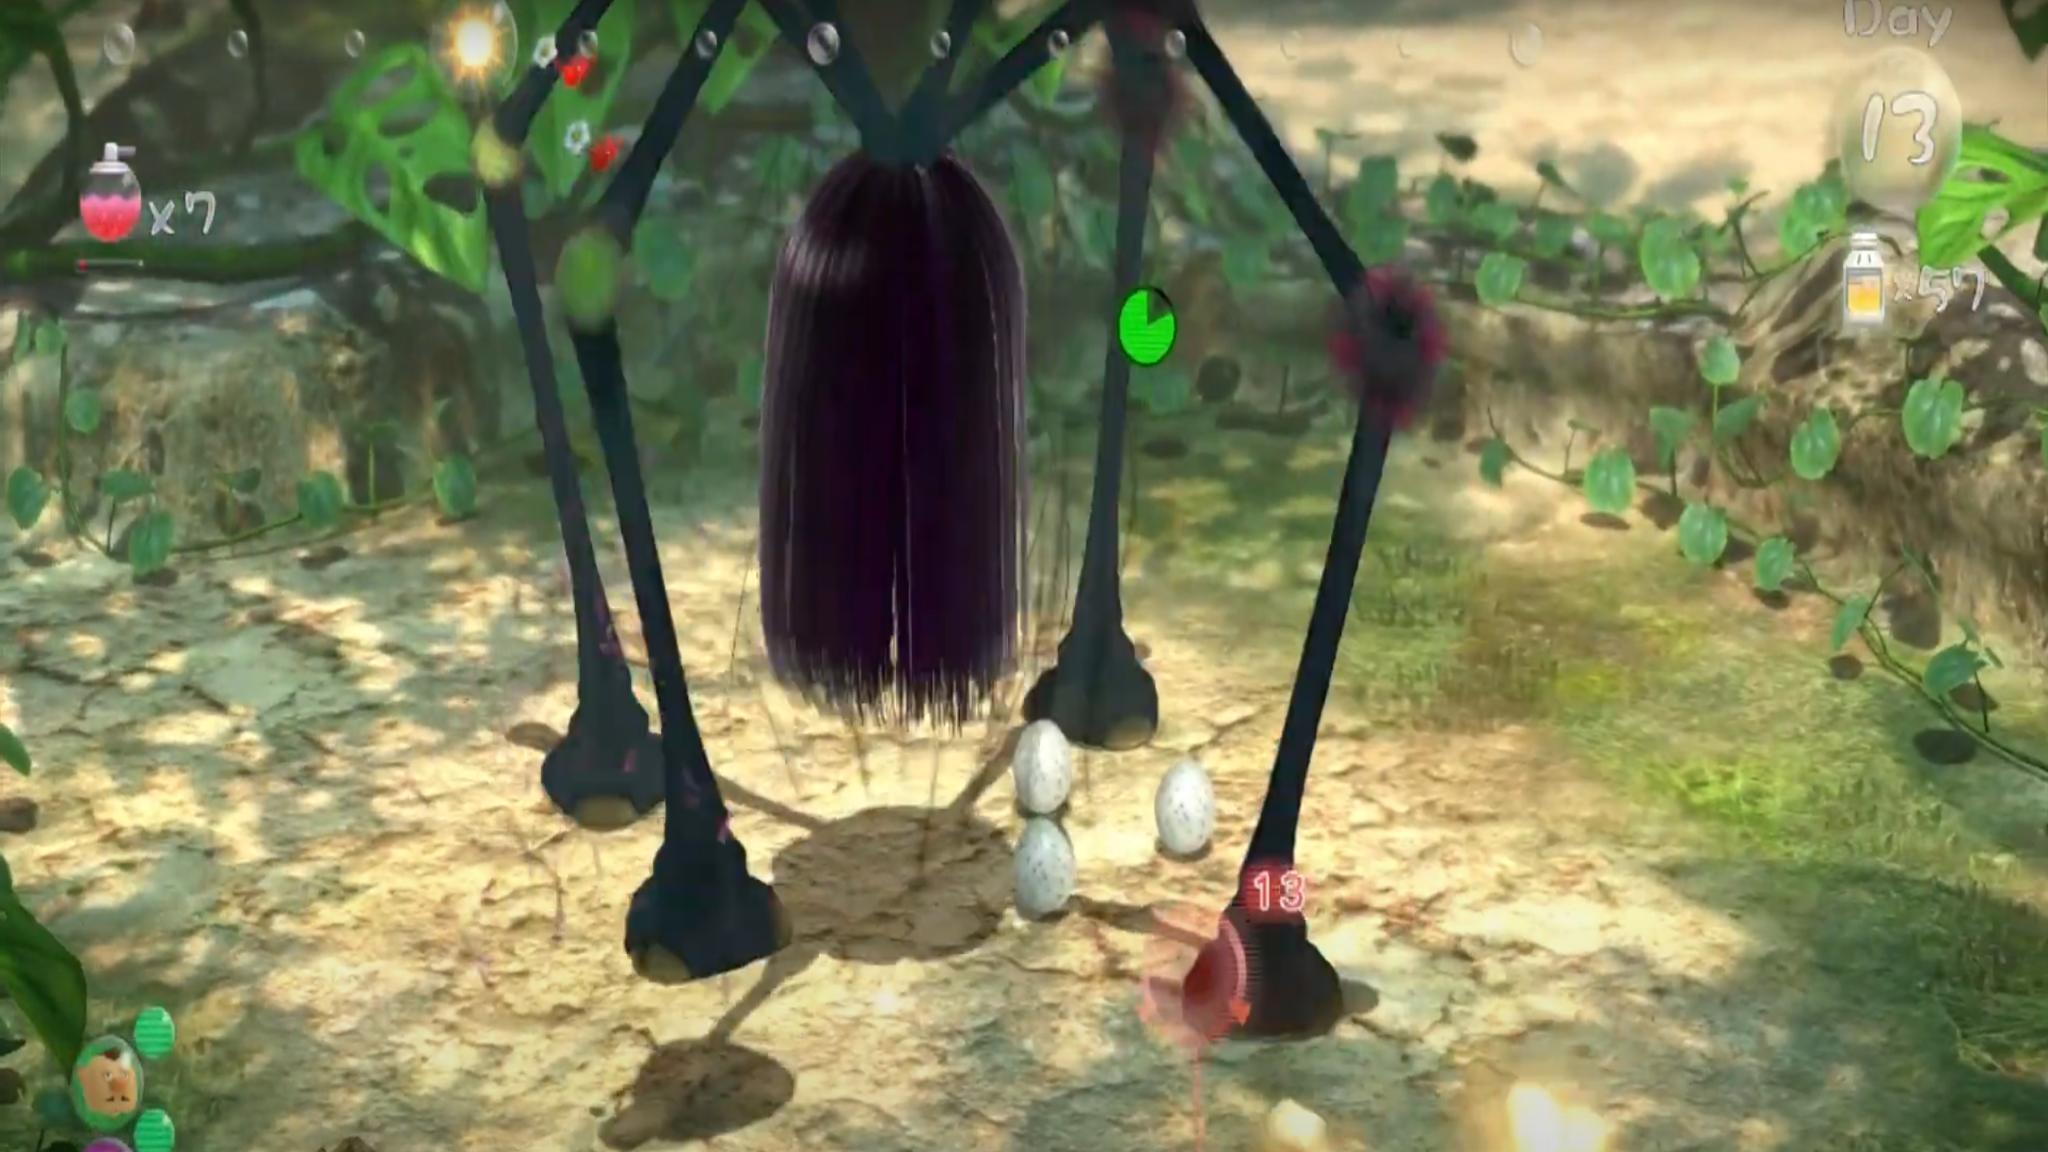
Shaggy Long Legs is a mini-boss that you'll encounter in two different places: In Tropical Winds and Distant Tundra. While they may look different depending on the area you encounter them in, you can defeat them the same way.
In Tropical Wilds: You'll find it beyond the reinforced wall near the pressure-sensitive switch on the beach. Use Rock Bombs to break down the wall.
In Distant Tundra: In the water, near a giant lemon, you'll see a bamboo gate that can only be opened with Winged Pikmin. Beyond that gate is the Shaggy Long Legs lair.
How to defeat the Boss:
Despite its intimidating appearance, Shaggy Long Legs are fairly simple to beat. In order to deal damage to the beast, you'll need to remove its hair. Yellow Pikmin and Winged Pikmin work best, as they can reach the shaggy center with relative ease, but the other Pikmin can climb up its thin legs to pluck its hair as well.
Once its hair is removed from its body, wail on it with your remaining Pikmin. It mostly just shakes your Pikmin off and tries to step on them, so just make sure no Pikmin get caught underfoot. You'll take it down in no time.
Garden of Hope
Bug-eyed Crawmad
How to get to the boss:
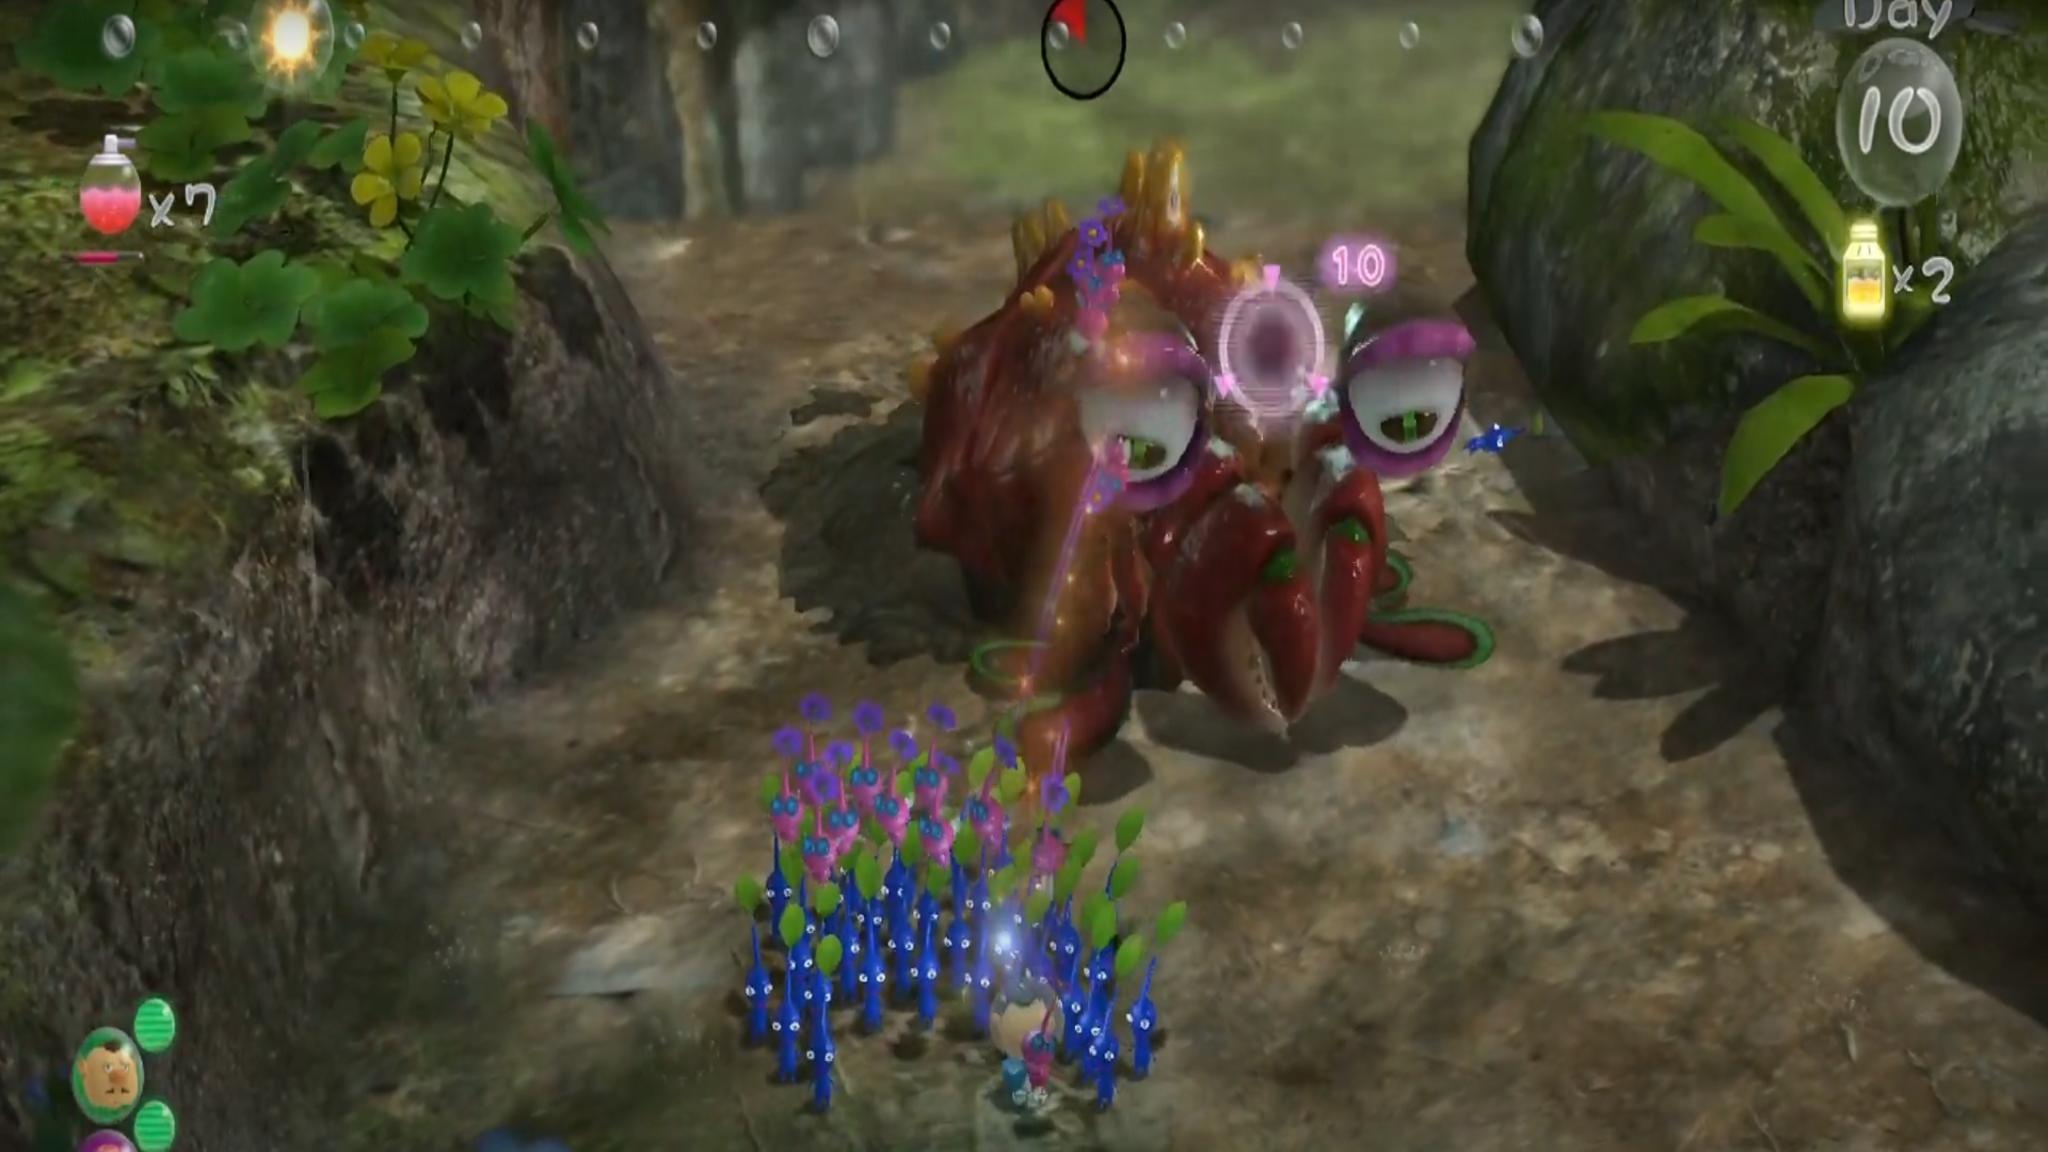
The Bug-Eyed Crawmad appears twice in the game, both in the Garden of Hope. One is lurking in the cave with the sewer grate entrance, while the other can be found beyond the dirt wall in the water. Both can be defeated in the same way.
How to defeat the boss:
Defeating the Bug-Eye Crawmad is easy. The key is to target its bug eyes. Once you do enough damage to its eyes, it'll flip over on its back. Then toss your Pikmin onto its stomach for maximum damage. Watch out for its attack, though – it'll lunge at you and grab some pincers in its mouth. Quickly attack its eyes to save any Pikmin caught in its mouth. Attack its eyes and stomach a few more times, and it'll fall over for good.
Twilight River
Pikmin 3 Deluxe Bosses Burrowing Snagret
How to get to the boss:
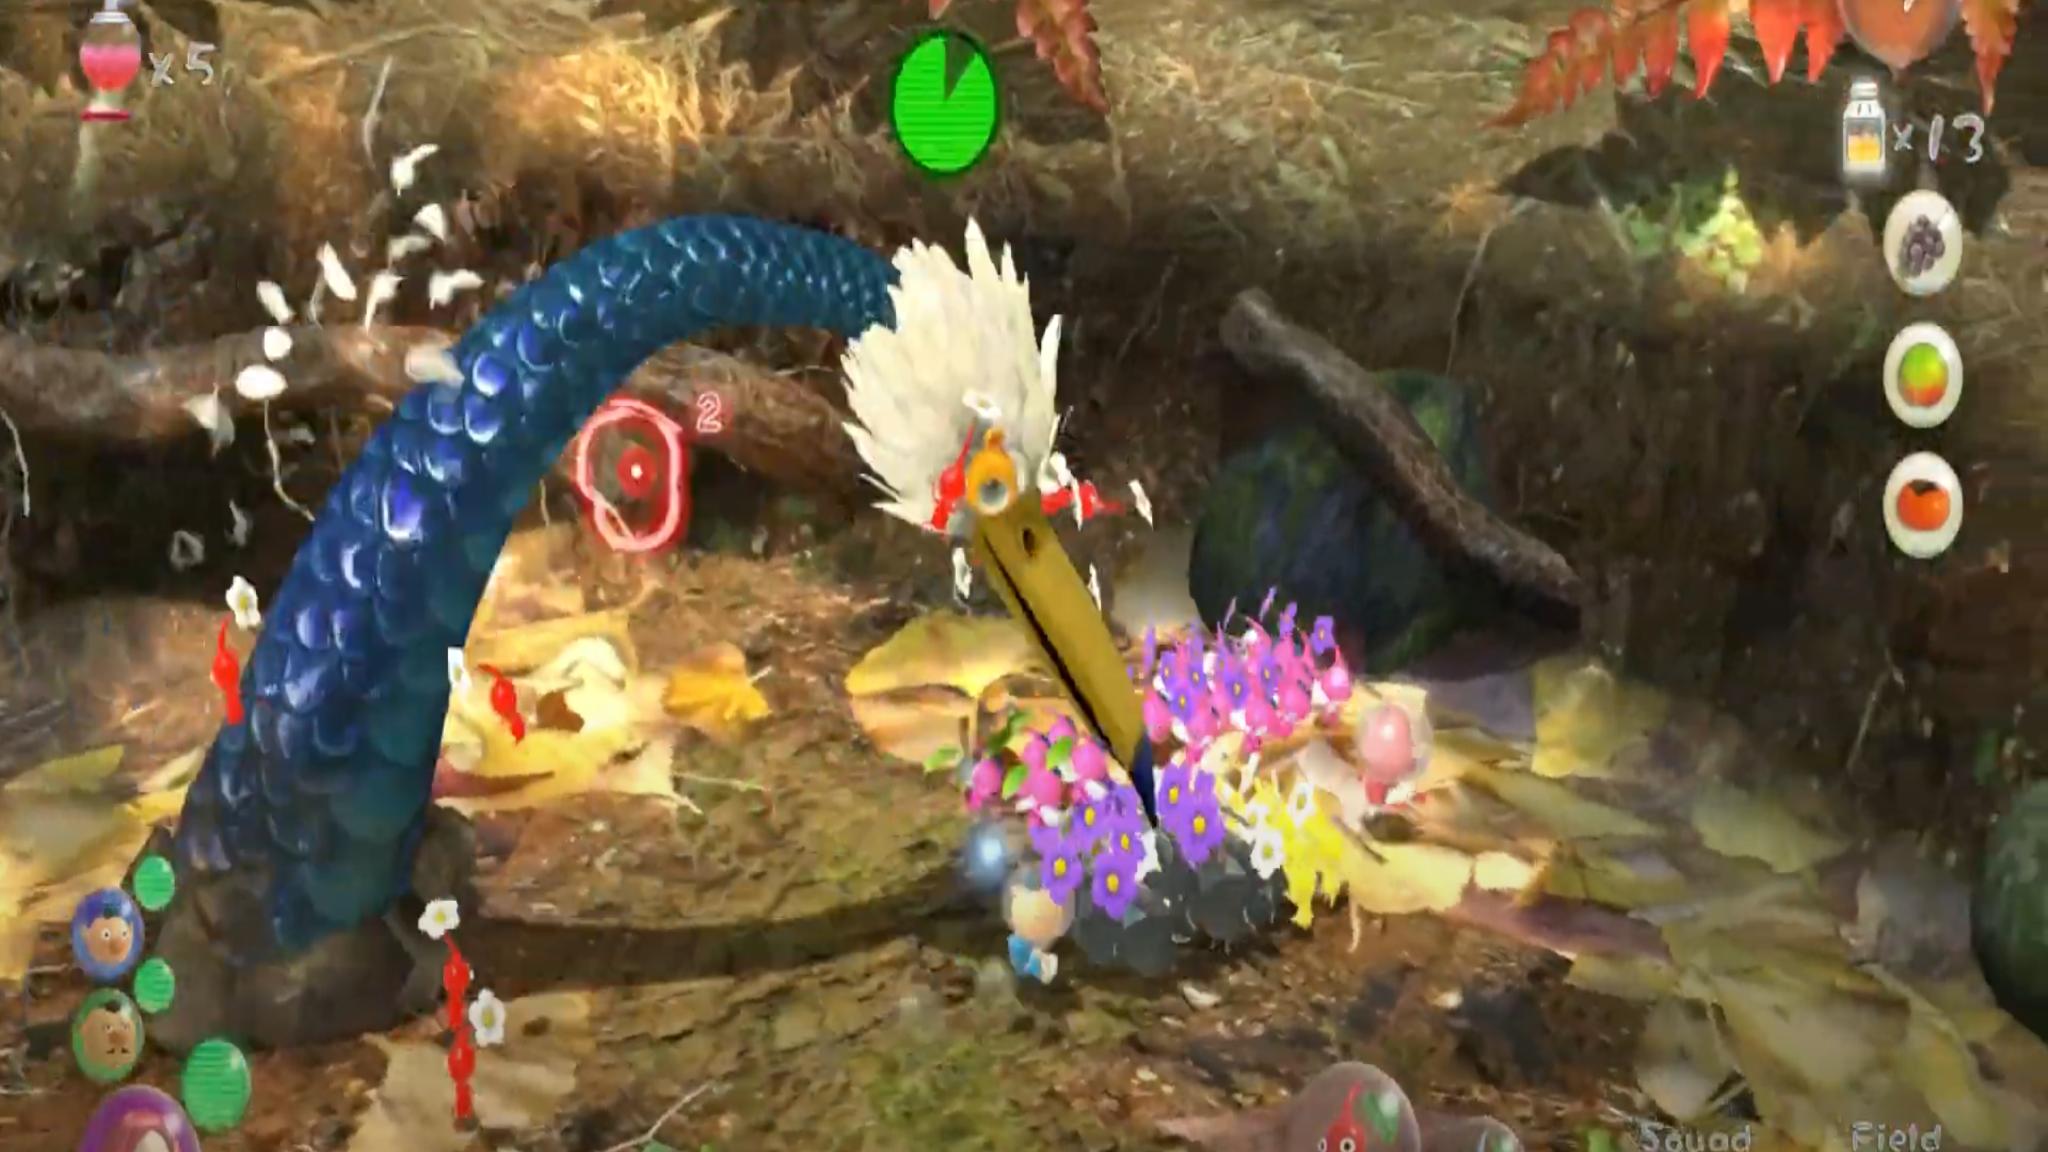
The Burrowing Snagret is a returning boss from Pikmin 1 and 2 and can be found in the Twilight River. To find it, ride the lilypad down the river to the tree trunk area, and find the electric fence near the bamboo one. Break down the electric fence and make an immediate left. You will end the Burrowing Snagret's lair.
How to defeat the boss:
The Burrowing Snagret is a straightforward boss, but it has a pretty nasty peck attack that can cut through your Pikmin numbers if you're not careful. This fight can be won by simply overwhelming the beast. Toss your Pikmin at its head for maximum damage and dodge its pecks to beat it. Also, it sometimes burrows and emerges underneath the Pikmin, knocking them back. Once you defeat it, the Burrowing Snagret will give up a prize in the form of a giant apple.
Formidable Oak
Pikmin 3 Deluxe Bosses Plasm Wraith
How to get to the boss:
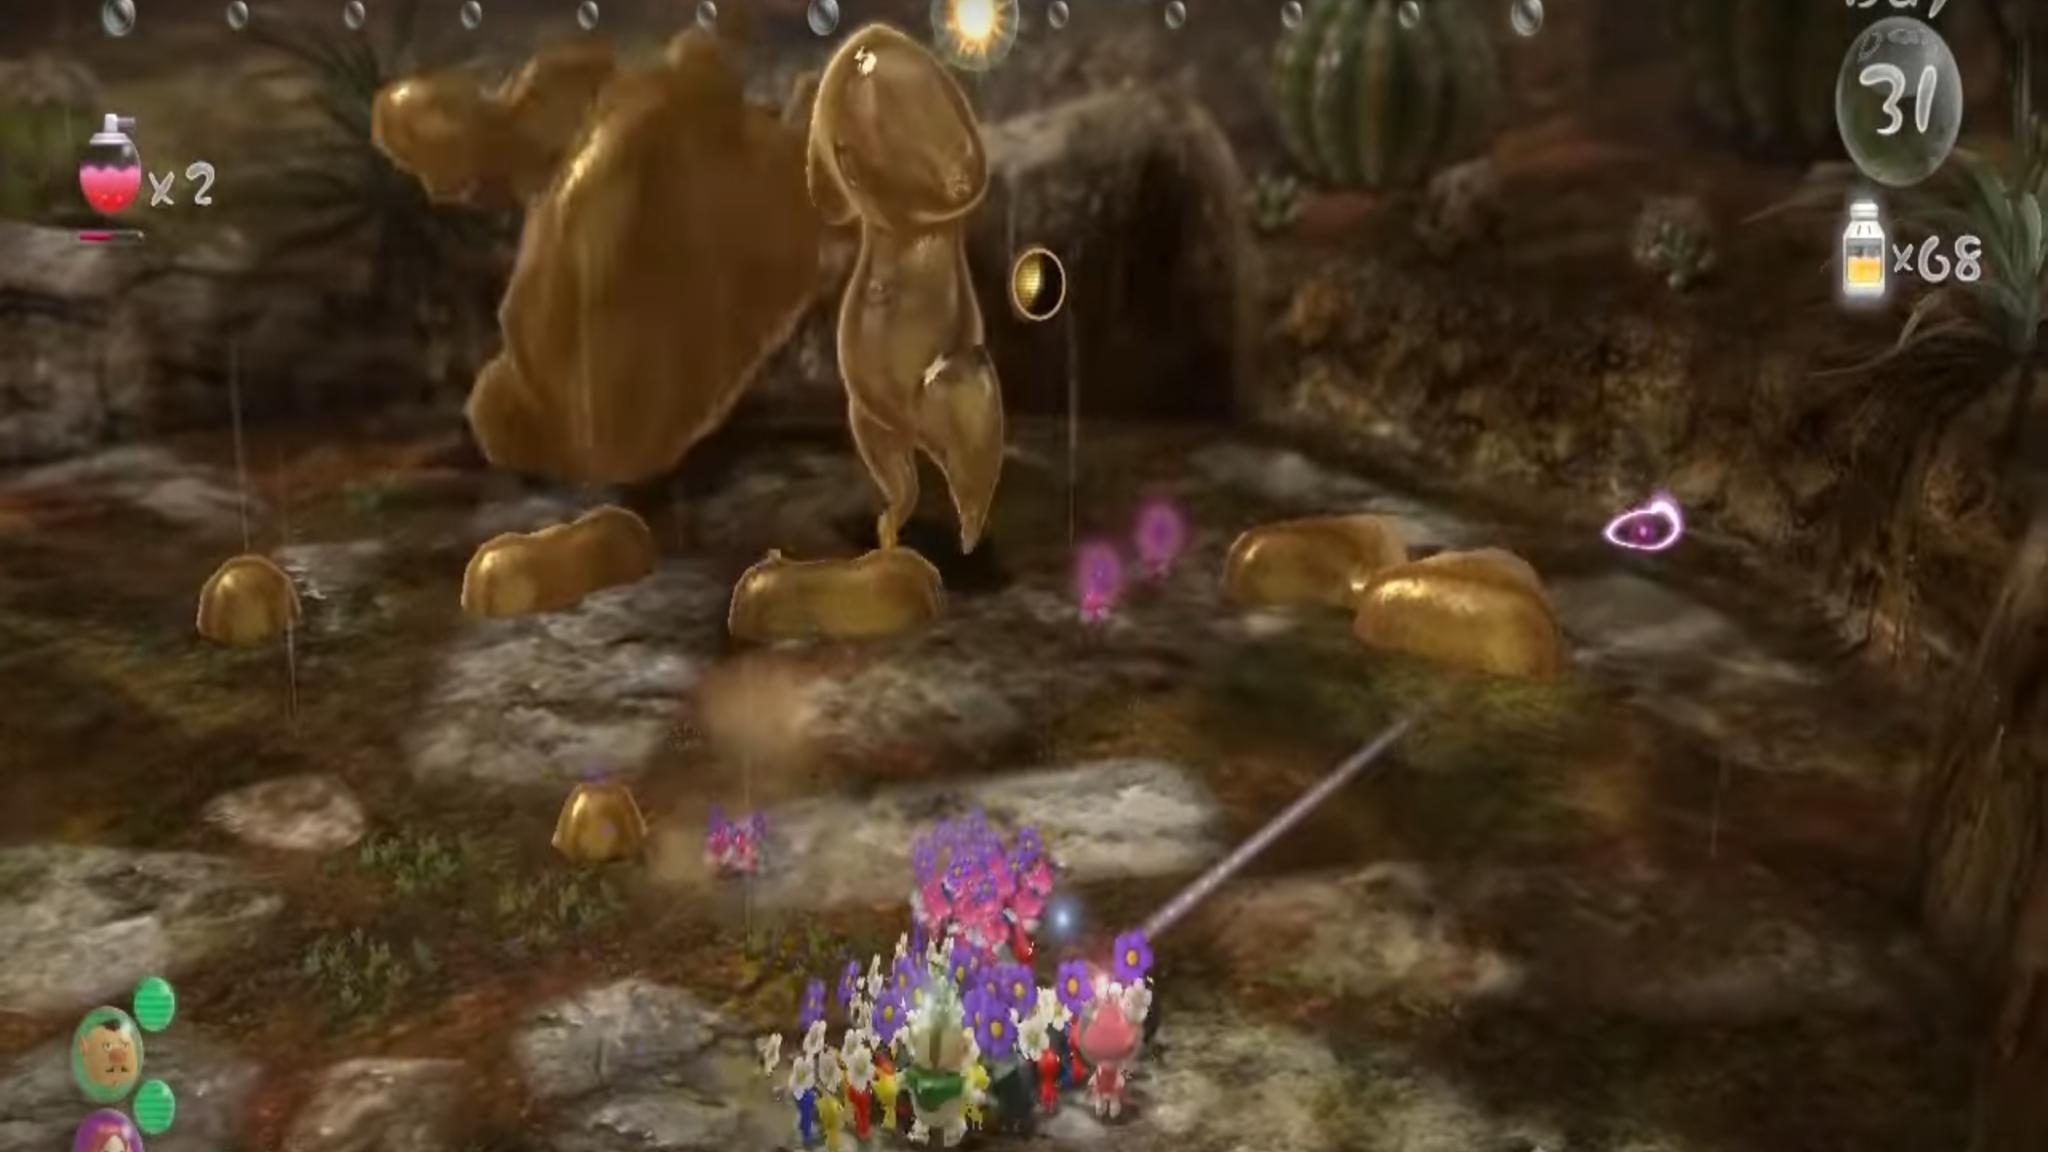
The Plasm Wraith is the final boss in Pikmin 3 Deluxe and is found in the final stage, the Formidable Oak.
How to defeat the boss:
Defeating the boss requires a good amount of all of your Pikmin, so split your team accordingly. In the first phase of the battle, the Plasm Wraith is invulnerable but will attack by shooting itself at you. When it's gold body hits the ground, send your Pikmin at it and destroy it before it has a chance to reabsorb it into its body. Rock Pikmin are unaffected by this attack, so they work best here. Sometimes, it'll release a cube that'll be wrapped in a certain element. Attack the cube with the appropriate Pikmin to destroy a good portion of golden goop. If it starts flying, use Winged Pikmin to bring it back down. Once you've destroyed enough of its body, it'll start sending out three cores instead of one.
Once you've done enough damage to it, it'll retreat and give up the prize – Captain Olimar! The game ends after that, so you can sit back and enjoy the final cutscene.
Strength in numbers
That's how you defeat all the bosses found in Pikmin 3 Deluxe. With the right strategy (and the right Pikmin), any obstacle can be overcome. Once you're done handling the bosses, don't head back home empty-handed! Be sure to go back and collect all of the fruit in Pikmin 3 Deluxe.
Pikmin 3 was one of the best games on the WiiU and is sure to be one of the best Nintendo Switch games when it releases on October 30th, 2020. Be sure to check out the free Pikmin 3 Deluxe demo available now on the eShop. Completing it will unlock some goodies for the final game.
Zackery Cuevas is a writer for Windows Central, Android Central, and iMore. He likes playing video games, talking about video games, writing about video games, and most importantly, complaining about video games. If you're cool, you can follow me on Twitter @Zackzackzackery.
