How to replace the vibrator assembly in your iPhone 3G or 3GS
Disclaimer: As with any repair, iMore nor PXLFIX can be held responsible for any damage you may do to your device. It's also worth considering that opening up your device to perform any repair or modification can and will void your Apple warranty. If you don't feel comfortable opening your device, don't. Use extreme care and caution when performing a repair on any device.
Symptoms
- Your phone never vibrates even if vibrate is on in Settings
- Even if you flip your phone from vibrate to loud, you never get any feedback from the vibrate function
What you need for a DIY vibrator assembly repair
iMore recommends using only quality and genuine parts from a reputable supplier like iFixYouri. They have quality parts, tools, and much more for all your repair needs.
- A sad iPhone 3G or iPhone 3GS
- A replacement vibrator assembly
- A #00 Phillips screwdriver
- A suction cup
- A plastic pry tool or spudger
This repair will be performed in exactly the same manner regardless whether you have an iPhone 3G or iPhone 3GS.
Power off your iPhone
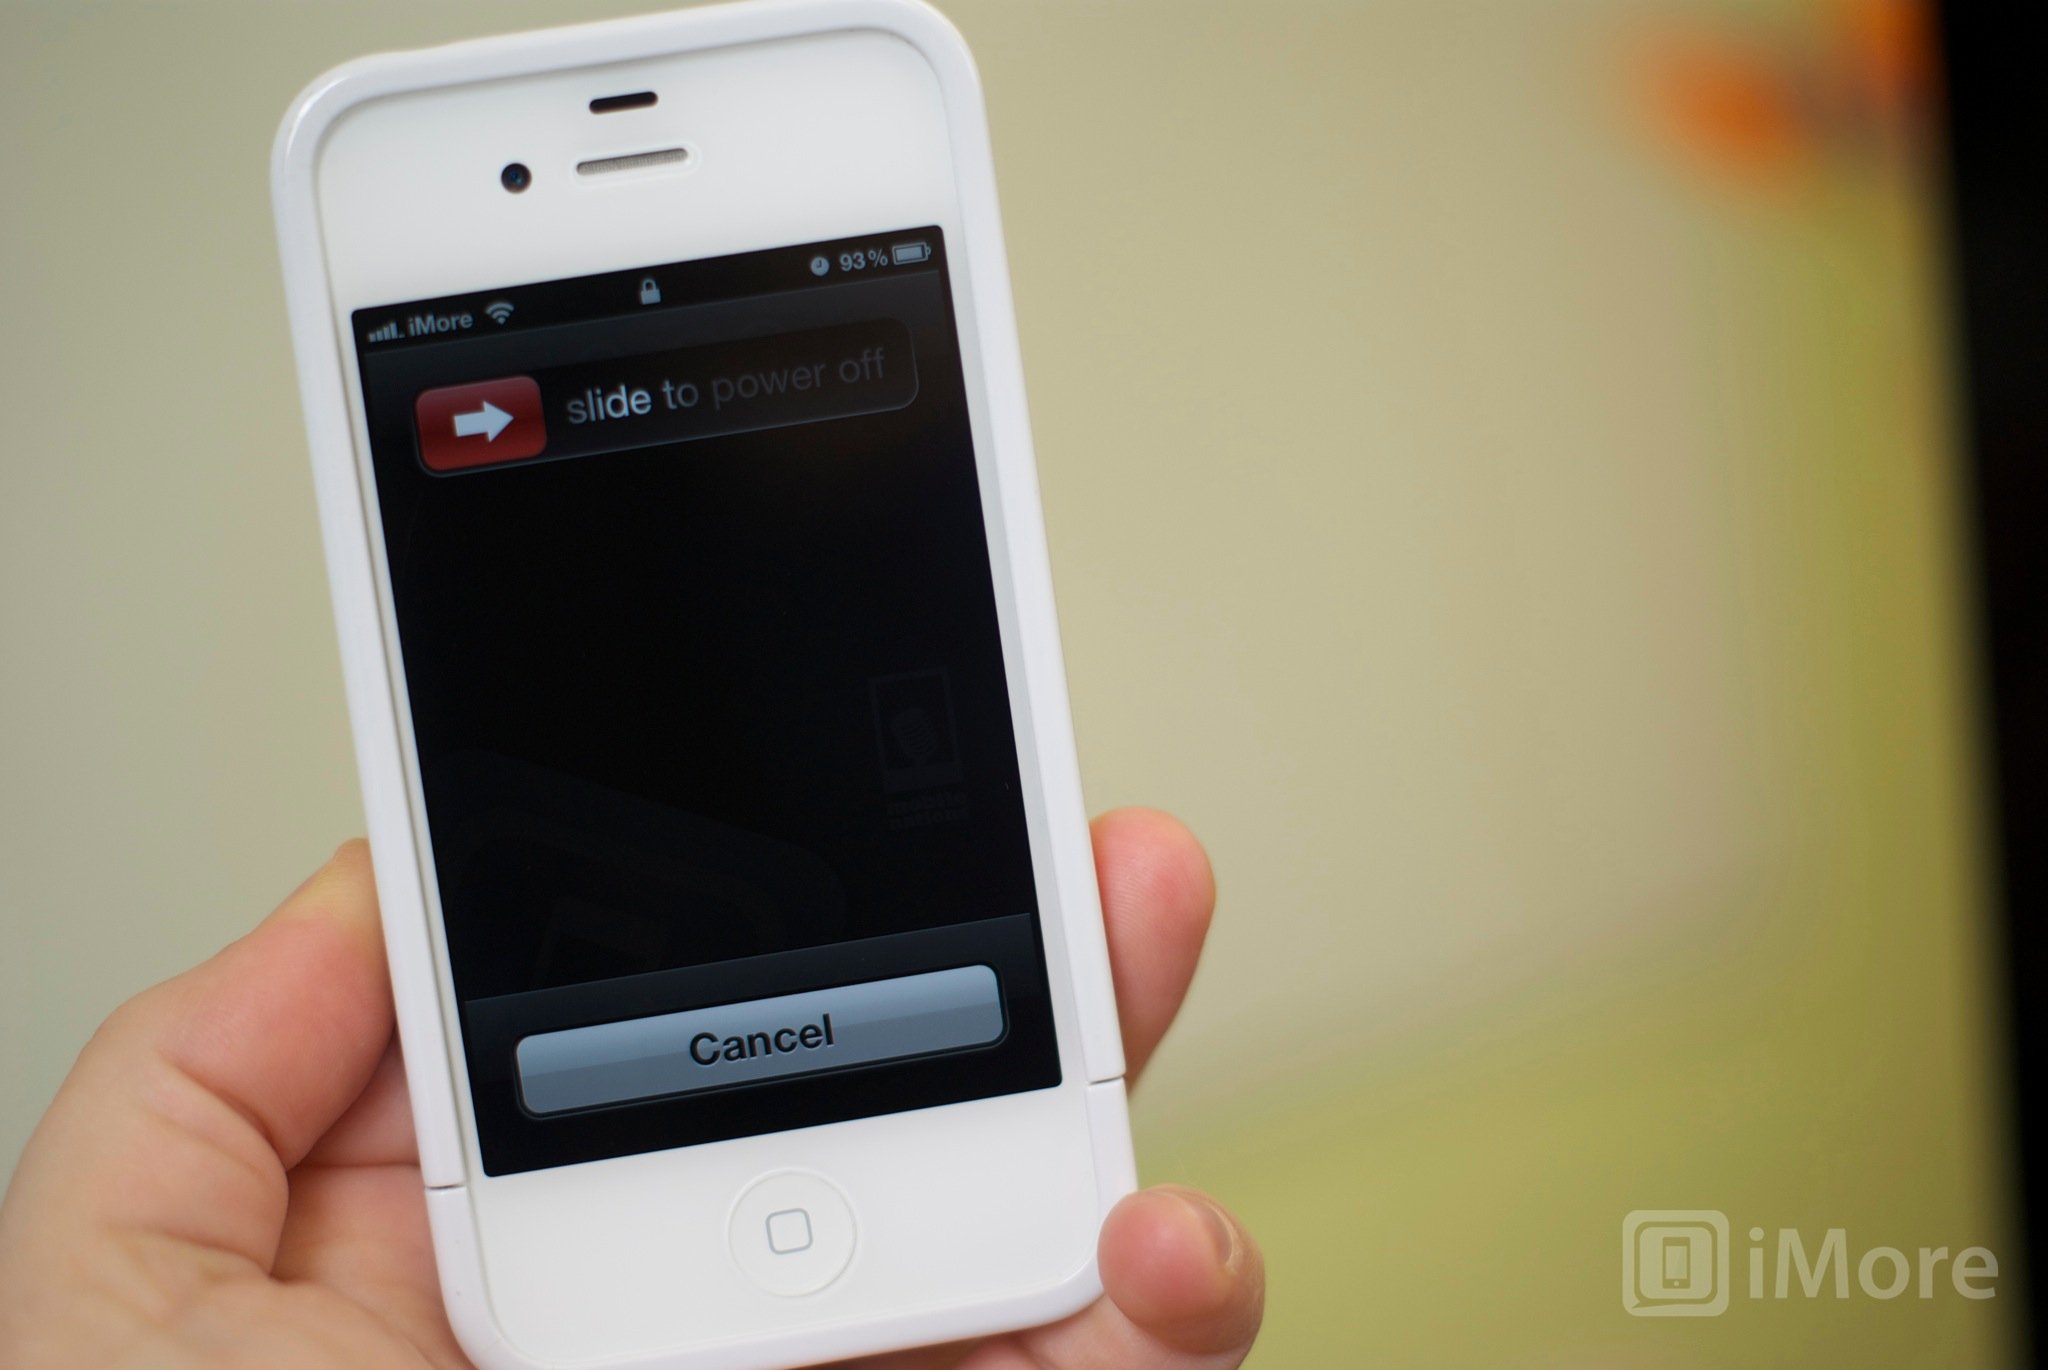
Before performing any repair or removing any screws or parts, always power off your device.
Remove the dock connector screws
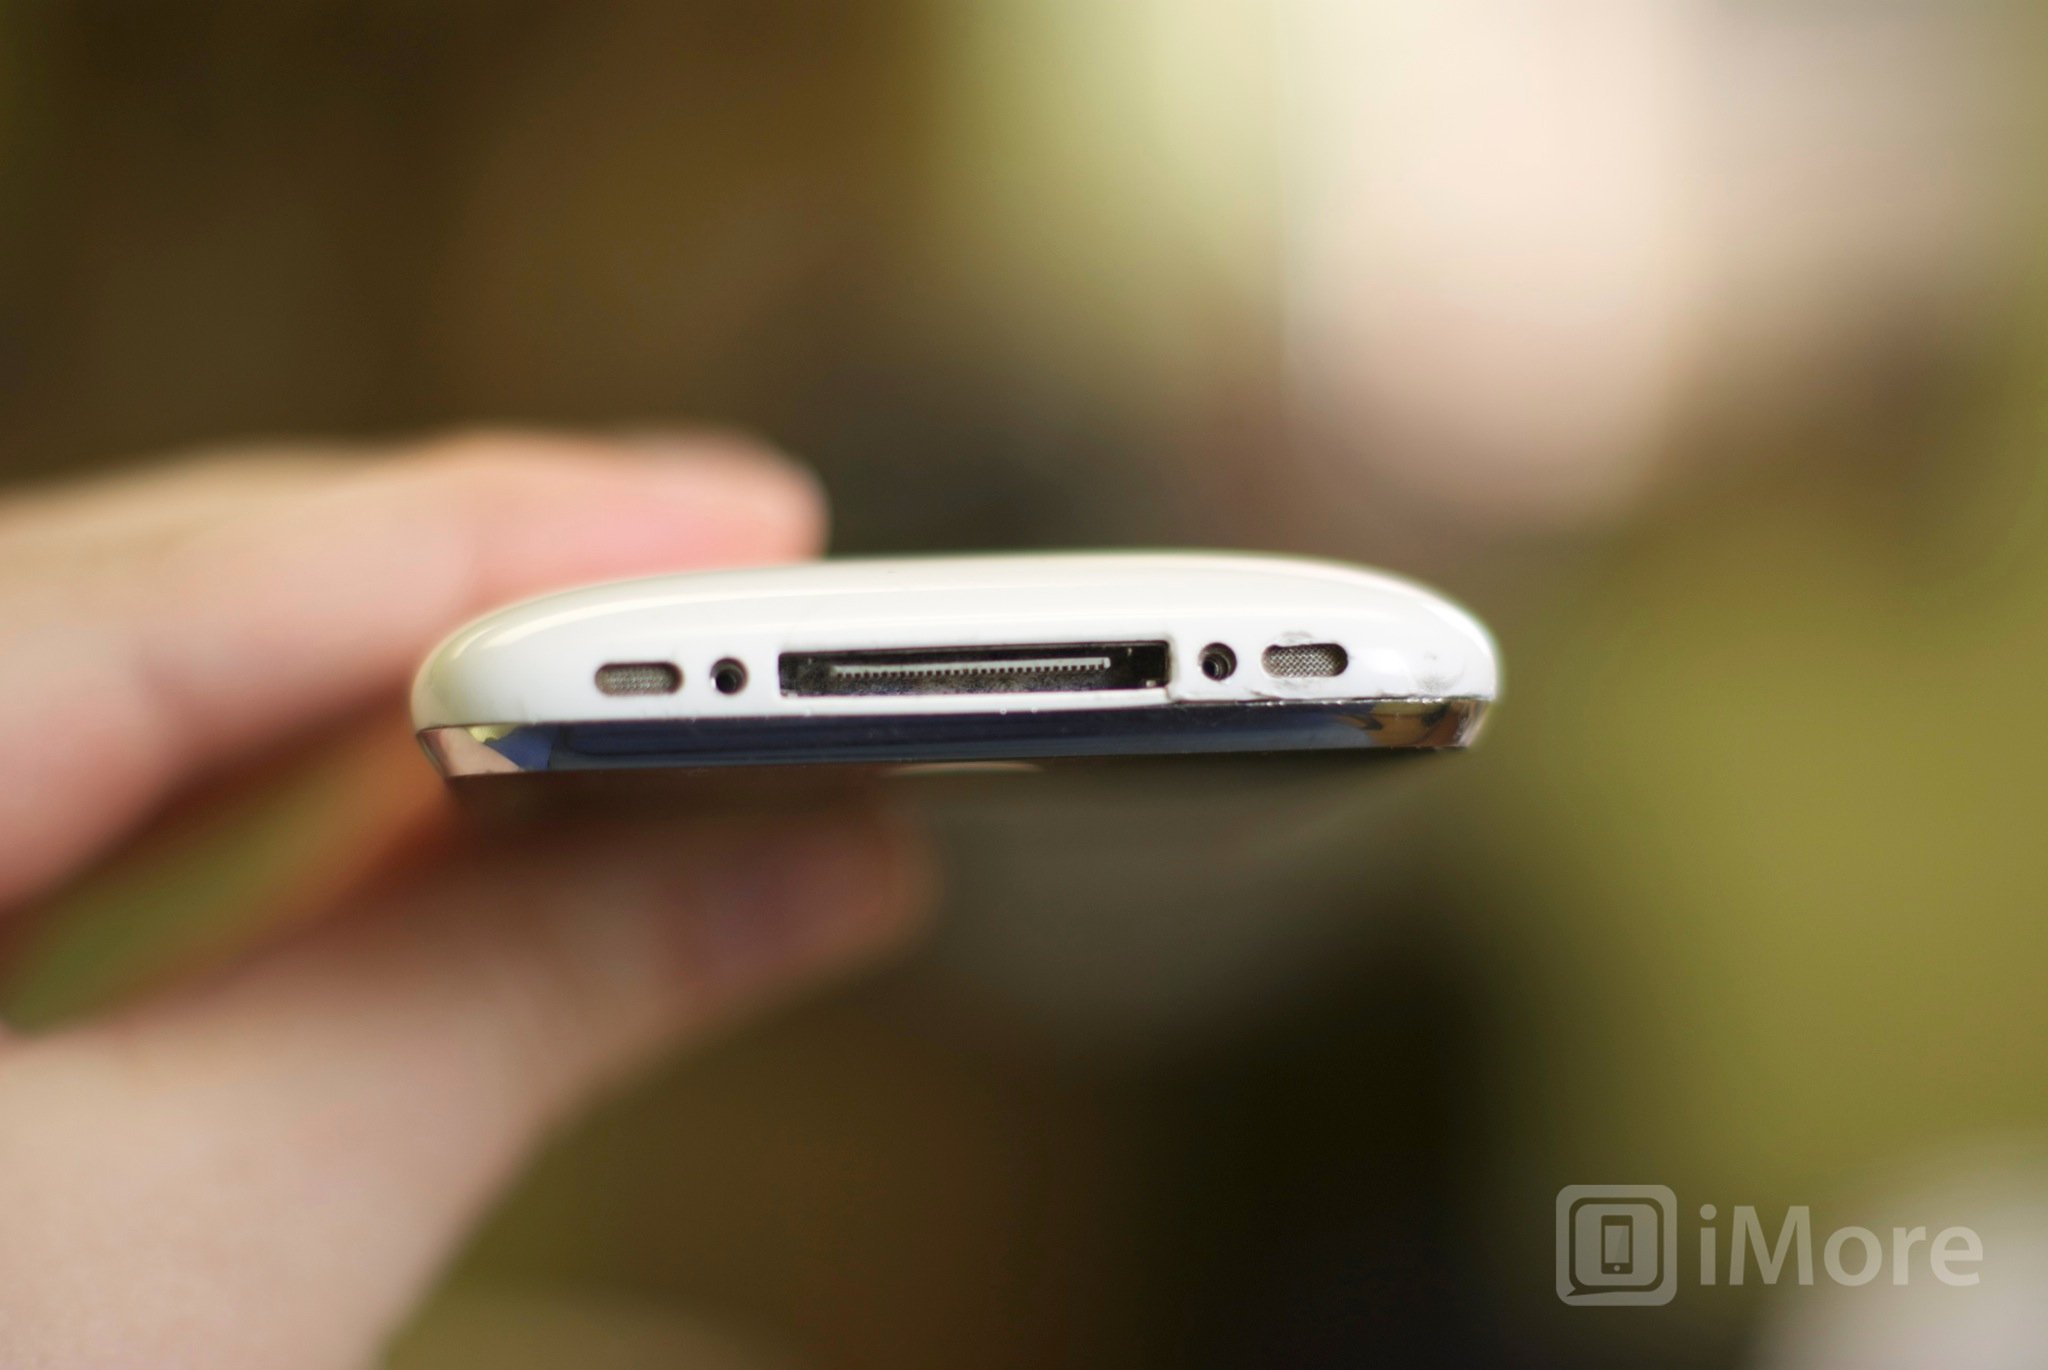
Using your #00 Phillips screwdriver, remove the 2 screws located on each side of the dock connector.
Remove the digitizer & LCD assembly
This part can be a bit tricky so please do this with extreme care so you don't tear any cables during the process.
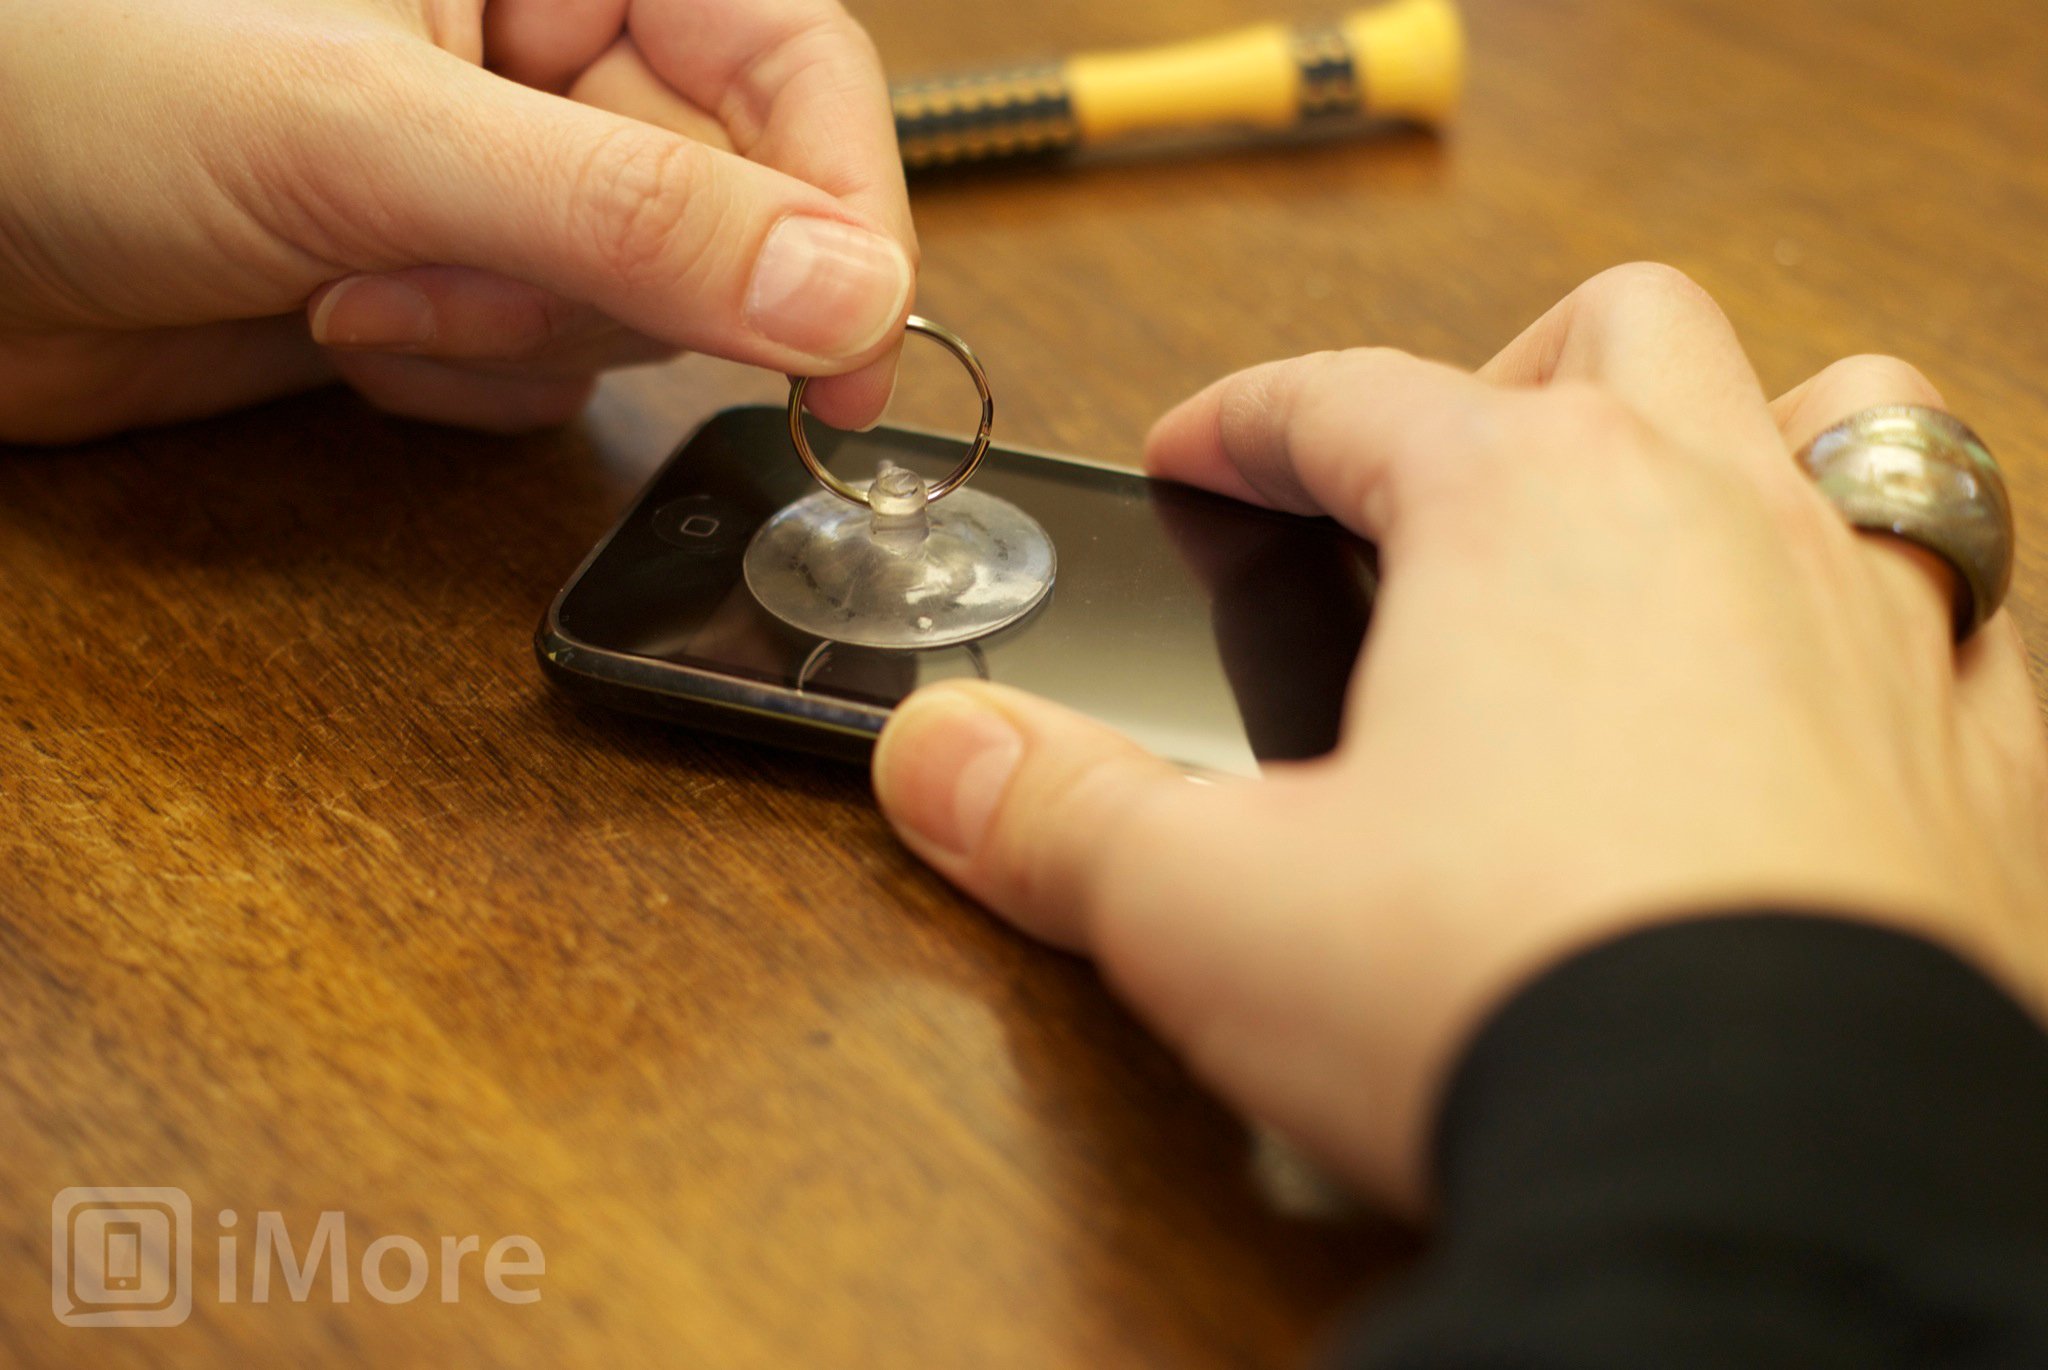
The easiest way to remove the digitizer assembly is by using a suction cup.
iMore offers spot-on advice and guidance from our team of experts, with decades of Apple device experience to lean on. Learn more with iMore!
- Position the suction cup on the screen directly above the home button.
- Using your other hand, hold down the frame while gently pulling up on the suction cup.
- The goal is to get the bottom of the digitizer loose. Do not pull directly up. There are 3 cables attached in the top right of your iPhone. You do not want to tear these. Just pull up until the bottom of the assembly pops out.
- After you have the bottom up you can remove the suction cup.
Remove the cables that attach the digitizer assembly to the logic board:
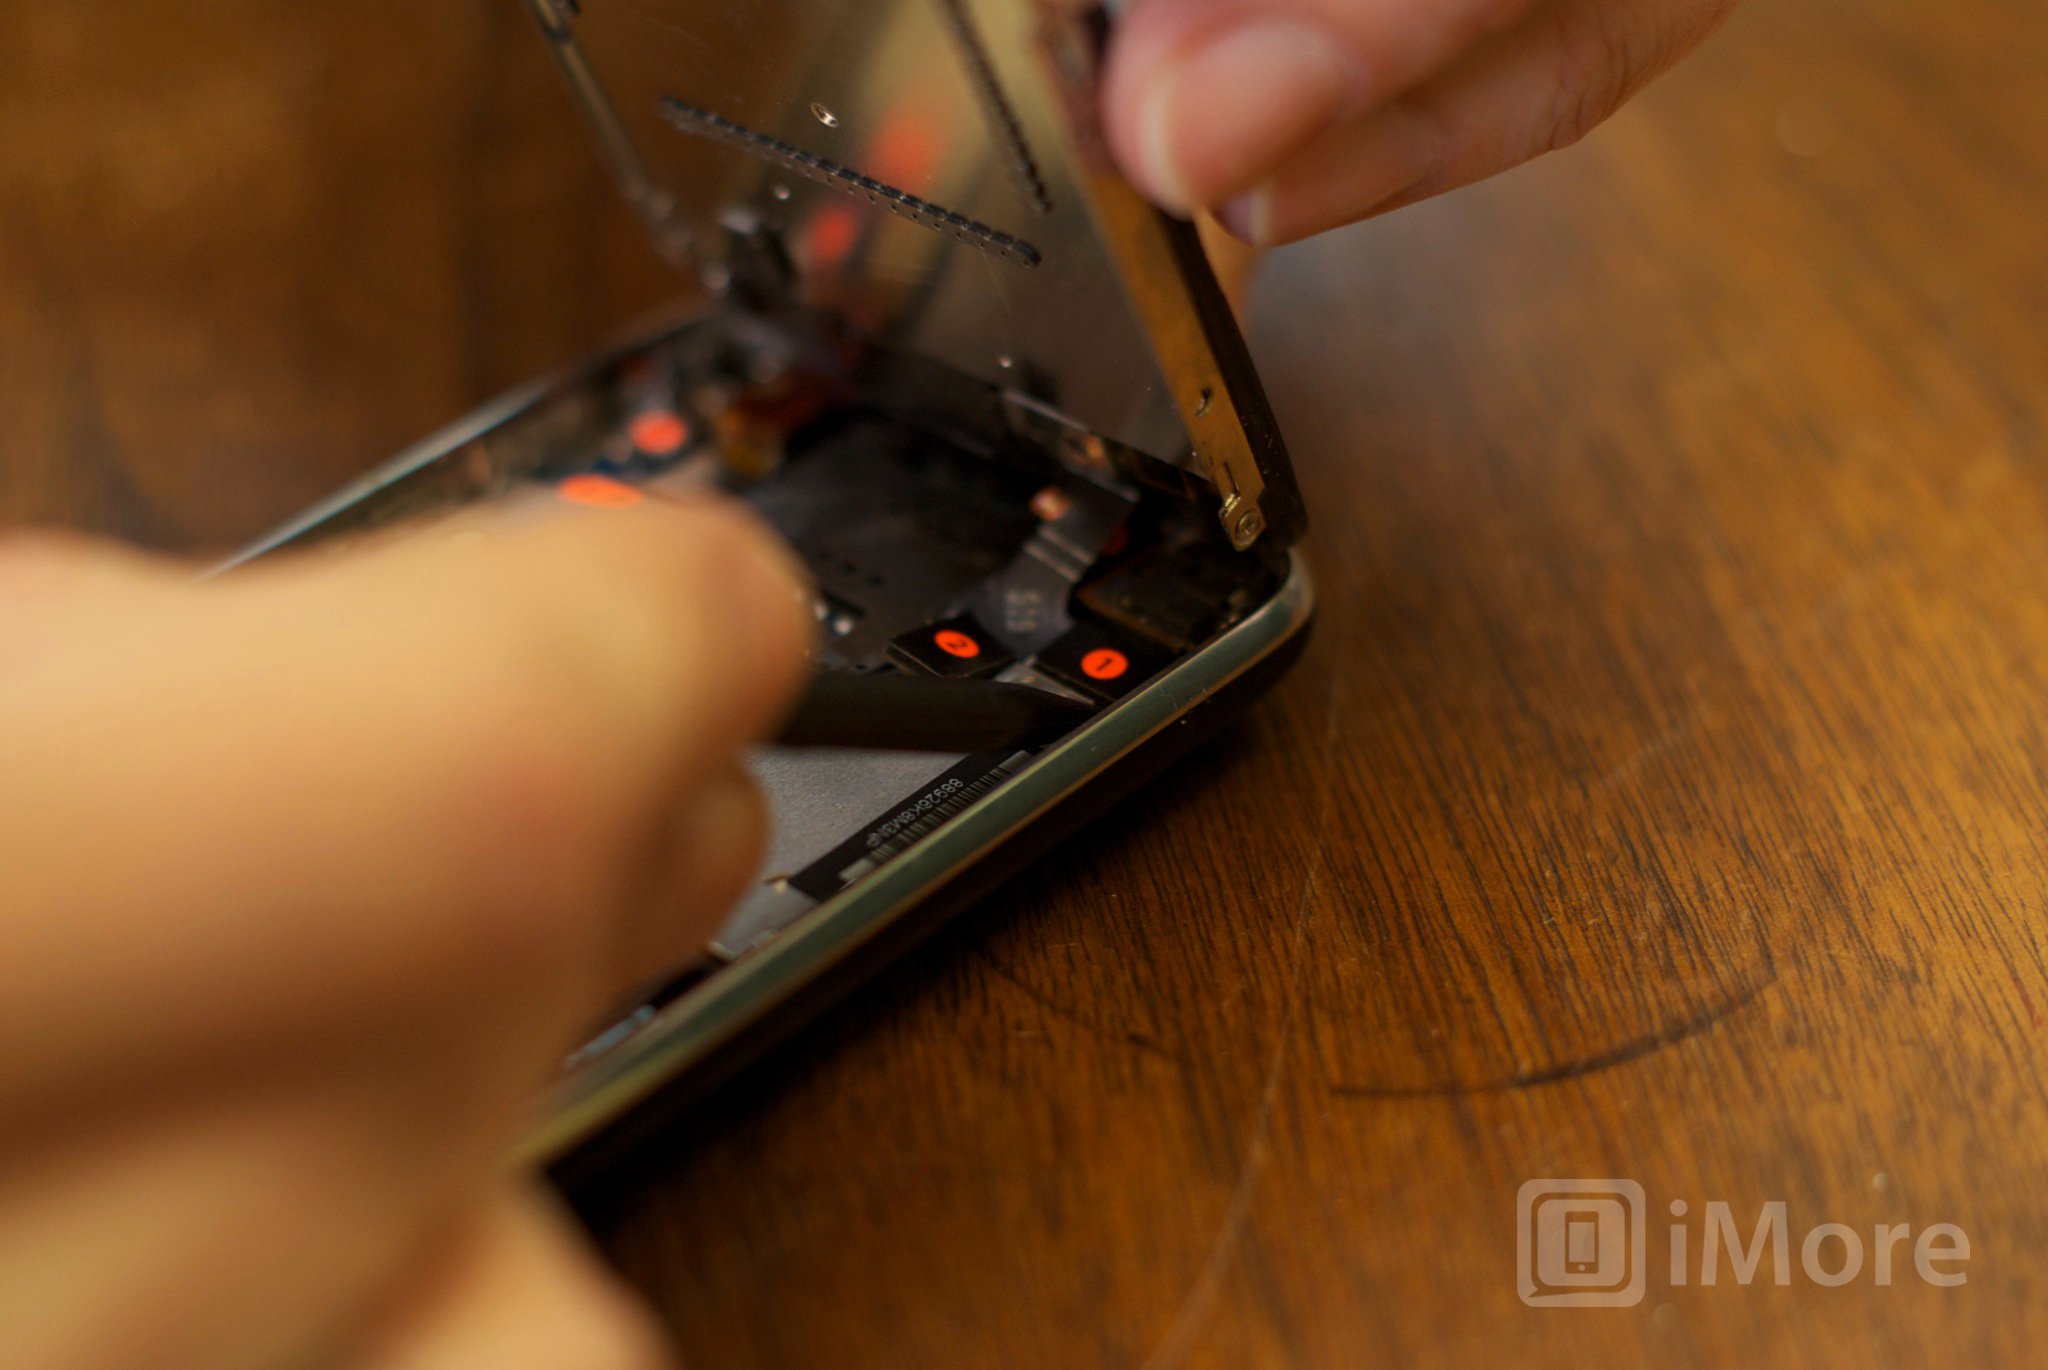
Once you have the bottom of your digitizer assembly popped up we can remove the cables attaching it to the logic board.
- Gently lift up your digitizer enough to have a clear view of the 3 cables in the top right of your iPhone.
- With your plastic spudger or pry tool, you'll need to pry up the first two cables that attach the digitizer and LCD. They should be labeled with orange stickers numbered 1 and 2. Simply pop them off the logic board gently.
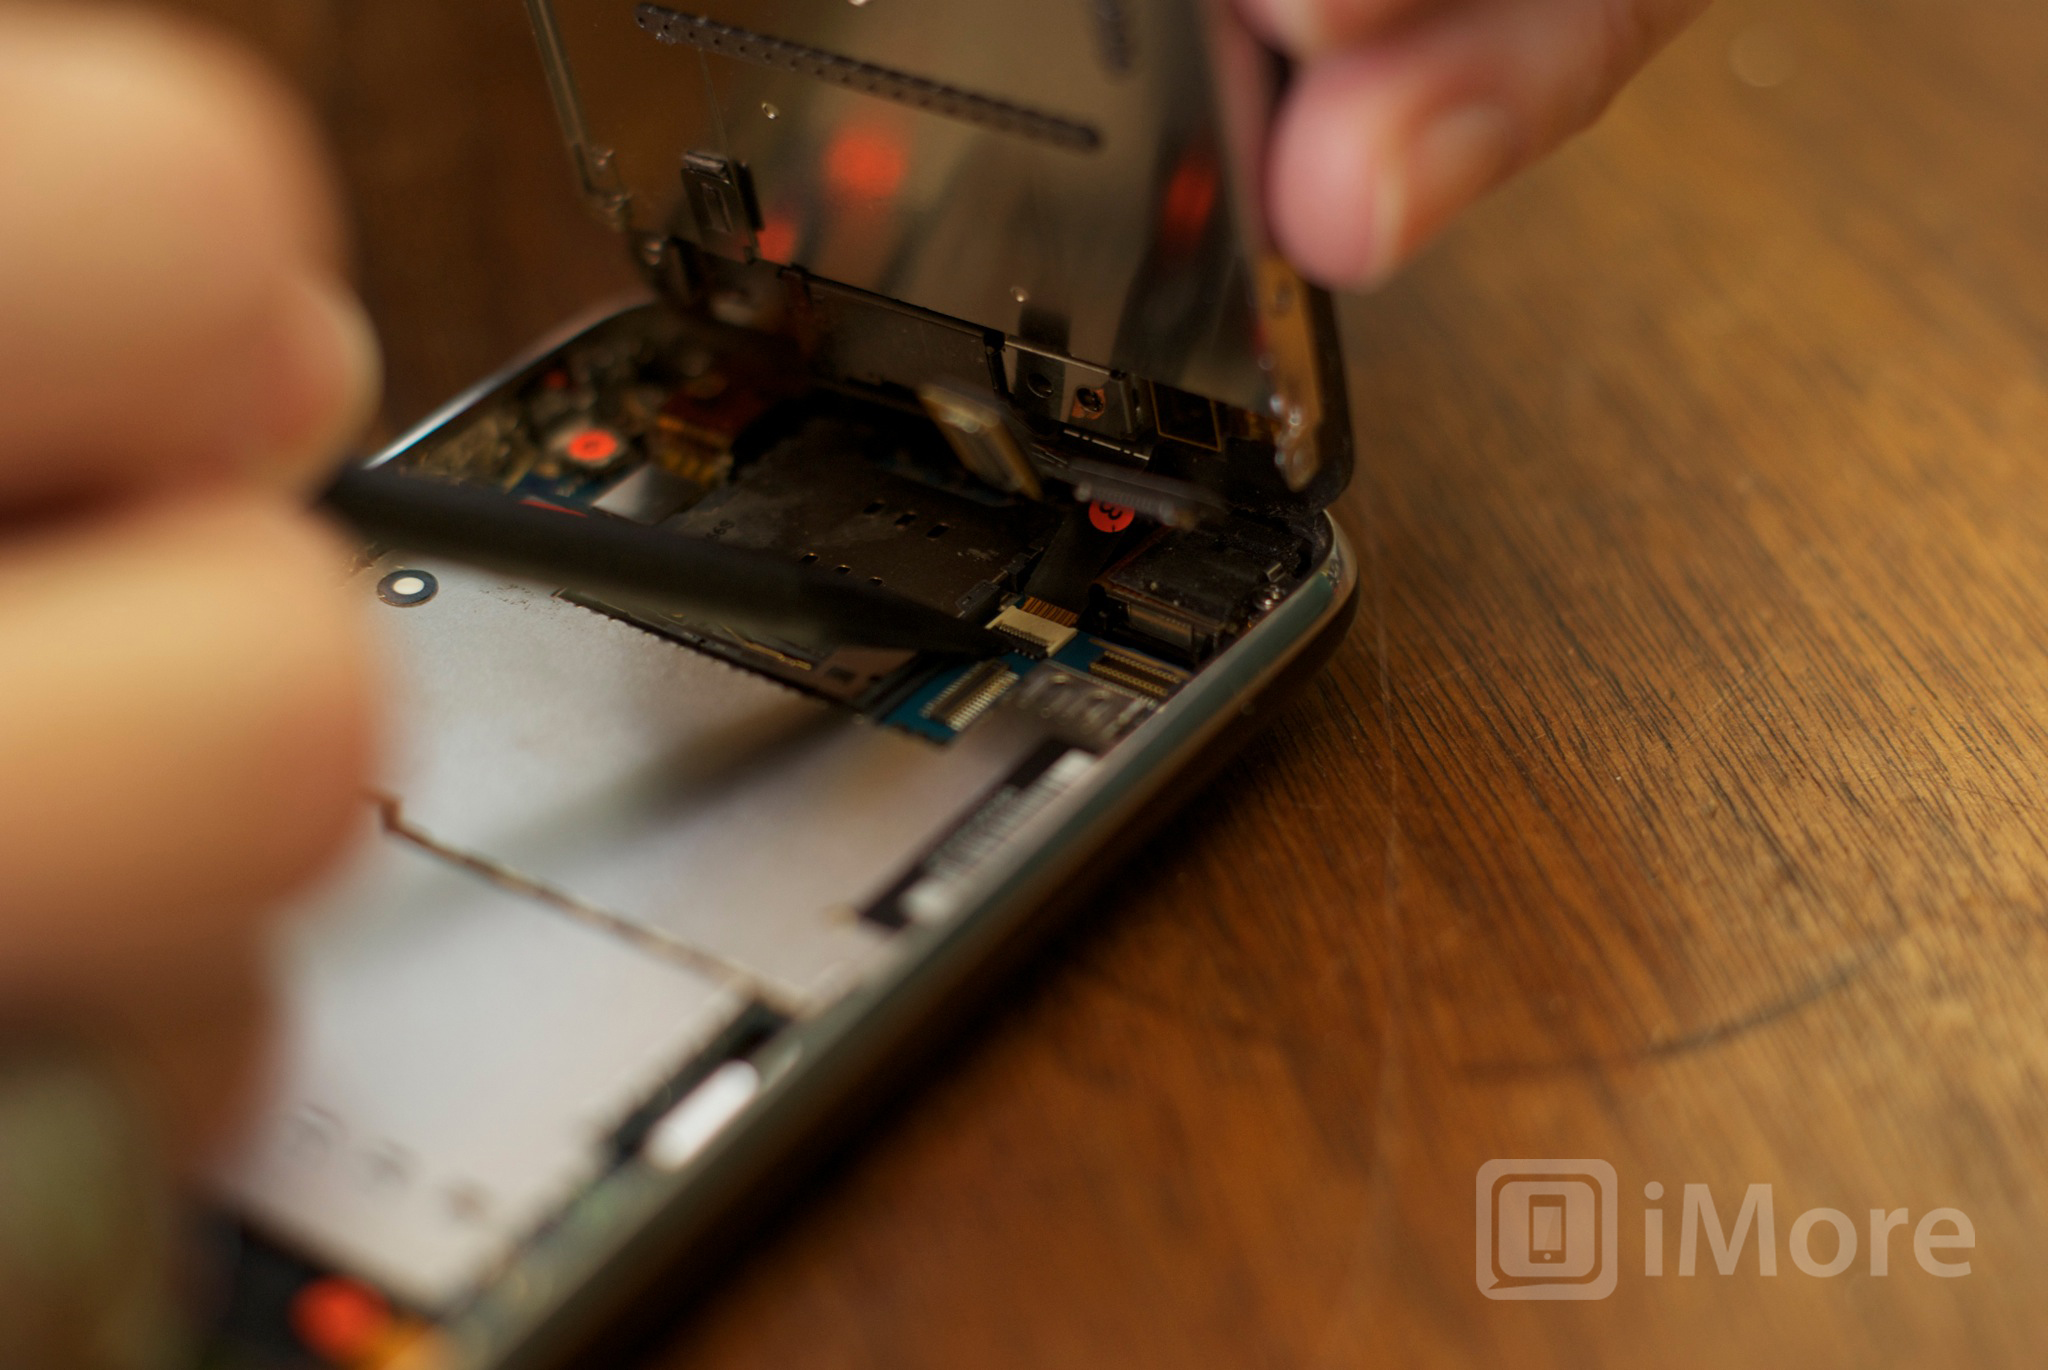
- Underneath these cables you'll see one other labeled as cable 3. This one is a bit trickier as it is clipped down. You'll need to gently pop up the clasp holding it into the fastener. It is a tiny white clip. Simply pop it upwards and the number 3 cable should then slide right out.
- Remove the digitizer & LCD assembly and set it aside.
Remove your SIM card
Using your SIM tool or a paperclip, either works, remove your SIM card and tray from your device.
Unclip cables from the logic board
<
ol>
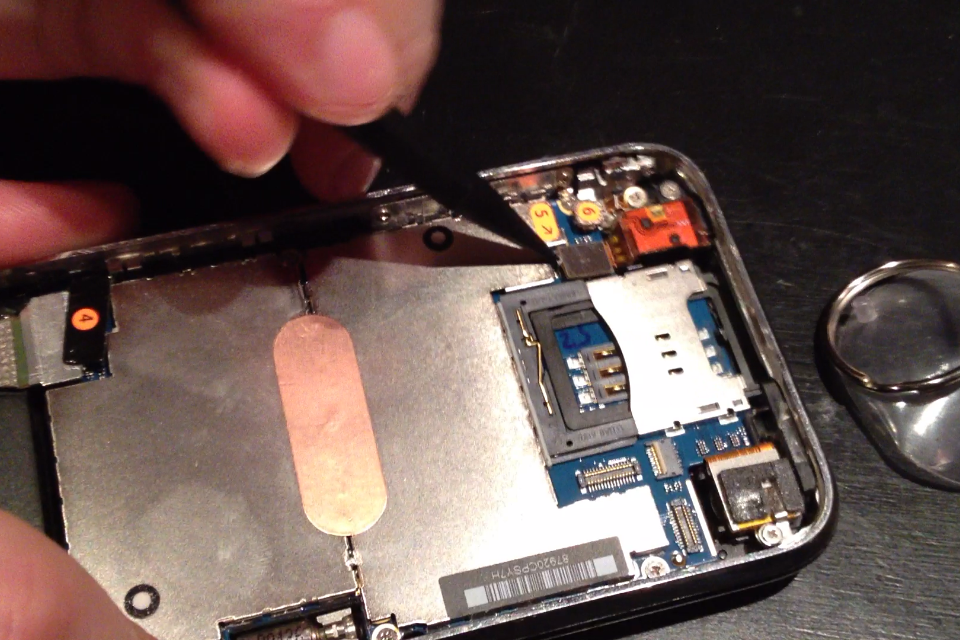
- Towards the top left of the logic board, use your pry tool to pop up the two cables labeled 5 and 6.
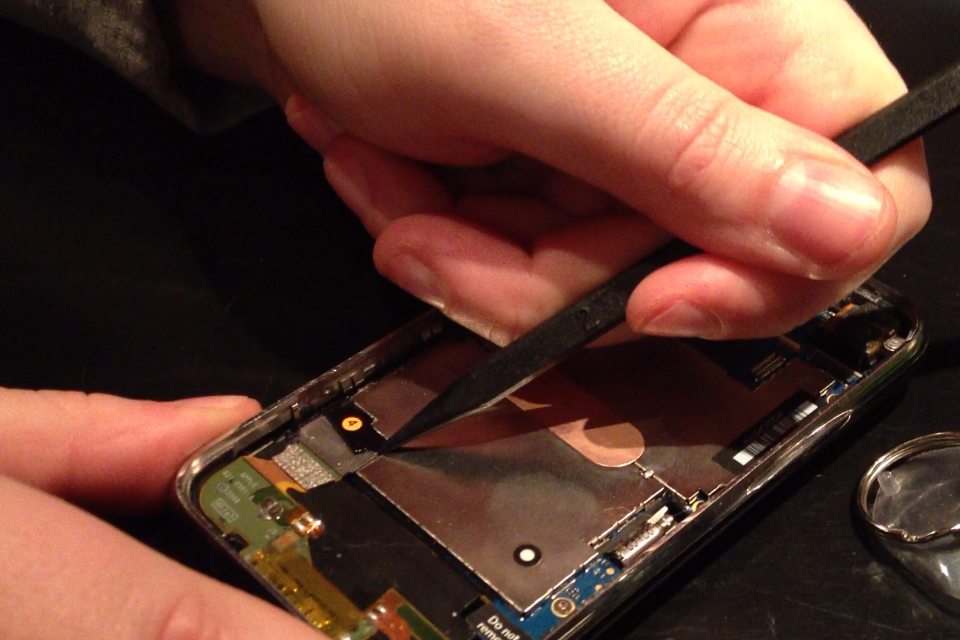
- Towards the bottom of the logic board, 3G owners will only see one cable to the left labeled 4. 3GS users will see two cables (one on each side of the dock connector) labeled 4 and 7. 3G users will just pop up the number 4 cable while 3GS owners will need to pop up both the number 4 and 7 cables.
Remove your logic board
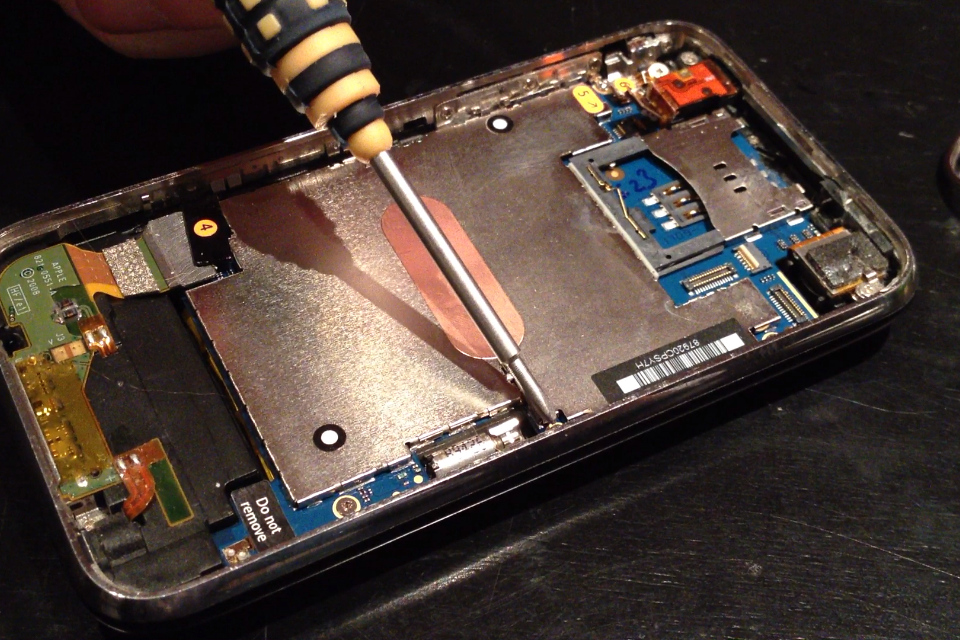
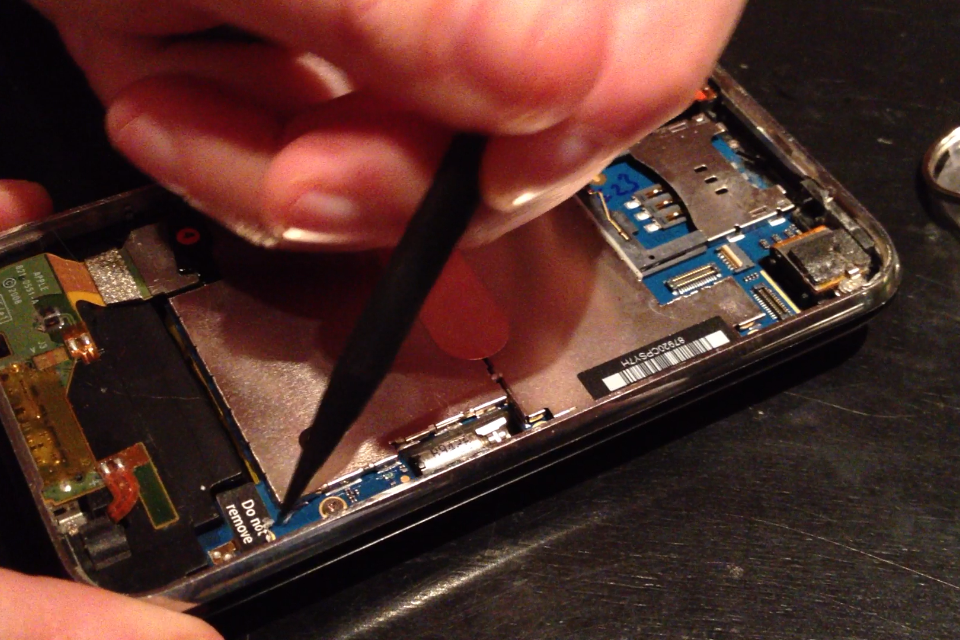
- Remove the 8 screws outlined in the video that hold the logic board in place. One of the screws is under a Do not remove sticker at the bottom right by the dock connector. Obviously you'll have to remove the sticker to get to it.
- Make sure you place the screws in an order you will remember. They are different sizes in some instances so you'll need to make sure you put them back in the correct order.
- Notice the screw holding the camera in place has a metal bracket underneath it. Just take care not to lose this as you'll need to put it back during reassembly.
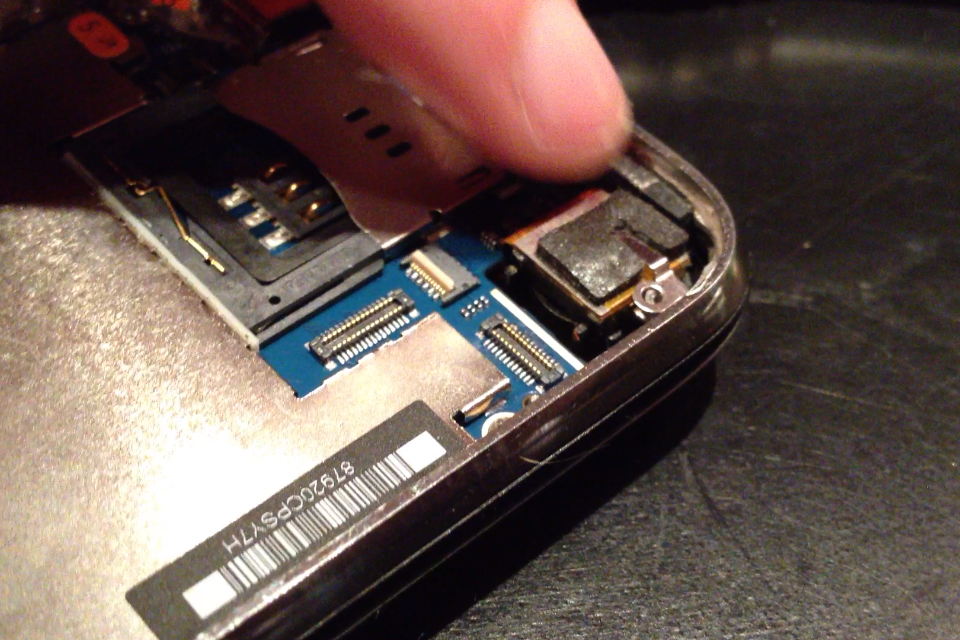
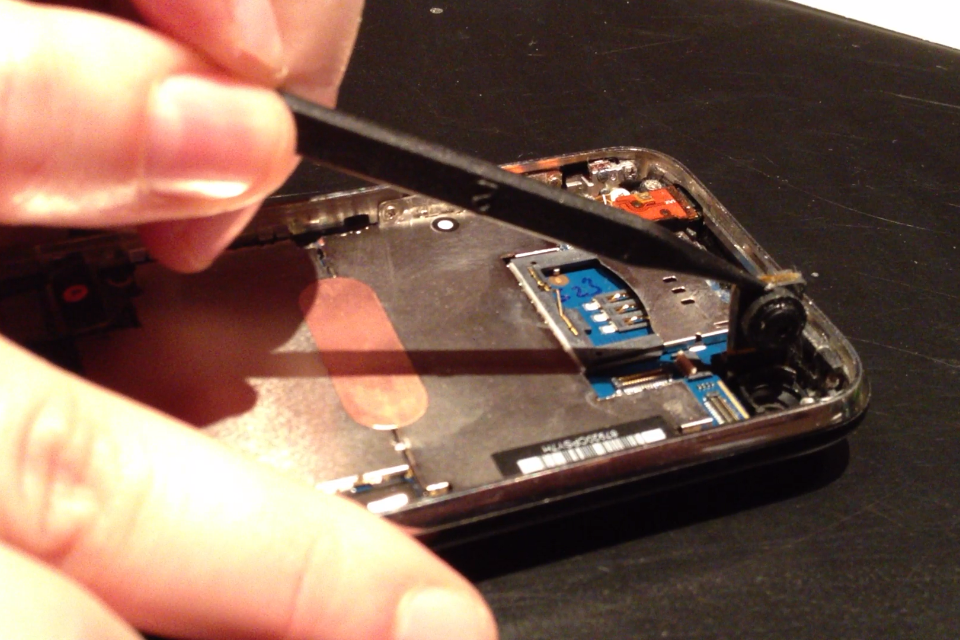
- Gently pop your camera up with your spudger or pry tool. Do not completely remove it. Just flip it up out of the opening so it will come out with the logic board.
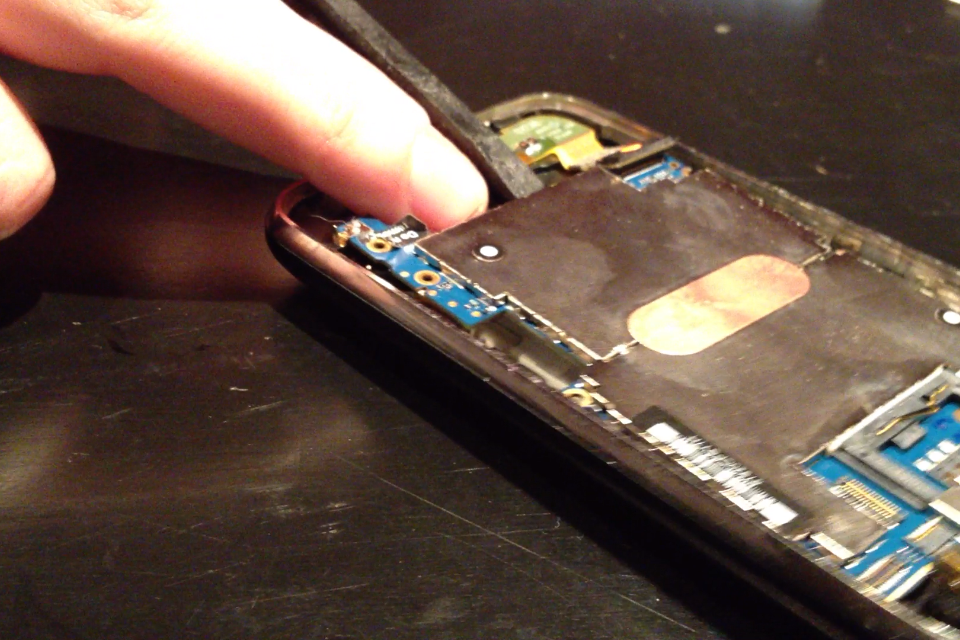
- Insert your pry tool in the space between the dock connector and logic board and gently pry upward to loosen the logic board.
- Gently grab the bottom of the logic board and slide it out downwards to remove it.
Replace the vibrator assembly
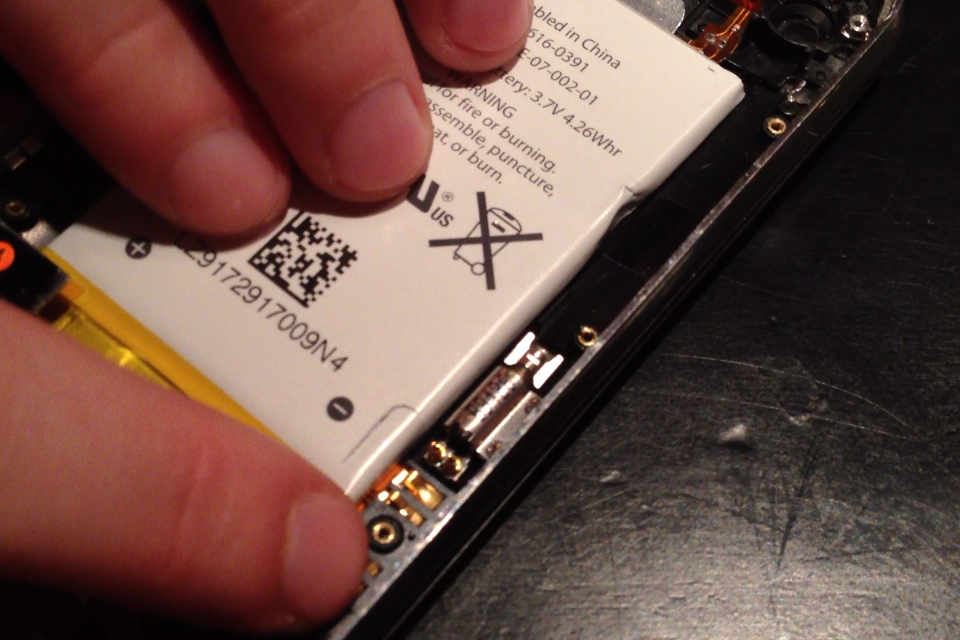
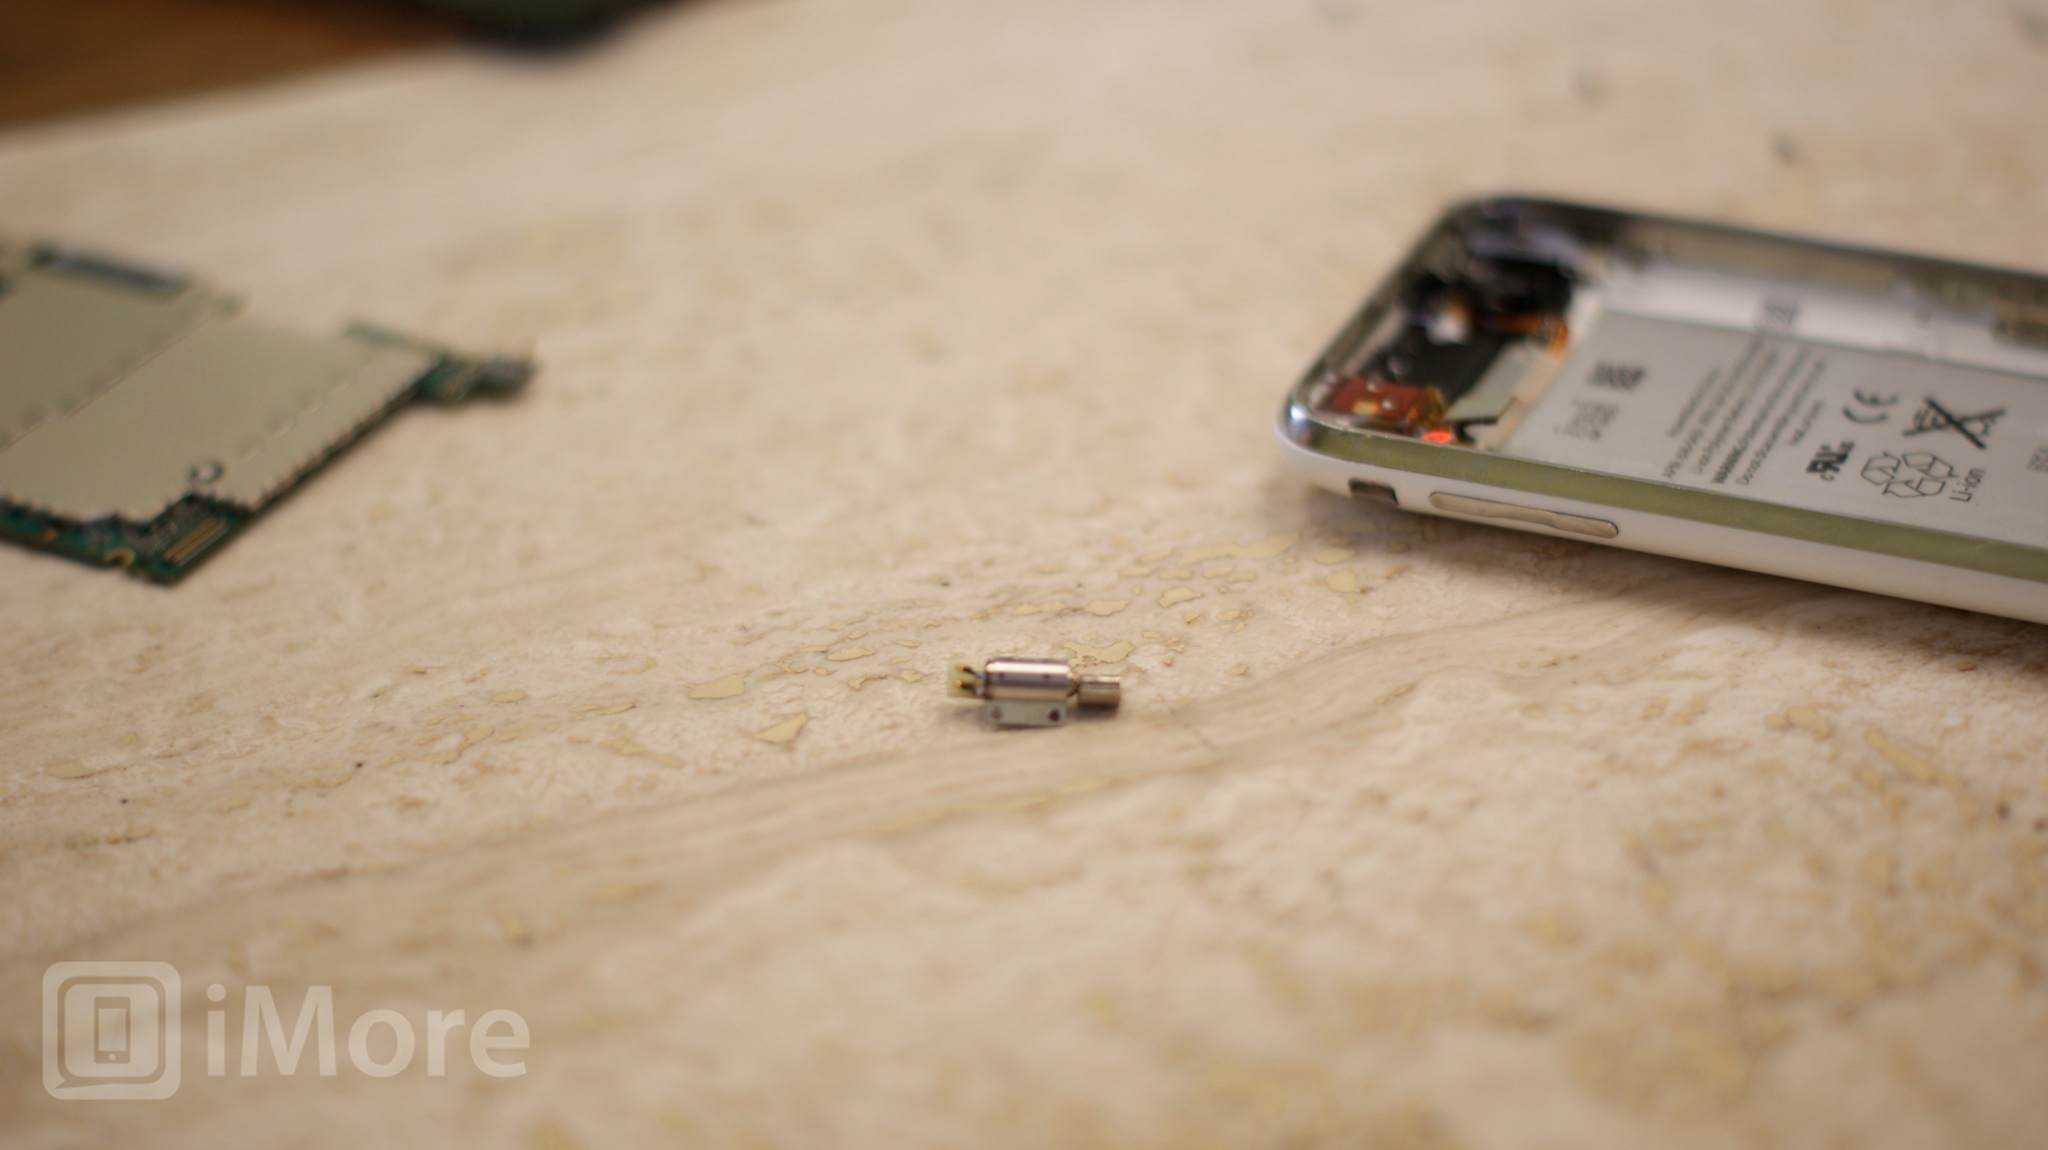
The vibrator assembly is located on the right hand middle side of your iPhone. We will remove the old one now and put in the new one.
- Remove the two screws holding the vibrator assembly in place.
- Gently lift the old vibrator assembly out of your device.
- Line up the new vibrator assembly and screw it down.
Reassemble your iPhone
In order to reassemble your iPhone, just follow these directions in exact opposite order or watch the video above, which includes reassembly instructions.
And ...done!
Now that your phone is complete re-assembled you can power it back on to test the vibrator functionality. If all went as planned, your phone should be back to working order. If you do run into any problems, let us know or check out our forums below where members will be more than willing to lend a hand.
○ Fix a broken iPhone 7 or 7 Plus
○ Fix a broken iPhone 6s or 6s Plus
○ Fix a broken iPhone SE
○ Fix a broken iPhone 6 or 6 Plus
○ Fix a broken iPhone 5c
○ Fix a broken iPhone 5s
○ Fix a broken iPhone 5
○ Fix a broken iPhone 4s
○ Fix a broken iPhone 4 (GSM)
○ Fix a broken iPhone 4 (CDMA)
○ Fix a broken iPhone 3GS or 3G
iMore senior editor from 2011 to 2015.
