How to back up your Mac to an online backup service
iMore offers spot-on advice and guidance from our team of experts, with decades of Apple device experience to lean on. Learn more with iMore!
You are now subscribed
Your newsletter sign-up was successful
Time Machine or another local backup tool for macOS should be your first line of defense. You should always have a way to recover if you delete an important file or if your hard drive fails. But backup hard drives can go bad. What's more, if you have a major catastrophe, like a robbery, house fire, or flood, you could lose your backups along with your primaries. To make sure your backup strategy is complete, you need to take it offsite and a simple way of doing that is to take it online. That's right — to the cloud!
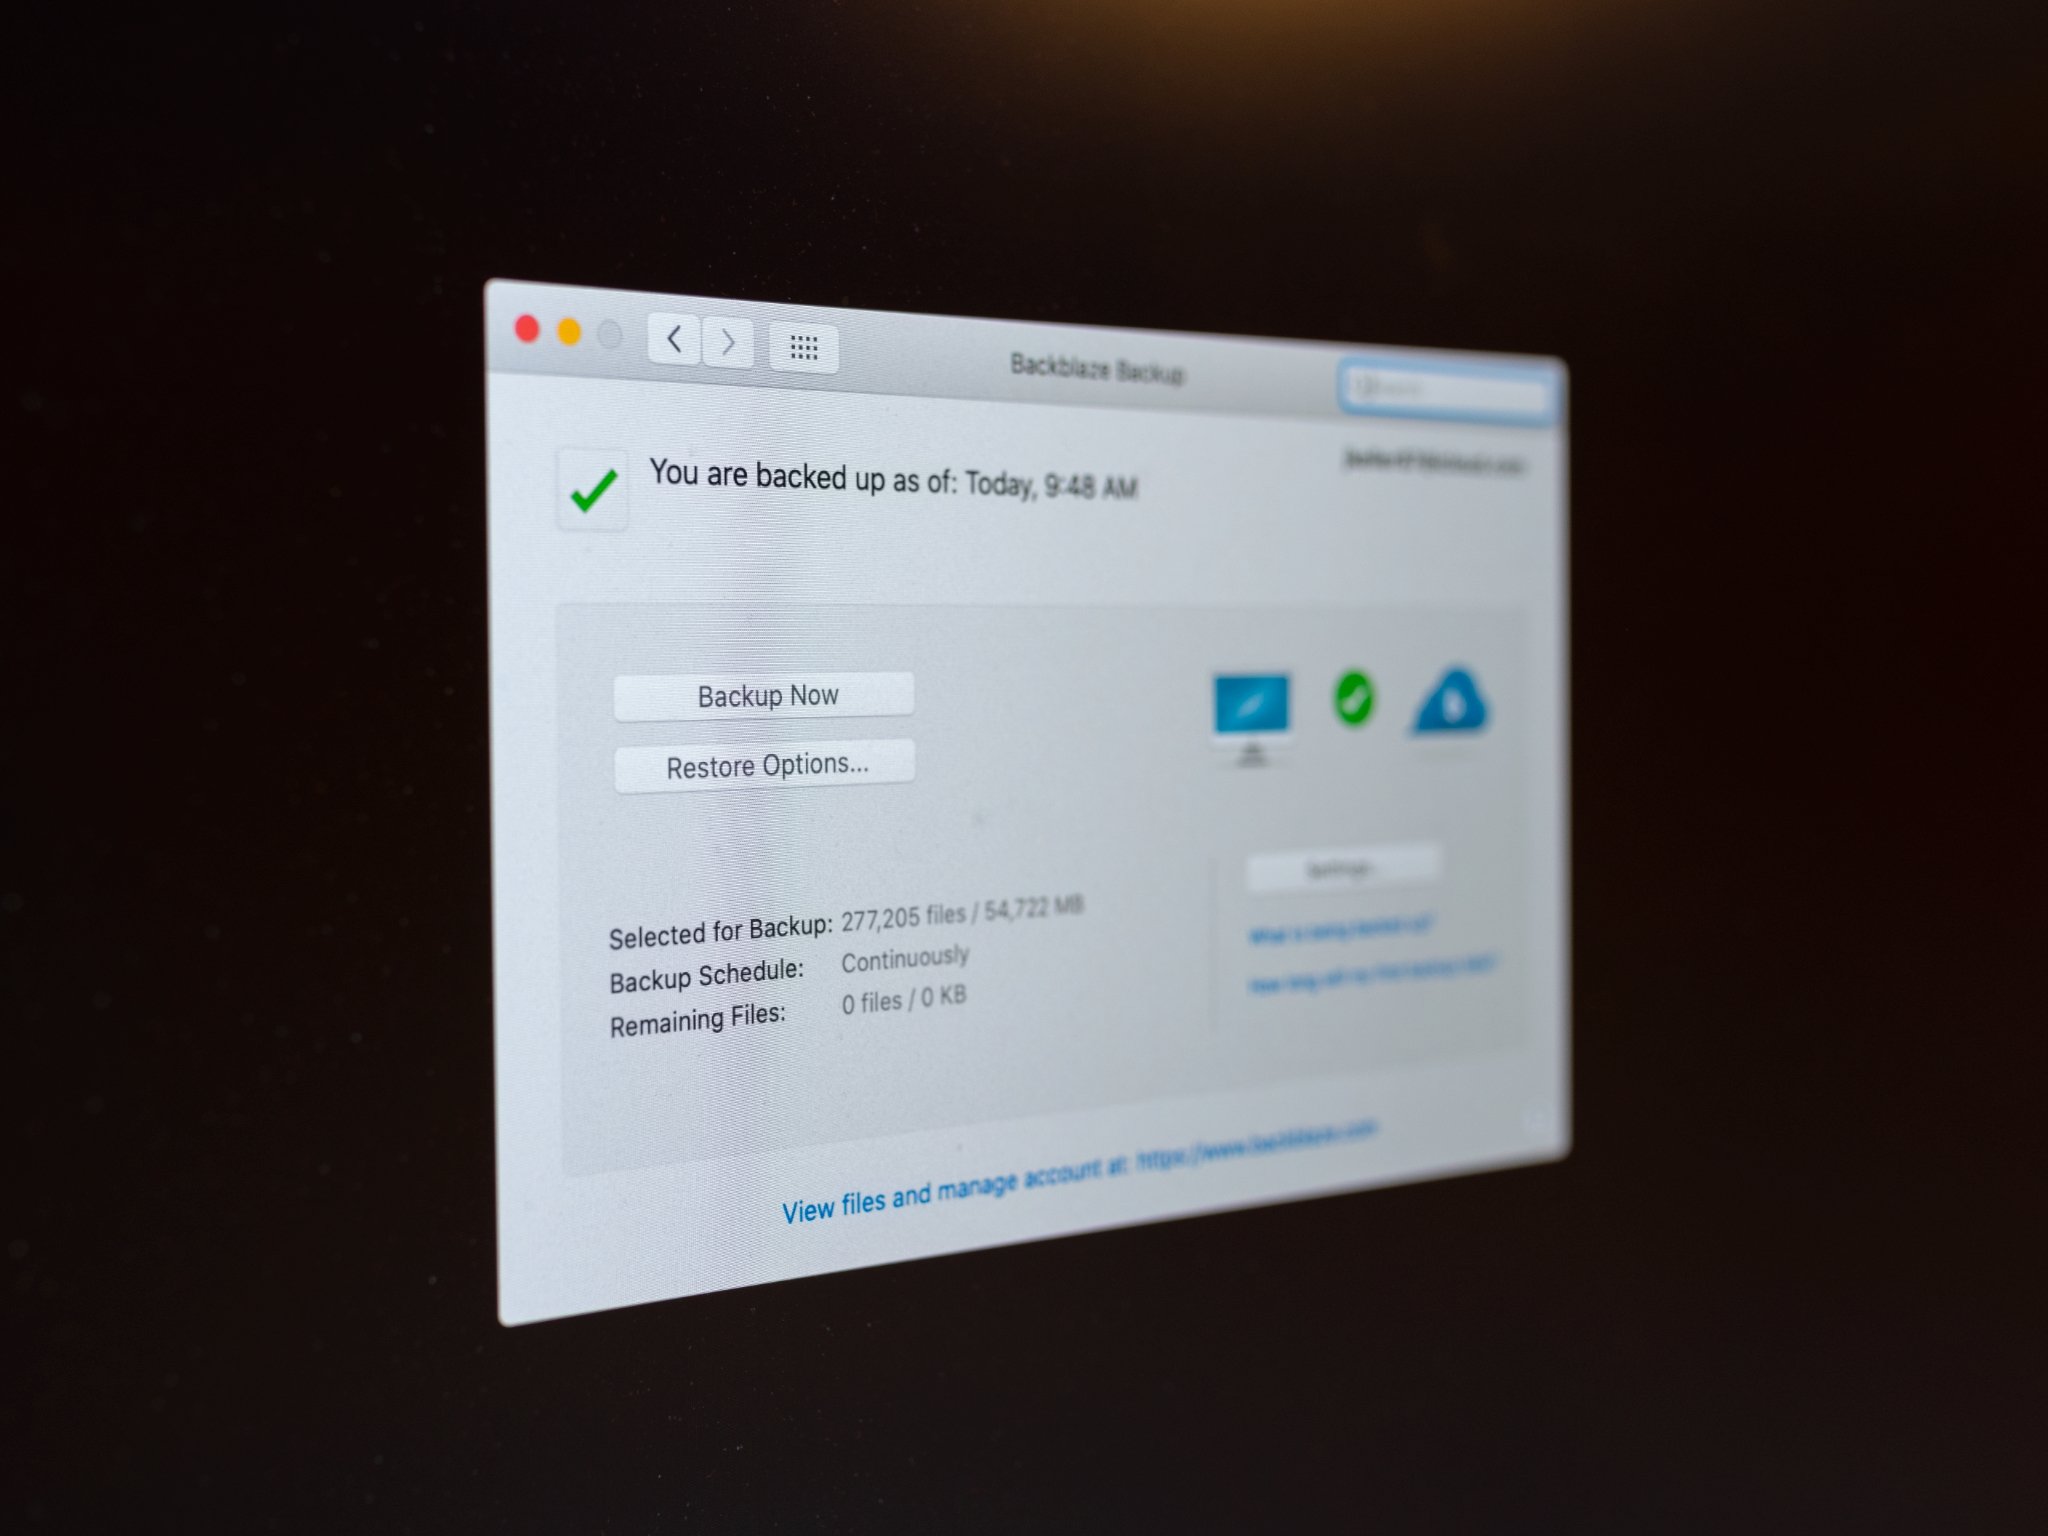
Backblaze
How to backup
- Set up a new account and download the software from Backblaze.
- Follow the installation instructions.
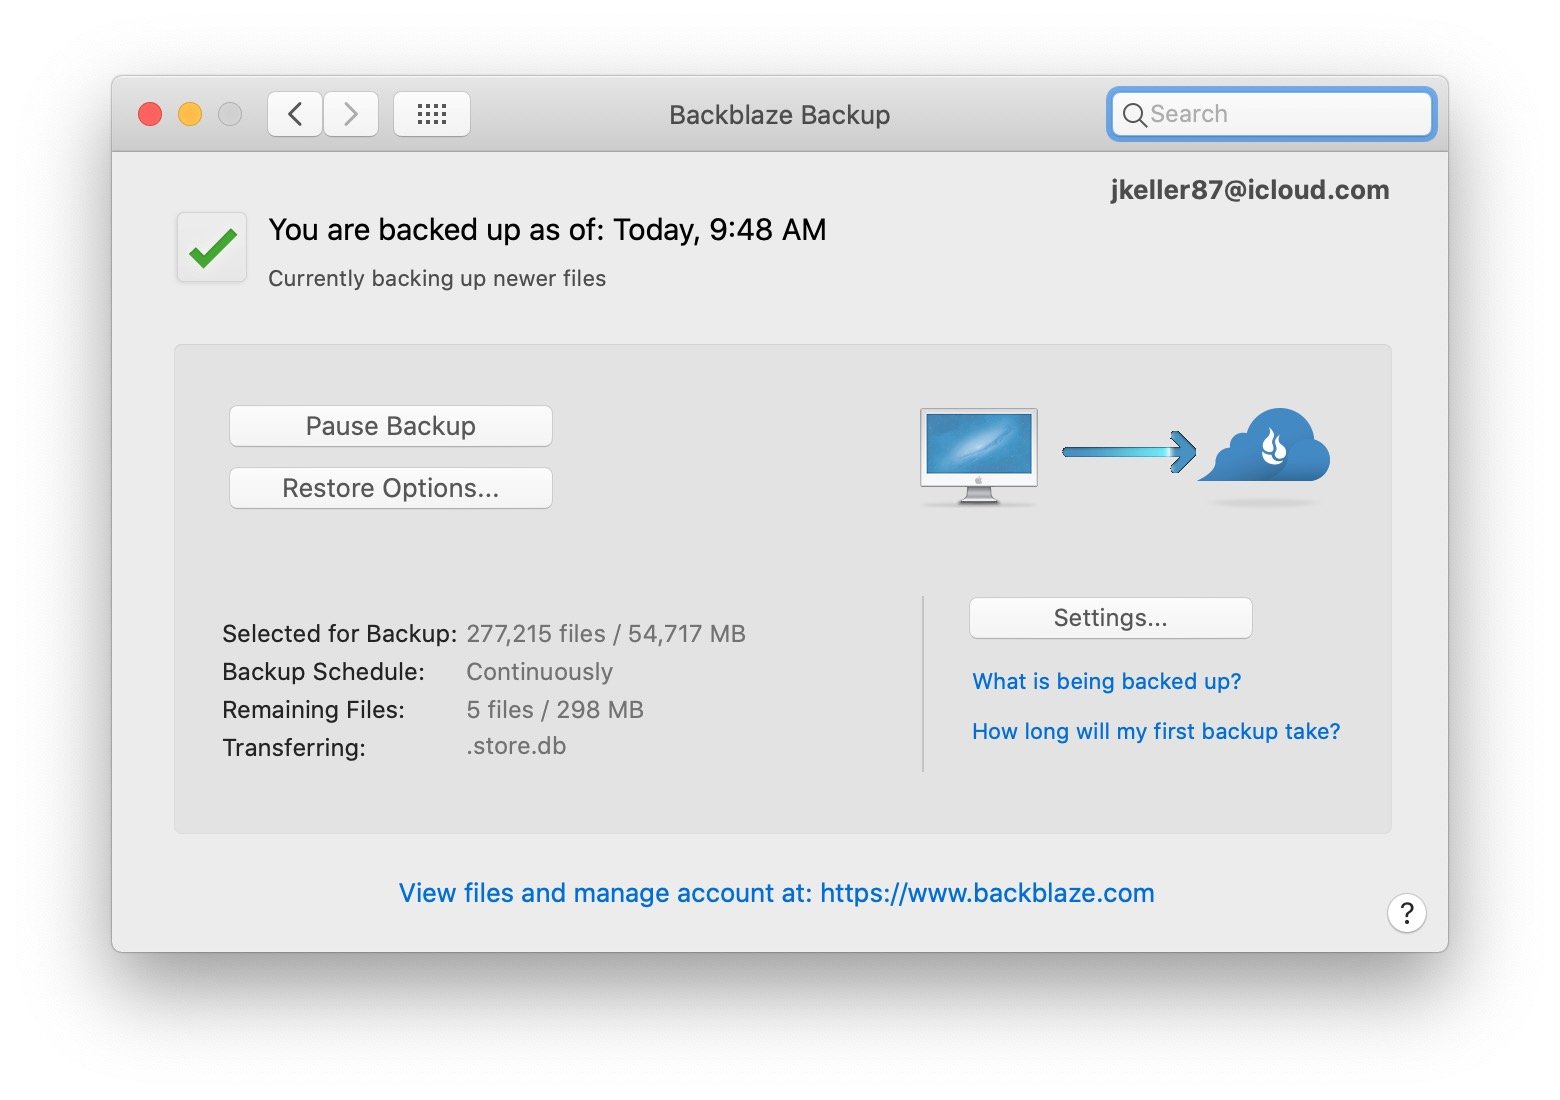
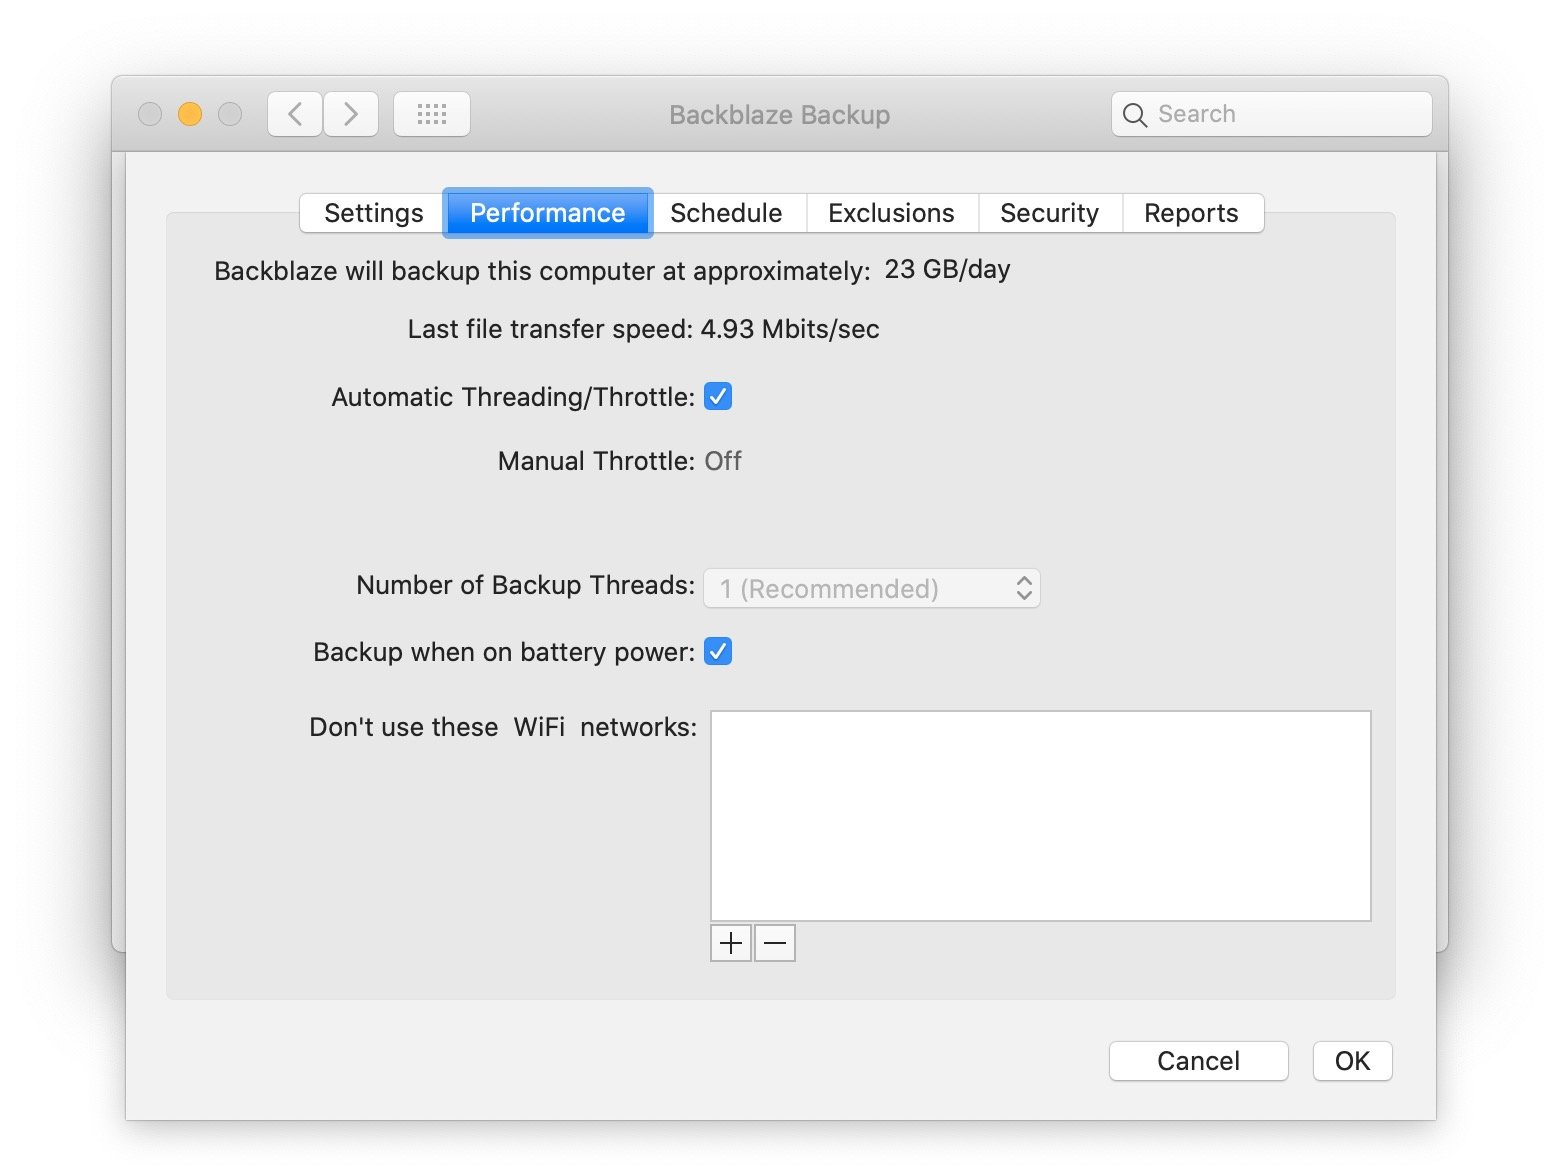
- Backblaze will immediately begin to back up your hard drive. The initial backup can take days or weeks depending on the upload speed of your Internet connection. To change the speed, select Backblaze preferences... from the Backblaze menu then click on the Performance tab. Uncheck Automatic Throttle and set Manual Throttle to the setting you'd like.
- Preferences also allow you to adjust Backblaze's schedule, security level and exclusions list (you can exclude specific folders and files or entire file types if you'd like). You can also view a report to see what's been backed up.
How to restore
- Click on the Backblaze menu and select Restore Files...
- Log in to the Backblaze website using your user ID and password.
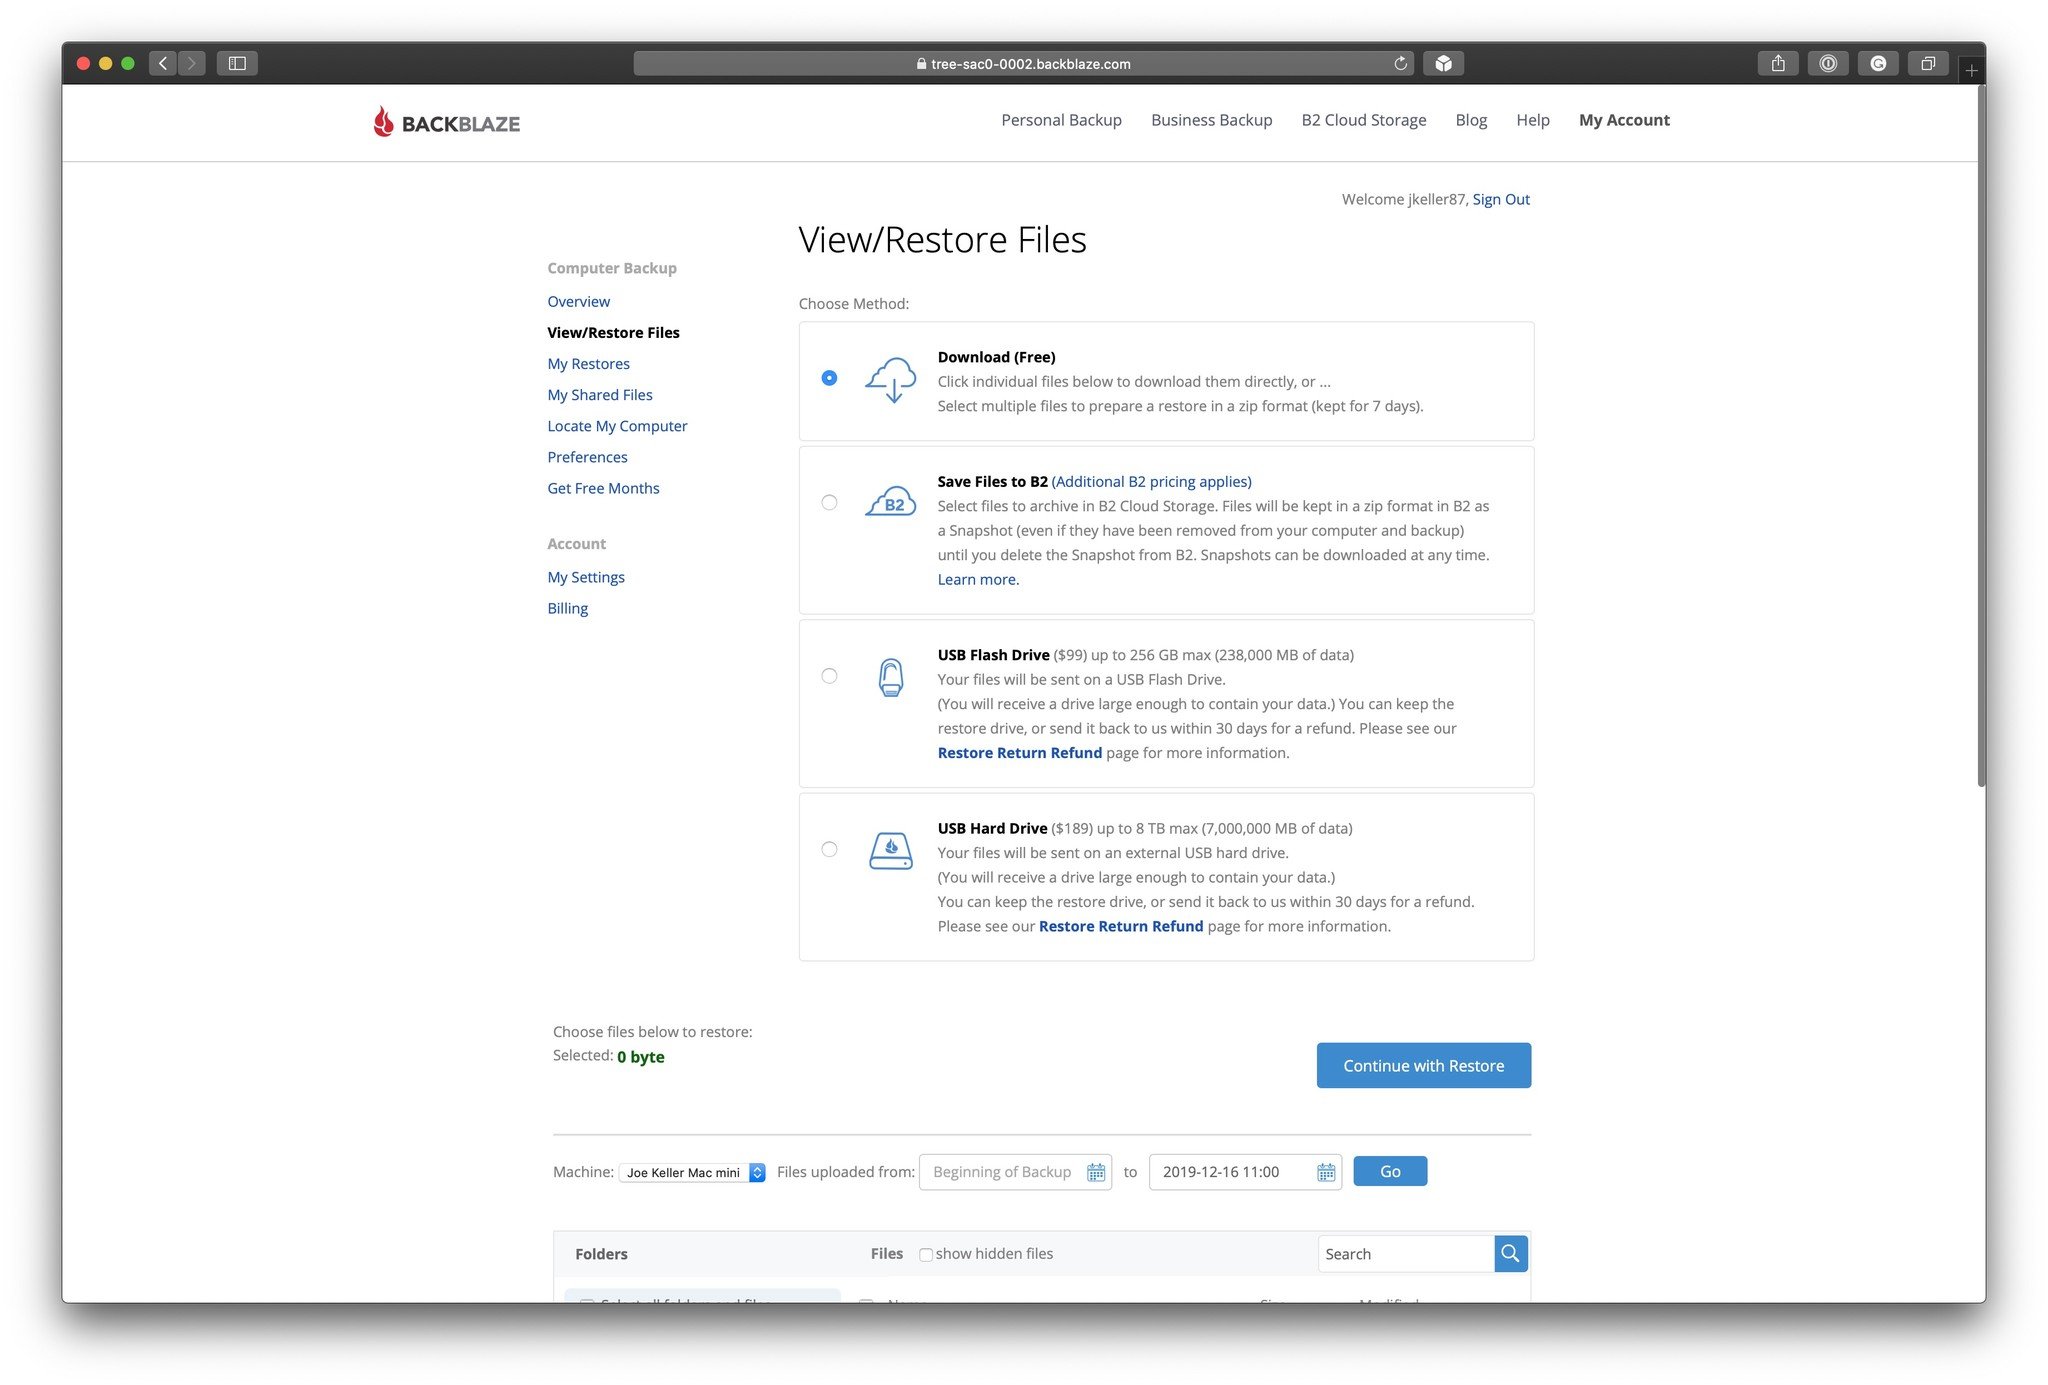
- Depending on the size of your restoration, you can either restore over the Internet by downloading a compressed .zip file or, if you want to pay extra, you can order a USB flash drive or a USB hard drive. Whole drive restorations can be faster and more convenient if you're mailed a drive, depending on the size.
- If you want to restore a portion of your drive, just drill down until you find what you're looking for, then click the Continue with Restore button.
- Backblaze will email you as soon as the archive is ready for download. For smaller files, it's usually immediate.
For my money, Backblaze offers a superior interface and is easy to use. Also, Backblaze by default excludes things like apps, which will dramatically bulk up your first backup and slow you down. I consider that a plus, because I can reinstall most of those if I need to.
Backblaze pros and cons
Backblaze punts your restore to a web site, which I find a bit disruptive; I do wish the app would integrate restoration. But my major beef with Backblaze is its pricing structure. It's $5 per month per computer. That sounds great if you only have one computer, but whole households will have a bit more difficult of a time: If you have a family of four, each with their own computer, and two with laptops, that's $30 per month, total.
Carbonite
How to backup
- Set up a new account and download the software from Carbonite. You can try it free for 15 days.
- Follow the installation instructions.
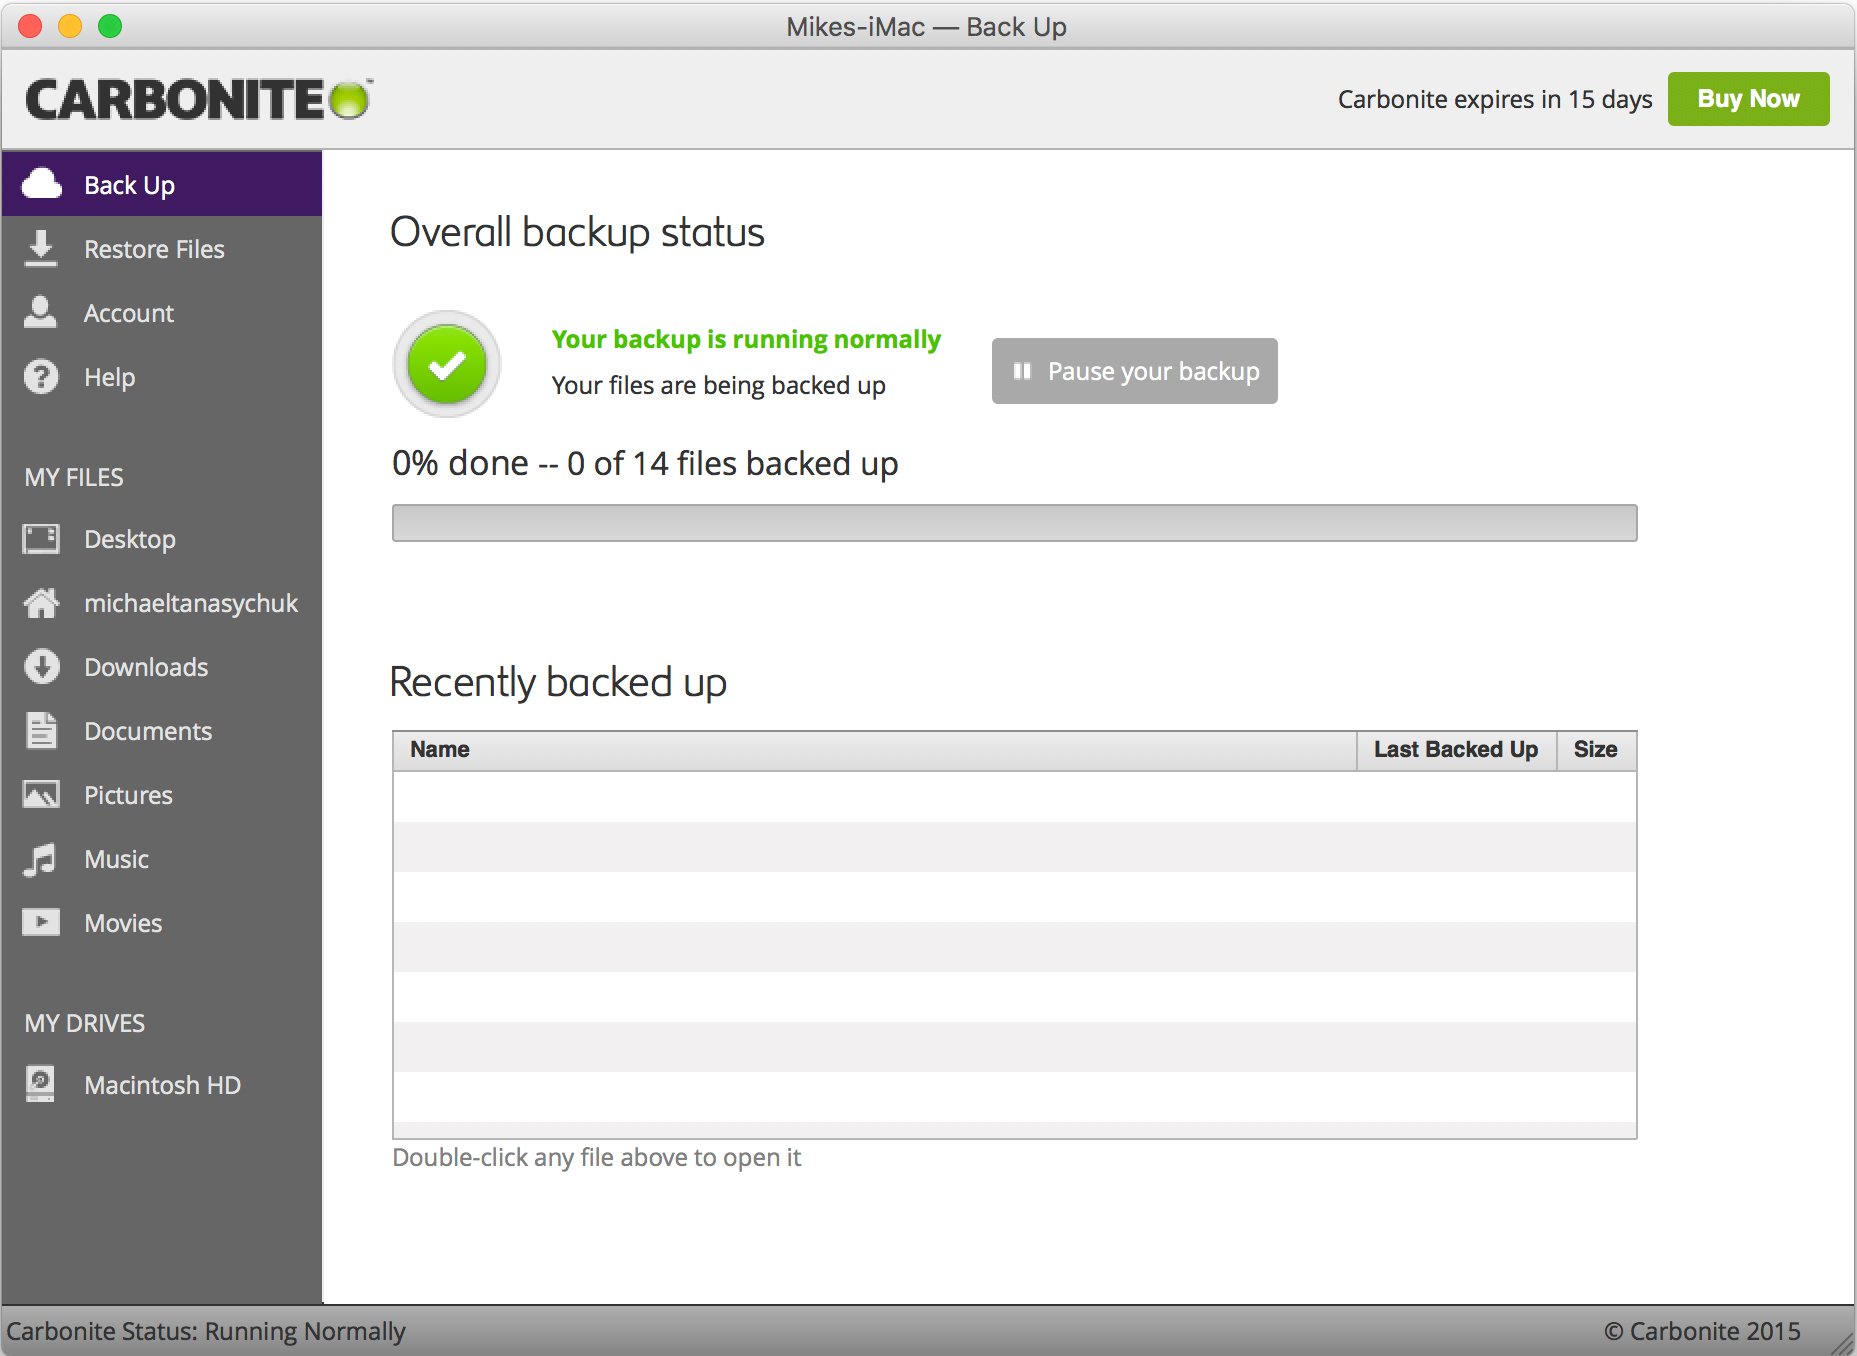
- Carbonite will automatically back up select folders on your hard drive — those it deems important. Like the other services, this could take a very long time, depending on how much data you have, your internet connection, and a smattering of other factors.
- Carbonite lets you access your files from any internet-connected device, so your stuff is with you wherever you go.
How to restore
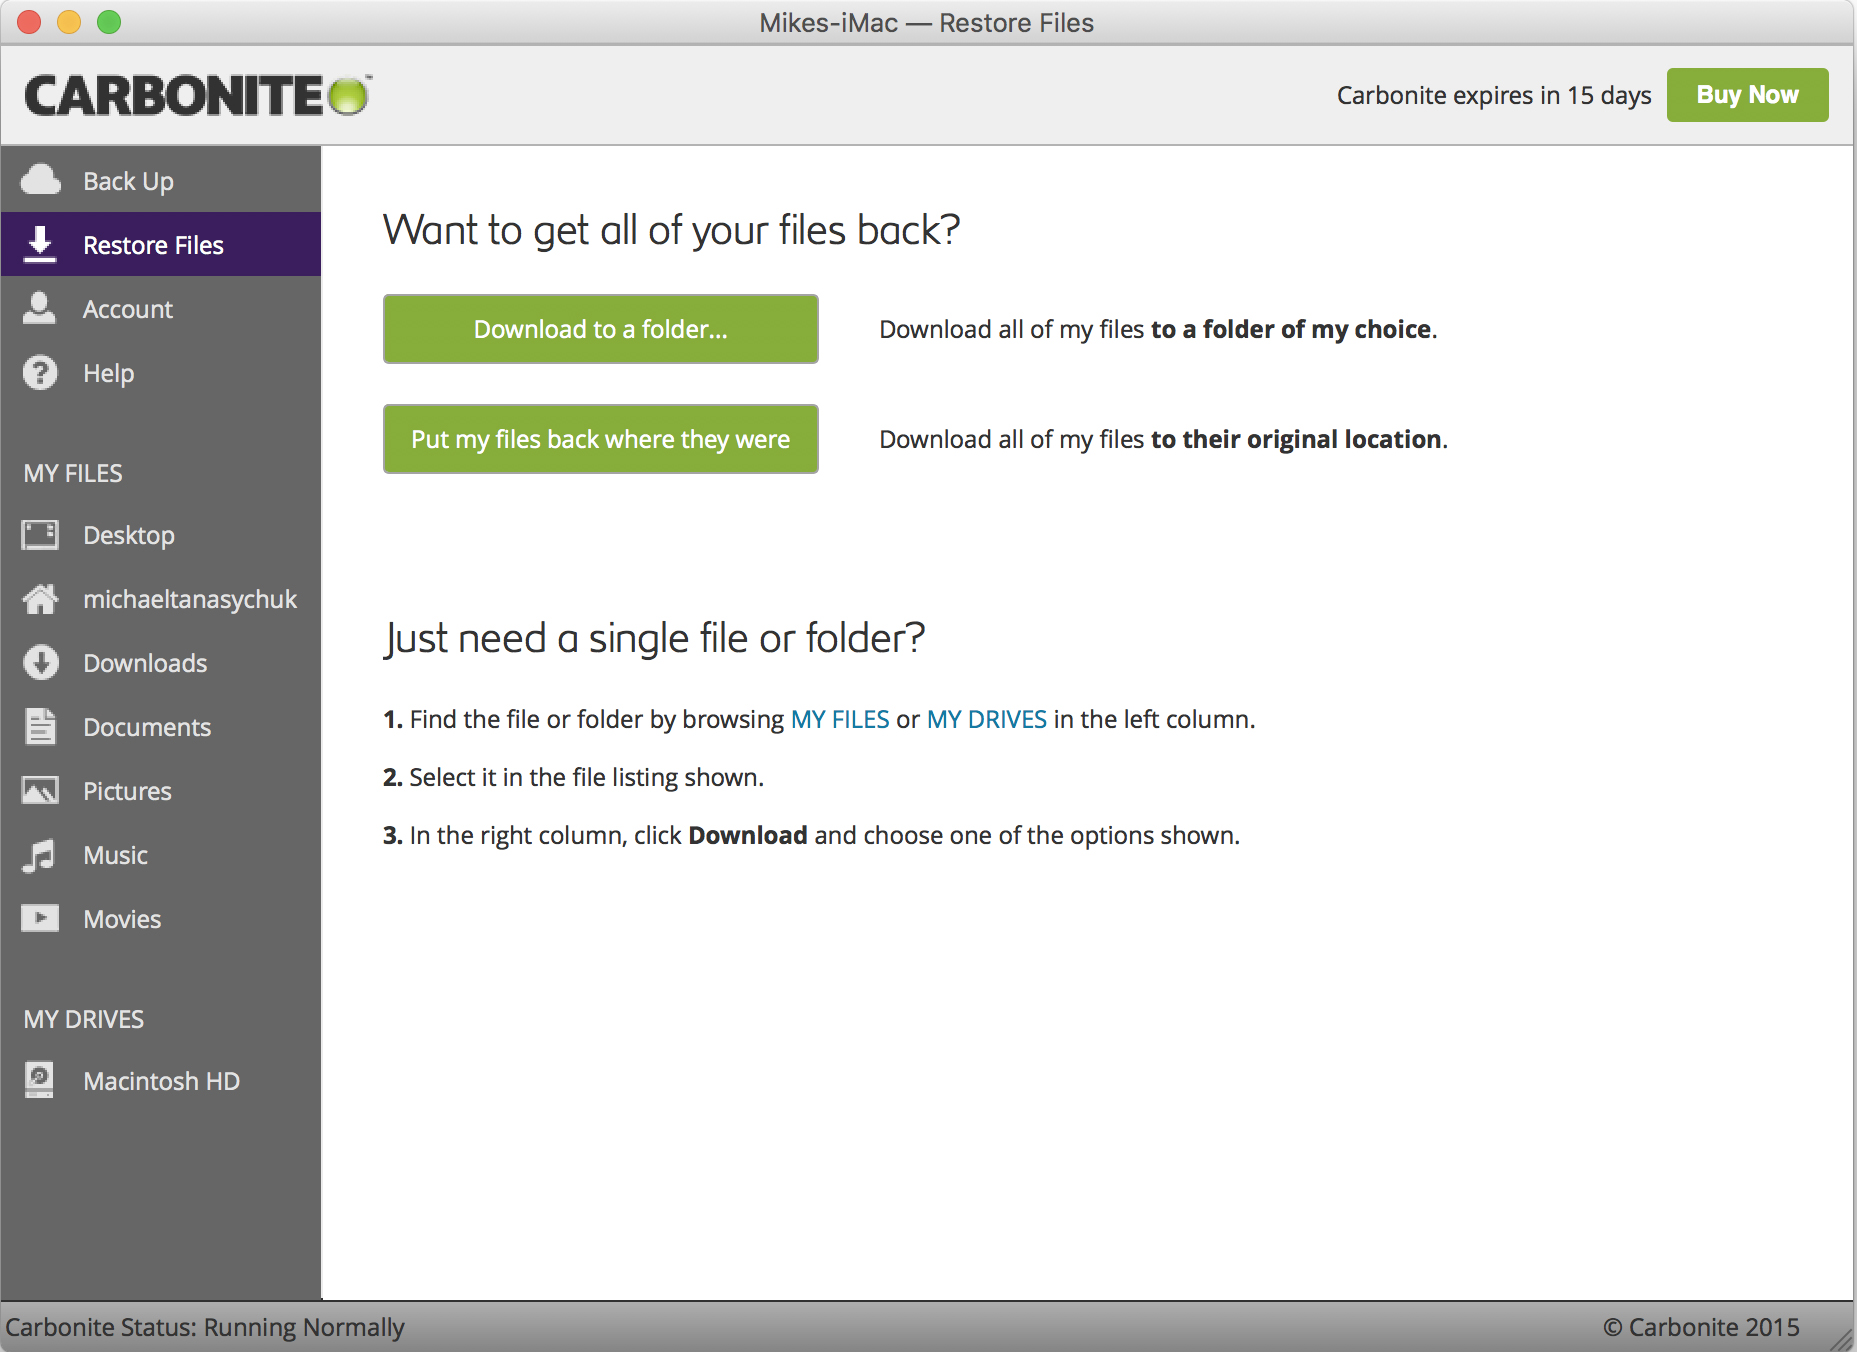
- Open Carbonite.
- Click Restore Files.
- Choose to either put your files back where they were or to restore them to a folder of your choosing. You can also choose to just restore specific files instead of everything.
Carbonite pros and cons
First off, it's named after carbonite from Star Wars — already a win. Carbonite offers options for home use (individual and family plans) and also offers plans for businesses, which can include both cloud backup and on-site backup. The user interface is quite pleasant and easy to use — not cluttered or overly complex.
That being said, I've found Carbonite often slower than other online backup services — it's more of a set-it-and-forget-it kind of backup process. According to Carbonite's speed records, it can take weeks to restore 1TB of data; faster services can do the same transfer in days. You also won't get a personal encryption key for your Mac as with the PC version of Carbonite, according to Top Ten Reviews.
iMore offers spot-on advice and guidance from our team of experts, with decades of Apple device experience to lean on. Learn more with iMore!
iDrive
How to backup
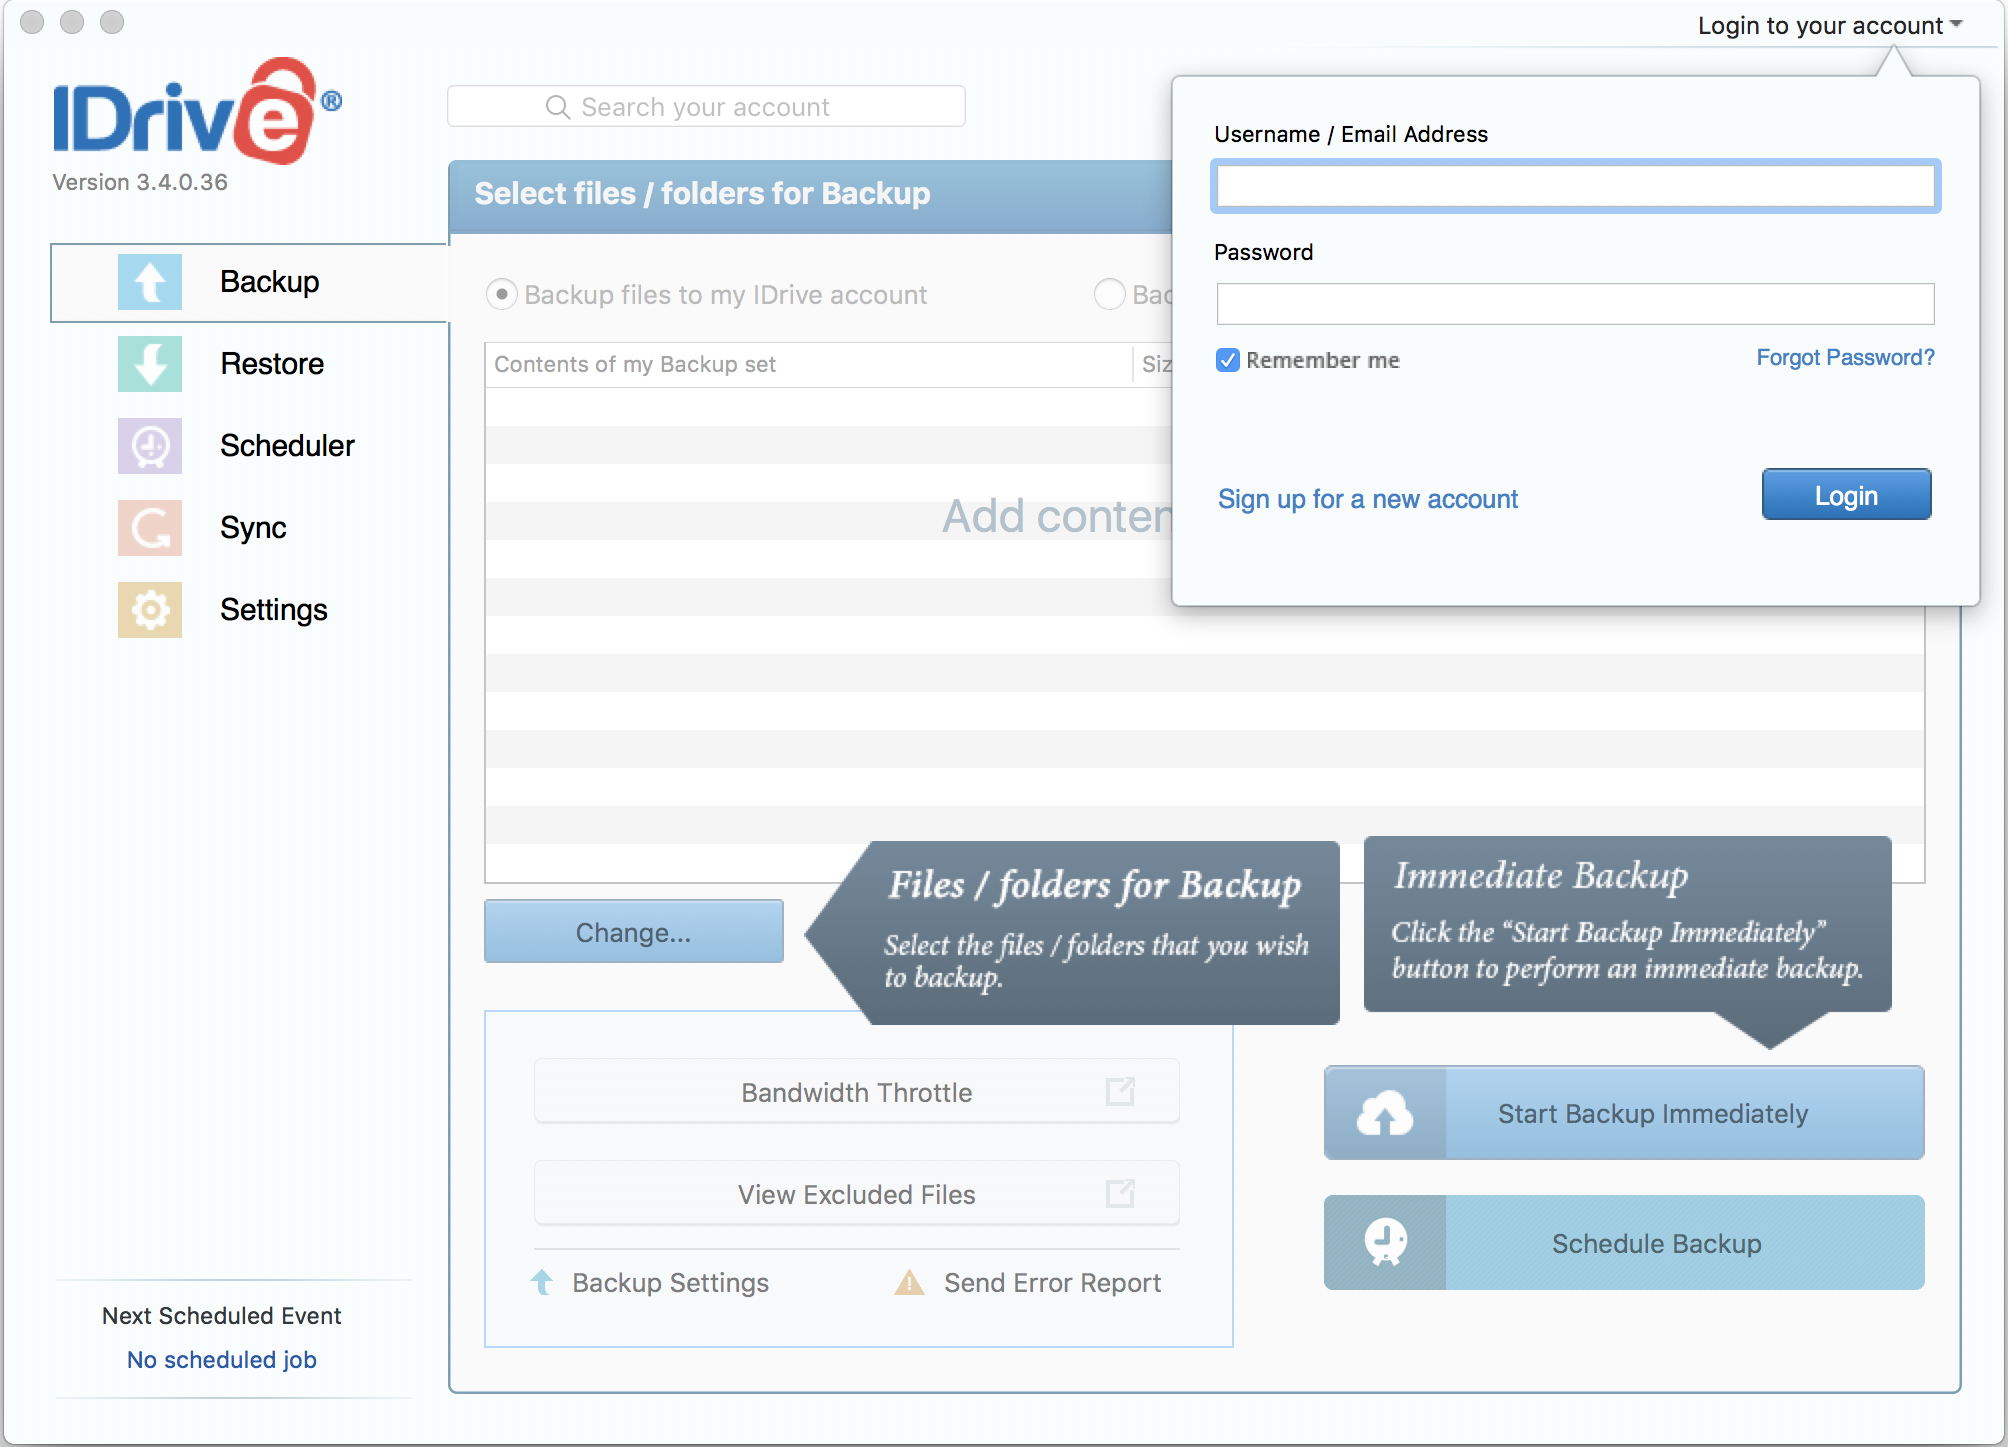
- Download the iDrive software.
- Create a new account.
- Pay for a subscription, starting around $70 per year.
- Backup your data following the on-screen instructions.
How to restore
- Open iDrive.
- Click Restore.
- Choose what you want to be restored and where you want it.
iDrive pros and cons
iDrive's biggest con is the fact that it's not even a little bit free — no free trial, nothing. However, that's also because the smallest amount of storage you can buy is 1TB for personal use and 250GB for businesses.
That being said, iDrive is a very secure way to store precious data, with native 256-bit AES encryption and two-factor authentication, and their iDrive Express service recognizes that backing up 1TB to the cloud is a colossal bandwidth suck. Here's iDrive Express in a nutshell: Once yearly for personal users and three times a year for business users, iDrive will send out a 1TB external hard drive. You then back up your data and mail it back in a prepaid priority post envelope. The service is free and can save you a ton of time and bandwidth.
Arq
How to backup
- Download the Arq software to start your free 30-day trial or pay a one-time fee of $49.99.
- Follow the on-screen installation instructions.
- Create an account with your full name and email address.
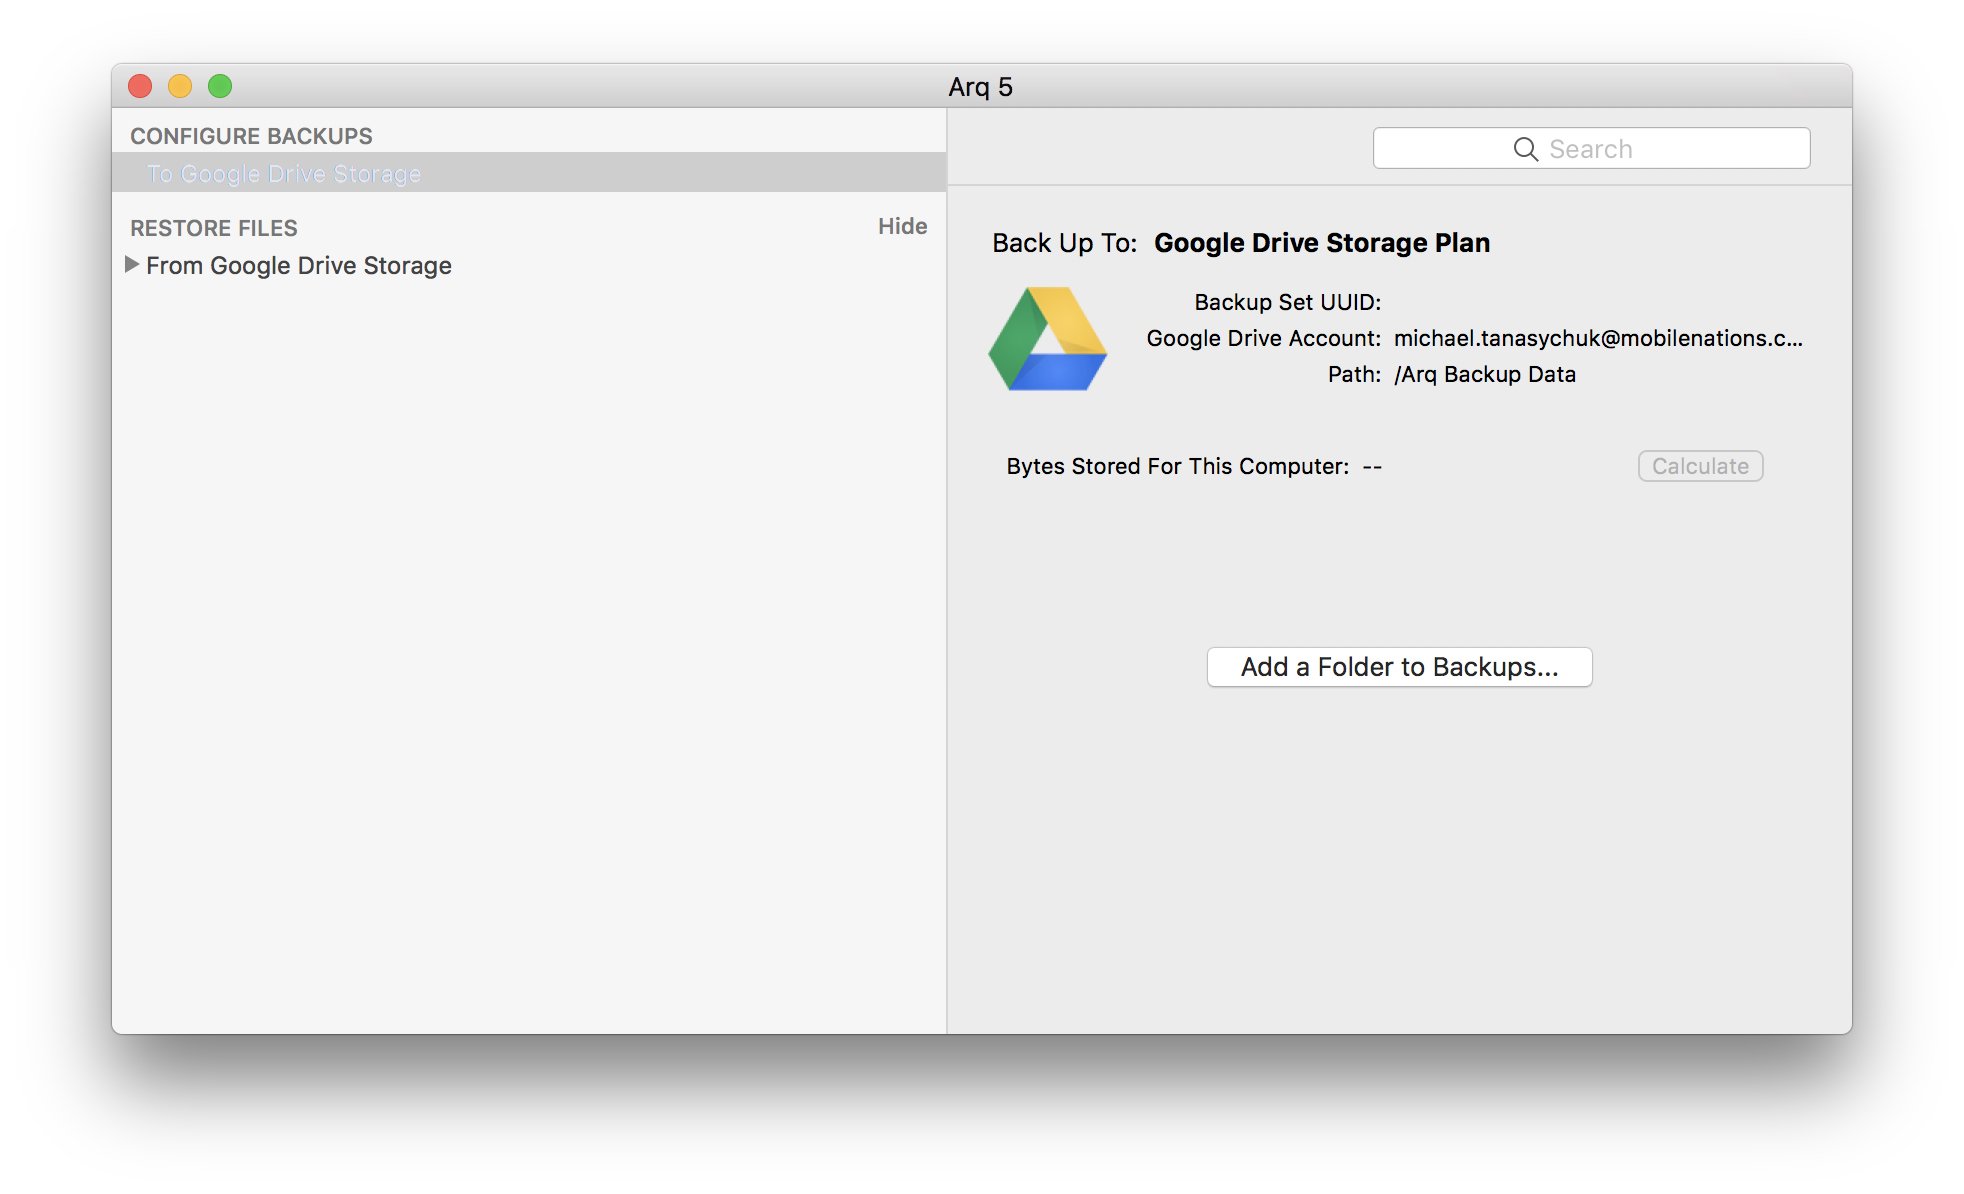
- Select a destination for your backup. You can send it to Dropbox, Google Drive, OneDrive, and more.
- Back up your data by following the on-screen instructions.
How to restore
- Open Arq.
- Click the backup under Restore Files in the Arq app.
- Click to restore and follow the on-screen instructions.
Arq pros and cons
The main con is that Arq is essentially a middle man. It doesn't house your data in its own centers, rather it acts as a vehicle for managing data in your existing cloud storage services.
That being said, a huge pro is that you can have Dropbox, Google Drive, OneDrive, and other cloud storage options all in one spot, so you can manage all of your data right in one app. The other great part is that you only pay $50 once and then you own Arq — no yearly subscriptions or any of that annoying nonsense. Just know that you'll be using your existing cloud services for actual storage.
Acronis
How to backup
- Download the Acronis software to start your free trial.
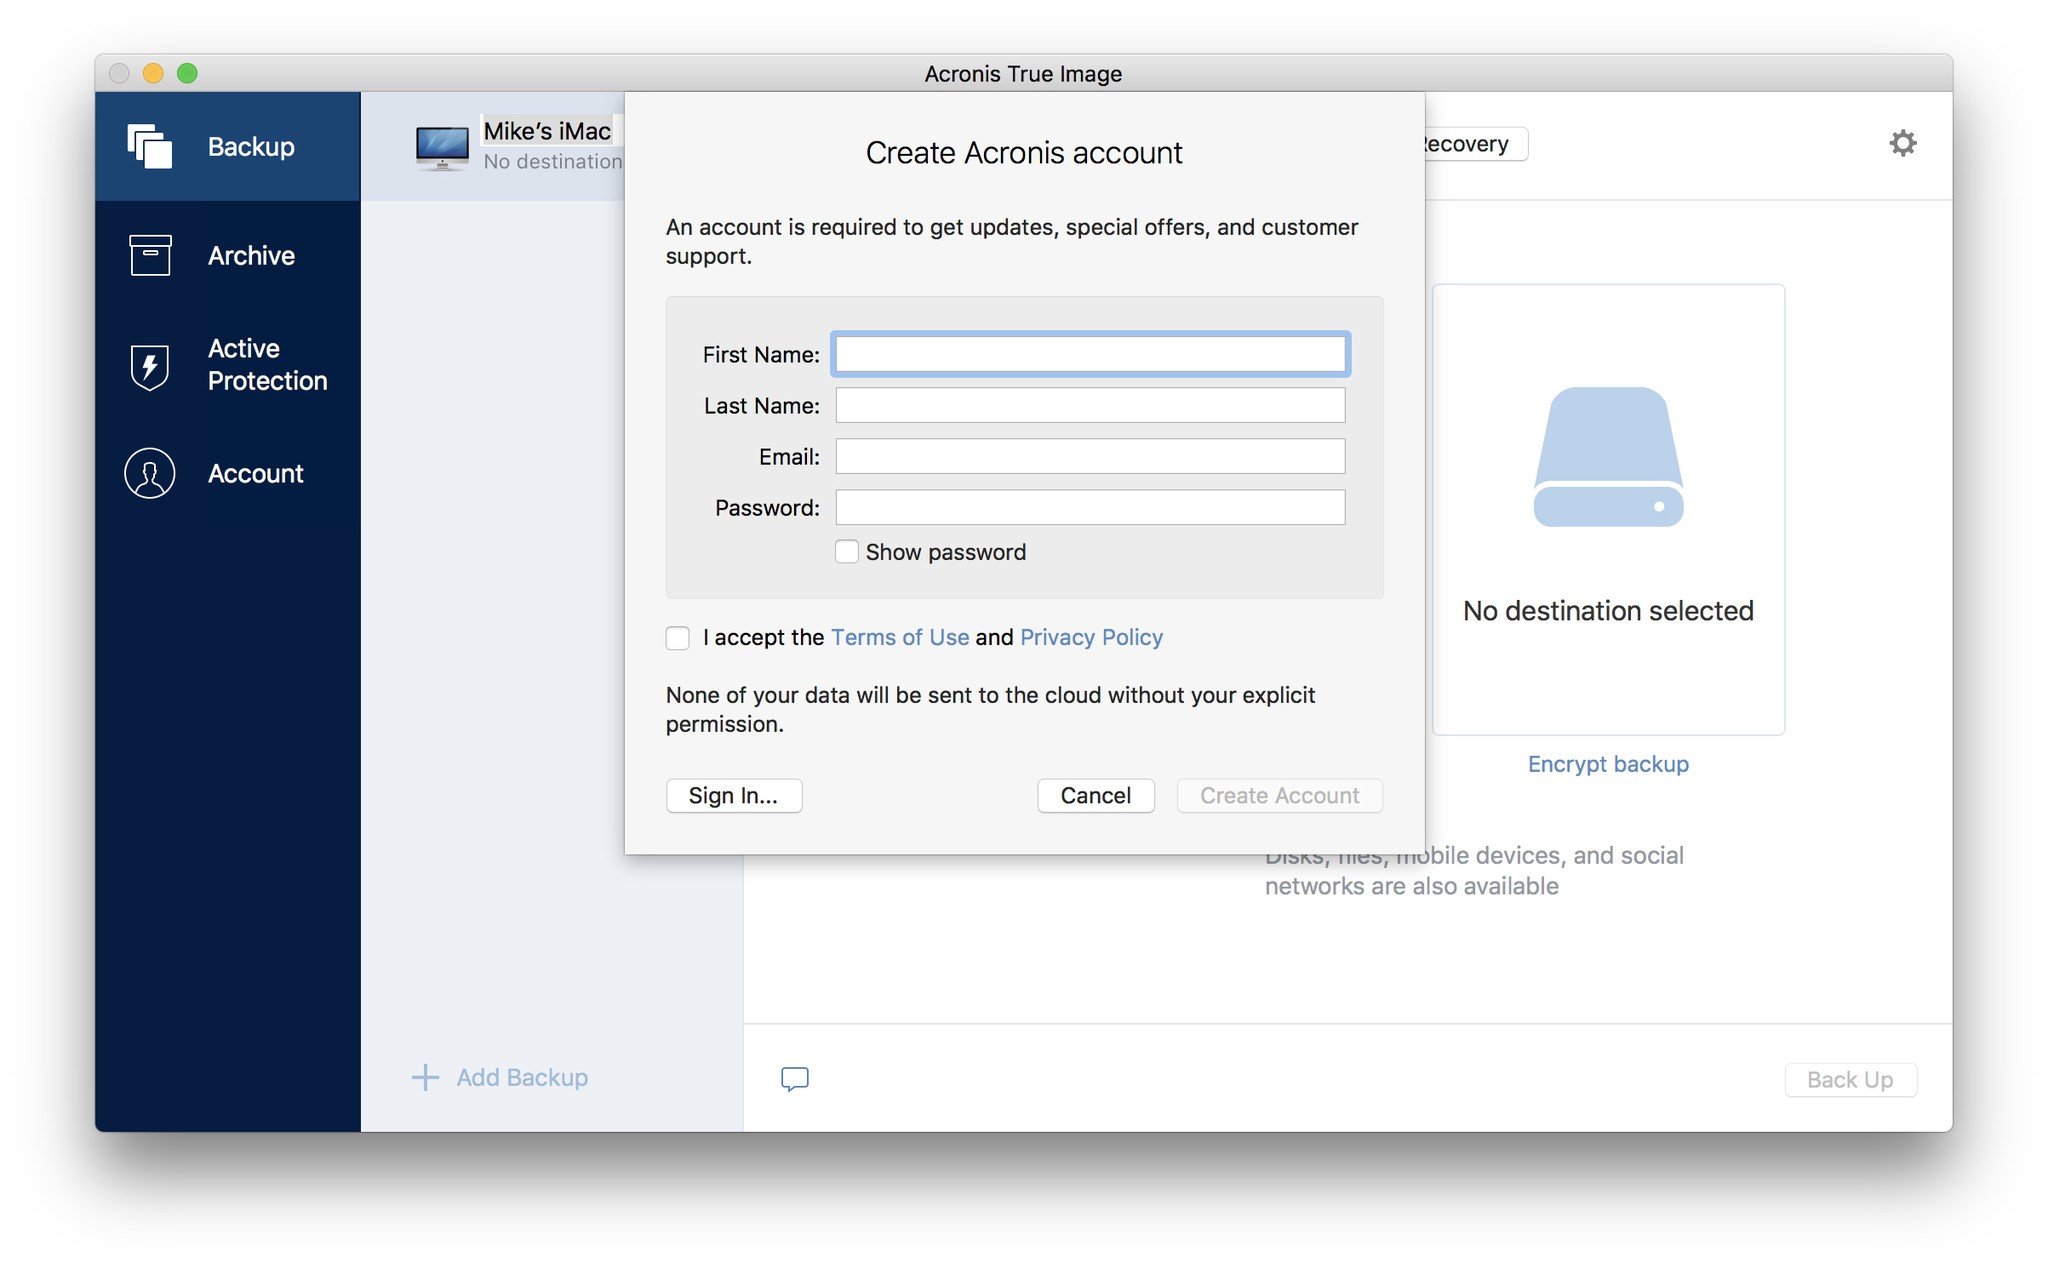
- Launch the Acronis app.
- Create your account by following the on-screen instructions.
- Back up your data by following the on-screen instructions.
How to restore
- Launch the Acronis app.
- Click Recovery.
- Choose the data you want to restore.
Acronis pros and cons
Acronis has a lot going for it, both as a vehicle for cloud storage and as its own cloud storage service. If upgrade, you can get 250GB or 1TB of storage with the company itself. The Mac client is also Touch Bar-compatible for the folks with recent MacBook Pros.
The biggest downside is how few features you receive with the one-time $50 fee. You get about half of what you'd get with the $100/year, 1TB subscription and only two-thirds of what you'd get with the $50/year, 250GB subscription. You do, however, get great savings by signing up more than one computer (5 computers are only $100 to start).
Bottom line
In the end, we strongly suggest giving one of these services a try. On-site backups are a good first step, but off-site backups keep your personal data secure in the event of a catastrophe, water leak, burglary, or pet problem.
It won't cost you anything for either Backblaze or Carbonite's free trials: See which you like best and go with that one. They're both reliable services, and they all offer an iOS app that lets you view your backups and even access your files when you need to.
What's more, if you're on the road for an extended period — on a business trip or vacation, for example — and away from your usual means of backup, it's good to know that you have another system that you can set and forget and use in a pinch if you need to recover a file or a drive.
What online backup service do you use?
If you already have an online backup service and you recommend it, let me know which one and why. If you try any of these out, let me know how you like them. If I missed your favorite, tell me all about it in the comments below!
Updated March 2020: Up-to-date for 2020.
○ Backing up: The ultimate guide
○ Best backup services and programs for your Mac
○ Best cloud service apps for your iPhone and iPad
○ How to back up your Mac
○ How to back up your iPhone and iPad
○ How to back up your Apple TV
○ How to back up your Apple Watch
○ How to restore your Mac from a backup
○ How to restore your iPhone or iPad from a backup
○ How to restore your Apple Watch from a backup
○ How to recover your files when you don't have a backup
Lory is a renaissance woman, writing news, reviews, and how-to guides for iMore. She also fancies herself a bit of a rock star in her town and spends too much time reading comic books. If she's not typing away at her keyboard, you can probably find her at Disneyland or watching Star Wars (or both).
